Review of freshly installed Fedora 36 Workstation (Gnome GUI)

After the tutorial of Install Fedora Workstation 36 (Gnome GUI) this tutorial is mainly to see what to expect from a freshly installed Fedora 36 Workstation – the look and feel of the GUI (Gnome – version 42.1).

  • Xorg X server – 1.20.14
  • GNOME (the GUI) – 42.1
  • linux kernel – 5.17.5

More technical details here – Software and technical details of Fedora Server 36 including cockpit screenshots. The later article may be of interest to developers, too. The Fedora 36 Workstation may install all of the listed software for Fedora 36 Server Edition. The big difference is the disk layout and the file system used in the server edition and in workstation edition. By default, in Fedora 36 Workstation btrfs is used for the root and home mounts.
The idea of this tutorial is just to see what to expect from Fedora 36 Workstation (Gnome)the look and feel of the GUI, the default installed programs, and their look and how to do some basic steps with them. Here the reader finds more than 140 screenshots and not so much text the main idea is not to distract the user with much text and version information and 3 meaningless screenshots, which the reader cannot see anything for the user interface, but these days the user interface is the primary goal of a Desktop system. More reviews of this kind will follow in the future …

For all installation and review articles, real workstations are used, not virtual environments!

SCREENSHOT 1) Fedora Linux (5.17.5-300.fc36.x86_64) 36 (Workstation Edition)
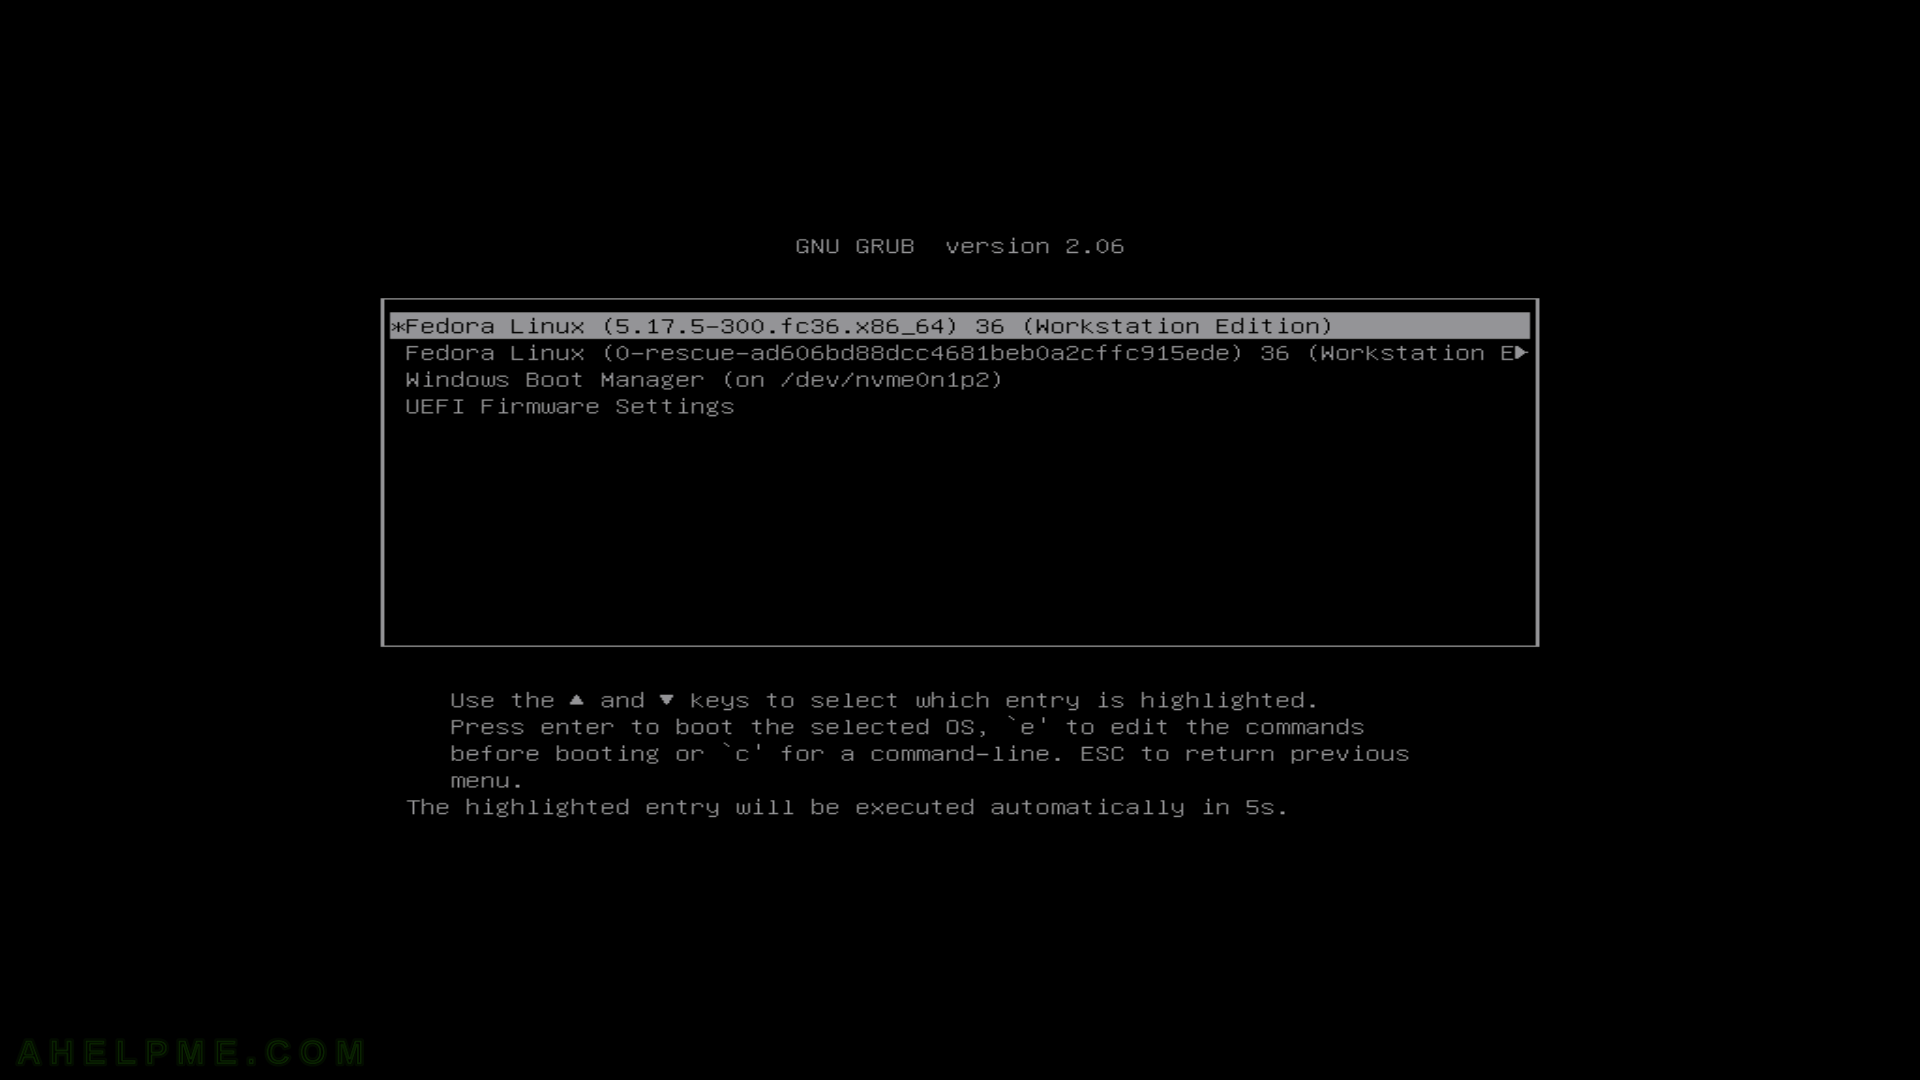
main menu
grub 2.06 entry boot

Keep on reading!

Review of freshly installed Fedora 31 KDE Plasma Desktop (KDE GUI)

After the tutorial of Install Fedora 31 KDE Plasma Desktop this tutorial is mainly to see what to expect from a freshly installed Fedora 31 KDE Plasma Desktop – the look and feel of the new KDE GUI (version 5.13.5 of KDE Plasma).
Here you can find how to Install Fedora 31 KDE Plasma Desktop (KDE GUI). Here it worth mentioning the included versions of KDE software for Fedora 31:
The Fedora 29 KDE Plasma Desktop comes with

  • KDE Plasma version: 5.16.5
  • KDE Frameworks version: 5.61.0
  • QT version: 5.12.5

The idea of this tutorial is just to see what to expect from Fedora 31 KDE Plasma – the look and feel of the GUI, the default installed programs and their look and how to do some basic steps with them, it is included also screenshots of the KDE settings program. Here you’ll find more than 200 screenshots and not so many texts we do not want to turn this review of many texts and version information and 3 meaningless screenshots, which you could not see anything for the user interface because these days it is the primary goal of a Desktop system. You can expect more of this kind of review in the future.
It may be interesting to compare with the Fedora 29 review – Review of freshly installed Fedora 29 KDE Plasma Desktop (KDE GUI)

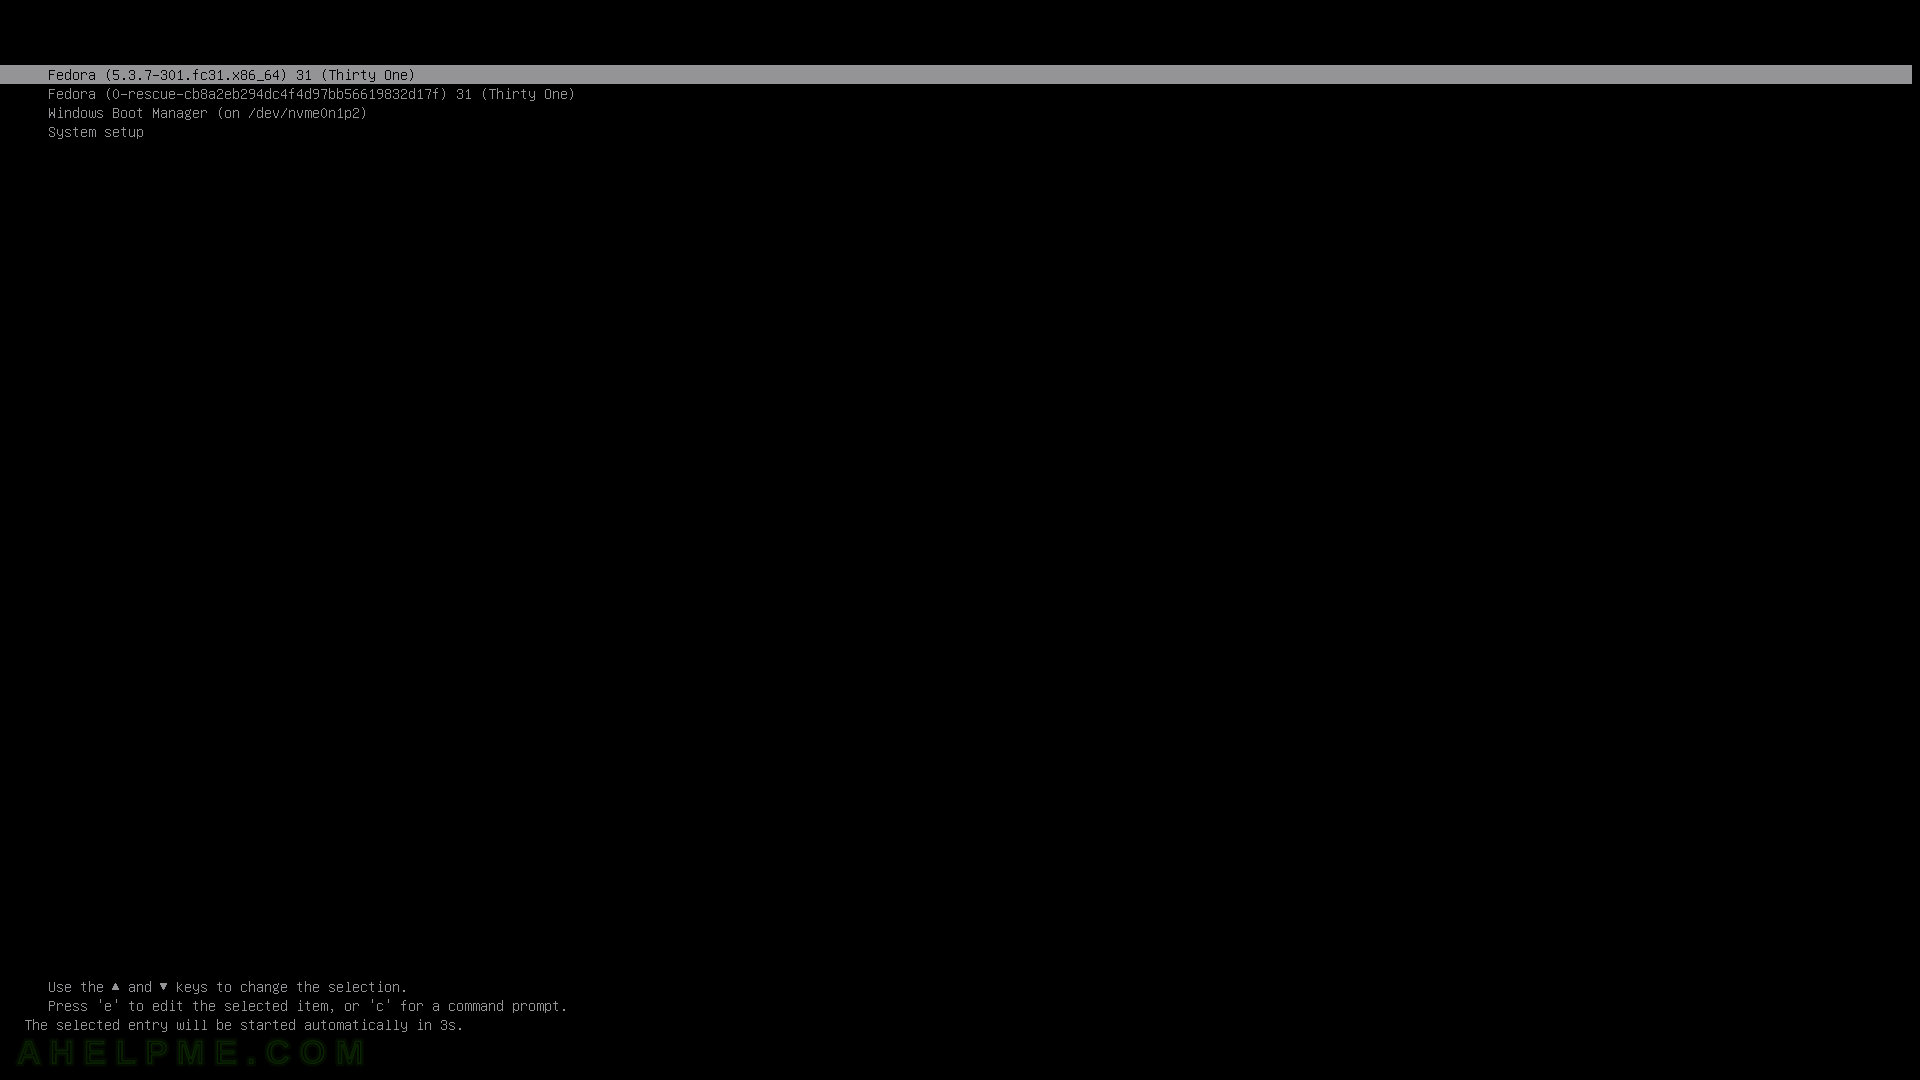
SCREENSHOT 1) Fedora (5.3.7-301.fc31.x86_64) 31 (Thirty One)

main menu
grub entry boot

Keep on reading!

Install Fedora 31 KDE Plasma Desktop (KDE GUI)

This tutorial will show you the simple steps of installing a modern Linux Distribution Fedora 31 KDE Plasma Desktop with KDE for the user graphical interface. First, we present the basic steps for installing the Operating system in addition to your present operating systems (here we have two: Windows 10) and then you can see some screenshots of the installed system and the look and feel of it. We have another tutorial showing more screenshots of the installed and working Fedora 31 (Gnome and KDE plasma) – so you can decide which of them to try first – coming soon.

The Fedora 31 KDE Plasma Desktop comes with

  • Xorg X server – 1.20.5 XWayland is used by default
  • linux kernel – 5.3.7
  • KDE Plasma version: 5.16.5
  • KDE Frameworks version: 5.61.0
  • QT version: 5.12.5

The installation process is very similar to the old Install Fedora 27 KDE Plasma Desktop and Install Fedora 29 KDE Plasma Desktop (KDE GUI). Our system is relatively new – Asus X399 with AMD Ryzen Threadripper 1950X and NVIDIA 1080 TI and the setup loaded successfully and there were no problems till the end.

We used the following ISO for the installation process:

https://download.fedoraproject.org/pub/fedora/linux/releases/31/Spins/x86_64/iso/Fedora-KDE-Live-x86_64-31-1.9.iso

It is a LIVE image so you can try it before installing it. The easiest way is just to download the image and burn it to a DVD disk and then follow the installation below:

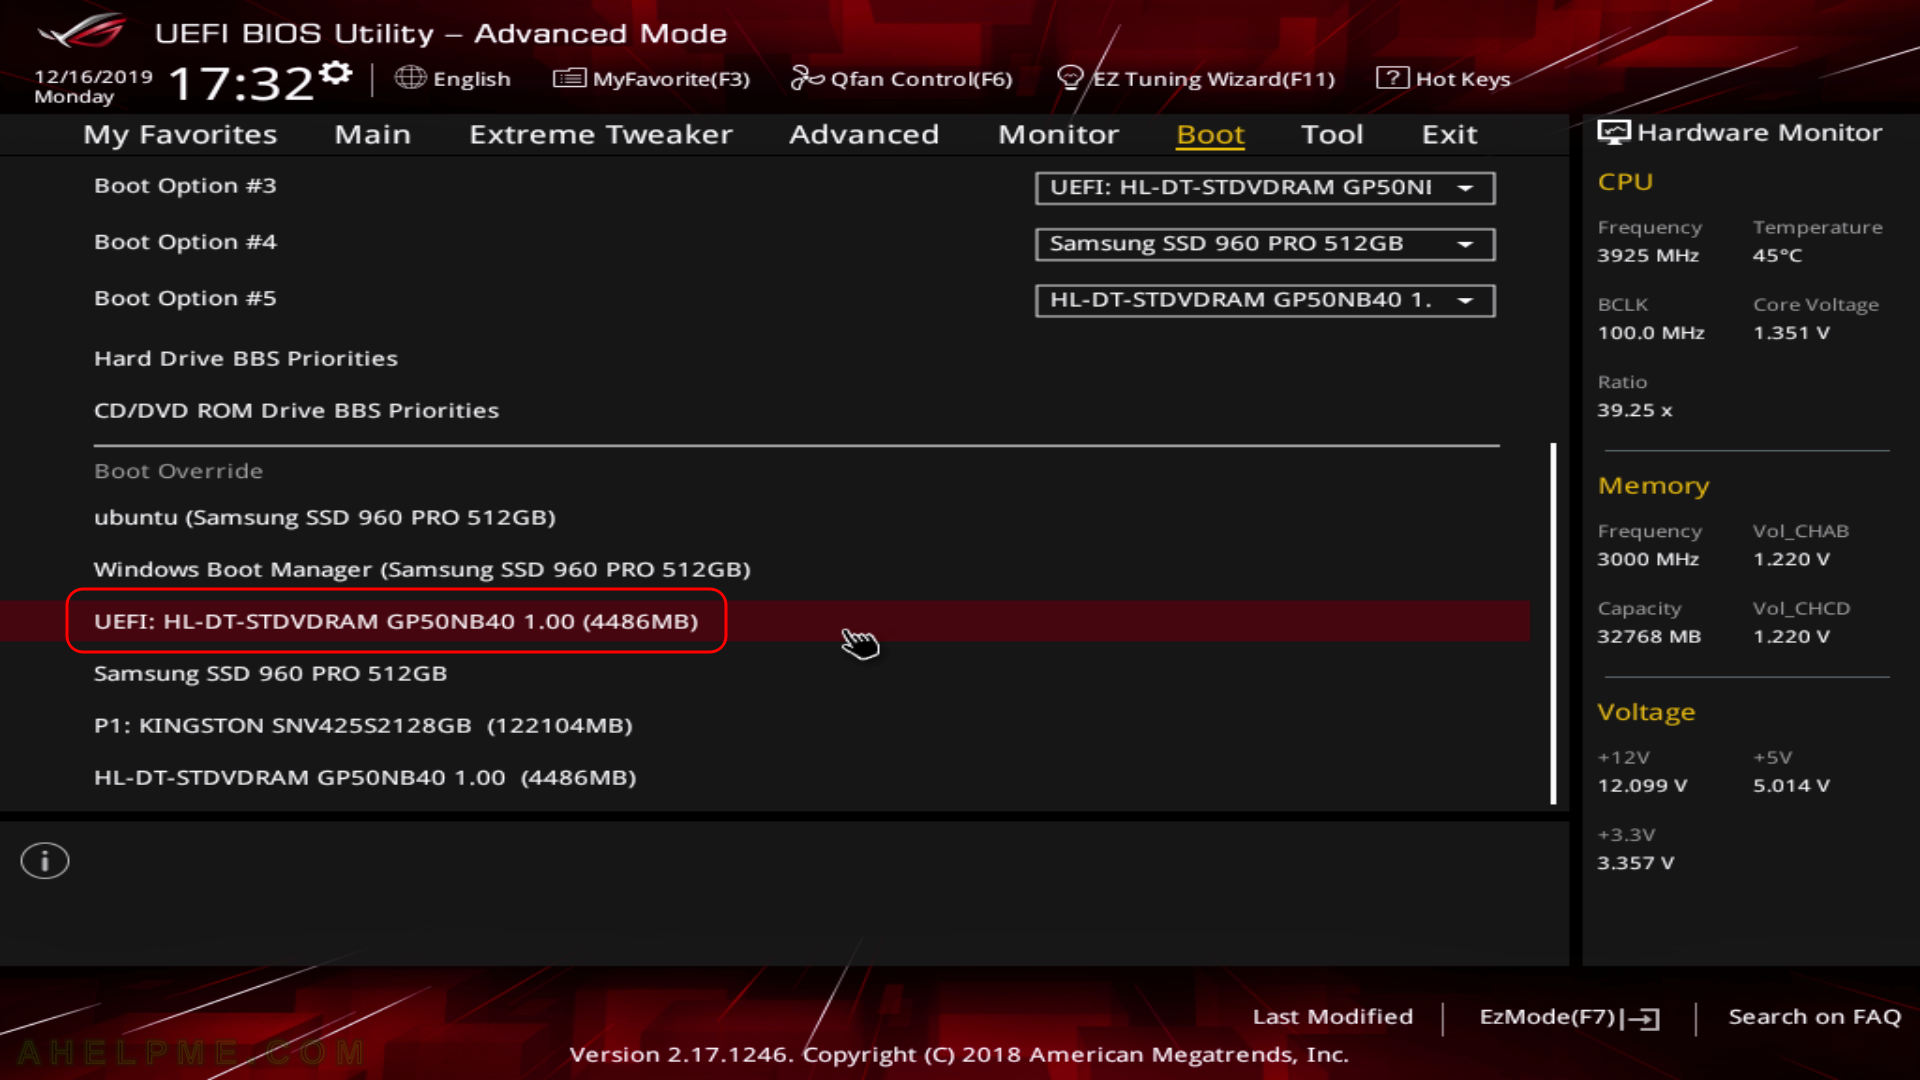
SCREENSHOT 1) Here is our “UEFI BIOS->Boot->Boot Override” and in most modern motherboard you can choose to override the default boot devices.

Choose the “UEFI: HL-DT-STDVDRAM…” to boot and install Fedora KDE Plasma Desktop 31 with UEFI support. You should do this, because most of the new hardware like video cards would not work properly without beeing in UEFI mode.

main menu
Boot from DVD/USB Installation

Keep on reading!

Review of freshly installed Fedora 31 Workstation (Gnome GUI)

After the tutorial of Install Fedora Workstation 31 (Gnome GUI) this tutorial is mainly to see what to expect from a freshly installed Fedora 36 Workstation – the look and feel of the GUI (Gnome – version 3.30).

  • Xorg X server – 1.20.5
  • GNOME (the GUI) – 3.34.1
  • linux kernel – 5.3.7

More technical details here – Technical details of Fedora Workstation 31 (Gnome GUI).
The idea of this tutorial is just to see what to expect from Fedora 31 Workstation (Gnome)the look and feel of the GUI, the default installed programs and their look and how to do some basic steps with them. Here you’ll find more than 150 screenshots and not so many text we do not want to turn this review of many text and version information and 3 meaningless screenshot, which you cannot see anything for the user interface, which these days is the primary goal of a Desktop system. You can expect more of this kind of reviews in the future…
You can find similar article for Fedora Workstation 27 – Review of freshly installed Fedora 27 Workstation (Gnome GUI), Review of freshly installed Fedora 29 Workstation (Gnome GUI)
And for all installation and review tutorials we use real workstations not virtual environments!

SCREENSHOT 1) Fedora (5.3.7-301.fc31.x86_64) 31 (Thirty One)

main menu
grub entry boot

Keep on reading!

Supermicro H11SSL-i BIOS screenshot review – AMD EPYC 7351P 16-Core Processor

This article is just a bunch of screenshots with a short description of the Supermicro H11SSL-i BIOS. This setup is AMD based and uses one of the AMD multi-core beasts

AMD EPYC 7351P

, it has 16 cores with 32 threads and 8th channel memory!
The BIOS is pretty standard for Supermicro servers and supports dual UEFI and Bios-legacy modes.
The motherboard has

  • 16x SATA 3 ports (though 8 of them are ordinary SATA physical ports on the board and for the other 8 you will need a cable – Supermicro MiniSAS HD to 4 SATA)
  • 1xM.2 Interface: 1 PCI-E 3.0 x4
  • 3xPCI-E 3.0 x16 and 3xPCI-E 3.0 x8

You can use this motherboard without external controller for storage box with at least 16 disc without expander/extender!

All of your 16 disks will be connected to separate SATA3 6Gbps port!

More for the motherboard here: https://www.supermicro.com/Aplus/motherboard/EPYC7000/H11SSL-i.cfm

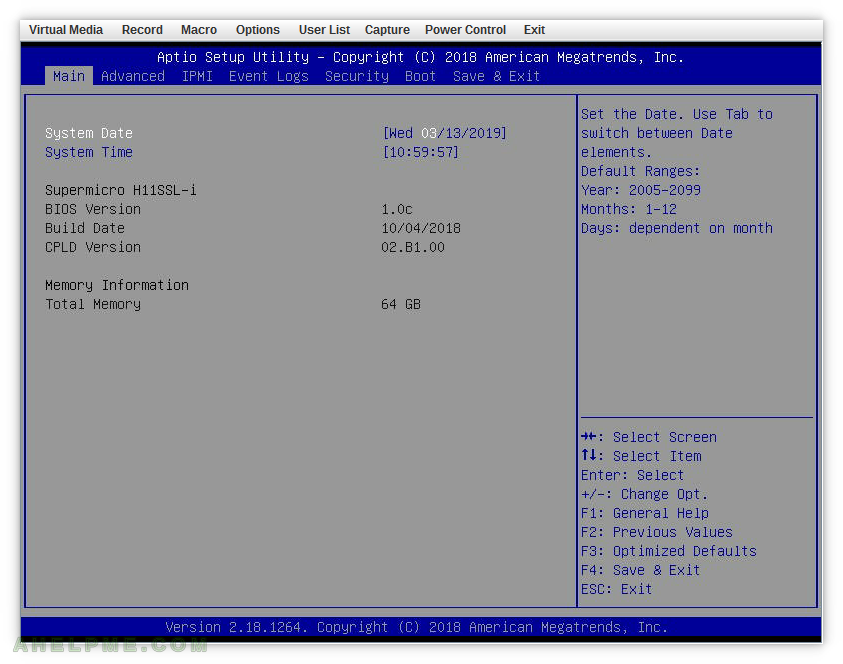
SCREENSHOT 1) The main BIOS menu of motherboard Sumpermicro H11SSL-i with version 1.0c.

All of the following screenshots are made with this BIOS version.

main menu
Supermicro H11SSL-i BIOS Main menu

Keep on reading!

Review of freshly installed Fedora 29 KDE Plasma Desktop (KDE GUI)

After the tutorial of Install Fedora 29 KDE Plasma Desktop this tutorial is mainly to see what to expect from a freshly installed Fedora 29 KDE Plasma Desktop – the look and feel of the new KDE GUI (version 5.13.5 of KDE Plasma).
Here you can find how to Install Fedora 29 KDE Plasma Desktop. Here it worth mentioning the included versions of KDE software for Fedora 29:
The Fedora 29 KDE Plasma Desktop comes with

  • KDE Plasma version: 5.13.5
  • KDE Frameworks version: 5.50.0
  • QT version: 5.11.1

The idea of this tutorial is just to see what to expect from Fedora 29 KDE Plasma – the look and feel of the GUI, the default installed programs and their look and how to do some basic steps with them, it is included also screenshots of the KDE settings program. Here you’ll find more than 140 screenshots and not so many texts we do not want to turn this review of many texts and version information and 3 meaningless screenshots, which you cannot see anything for the user interface because these days is the primary goal of a Desktop system. You can expect more of this kind of reviews in the future…

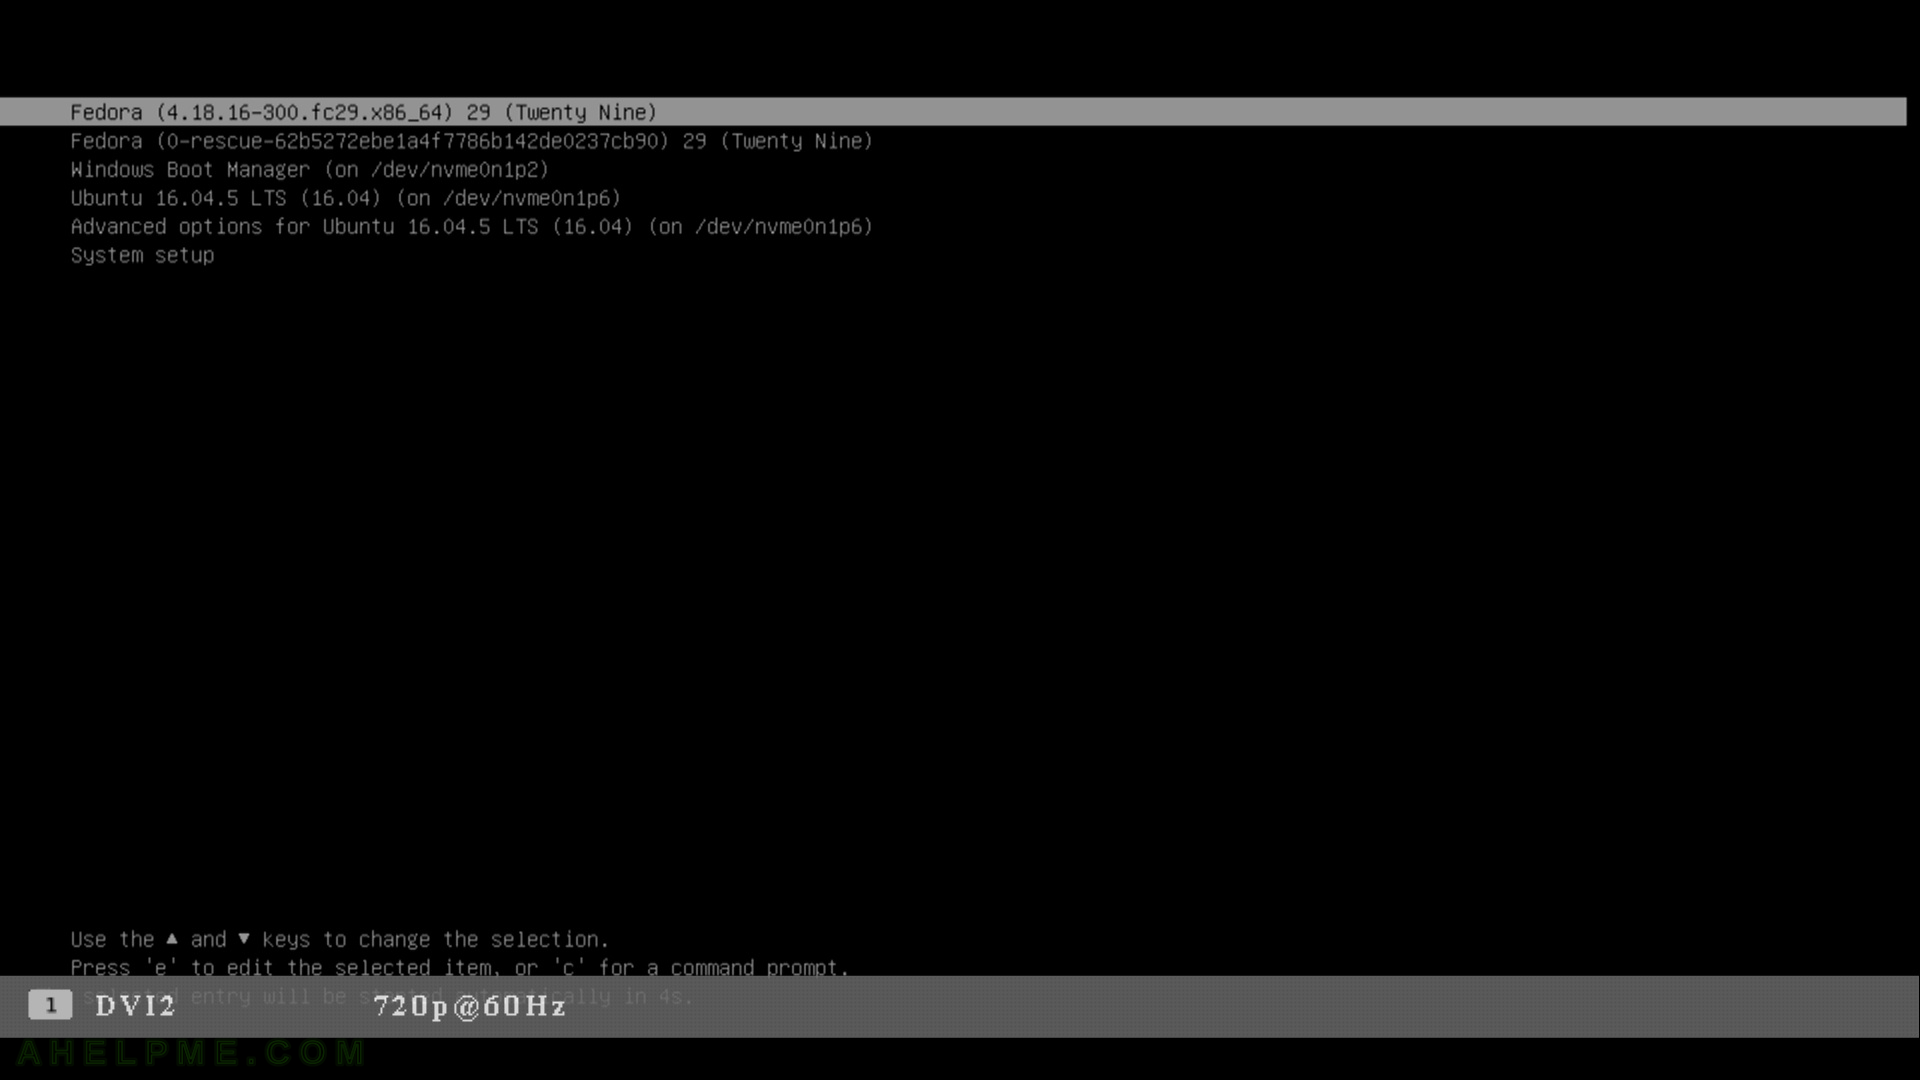
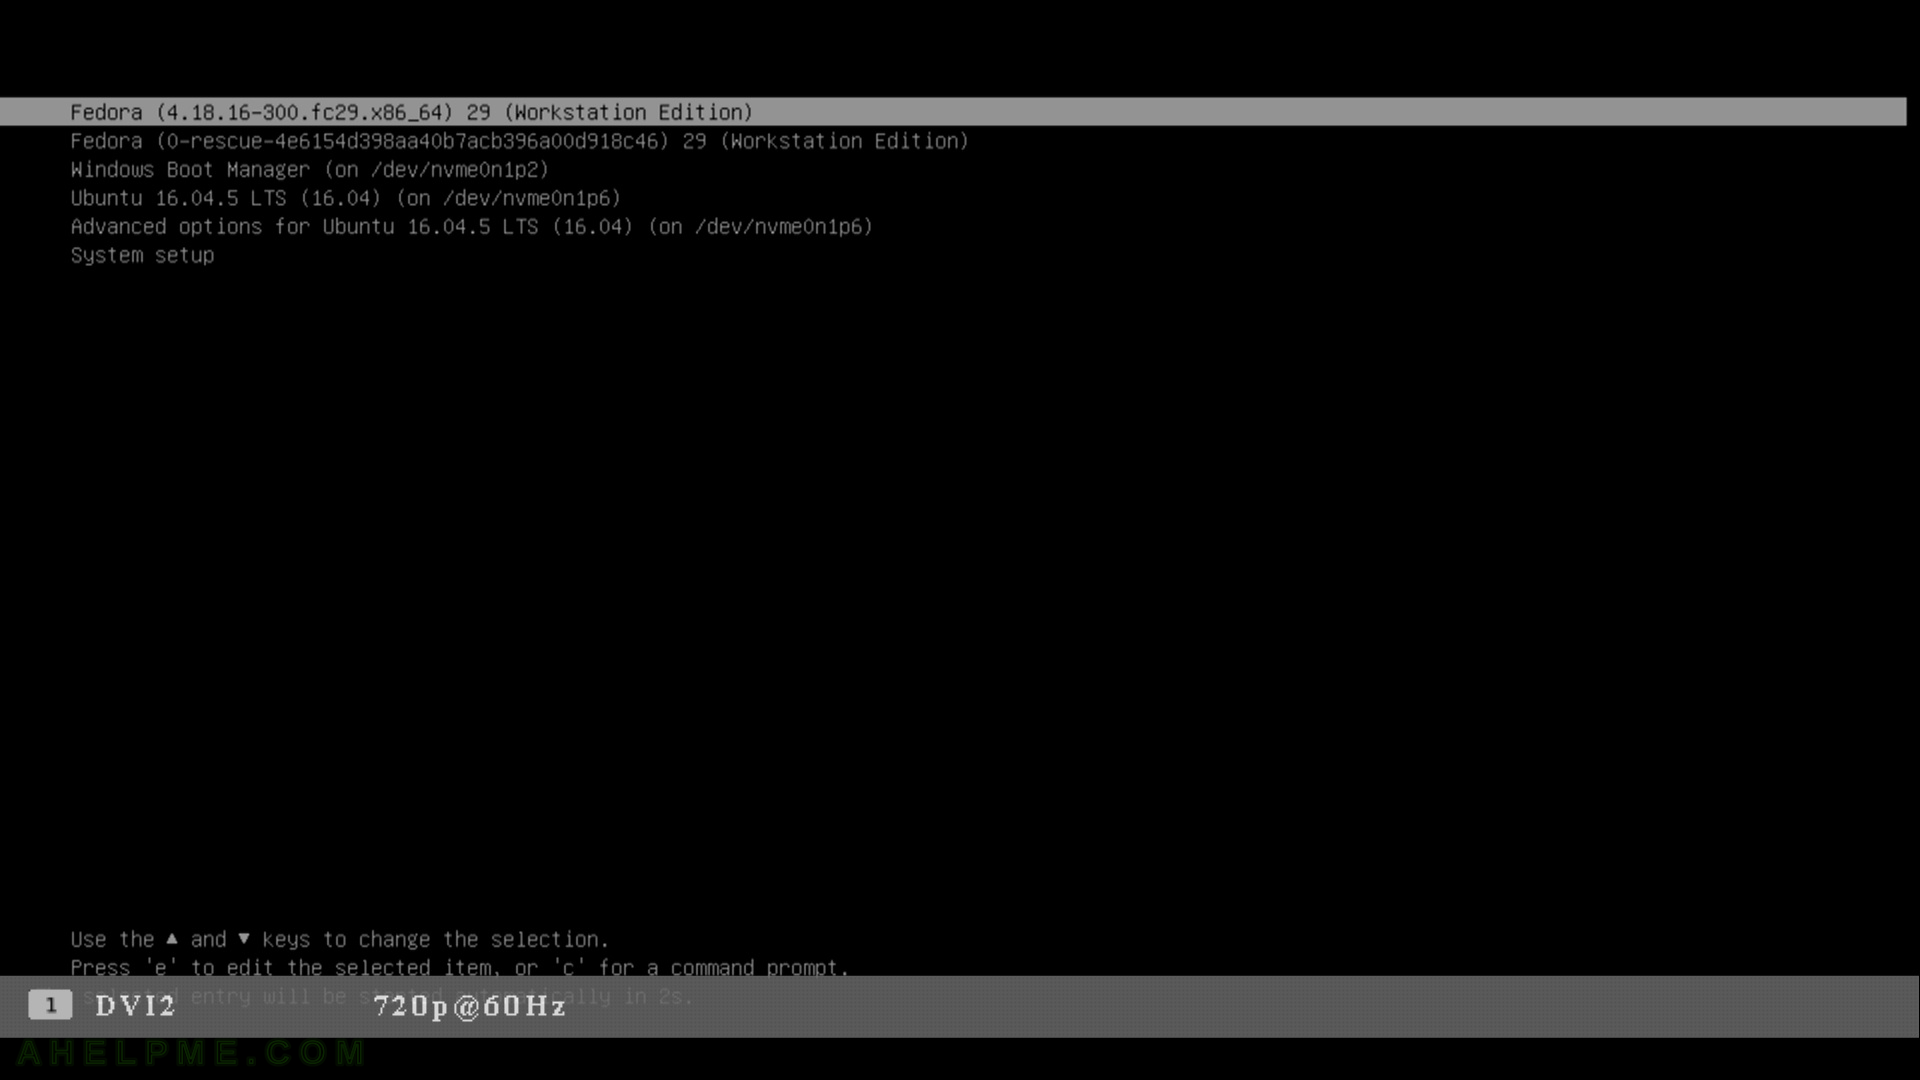
SCREENSHOT 1) Grub2 – Fedora 29 is selected by default.

The other Operating systems are Windows 10 and Ubuntu 16.04 LTS.

main menu
Grub2 – Fedora 29 selected

Keep on reading!

Review of freshly installed Fedora 29 Workstation (Gnome GUI)

After the tutorial of Install Fedora Workstation 29 (Gnome GUI) this tutorial is mainly to see what to expect from a freshly installed Fedora 27 Workstation – the look and feel of the GUI (Gnome – version 3.30).

  • Xorg X server – 1.20.1
  • GNOME (the GUI) – 3.30.1
  • linux kernel – 4.18.16

The idea of this tutorial is just to see what to expect from Fedora 29 Workstation (Gnome)the look and feel of the GUI, the default installed programs and their look and how to do some basic steps with them. Here you’ll find more than 110 screenshots and not so many text we do not want to turn this review of many text and version information and 3 meaningless screenshot, which you cannot see anything for the user interface, which these days is the primary goal of a Desktop system. You can expect more of this kind reviews in the future…
You can find similar article for Fedora Workstation 27 – Review of freshly installed Fedora 27 Workstation (Gnome GUI).
And for all installation and review tutorials we use real workstations not virtual environments!

SCREENSHOT 1)

main menu
Keep on reading!

Gentoo Minimal Installation CD (amd64 aka x86_64) – booting (in UEFI mode)

Here is the process of booting from a Gentoo Minimal Installation CD amd64 (x86_64) with UEFI mode enabled. This is not an installation guide!
You can download the CD from here: https://www.gentoo.org/downloads/ Here is the ISO file: http://distfiles.gentoo.org/releases/amd64/autobuilds/20180911T214502Z/install-amd64-minimal-20180911T214502Z.iso or you can check it in some mirror like leaseweb – http://mirror.leaseweb.com/gentoo/releases/amd64/autobuilds/current-install-amd64-minimal/install-amd64-minimal-20180911T214502Z.iso.

Our motherboard is Asus ROG Zenith Extreme motherboard using X399 chipset https://www.asus.com/th/Motherboards/ROG-ZENITH-EXTREME/ and you’ll see the BIOS options for it, but they do not differ much with the other motherboard boot options. Here also setup the network and start up an openssh server to manage our Gentoo Linux installation – (coming soon).

SCREENSHOT 1) Starting the machine

main menu
Start up

Keep on reading!