This tutorial will show you the simple steps of installing a modern Linux Distribution like Fedora 27 KDE Plasma Desktop for the user graphical interface. First we present the basic steps for installing the Operating system in addition to your present operating systems (here we have two: Windows 10 and Ubuntu 17) and then you can see some screenshots of the installed system and the look and feel of it. We have another tutorials showing more screenshots of the installed and working Fedora 27 KDE Plasma Desktop (Gnome and KDE plasma) – so you can decide which of them to try first – coming soon.
All of the installation setups are very similar for all GUIs of Fedora 27 it loads a live edition of the version of Fedora 27 you install and then the setup is launched by the user, the setup almost identical in all edition, but we do not want to give you a tutorials with “spaghetti” and unstructured flow of steps to follow.
We used the following ISO for the installation process:
https://download.fedoraproject.org/pub/fedora/linux/releases/27/Spins/x86_64/iso/Fedora-KDE-Live-x86_64-27-1.6.iso
It is a LIVE image so you can try it before installing. The easiest way is just to download the image and burn it to a DVD disk and then follow the installation below:
The first 3 steps show how to enable the DVD-ROM to be first bootable device. If you’ve done it you can skip these steps.
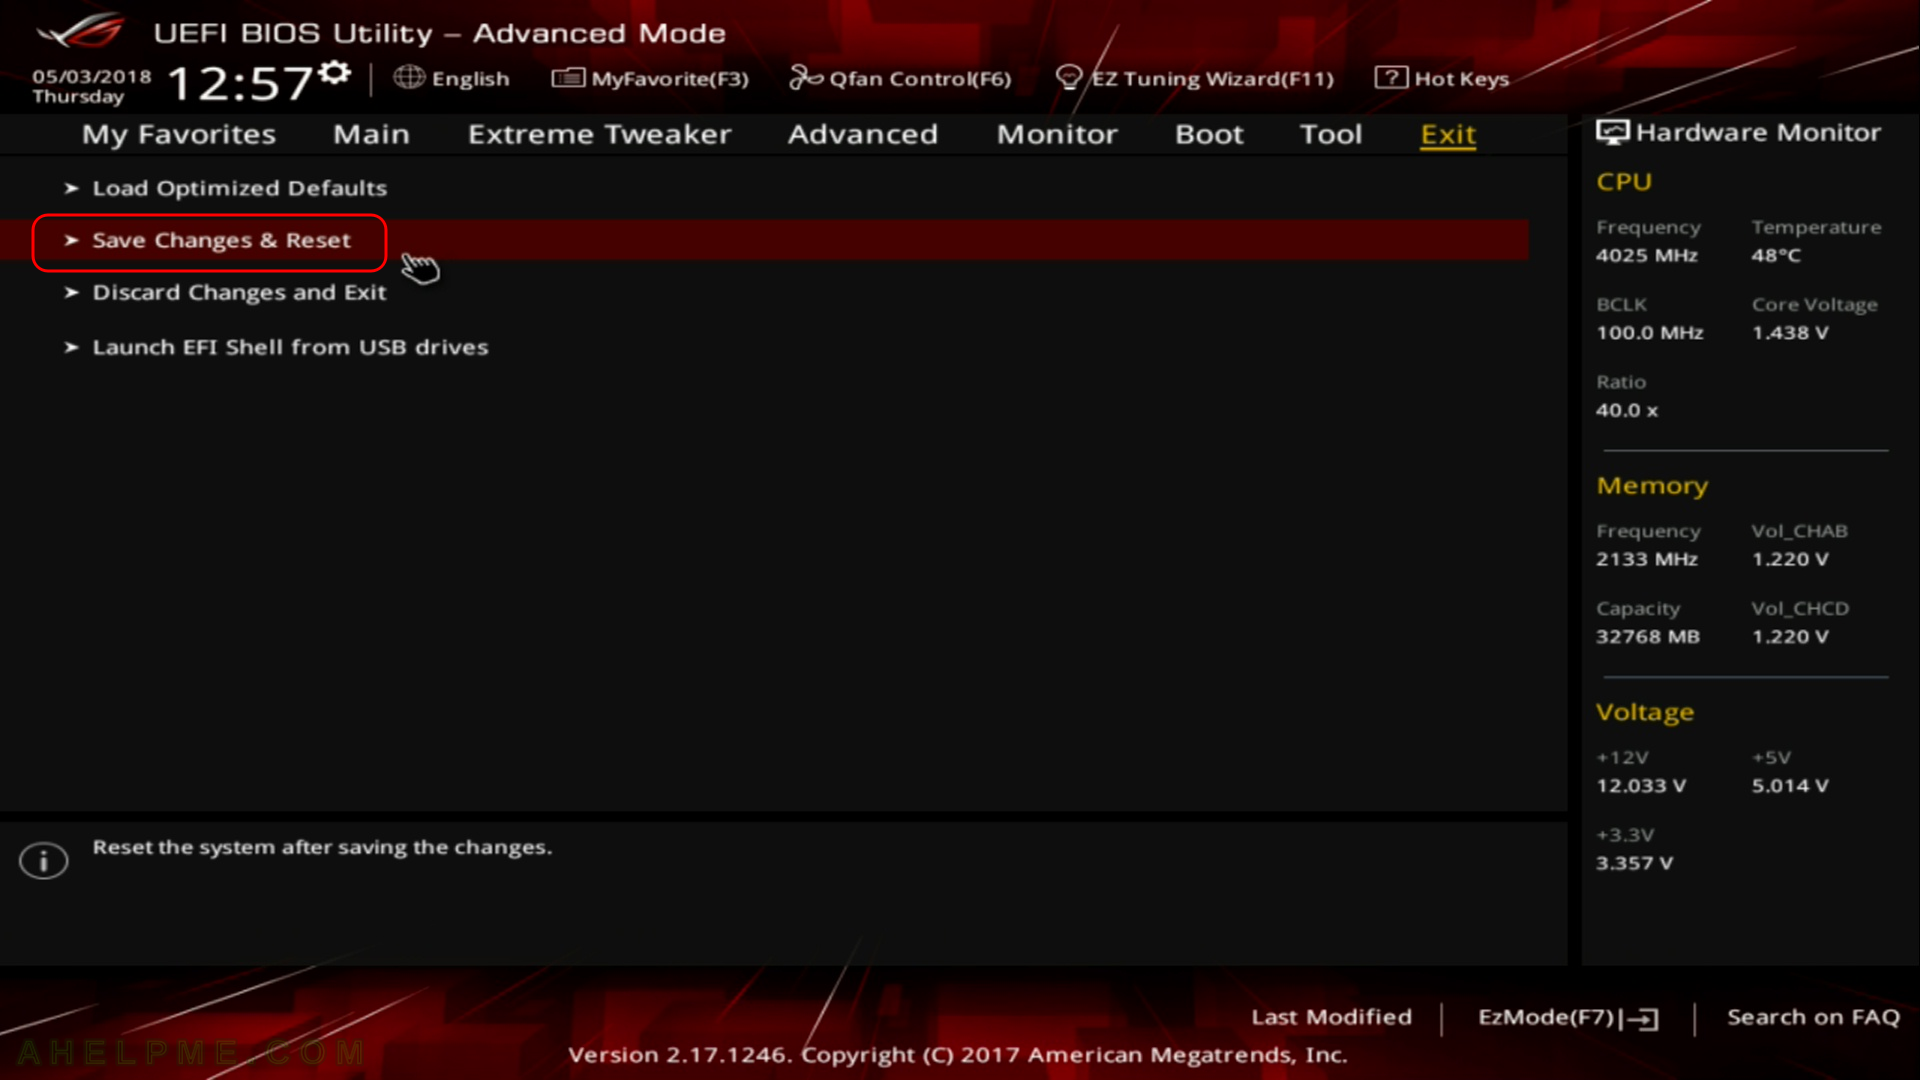
STEP 1) Select your DVD-ROM device to boot (or USB device the installation stick) UEFI: DVD to install Fedora 27 KDE Plasma Desktop

STEP 2) Save changes and exit the BIOS
To take effect what you’ve selected in the previous menu you must save the changes to the BIOS.
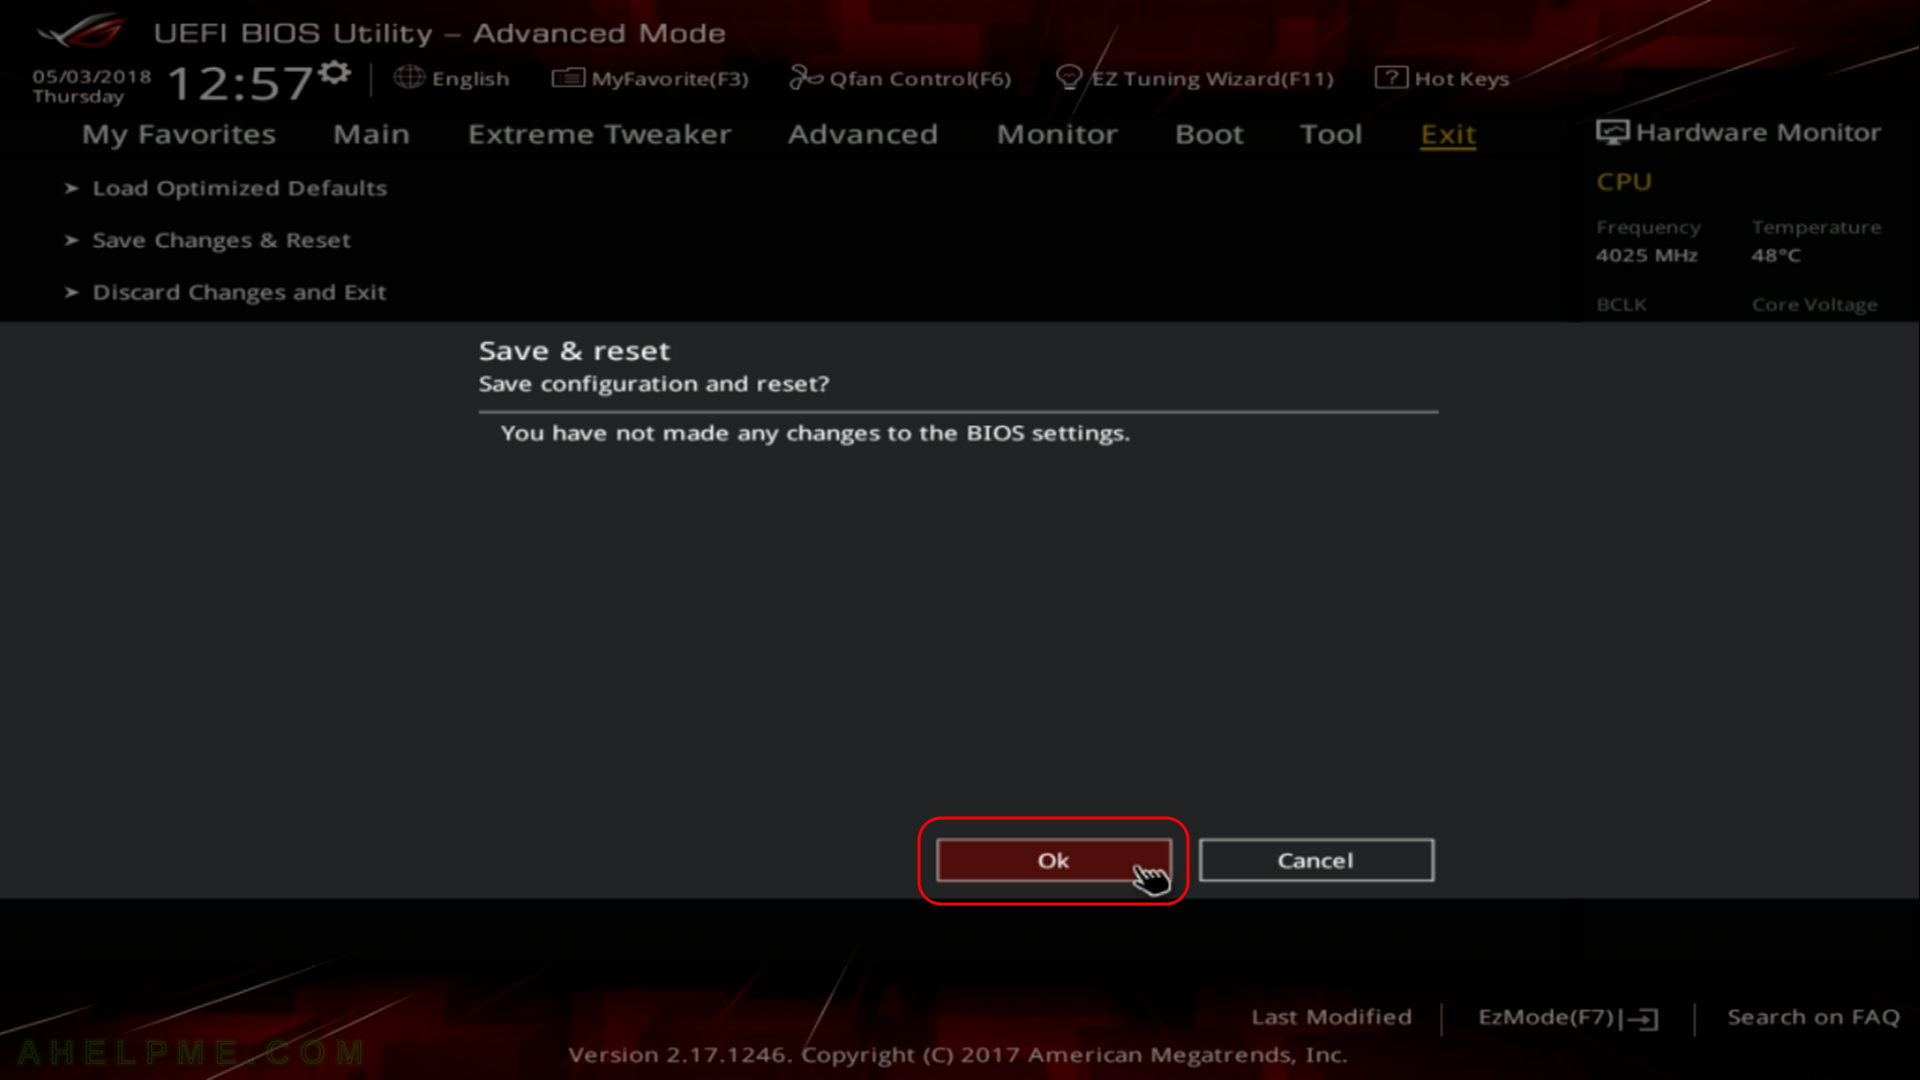
STEP 3) Save and Reset – confirmation
STEP 4) The system is resetting

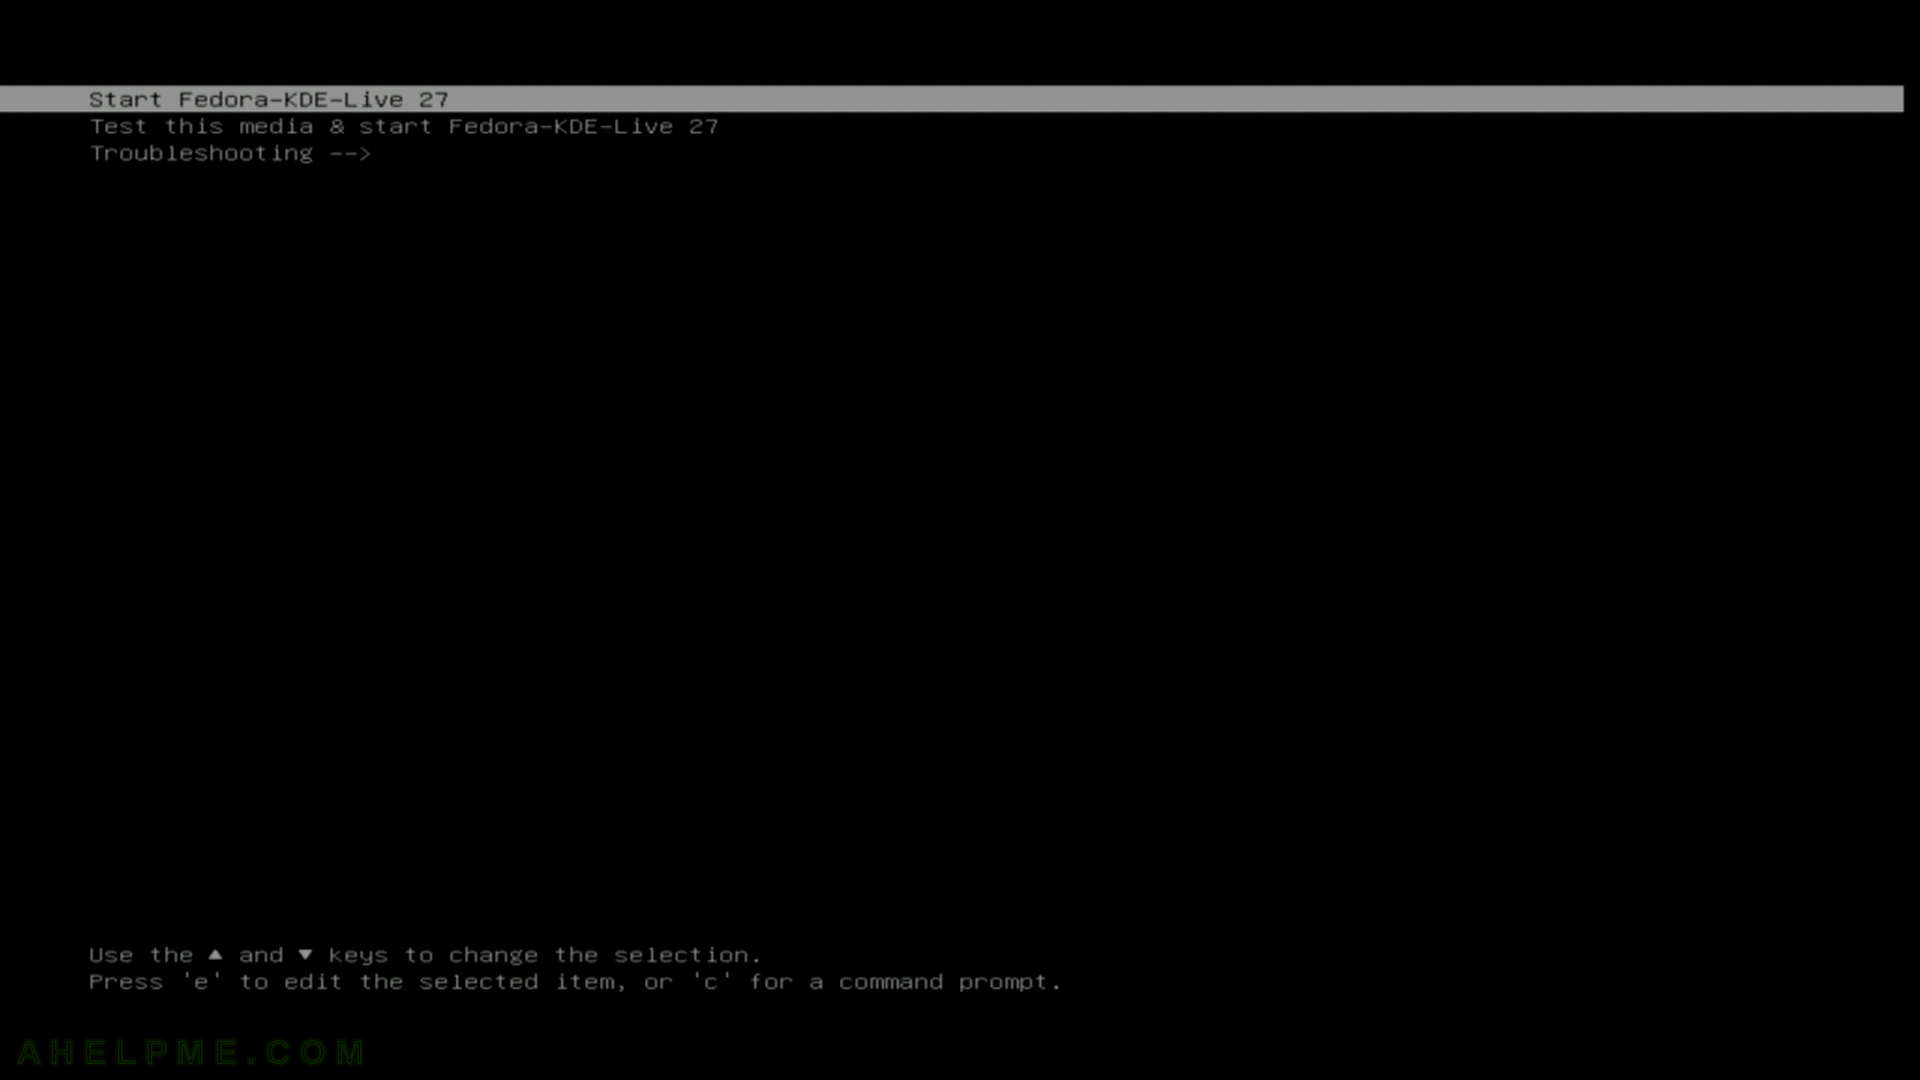
STEP 5) If you booted from the DVD you would get this first screen – select “Start Fedora-KDE-Live 27” and hit Enter
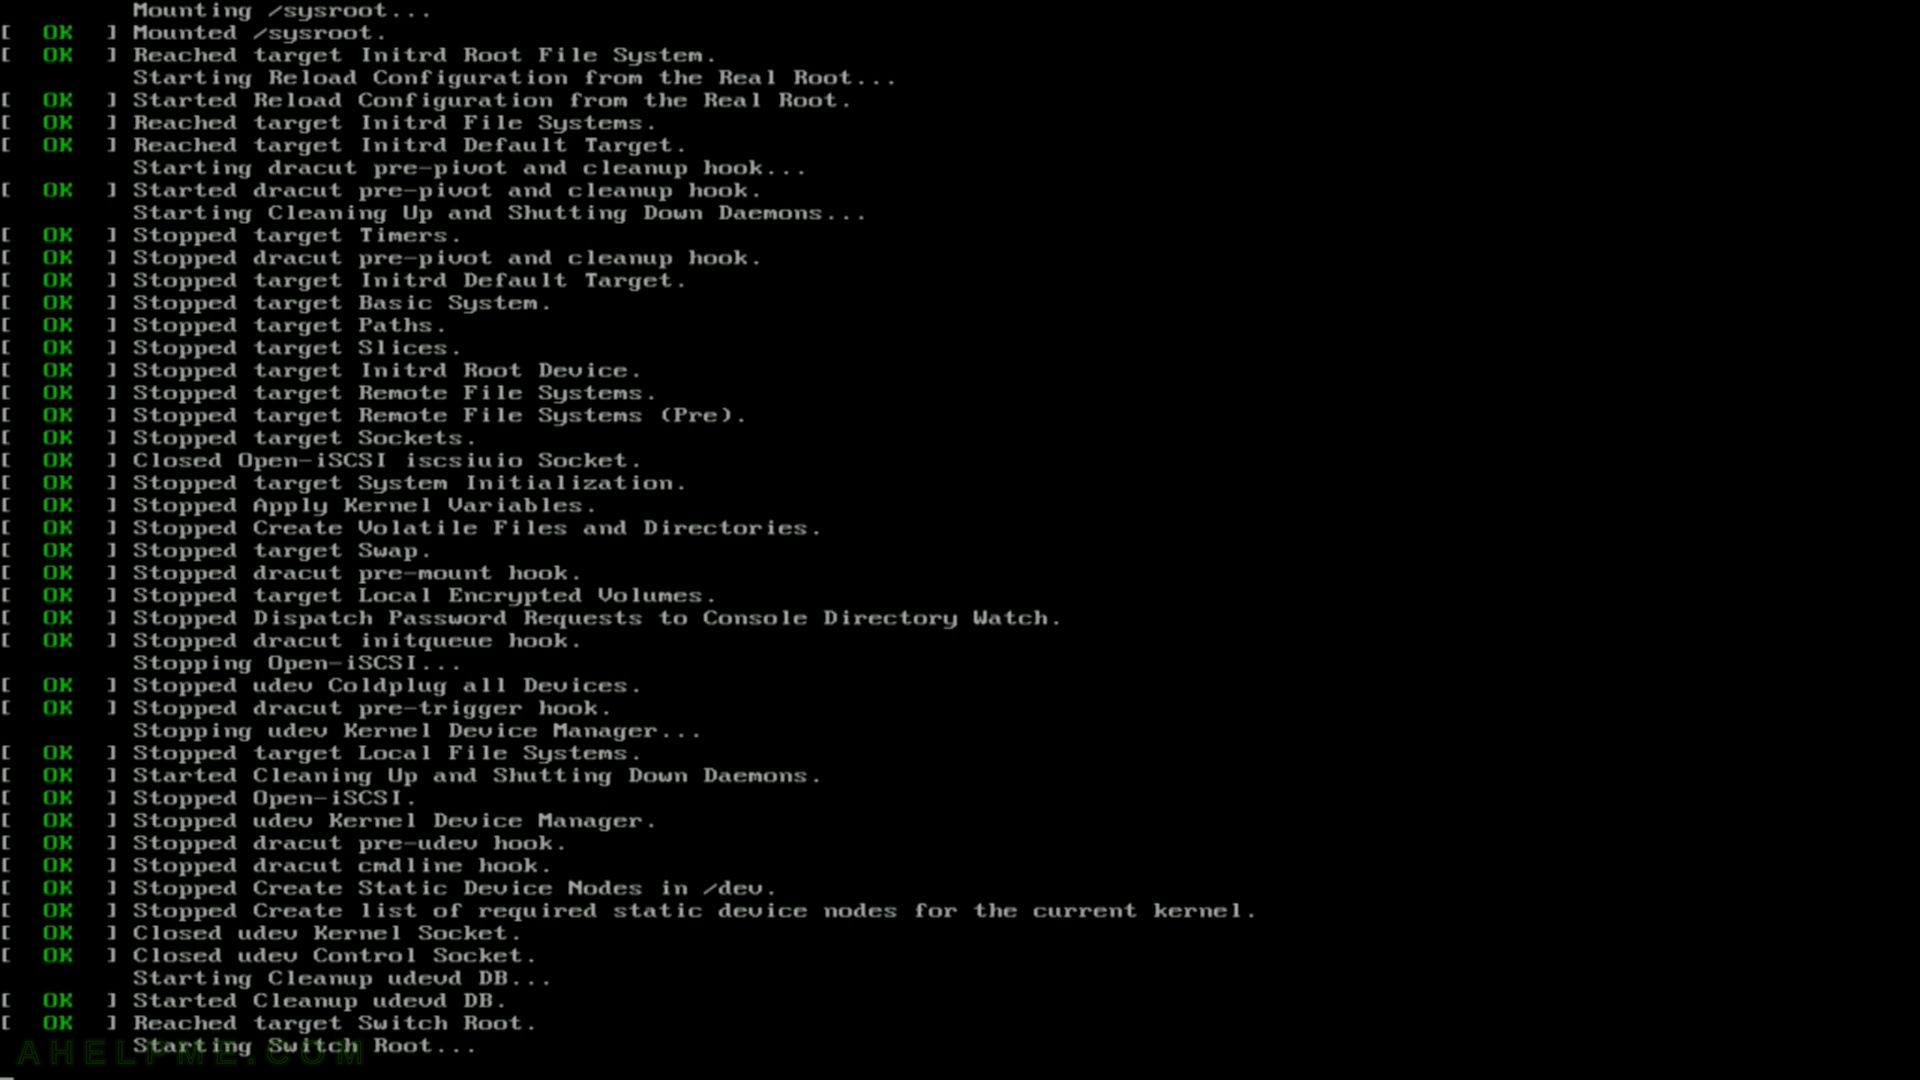
STEP 6) The kernel and the live system are loading…
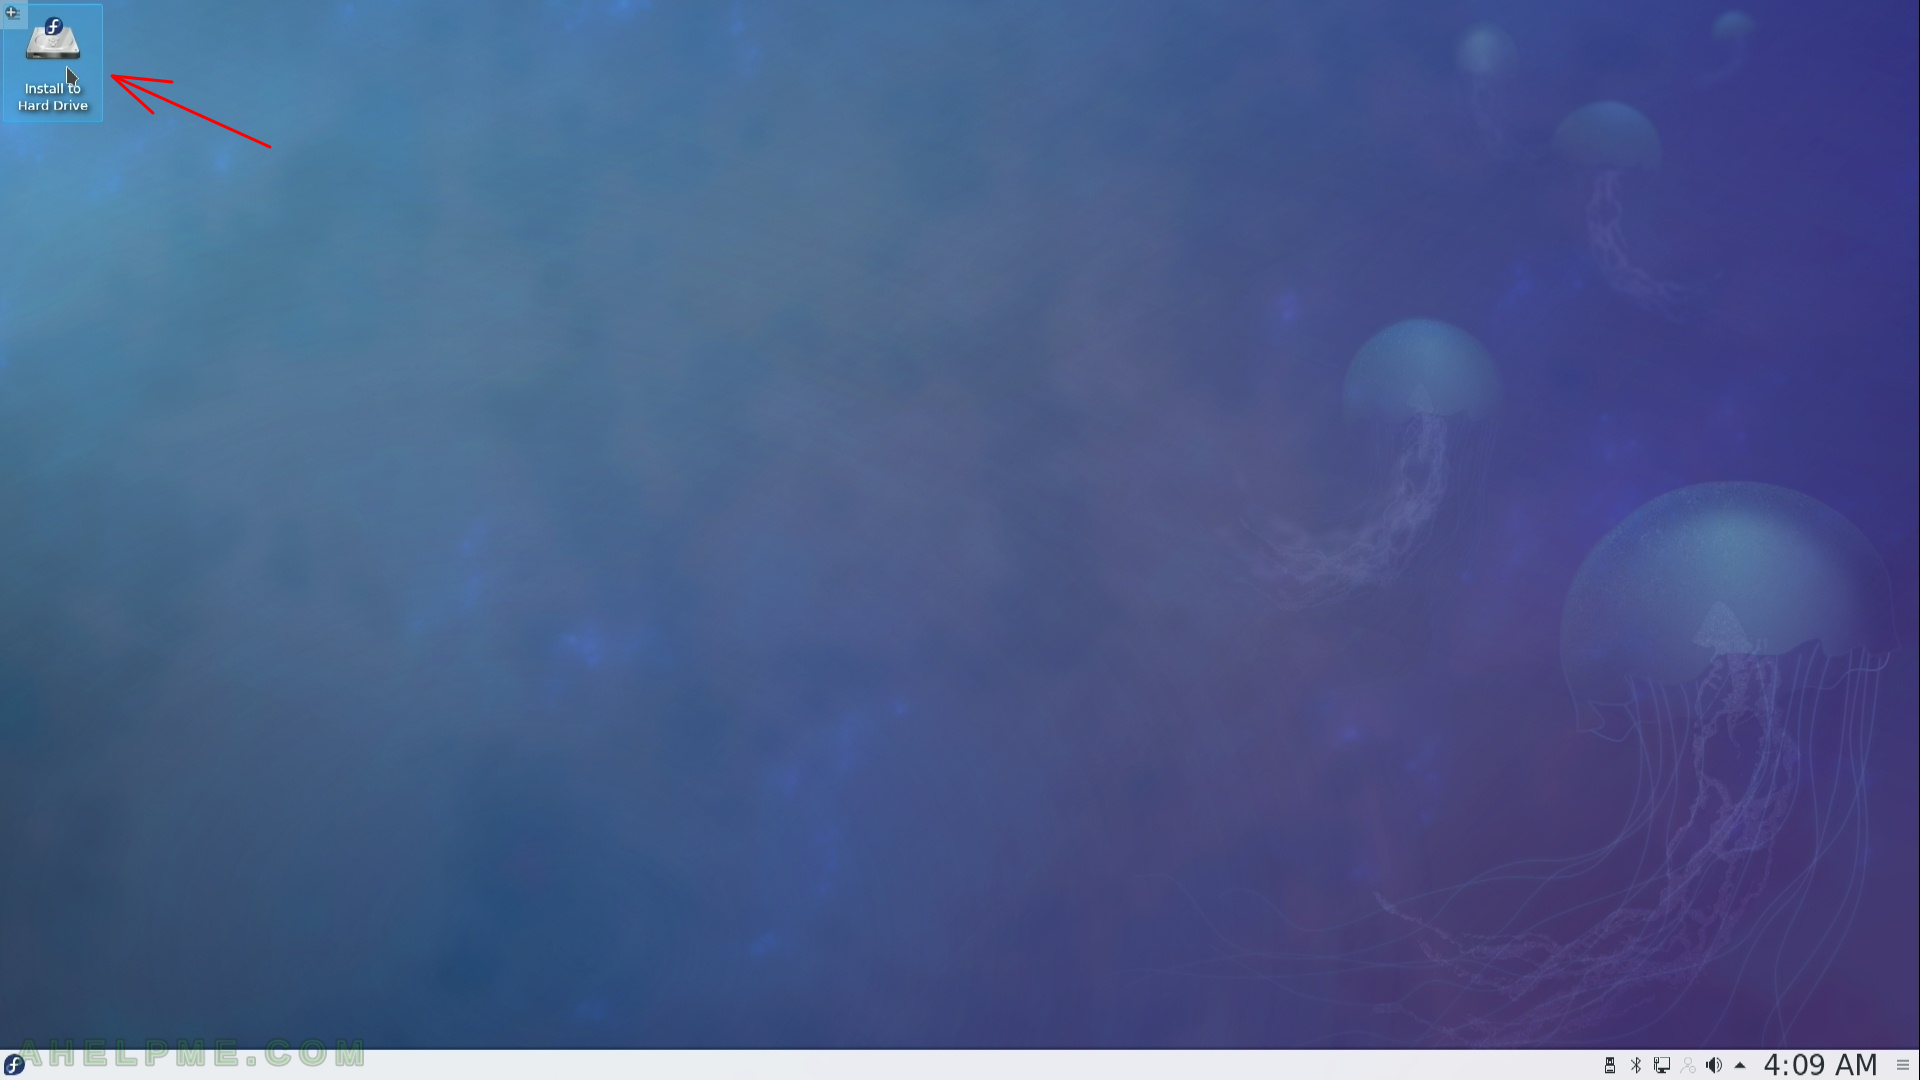
STEP 7) Click on “Install to Hard Drive” to install the system.
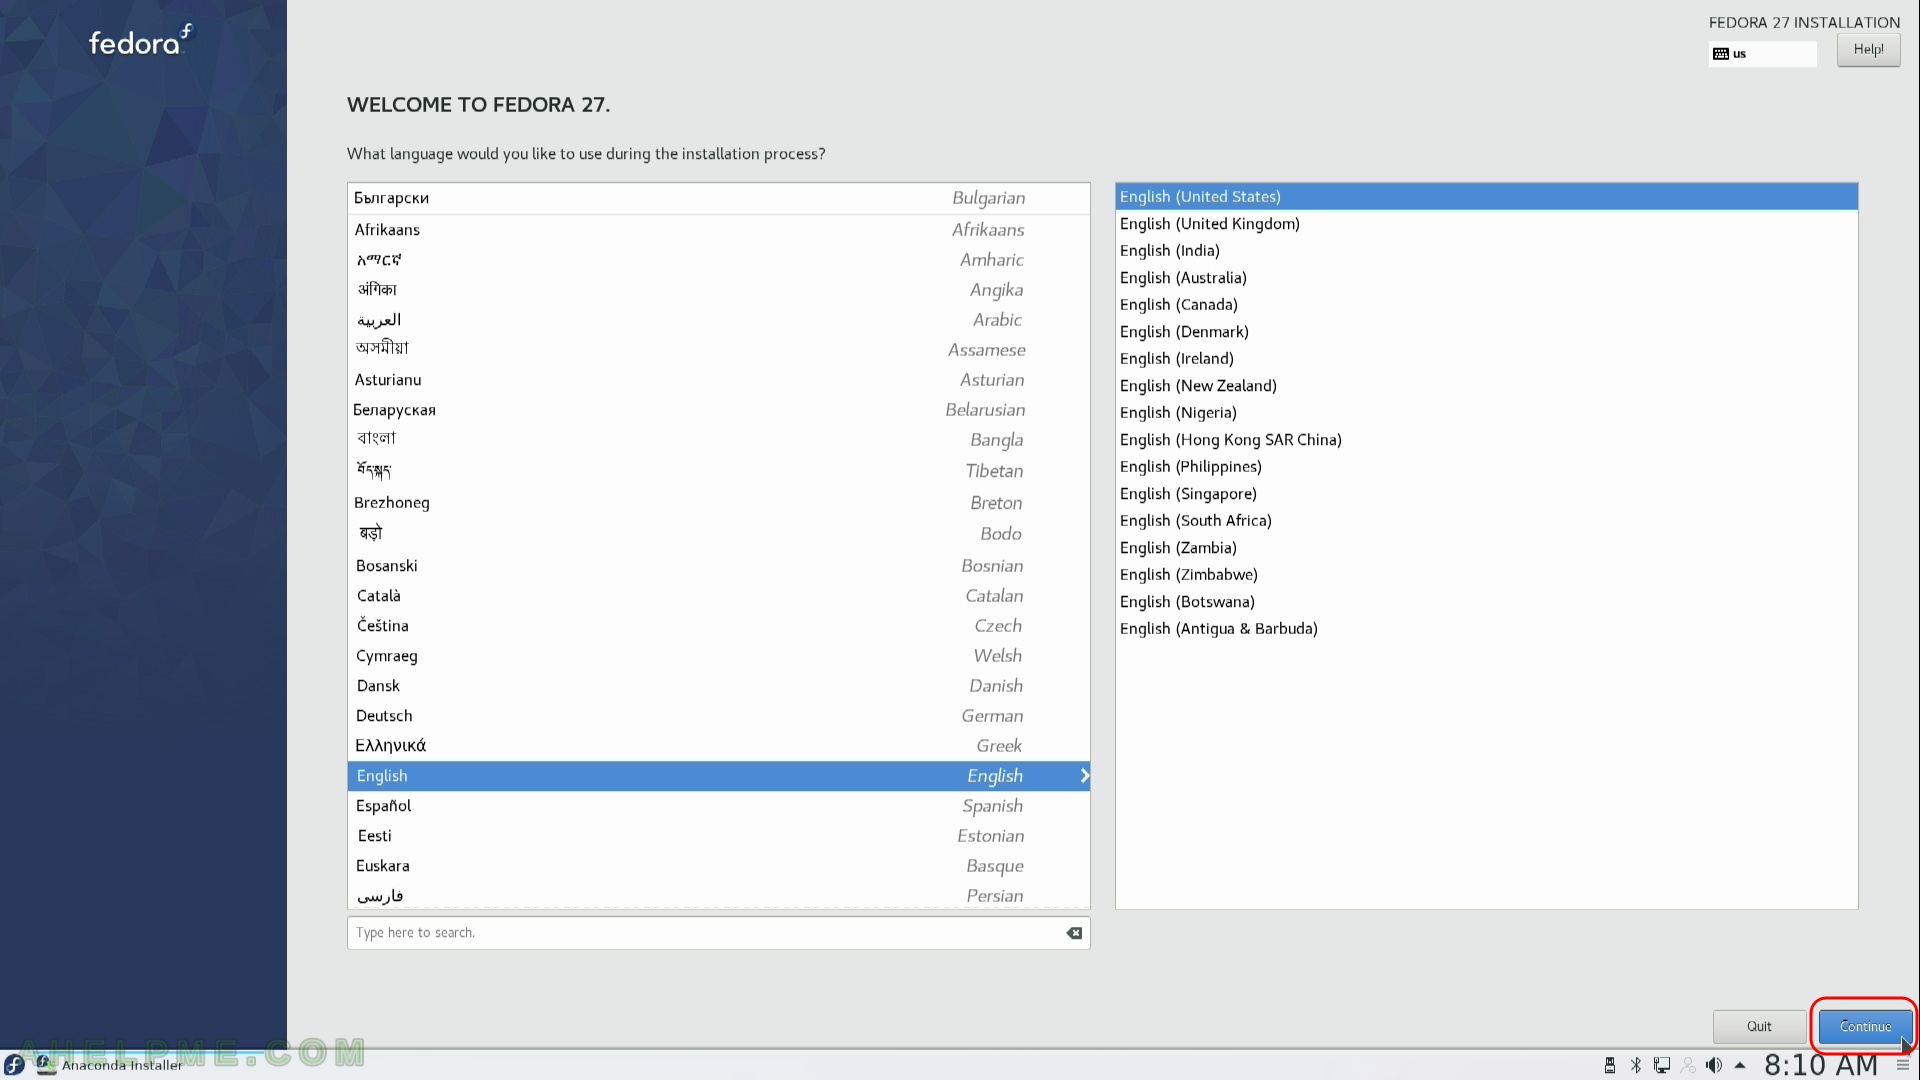
STEP 8) Choose your system language. Here we selected the English.
The setup will guide you through the steps in the language you select here and the installed system will use the selected language as default.
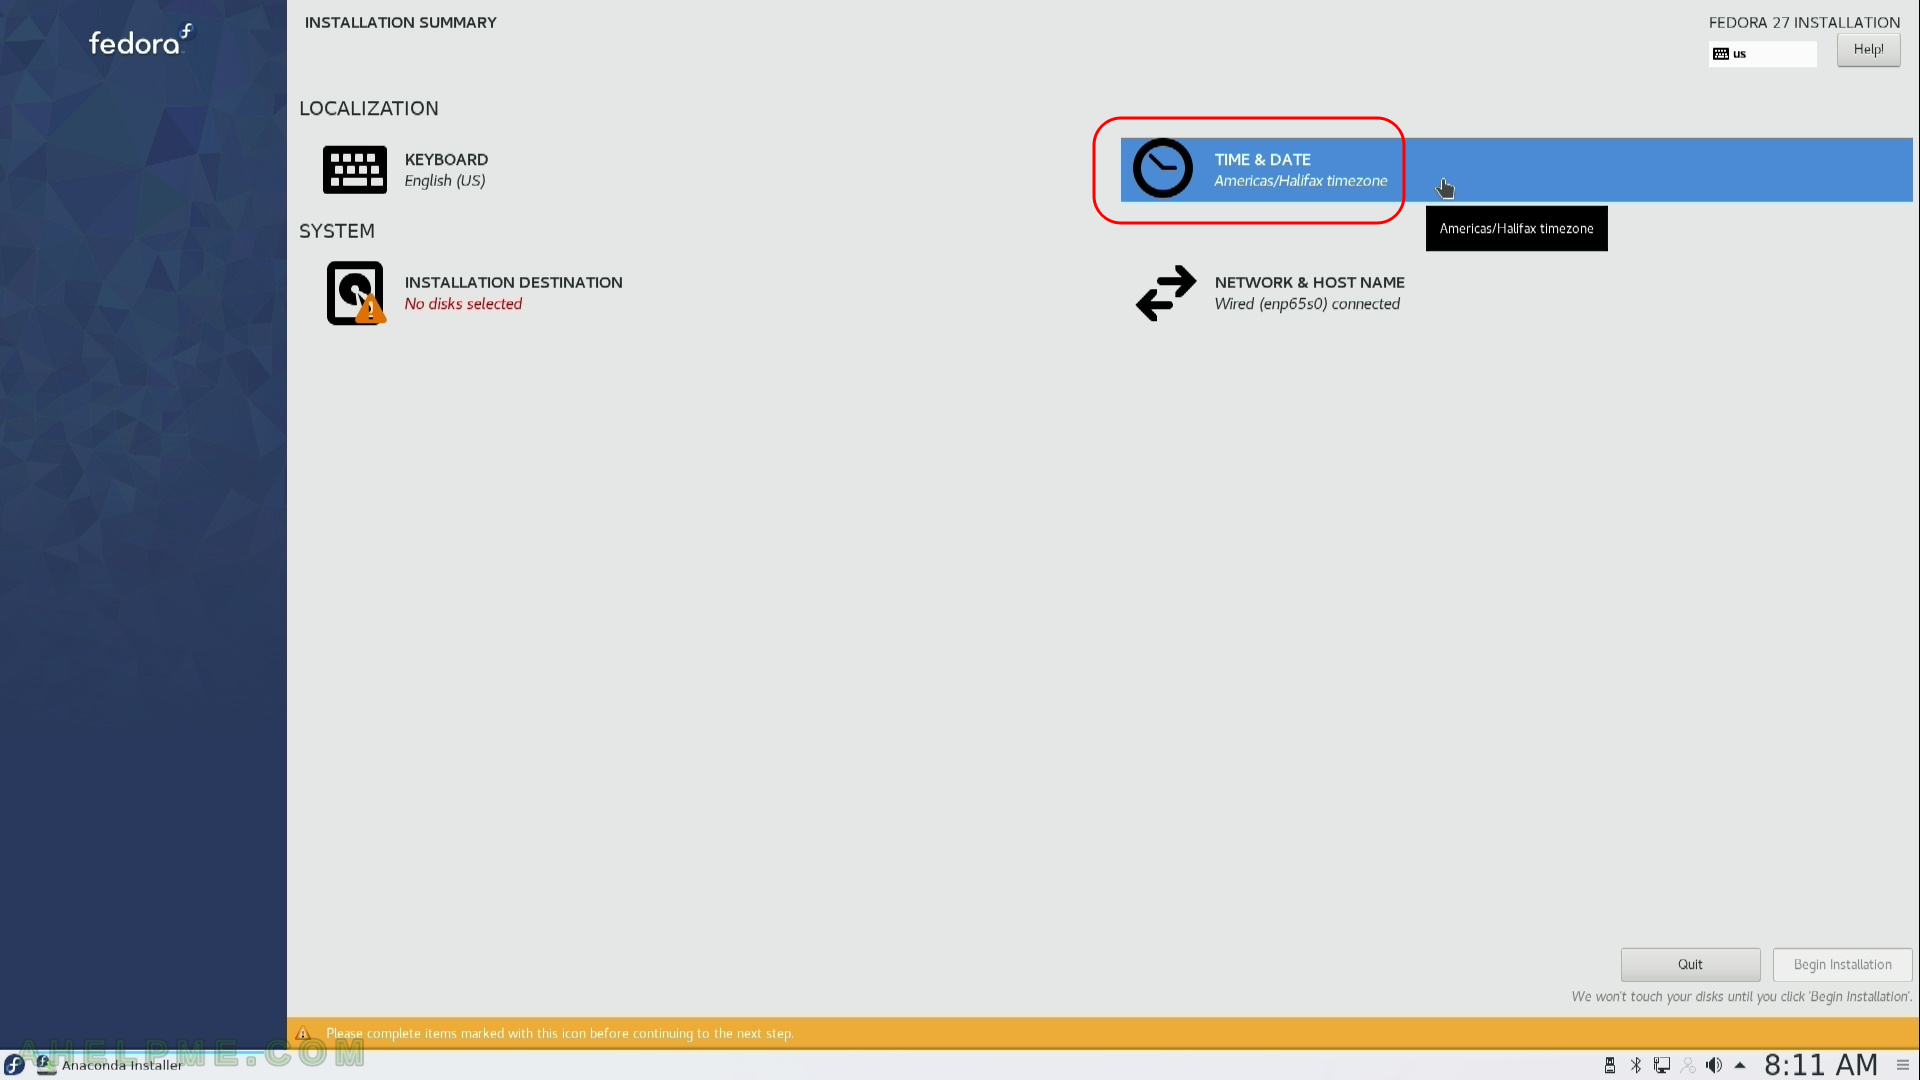
STEP 9) Select time zone menu
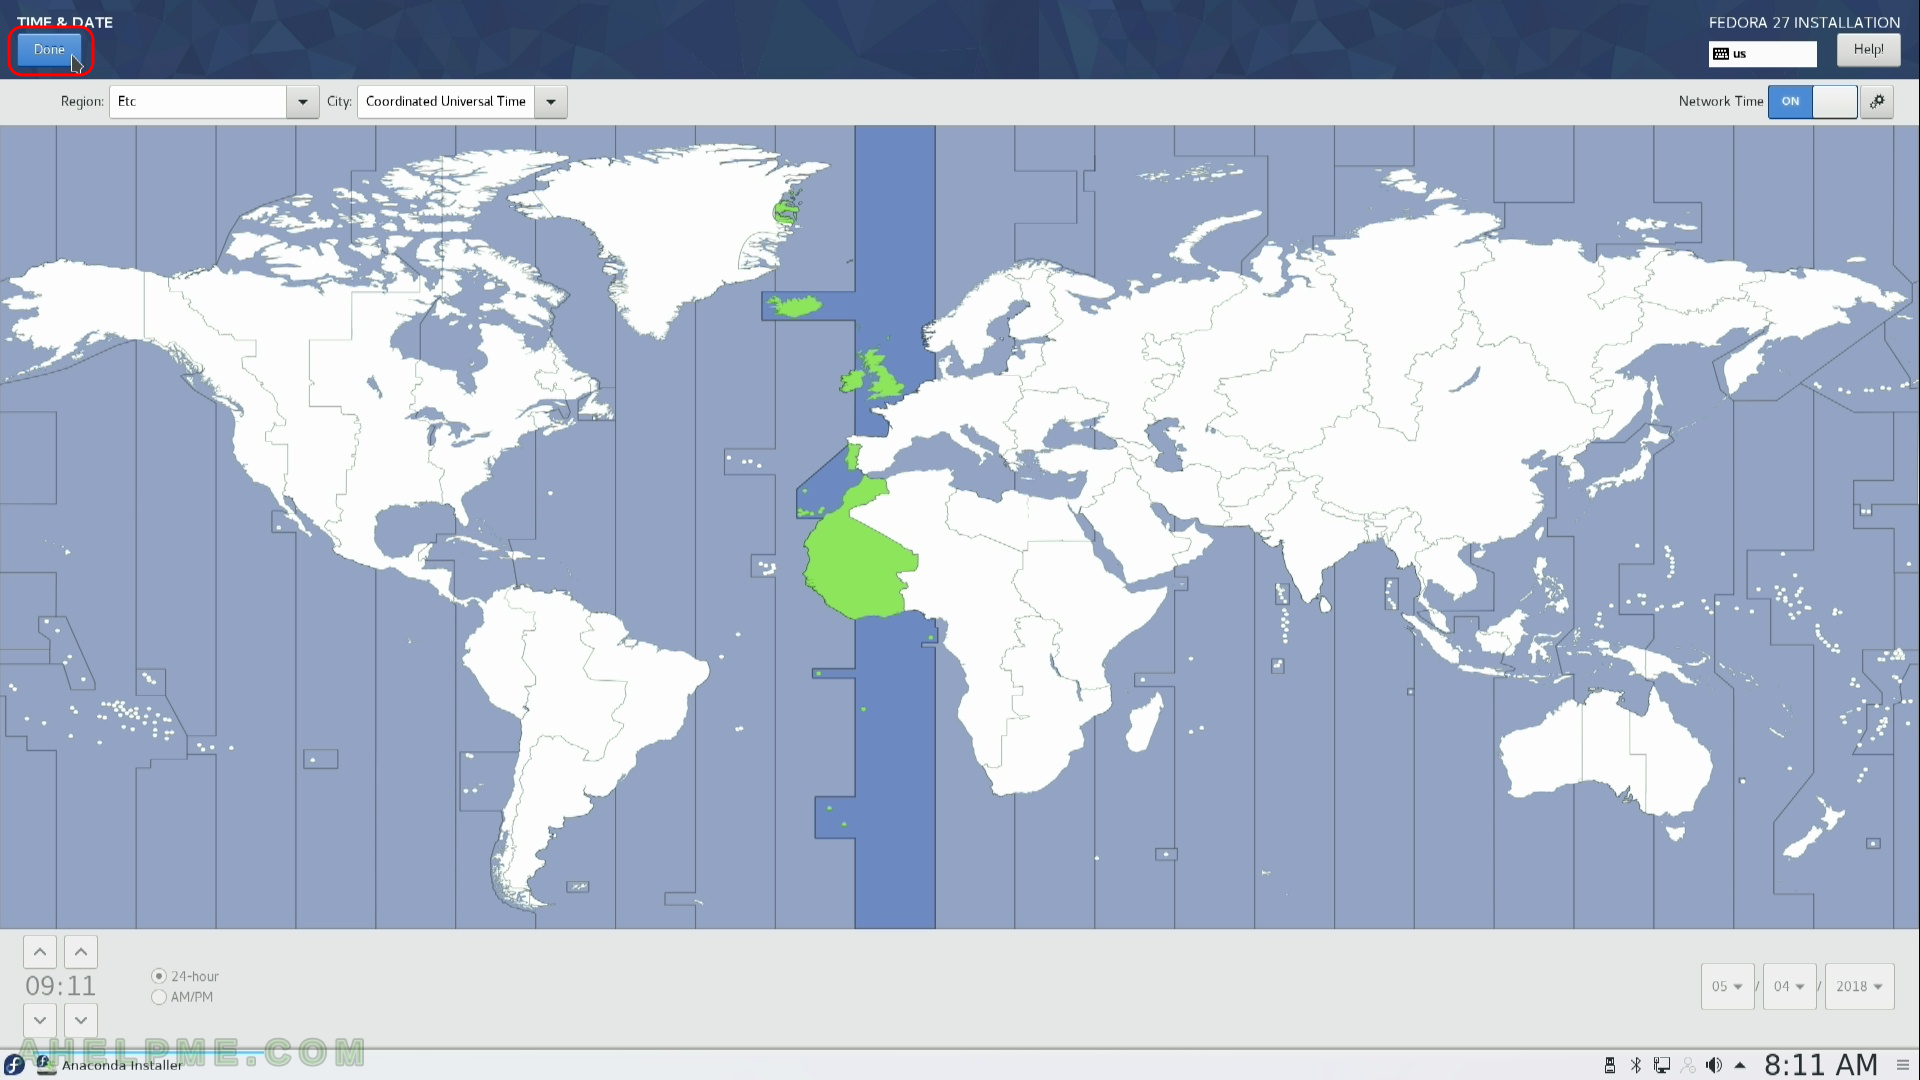
STEP 10) Select your time zone – here we selected UTC (Universal Coordinated Time), but you can choose your time zone.
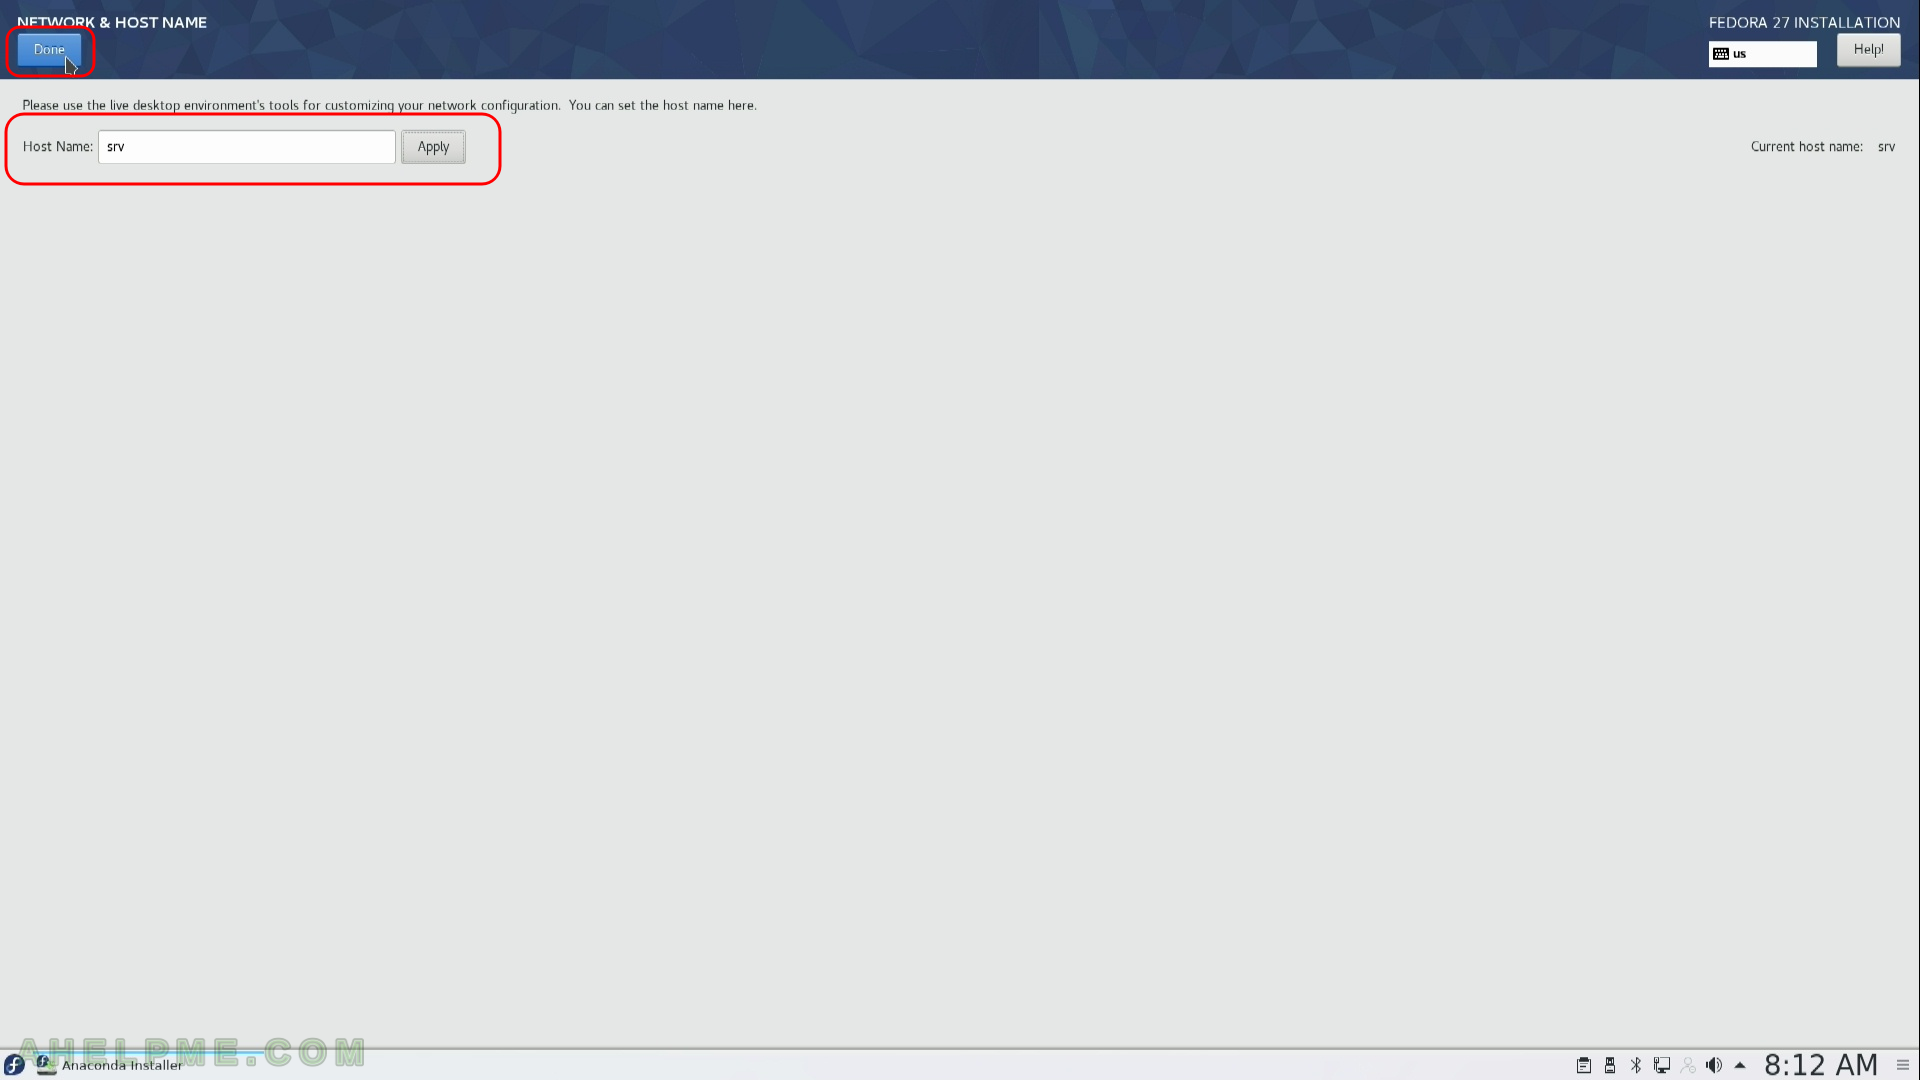
STEP 11) Select Network & Hostname to configure your network connectivity

STEP 12) Set hostname of your machine
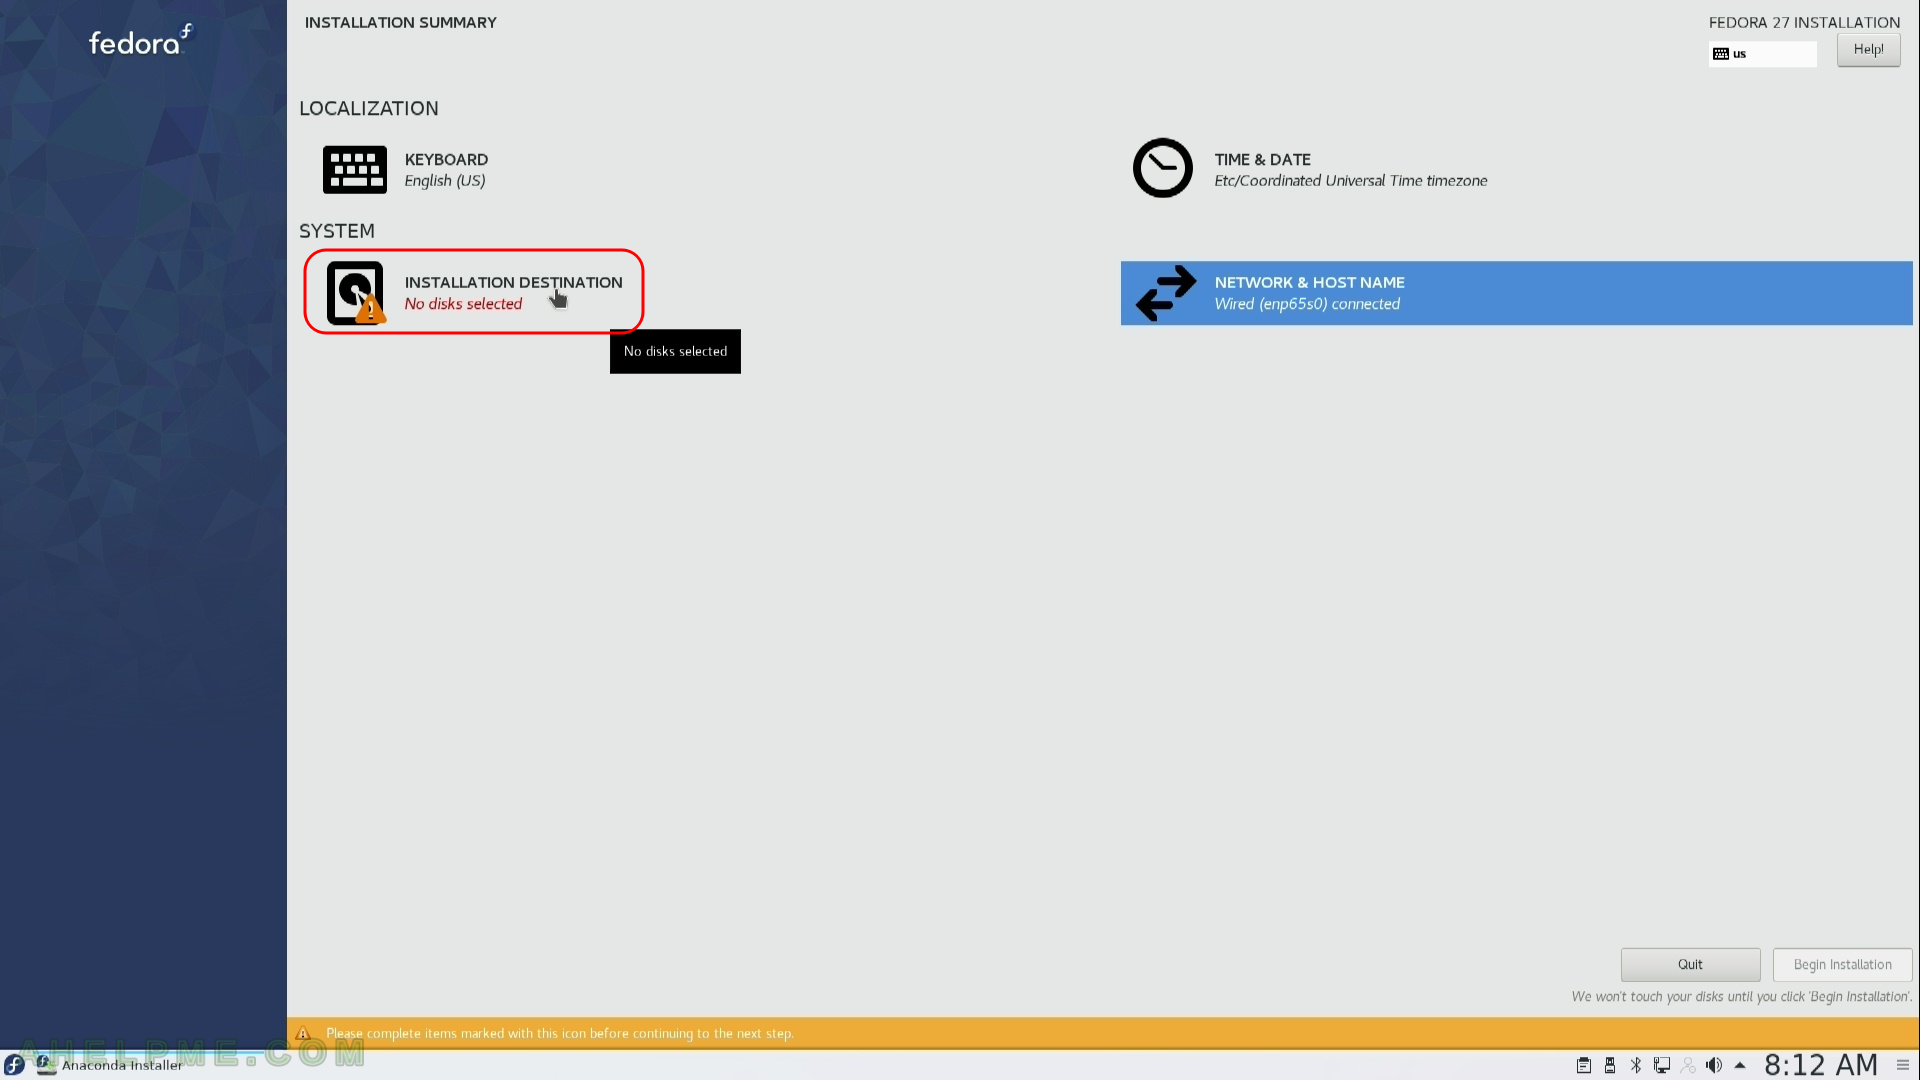
STEP 13) Installation destination – on which device you want to install the Fedora 27 KDE Plasma Desktop.
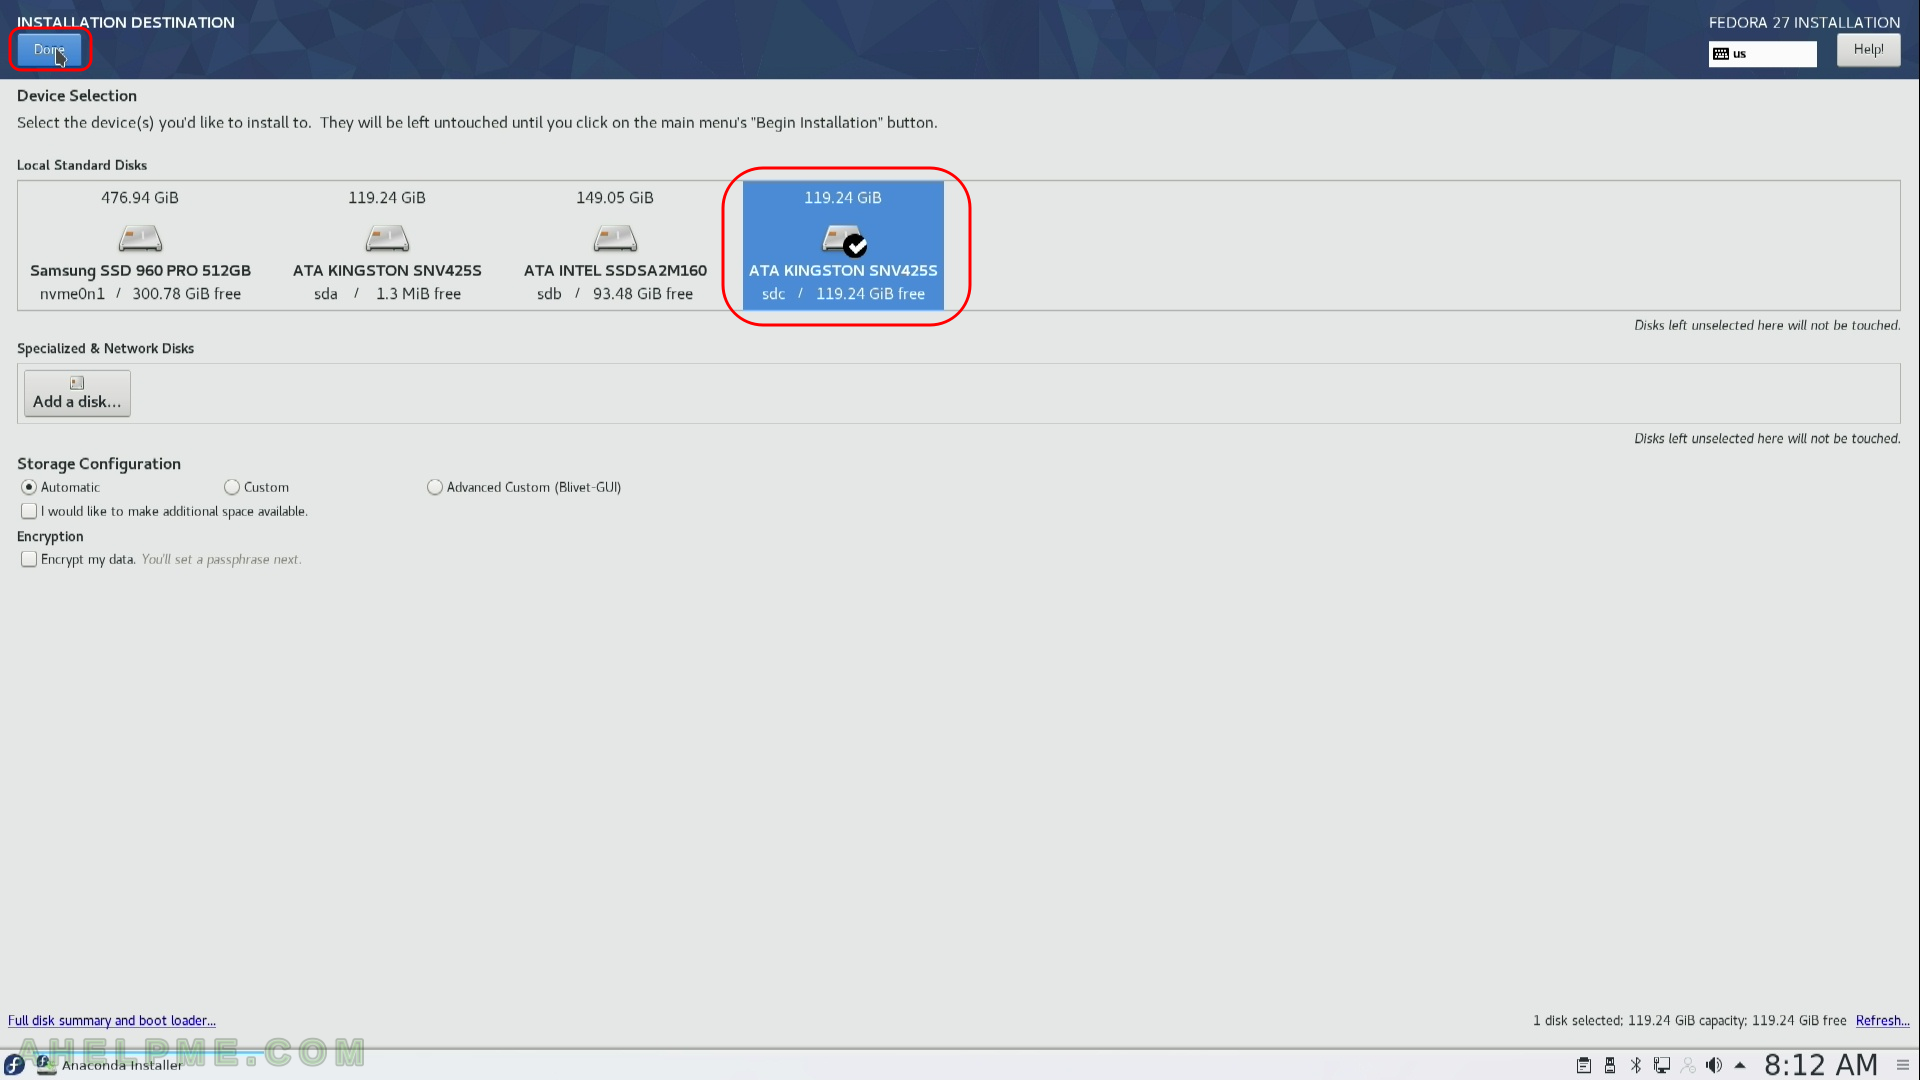
STEP 14) Installation destination – choose your disk to install Fedora 27.
We have couple of disks, we want to use the entire second device (sdc), select it (make sure) there is a tick on it!) and leave everything with the default selection, especially Storage configuration – automatic. It will delete everything on your selected device and will make the proper layout for installation automatically.
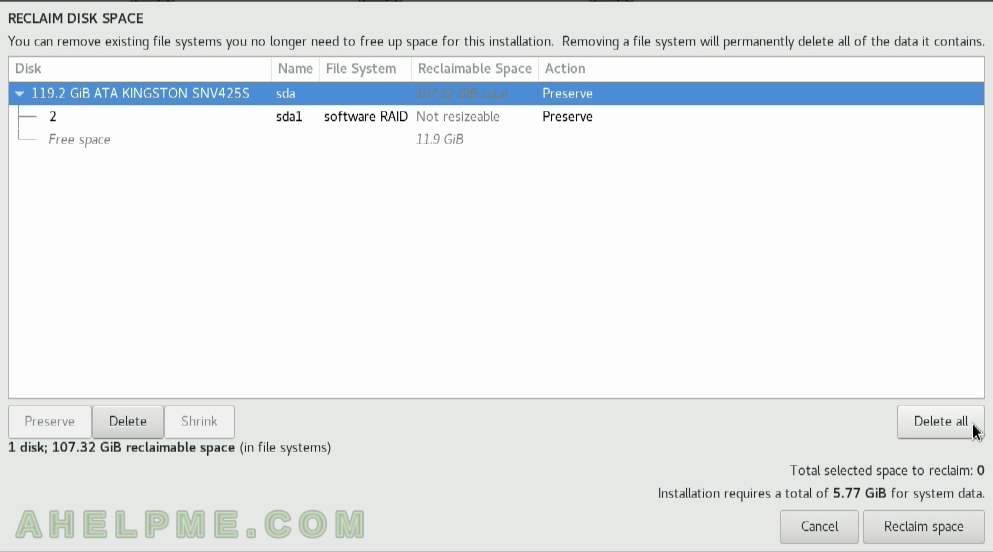
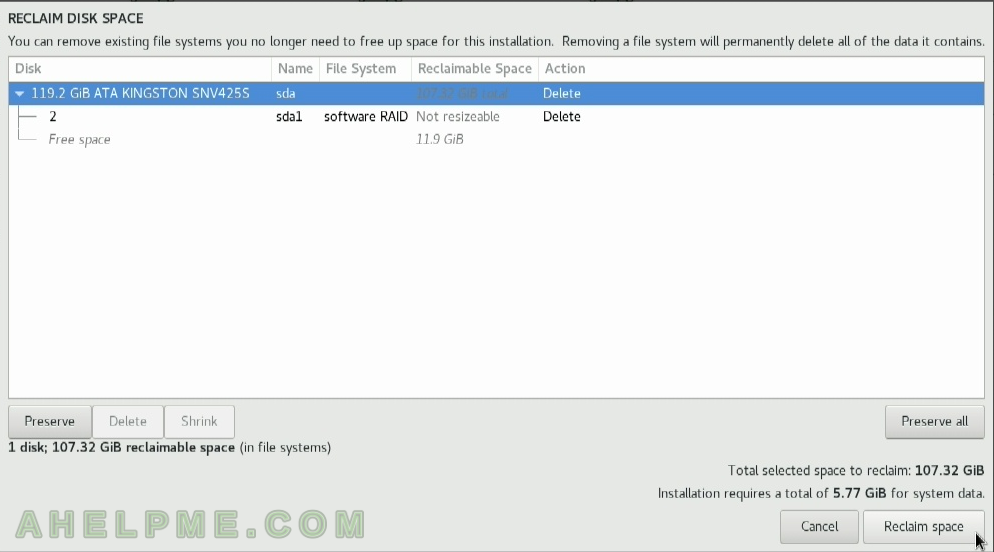
STEP 15) If your disk has some data (partitions) you must go through additional steps asking you if you want to Reclaim the disk space of the disk.
If your disk does not have any partitions and all the space is unallocated you would not be asked any questions. This steps shows you what is the current layout of the selected disk for installation. We do not need any data there SO select “Delete All”
STEP 16) Accept all changes with the layout of the installation disk
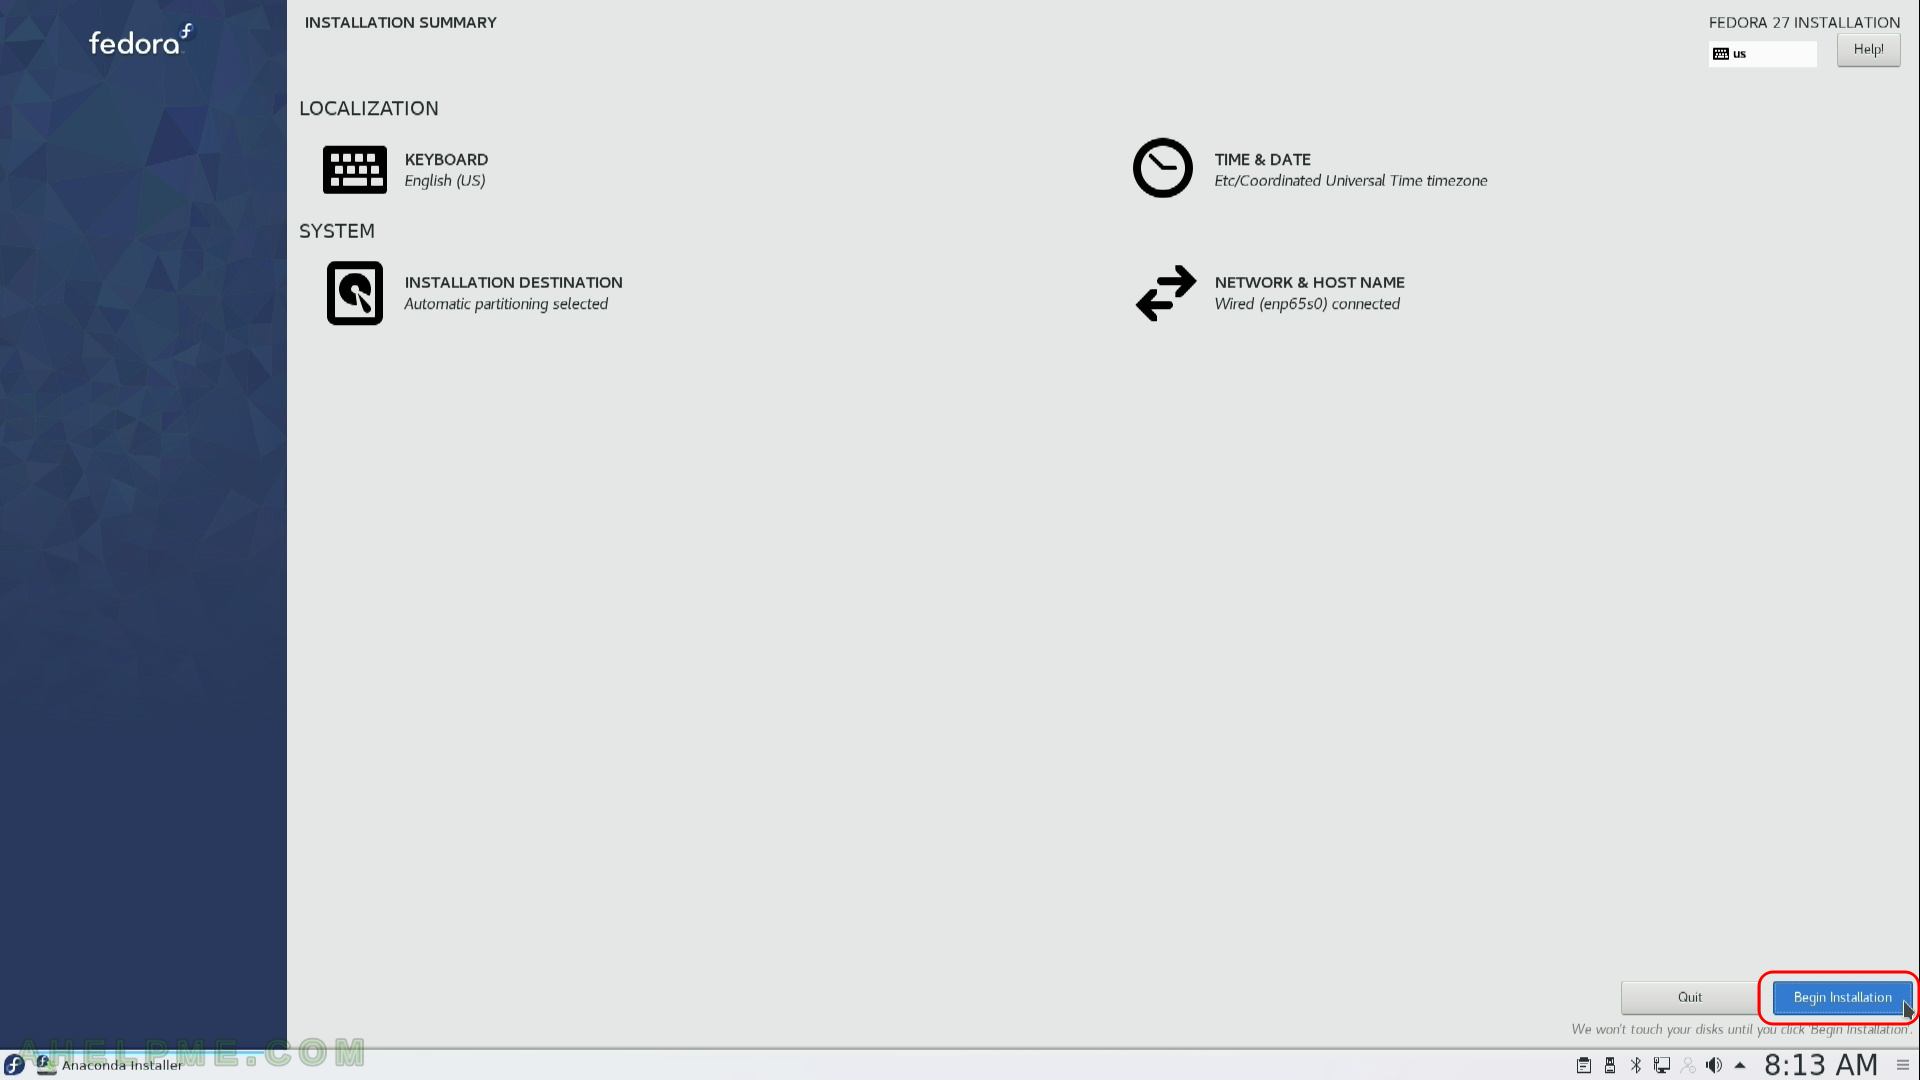
STEP 17) Now the installation setup is configured and by clicking on “Begin Installation” the actual installation on your selected hard drive begins.
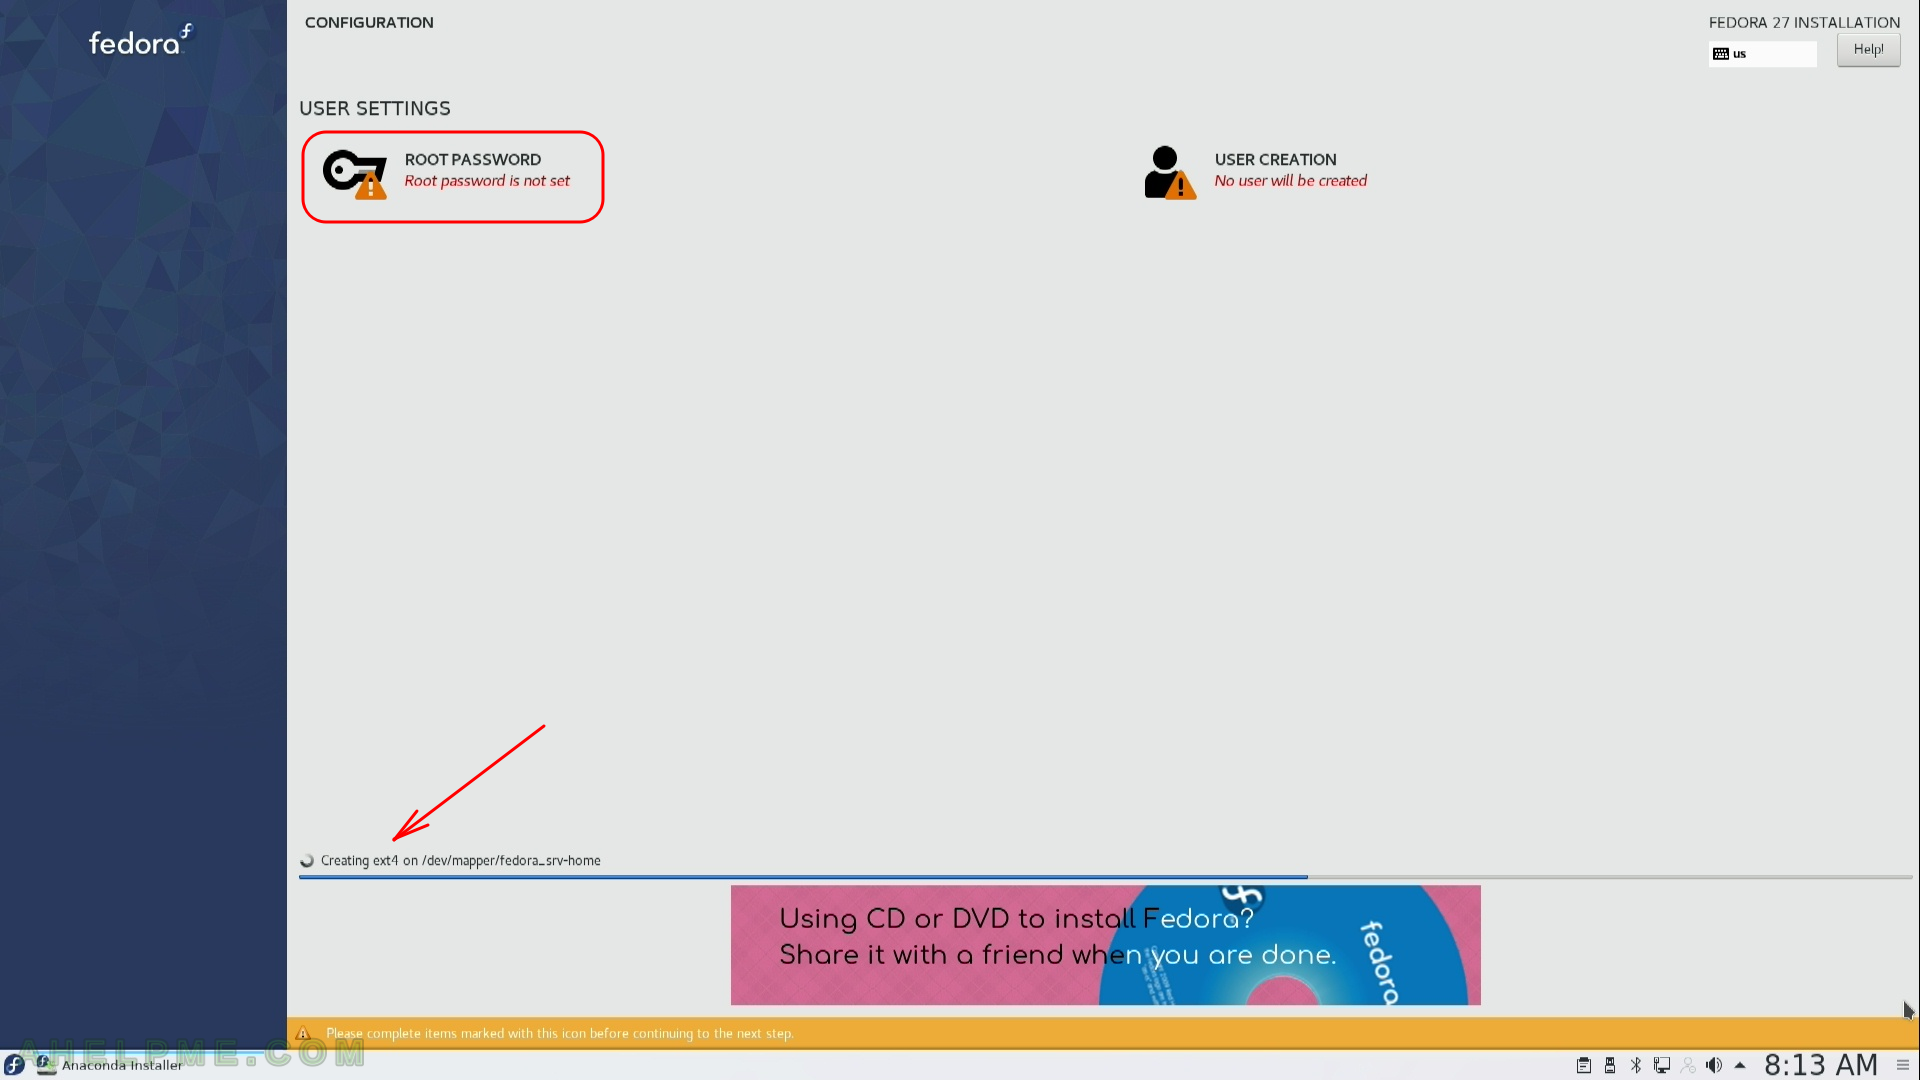
STEP 18) The installation processes is working… You can set your “User settings”
The root password and you can create an additional user (which could be with administrative privileges, too). Click on “root password” to set a password.
STEP 19) Enter the root password two times and then “Done”

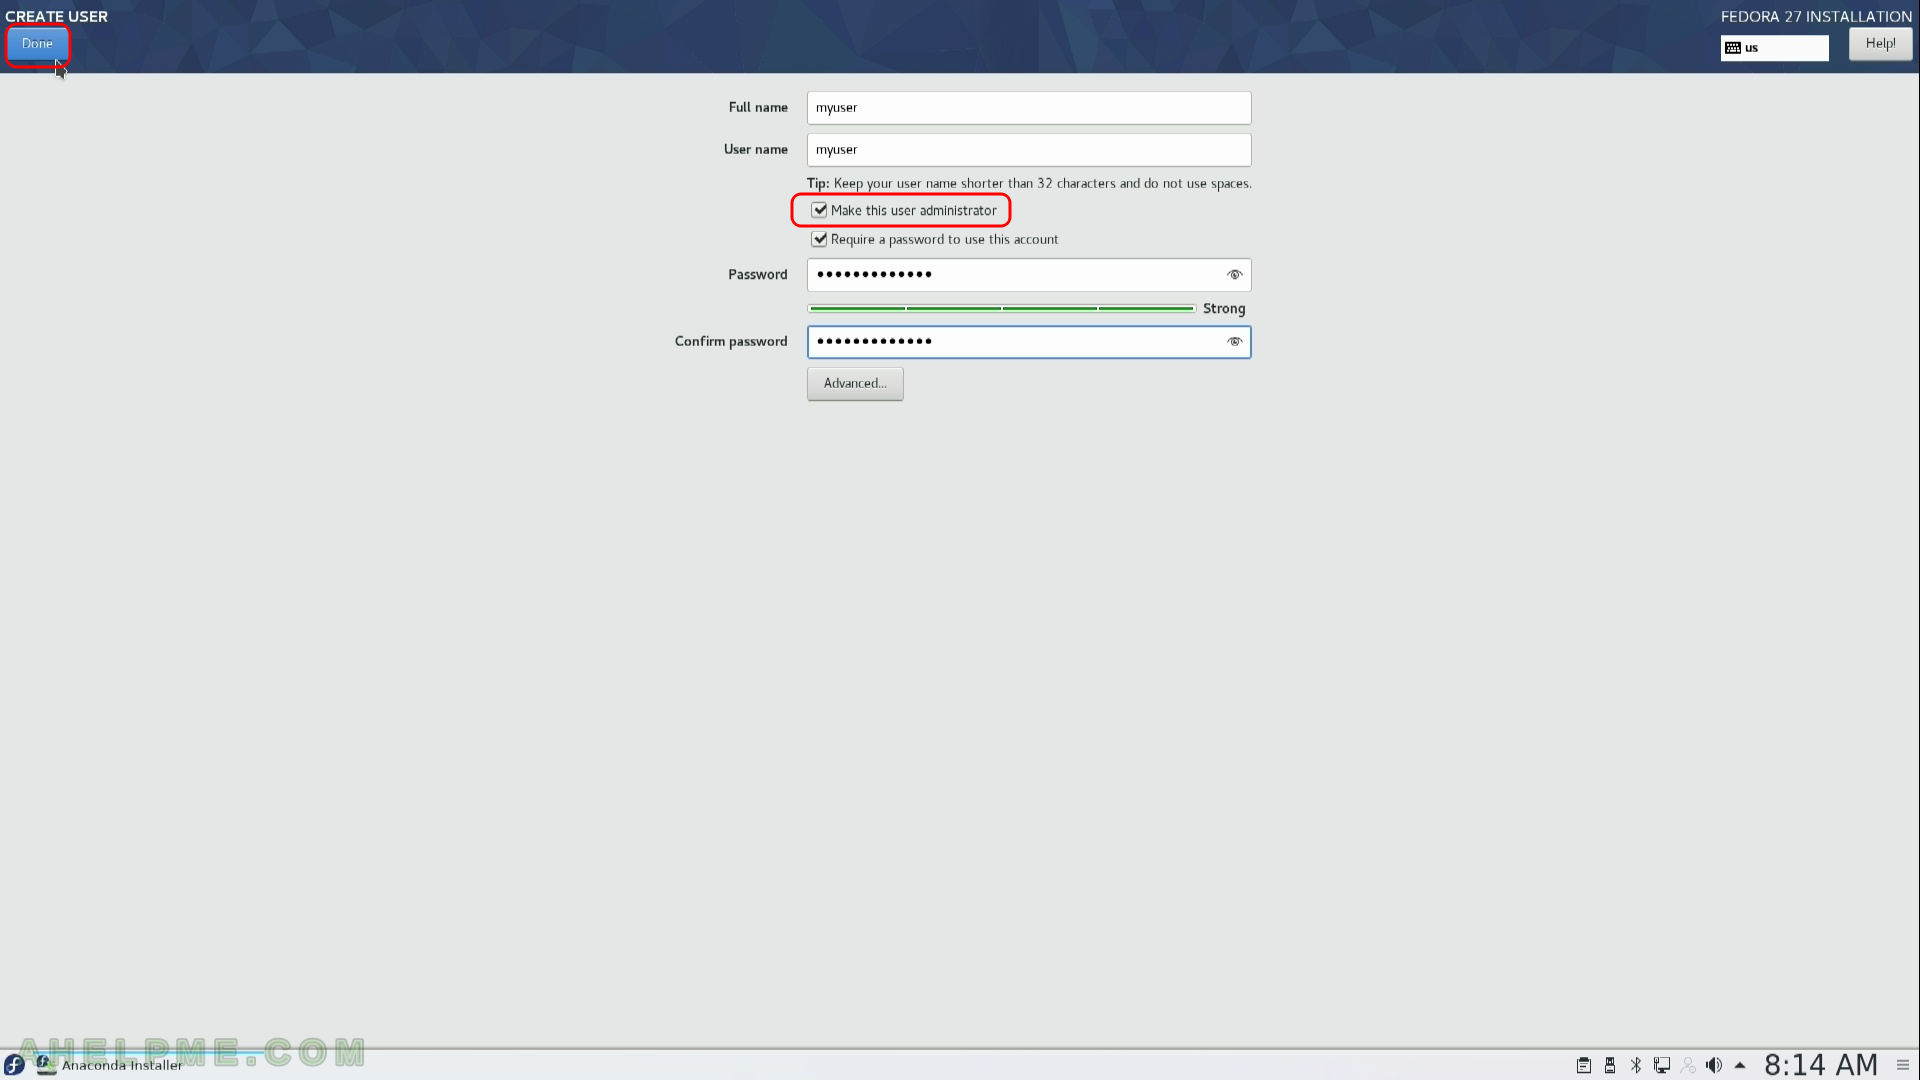
STEP 20) Create an additional user (click on “USER CREATION”), always use additional user (with administrative privileges) and not root.
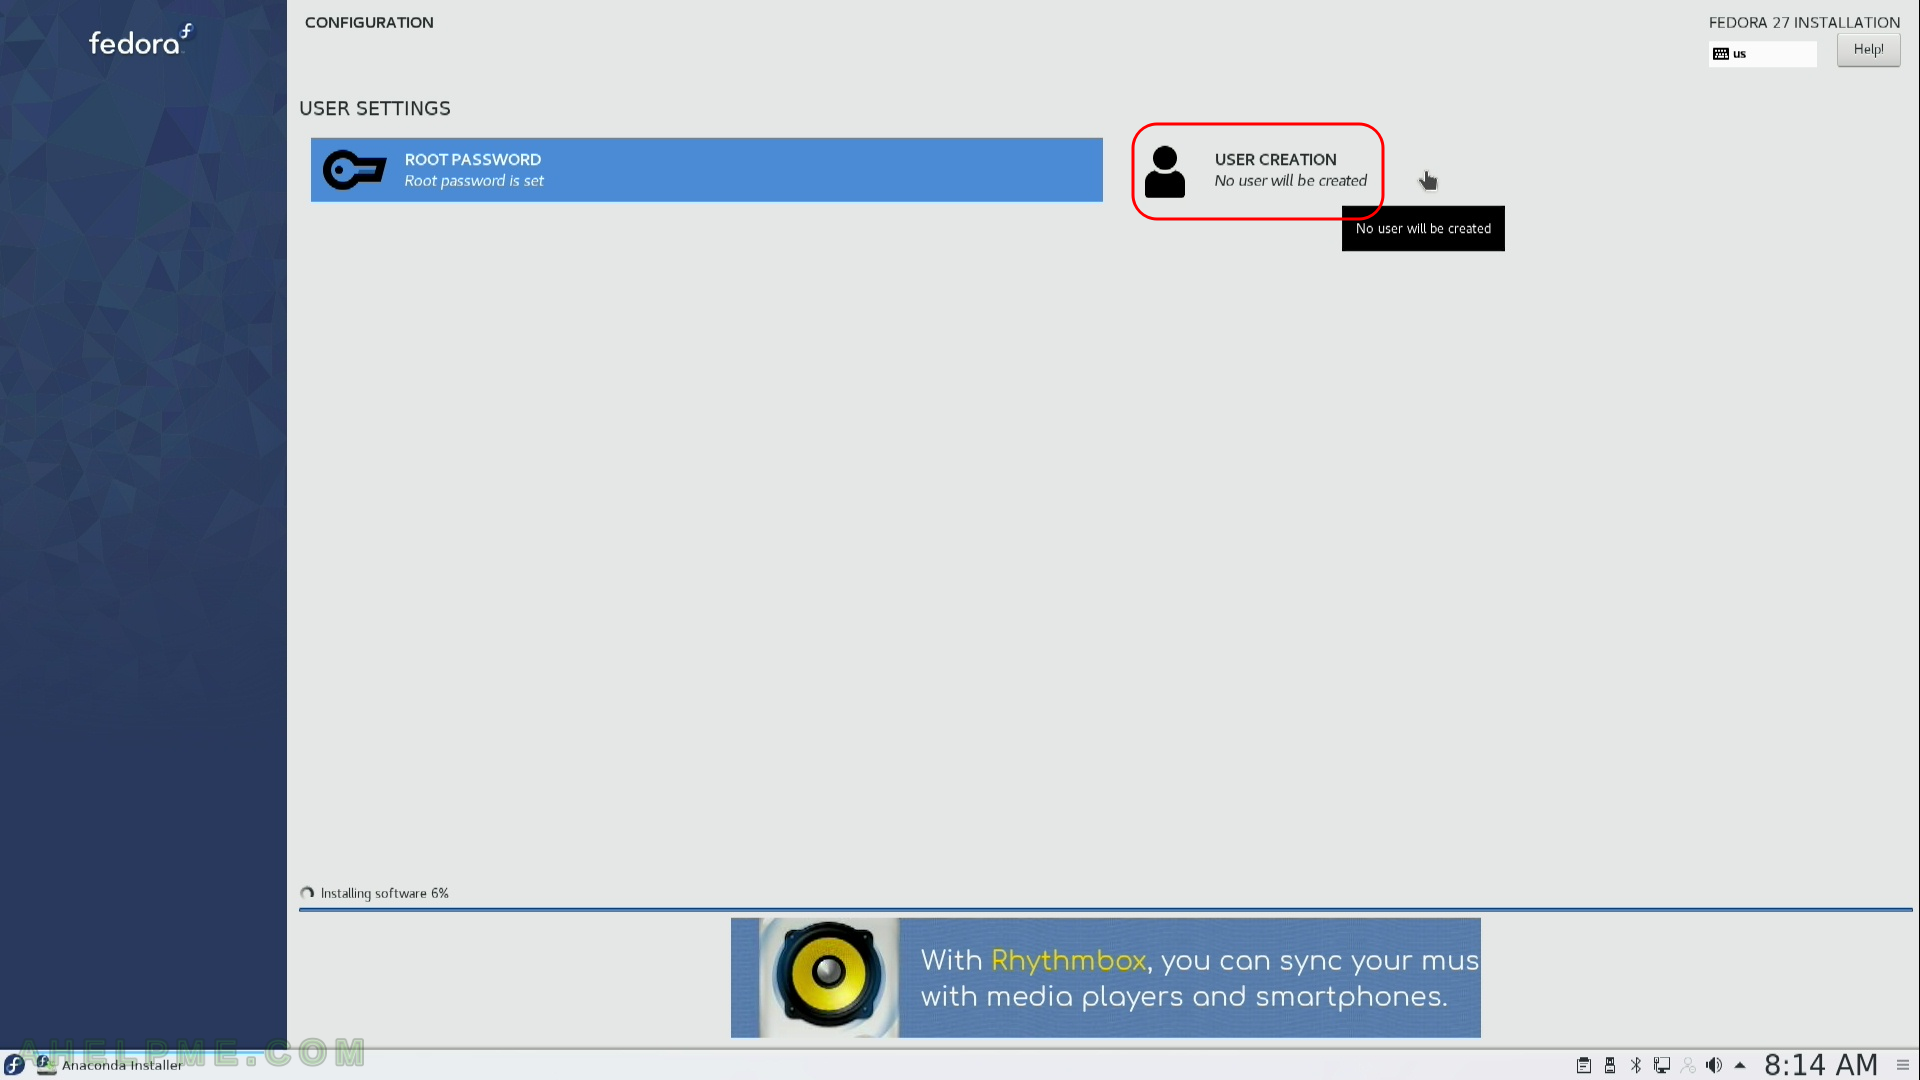
STEP 21) Set the full name and the username (login name) and be sure to check “Make this user administrator”.
Use ordinary user for every day work and for administrator’s purposes authorize with password – this is possible only if your user has administrative privileges – they are used only after authorization not by default!
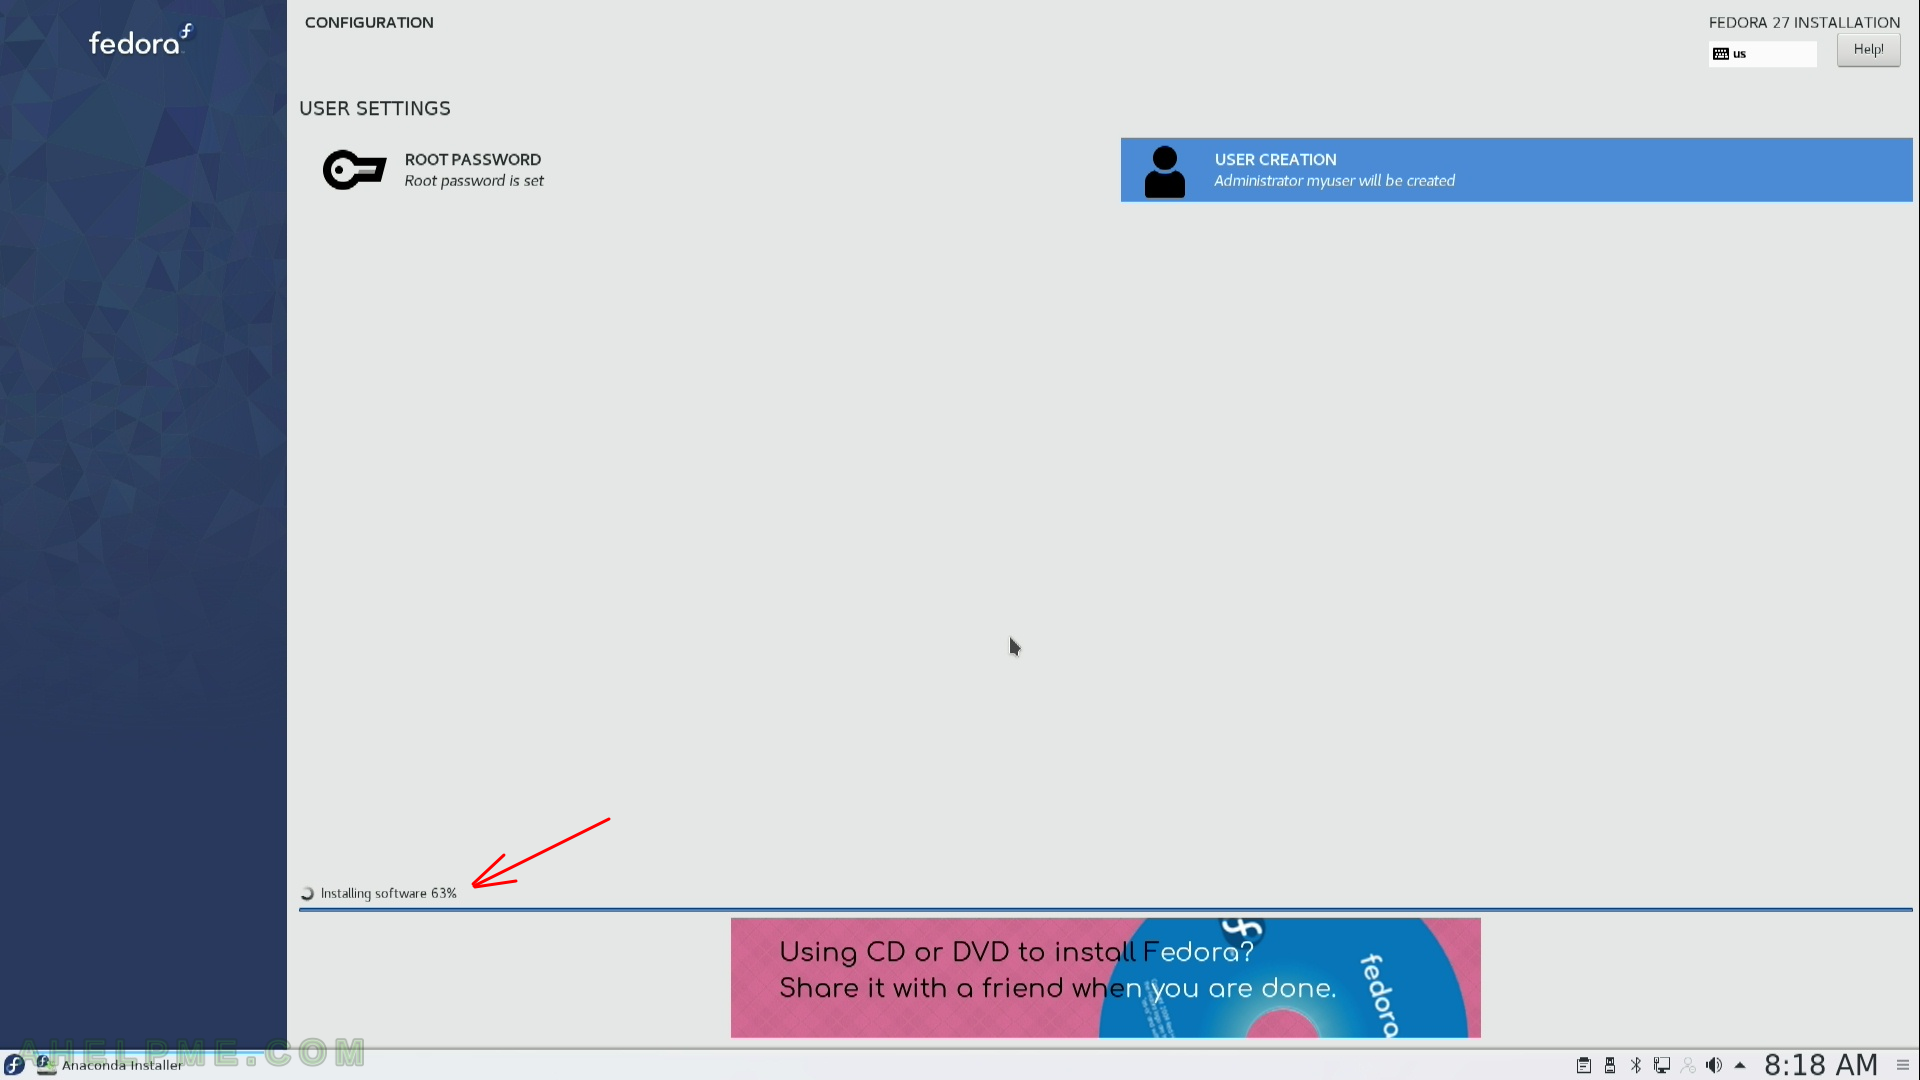
STEP 22) The setup is still working… The installation is near 63%. You can monitor the process.
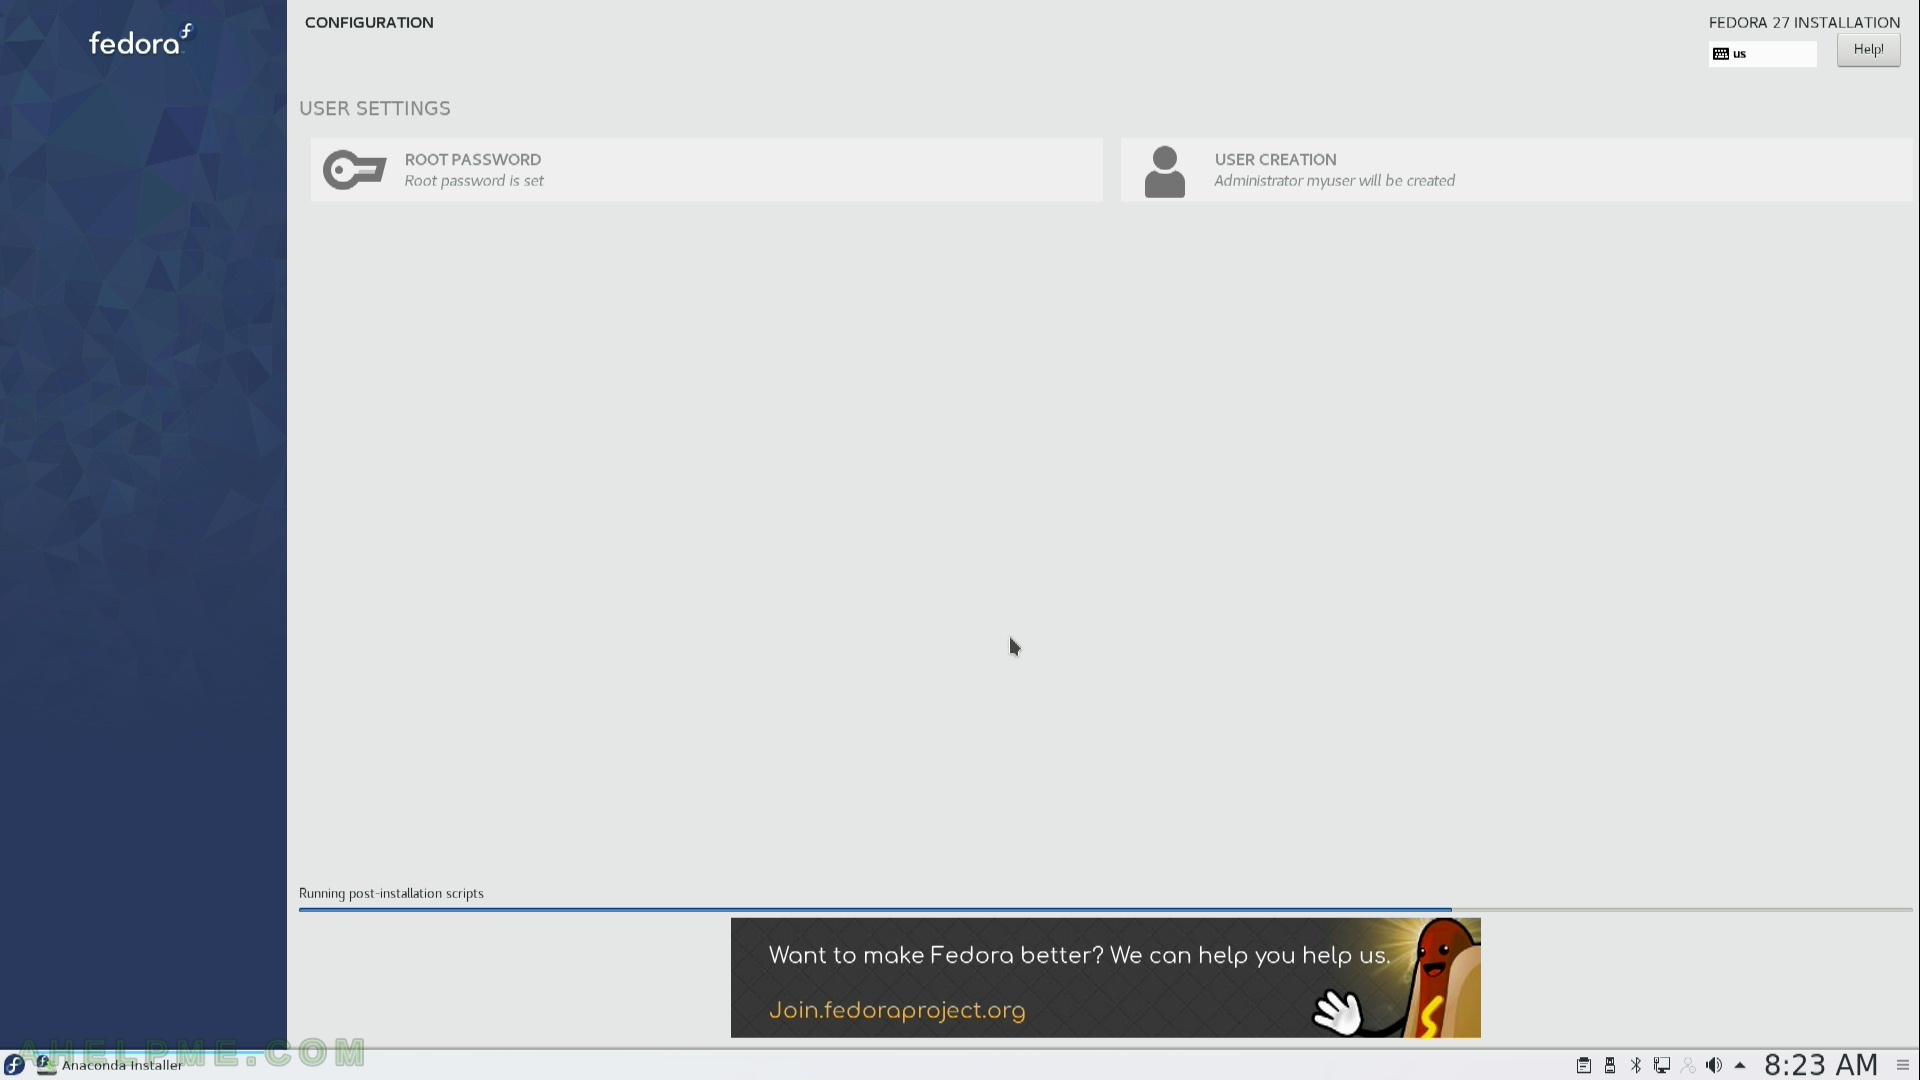
STEP 23) Almost done, the installation is running post-installation scripts
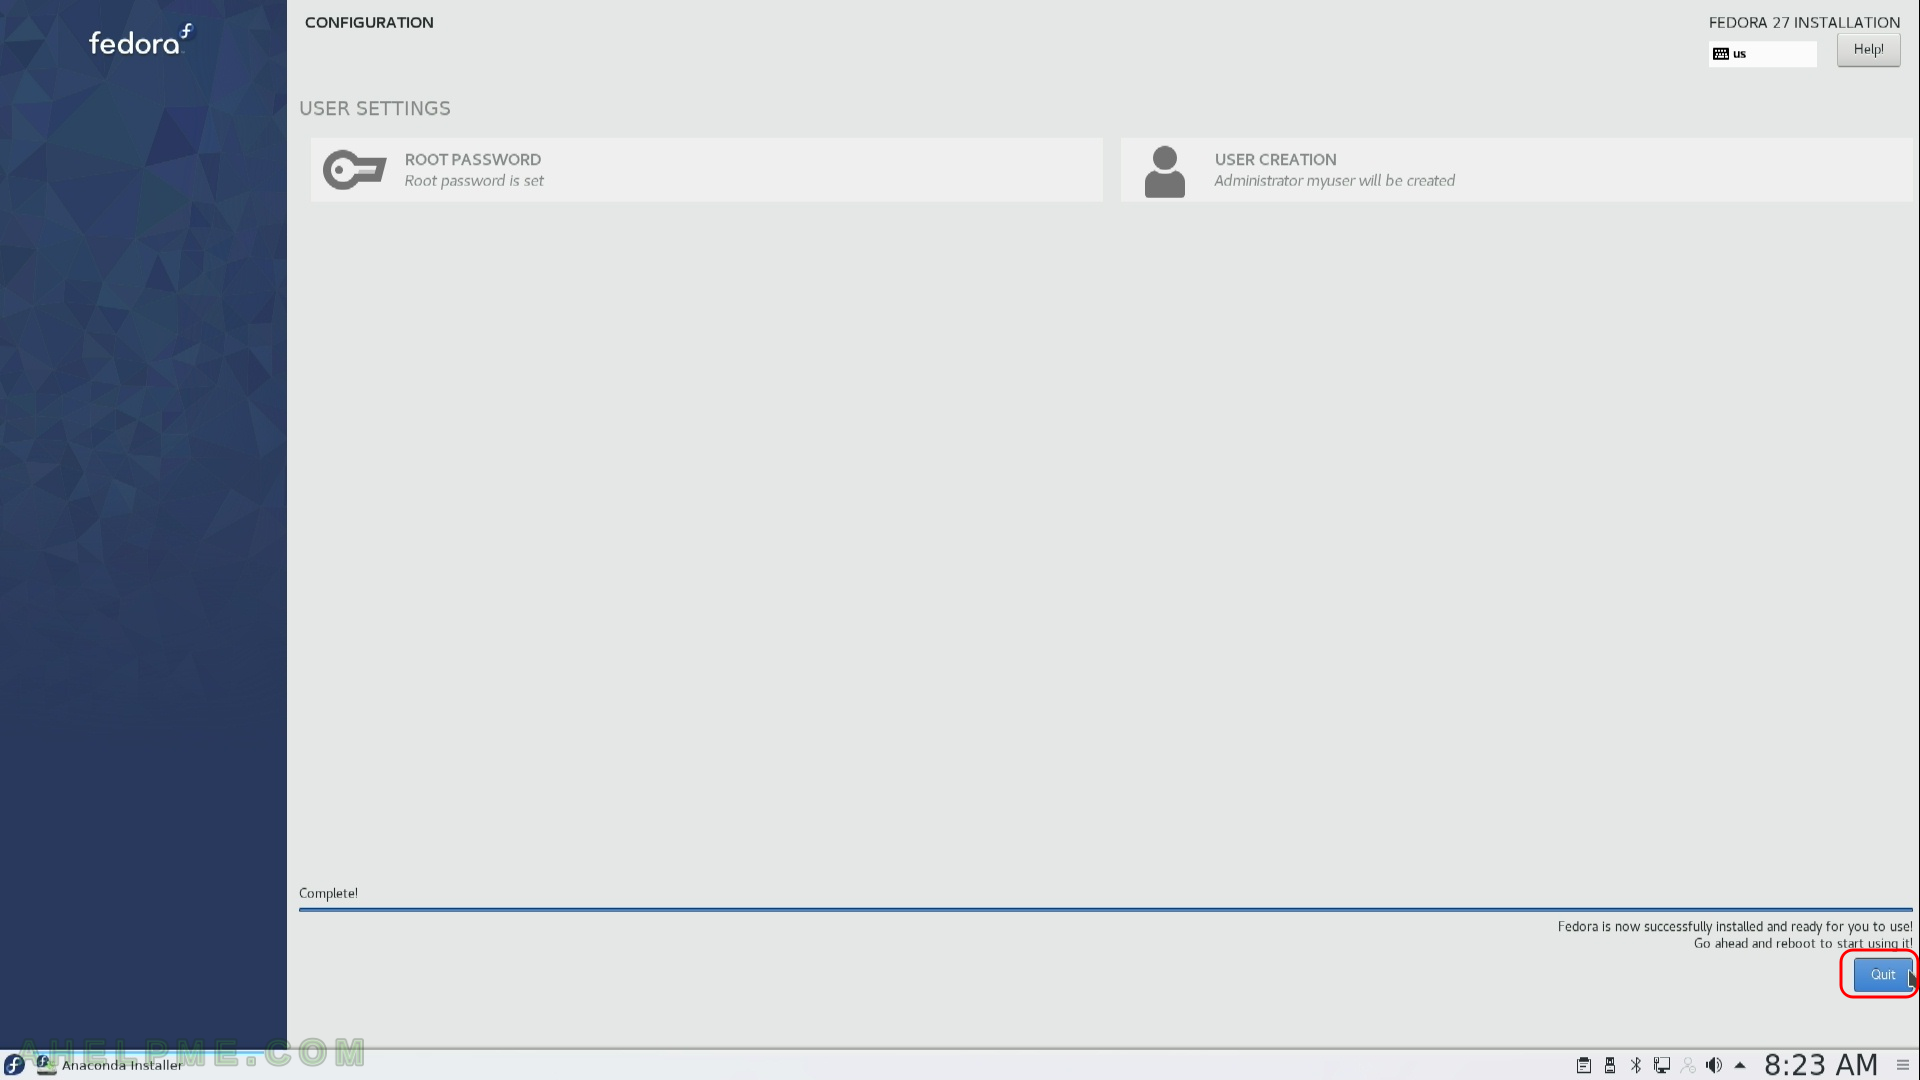
STEP 24) The installation has finished and then you should quit it.
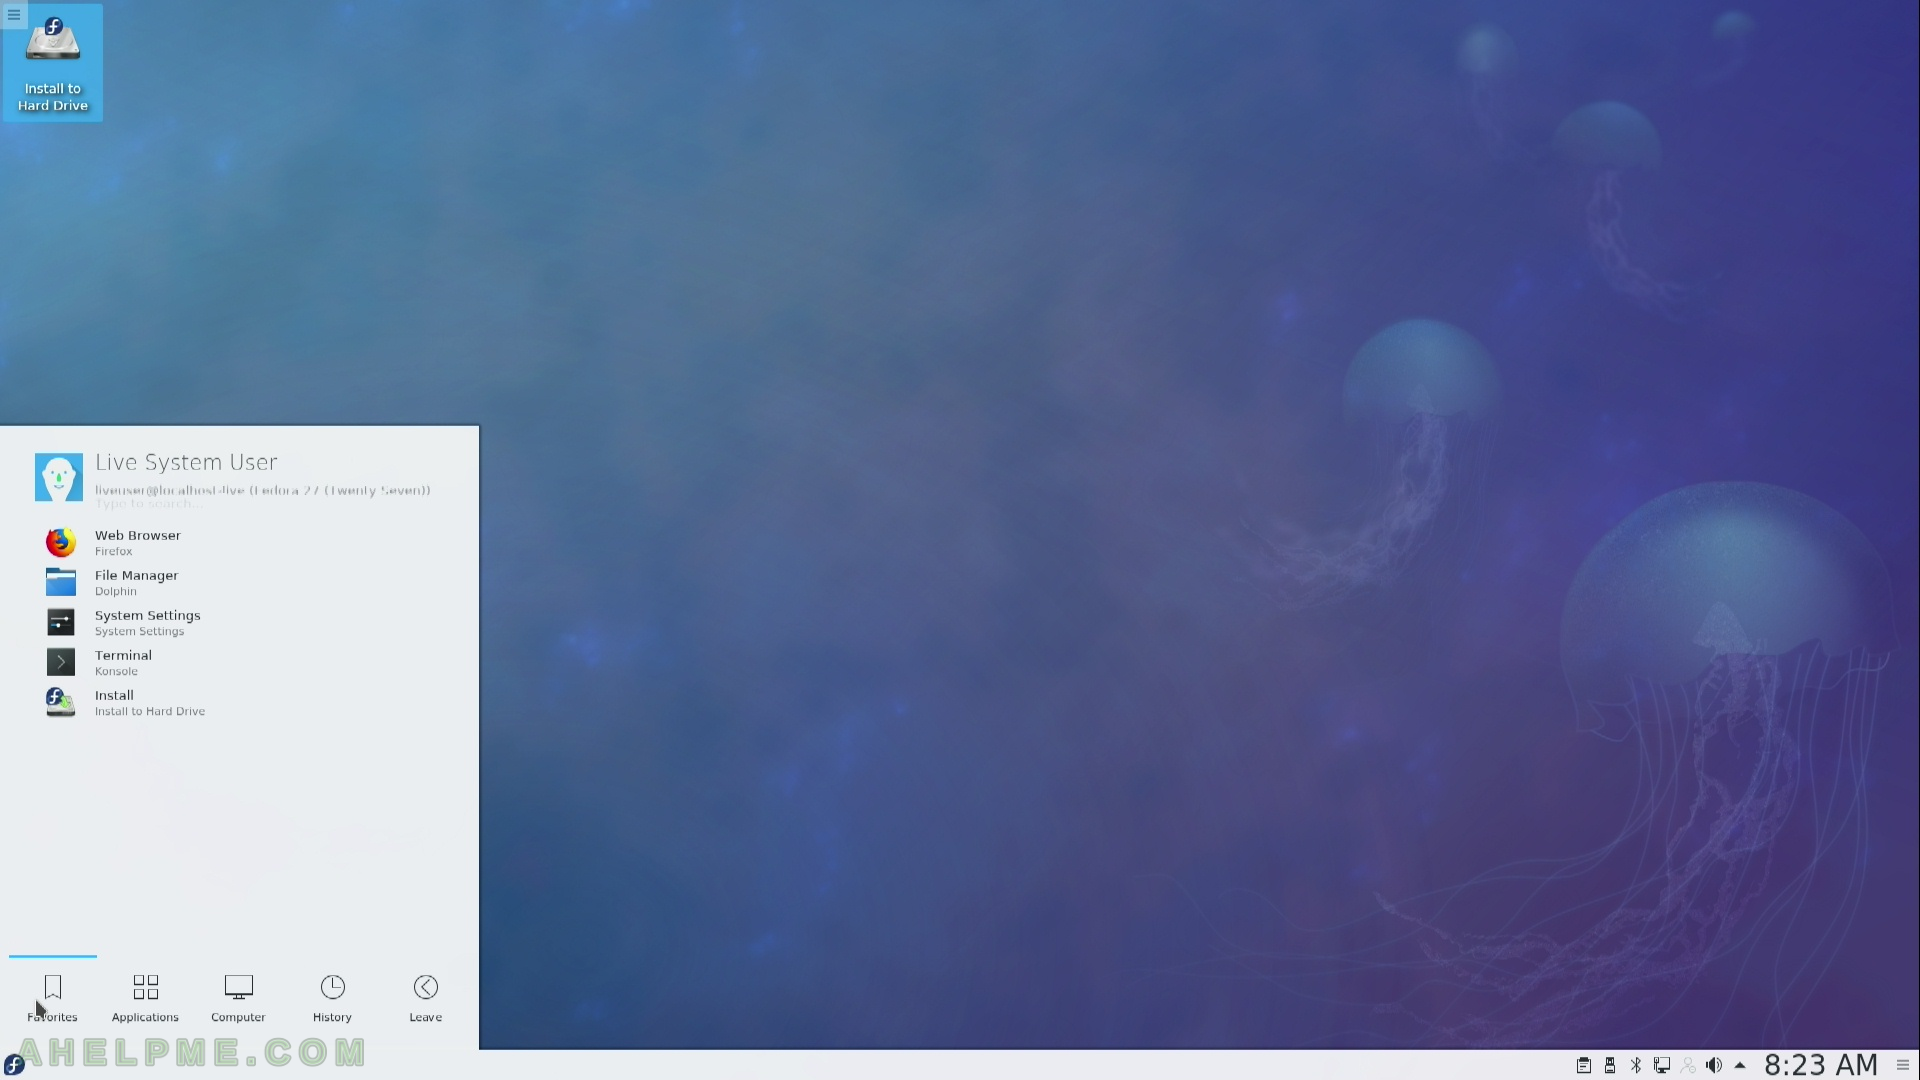
STEP 25) Click on “F” (bottom left) to pop up the main menu.
You are still in the live image, so just select the power off option. Remove the installation DVD disk or you’ll boot again in the installation setup.
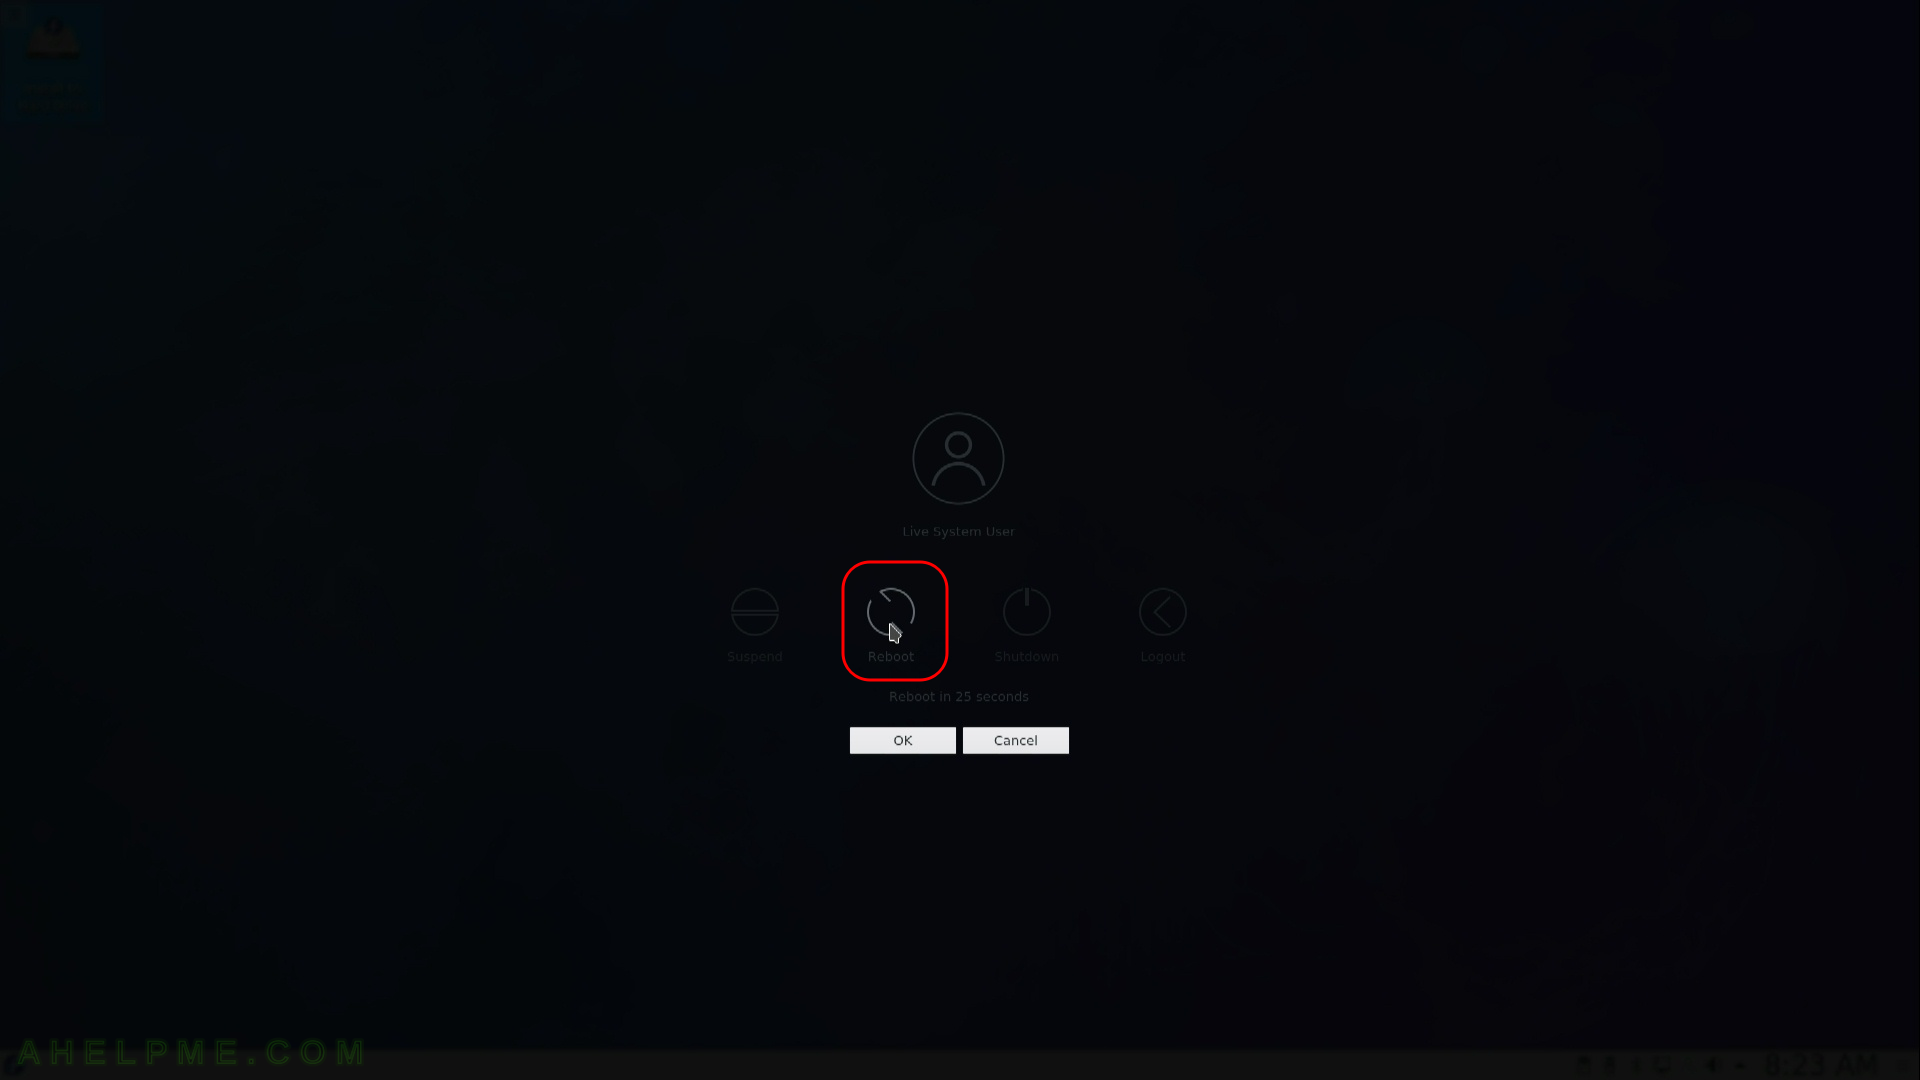
STEP 26) In the main menu click on “Leave” and then on “Reboot”.

STEP 27) Confirmation to Reboot
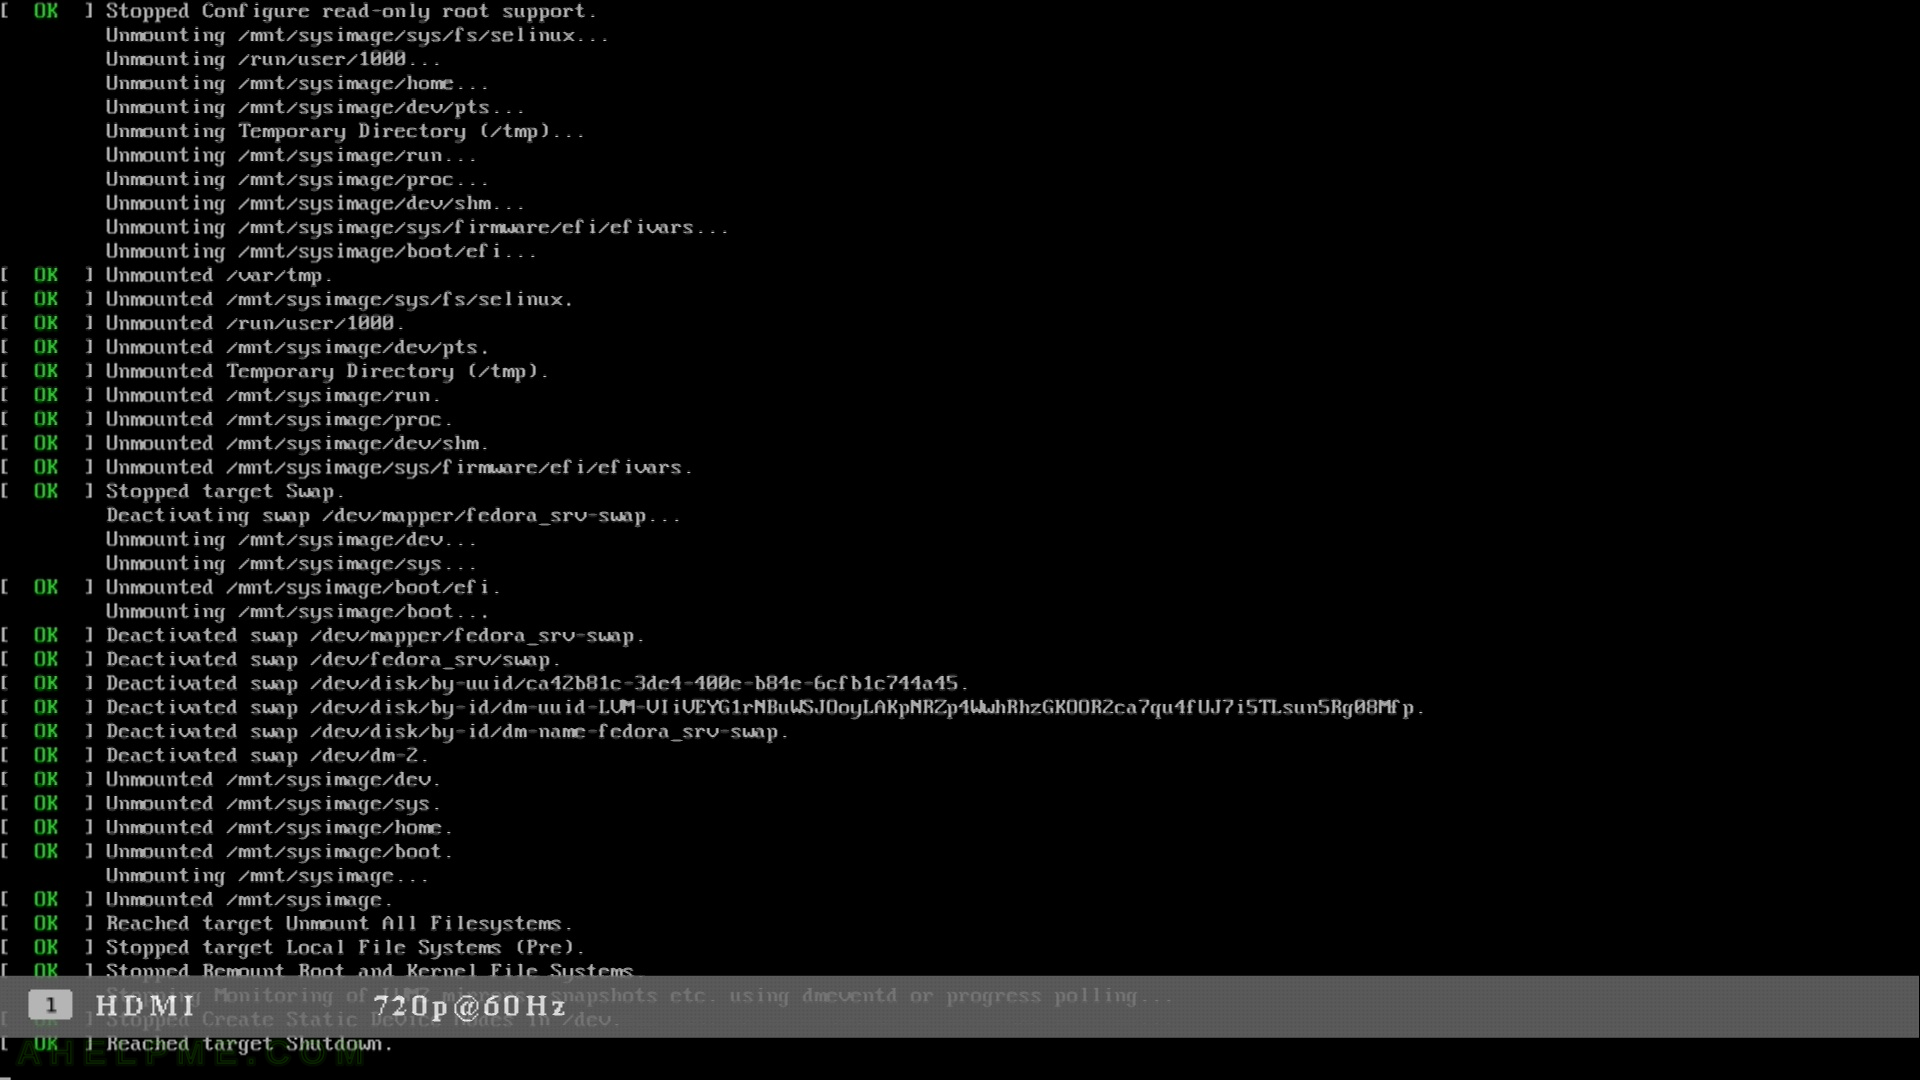
STEP 28) The reboot is in progress, shutting down the services…
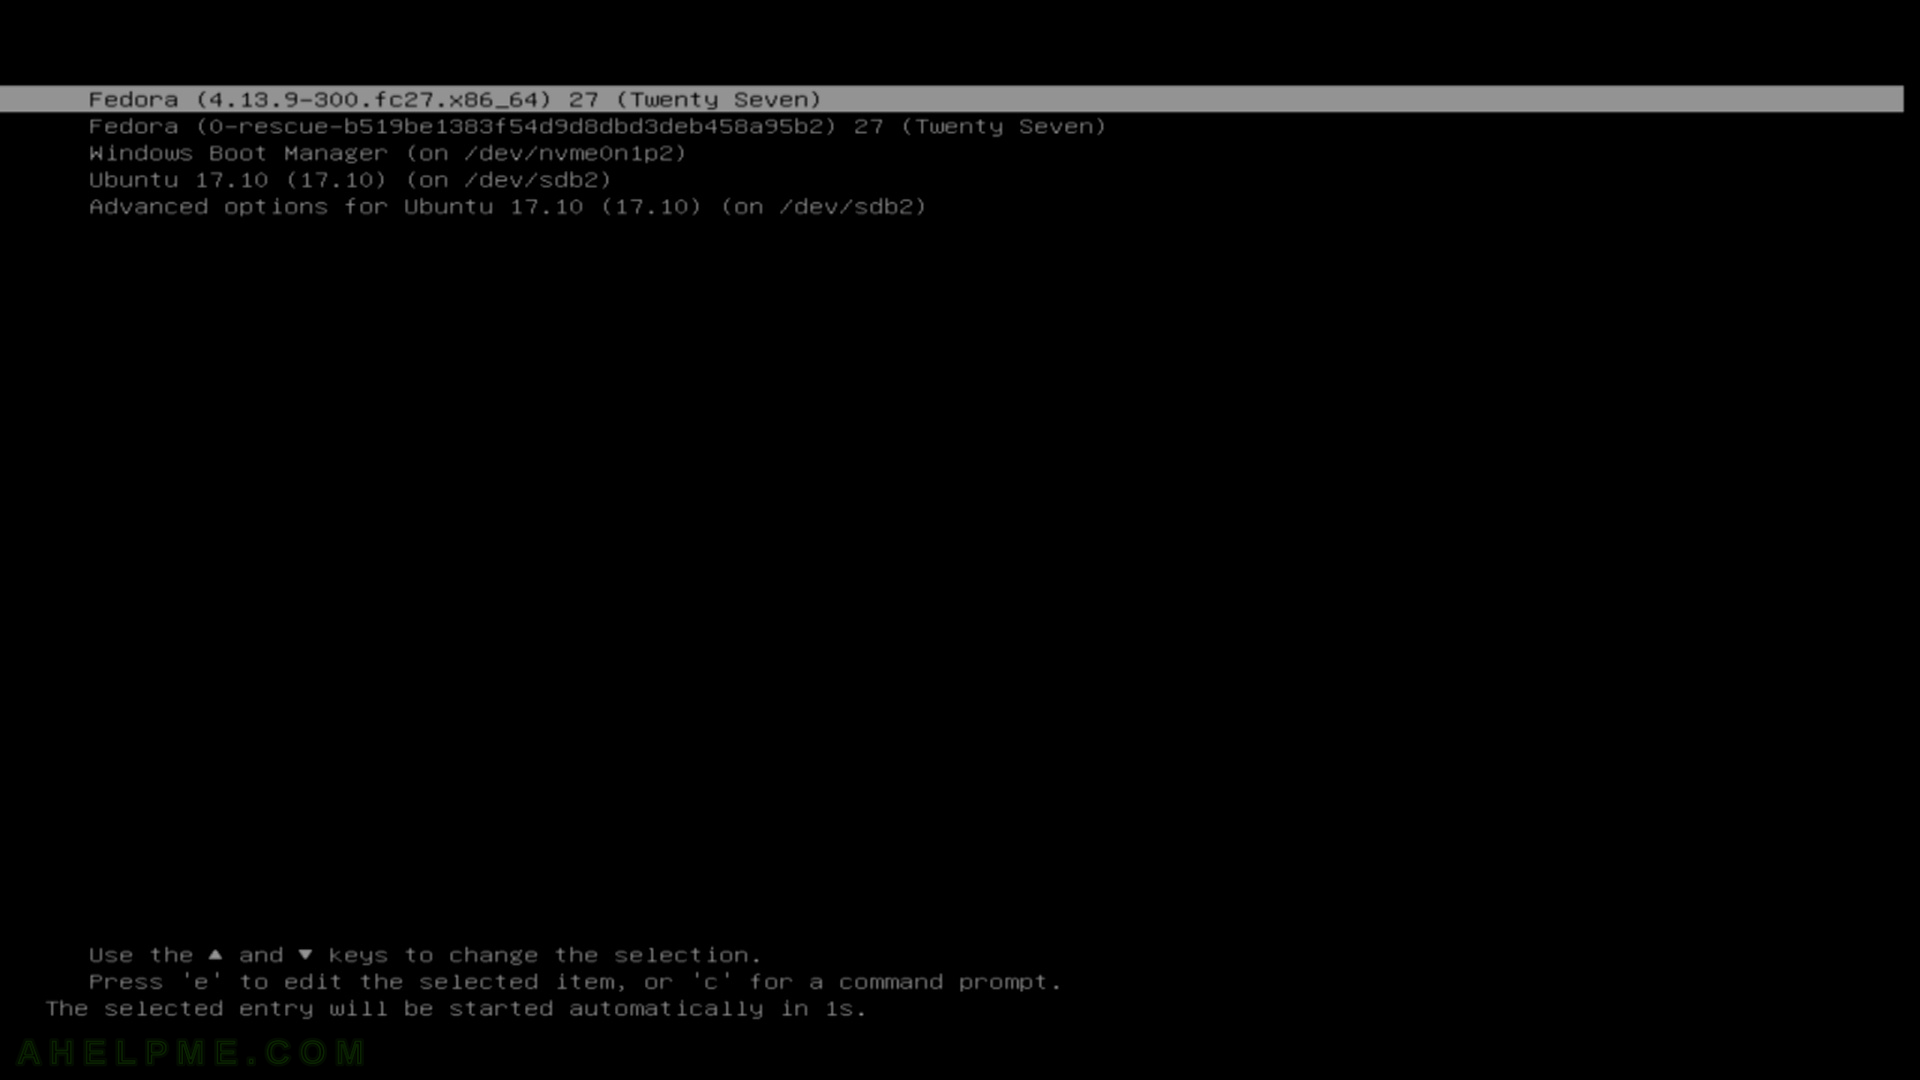
STEP 29) Your freshly installed Fedora 27 KDE Plasma Desktop is the default boot option in the booting program (grub2).
As you can see we have two more Operating systems – Windows 10 and Ubuntu 17.10
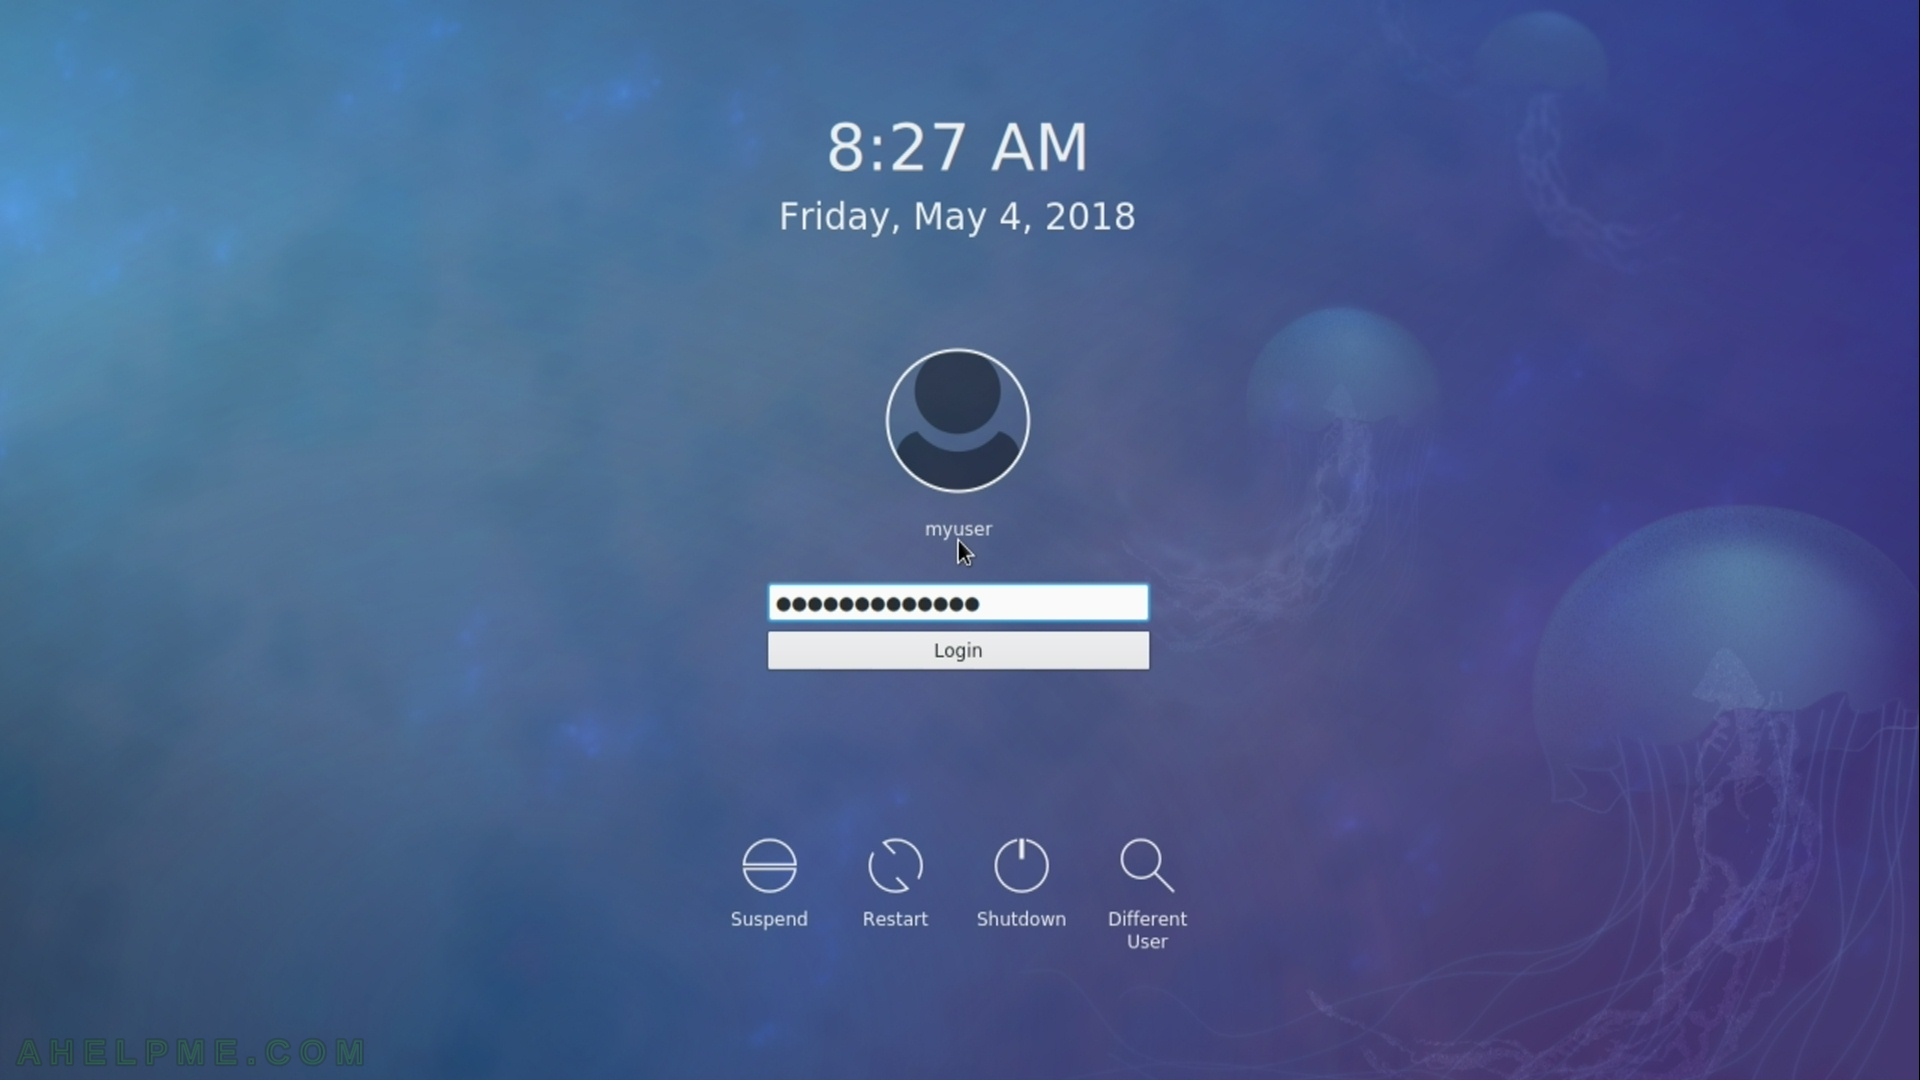
STEP 30) Login screen for Fedora 27 KDE Plasma Desktop
STEP 31) The welcome screen of KDE Plasma Desktop

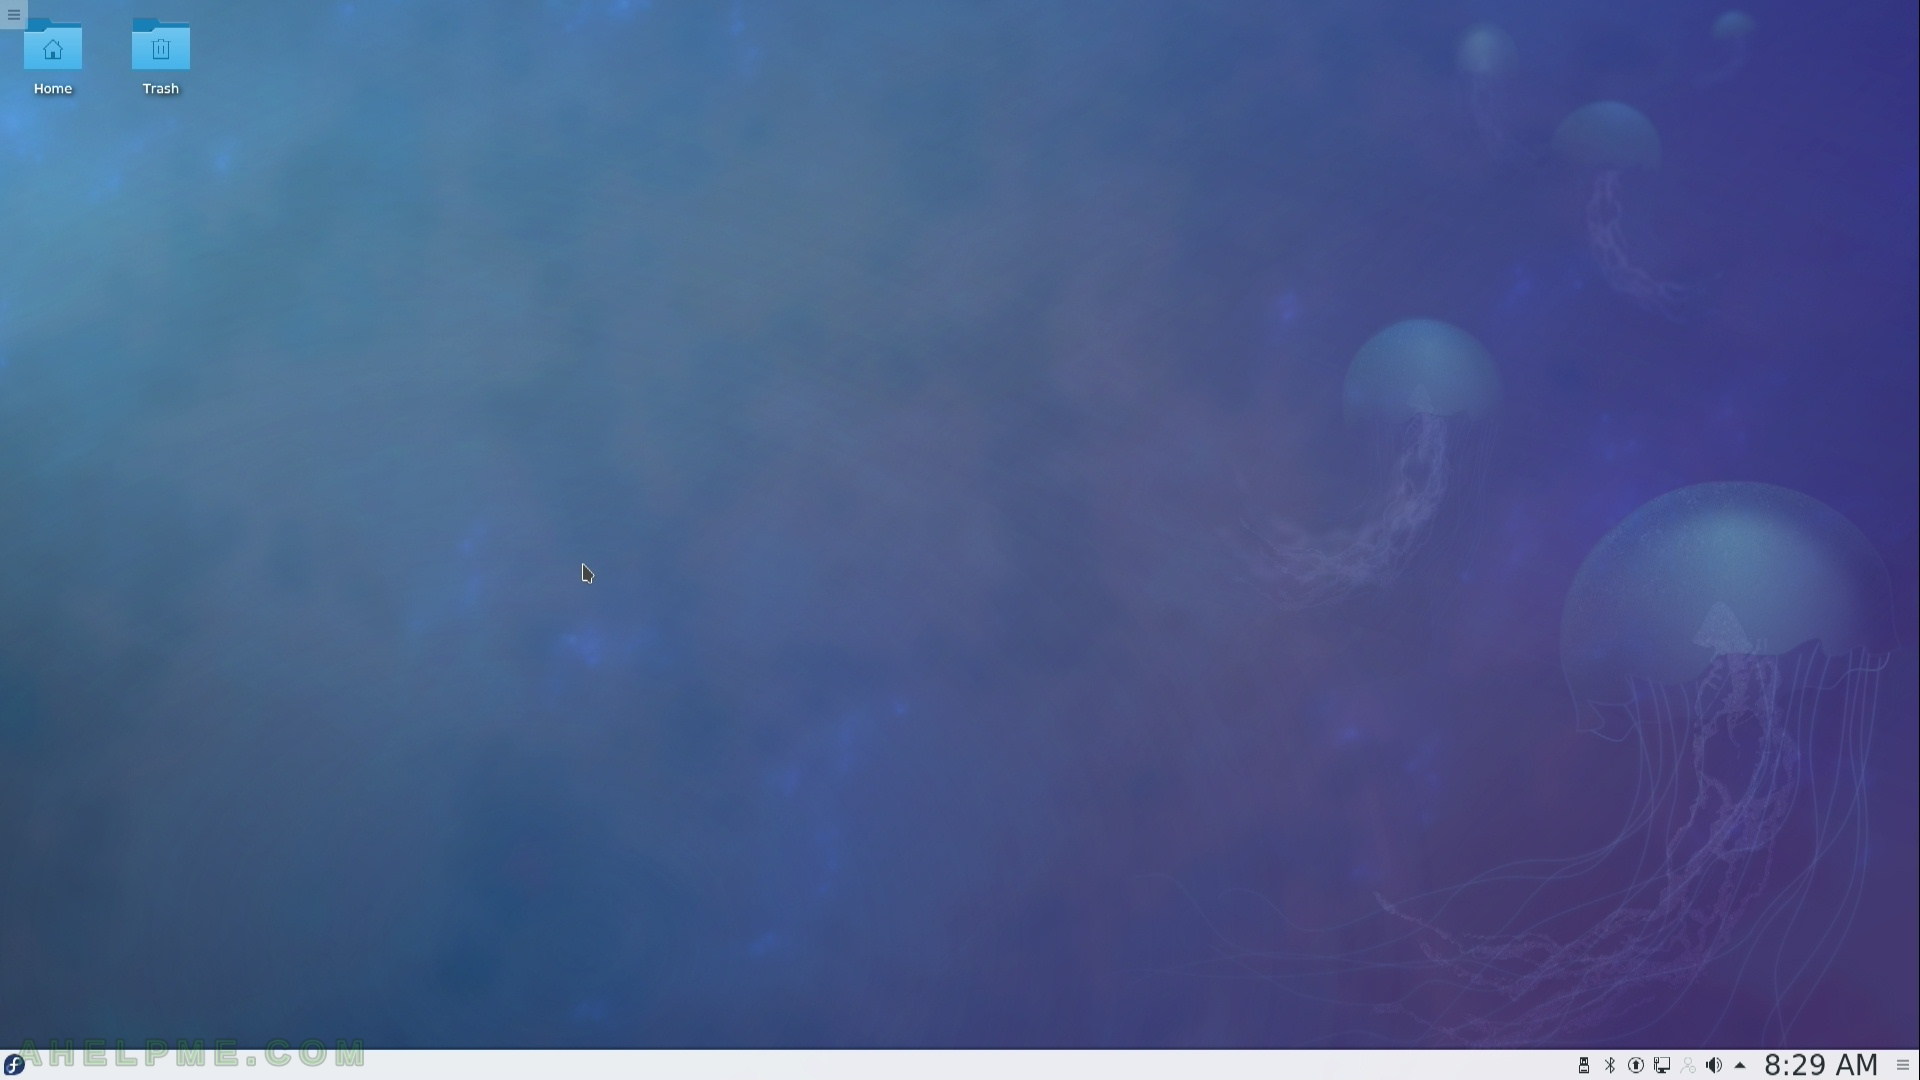
STEP 32) And here is the desktop of your freshly installed Fedora 27 KDE Plasma Desktop.
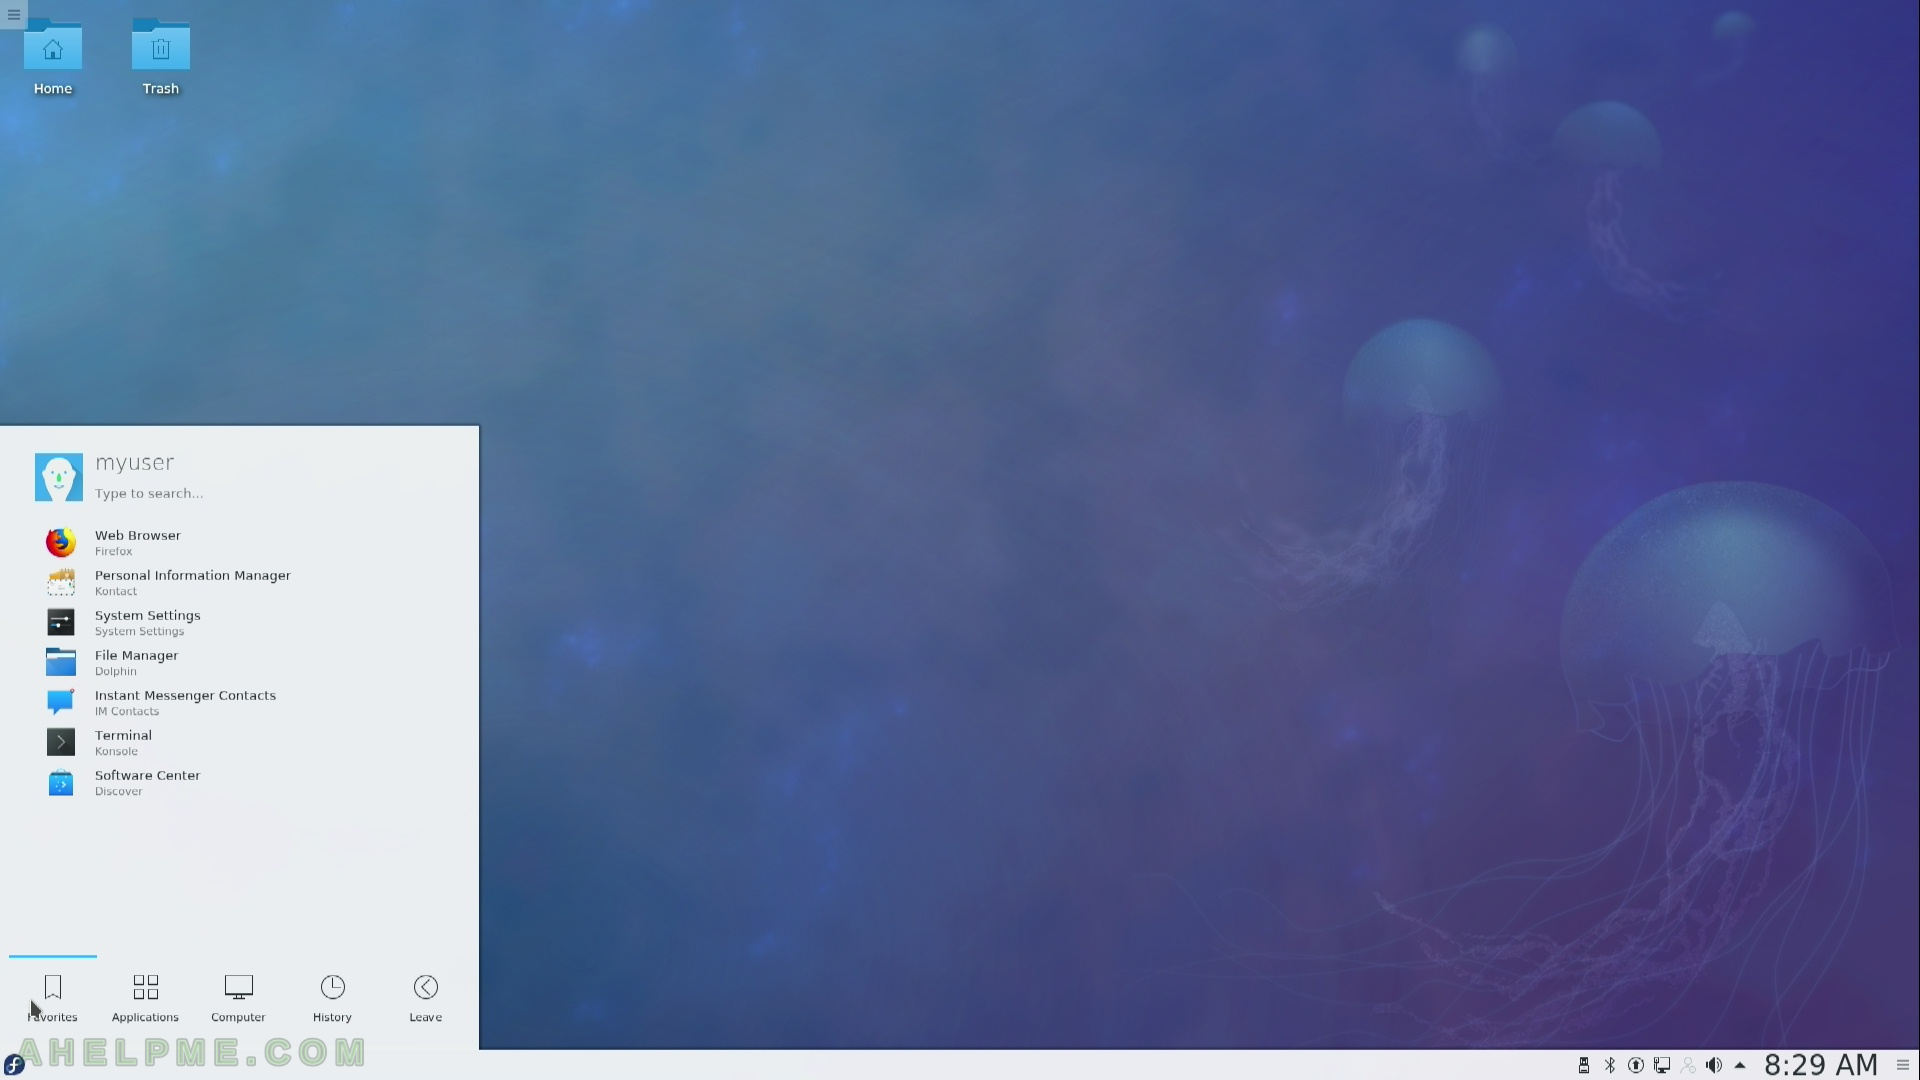
STEP 33) The main menu in KDE Plasma.
You can change the toolbar and the manu, if you like you can remove them and to use other widgets to show your group of programs or folders.
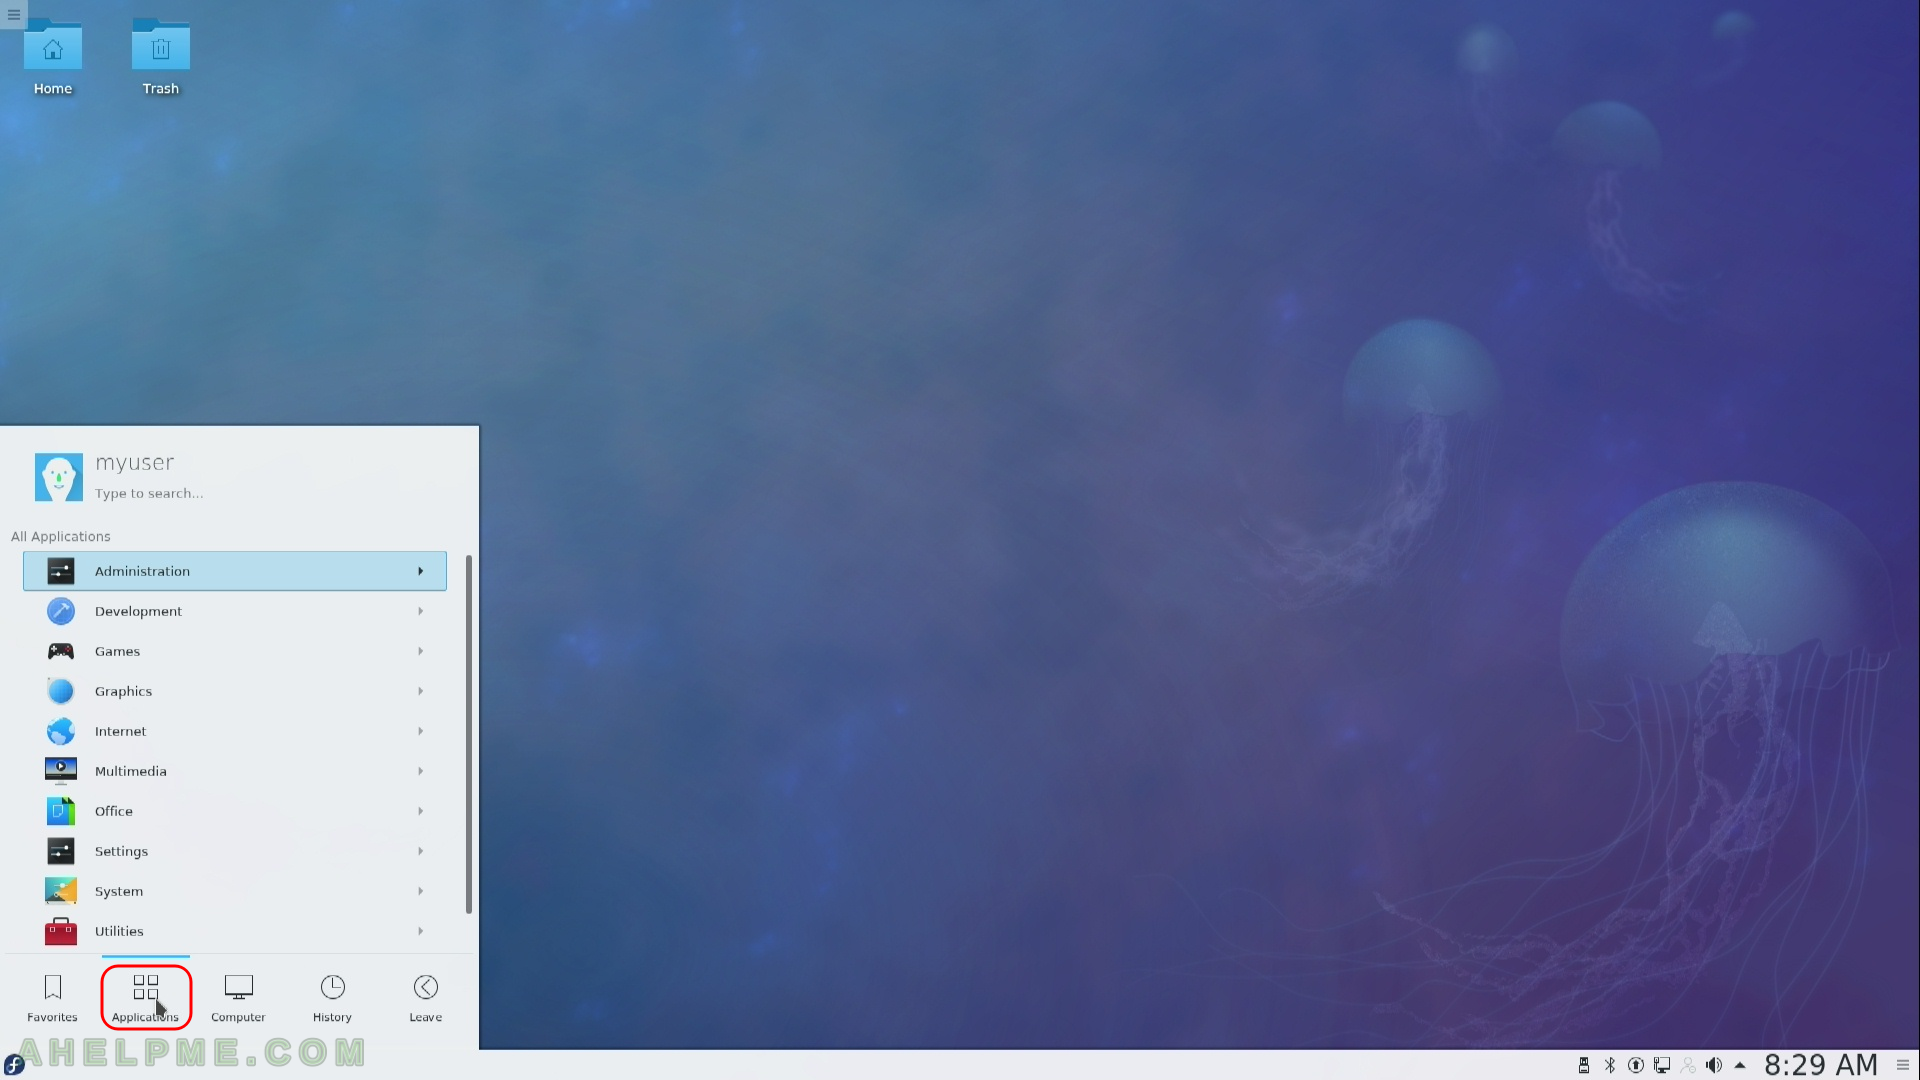
STEP 34) Applications in the main menu, programs are grouped in sub menus.
STEP 35) The “Leave” options – Log off, Switch users, Suspend to disk, Sleep, Power off, Reboot – all options

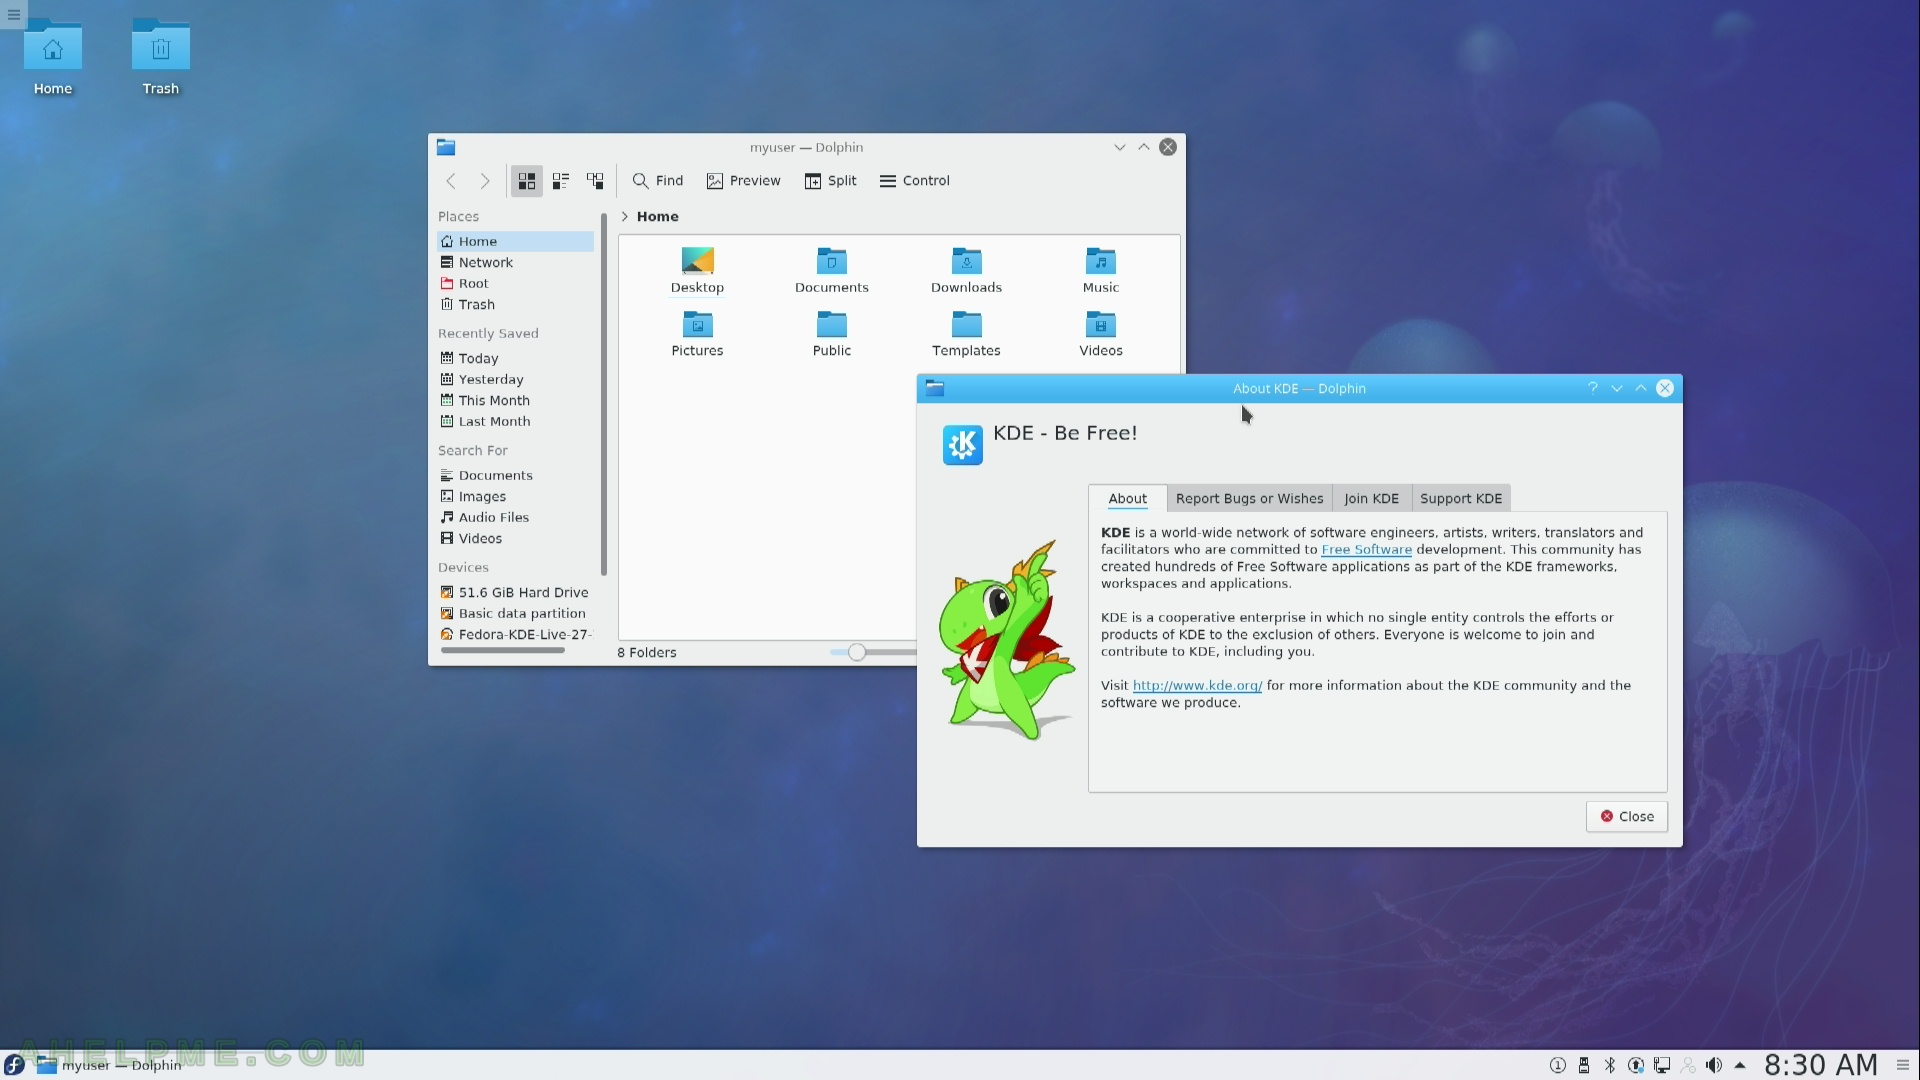
STEP 36) The Dolphin – the file manager of KDE!
3 thoughts on “Install Fedora 27 KDE Plasma Desktop”