Here is the process of booting from a Gentoo Minimal Installation CD amd64 (x86_64) with UEFI mode enabled. This is not an installation guide!
You can download the CD from here: https://www.gentoo.org/downloads/ Here is the ISO file: http://distfiles.gentoo.org/releases/amd64/autobuilds/20180911T214502Z/install-amd64-minimal-20180911T214502Z.iso or you can check it in some mirror like leaseweb – http://mirror.leaseweb.com/gentoo/releases/amd64/autobuilds/current-install-amd64-minimal/install-amd64-minimal-20180911T214502Z.iso.
Our motherboard is Asus ROG Zenith Extreme motherboard using X399 chipset https://www.asus.com/th/Motherboards/ROG-ZENITH-EXTREME/ and you’ll see the BIOS options for it, but they do not differ much with the other motherboard boot options. Here also setup the network and start up an openssh server to manage our Gentoo Linux installation – (coming soon).
SCREENSHOT 1) Starting the machine

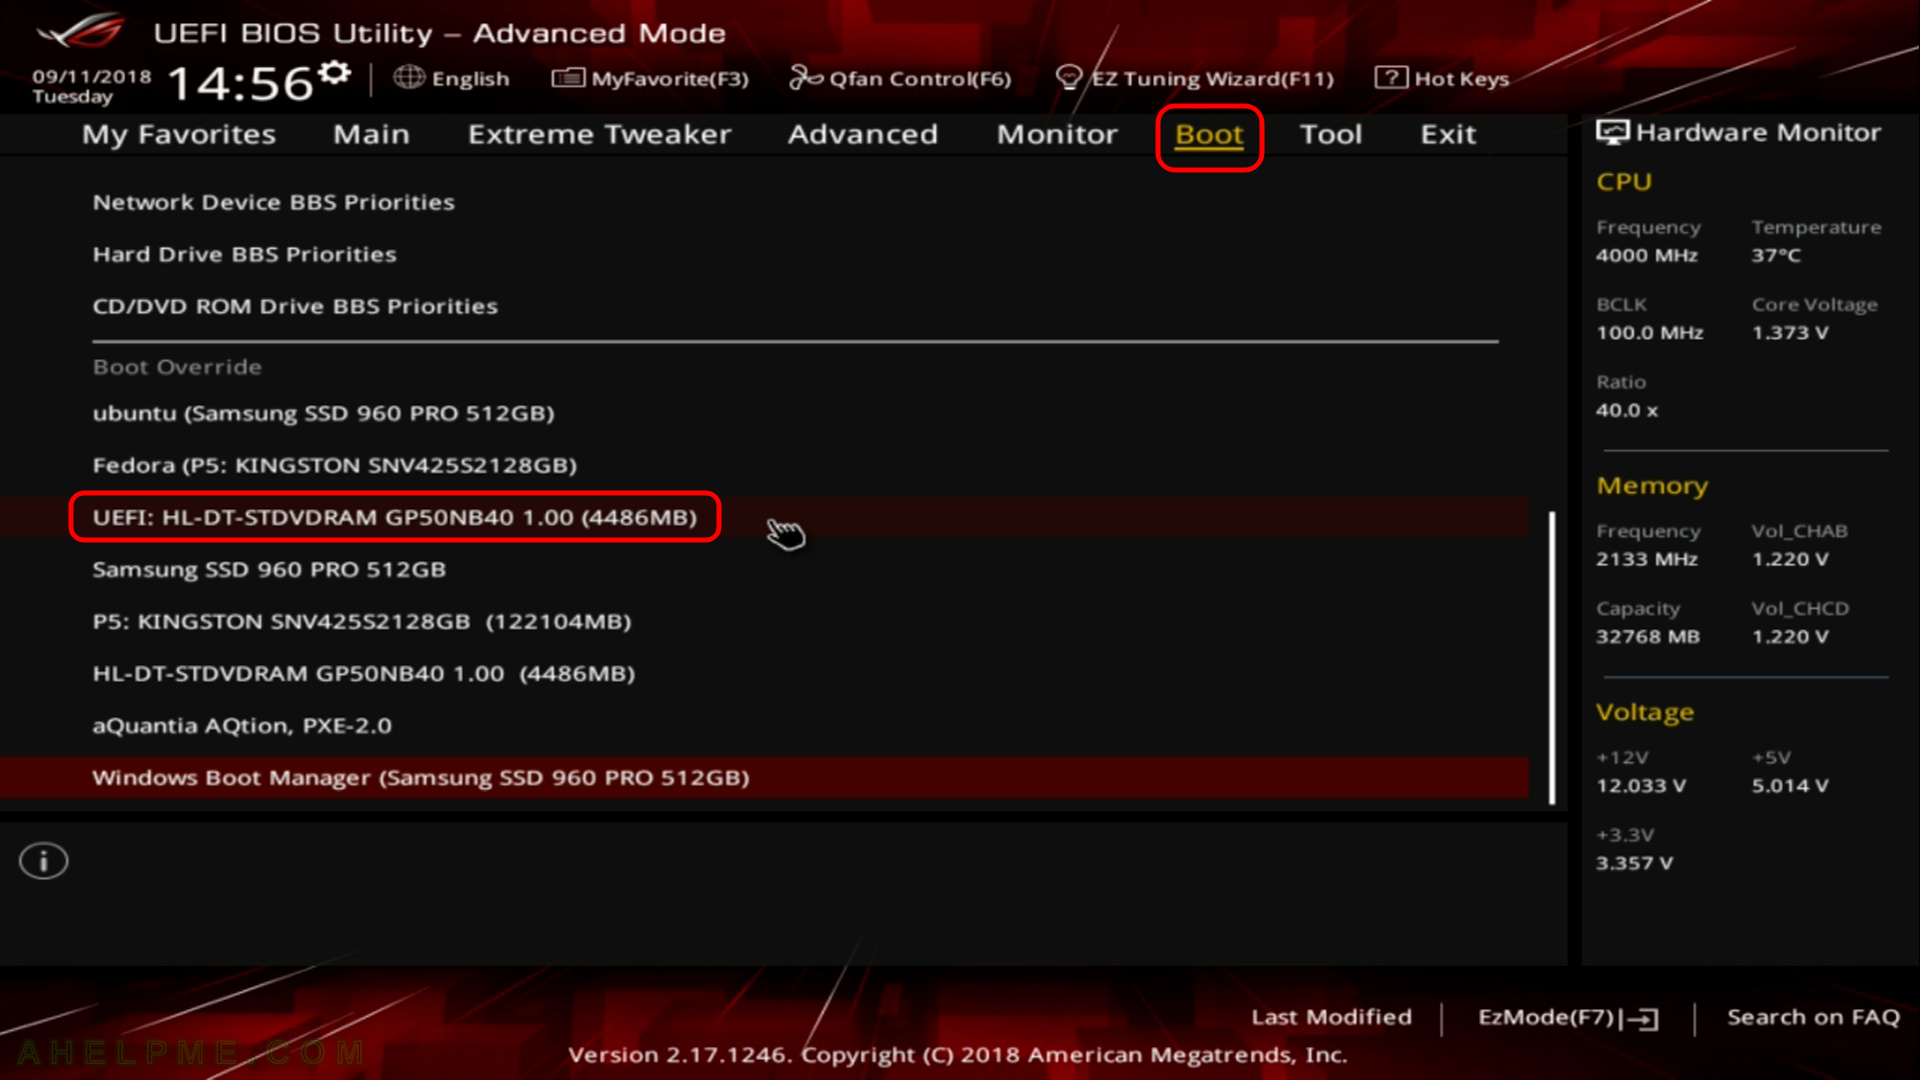
SCREENSHOT 2) Enter “Boot” menu and at the bottom you’ll see “Boot Override”
The rows below offers you one time boot from the device you select, we need to boot from the CD in UEFI mode, so find “UEFI: HL-DT-STDVDRAM GP50NB40 1.00 (4486MB)” and click on it or press “Enter”
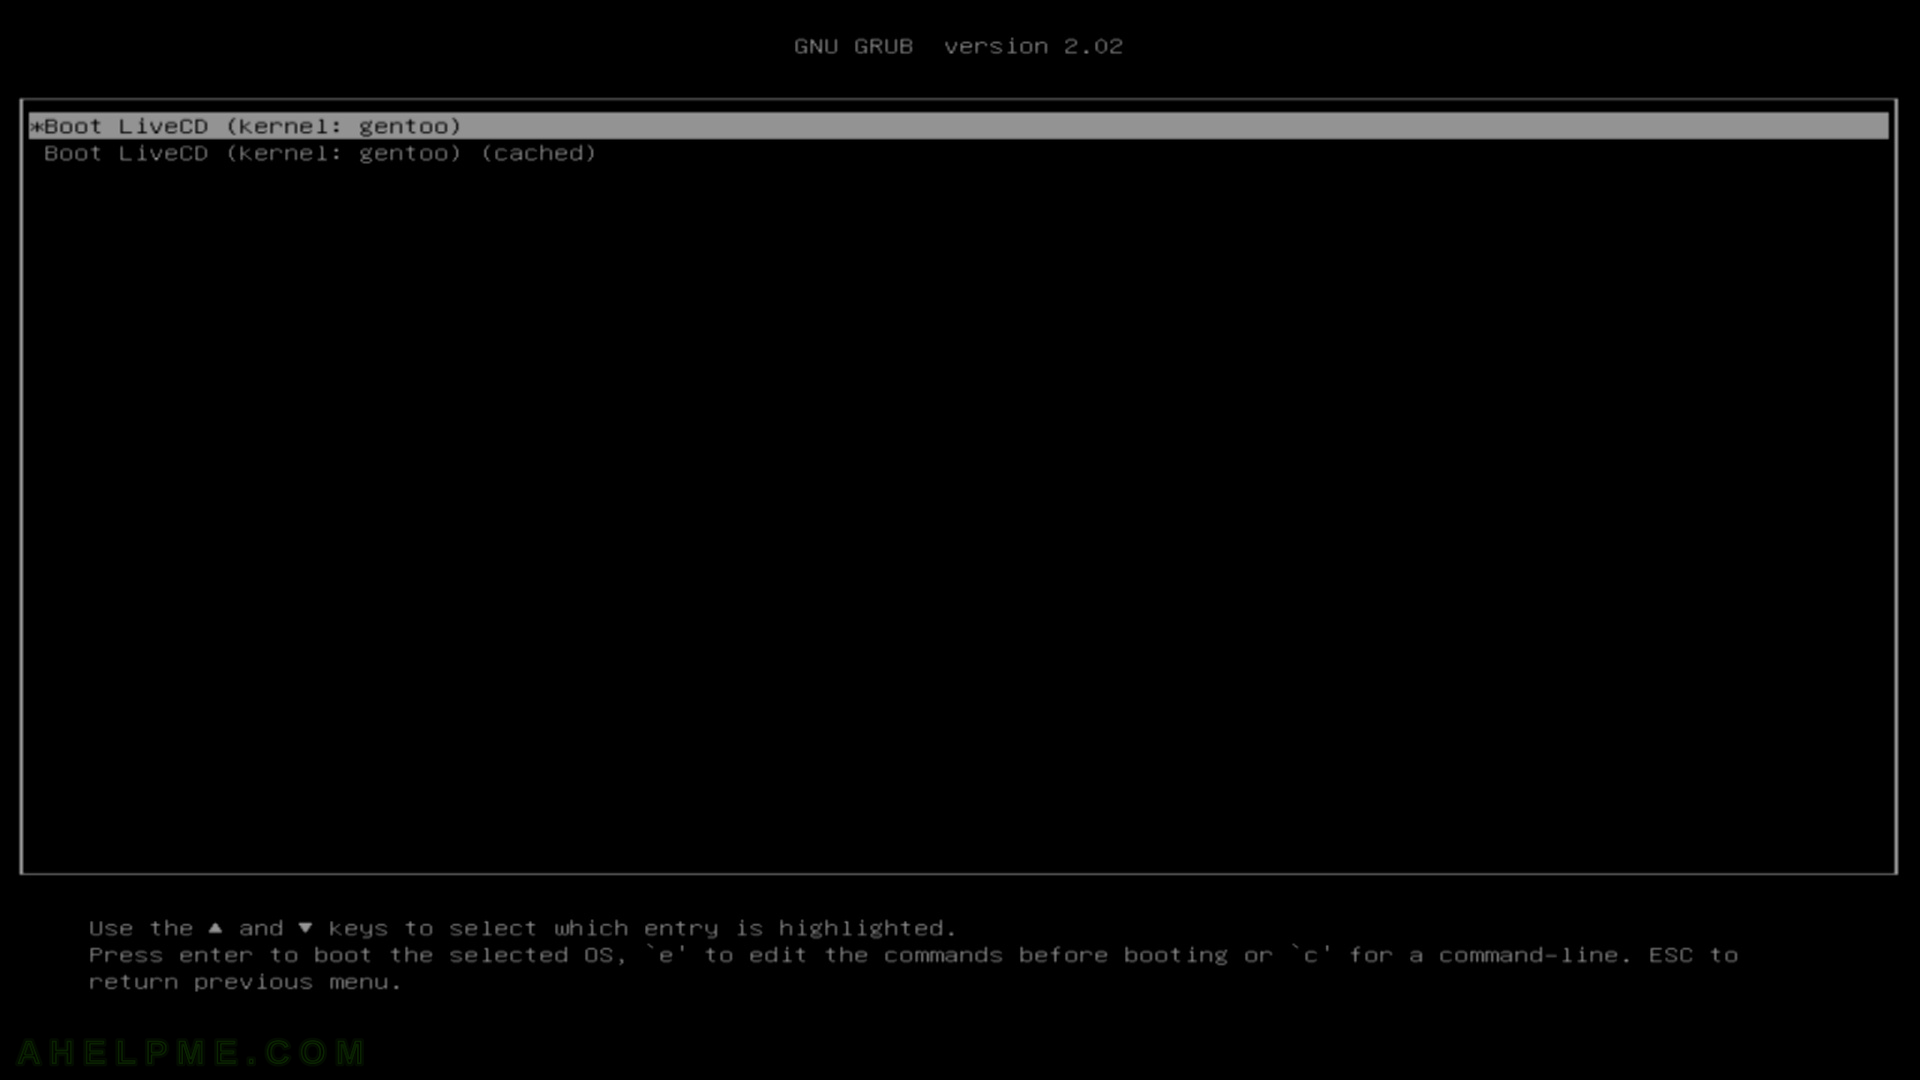
SCREENSHOT 3) Welcome to Grub2. Loading group menu.

SCREENSHOT 4) Grub2 menu, choose the first line – Boot LiveCD (kernel: gentoo) to load the kernel and start up the Gentoo Live system
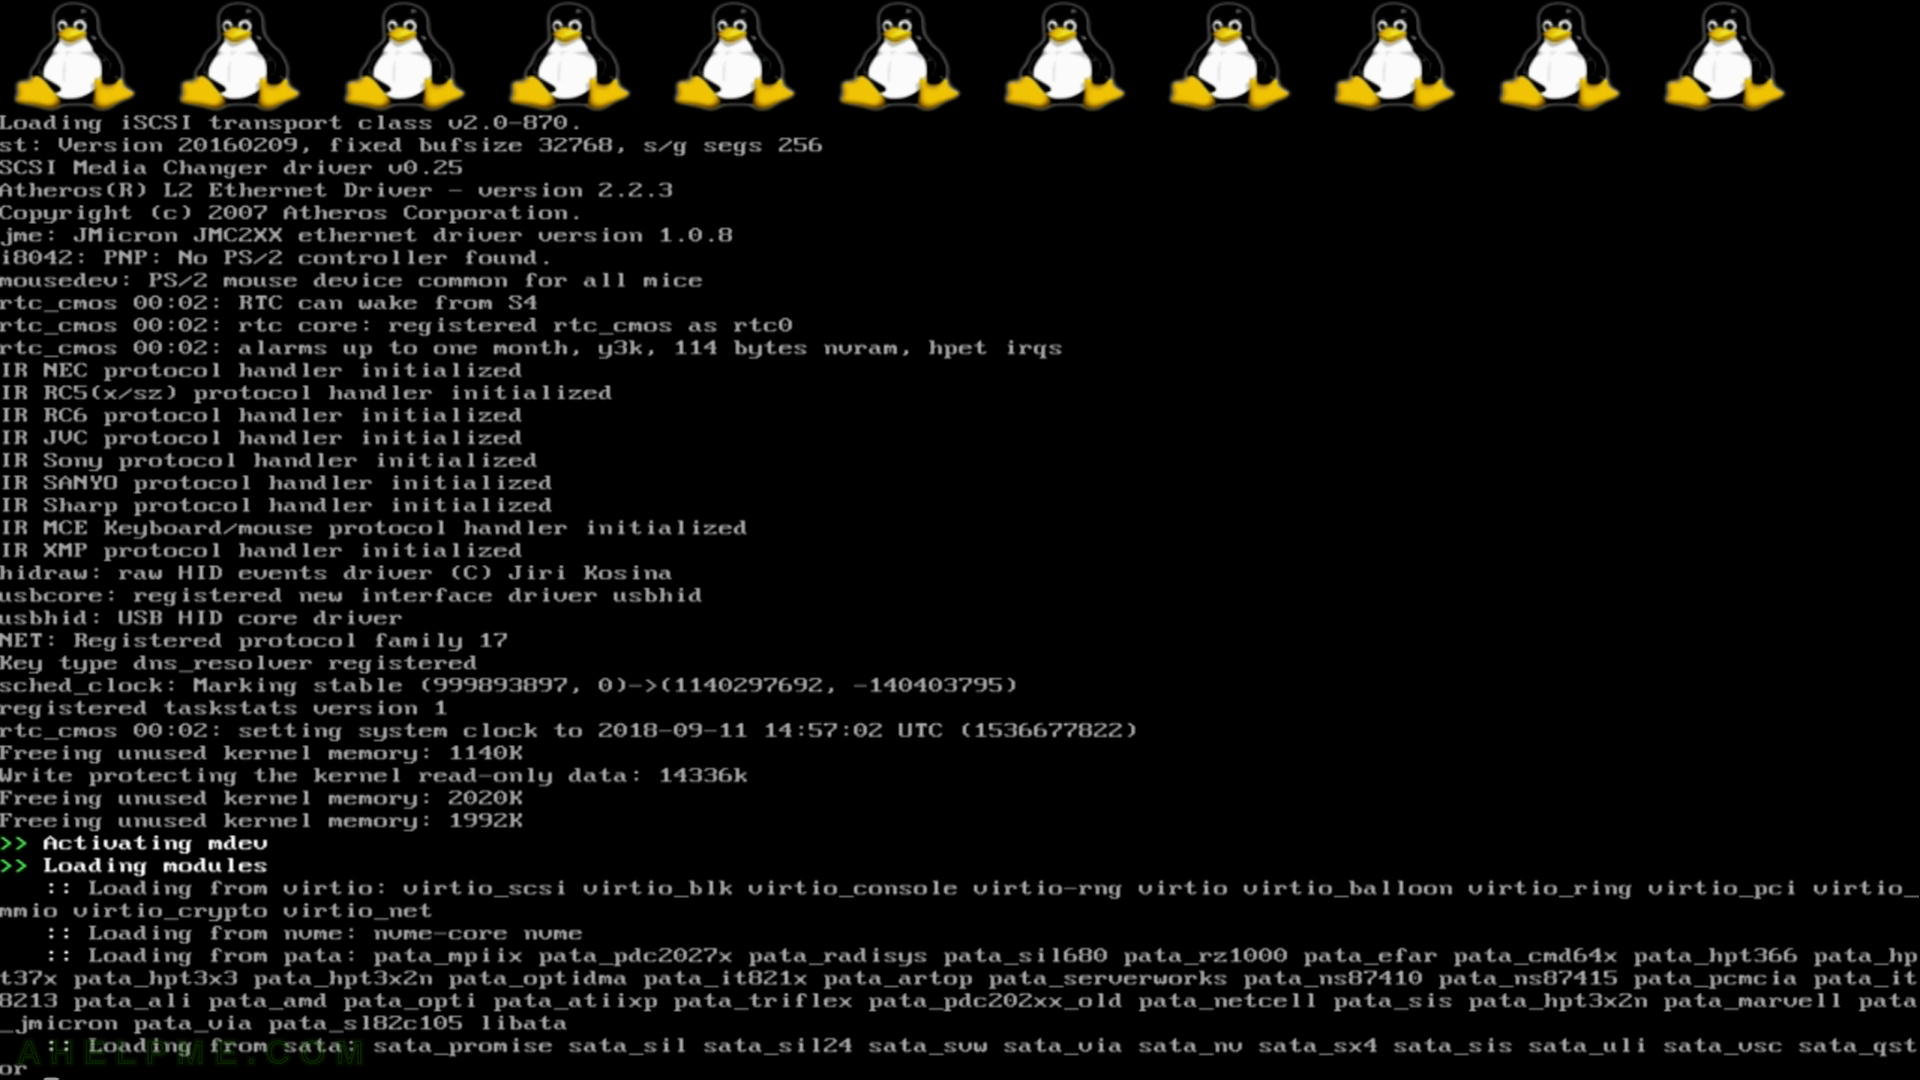
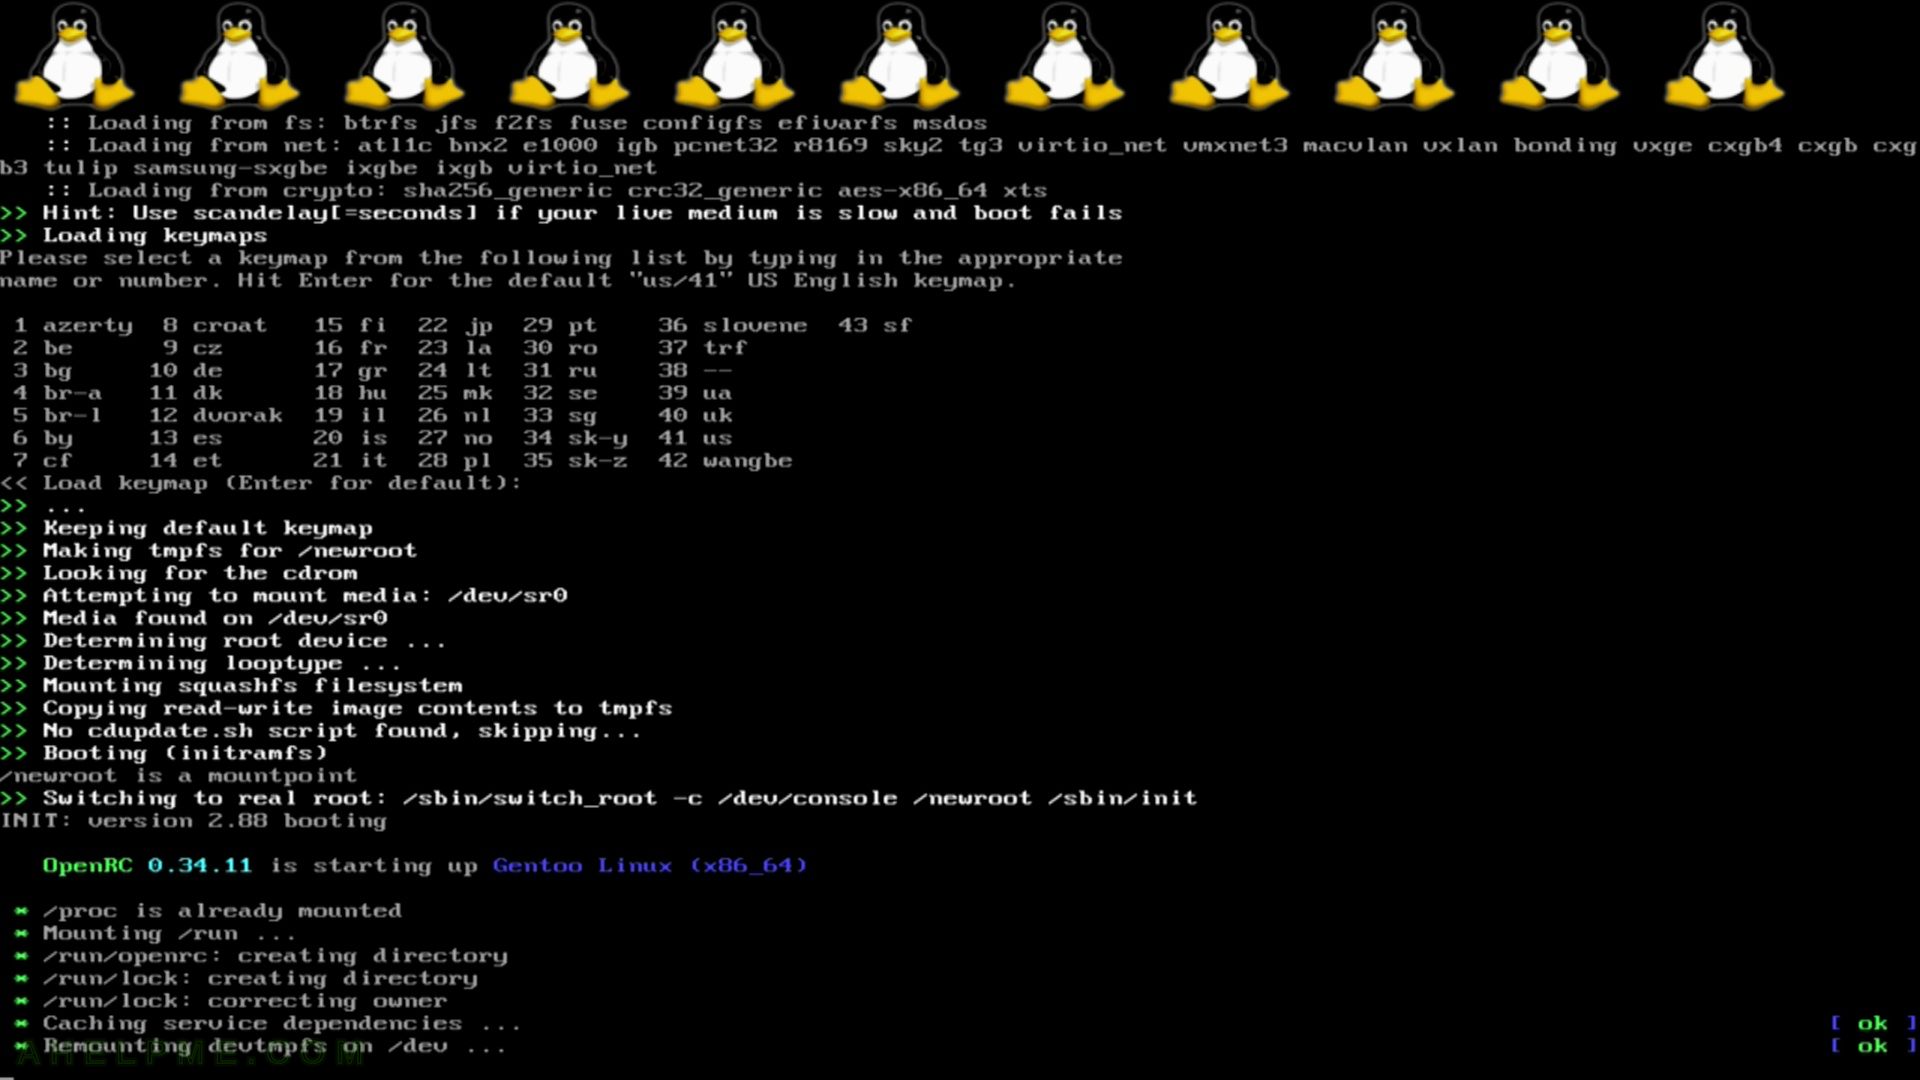
SCREENSHOT 5) Gentoo kernel loading – modules loading
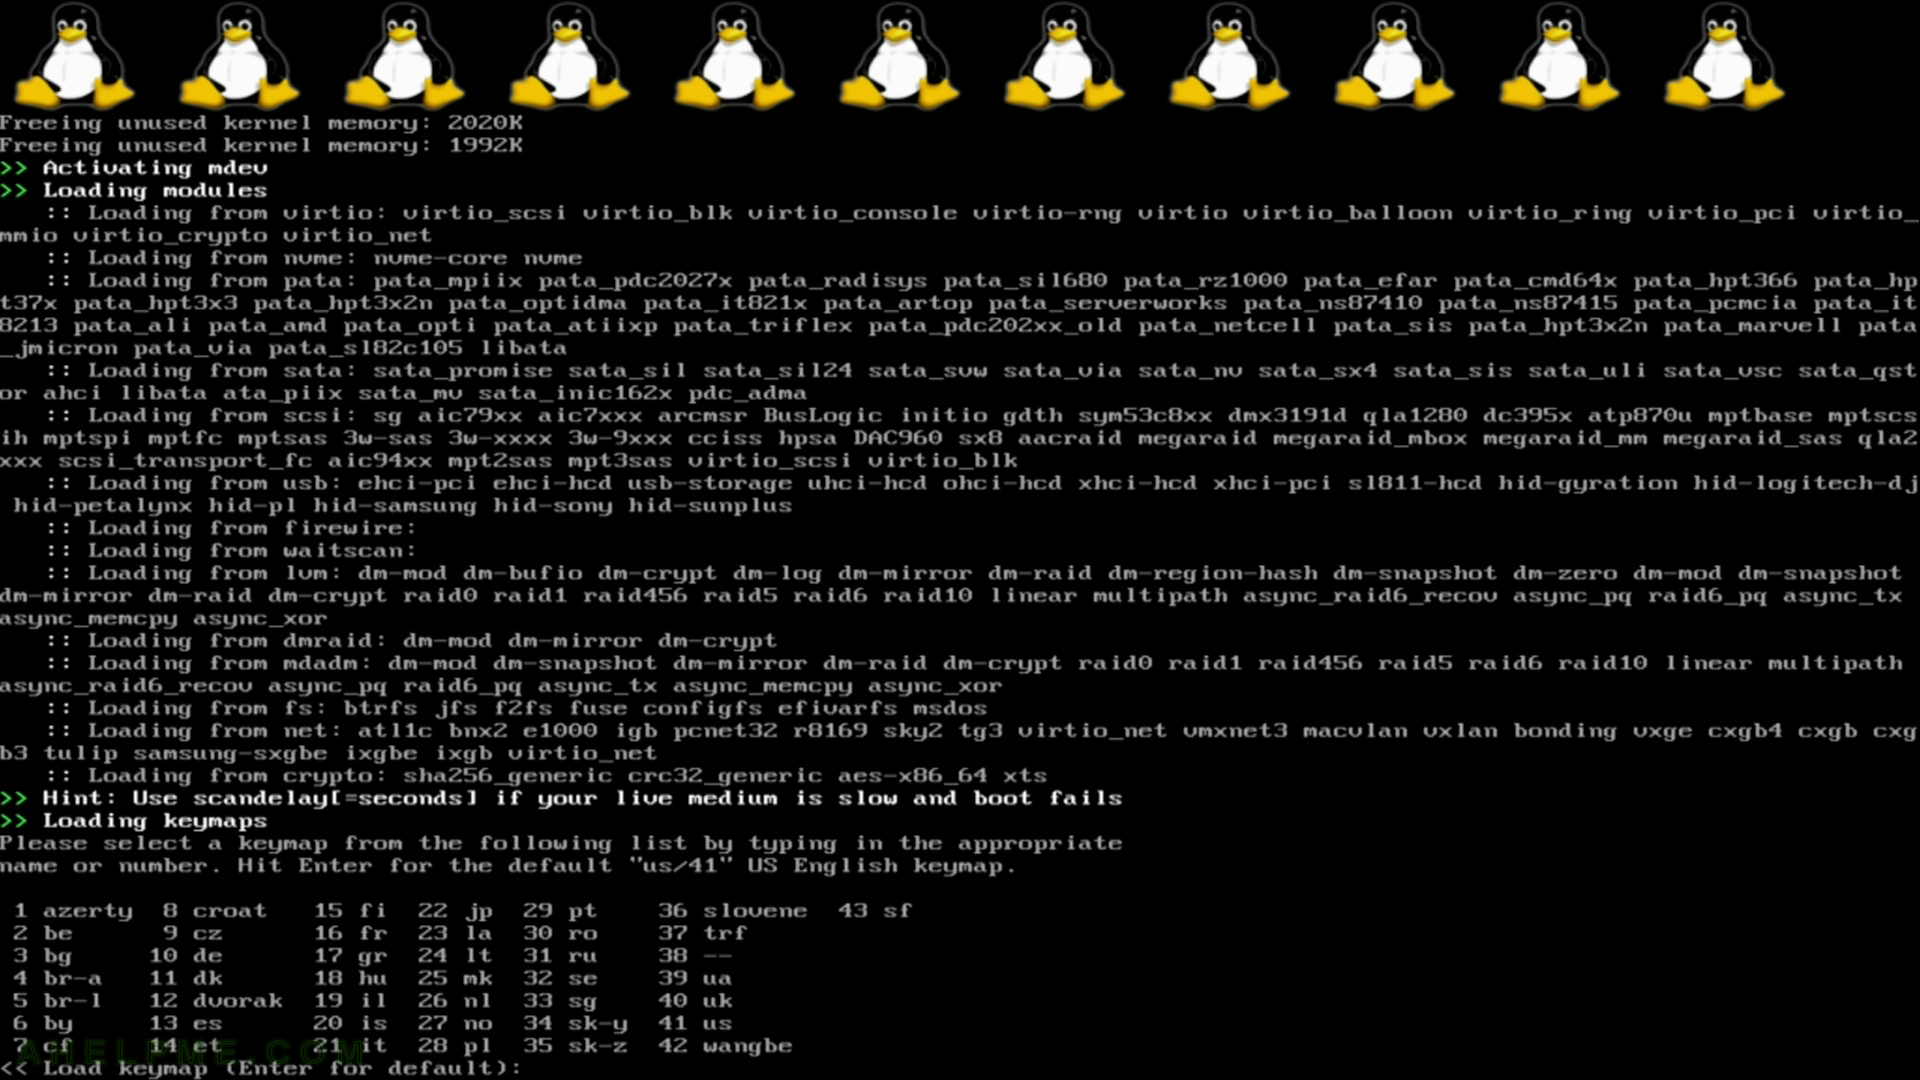
SCREENSHOT 6) Select keymap of your keyboard. Just hit “Enter” for default “US English”
SCREENSHOT 7) OpenRC starts the services (init mode)
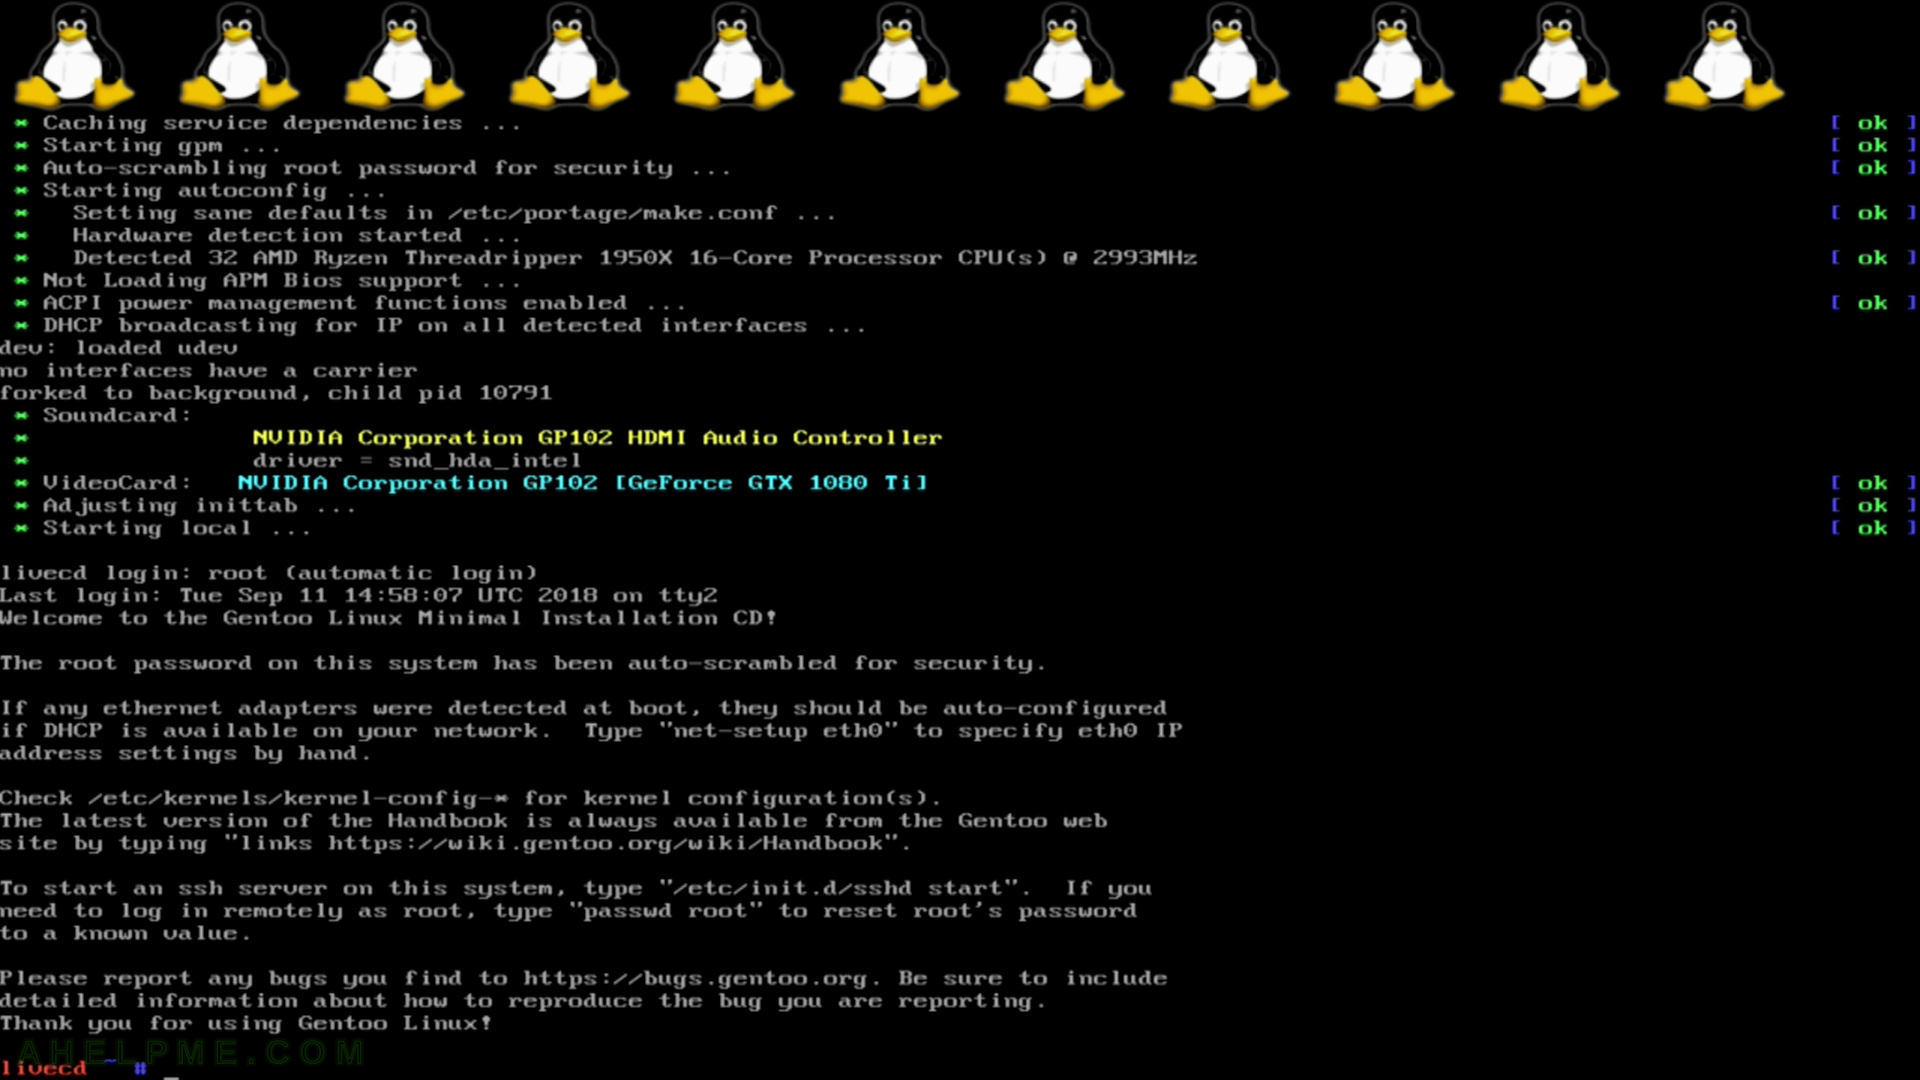
SCREENSHOT 8) System is loaded. Auto logged in the root console.
SCREENSHOT 9) Network settings. By default DHCP client probe for a DHCP server and received an IP.
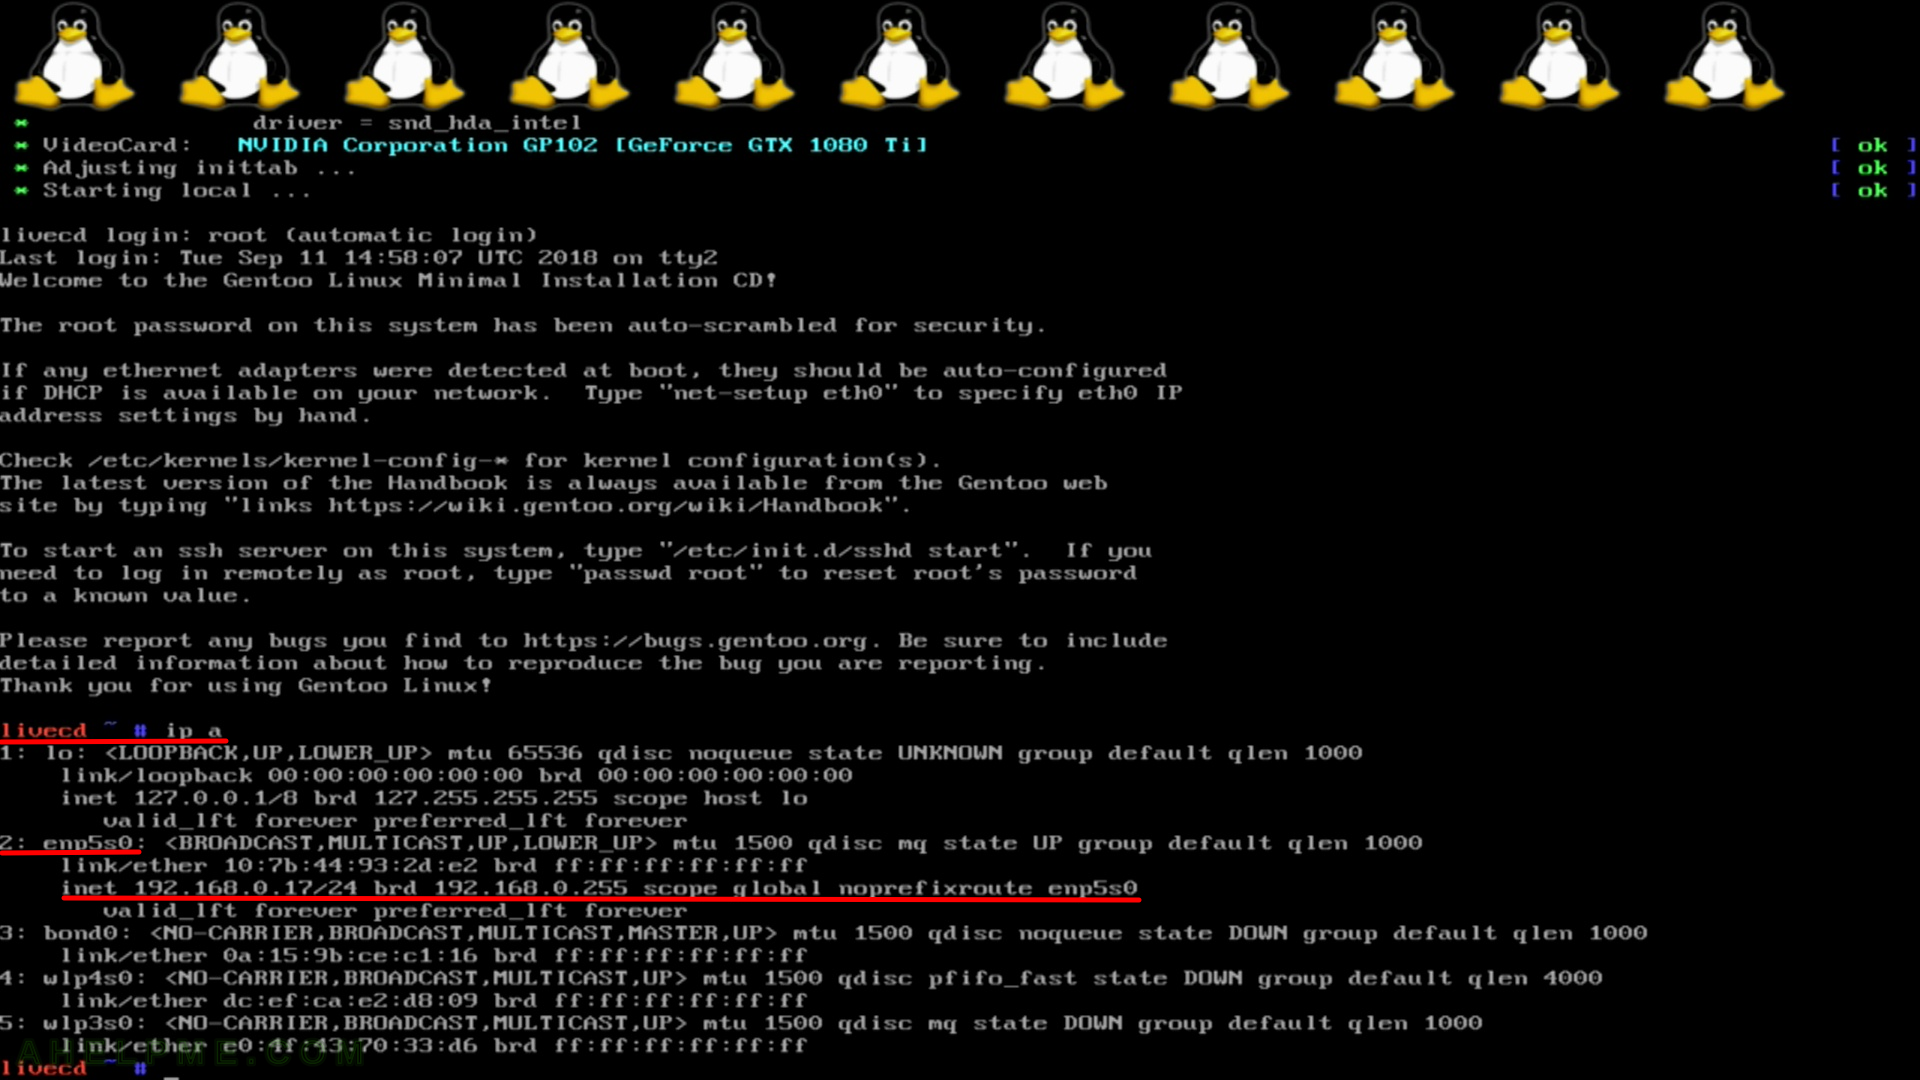
If your network does not offer a DHCP server or you do not have IP in this stage you should follow the SCREENSHOT 9 to 18 or set up yourself with iproute2
#it's good idea to kill the DHCP client, because it will continue to probe for a server even you set up the network manually
killall dhcpcd
ip a add 192.168.0.200/24 dev enp5s0
ip link set enp5s0 up
ip ro add default via 192.168.0.1
#check Internet connection pinging google DNS
ping 8.8.8.8
PING 8.8.8.8 (8.8.8.8) 56(84) bytes of data.
64 bytes from 8.8.8.8: icmp_seq=1 ttl=123 time=5.67 ms
64 bytes from 8.8.8.8: icmp_seq=2 ttl=123 time=3.99 ms
64 bytes from 8.8.8.8: icmp_seq=3 ttl=123 time=3.63 ms
64 bytes from 8.8.8.8: icmp_seq=4 ttl=123 time=3.52 ms
or with older installation CD you can use ifconfig syntax:
killall dhcpcd
ifconfig enp5s0 192.168.0.100 netmask 255.255.255.0 up
route add default gw 192.168.0.1 enp5s0
#check Internet connection pinging google DNS
ping 8.8.8.8
PING 8.8.8.8 (8.8.8.8) 56(84) bytes of data.
64 bytes from 8.8.8.8: icmp_seq=1 ttl=123 time=5.67 ms
64 bytes from 8.8.8.8: icmp_seq=2 ttl=123 time=3.99 ms
64 bytes from 8.8.8.8: icmp_seq=3 ttl=123 time=3.63 ms
64 bytes from 8.8.8.8: icmp_seq=4 ttl=123 time=3.52 ms
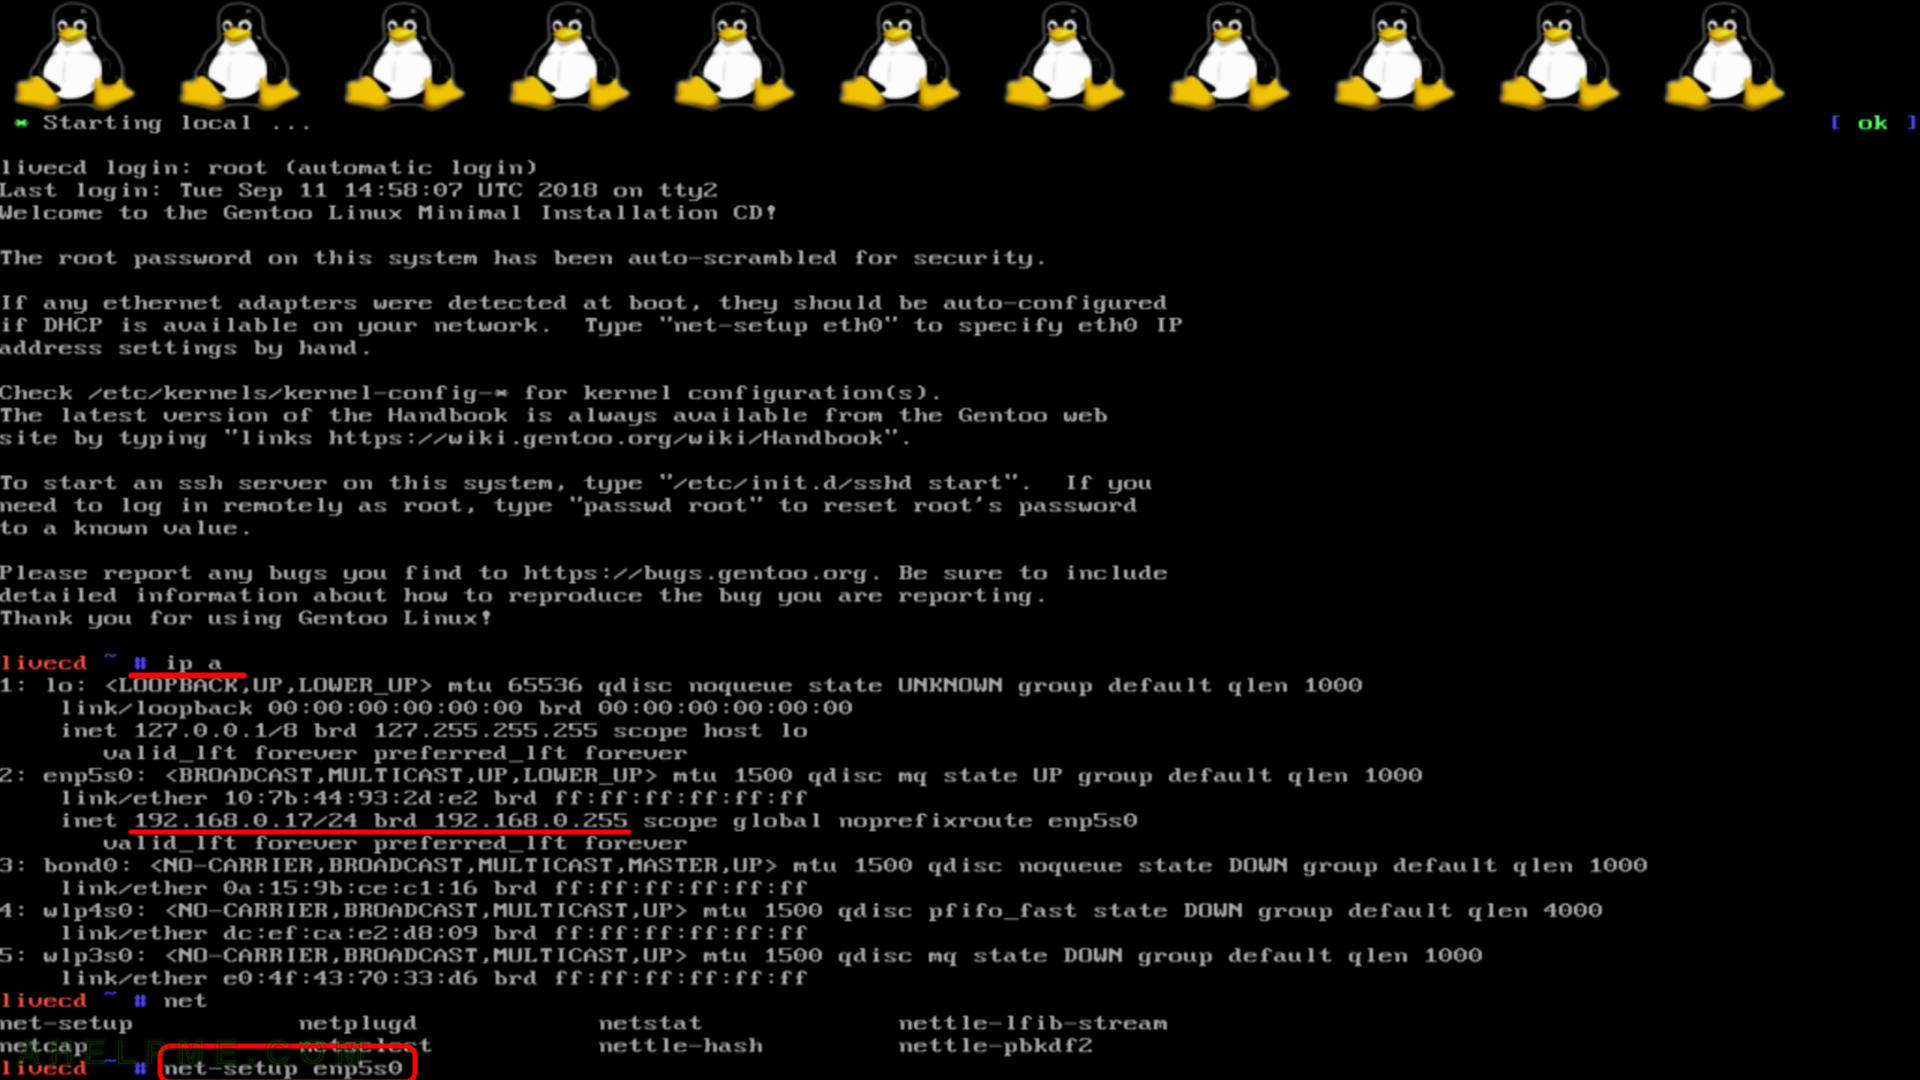
SCREENSHOT 10) “net-setup” console based network utility for setting the network settings.
One thought on “Gentoo Minimal Installation CD (amd64 aka x86_64) – booting (in UEFI mode)”