This article will show the simple steps of installing the latest version of Ubuntu – Ubuntu Desktop 24.04 LTS on the entire second disk in the system. This is the simplest set up with two operation system with dual boot – one Windows 10 and one the new Ubuntu 24.04. There are two separate disks one NVME and one hard disk device in the system are installed, and the the entire sda disk will be used for the installation of Ubuntu Desktop 24.04 LTS. All disk information in sda disk device will be permanently deleted by the installation wizard! Review of Ubuntu Desktop 24.04 LTS with 100+ screenshots – coming soon.
Ubuntu Desktop 24.04 LTS offers the following software:
- Xorg X server – 1.21.1.11
- GNOME (the GUI) – 46.0
- linux kernel – 6.8.0
- linux-firmware – 20240318.git3b128b60
- QT – 5.15.13 and 6.4.2
- libc – 2.39
- gnu gcc – 9.5.0, 10.5.0, 11.4.0, 12.3.0, 13.2.0 and 14-20240412
- coreutils – 9.4
- python3 (default) – 3.12.3
- perl – 5.38.2
- apt – 2.7.14
- cups – 2.4.7
We used the following ISO for the installation process – Ubuntu 24.04 LTS (Noble Numbat): https://releases.ubuntu.com/noble/ubuntu-24.04-desktop-amd64.iso
It is a LIVE image so you can try it before installing it. The easiest way is just to download the image and burn it to a DVD disk or make a bootable USB flash drive with the Linux dd tool and then follow the installation below.
The USB drive, which will be overwritten by the dd command is /dev/sdb – all data on this device will be lost! Check carefully, which device is the plugged removable USB device, which should host the live Ubuntu Desktop 24.04 LTS installation image.
sudo # dd if=/mnt/media/OS/ubuntu-24.04-desktop-amd64.iso of=/dev/sdb bs=8M status=progress oflag=direct
6056574976 bytes (6.1 GB, 5.6 GiB) copied, 52 s, 116 MB/s6114656256 bytes (6.1 GB, 5.7 GiB) copied, 52.4699 s, 117 MB/s

728+1 records in
728+1 records out
6114656256 bytes (6.1 GB, 5.7 GiB) copied, 52.5094 s, 116 MB/s
It’s worth noting this installation procedure is a little bit different than the last for Ubuntu 22.04. Follow the screenshots below to install Ubuntu Desktop 24.04 LTS:
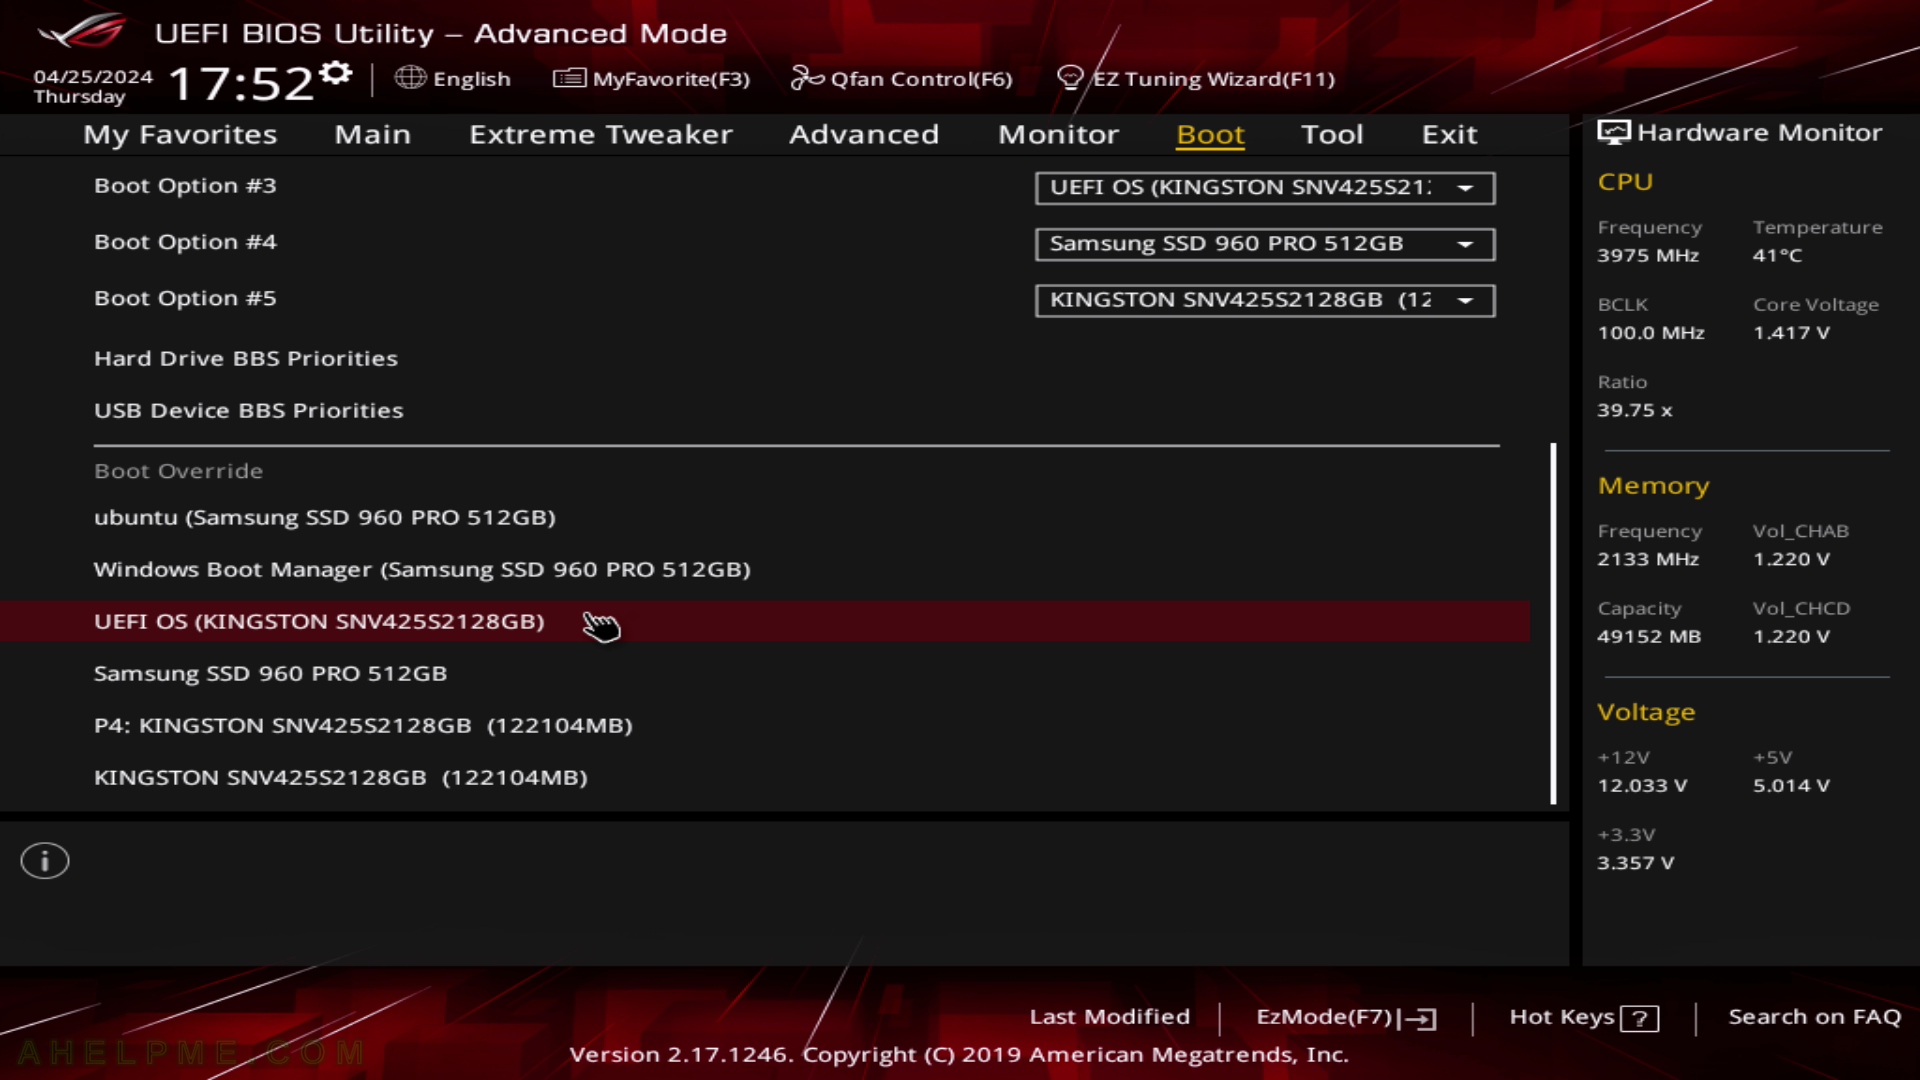
SCREENSHOT 1) Boot from the UEFI USB flash drive to install the Ubuntu 24.04 LTS.
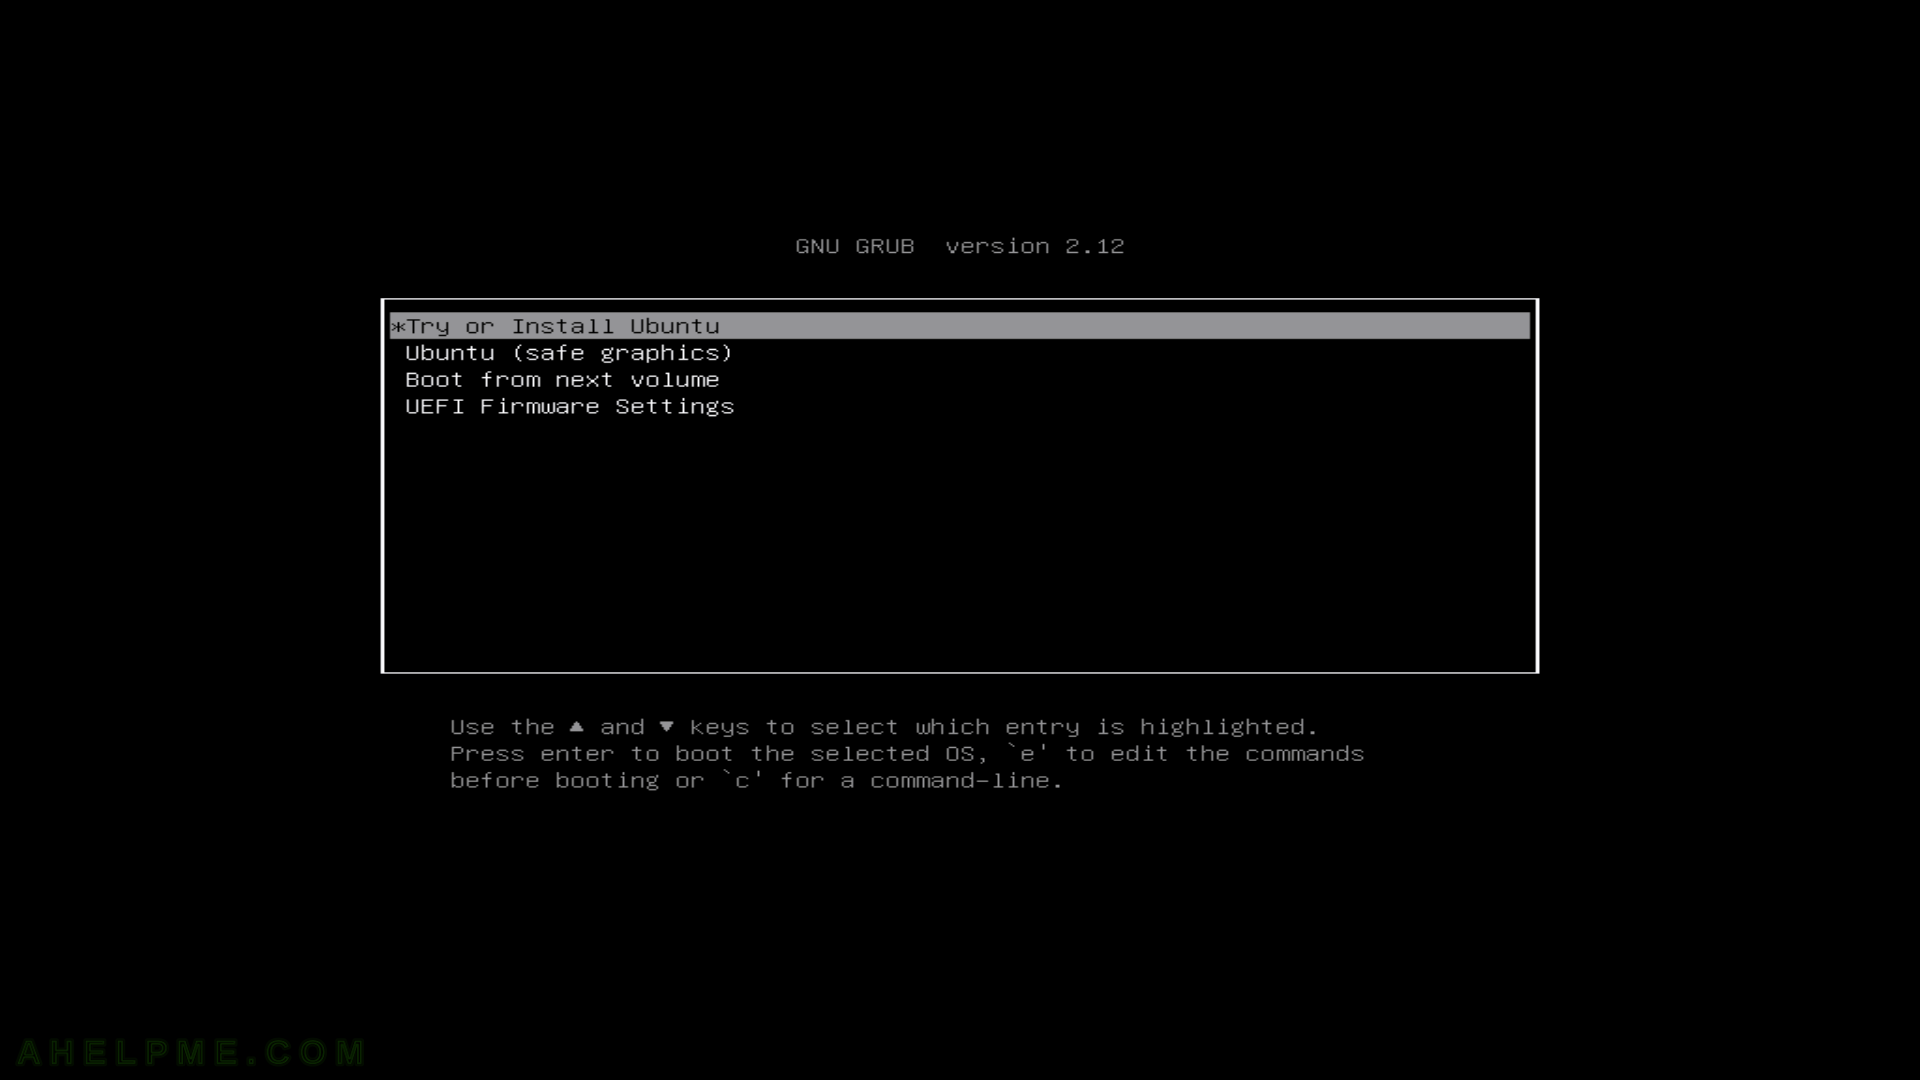
SCREENSHOT 2) Select to “Try or Install Ubuntu” and hit enter.
To install Ubuntu from your DVD or USB you must boot from it, so change your BIOS accordingly – first boot divice should be the DVD or USB drive with Ubuntu installation. If you do it successfully you would see the screenshot below.
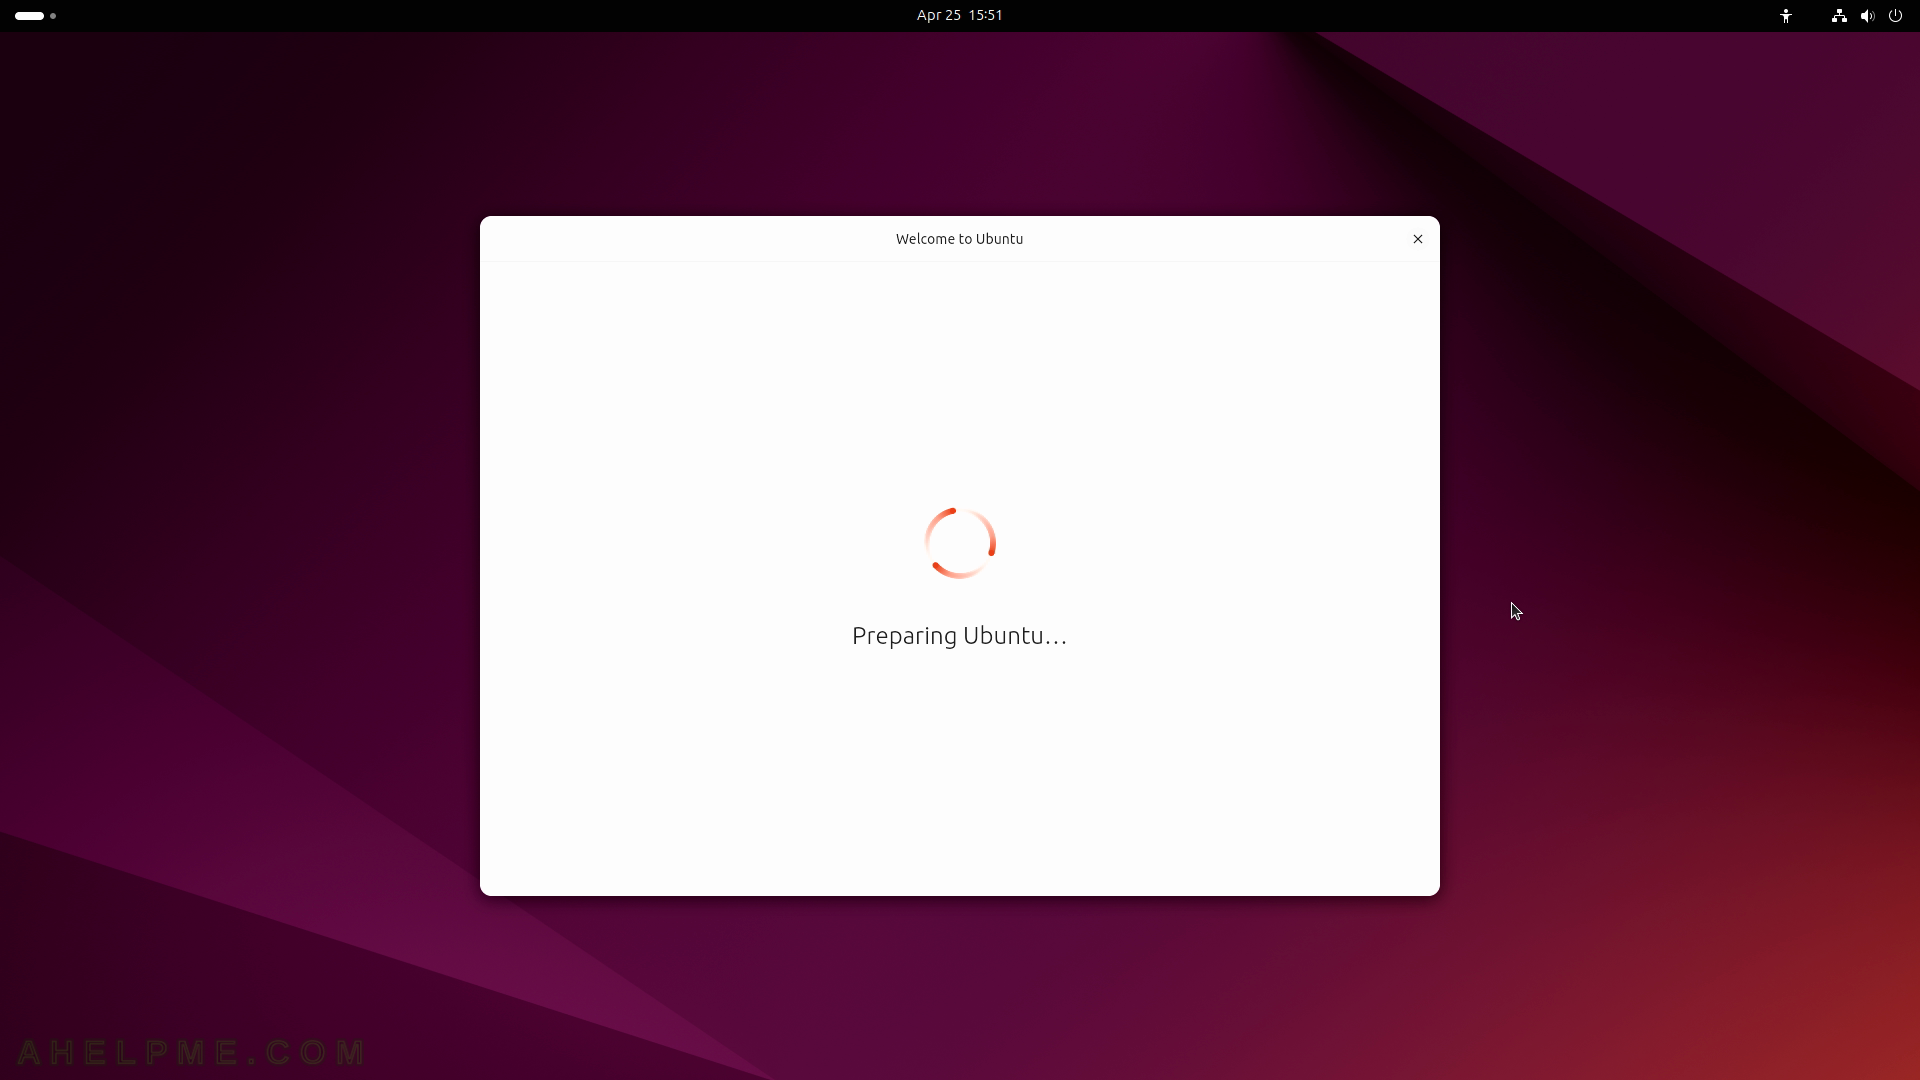
SCREENSHOT 3) Ubuntu installation is staring…

SCREENSHOT 4) The graphical user interface has loaded and the initial setup is preparing Ubuntu.
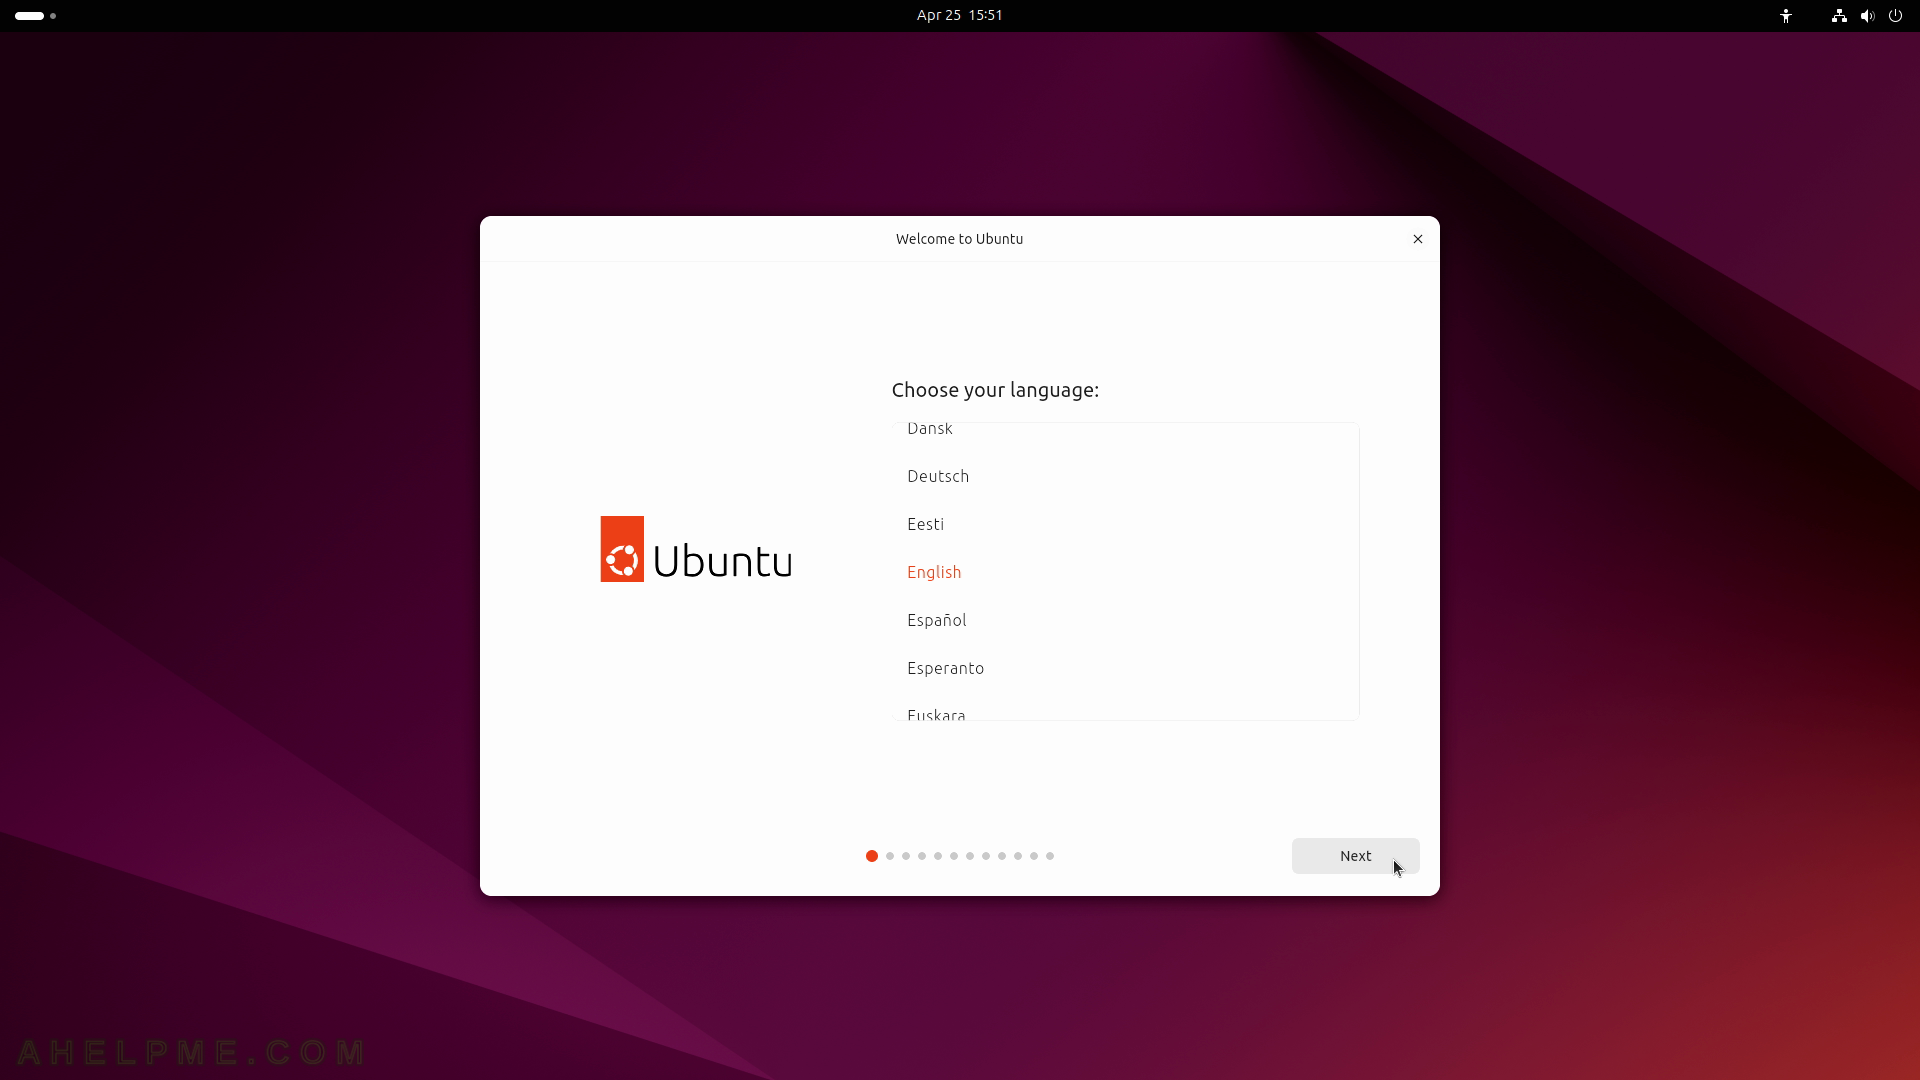
SCREENSHOT 5) Choose your language for the installation and your system.
By default, English is selected. Click on “Next”.
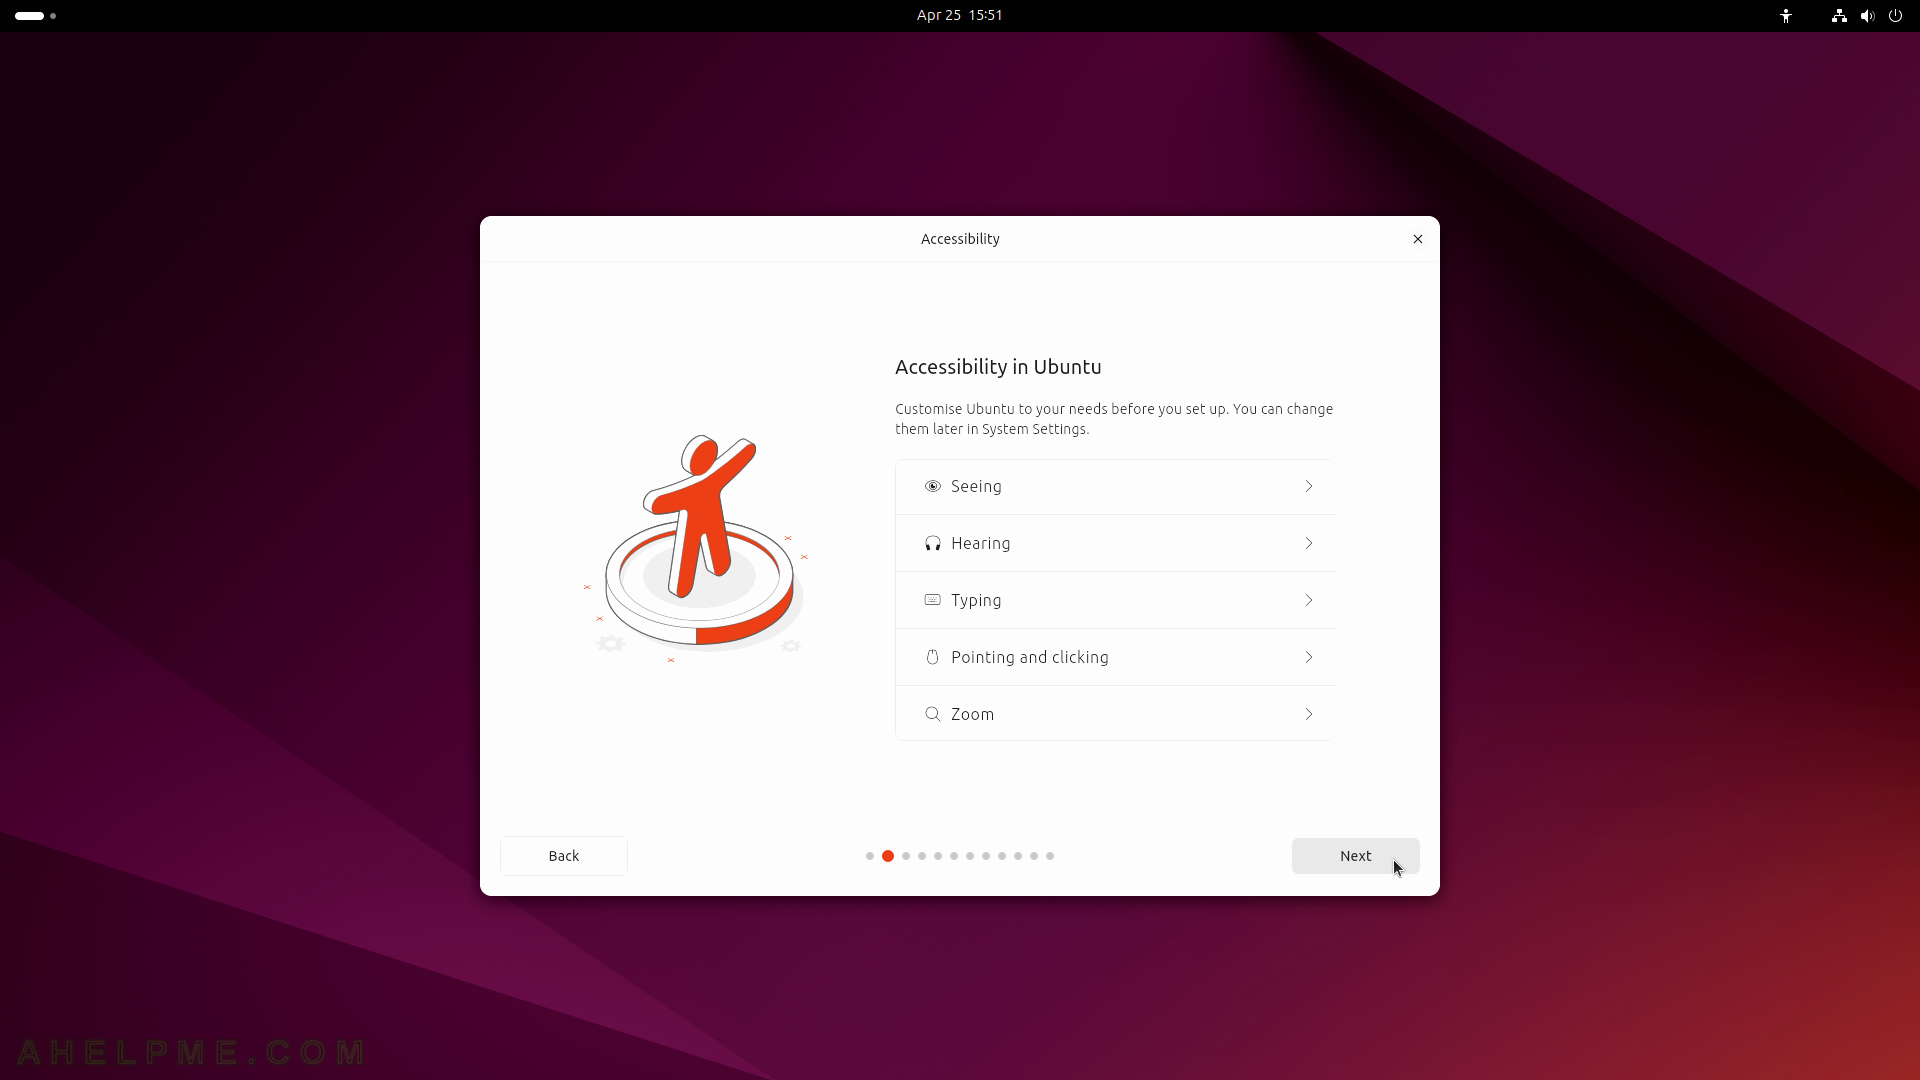
SCREENSHOT 6) Customize Ubuntu for your needs.
Several options are available – Seeing, Hearing, Typing, Pointing and clicking, and Zoom.
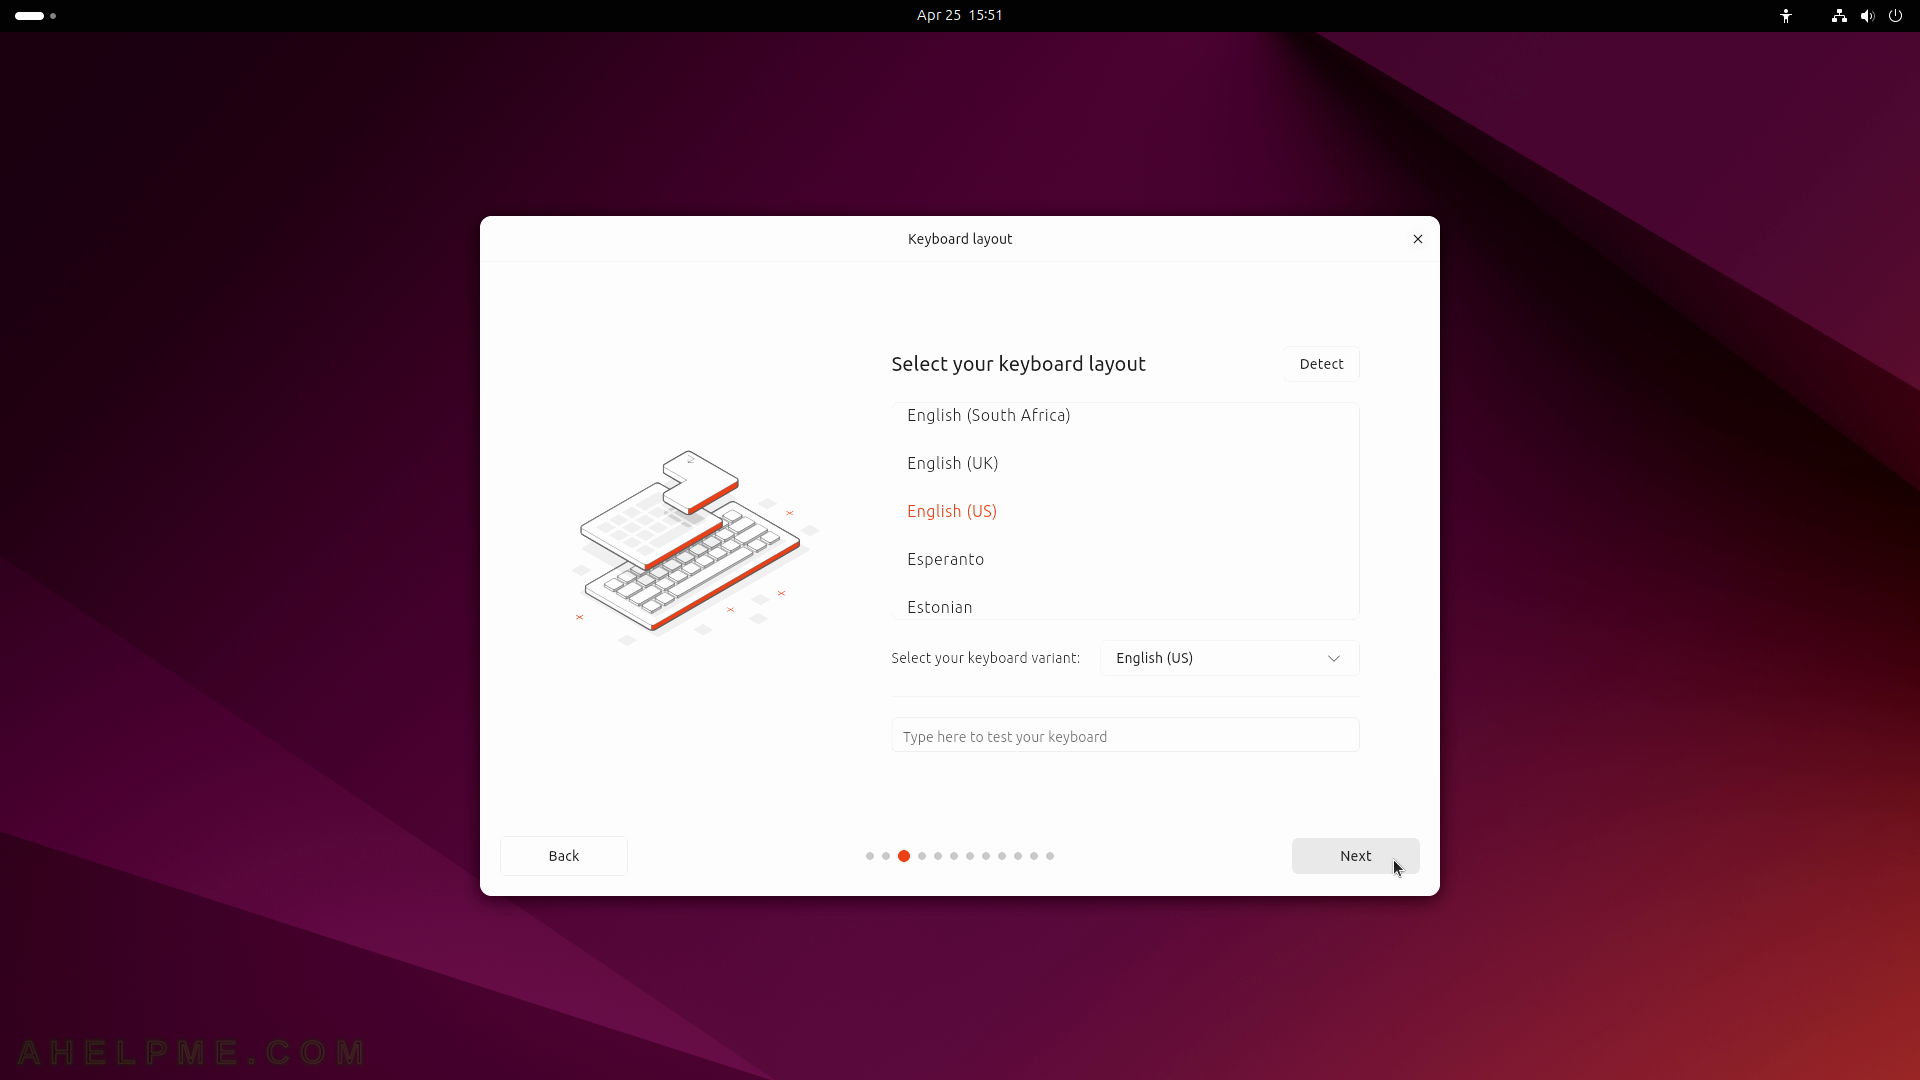
SCREENSHOT 7) Choose your proper localized keyboard layout.
Probably the default is ok, the setup tries to autodetect it. Click on “Next”.
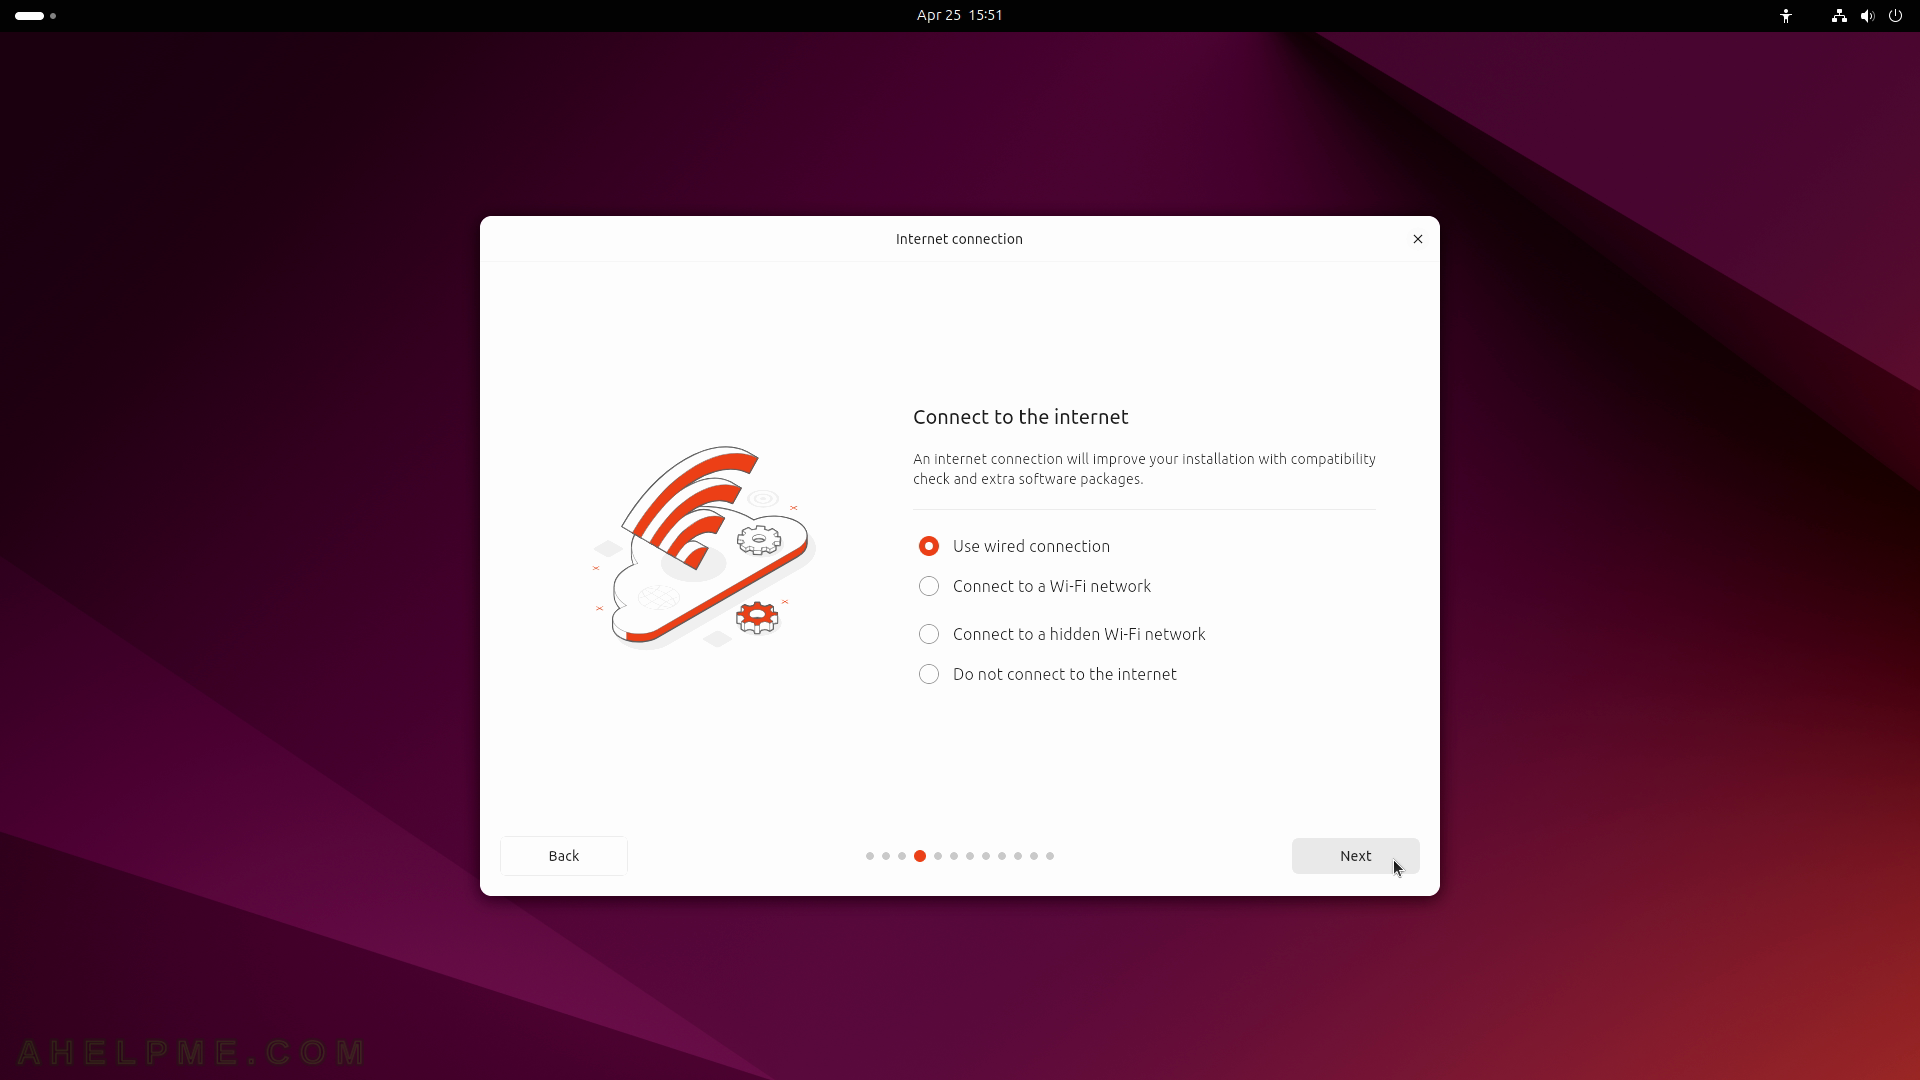
SCREENSHOT 8) An Internet connection is not mandatory, but it will improve the installation with compatibility check and extra software packages.
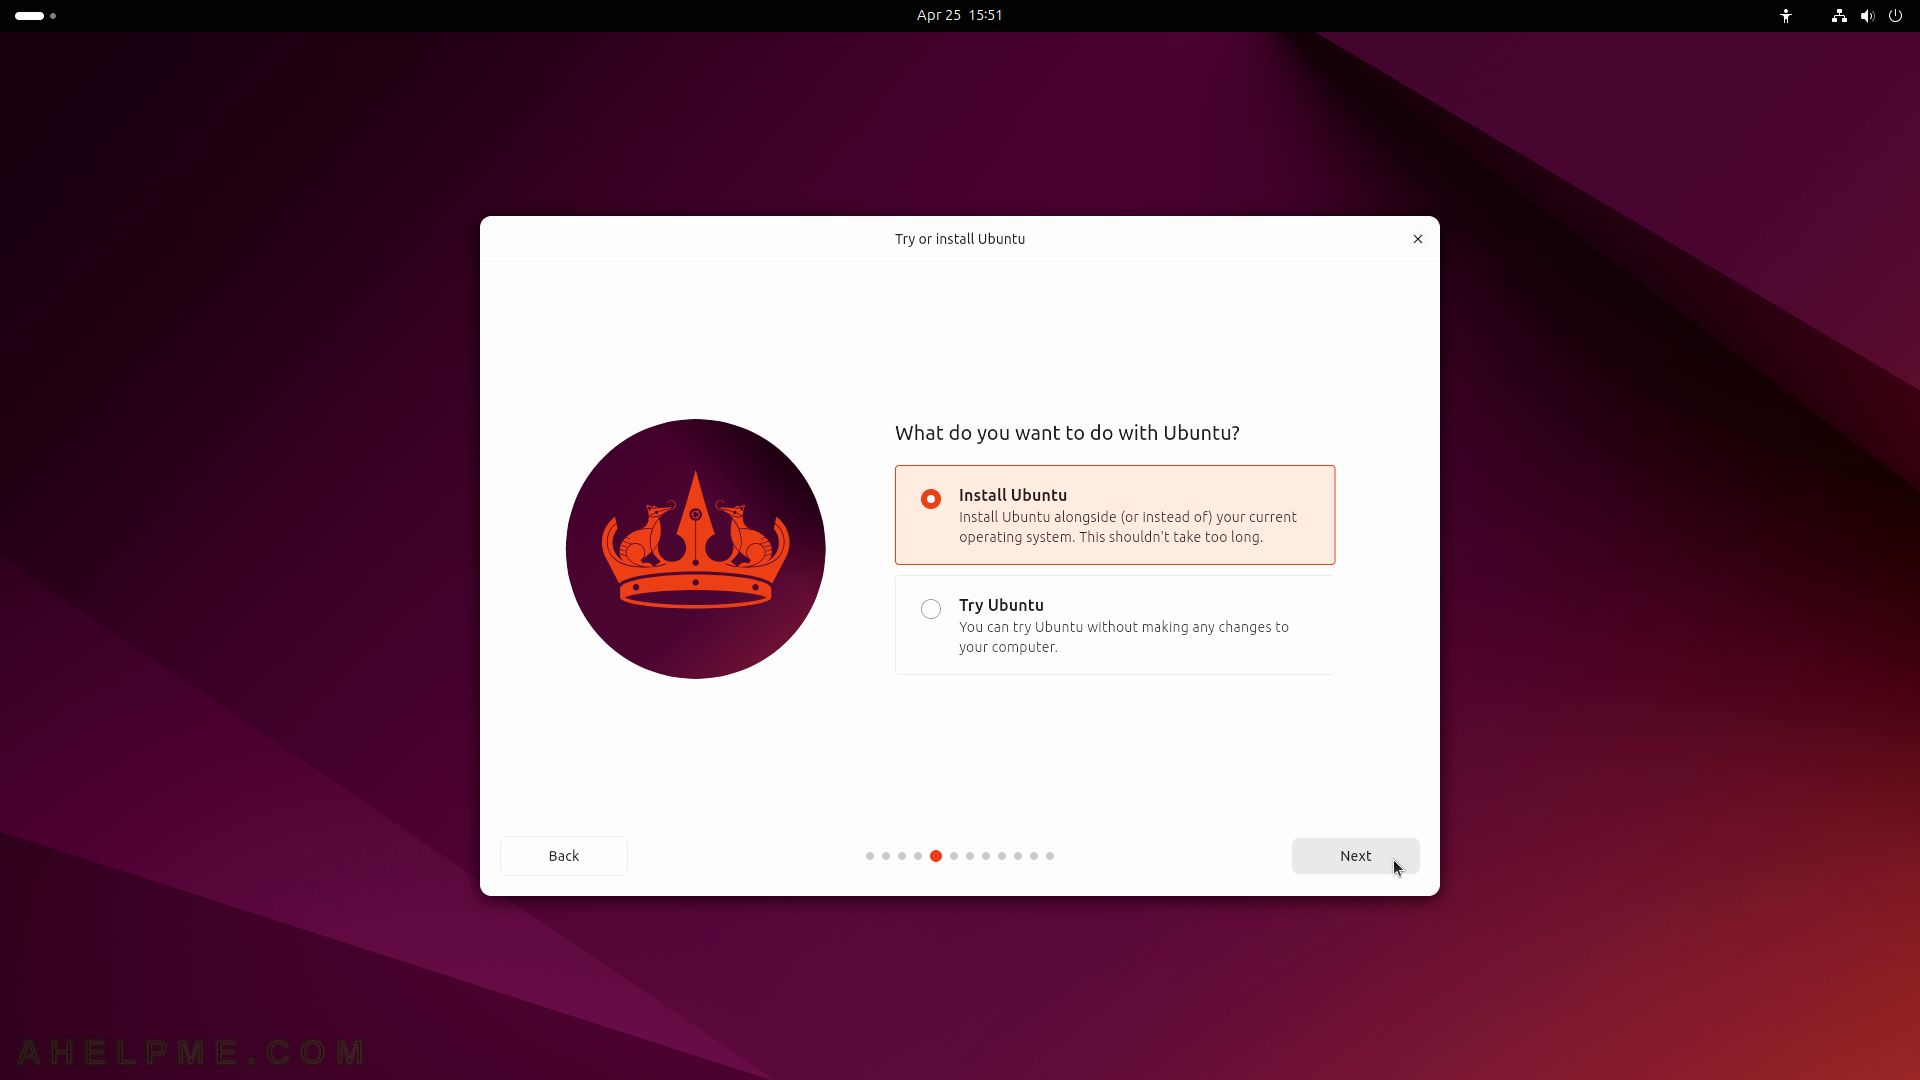
SCREENSHOT 9) Click on “Install Ubuntu”, because this is the purpose of this article.
If the user would like to just try and see what the new Ubuntu 24.04 can do select the second option “Try Ubuntu”.
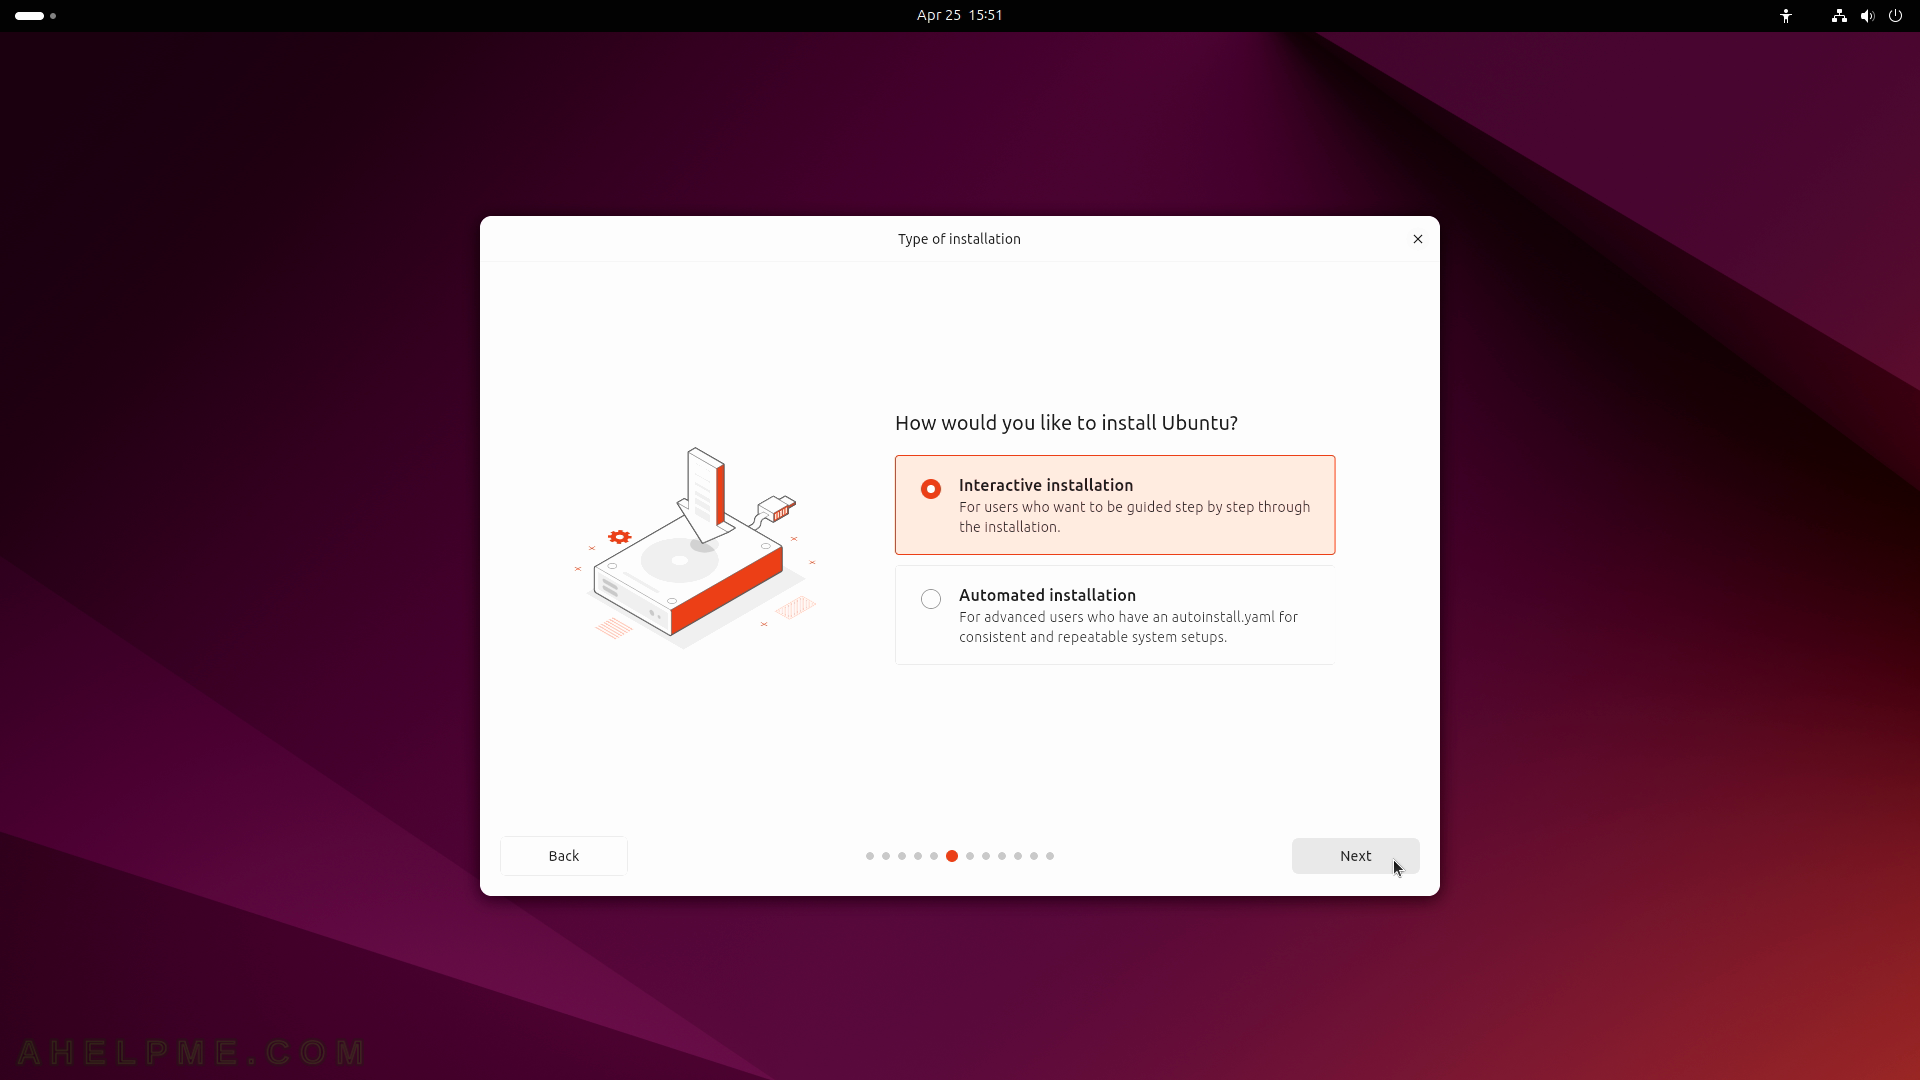
SCREENSHOT 10) This is not an automated installation with no user interaction.
The user will choose several custom options.