This article will show the simple steps of installing a modern Linux Distribution like Fedora 39 KDE Plasma with KDE for the user graphical interface. First, it is offered the basic steps for installing the Operating system and then there are some screenshots of the installed system and its look and feel of it. Here is another article available with more screenshots of the installed and working Fedora 39 KDE Plasma – Review of freshly installed Fedora 39 KDE Plasma Desktop (KDE GUI). If the user is interested in Gnome as a graphical interface there are two articles on how to install Fedora 39 Workstation Edition, which comes with GNOME – Install Fedora Workstation 39 (Gnome GUI) and Review of freshly installed Fedora 39 Workstation (Gnome GUI).
This is the simplest setup. One hard disk device in the system is installed, which is detected as sda and the entire disk will be used for the installation of Fedora 39 KDE Plasma. All disk information in sda disk device will be permanently deleted by the installation wizard!
The Fedora 39 KDE Plasma Desktop comes with
- Xorg X11 server – 1.20.14 and Xorg X11 server XWayland 23.2.2 is used by default
- linux kernel – 6.5.6
- KDE Plasma version: 5.27.8
- KDE Frameworks version: 5.110.0
- QT version: 5.15.10
For more packages and versions information the user may check out the Fedora 39 server articles – Software and technical details of Fedora Server 39 including cockpit screenshots.
We used the following ISO for the installation process:
https://fedora.ipacct.com/fedora/linux/releases/39/Spins/x86_64/iso/Fedora-KDE-Live-x86_64-39-1.5.iso
It is a LIVE image so you can try it before installing it. The easiest way is just to download the image and burn it to a DVD disk or to flush a USB drive with the ISO. Just use the Linux command dd and a USB flash drive. It’s worth mentioning the dd command will destroy all data on the USB drive and overwrite it with the Fedora KDE Live ISO, so be sure to use a UBS Flash, which data is not important or with no data on it. The dd command uses the ISO as input and the output is the USB drive in Linux device form as /dev/sd?. For the following dd command, the USB drive is /dev/sdd
dd if=/mnt/media/OS/Fedora/Fedora-KDE-Live-x86_64-39-1.5.iso of=/dev/sdd bs=8M status=progress oflag=direct
2399141888 bytes (2.4 GB, 2.2 GiB) copied, 24 s, 99.9 MB/s2481055744 bytes (2.5 GB, 2.3 GiB) copied, 24.8488 s, 99.8 MB/s

295+1 records in
295+1 records out
2481055744 bytes (2.5 GB, 2.3 GiB) copied, 24.8797 s, 99.7 MB/s
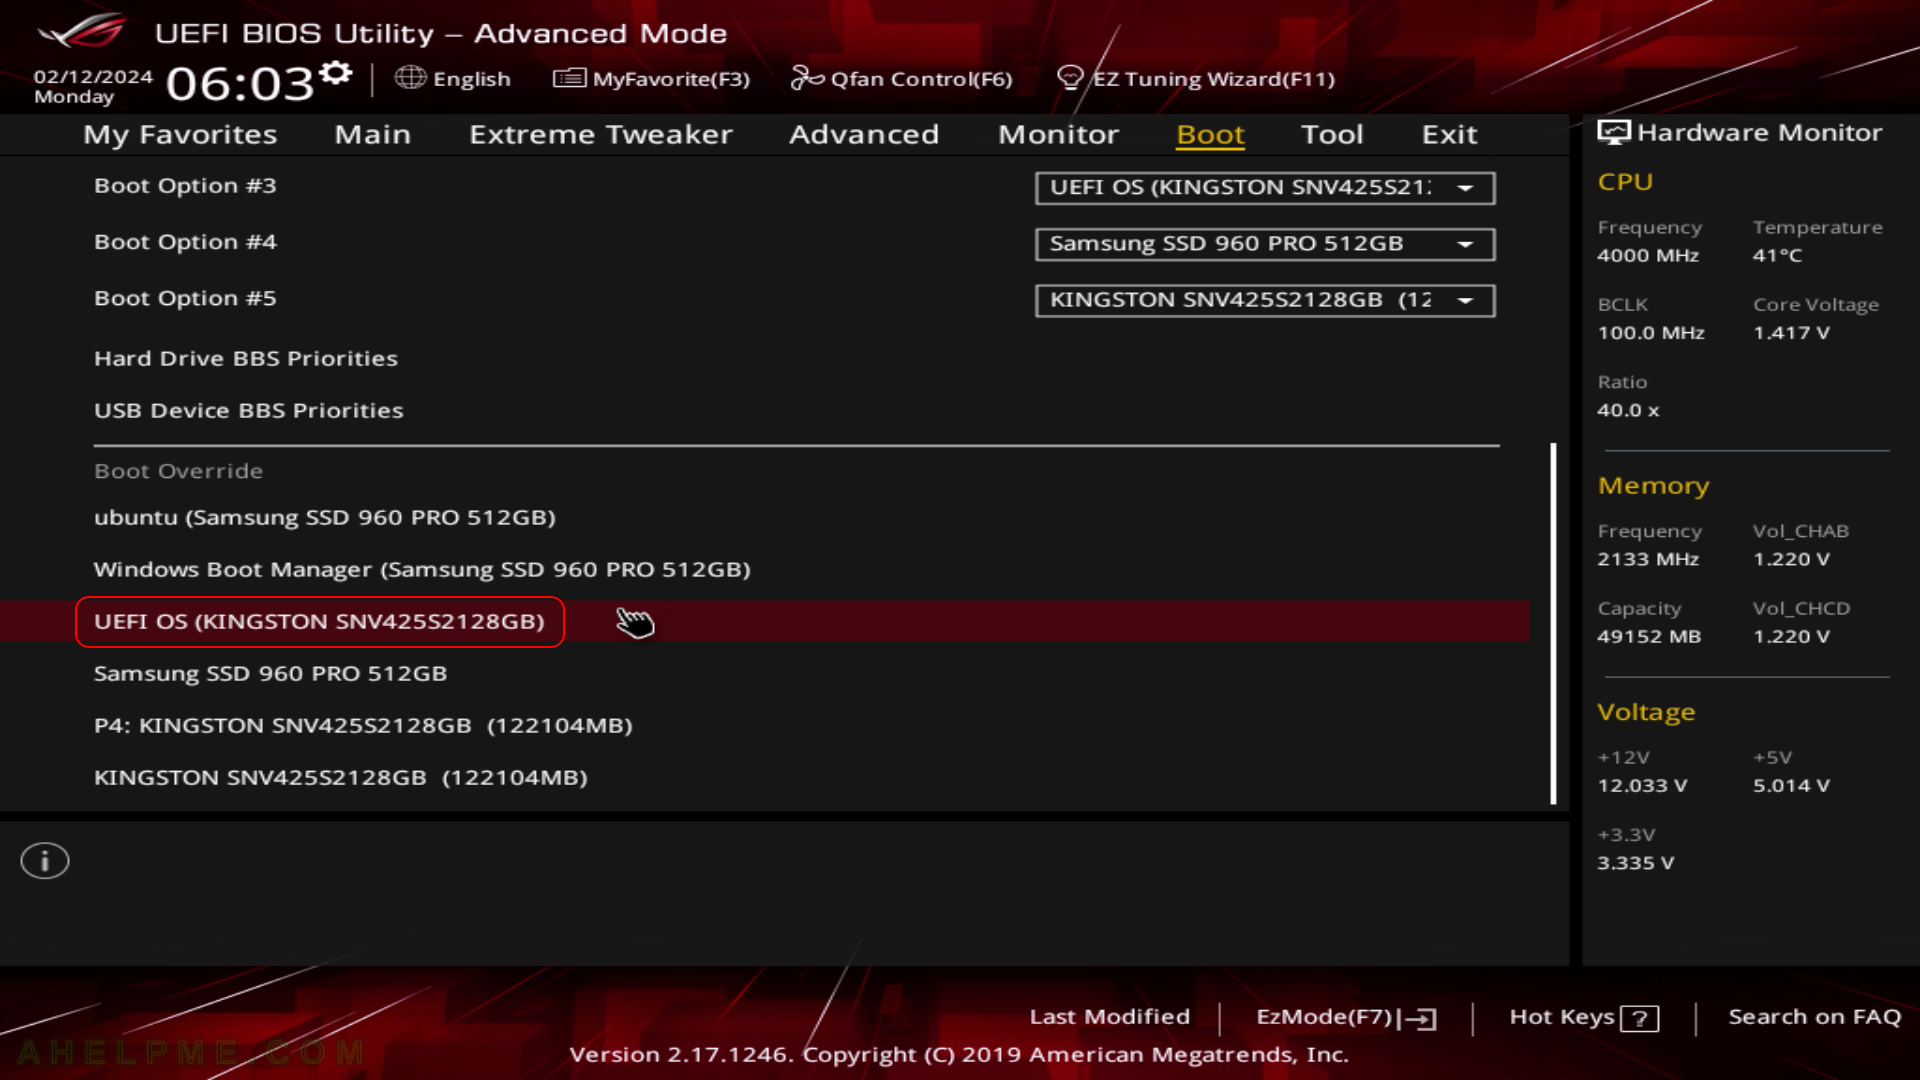
SCREENSHOT 1) Boot from the UEFI USB Drive Kingston device.
It is the same as the USB CD/DVD-ROM bootable removable drive. Choose the UEFI USB CD/DVD drive and boot the installation live drive.
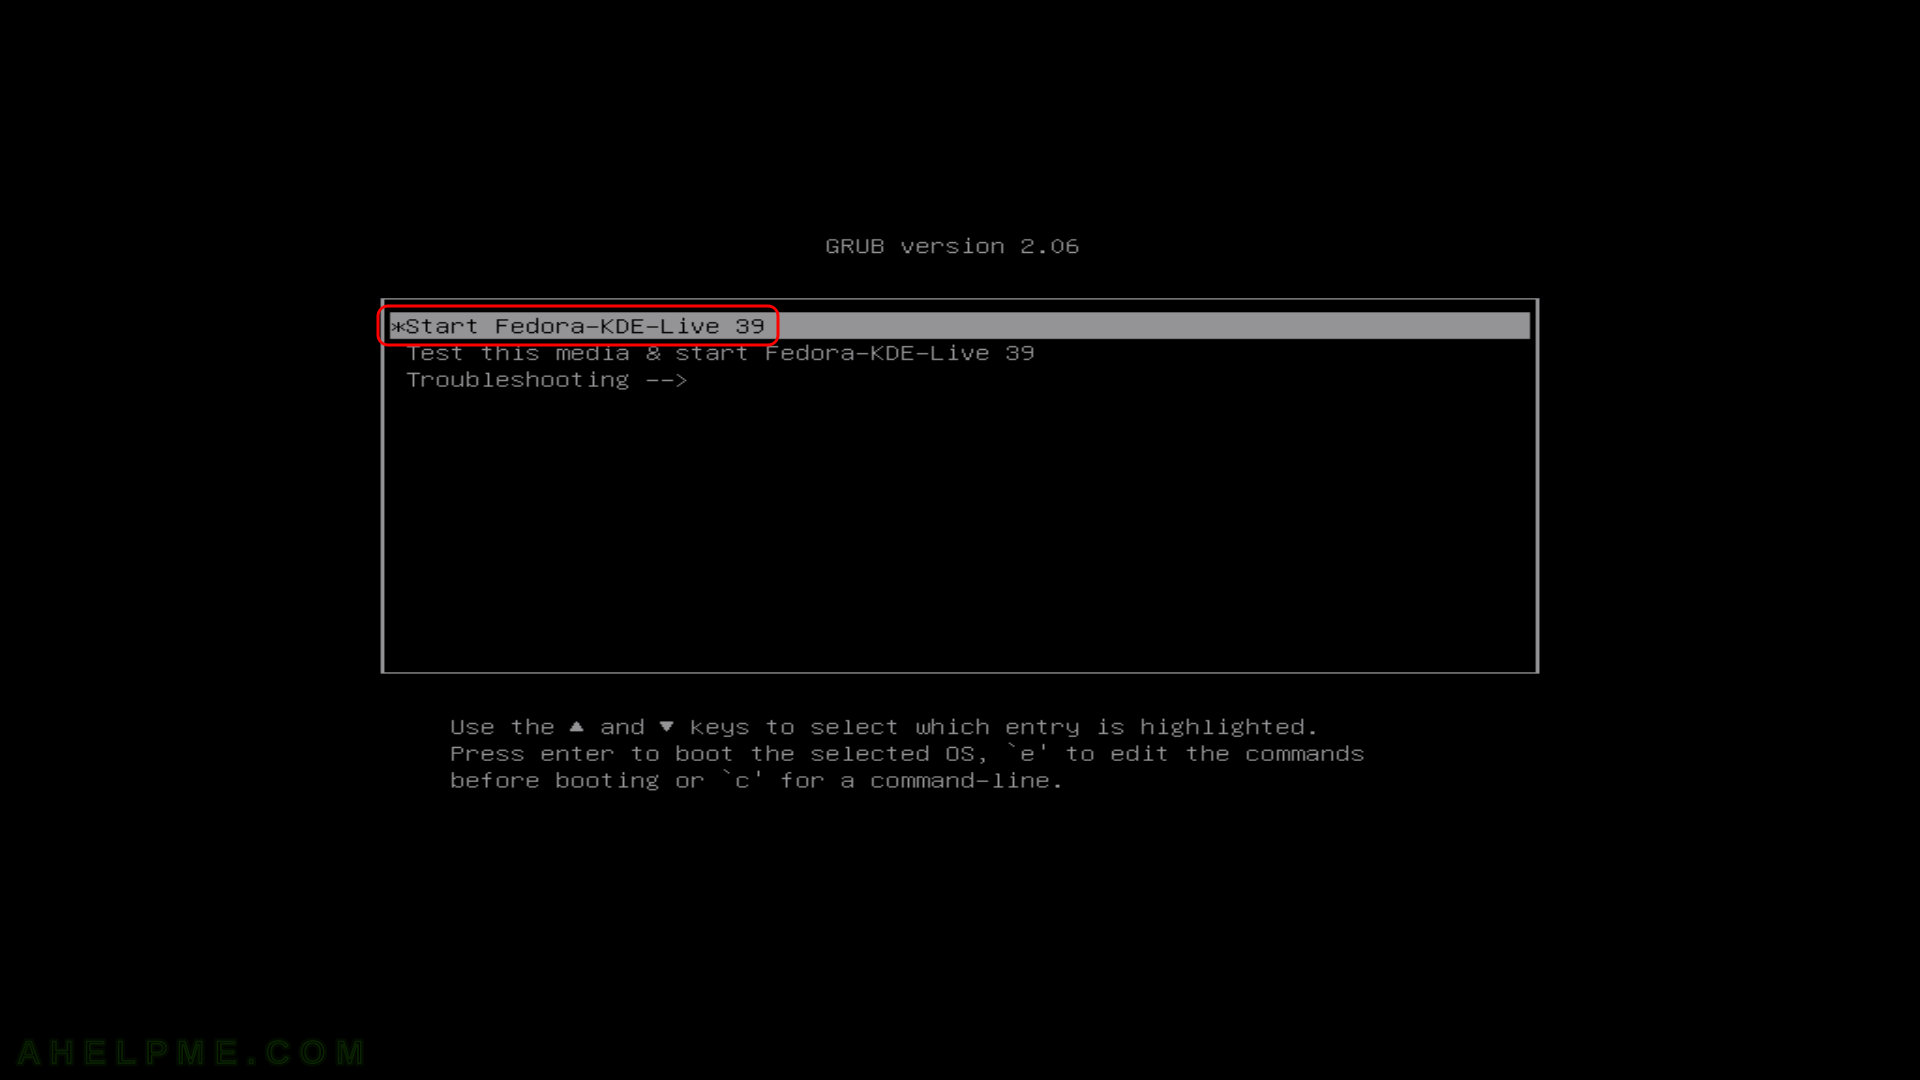
SCREENSHOT 2) Select “Start Fedora-KDE-Live 39” and hit enter.
SCREENSHOT 3) The loading screen of Fedora-KDE-Live 39.

SCREENSHOT 4) KDE Plasma is loading.
The installation wizard loads a fully functioning KDE environment.
SCREENSHOT 5) Autologged in the KDE Plasma of Fedora-KDE-Live 39.
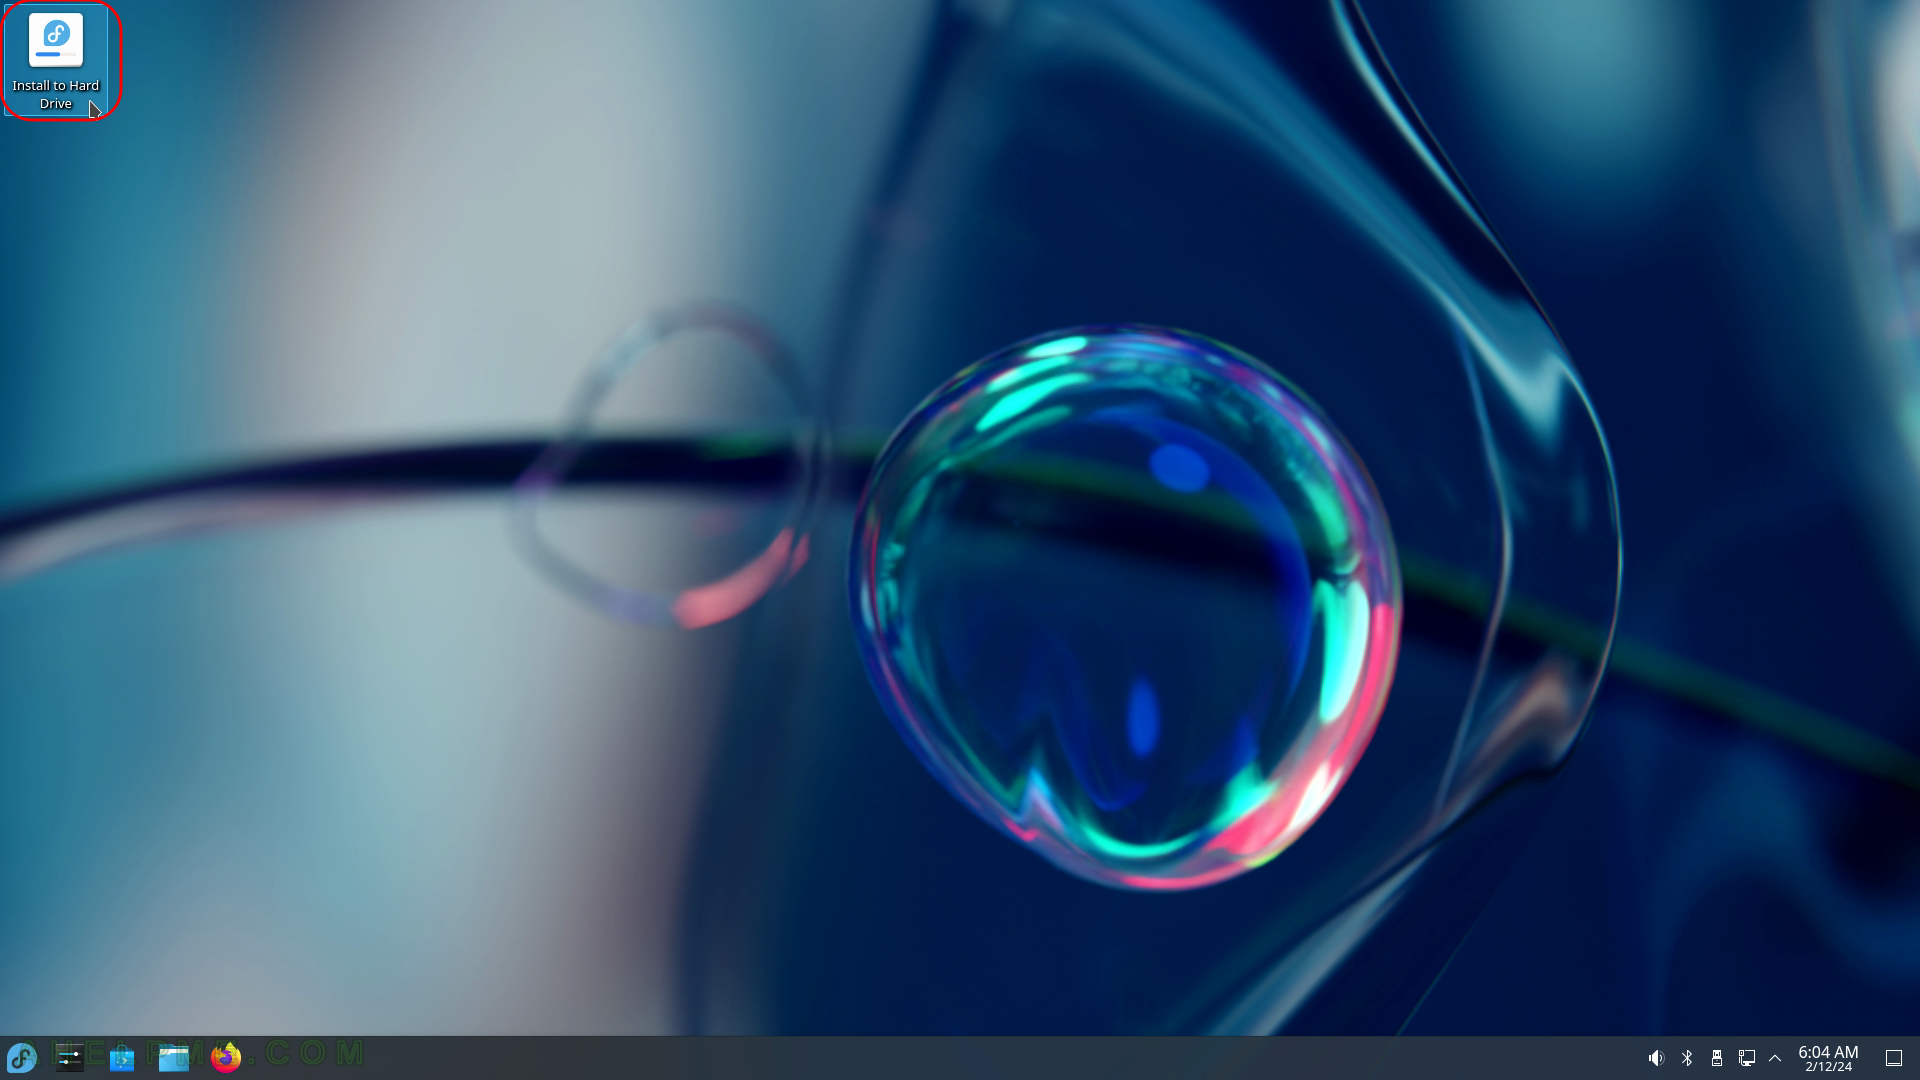
Click on “Install to Hard Drive” to install Fedora 39 KDE Plasma.
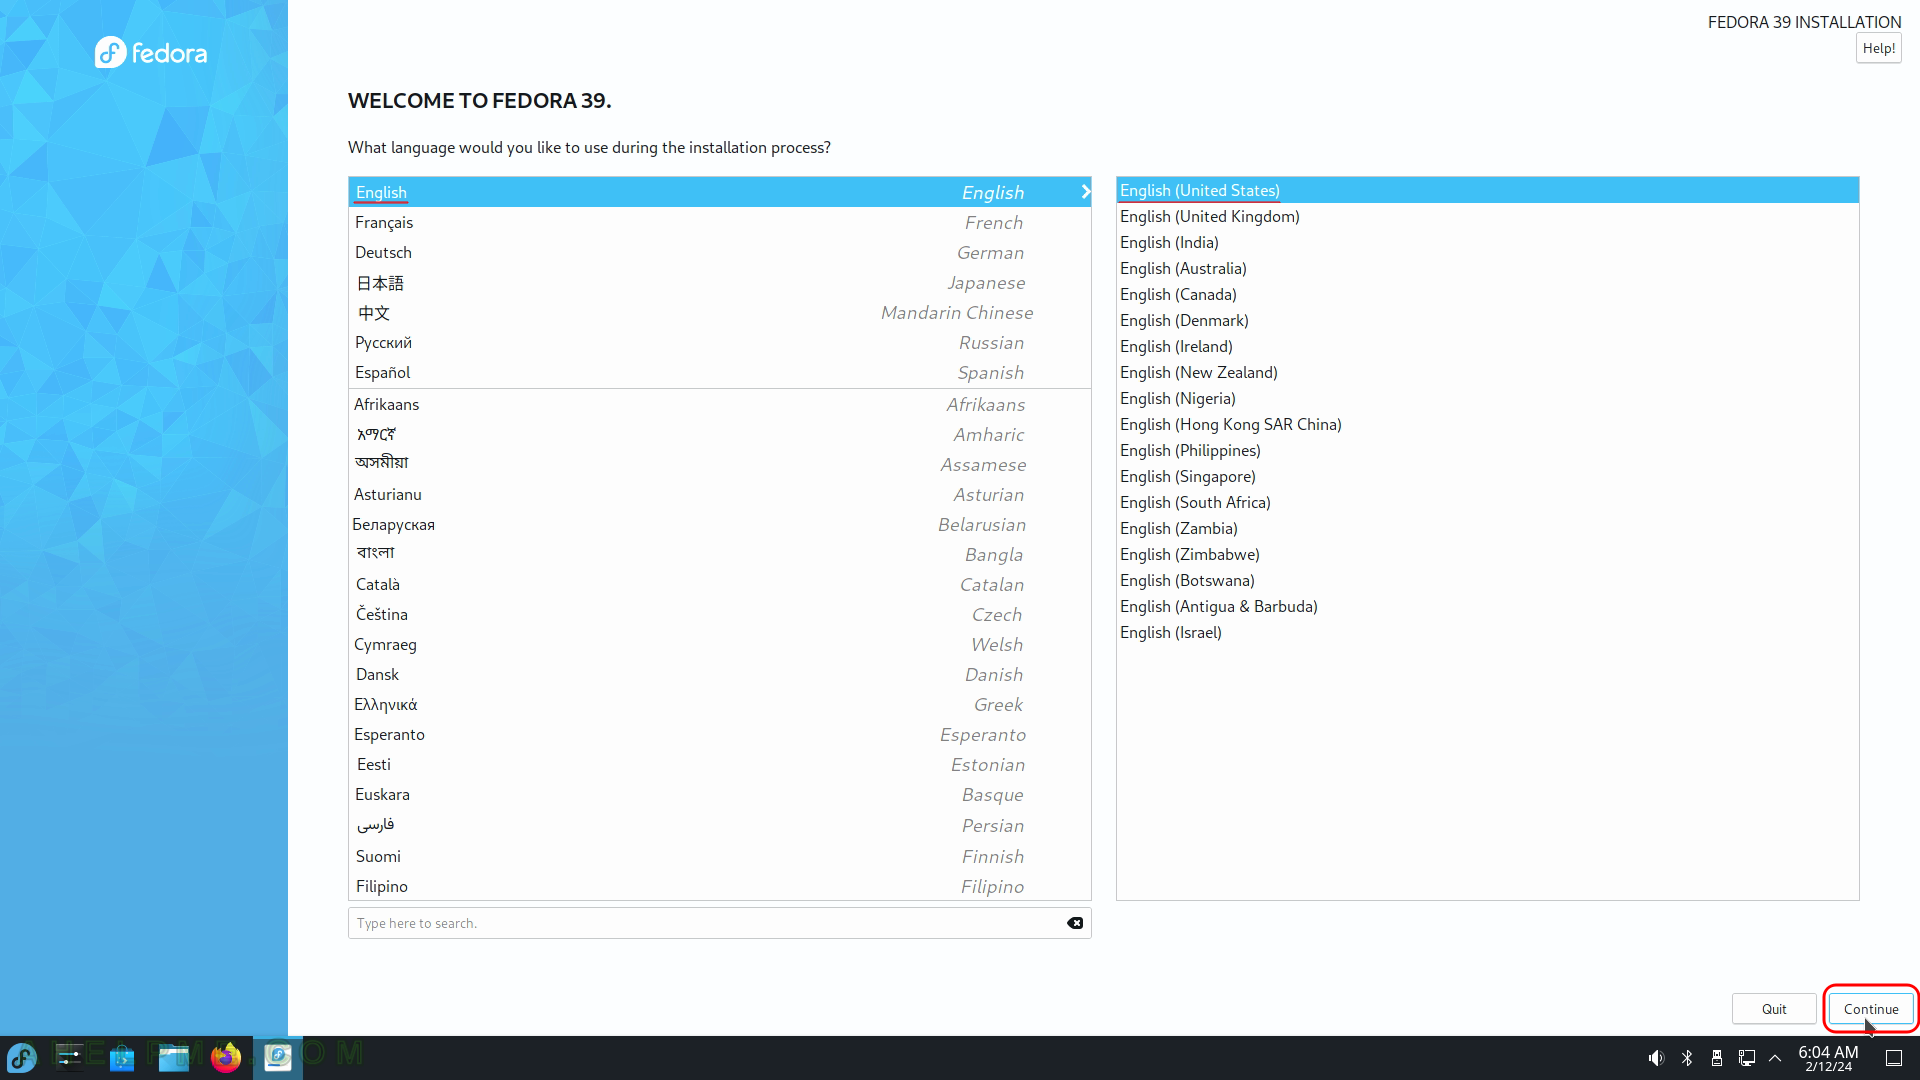
SCREENSHOT 6) Choose your system language. Here we selected English.
The setup will guide you through the steps in the language you select here and the installed system will use the selected language as default.
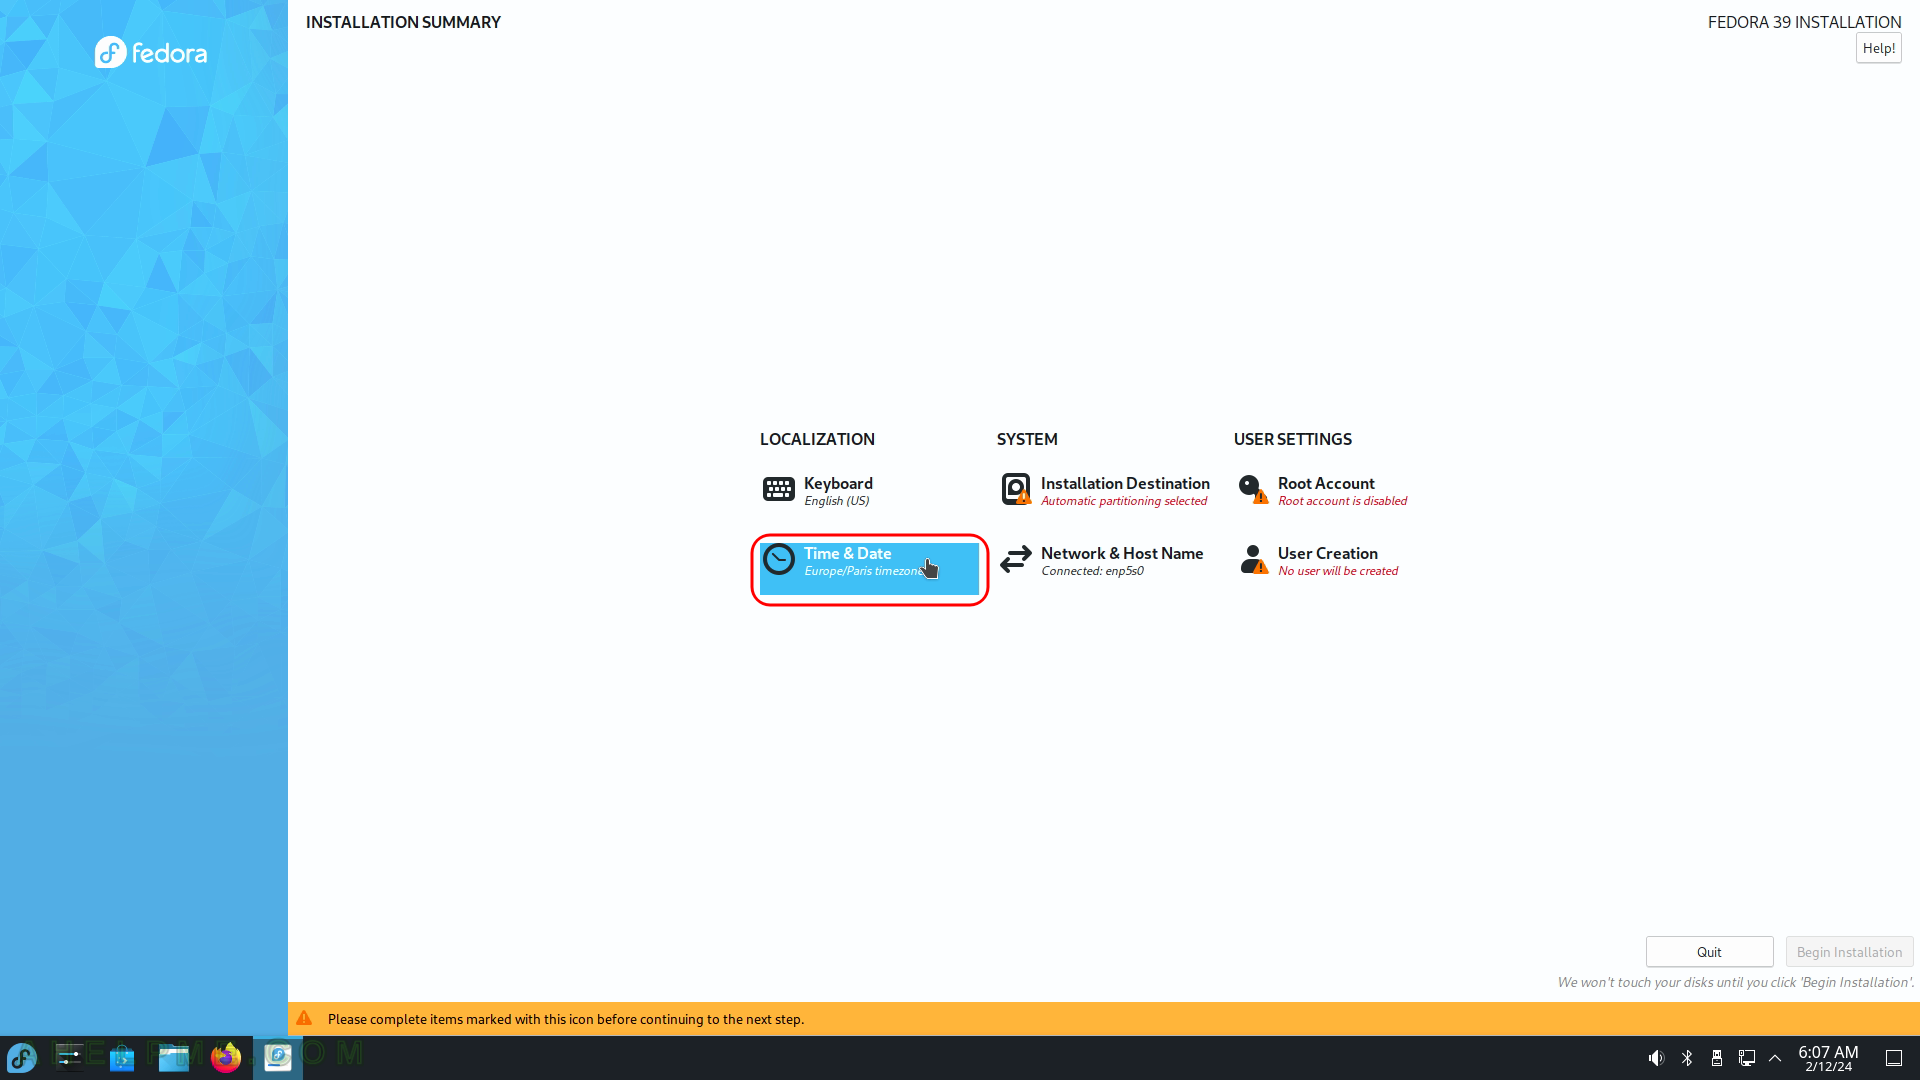
SCREENSHOT 7) Click on “Time & Date” to choose the right time zone for this computer.
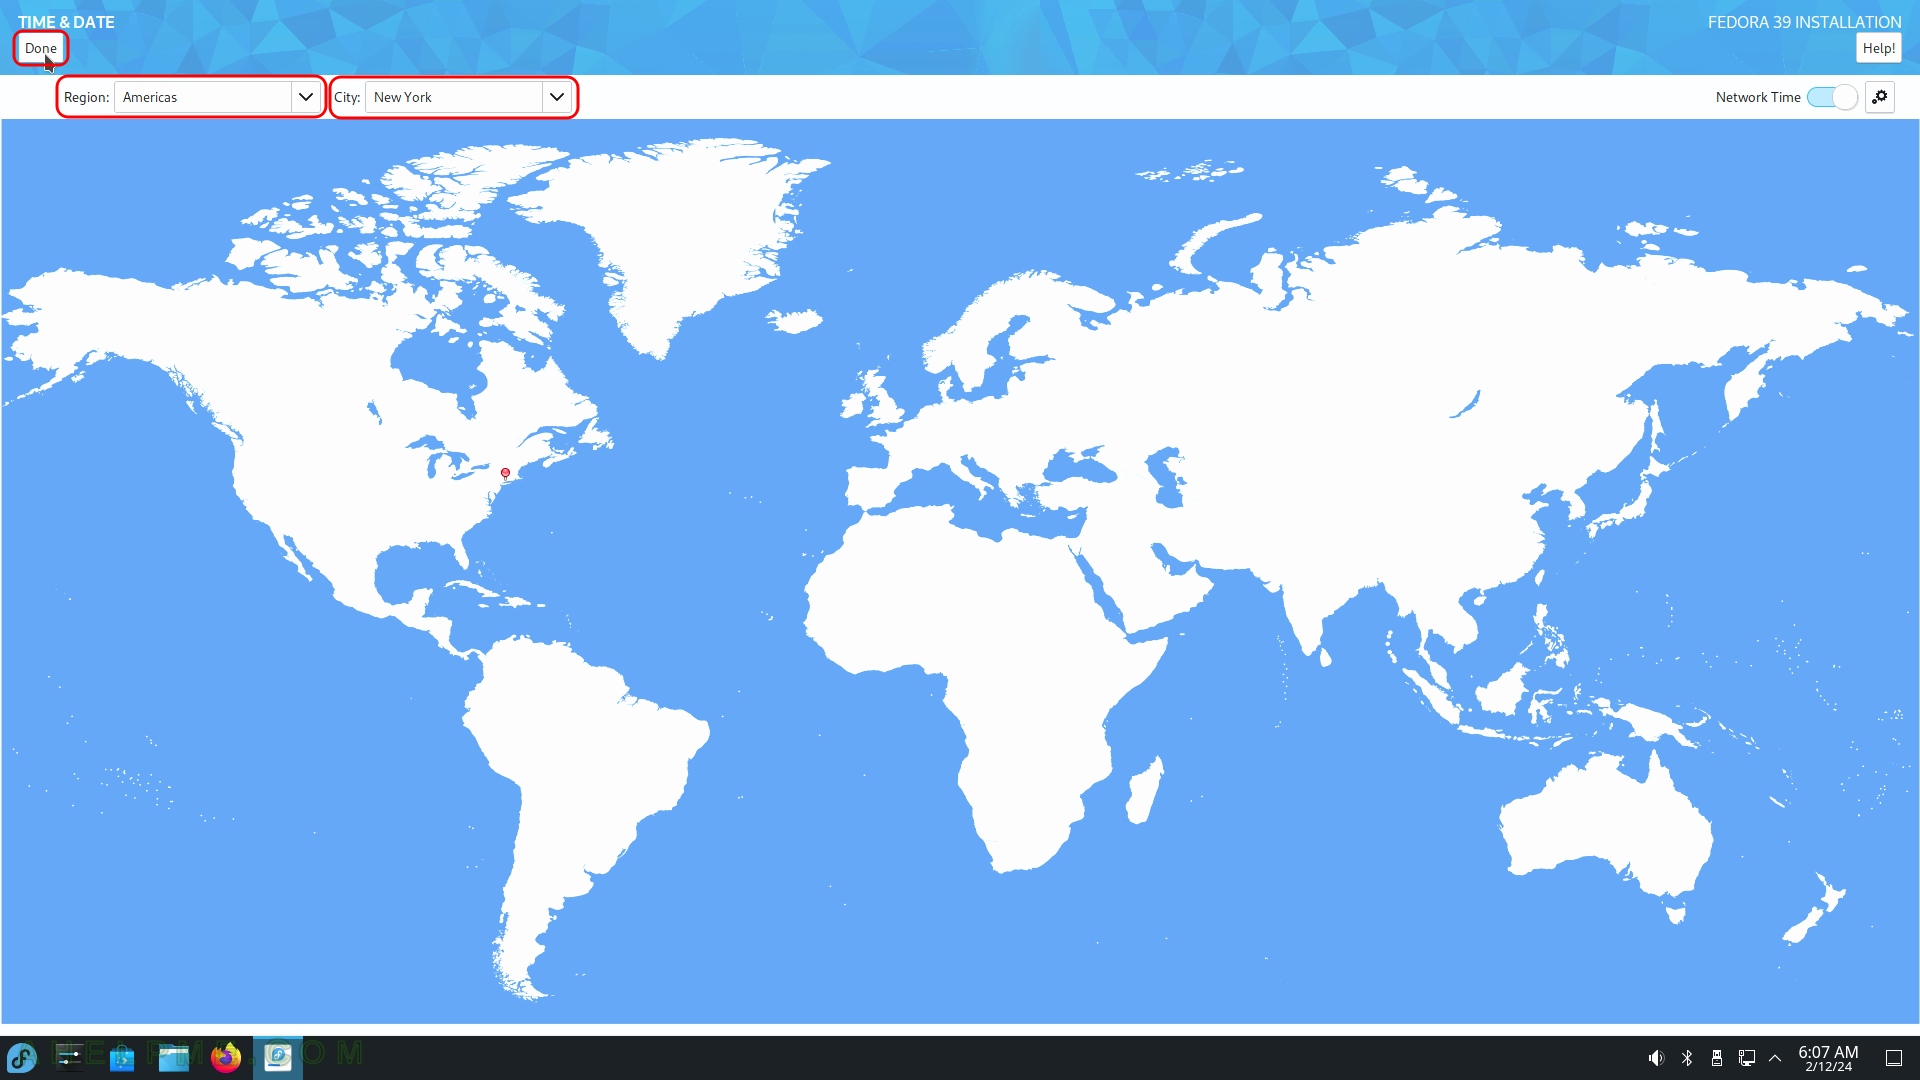
SCREENSHOT 8) Select your time zone to configure your clock.
Probably the default is ok, the setup tries to autodetect it. The New York time is selected here. Click on “Continue”.
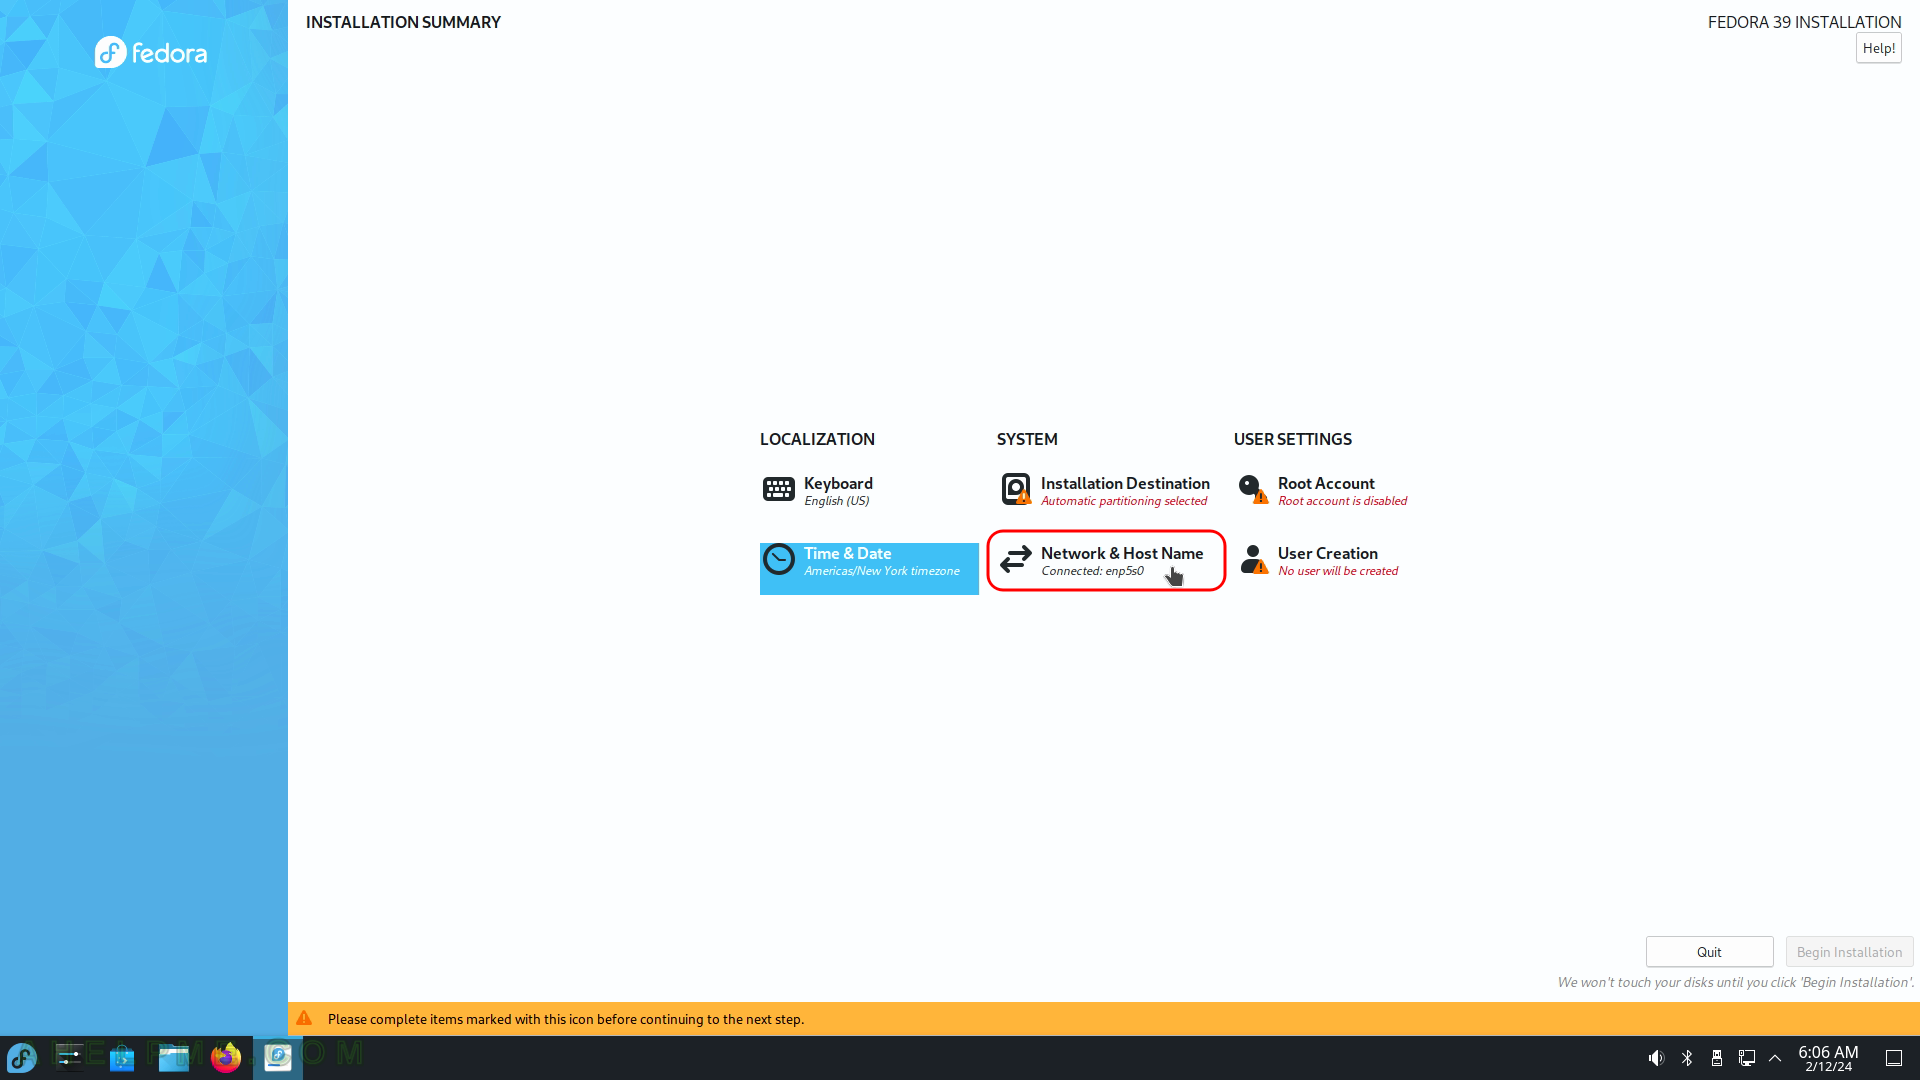
SCREENSHOT 9) Set the network name of your computer.
The hint says which adapter is selected automatically because of DHCP availability.
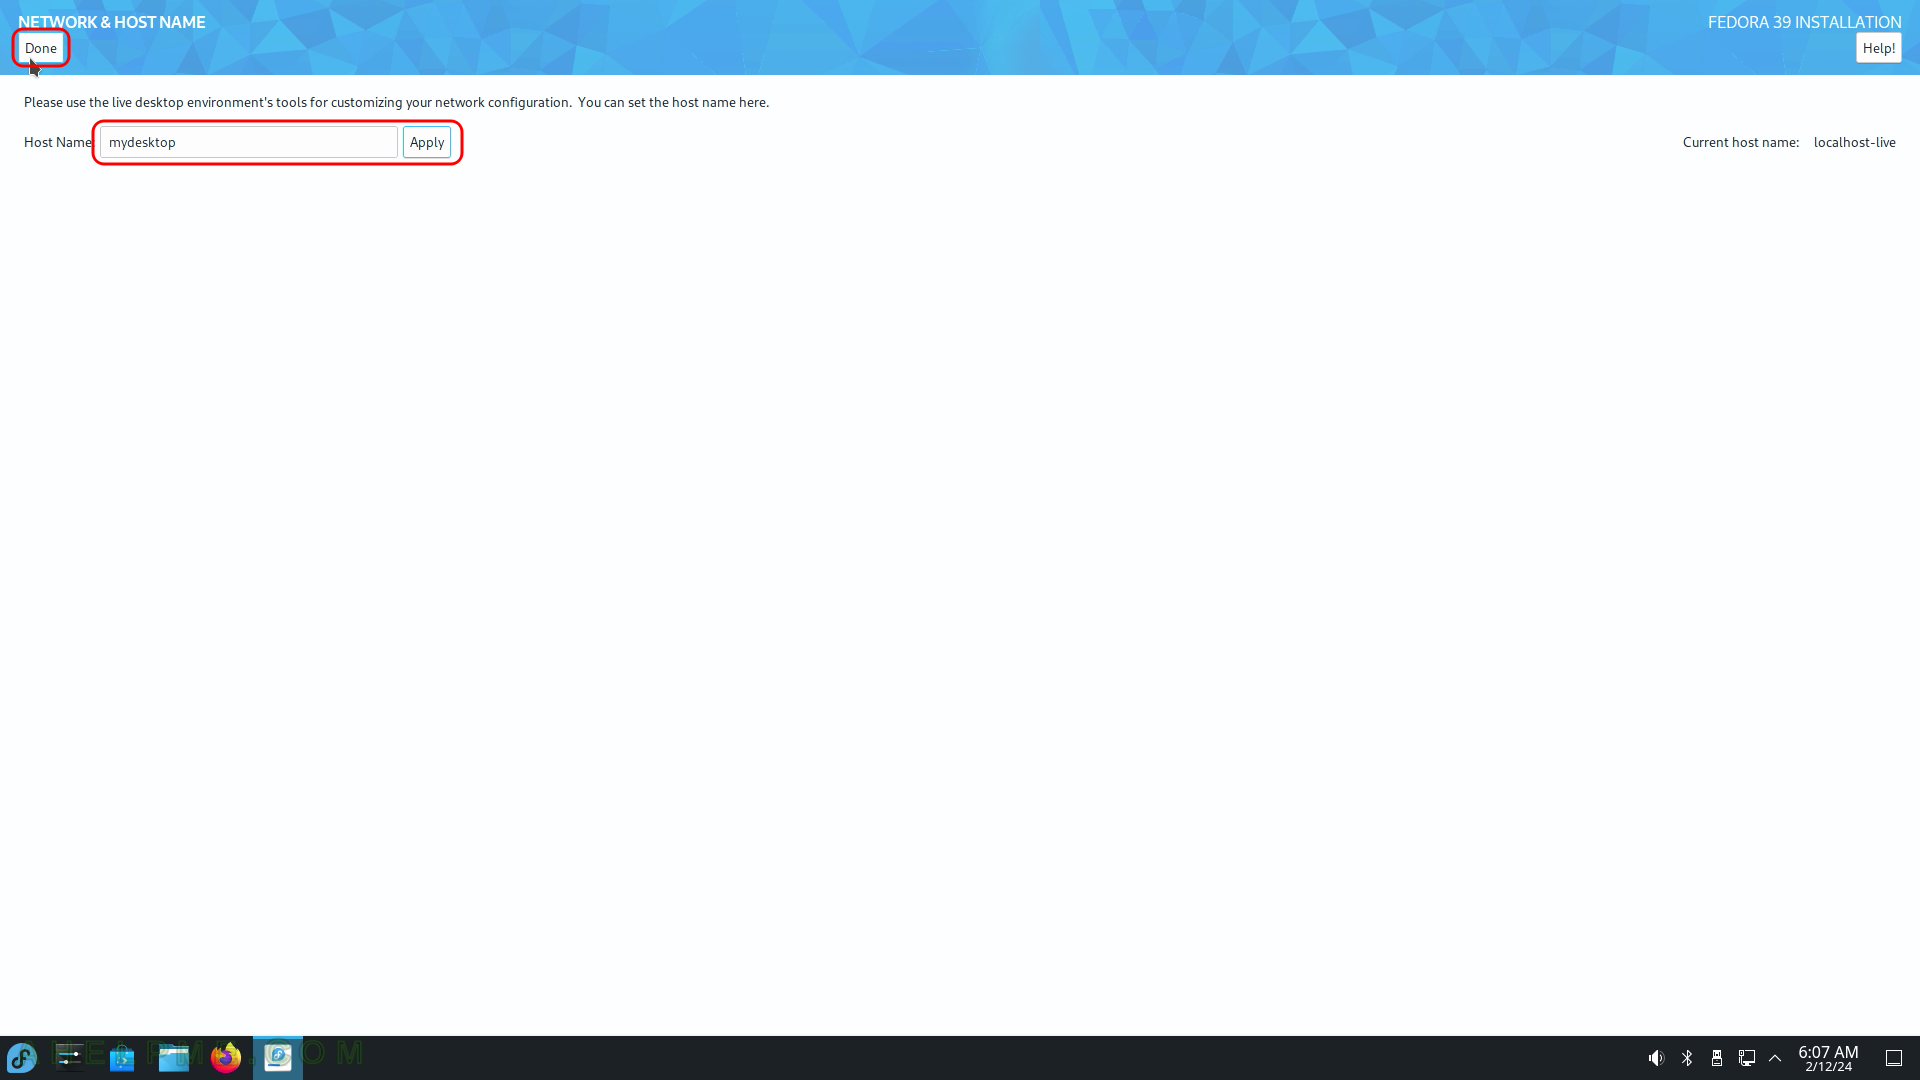
SCREENSHOT 10) Set the hostname of your computer and click on “Apply” then on “Done”.
To use another network adaptor or network configuration you should use the network configuration tools, which come with the Live USB/DVD, but this is beyond the scope of this article. In fact, the setup autodetect the network interface with the Internet (i.e. DHCP server) and use it as the main connection for the computer.
