Network installation of CentOS Stream 9 (20220606.0) – minimal server installation

Minimal net install is useful when a dedicated server is installed from a IPMI KVM or Dell iDRAC, HP iLO, IBM IMM or where the initial client side download of files need to be minimal.
CentOS Stream 9 is receives the updates before Red Hat Enterprise Linux (RHEL) and there is no versioning except the major release, which is 9. So the CentOS Stream 9 receives the updates for Red Hat Enterprise Linux (RHEL) 9. On monthly or less basis CentOS community releases a stable ISO with a temporary time version like this one CentOS Stream 9 (20220606.0).

Continuously delivered distro that tracks just ahead of Red Hat Enterprise Linux (RHEL) development

Here are some useful URLs:

For amd64 the net of CentOS Stream 9 install bootable media is located here (now the current latest release is 20220606.0, but you may check the last release. for the time you follow this howto):

http://mirror.stream.centos.org/9-stream/BaseOS/x86_64/iso/CentOS-Stream-9-latest-x86_64-boot.iso

Note there is no minimal CD for offline installation. Boot CD is to just boot and make “network installation” installation and there is a big fat DVD of 8.1 Gbytes to install offline.

Software details of CentOS Stream 9 minimal install could be found here – coming soon. Technical details of a default CentOS Stream 9 (20220606.0) minimal installation
There is a previous major release installation article – How to do a network installation of CentOS 8 (8.0.1950) – minimal server installation

Download it and put it on a CD or USB, the boot from it and follow the steps bellow:

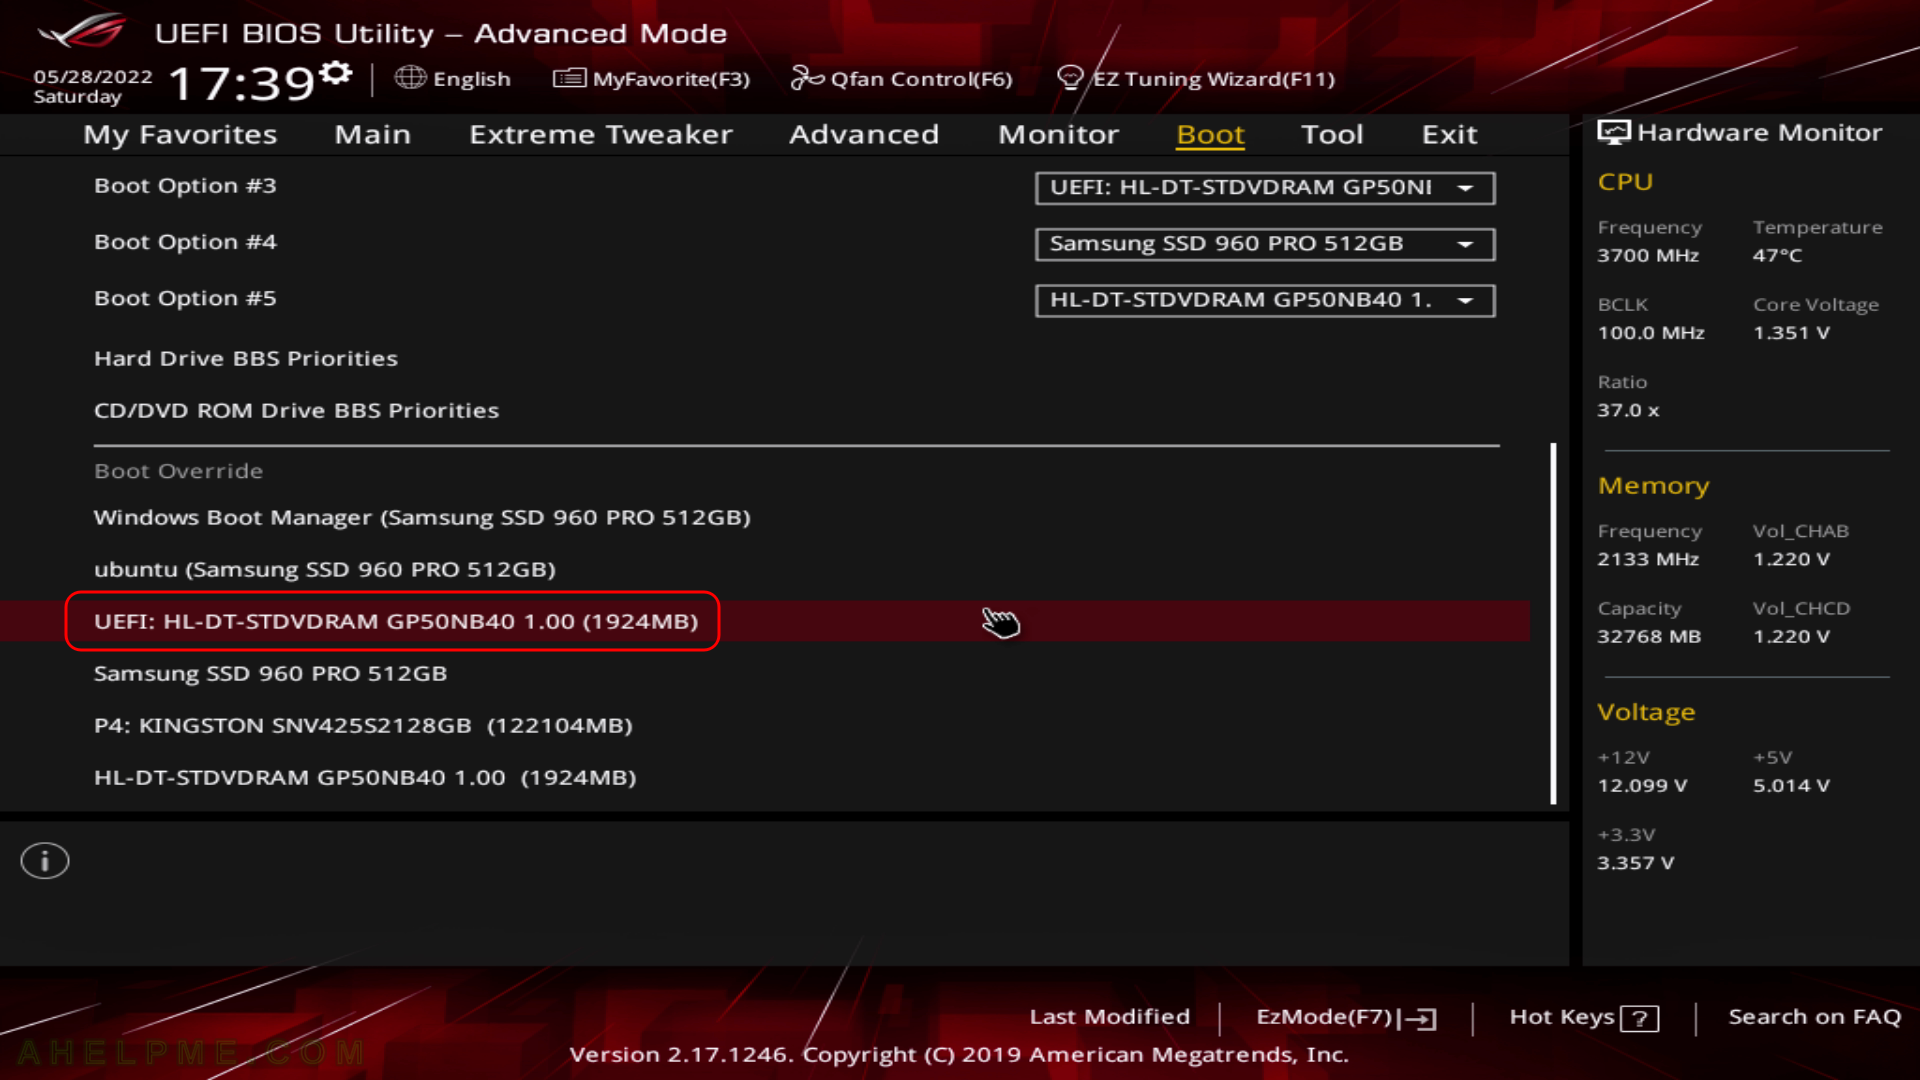
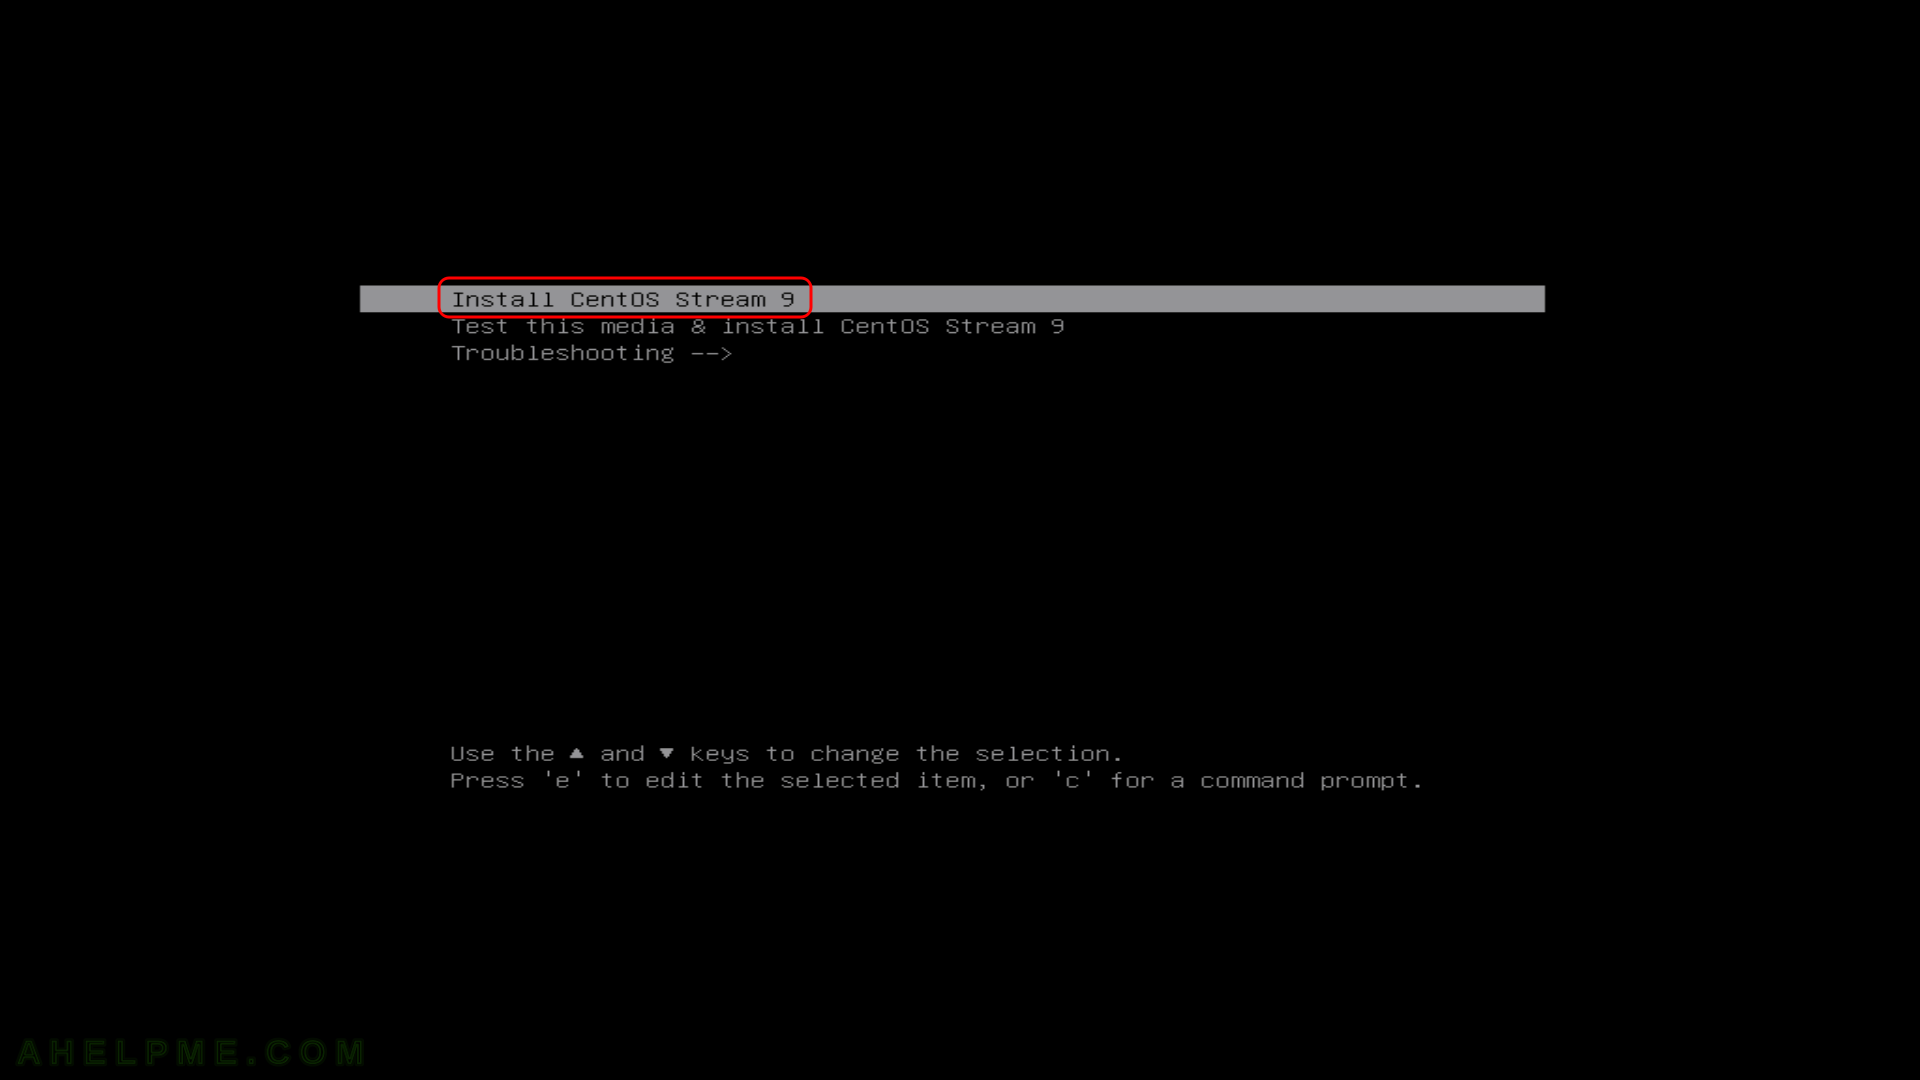
SCREENSHOT 1) If you booted from the DVD you would get this first screen – select “Install CentOS Stream 9” and hit Enter
main menu
Start installation

Keep on reading!

Install Fedora Workstation 36 (Gnome GUI)

This article will show the simple steps of installing a modern Linux Distribution like Fedora 36 Workstation Edition with Gnome for the user graphical interface. First, it is offered the basic steps for installing the Operating system and then there are some screenshots of the installed system and the look and feel of it. It is coming soon another article showing more screenshots of the installed and working Fedora 36 (Gnome and KDE plasma) – so the user may decide which of them to try first.
This is the simplest set up. One hard disk device in the system is installed, which is detected as sda and the entire disk will be used for the installation of Fedora Workstation 36. All disk information in sda disk device will be permanently deleted by the installation wizard!

The Fedora 32 Workstation comes with

  • Xorg X server – 1.20.14 XWayland (22.1.2) is used by default
  • GNOME (the GUI) – 42.0
  • linux kernel – 5.17.5

Check out our article about what software is included in [coming soon].

There are previous installations howto articles for the older Fedora 31Install Fedora Workstation 31 (Gnome GUI) and Install Fedora Workstation 30 (Gnome GUI).

The following ISO is used for the installation process: https://download.fedoraproject.org/pub/fedora/linux/releases/36/Workstation/x86_64/iso/Fedora-Workstation-Live-x86_64-36-1.5.iso
It is a LIVE image so you can try it before installing. The easiest way is just to download the image and burn it to a DVD disk (or make a bootable USB flash drive) and then follow the installation below:

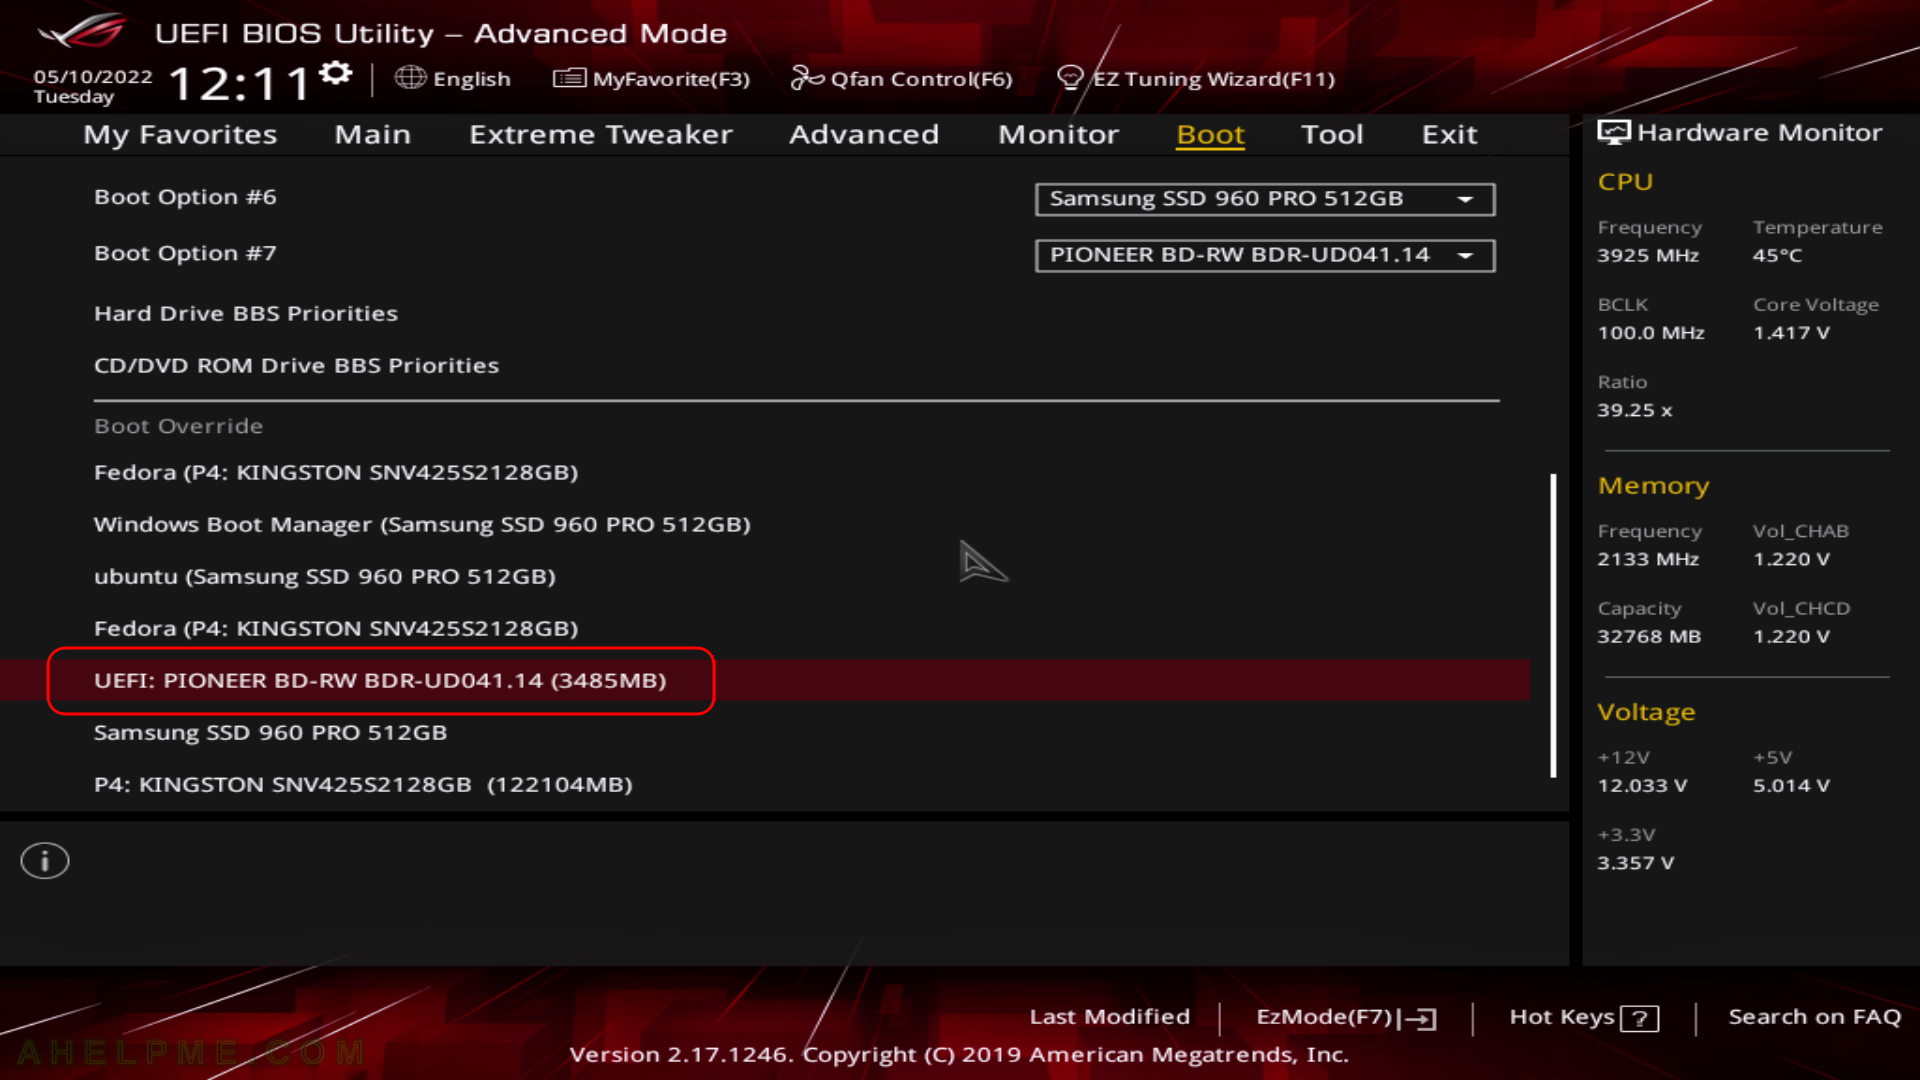
SCREENSHOT 1) Boot from the UEFI DVD-ROM device.

It is the same with the USB bootable removable drive. Choose the UEFI USB drive and boot the installation live drive.

main menu
UEFI BIOS DVD-ROM boot

Keep on reading!

Install and use collectd-ping under CentOS 8 to monitor latency

Tracking the network latency of the servers’ network is not an easy job. Most monitoring software is capable to monitor the state of the server, but how to monitor the state of the connectivity and the network latency and even the Internet connectivity with some respectful addresses like 1.1.1.1 or 8.8.8.8? It should be easy to do it with ICMP and ping command but using the collectd daemon and one of its plugins offers collectd-ping from https://collectd.org/wiki/index.php/Plugin:Ping to save all the history in a time series back-end and using grafanahttps://grafana.com/ (or other graphs/histograms and etc software) to make graphs.
Using the collectd-ping plugin in conjunction with grafana may reach the similar effect as using the old and gold smokeping.
CentOS 7 included the collectd-ping plugin in its official repository, but in CentOS 8 the plugin is missing! Under Cent OS 8 the CentOS SIG OpsTools https://wiki.centos.org/SpecialInterestGroup/OpsTools includes the collectd-ping plugin in their repository. More on SIG and OpsTools may be obtained in the later page. In general, it is safe to use this repository it would not break user’s system.
Here is how to install and configure it. Real grafana examples are also included at the end.

The example here assumes there is a grafana server installed with influxdb backend.

STEP 1) Add OpsTools repository and install the collectd and collectd-ping.

The OpsTools repository is installed with centos-release-opstools package.
Here is what is going to install:

dnf install -y centos-release-opstools
dnf install -y collectd collectd-ping

Keep on reading!

Install Ubuntu Desktop 22.04 LTS on the entire disk

This tutorial will show the simple steps of installing the latest version of UbuntuUbuntu Desktop 22.04 LTS. This is the simplest set up. One hard disk device in the system is installed, which is detected as sda and the entire disk will be used for the installation of Ubuntu Desktop 22.04 LTS. All disk information in sda disk device will be permanently deleted by the installation wizard!
Ubuntu Desktop 22.04 LTS comes with the following software:

  • Xorg X server – 1.22.1.1
  • GNOME (the GUI) – 42.0
  • linux kernel – 5.15.0
  • linux-firmware – 20220329.git681281e4
  • QT – 5.13.3 and 6.2.4
  • libc – 2.35
  • gnu gcc – 9.4.0, 10.3.0, 11.2.0 and 12-20220302
  • coreutils – 8.32
  • python2.7 (possible to install) – 2.7.18
  • python3 (default) – 3.10.4
  • perl – 5.34.0
  • apt – 2.4.5
  • cups – 2.4.1

A more complex installation with a dual boot set up could found here – Install Ubuntu Desktop 22.04 LTS on a PC with existing windows 10 – dual boot.

We used the following ISO for the installation process – Ubuntu 22.04 LTS (Jammy Jellyfish):

https://releases.ubuntu.com/22.04/ubuntu-22.04-desktop-amd64.iso

It is a LIVE image so you can try it before installing it. The easiest way is just to download the image and burn it to a DVD disk and then follow the installation below:

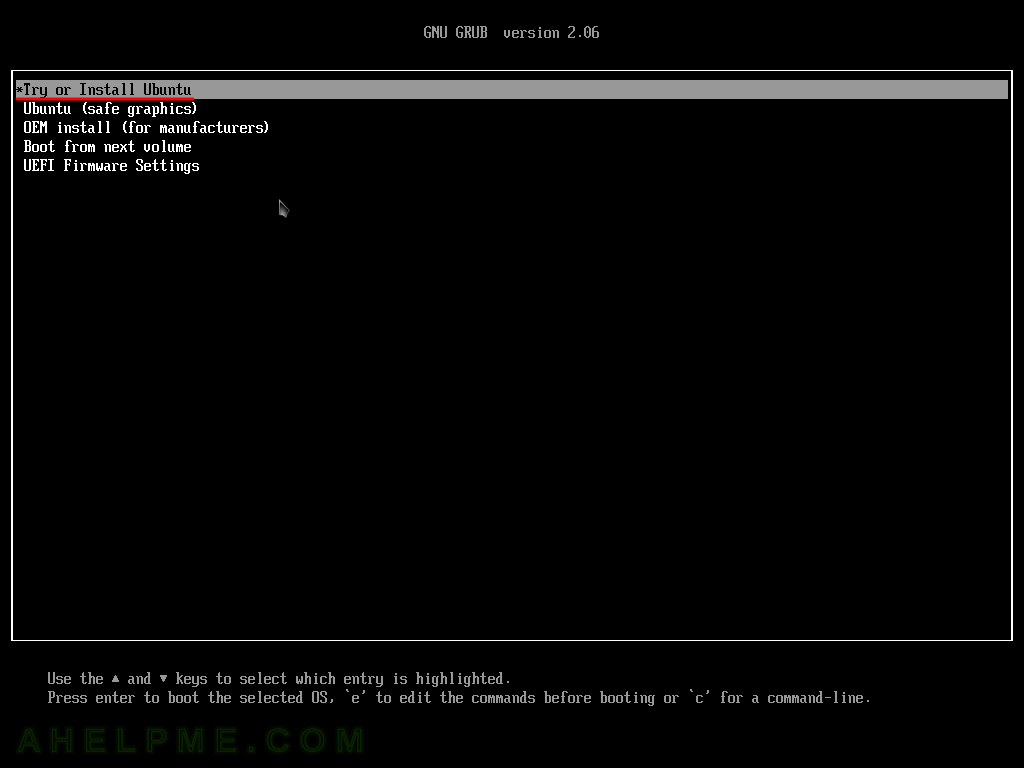
SCREENSHOT 1) Select to “Try or Install Ubuntu” and hit enter.

To install Ubuntu from your DVD or USB you must boot from it, so change your BIOS accordingly – first boot devide should be the DVD or USB drive with Ubuntu installation. If you do it successfully you would see the screenshot below.

main menu
Grub2 try install linux

Keep on reading!

Install Ubuntu Desktop 22.04 LTS on a PC with existing windows 10 – dual boot

This tutorial will show the simple steps of installing the latest version of UbuntuUbuntu Desktop 22.04 LTS. Here we present the more advanced setup installation when you have already had installed operating systems, so this installation will add Ubuntu 22.04 LTS to one existing operating system – Microsoft Windows 10 Professional. So there we have 2 hard disks in the system – one is NVME, the other one is an SSD. The installation uses the first disk – “sda” in this case. The SSD has two partitions, which are going to be removed, and a new disk layout will be used for the Ubuntu installation with three partitions – efi, swap and root parititions.
Ubuntu Desktop 22.04 LTS comes with the following software:

  • Xorg X server – 1.22.1.1
  • GNOME (the GUI) – 42.0
  • linux kernel – 5.15.0
  • linux-firmware – 20220329.git681281e4
  • QT – 5.13.3 and 6.2.4
  • libc – 2.35
  • gnu gcc – 9.4.0, 10.3.0, 11.2.0 and 12-20220302
  • coreutils – 8.32
  • python2.7 (possible to install) – 2.7.18
  • python3 (default) – 3.10.4
  • perl – 5.34.0
  • apt – 2.4.5
  • cups – 2.4.1

We used the following ISO for the installation process – Ubuntu 22.04 LTS (Jammy Jellyfish):

https://releases.ubuntu.com/22.04/ubuntu-22.04-desktop-amd64.iso

It is a LIVE image so you can try it before installing it. The easiest way is just to download the image and burn it to a DVD disk and then follow the installation below:

SCREENSHOT 1) Boot from the DVD or USB flash drive to install the Ubuntu 22.04 LTS.

main menu
UEFI DVD boot install

Keep on reading!

Installation of base Ubuntu server 22.04 LTS

This tutorial will show you the simple steps of installing a modern Linux DistributionUbuntu server 22.04 LTS edition. Following most of the default options during the setup configuration for simplicity. The installation wizard is very much the same as the Ubuntu server 20.04 LTS – Minimal installation of Ubuntu server 20.04 LTS

Here are some basic data from the default installation setup settings:

  1. Installed packages – ~617 occupying 2.3G of space.
  2. 3 partitions when using automatic patition layout – boot efi, boot and root.
  3. ext4 used for the root parition.

The Ubuntu Server 22.04 LTS comes and updates to the following Linux packages:

  • Linux kernel : 5.15.
  • Python : 3.10.4
  • GLibc : 2.35
  • OpenSSL : 3.0.2
  • systemd : 249.11

The most interesting is the version of OpenSSL 3.x in an LTS (Long Term Support) release, which should be pretty stable to be included. Here is more detailed overview of the installed software – Software and technical overview of Ubuntu server 22.04 LTS

We used the following ISO for the installation process – Ubuntu 22.04 LTS (jammy jellyfish):

http://releases.ubuntu.com/jammy/ubuntu-22.04-live-server-amd64.iso

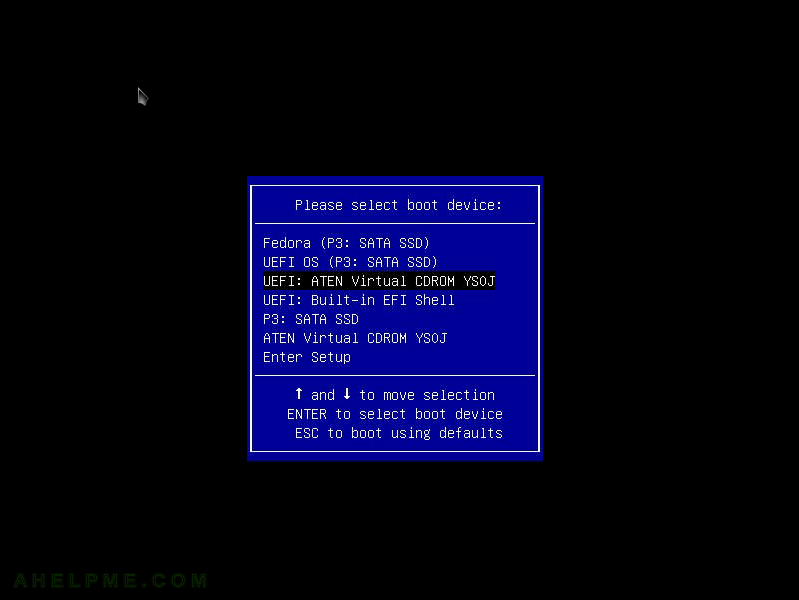
SCREENSHOT 1) Boot from the disk or USB – whatever you made after downloading the ISO file from Ubuntu’s official source.

On the image here the DVD is used to boot in UEFI mode installation.

main menu
boot uefi dvd

Keep on reading!

Starting up standalone ClickHouse server with basic configuration in docker

ClickHouse is a powerful column-oriented database written in C, which generates analytical and statistical reports in real-time using SQL statements!

It supports on-the-fly compression of the data, cluster setup of replicas and shards instances over thousands of servers, and multi-master cluster modes.

The ClickHouse is an ideal instrument for weblogs and easy real-time generating reports of the weblogs! Or for storing the data of user behaviour and interactions with web sites or applications.
The easiest way to run a CLickHouse instance is within a docker/podman container. The docker hub hosts official containers image maintained by the ClickHouse developers.
And this article will show how to run a ClickHouse standalone server, how to manage the ClickHouse configuration features, and what obstacles the user may encounter.

Here are some key points:

  • Main server configuration file is config.xml (in /etc/clickhouse-server/config.xml) – all server’s settings like listening port, ports, logger, remote access, cluster setup (shards and replicas), system settings (time zone, umask, and more), monitoring, query logs, dictionaries, compressions and so on. Check out the server settings: https://clickhouse.com/docs/en/operations/server-configuration-parameters/settings/
  • The main user configuration file is users.xml (in /etc/clickhouse-server/users.xml), which specifies profiles, users, passwords, ACL, quotas, and so on. It also supports SQL-driven user configuration, check out the available settings and users’ options – https://clickhouse.com/docs/en/operations/settings/settings-users/
  • By default, there is a root user with administrative privileges without password, which could only connect to the server from the localhost.
  • Do not edit the main configuration file(s). Some options may get deprecated and removed and the modified configuration file to become incompatible with the new releases.
  • Every configuration setting could be overriden with configuration files in config.d/. A good practice is to have a configuration file per each setting, which overrides the default one in config.xml. For example:
    root@srv ~ # ls -al /etc/clickhouse-server/config.d/
    total 48
    drwxr-xr-x 2 root root 4096 Nov 22 04:40 .
    drwxr-xr-x 4 root root 4096 Nov 22 04:13 ..
    -rw-r--r-- 1 root root  343 Sep 16  2021 00-path.xml
    -rw-r--r-- 1 root root   58 Nov 22 04:40 01-listen.xml
    -rw-r--r-- 1 root root  145 Feb  3  2020 02-log_to_console.xml
    

    There are three configurations files, which override the default paths (00-path.xml), change the default listen setting (01-listen.xml), and log to console (02-log_to_console.xml). Here is what to expect in 00-path.xml

    <yandex>
        <path replace="replace">/mnt/storage/ClickHouse/var/</path>
        <tmp_path replace="replace">/mnt/storage/ClickHouse/tmp/</tmp_path>
        <user_files_path replace="replace">/mnt/storage/ClickHouse/var/user_files/</user_files_path>
        <format_schema_path replace="replace">/mnt/storage/ClickHouse/format_schemas/</format_schema_path>
    </yandex>
    

    So the default settings in config.xml path, tmp_path, user_files_path and format_schema_path will be replaced with the above values.
    To open the ClickHouse for the outer world, i.e. listen to 0.0.0.0 just include a configuration file like 01-listen.xml.

    <yandex>
        <listen_host>0.0.0.0</listen_host>
    </yandex>
    
  • When all additional (including user) configuration files are processed and the result is written in preprocessed_configs/ directory in var directory, for example /var/lib/clickhouse/preprocessed_configs/
  • The configuration directories are reloaded each 3600 seconds (by default, it could be changed) by the ClickHouse server and on a change in the configuration files new processed ones are generated and in most cases the changes are loaded on-the-fly. Still, there are settings, which require manual restart of the main process. Check out the manual for more details.
  • By default, the logger is in the trace log level, which may generate an enormous amount of logging data. So just change the settings to something more production meaningful like warning level (in config.d/04-part_log.xml).
    <yandex>
        <logger>
            <level>warning</level>
        </logger>
    </yandex>
    
  • ClickHouse default ports:
    • 8123 is the HTTP client port (8443 is the HTTPS). The client can connect with curl or wget or other command-line HTTP(S) clients to manage and insert data in databases and tables.
    • 9000 is the native TCP/IP client port (9440 is the TLS enabled port for this service) to manage and insert data in databases and tables.
    • 9004 is the MySQL protocol port. ClickHouse supports MySQL wire protocol and it can be enabled by the
      <yandex>
          <mysql_port>9004</mysql_port>
      </yandex>
      
    • 9009 is the port, which ClickHouse uses to exchange data between ClickHouse servers when using cluster setup and replicas/shards.
  • There is a flag directory, in which files with special names may instruct ClickHouse to process commands. For example, creating a blank file with the name: /var/lib/clickhouse/flags/force_restore_data will instruct the ClickHouse to begin a restore procedure for the server.
  • A good practice is to make backup of the whole configuration directory despite the main configuration file(s) are not changed and in original state.
  • The SQL commands, which are supported by CickHouse server: https://clickhouse.com/docs/en/sql-reference/ and https://clickhouse.com/docs/en/sql-reference/statements/
  • The basic and fundamental table type is MergeTree, which is designed for inserting a very large amount of data into a table – https://clickhouse.com/docs/en/engines/table-engines/mergetree-family/mergetree/
  • Bear in mind, ClickHouse supports SQL syntax and some of the SQL statements, but UPDATE and DELETE statements are not supported, just INSERTs! The main idea behind the ClickHouse is not to change the data, but to add only!
  • Batch INSERTs are the preferred way of inserting data! In fact, there is a recommendation of 1 INSERT per a second in the ClickHouse manual

Keep on reading!

Installing conda command line in various systems with miniconda and create a simple python environment

Conda is yet another package, dependency and environment management for multiple languages like Python, C/C++, JavaScript, Java, Scala and many more
For example, with Conda the user could create python environment with the exact versions he needs! And it could be used under any Linux distribution or even Windows.

This article is to show how to install the command-line version of the Conda, which is part of the bigger platform Anaconda. The command-line version is distributed with the name Miniconda. In fact, Miniconda is a free installer for Conda, which includes only the basic set to run conda and conda install to install more than 8000 packages from the Anaconda repositories.

The Anaconda repositories could be found here: https://anaconda.org/anaconda/repo

Advantages of Miniconda:

  1. Minimal installation. 400 Mbytes, not 3G for the Anaconda platform.
  2. simple command-line interface. Couple of simple commands and their instructions are enough to bring up a complex environment for scientific or development purposes.
  3. The creating of a specific environment could be automated.
  4. No strange or not friendly GUI.
  5. Easy installation under most of the Linux distribution and Windows.
  6. The whole installation could occur only under a user’s home directory. No files require to be installed by the administrator or under global administrative path.

Keep on reading!

Booting network installation from ipxe disk using IPMI KVM

There is a project for extended PXE Boot features https://ipxe.org/. This article is not for describing what this project may offer, but to show how to boot any Linux distribution (in fact, Windows 10, too) network installation wizard using the virtual CD/DVD of an IPMI KVM, DELL’s DRAC, HP iLO, IBM RSA/IMM and in general, KVM over IP.
Using the iPXE CD bootable disk mounted in the virtual CD/DVD of the server’s remote console (IPMI KVM and so on) will allow:

  • Booting from a CD/DVD with only a 1M size.
  • Extends the PXE features of the server’s network card.
  • Manual set IP address, i.e. not relying on DHCP server. In addition of the DHCP feature, but DHCP feature requires DHCP server, which is not always the case.
  • Load a Linux kernel and initramfs from a URL.
  • Boot a Linux live or installation CD/DVD from an URL. The server could load the instllation wizard from an official mirror in the Internet.
  • Manual install – boot from 1M CD and continue with multi gigabyte installation from an URL. For comparision the CentOS 8 network installation disk is more than 600M versus 1M iPXE CD disk. Booting directly from a 600M CentOS 8 network installation disk is unstable and really slow when the disk is mounted in user’s KVM. And not alwyas is possible to mount a disk next to the server location (or in the same co-location).
  • Automated install – simple unattended installation with kickstart files without the need of speacial features of the dedicated service provider.
  • No software installation or code writting needed.

This article uses the iPXE CD to boot and manually set an IP and then load the Linux kernel and initramfs of the CentOS 8 installation disk using an official URL mirror on the Internet. All types of server’s KVM, which supports CD/DVD virtual device, can be used.

Just 1 Mbytes of CD/DVD is required to boot an installation of a (connected to the Internet) server/machine.

Here are the steps and correct (all lines are tested) command lines to boot an installation wizard. The server is a SUPERMICRO server with IPMI KVM for remote management.
The iPXE ISO file is located here http://boot.ipxe.org/ipxe.iso

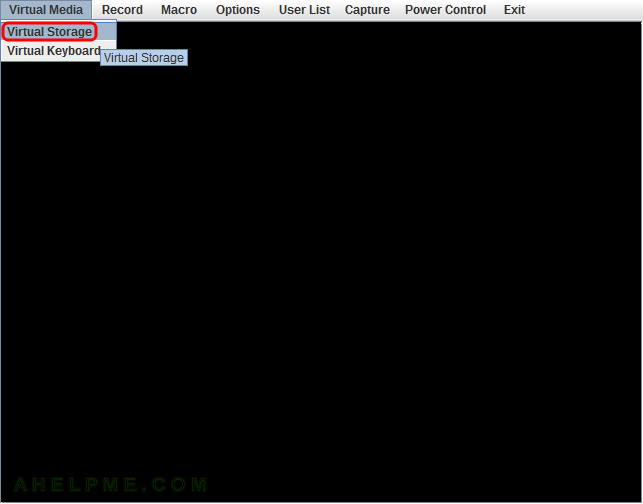
SCREENSHOT 1) Open the IPMI KVM and click on “Virtual Storage” menu to open the image mount dialog.

main menu
Virtual Storage menu

Keep on reading!

Set up (802.3ad LACP) bonding when installing CentOS 8

This article is to show how the user could install CentOS 8 (the steps are the same with CentOS 7) with a much complex network setup such as Bonding device in 802.3ad mode (LACP – Link Aggregation Control Protocol).
The whole installation procedure is not included here, but there are couple of other article on the subject “Install CentOS 7 or CentOS 8”:

Similar configuration files will be generated as in Configure Bond (802.3ad LACP) device in CentOS 8 – configuration files

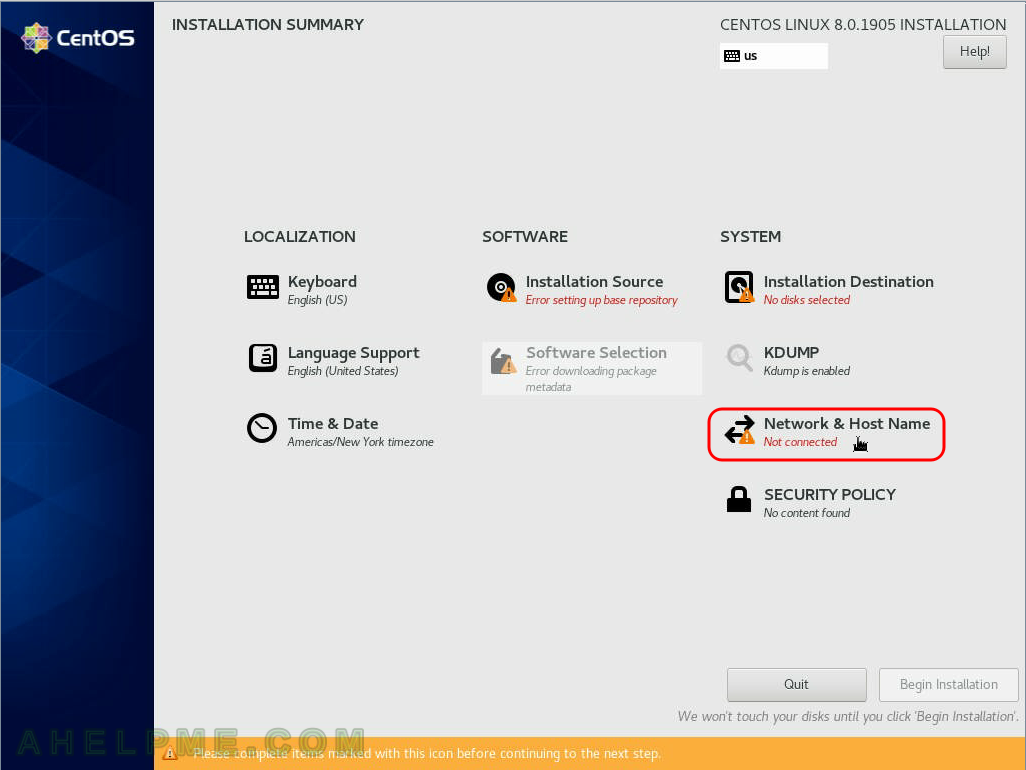
SCREENSHOT 1) Click on “Network and Host Name” to configure the machine networking.

main menu
Installation Summary – Network and Host Name

Keep on reading!