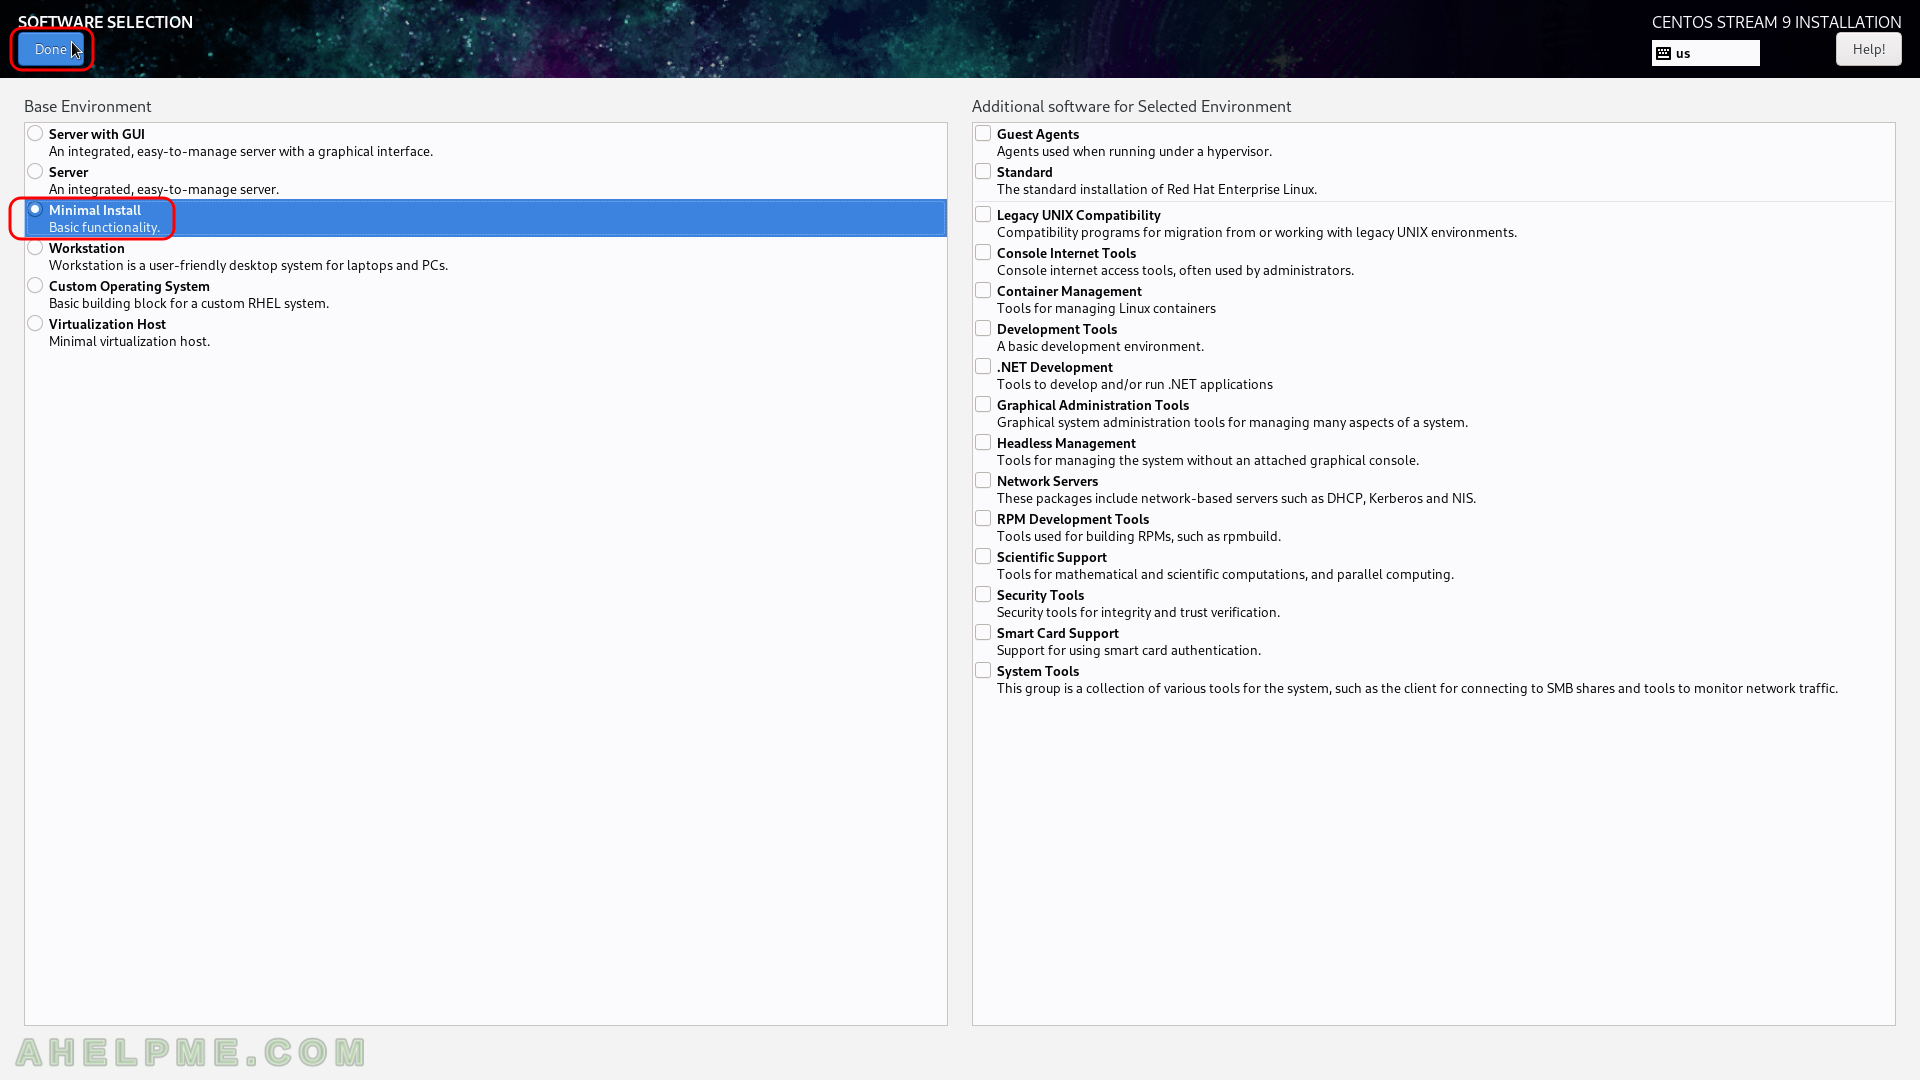
SCREENSHOT 11) By default, it is selected “Server with GUI” and no additional selection in the left.
Select the “Minimal Install” to have the latest CentOS with basic functionality, GUI for a server is not the best thing. On the left the setup shows a list of multiple environments, which CentOS Stream 9 offers with a brief description for each one. Base environments include “Server with GUI”, “Server”, “Minimal Install”, “Workstation” (with GNOME GUI), Custom Operating System and Virtualization Host. The additional software of “Minimal install” may be selected – Guest Agents (when the system is a virtual server), Standard (The standard installation of RHEL), Legacy UNIX Compatibility, Console Internet Tools (often for system administrators), Container Management (container tools), Development Tools, .NET Development, Graphical Administration Tools, Headless Managment, Network Servers, RPM Development Tools, Scientific Support, Security Tools, Smart Card Support and System Tools.
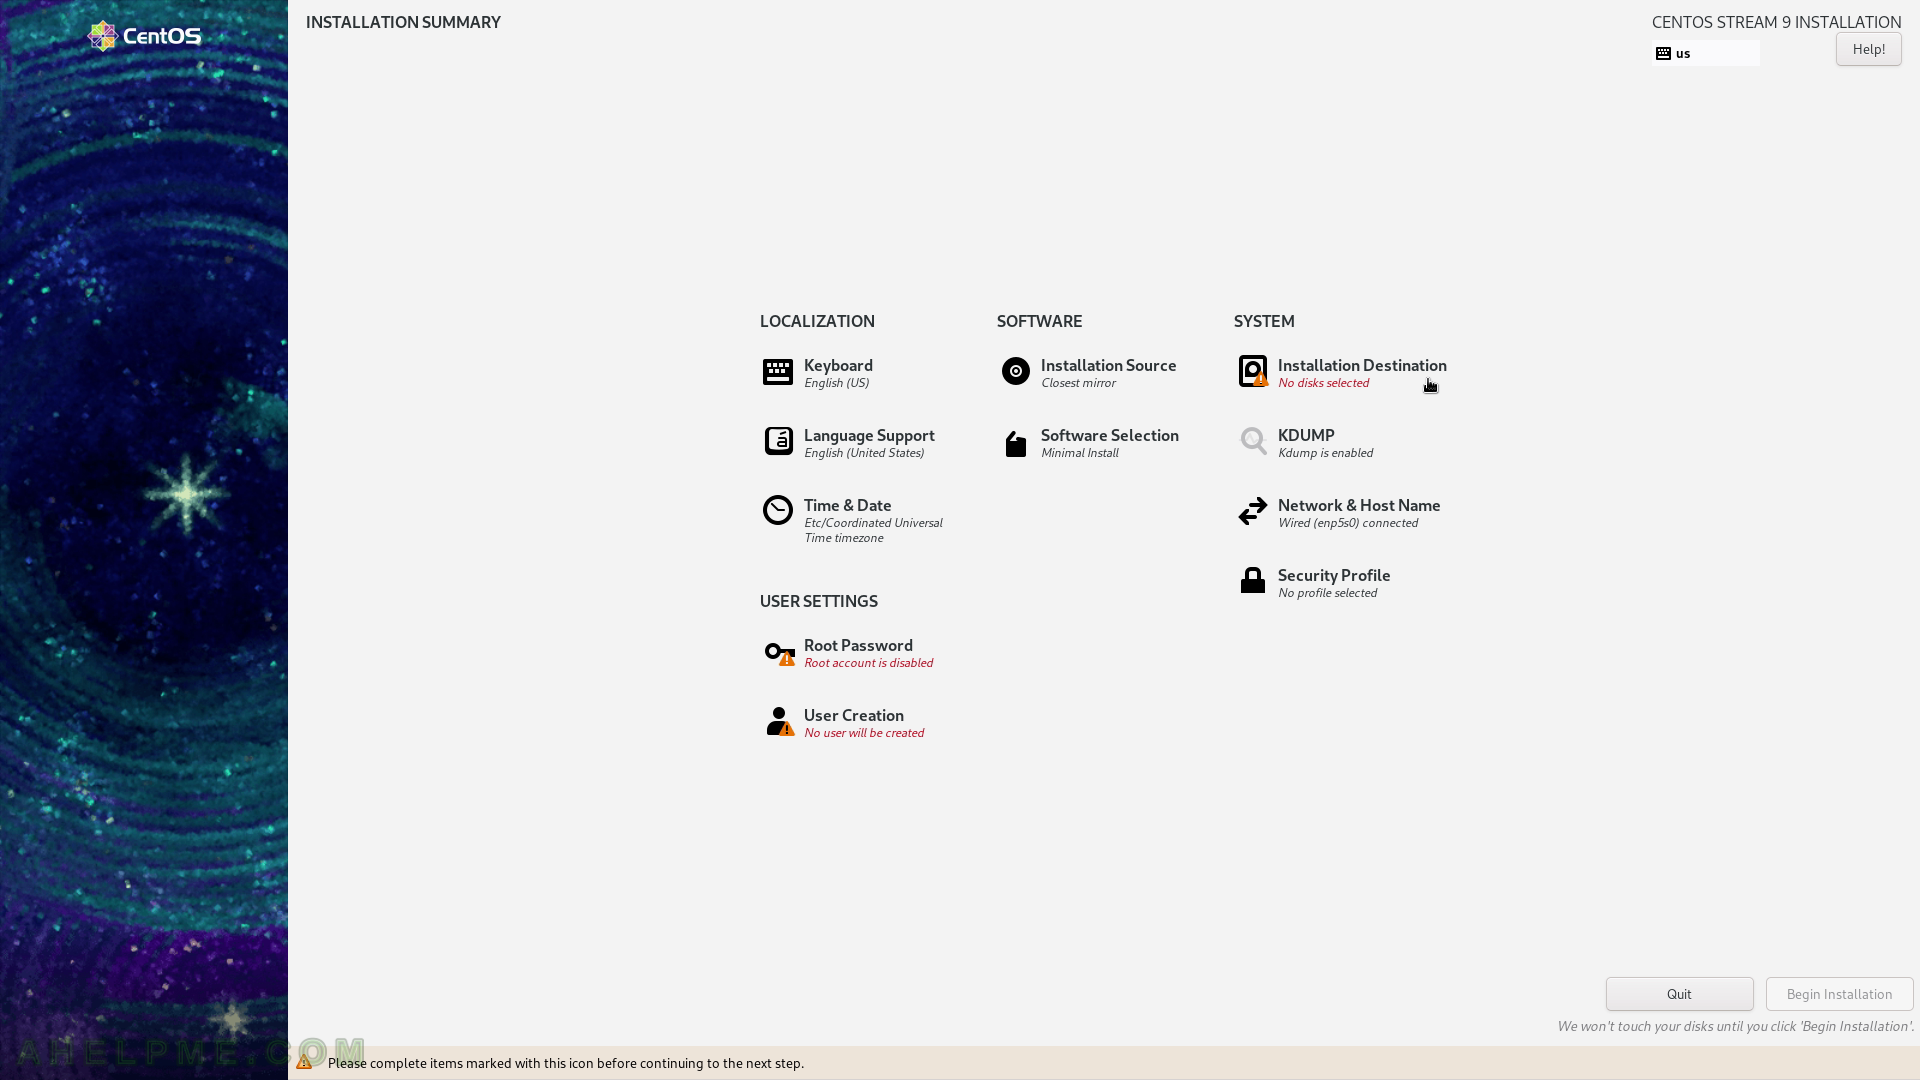
SCREENSHOT 12) Installation destination – on which device you want to install the CentOS Stream 9.
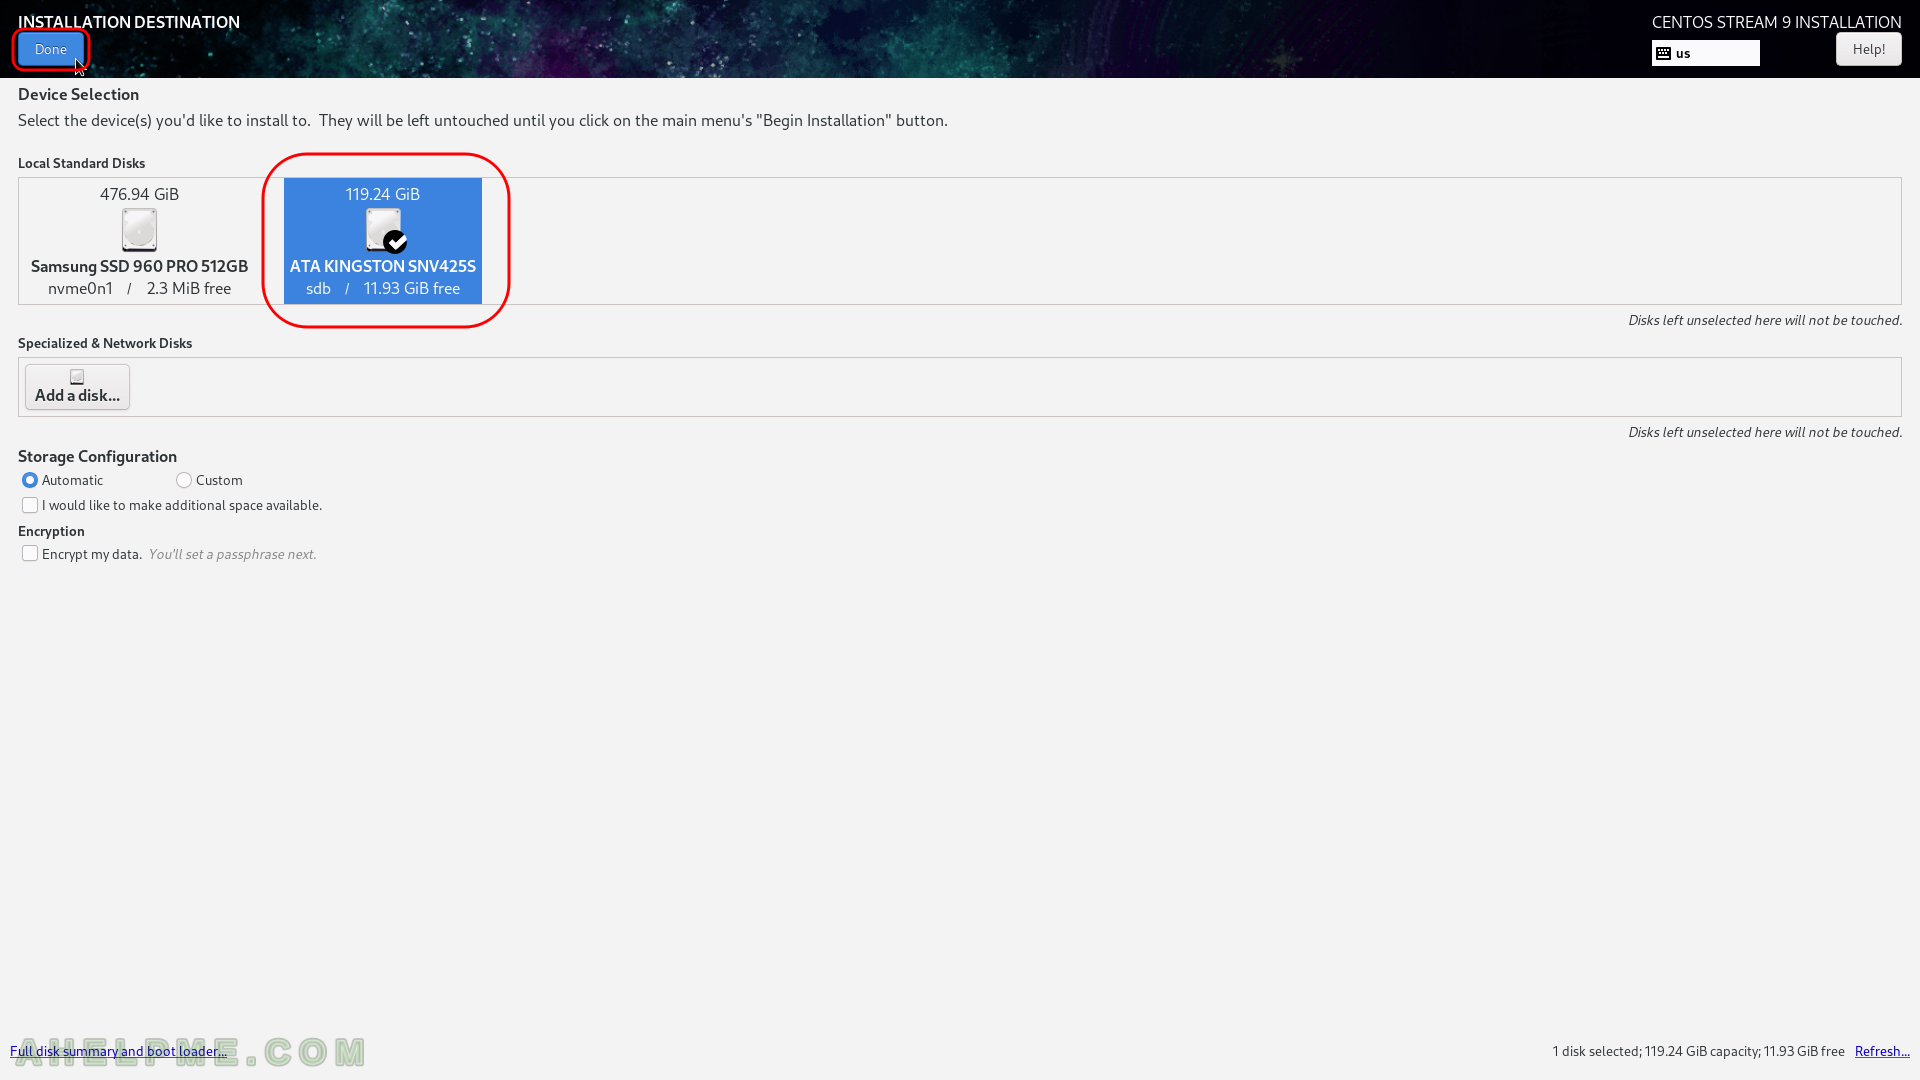
SCREENSHOT 13) Installation Destination – choose your disk to install CentOS Stream 9. SDB selected.
Ensure the automatic storage configuration is selected. This will erase all of the data on the selected disk and will install a clean copy with default disk layout. If you do not have enough space on the selected disk, the setup will ask you to erase the data on the disk. If the disk is blank it will not ask you anything. If you want a specific installation you should choose “Custom” or “Advanced Custom(Blivet-GUI)” (these options are beoynd the scope of this article). Click on “Done”.
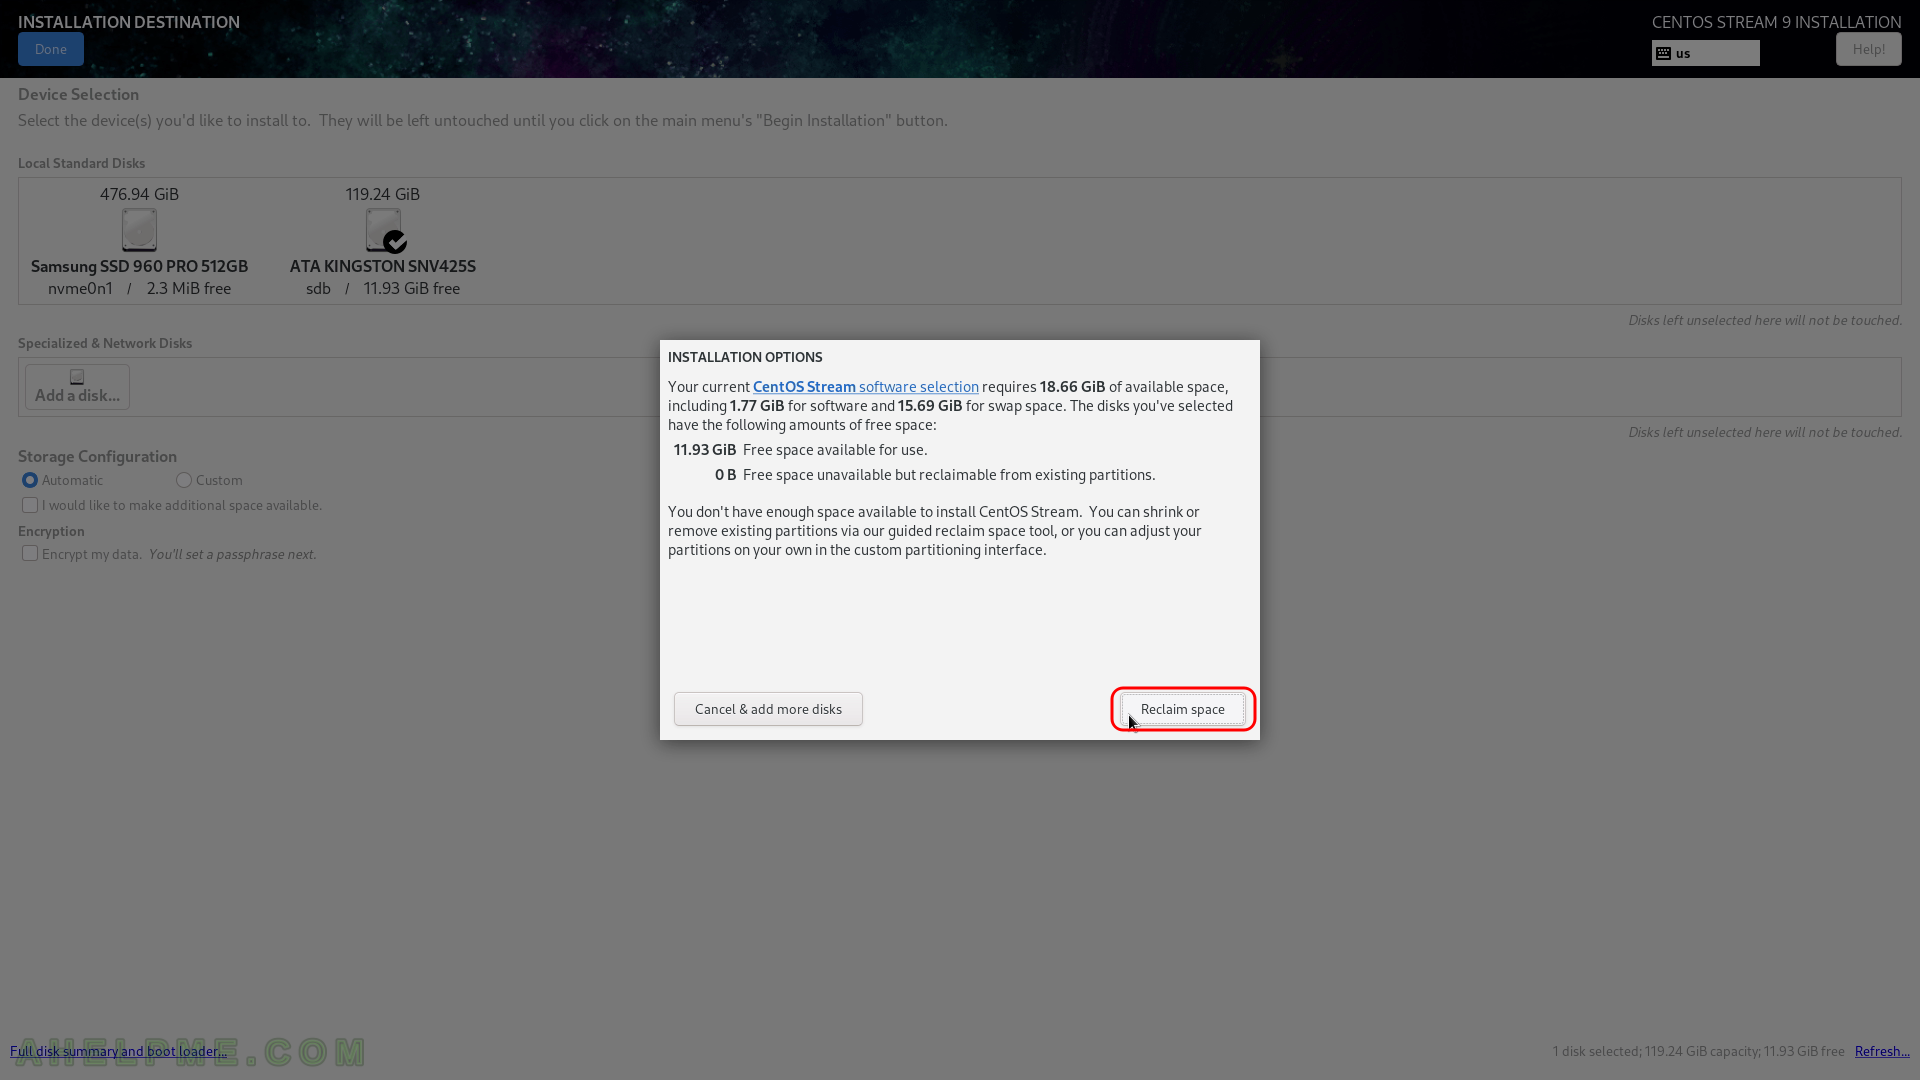
SCREENSHOT 14) CentOS Stream 9 needs 18.66 GiB of available space on the selected disk at least (in fact only 1.77 GiB without the swap space and 15.69 GiB for swap space)!
If there is less than the requested size of free (available disk) space the setup will offer you to free some space by removing existing data (partitions). If the selected disk is with important data and you do not know what you are doing, stop and don’t continue! If this hard drive is with no important data you may proceed by clicking on “Reclaim space”.
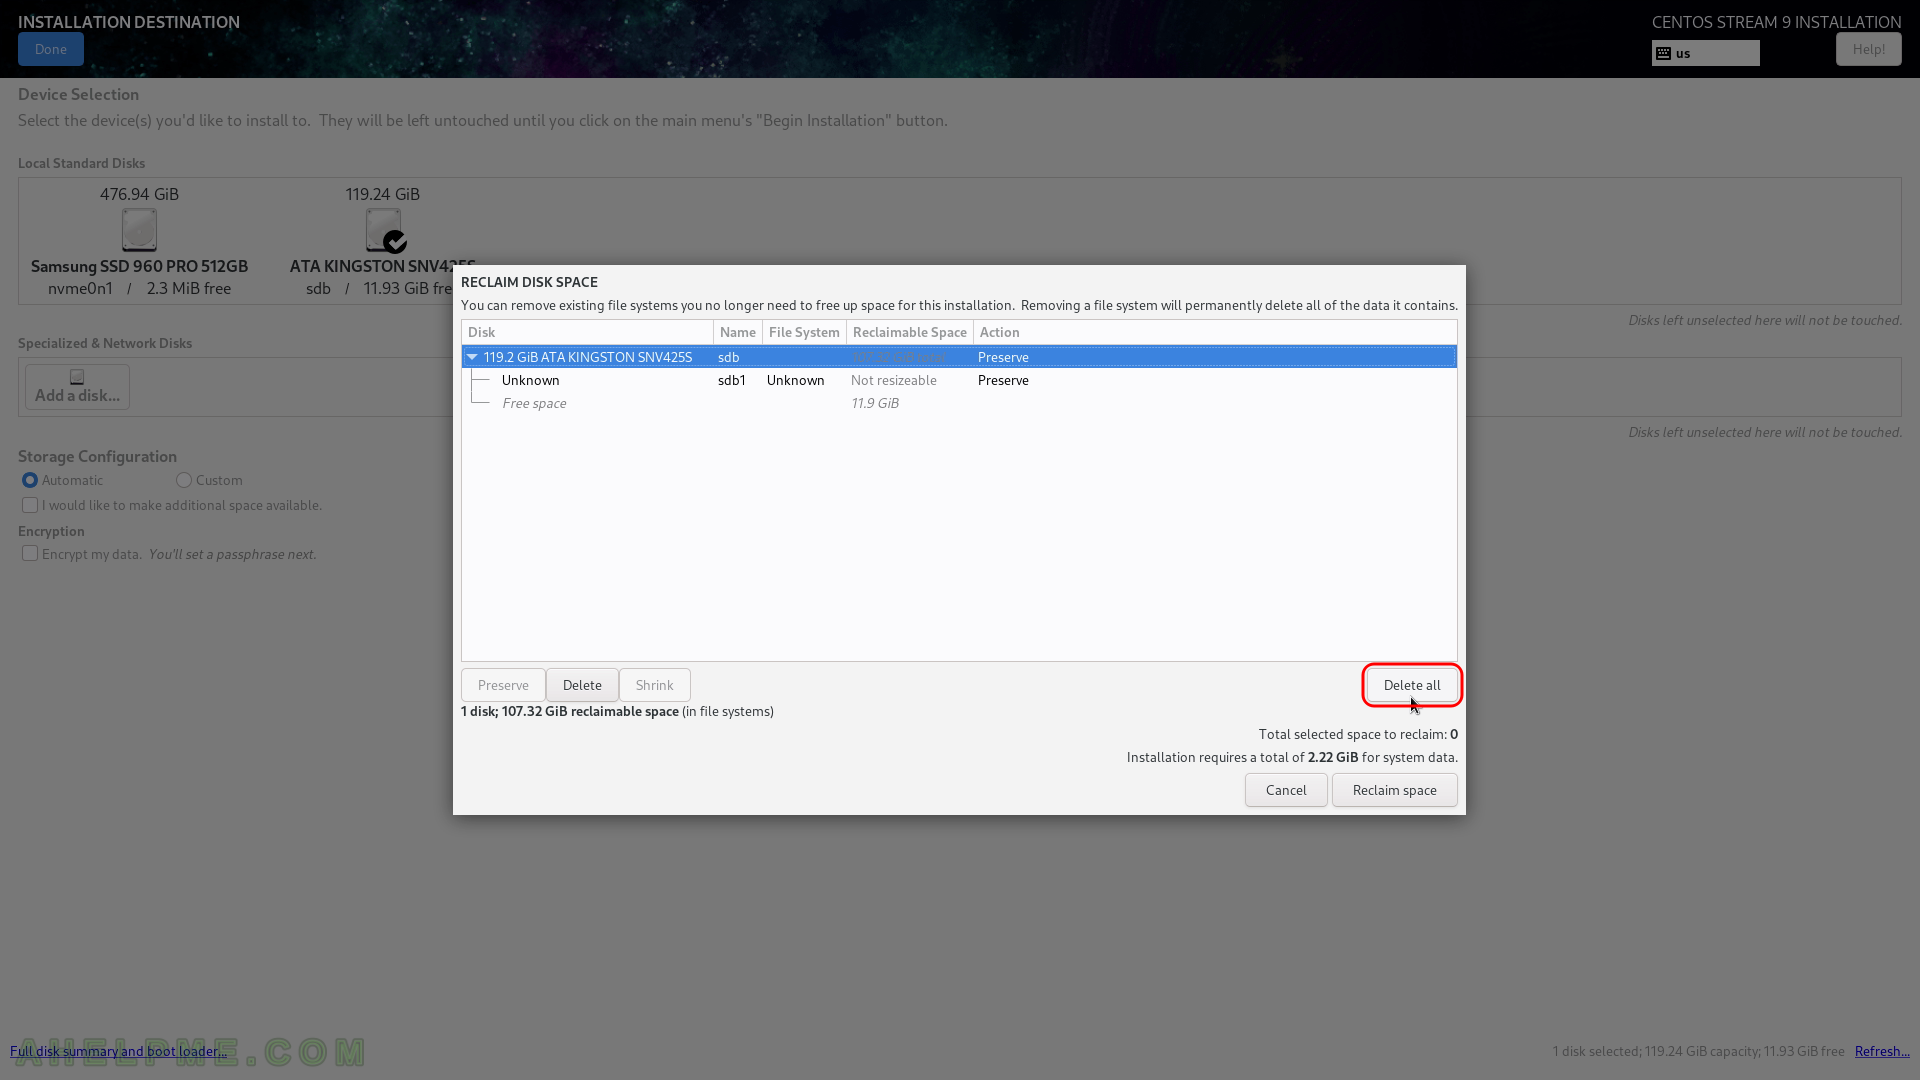
SCREENSHOT 15) Delete all of the data is the easiest way when you have unnecessary data in the disk and you decided to remove all the data from the disk.
Click on “Delete all” if this is the case. Be careful not to remove something you might need in the future! If you know what you are doing you can free some space (make it available i.e. enough unpartitioned space (~18.66 GiB at least), which is what the setup needs to proceed) by deleting or shrinking the existing partitions.
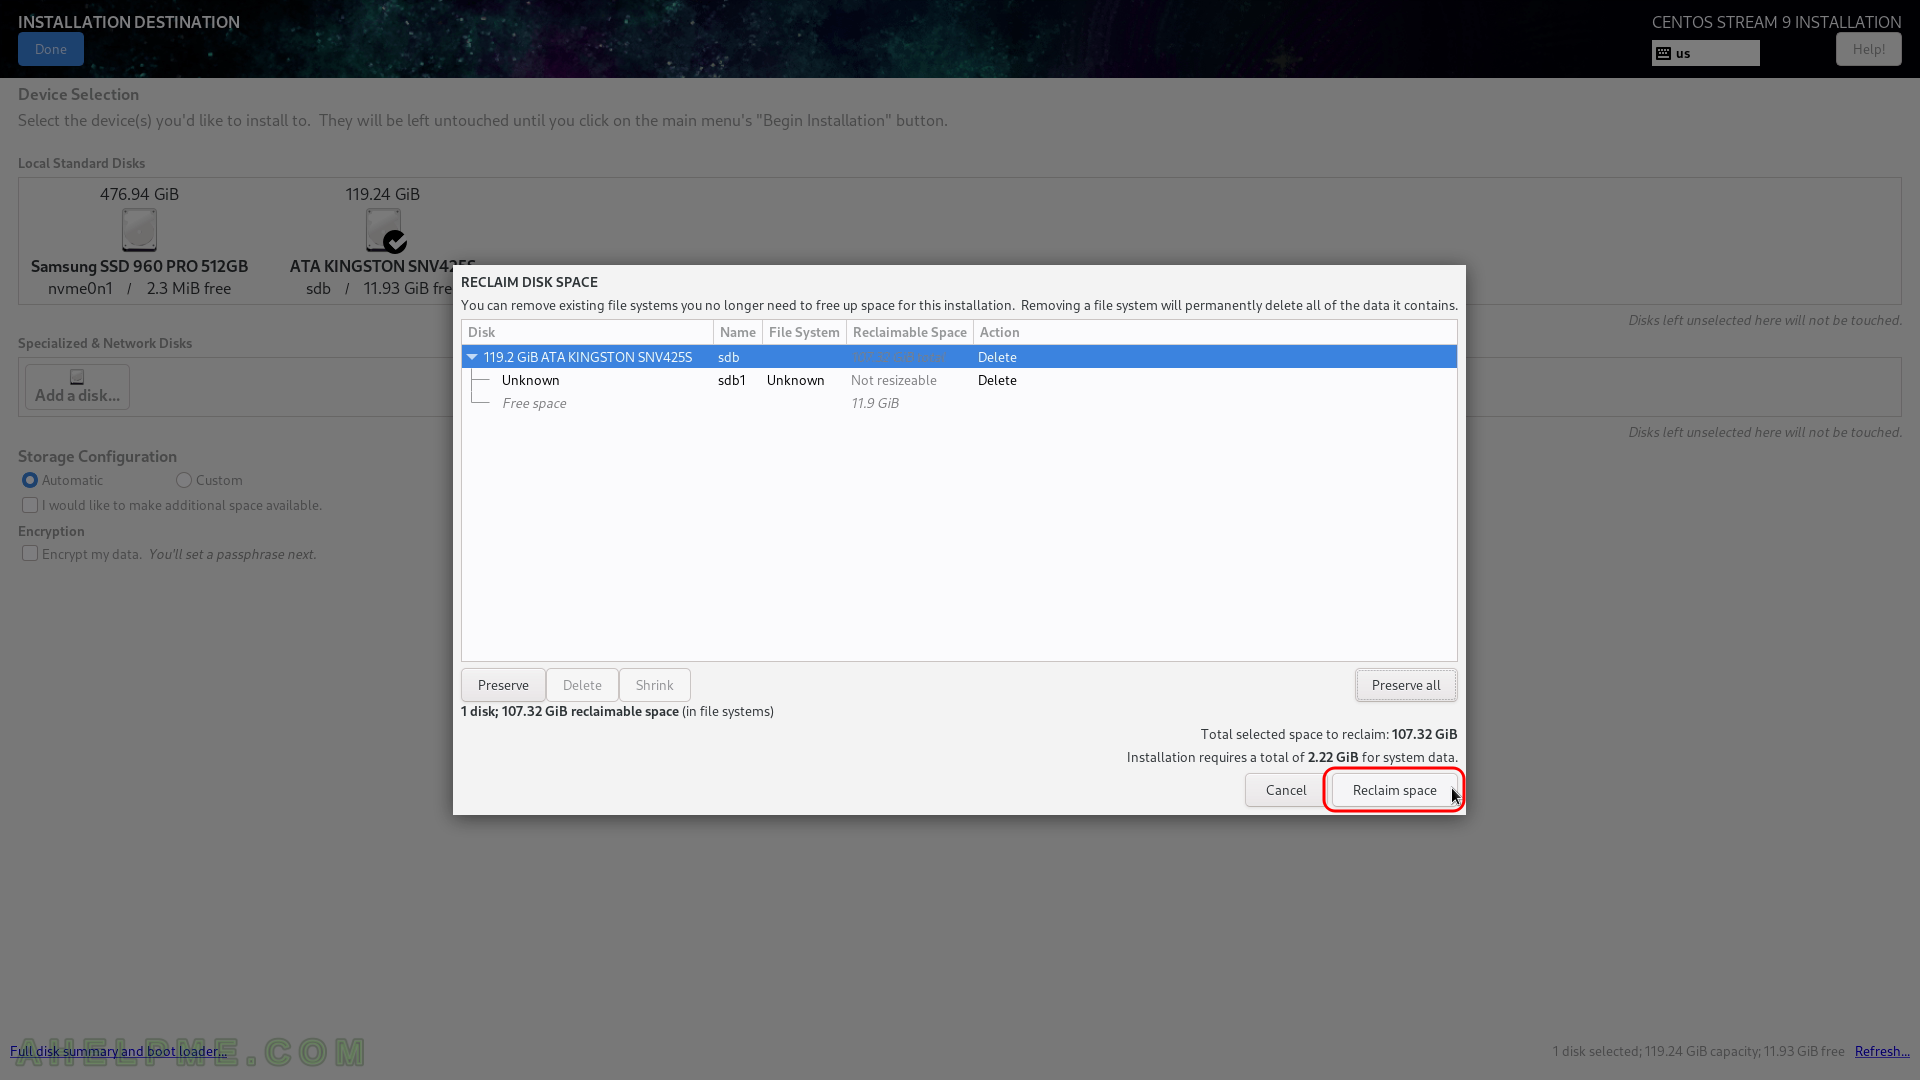
SCREENSHOT 16) Click on “Reclaim space” to confirm the operation in the previous step – deleting or shrinking of partitions.
You can see the operations the “Action” column, which will be performed on the selected disk after the installation setup begin its actual work. In our case we wanted to delete all data on the disk, so there are four Delete actions pending…
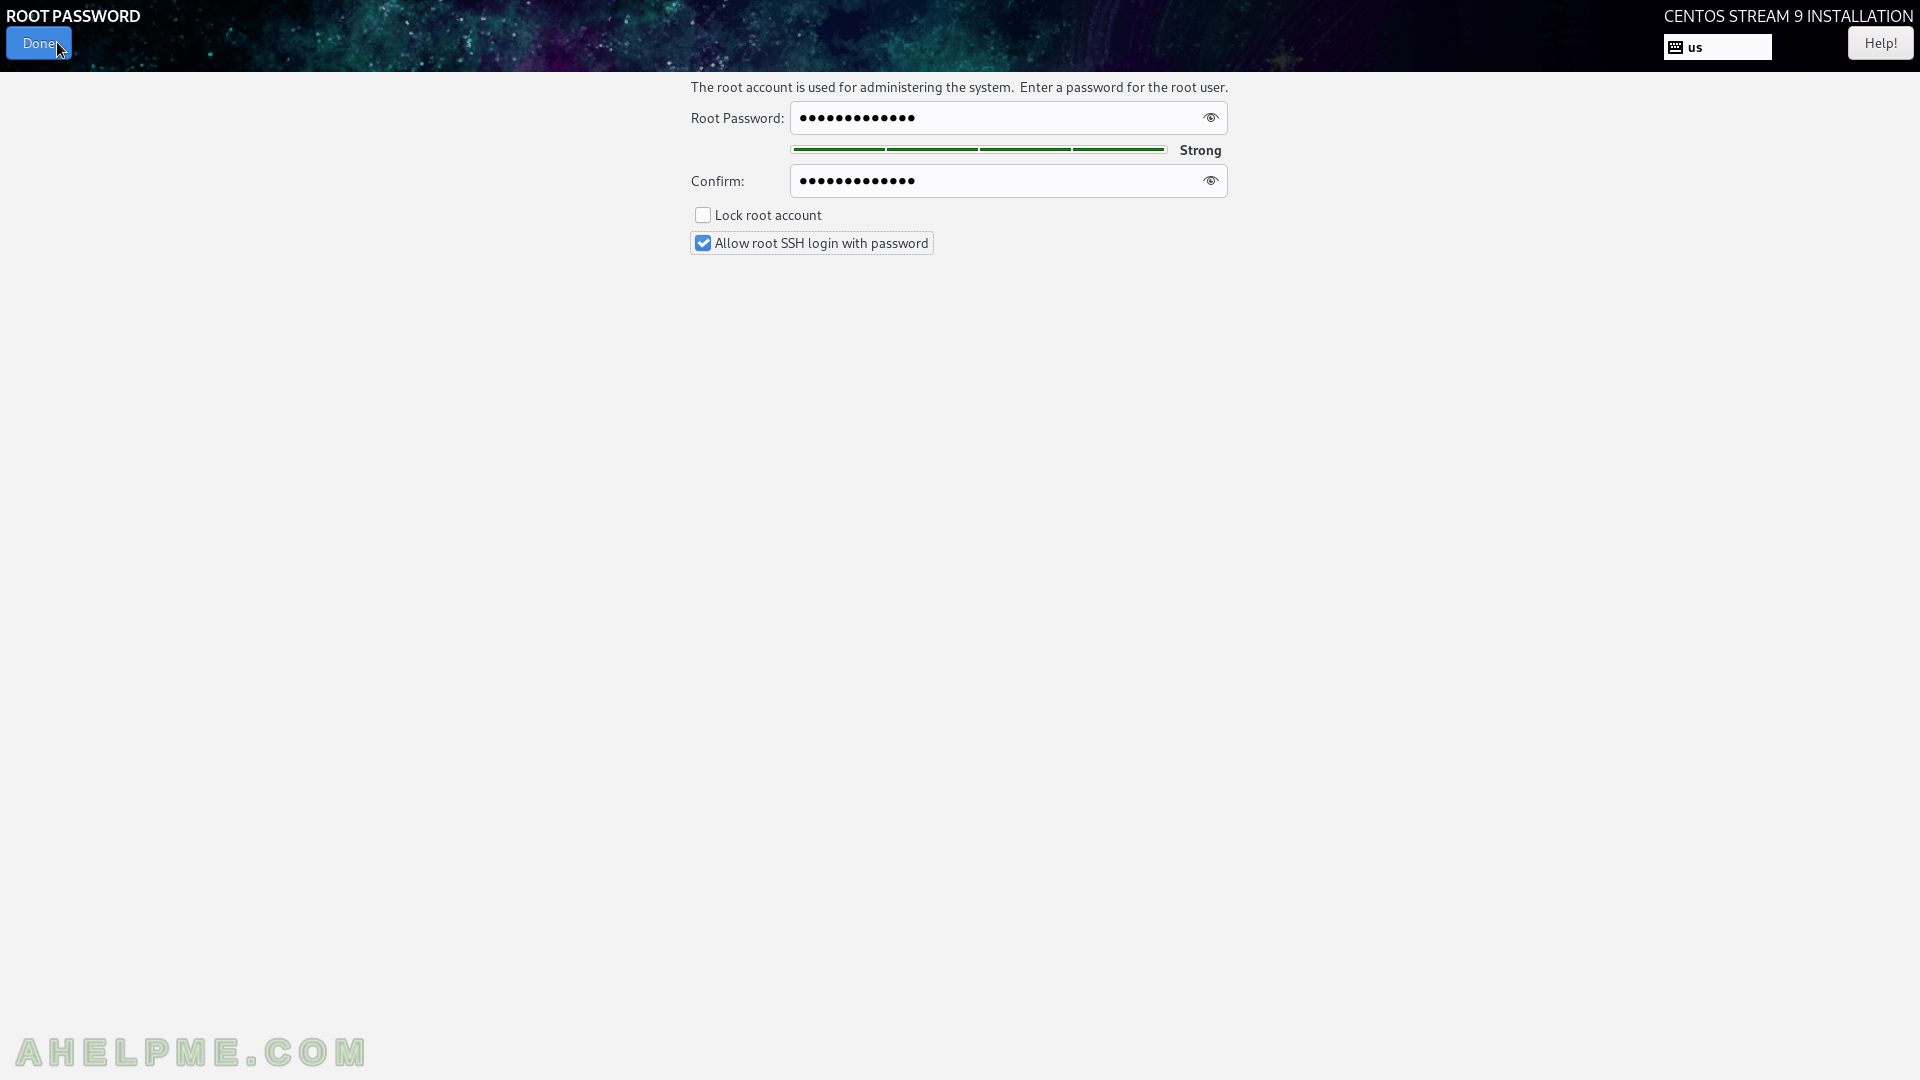
SCREENSHOT 17) Click on “Root Account” to set the password for the root user.
.
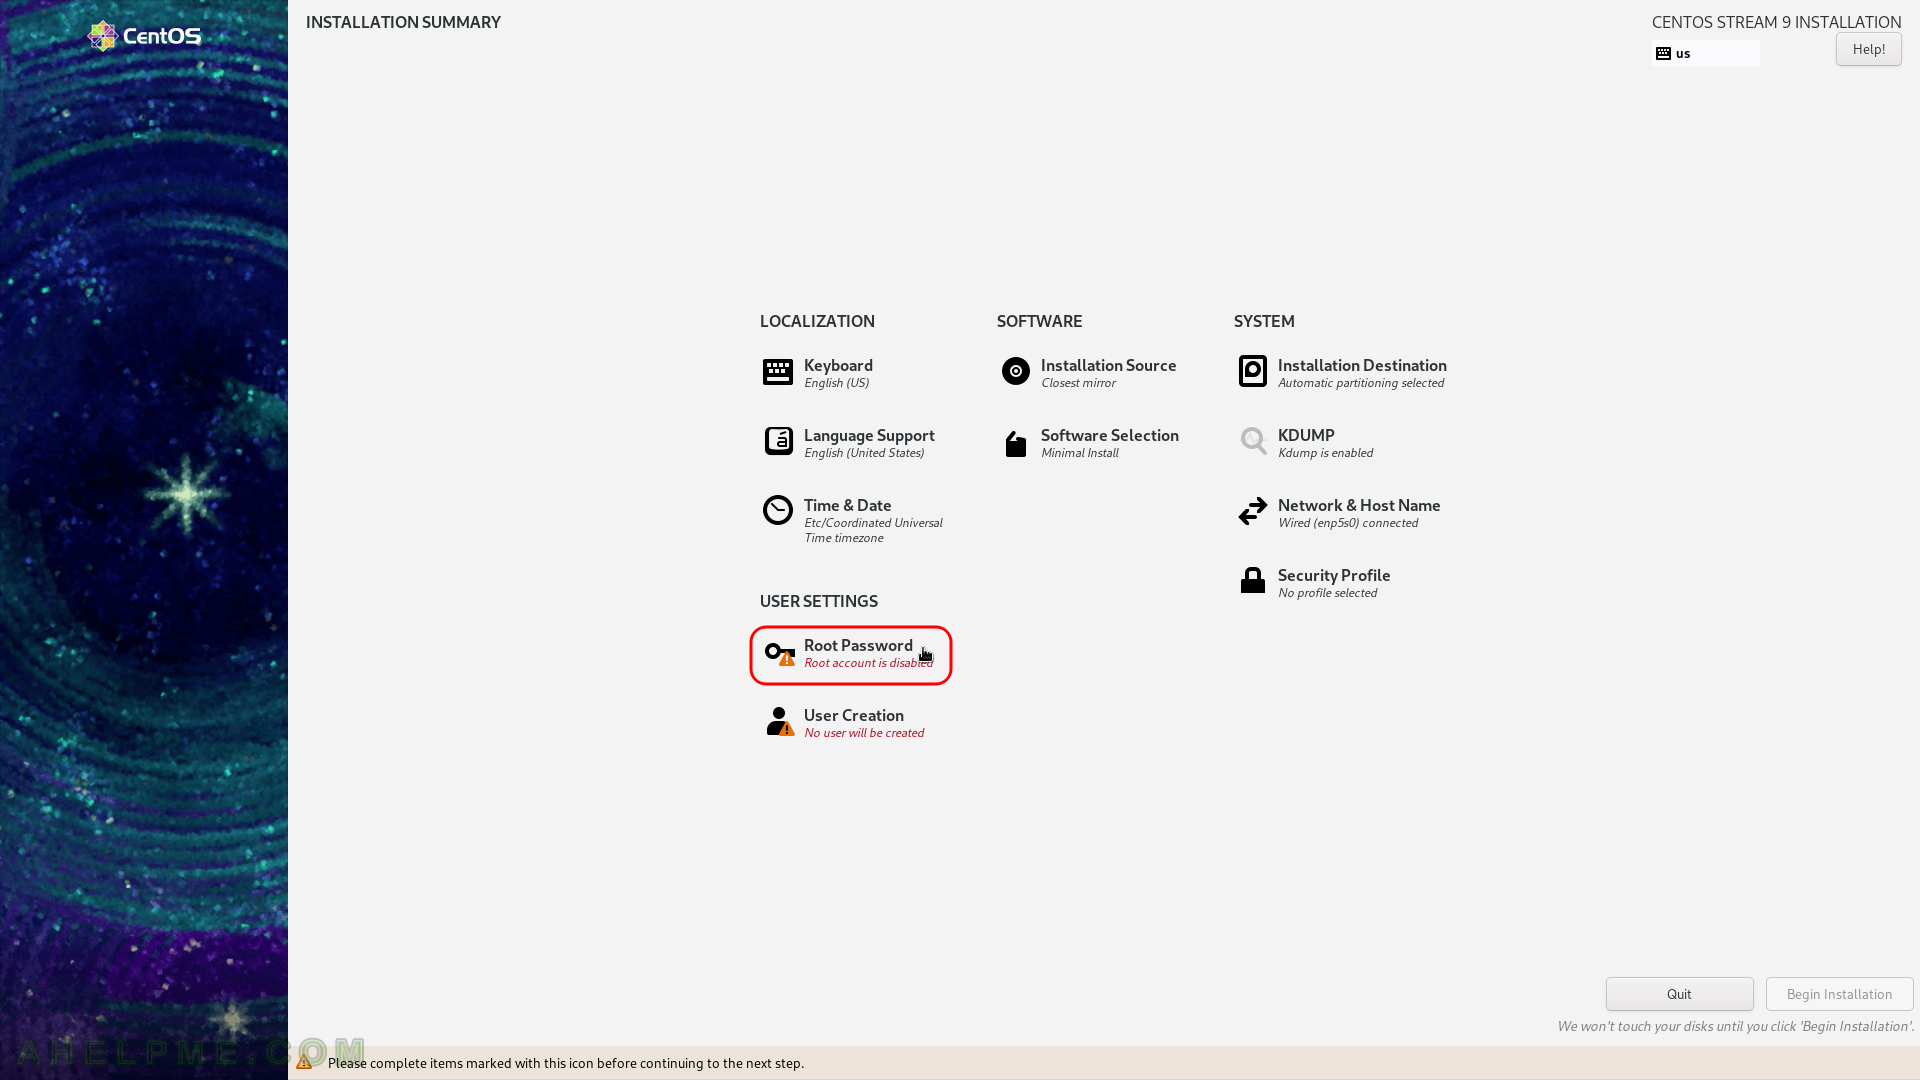
SCREENSHOT 18) Set the root password.
Set password and then click on “Done”. “Allow root SSH login with password” – it would enable the root user to login using ssh remotely to the server. By defaylt, root ssh login has been not permitted for several years. Use an user with administrative privileges instead of root user! If an administrative user account is used, the user may want to disable the root account by click on “Lock root account”.
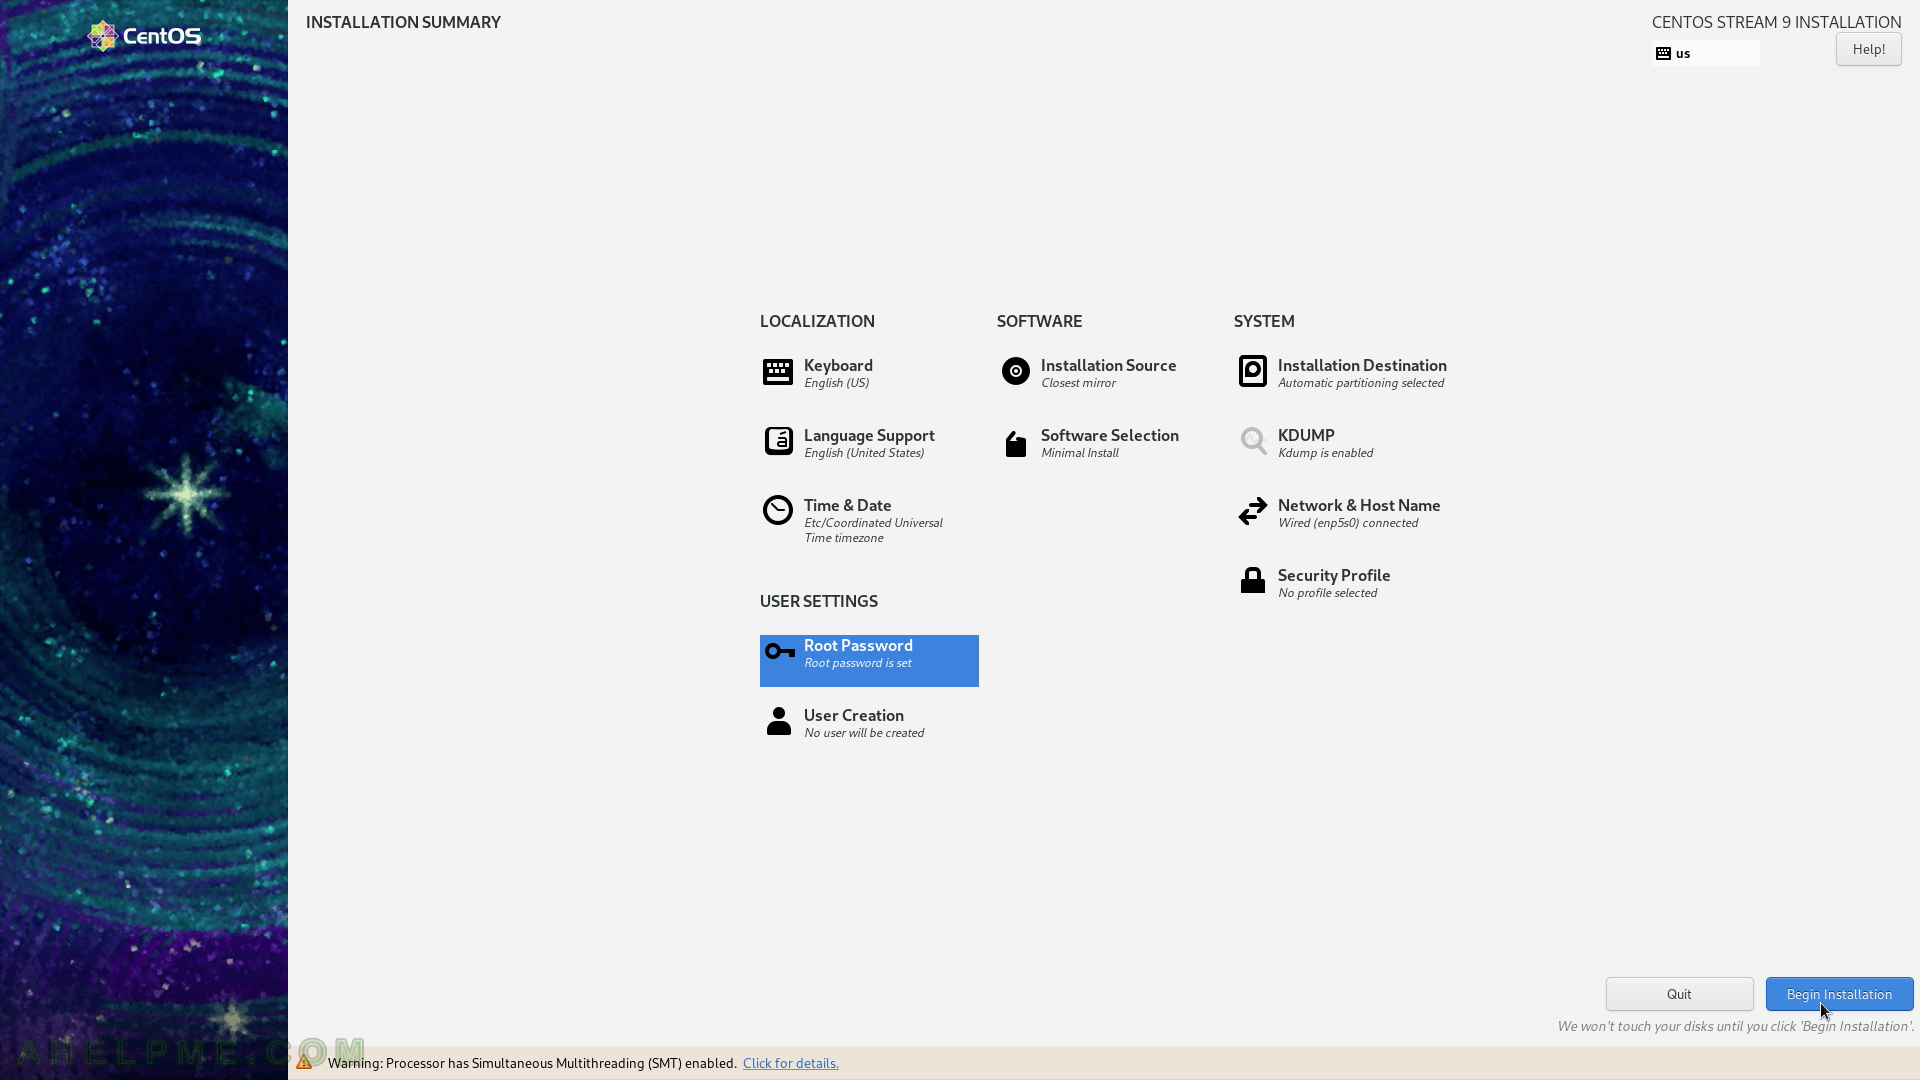
SCREENSHOT 19) Now the installation setup is configured and by clicking on “Begin Installation” the actual installation on your selected hard drive begins.
The actual installation begins and first the disk must be prepared, so after clicking the very button the disk layout will be changed according the last 3 steps.
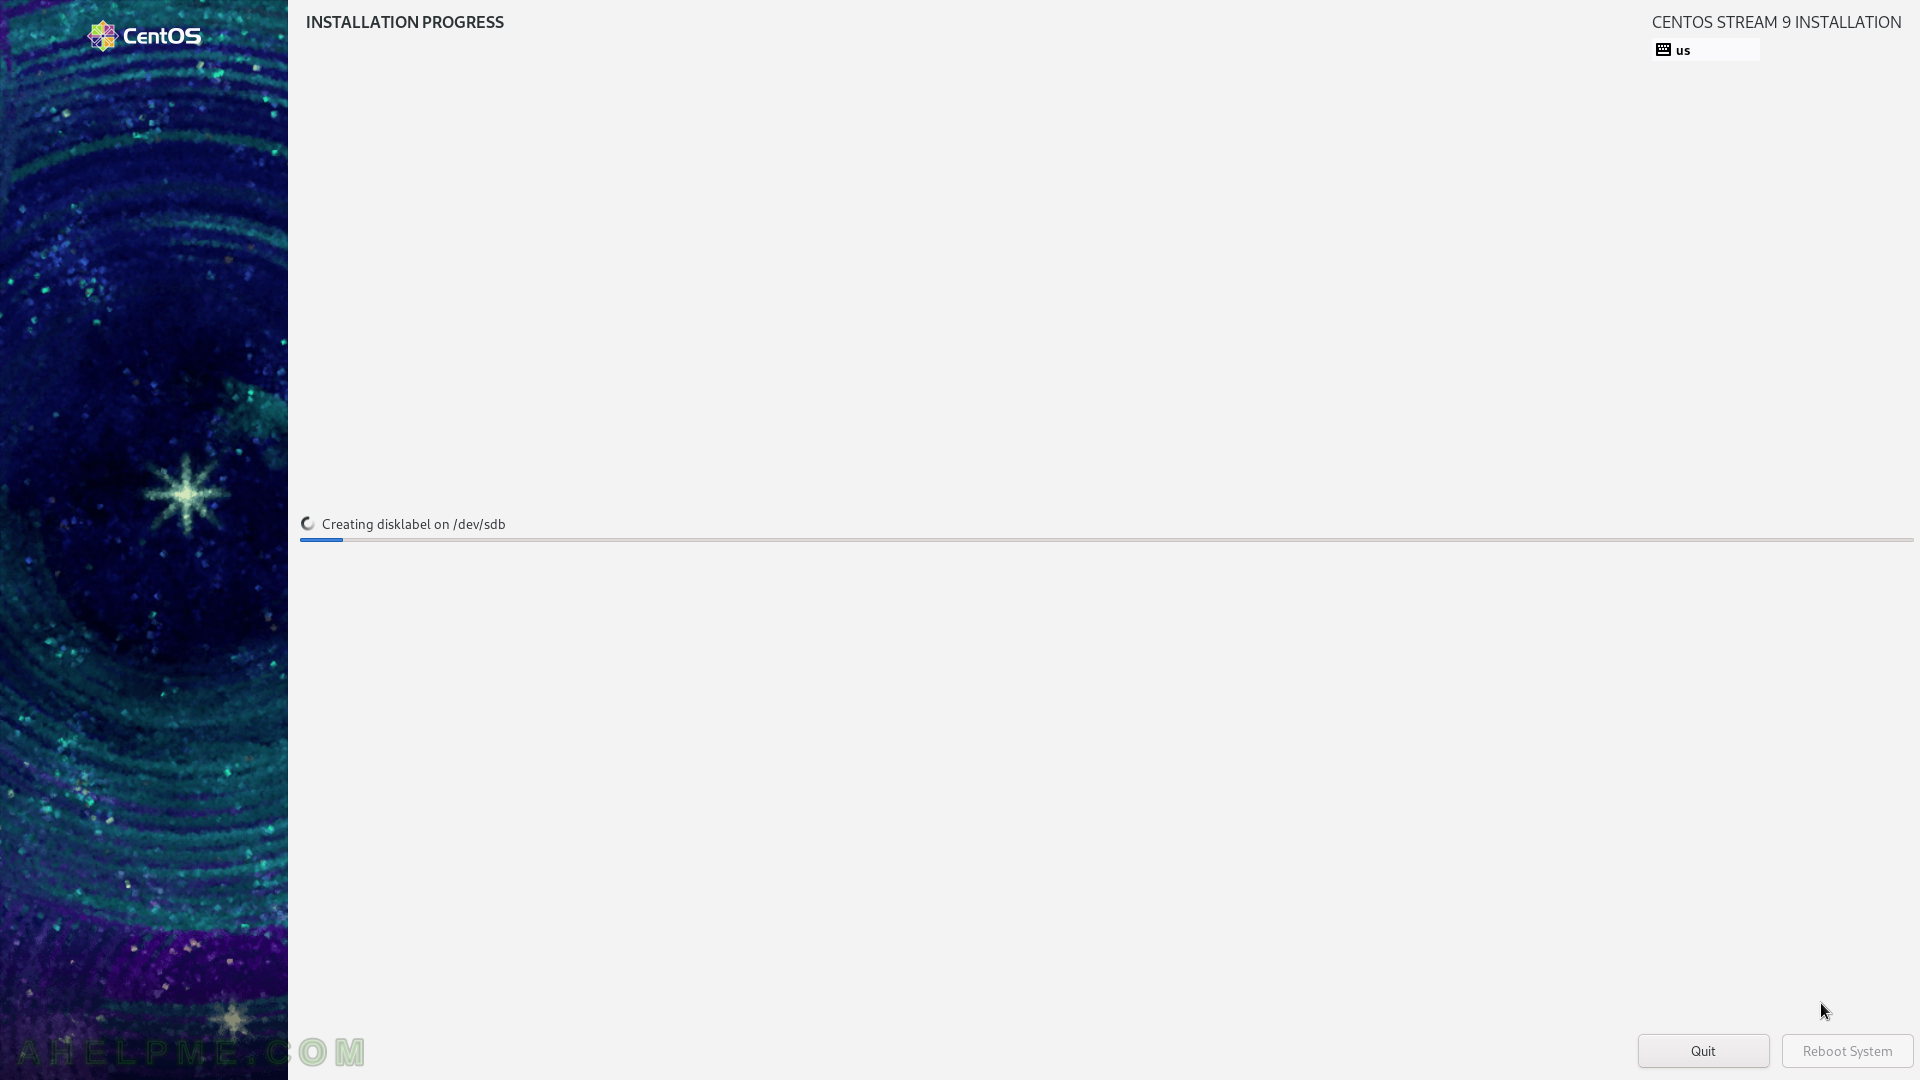
SCREENSHOT 20) The setup is changing the partition layout of the disk.
New partitions are created according to the user selection in the previous step – “Installation destination”. There is a installation progress, which informs the user for couple of actions such as downloading and installing the packages, configuring the boot loader and scripts.