This tutorial will show you the simple steps of installing a modern Linux Distribution – Ubuntu server 22.04 LTS edition. Following most of the default options during the setup configuration for simplicity. The installation wizard is very much the same as the Ubuntu server 20.04 LTS – Minimal installation of Ubuntu server 20.04 LTS
Here are some basic data from the default installation setup settings:
- Installed packages – ~617 occupying 2.3G of space.
- 3 partitions when using automatic patition layout – boot efi, boot and root.
- ext4 used for the root parition.
The Ubuntu Server 22.04 LTS comes and updates to the following Linux packages:
- Linux kernel : 5.15.
- Python : 3.10.4
- GLibc : 2.35
- OpenSSL : 3.0.2
- systemd : 249.11
The most interesting is the version of OpenSSL 3.x in an LTS (Long Term Support) release, which should be pretty stable to be included. Here is more detailed overview of the installed software – Software and technical overview of Ubuntu server 22.04 LTS
We used the following ISO for the installation process – Ubuntu 22.04 LTS (jammy jellyfish):
http://releases.ubuntu.com/jammy/ubuntu-22.04-live-server-amd64.iso
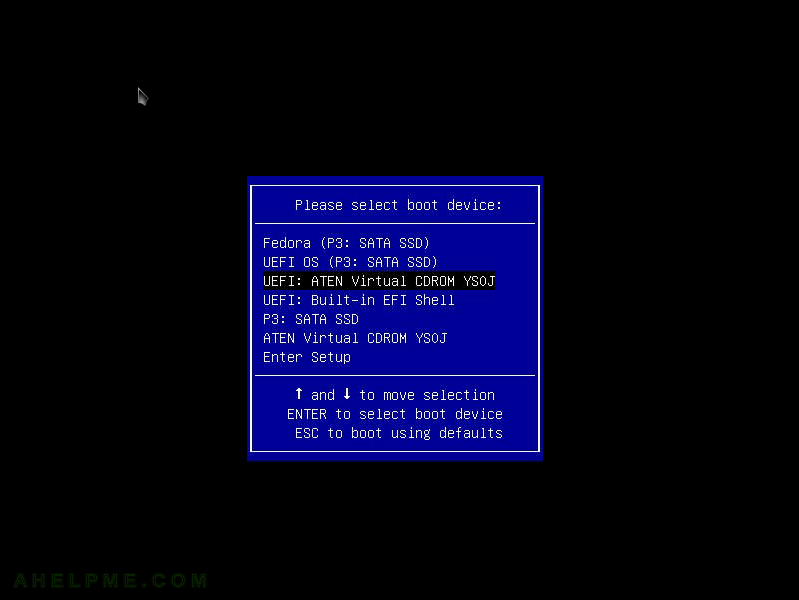
SCREENSHOT 1) Boot from the disk or USB – whatever you made after downloading the ISO file from Ubuntu’s official source.
On the image here the DVD is used to boot in UEFI mode installation.
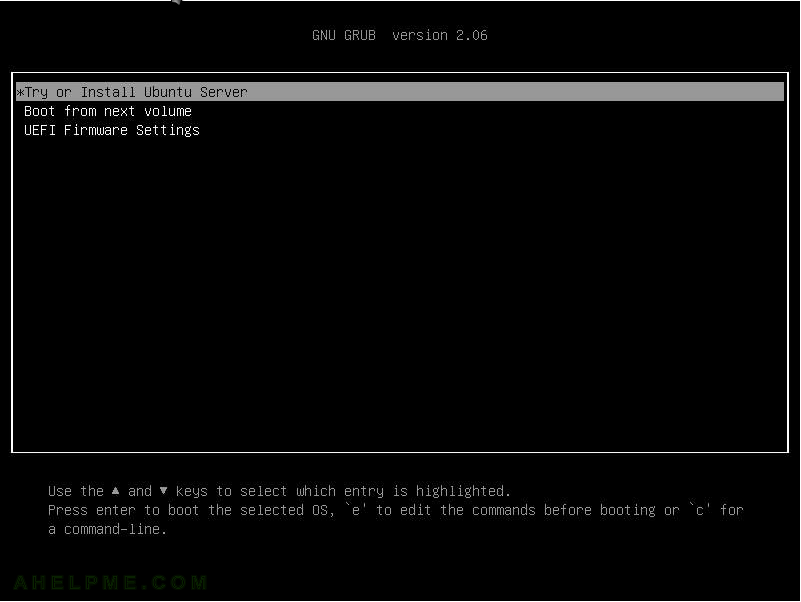
SCREENSHOT 2) The default entry in the Grub 2 DVD or USB is “Try or Install Ubuntu Server”.
Hit enter or wait several seconds to boot in the wizard.
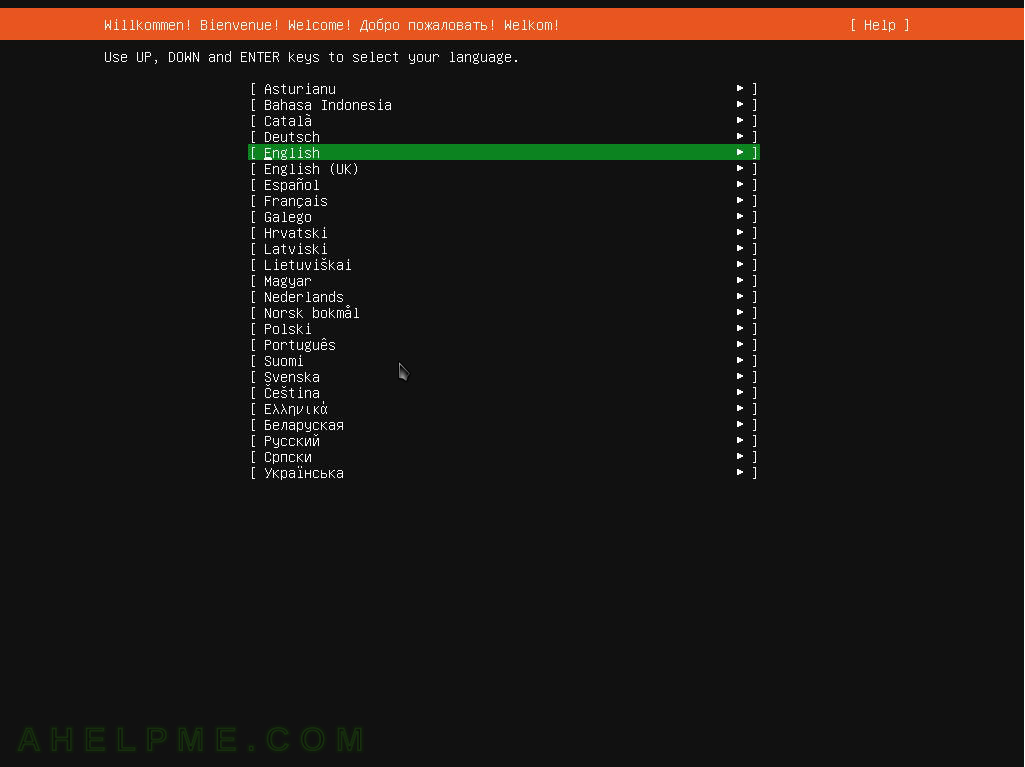
SCREENSHOT 3) Select the language of this installation wizard and hit Enter.
The English is selected as default option.
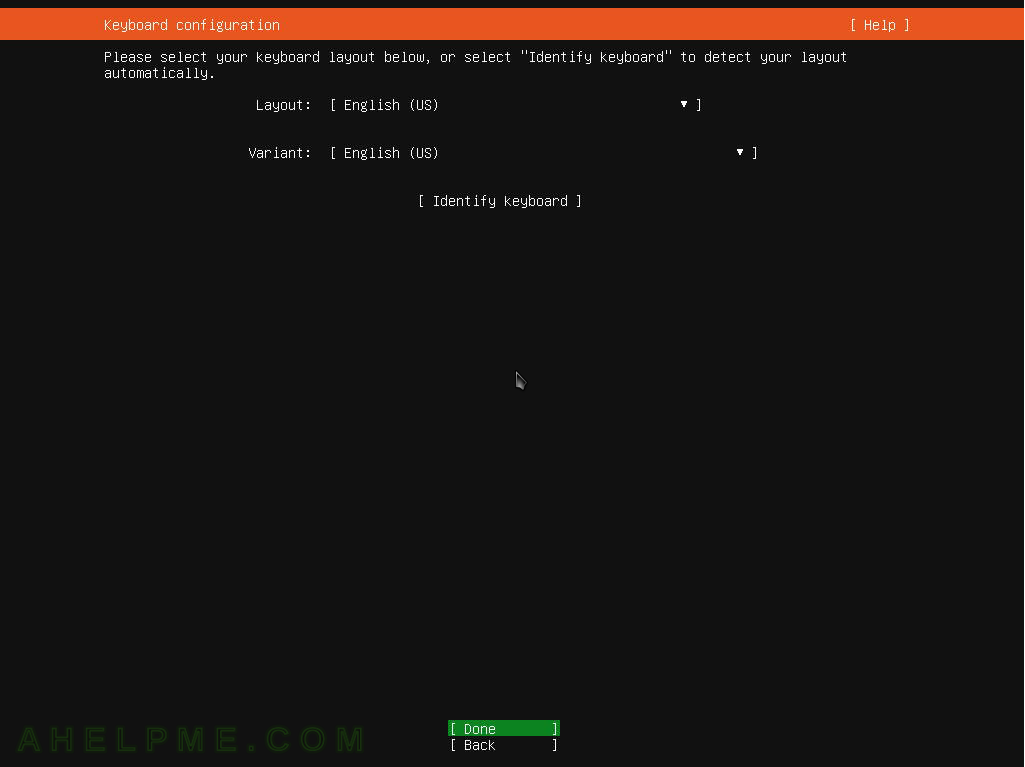
SCREENSHOT 4) Select the keyboard layout and English is default.
Select the proper profile for your keyboard and hit Enter to continue.
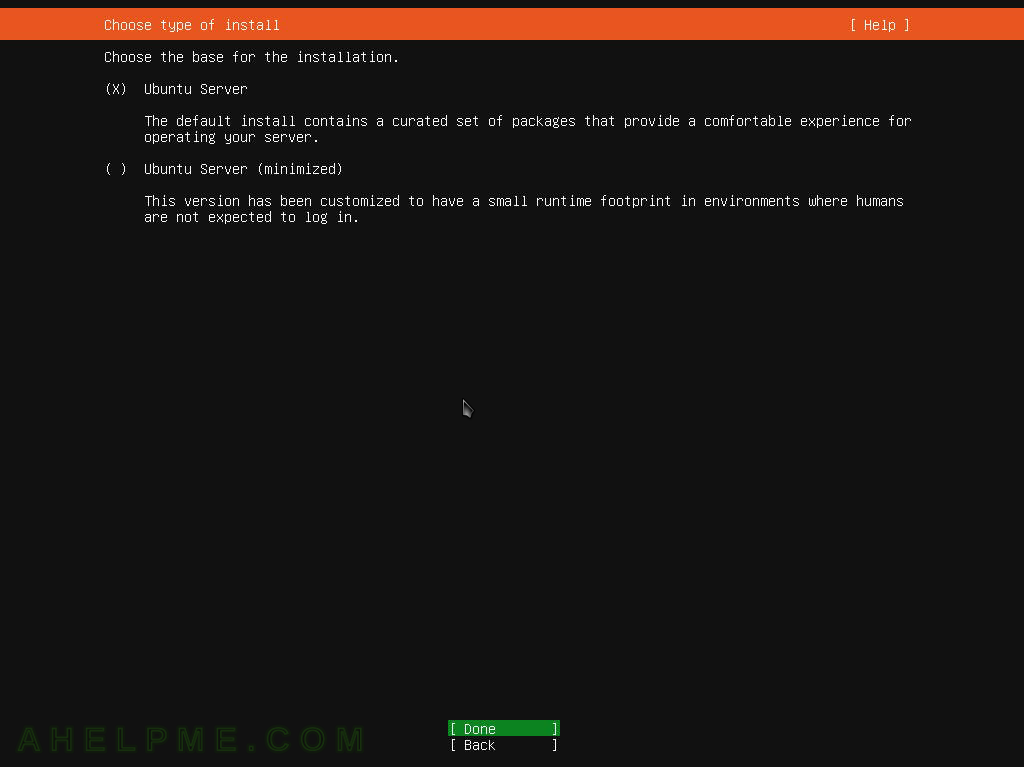
SCREENSHOT 5) There are two type of base installation – Ubuntu Server and Ubuntu Server (minimized).
The default is Ubuntu Server for general use, which is the proper choise for almost all purposes including human administration. Minimized version is preferred mainly for embedded devices or virtualization like containers.
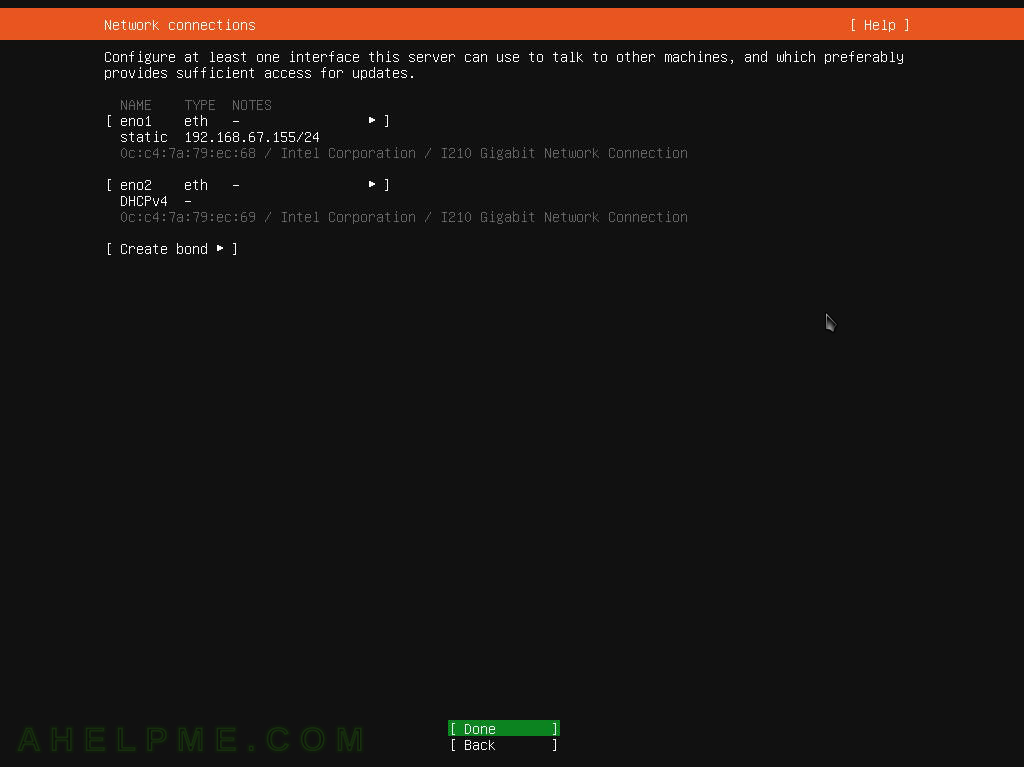
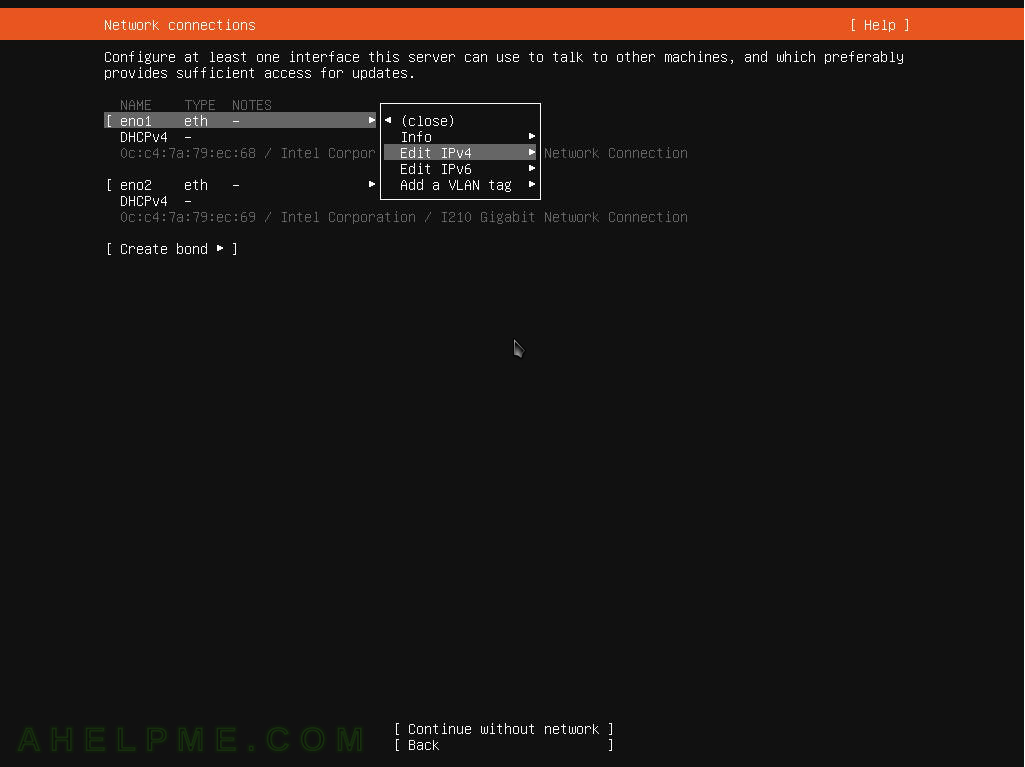
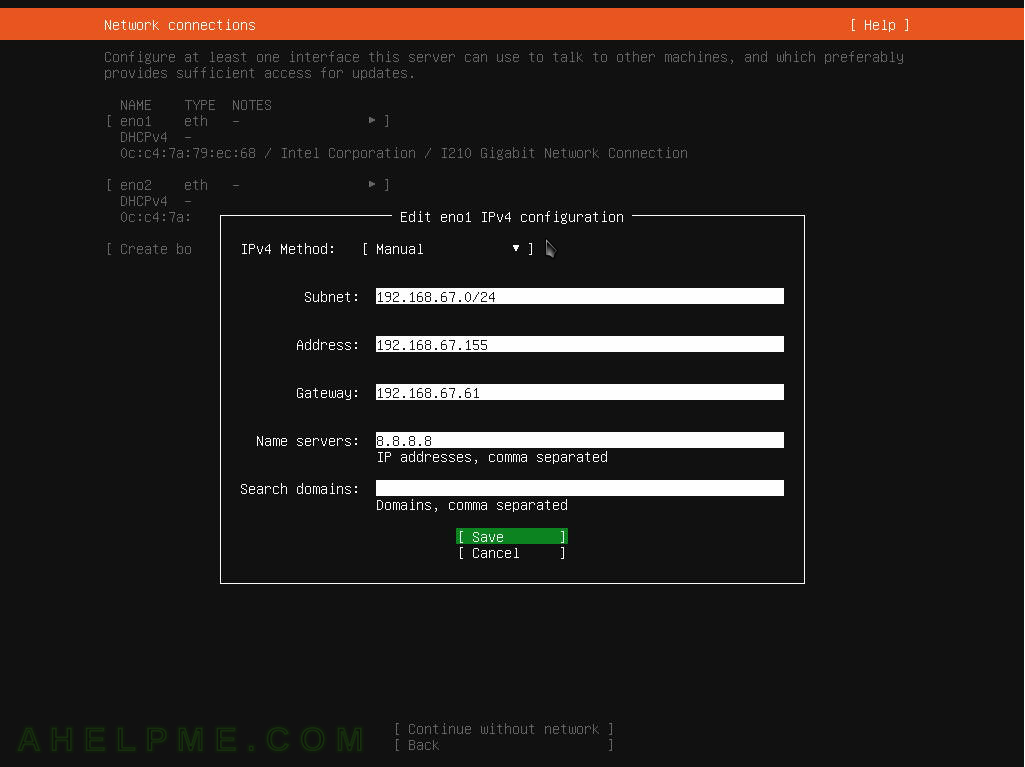
SCREENSHOT 6) This is server installation and static configuration is selected.
By default the setup uses DHCP. Select the network interface (eno1) with a connection and hit Enter, then select “Edit IPv4” and hit Enter. The name of the network interface may differ in different servers.
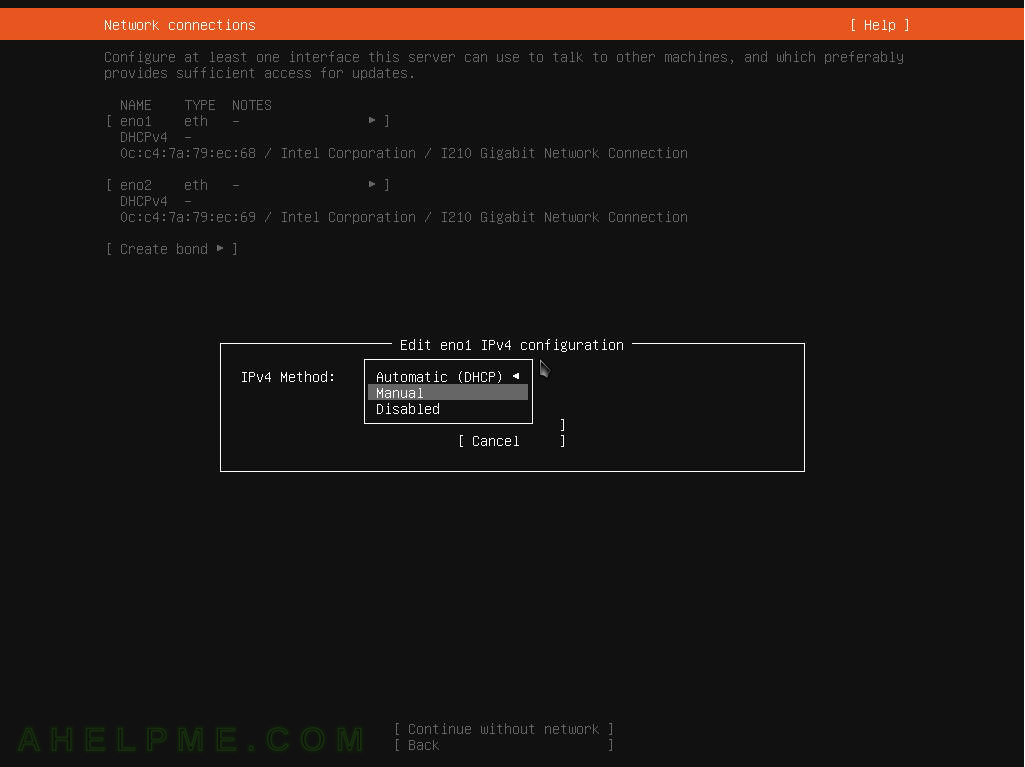
SCREENSHOT 7) Select “Manual” to set the IP manually.
SCREENSHOT 8) Set the static IPv4 configuration.
A local IP is set in this example. Save and the wizard will return to the all Network connections menu.
SCREENSHOT 9) Verify the IPv4 configuration and Select “Done” on the bottom and hit Enter.
