SCREENSHOT 11) The mirror adress, from where the wizard will download files is filled automatically with the nearest official mirror.
Hit Enter to continue. Change the adress if you know a fast mirror.

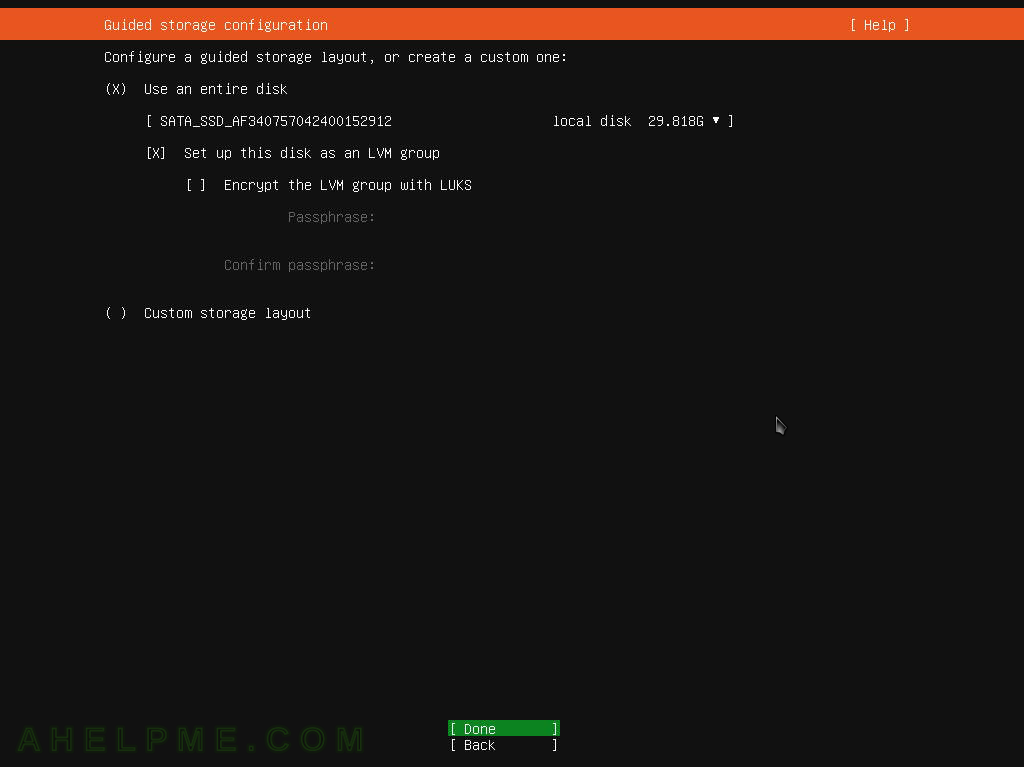
SCREENSHOT 12) Select the disk for the installation and choose between the default or custom disk configuration.
The two options are “Use an entire disk”, which will use and DELETE all the data in the selected disk (the selected disk is with a check before the line with the disk name), and “custom storage layout”, which will start a partition layout wizard and it will expect the user to manually modify (remove, create, modify?) the disk layout. For simplicity, we “use the entire disk” option, which is the most commont when installing in a server where dual boot is not so common.
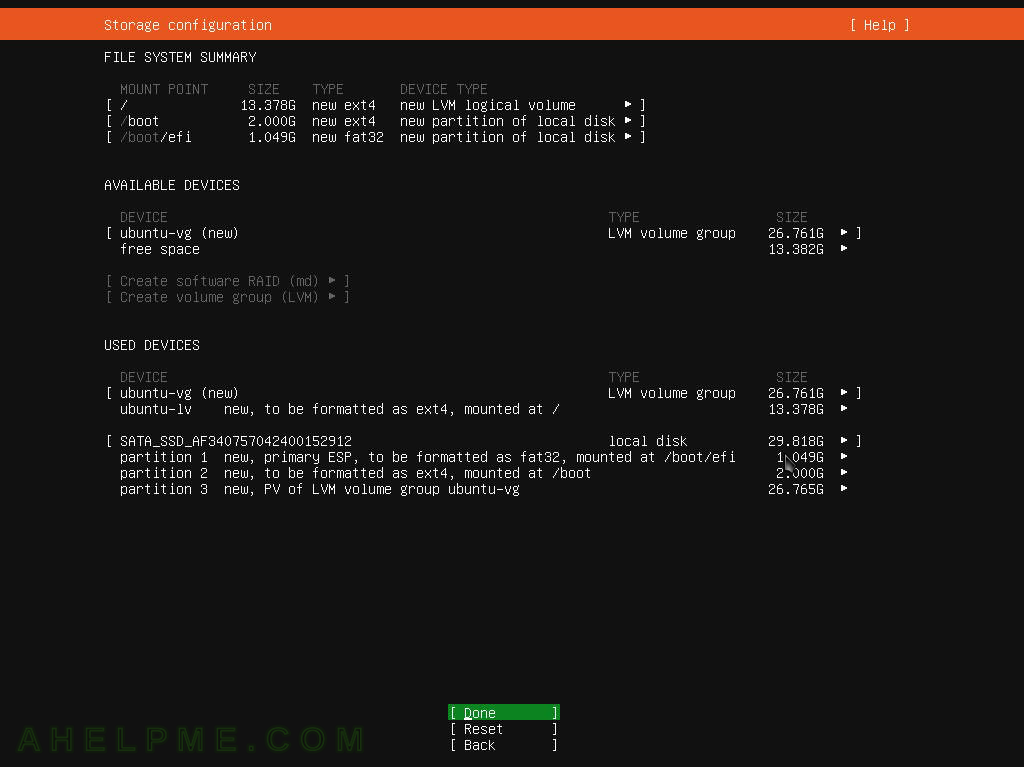
SCREENSHOT 13) Accept the changes on the disk layout and continue.
Be careful, check all the lines mentioning “new” word. In this step all disk are visible and the all the changes, which are going to happen are displayed. Continuing after this step data could be lost if missconfiguration happened in the previous steps.
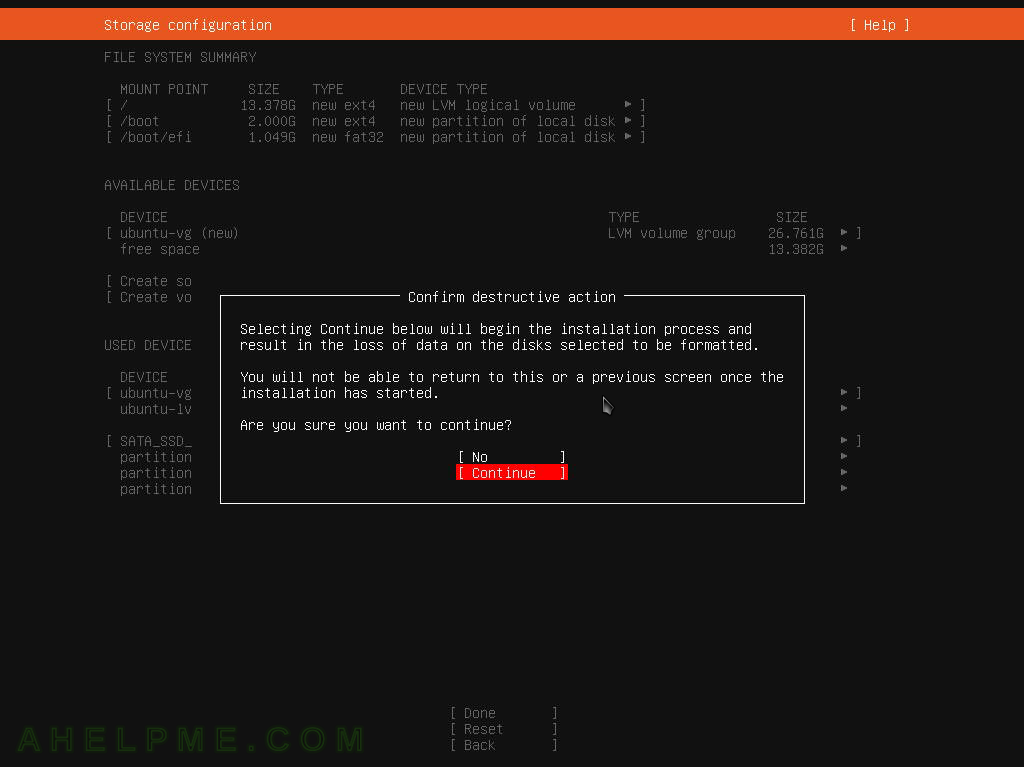
SCREENSHOT 14) Confirm the destructive actions related to the disk layout.
Changing a disk layout could lead to data loss! Select “Continue” and hit Enter.
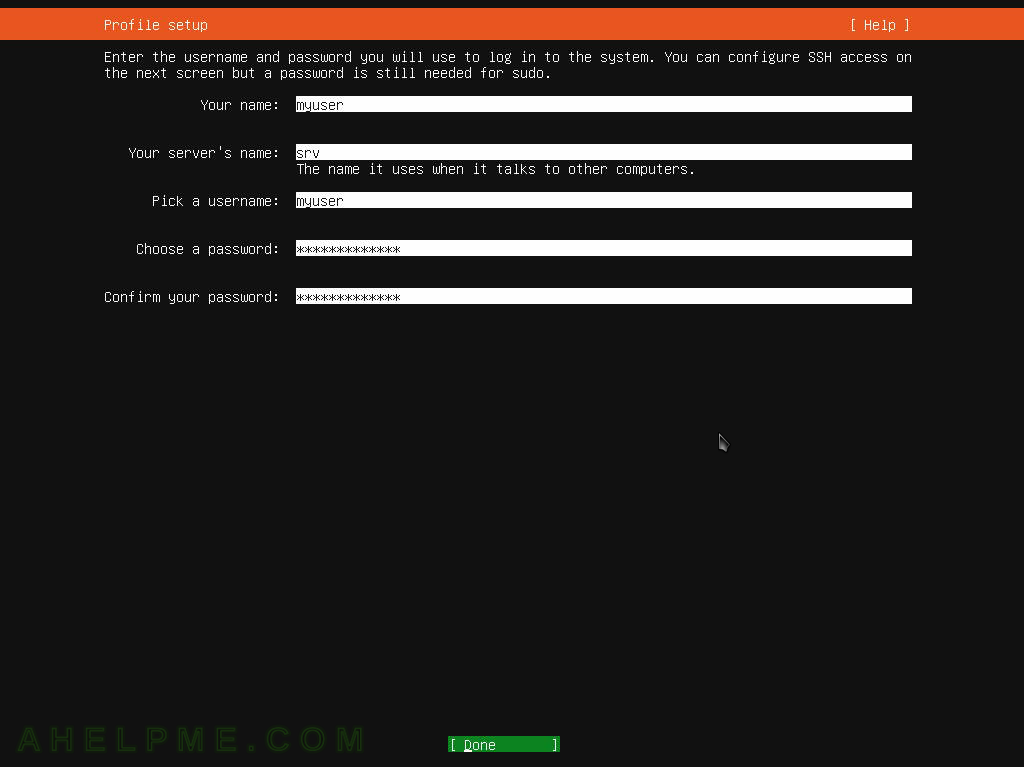
SCREENSHOT 15) Fill the form to create the administrative account and hit Enter.
The administrative account is needed for sudo and remote SSH access.
SCREENSHOT 16) Configure whether to install openssh server or not. Check “Install OpenSSH server” and hit Enter to continue.
For server installation the openssh is mandatory, do not skip it or the server won’t be accessible remotely.

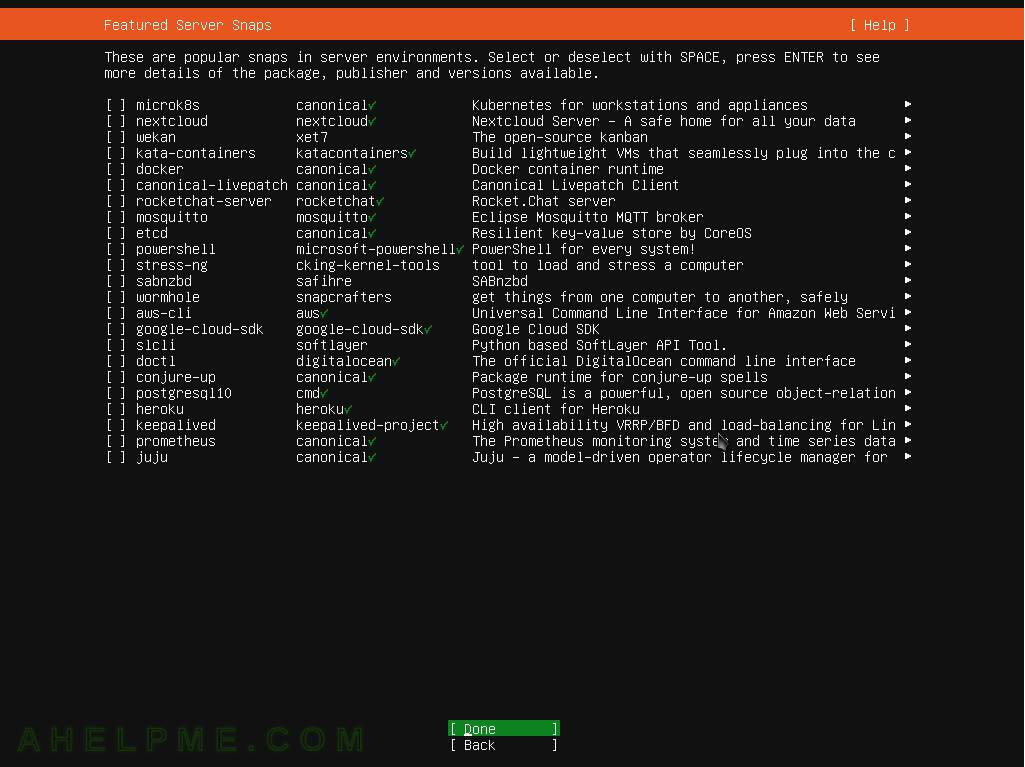
SCREENSHOT 17) Minimal installation does not include any of the featured Server software.
All of software could be installed after the installation.
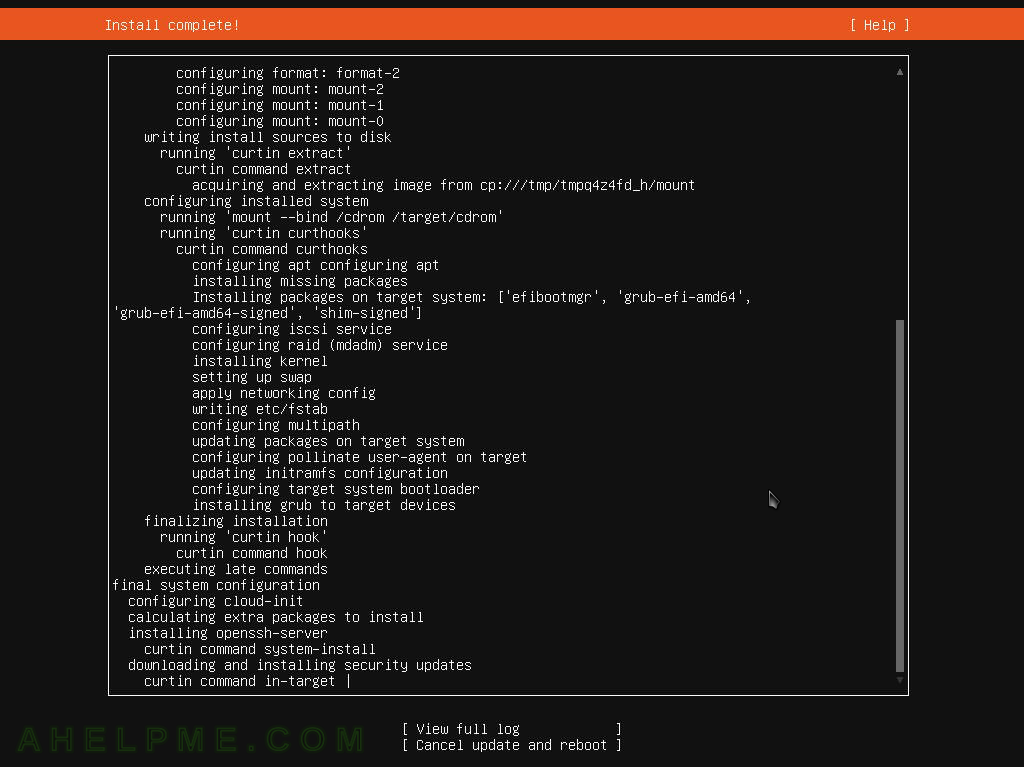
SCREENSHOT 18) The setup is isntalling the system.
Main steps of the setup are shown. A full log is available, too.
SCREENSHOT 19) The wizard offers to view the whole installation log.
The installation log is useful for debugging purposes.
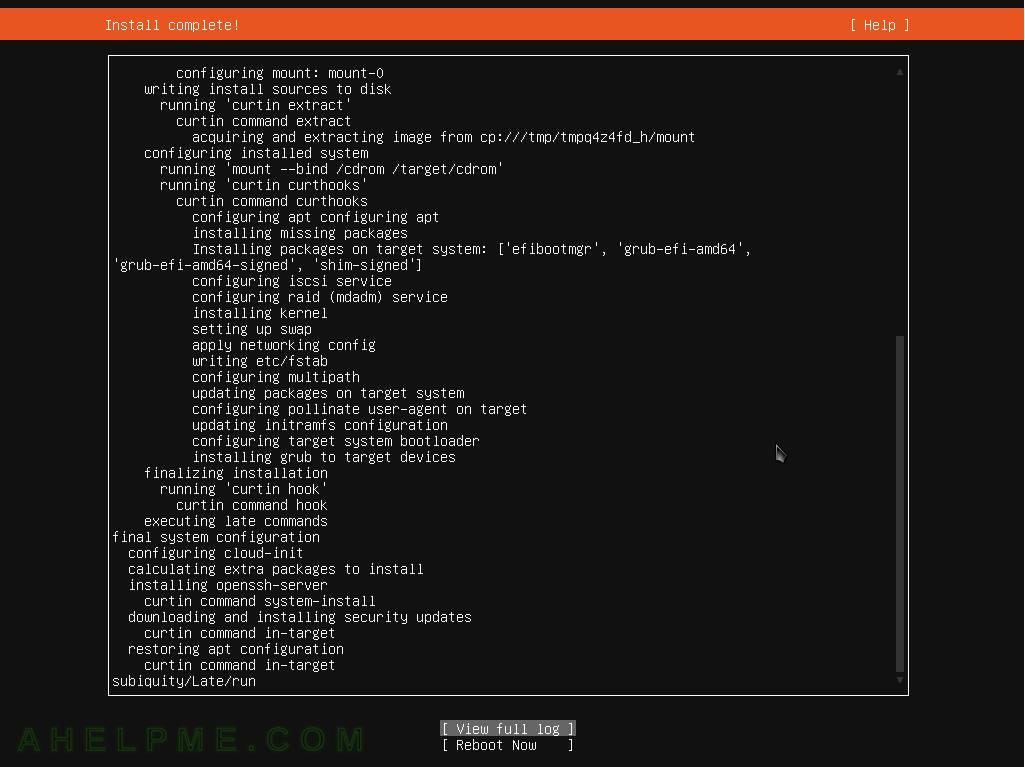
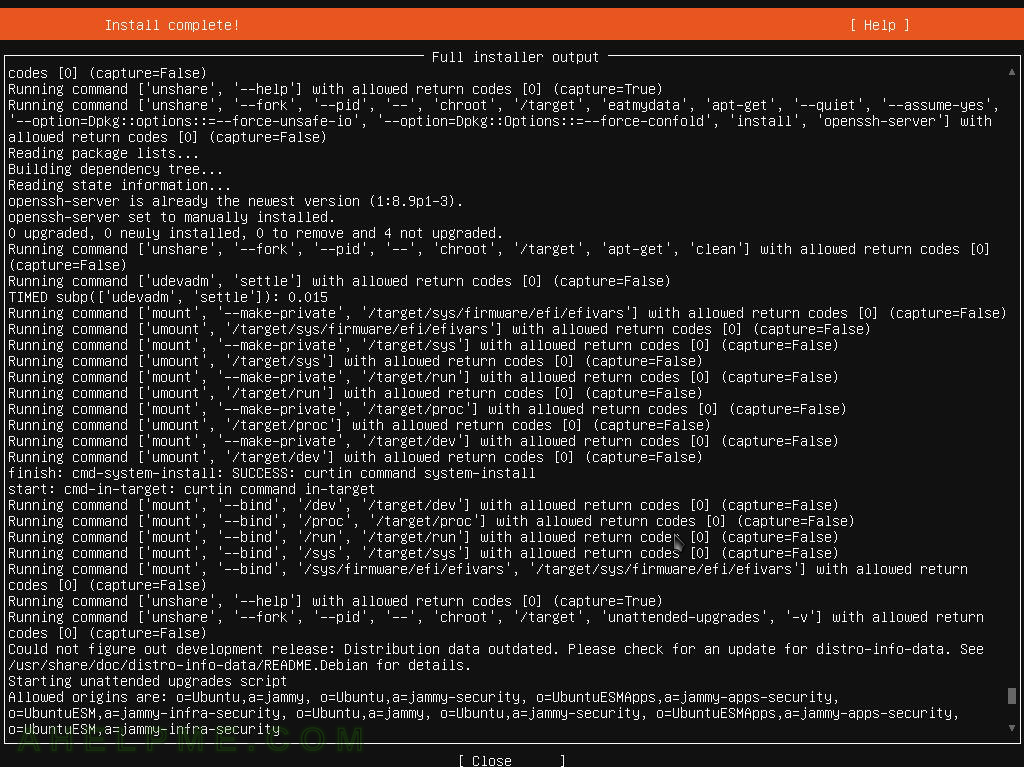
SCREENSHOT 20) Here is just one screen of the full installer output.
There are records of all commands ran during the installation process.