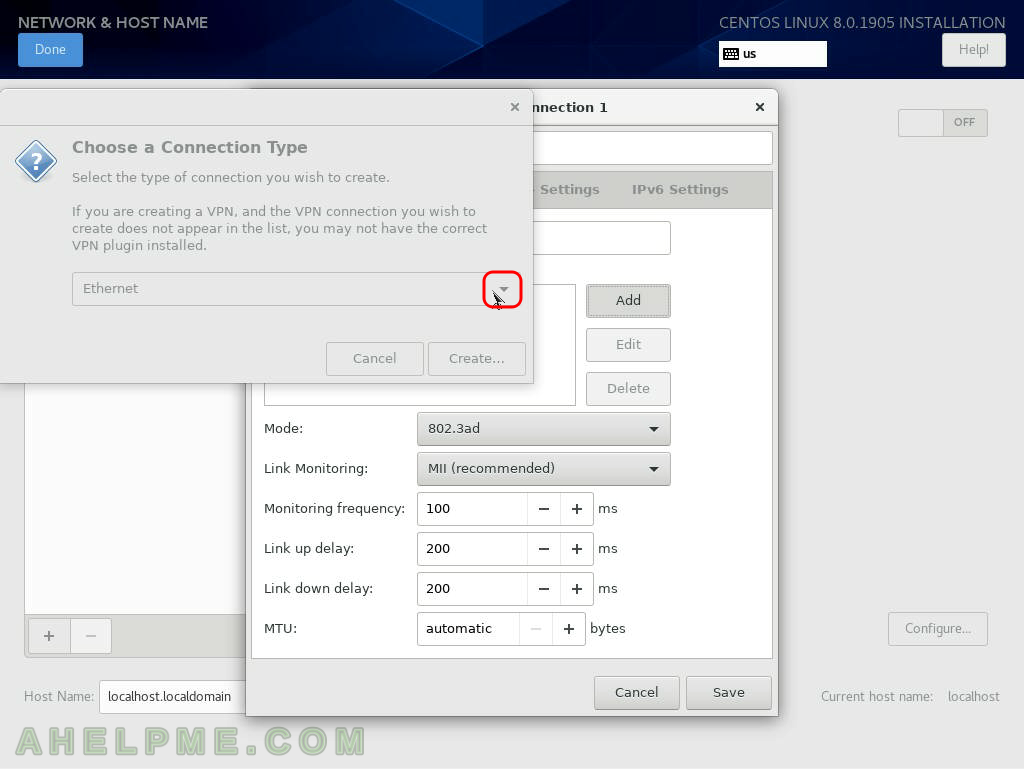
SCREENSHOT 11) Click on the dropdown box to select the connection type of the bonding slave device.
It might be grey as if it is not enabled, but if you click on the dropdown box you could select the type. And the dialog will change it state from gray to normal aka active state.
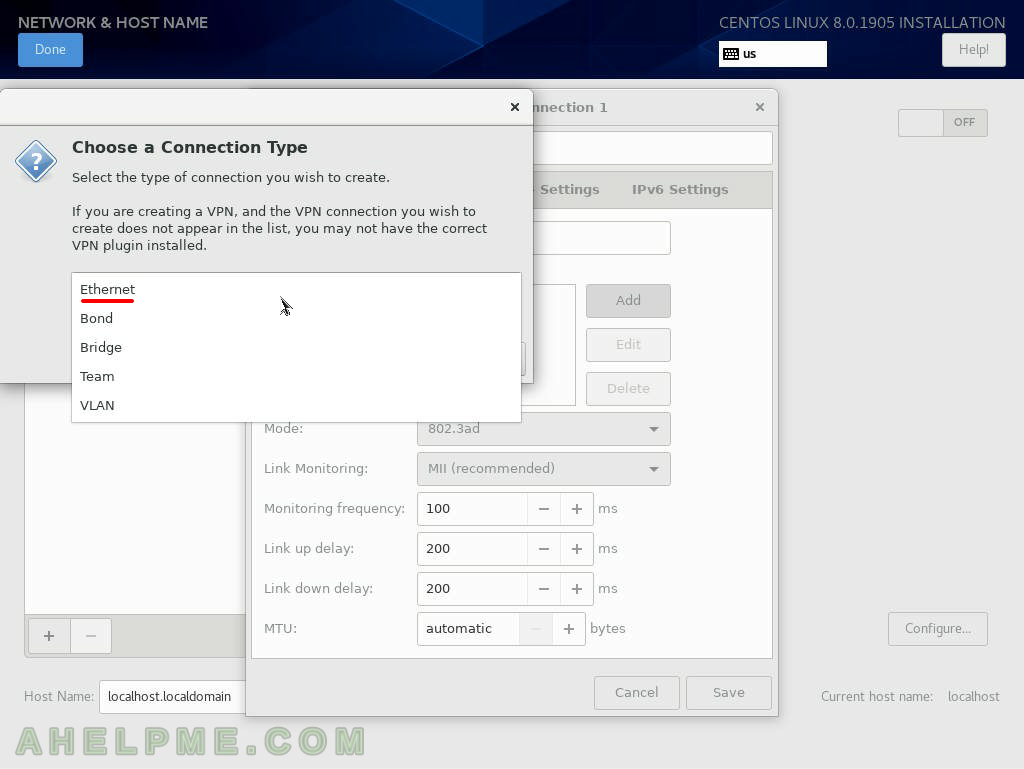
SCREENSHOT 12) Select the Ethernet from the dropdown box.
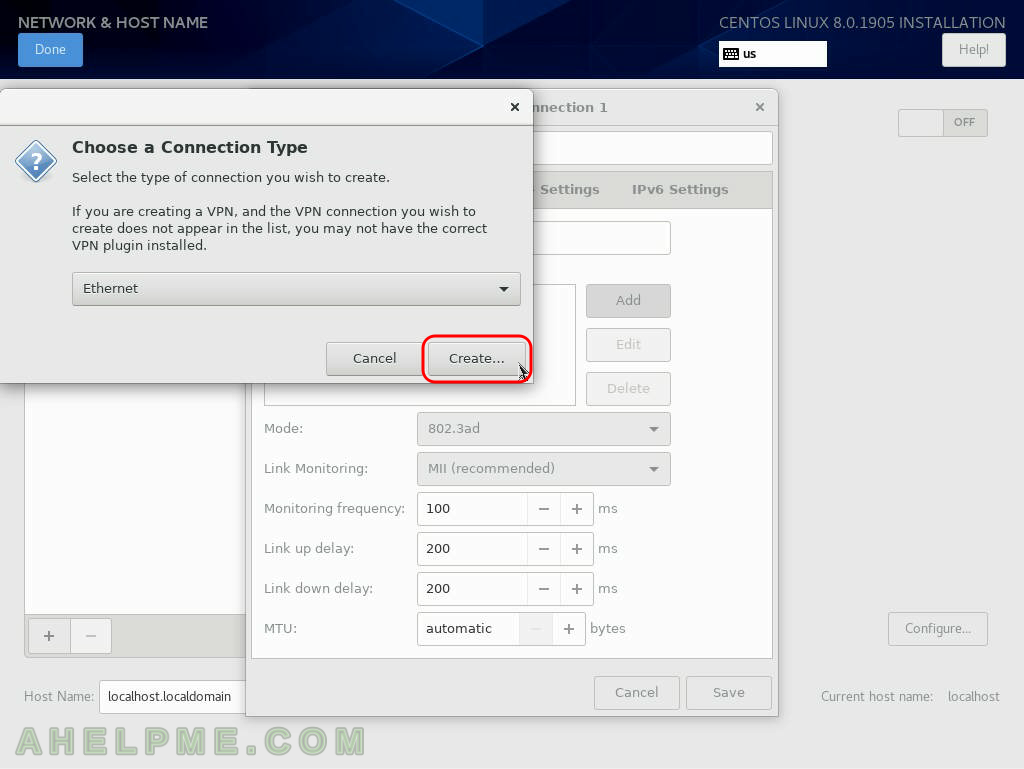
SCREENSHOT 13) Click on “Create…” button to add the second ethernet device to the bonding device created above.
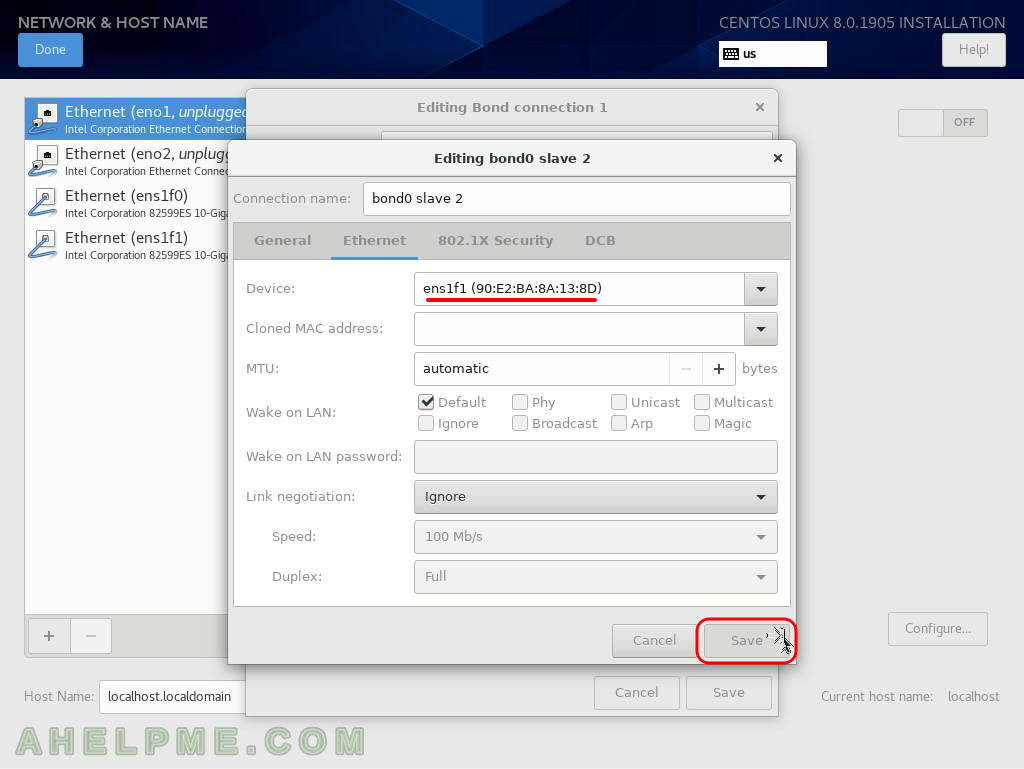
SCREENSHOT 14) Select the proper network interface (ens1f1) from the dropdown box and click on “Save”.
By clicking on “Save” the network device will be added to the bodning group.
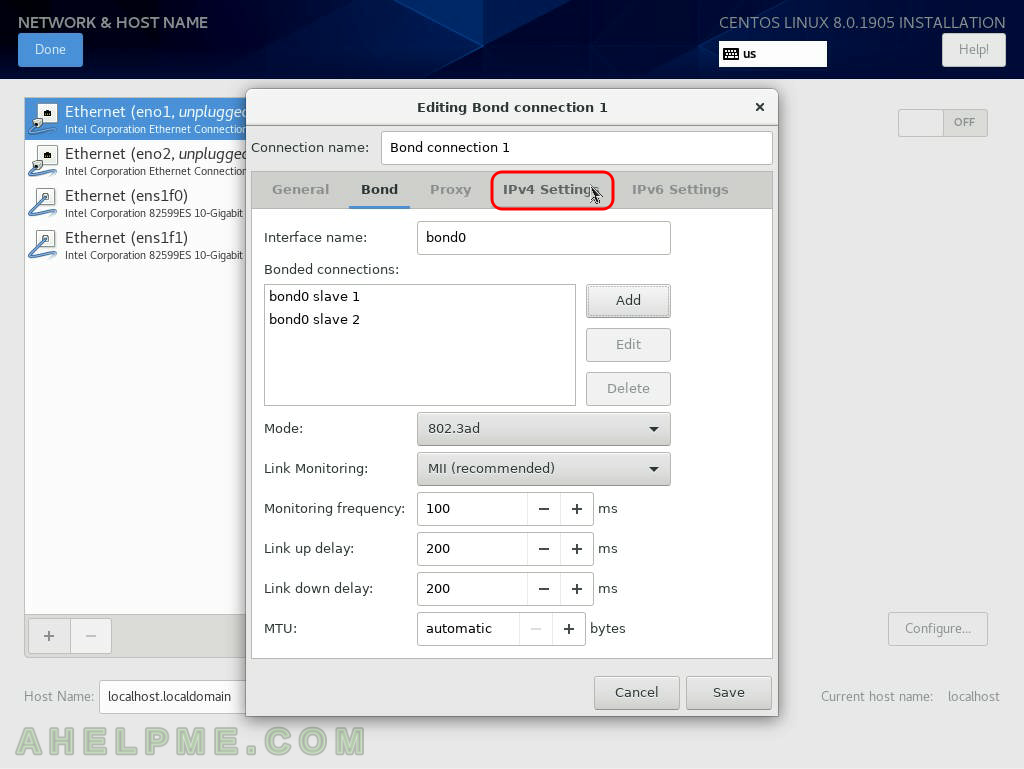
SCREENSHOT 15) Select “IPv4 Settings” to set an IP.
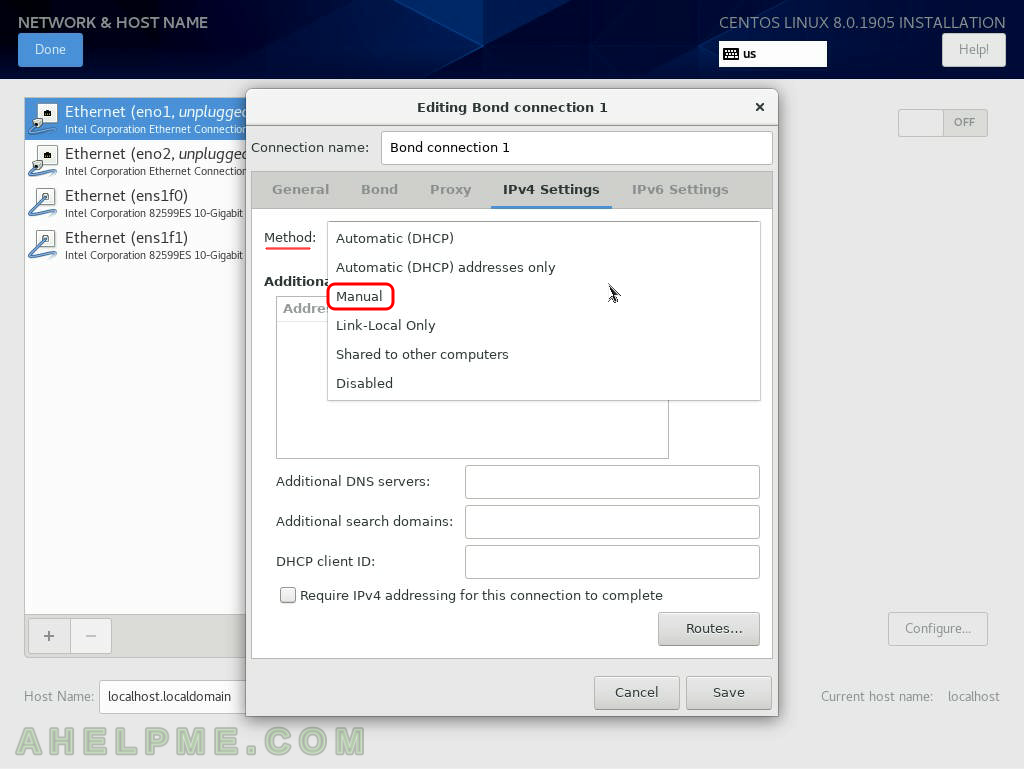
SCREENSHOT 16) Select “Manual” from the dropdown box “Method” menu.
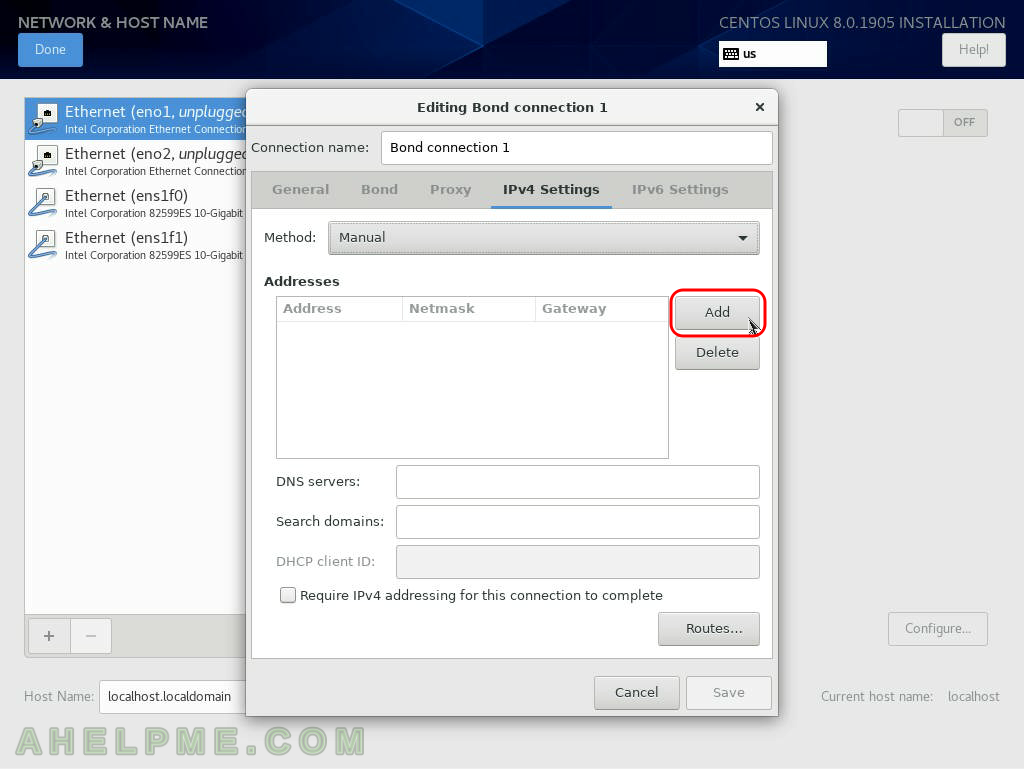
SCREENSHOT 17) Click on “Add” to add an IP Address, Network Mask and Gateway.
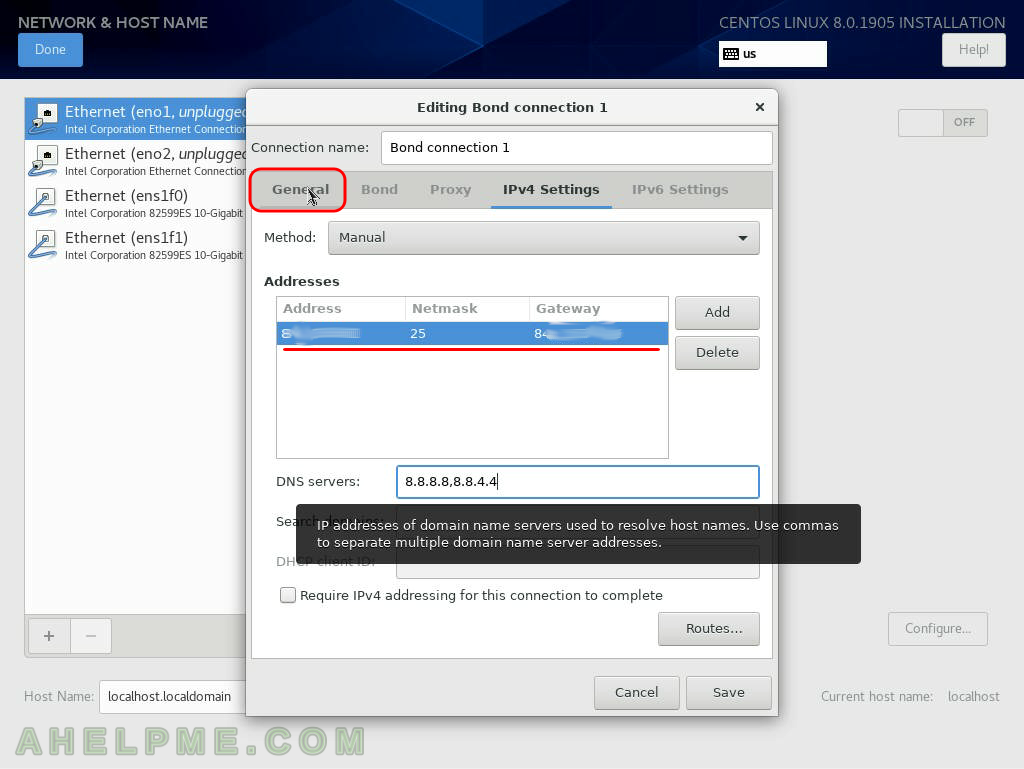
SCREENSHOT 18) Fill the IP Address, Network Mask, Gateway and then the DNS servers (Google DNS servers are used here).
Click on “General” to continue.
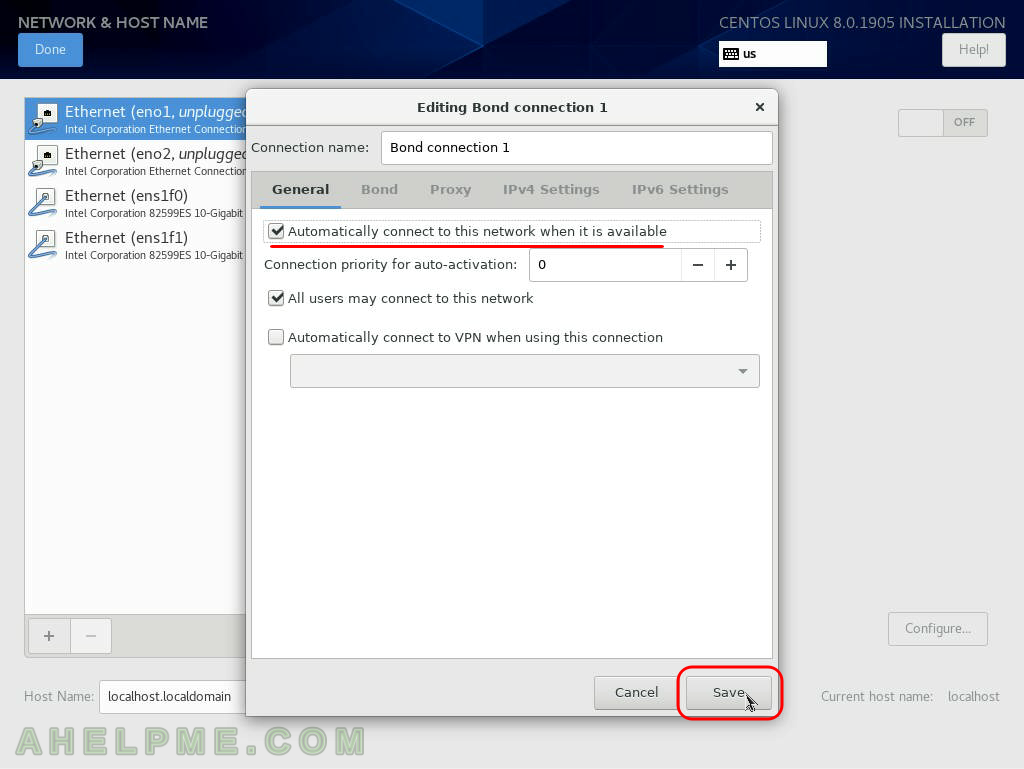
SCREENSHOT 19) Ensure the “Automatically connect to this network when it is available” to be sure the netowrking will start on boot and click on “Save” to save the Bonding setup.
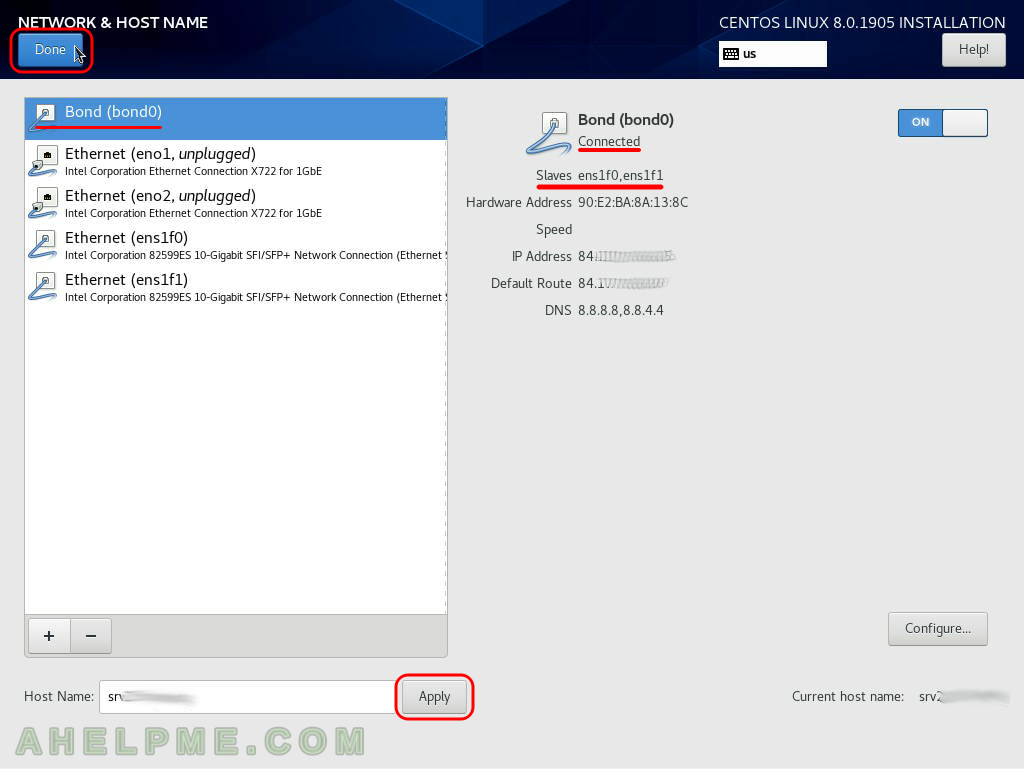
SCREENSHOT 20) The Bond device is ready. There are two slaves, the bond device with name “bond0” is connected and the IP address is set successfully.
Edit the Host Name text box and click on “Apply” to the the hostname of the machine.