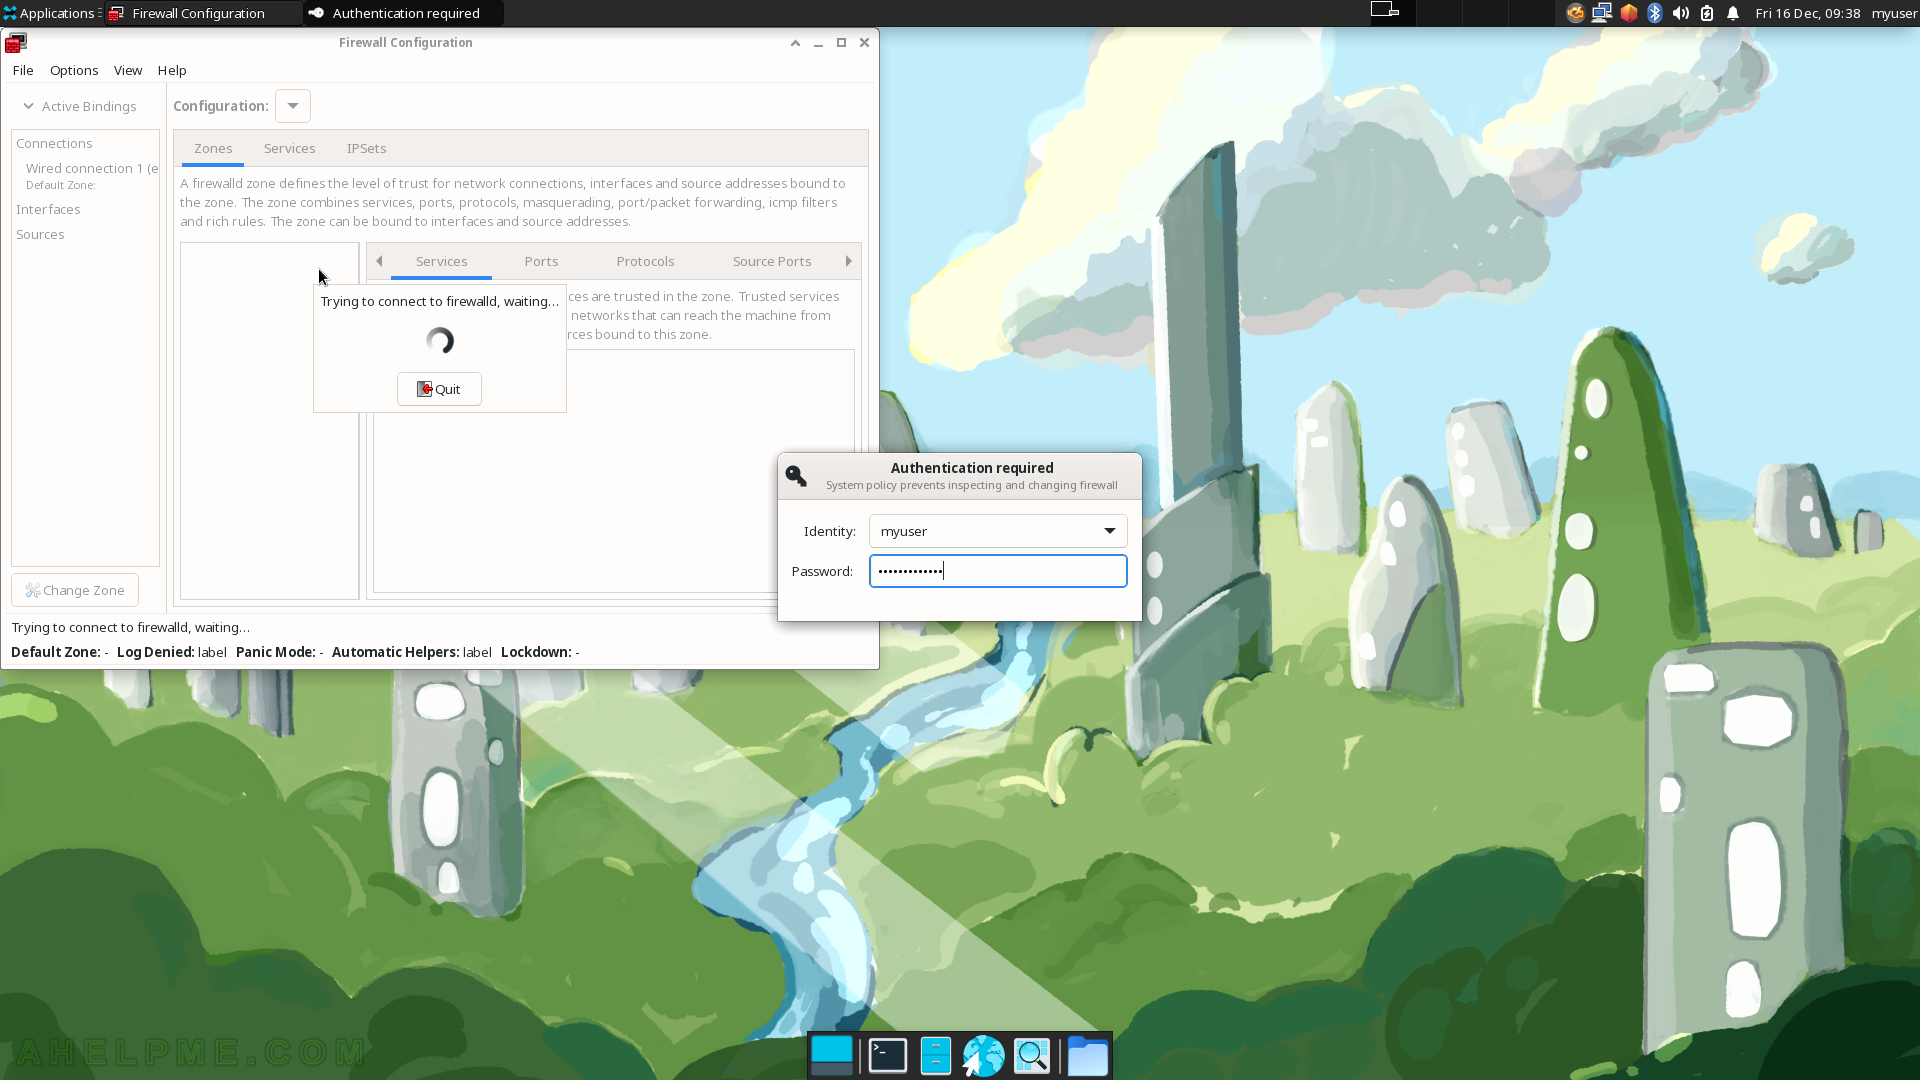
SCREENSHOT 41) Connecting to the firewalld service and administrative user rights required.
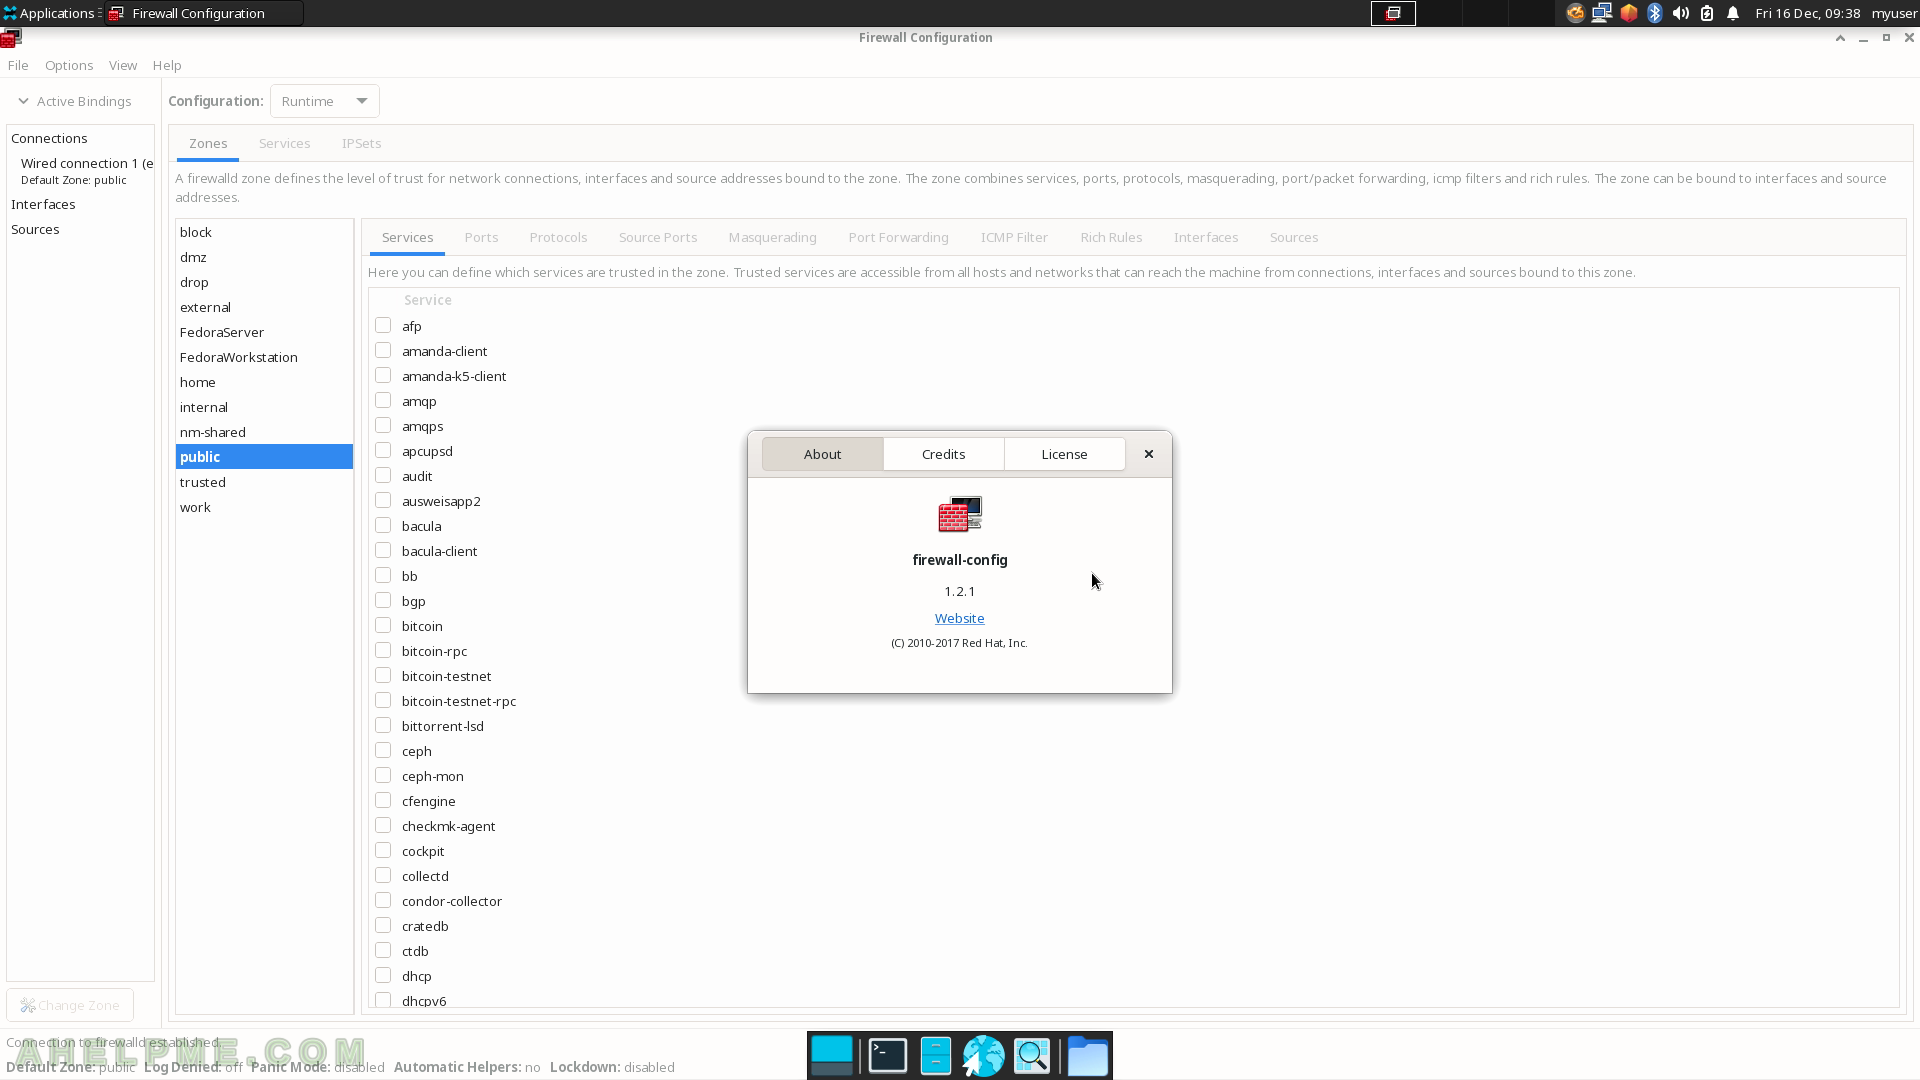
SCREENSHOT 42) firewall-config 1.2.1
The application name is firewall-config and it is a graphical user interface to the firewalld service.
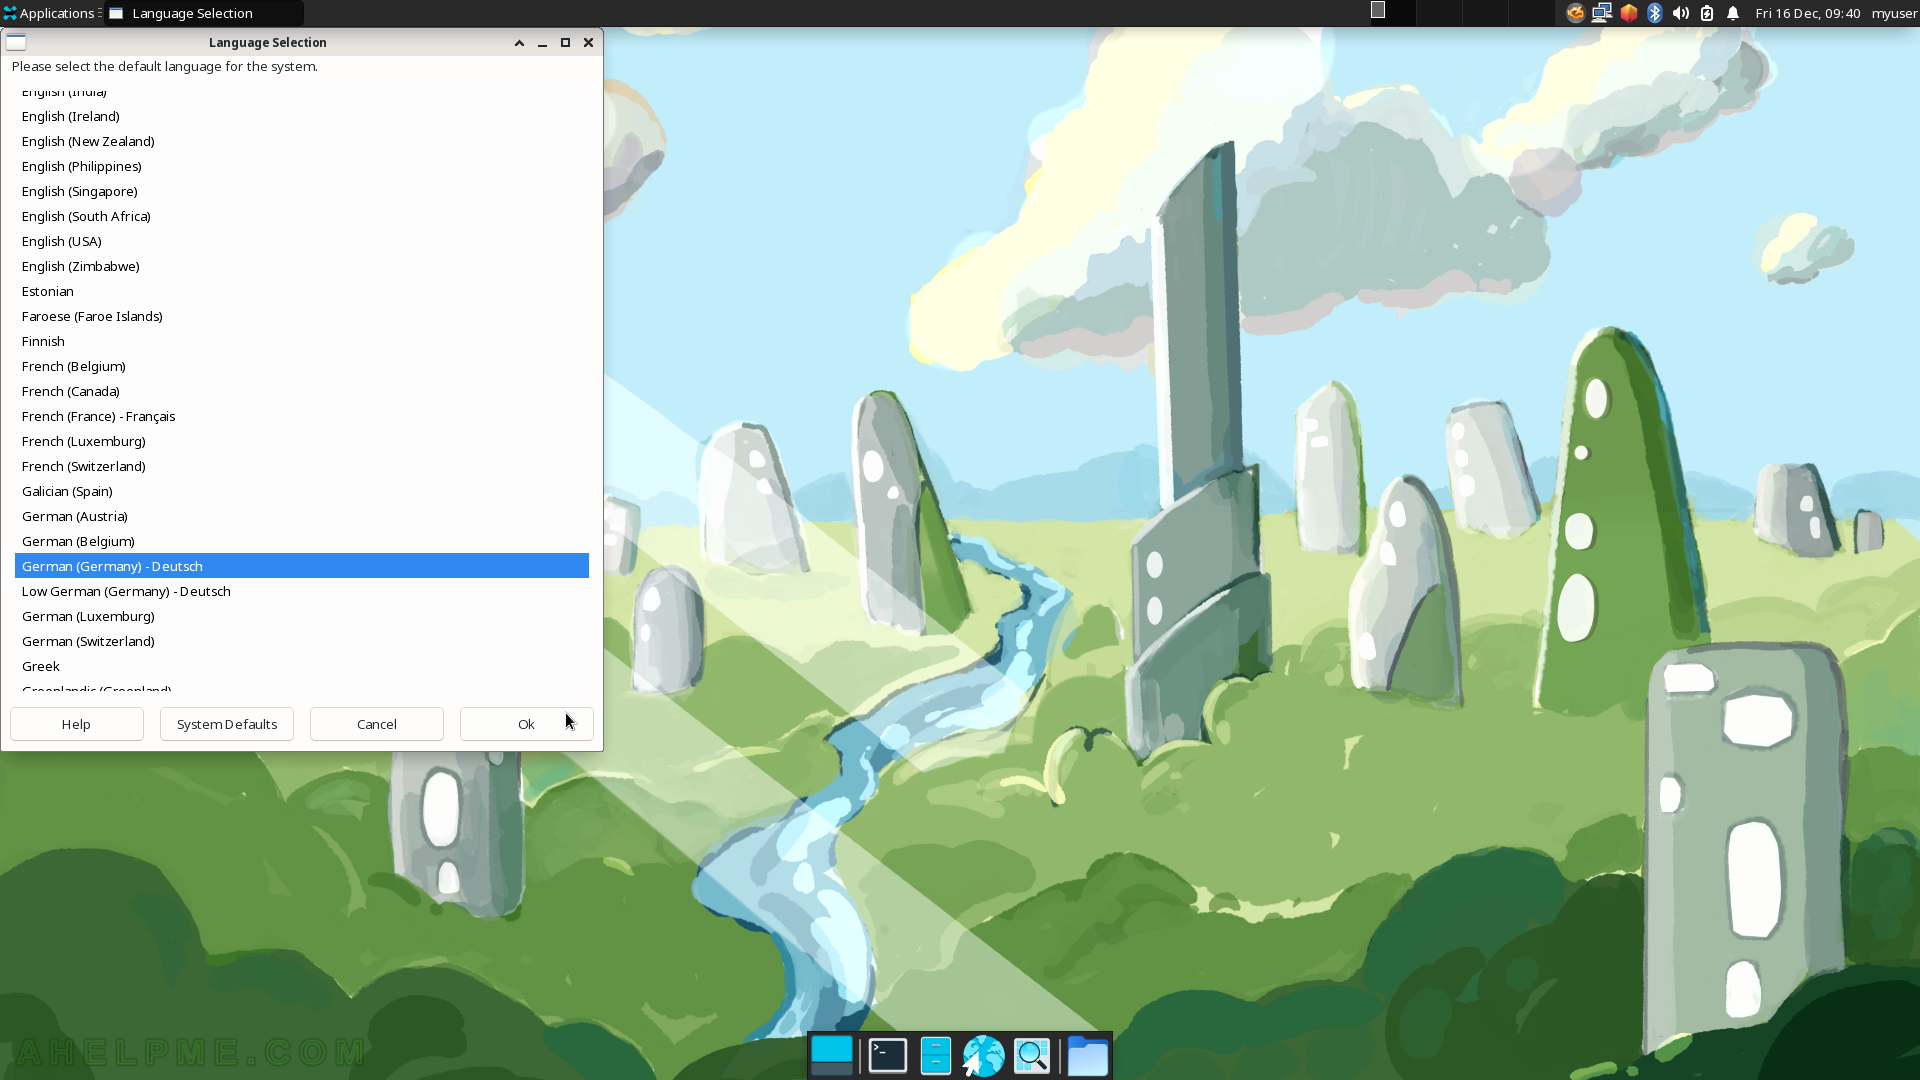
SCREENSHOT 43) Select the default language for the system.
All the menu and text will use this language.
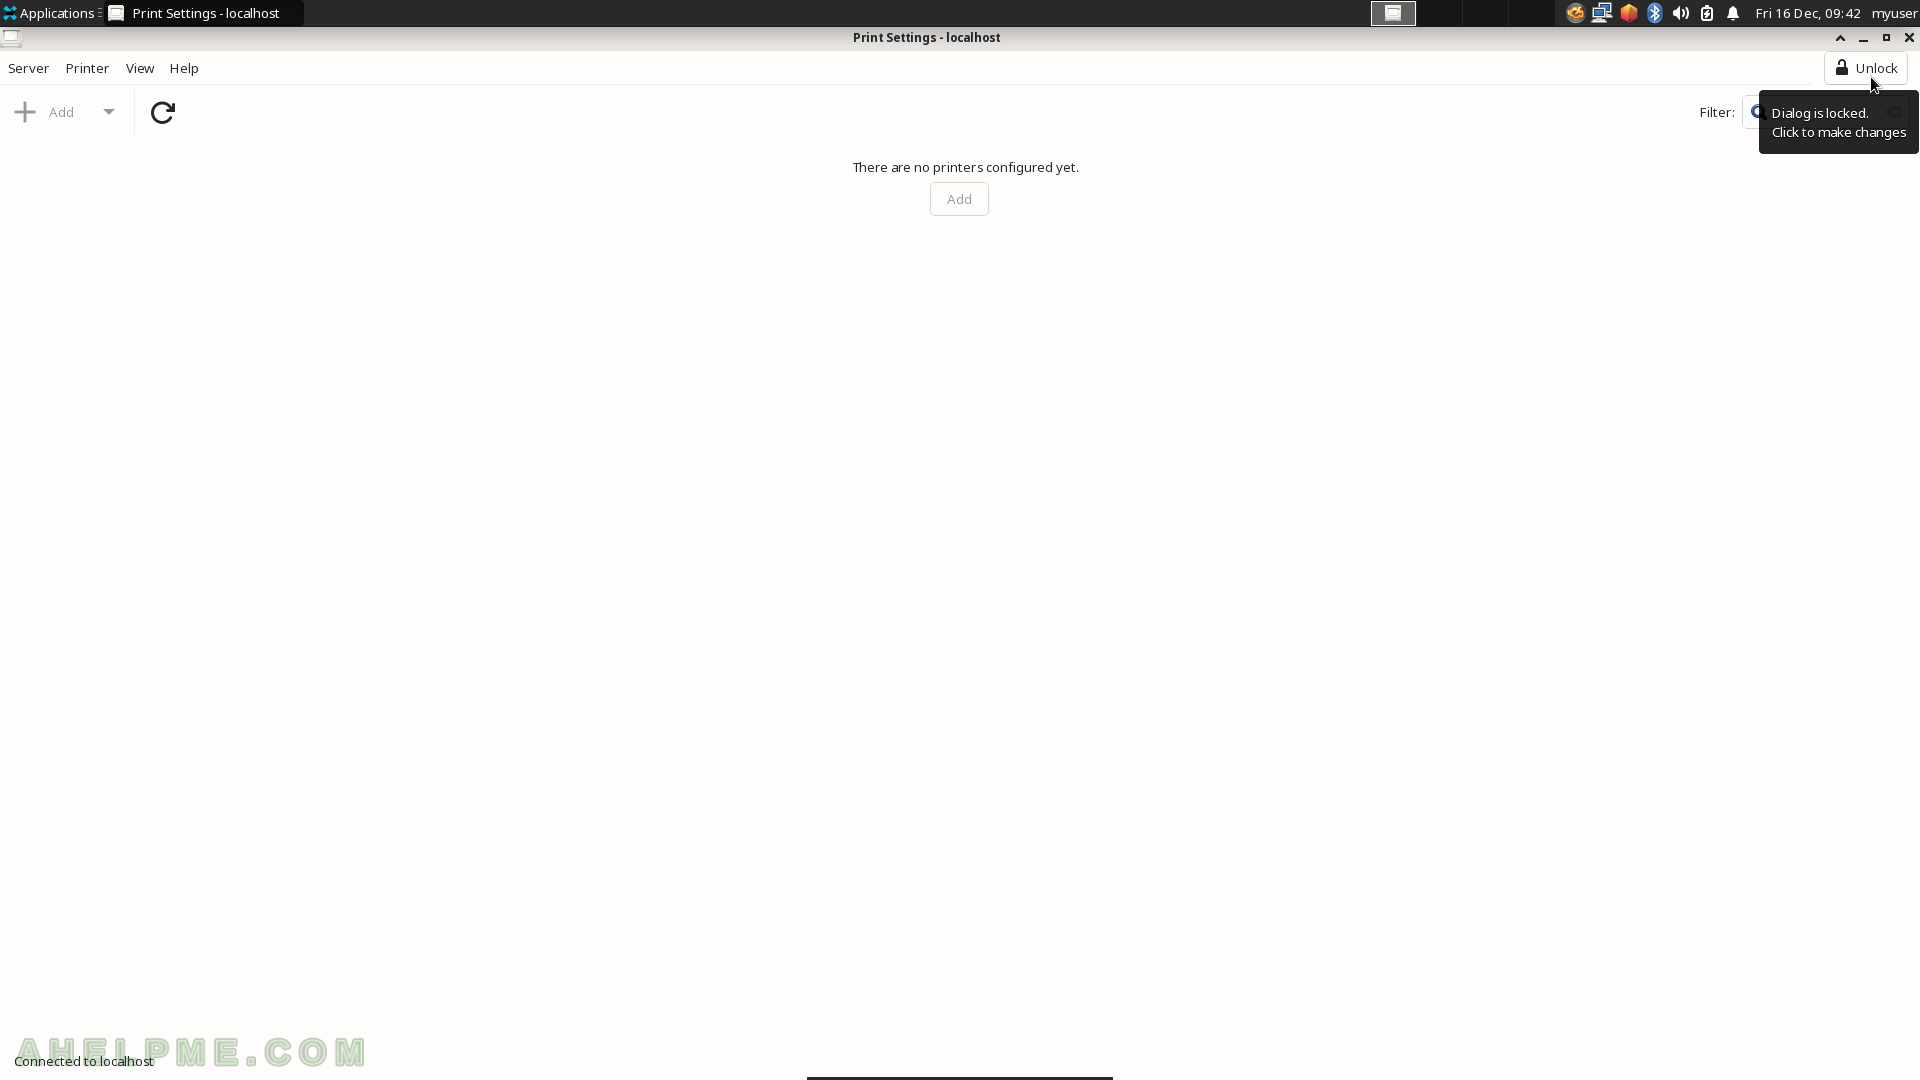
SCREENSHOT 44) Click on the “Unlock” button to be able to manipulate printers.
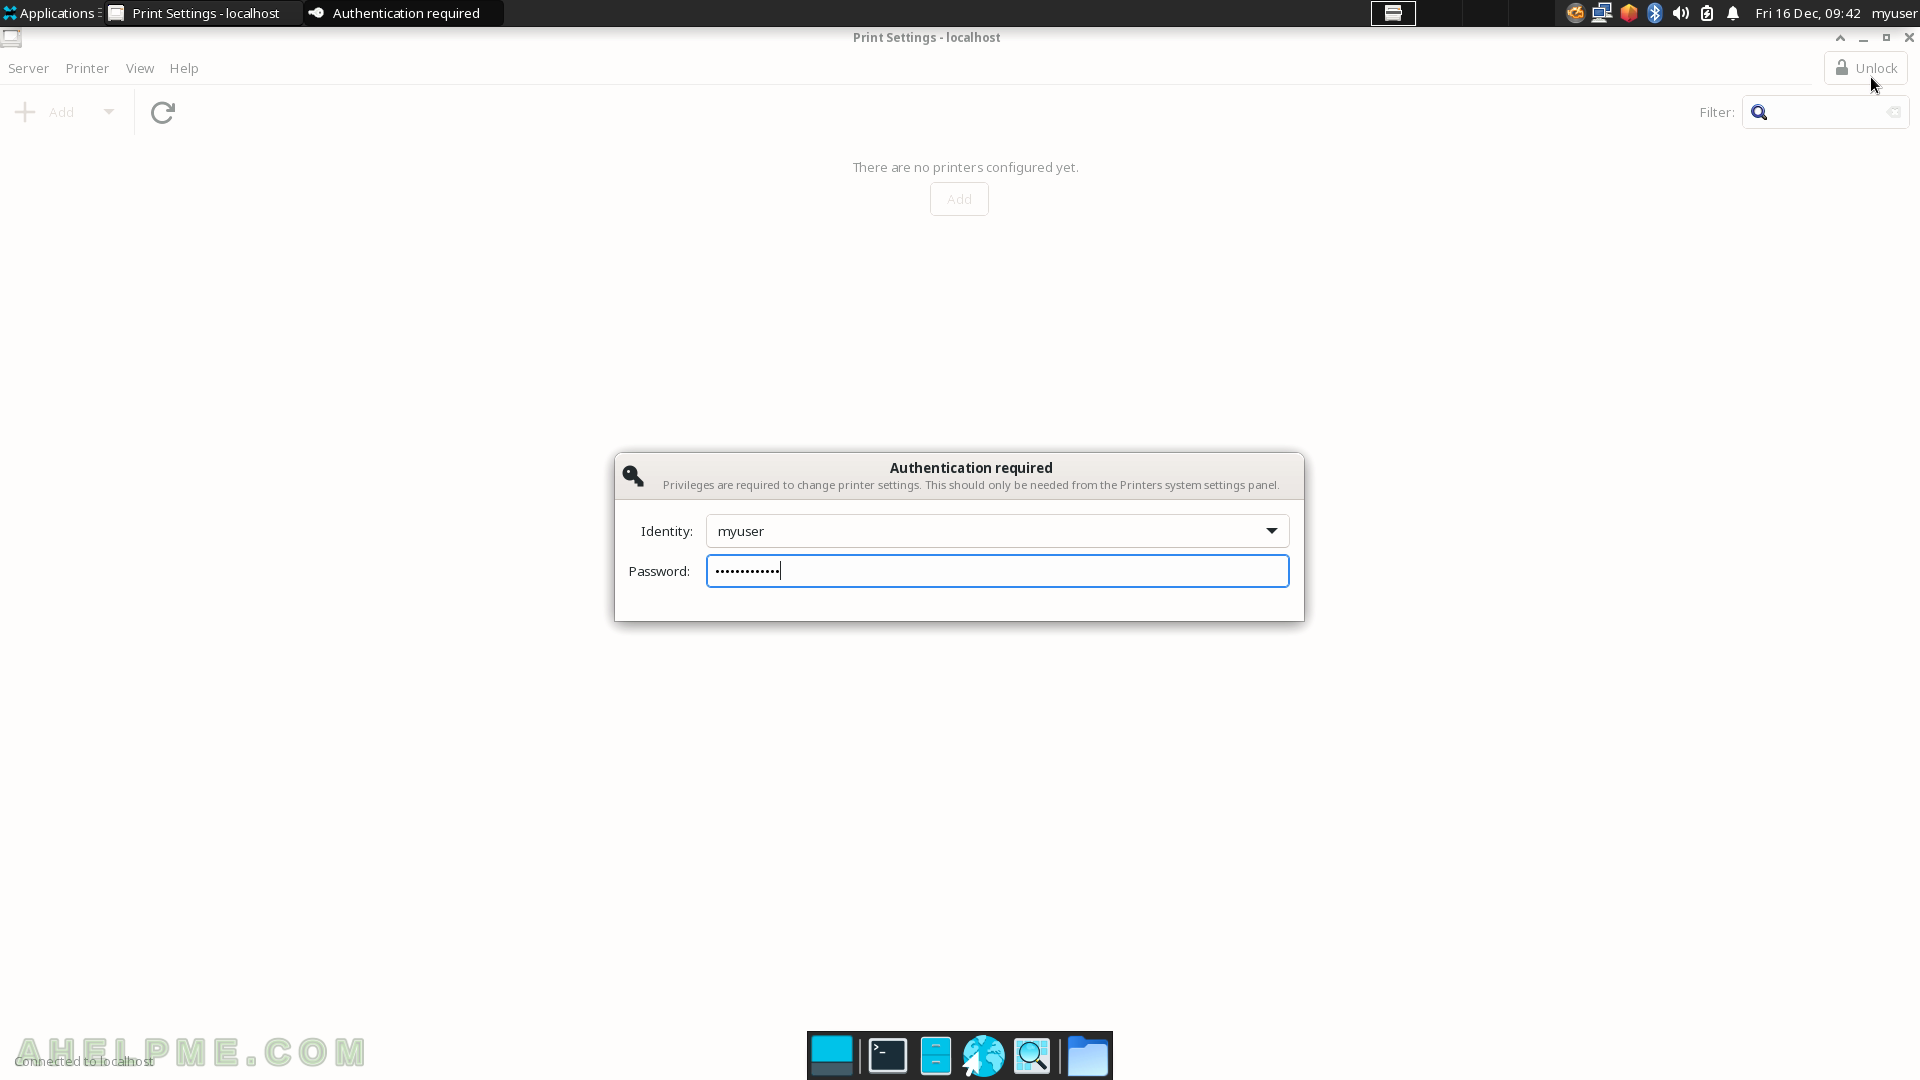
SCREENSHOT 45) Unlock the options by identifying with an administrative user account.
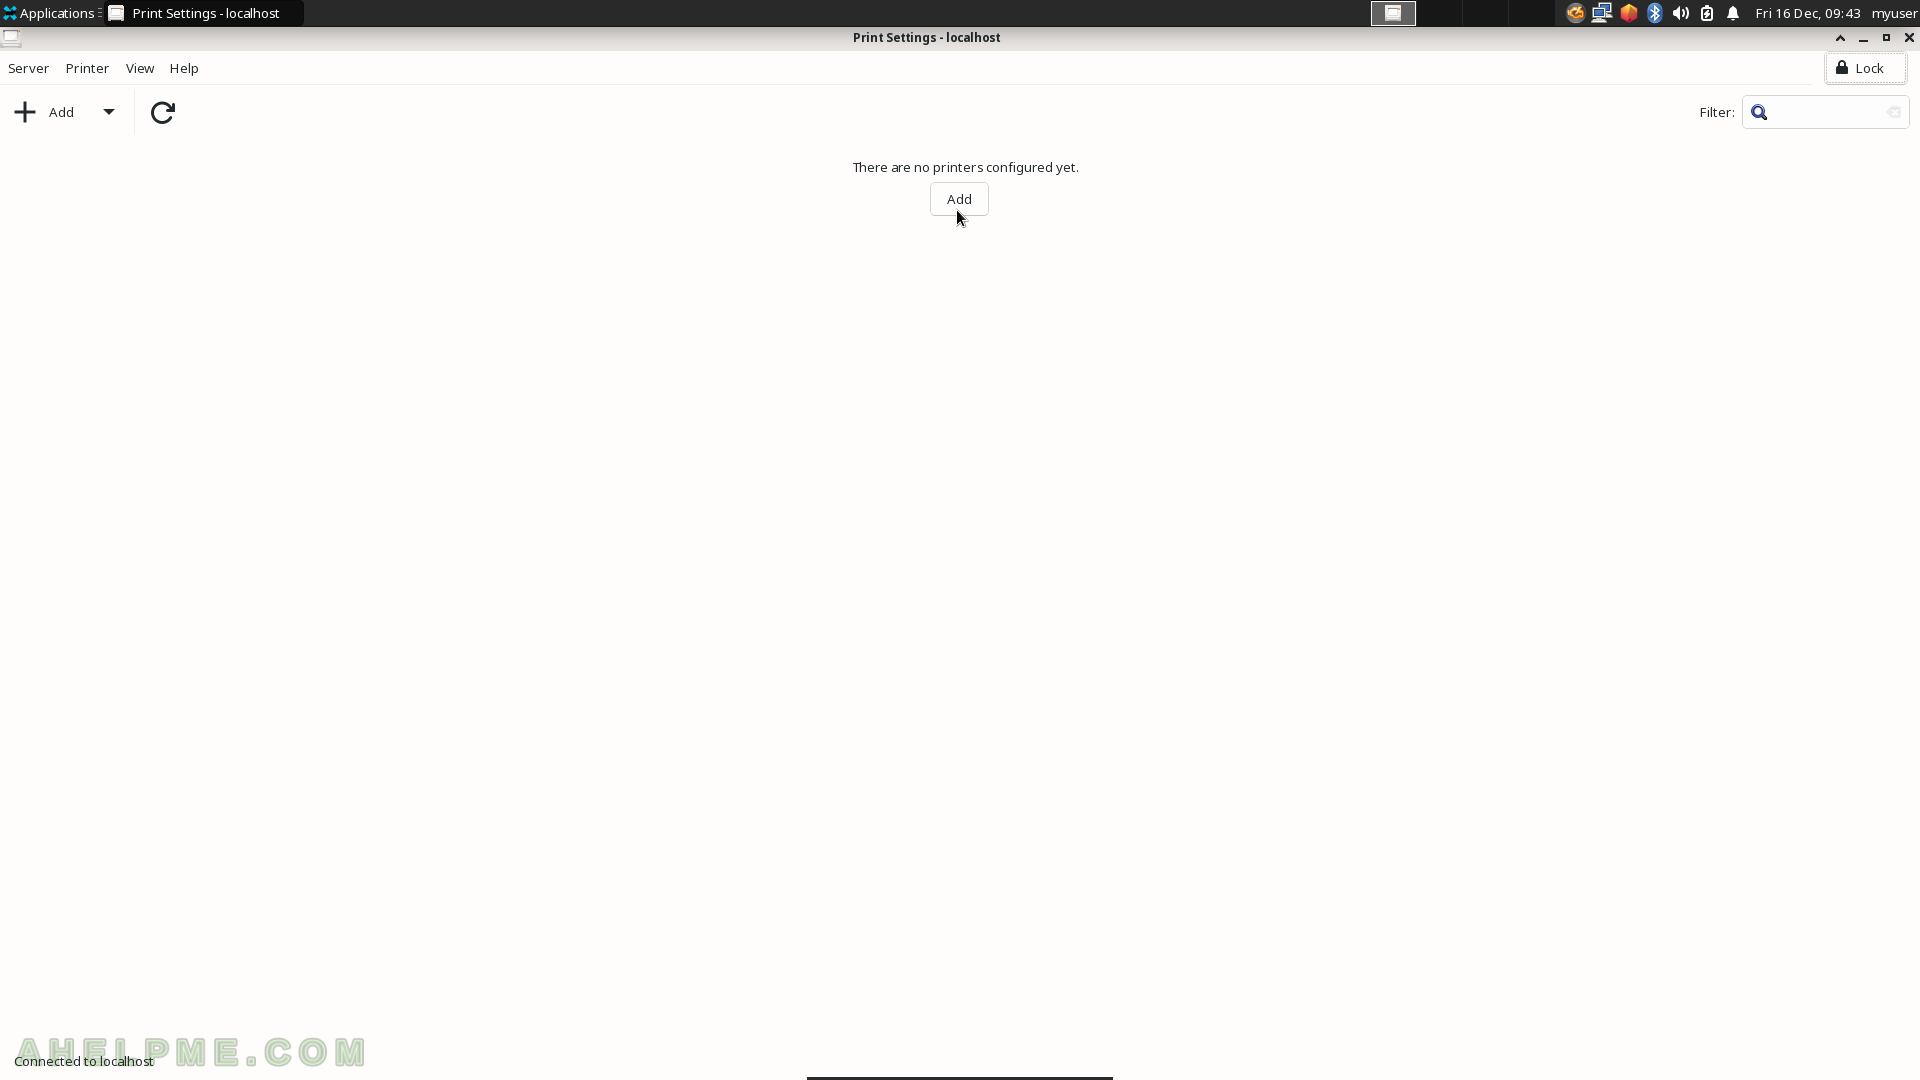
SCREENSHOT 46) Add a printer with Printer Settings.
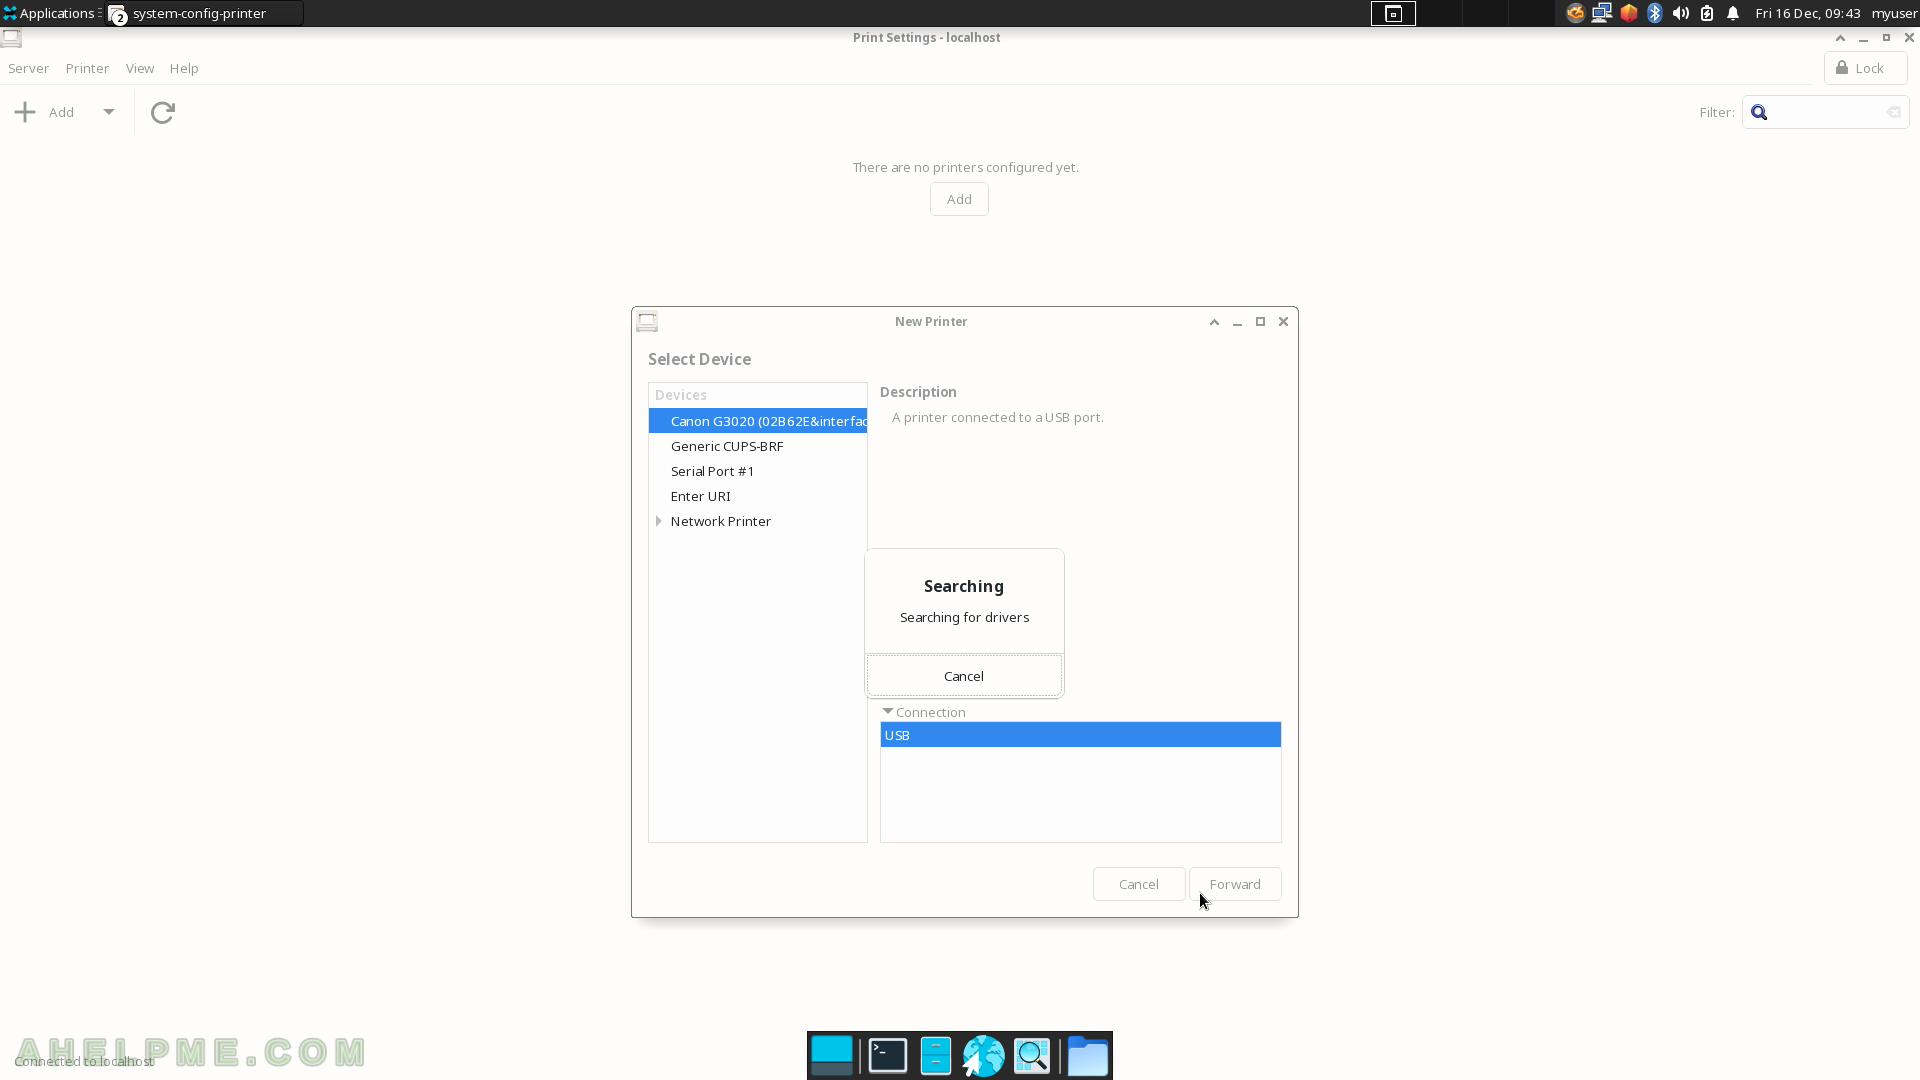
SCREENSHOT 47) Select the discovered device under “Select Device” and click the “Forward” button.
There is a Canon G3020 connected through USB.

SCREENSHOT 48) Wait for the wizard to find a suitable printer driver.
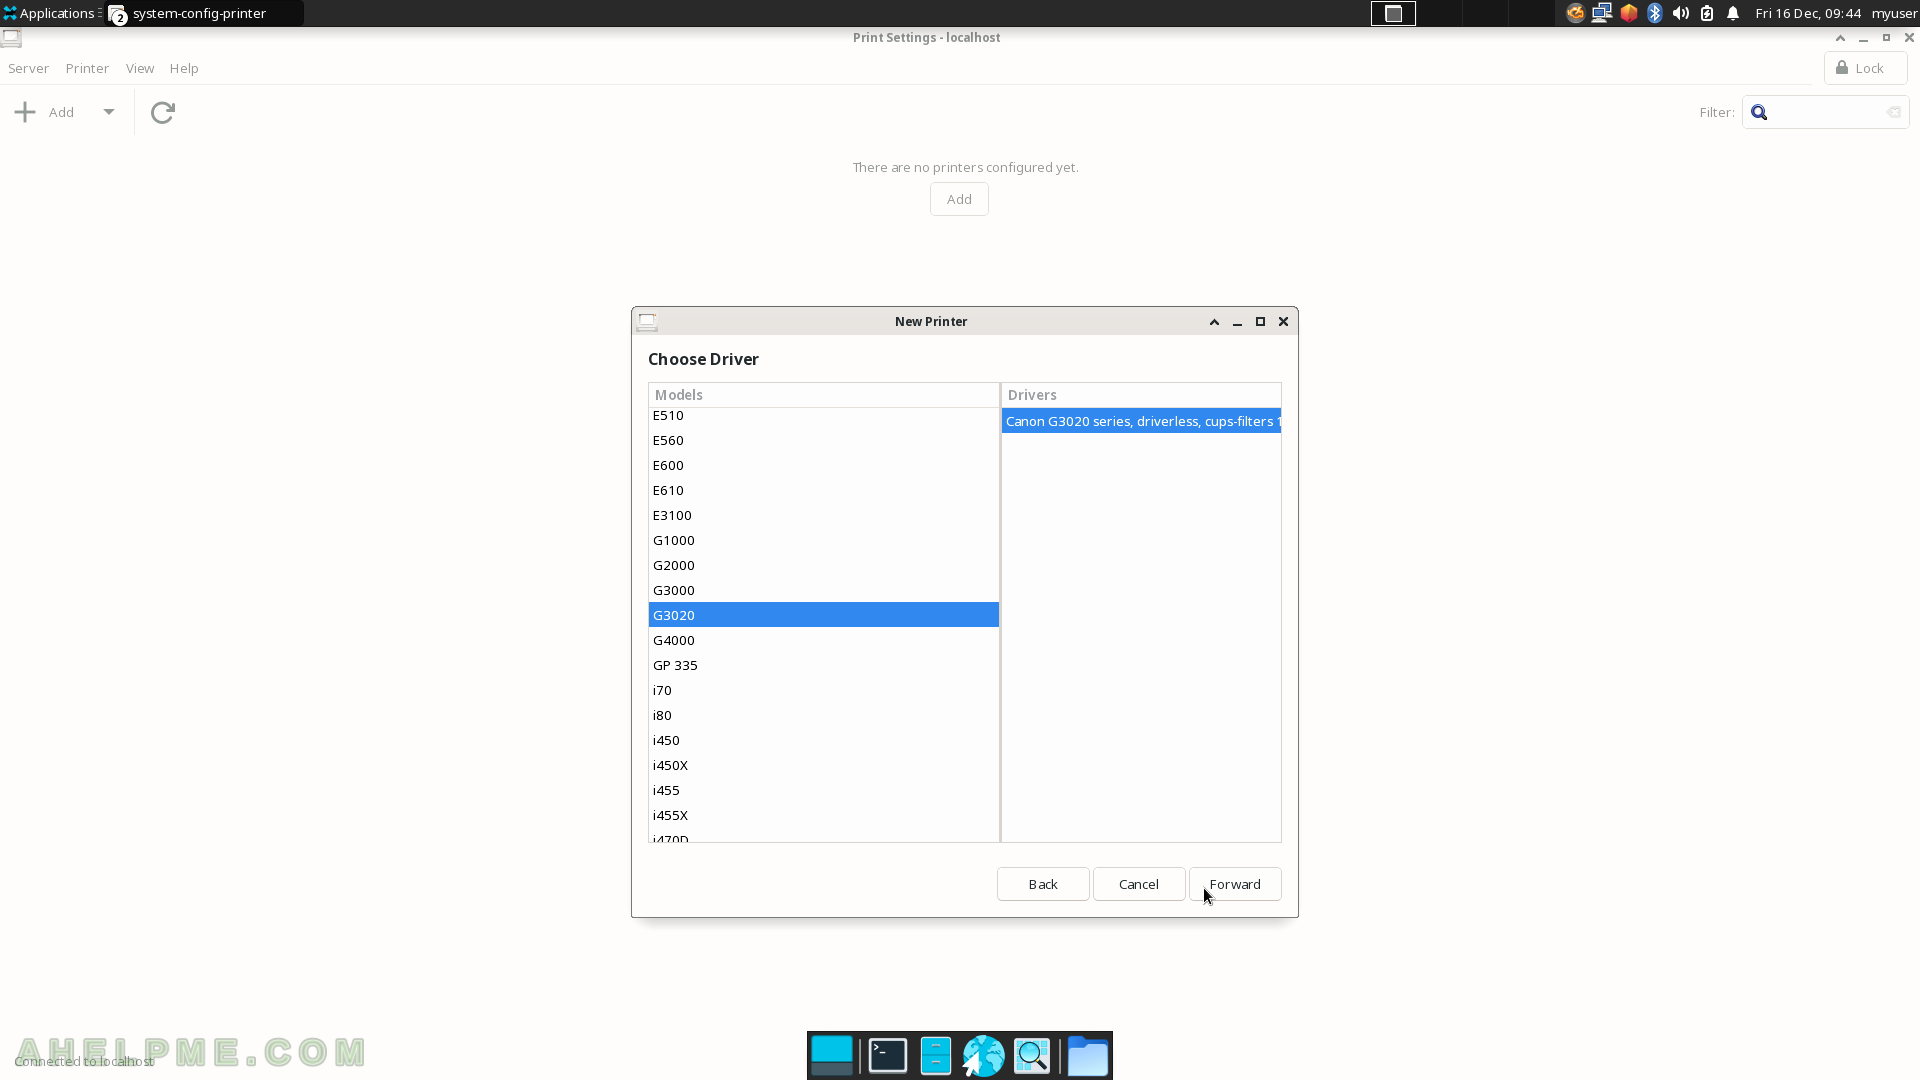
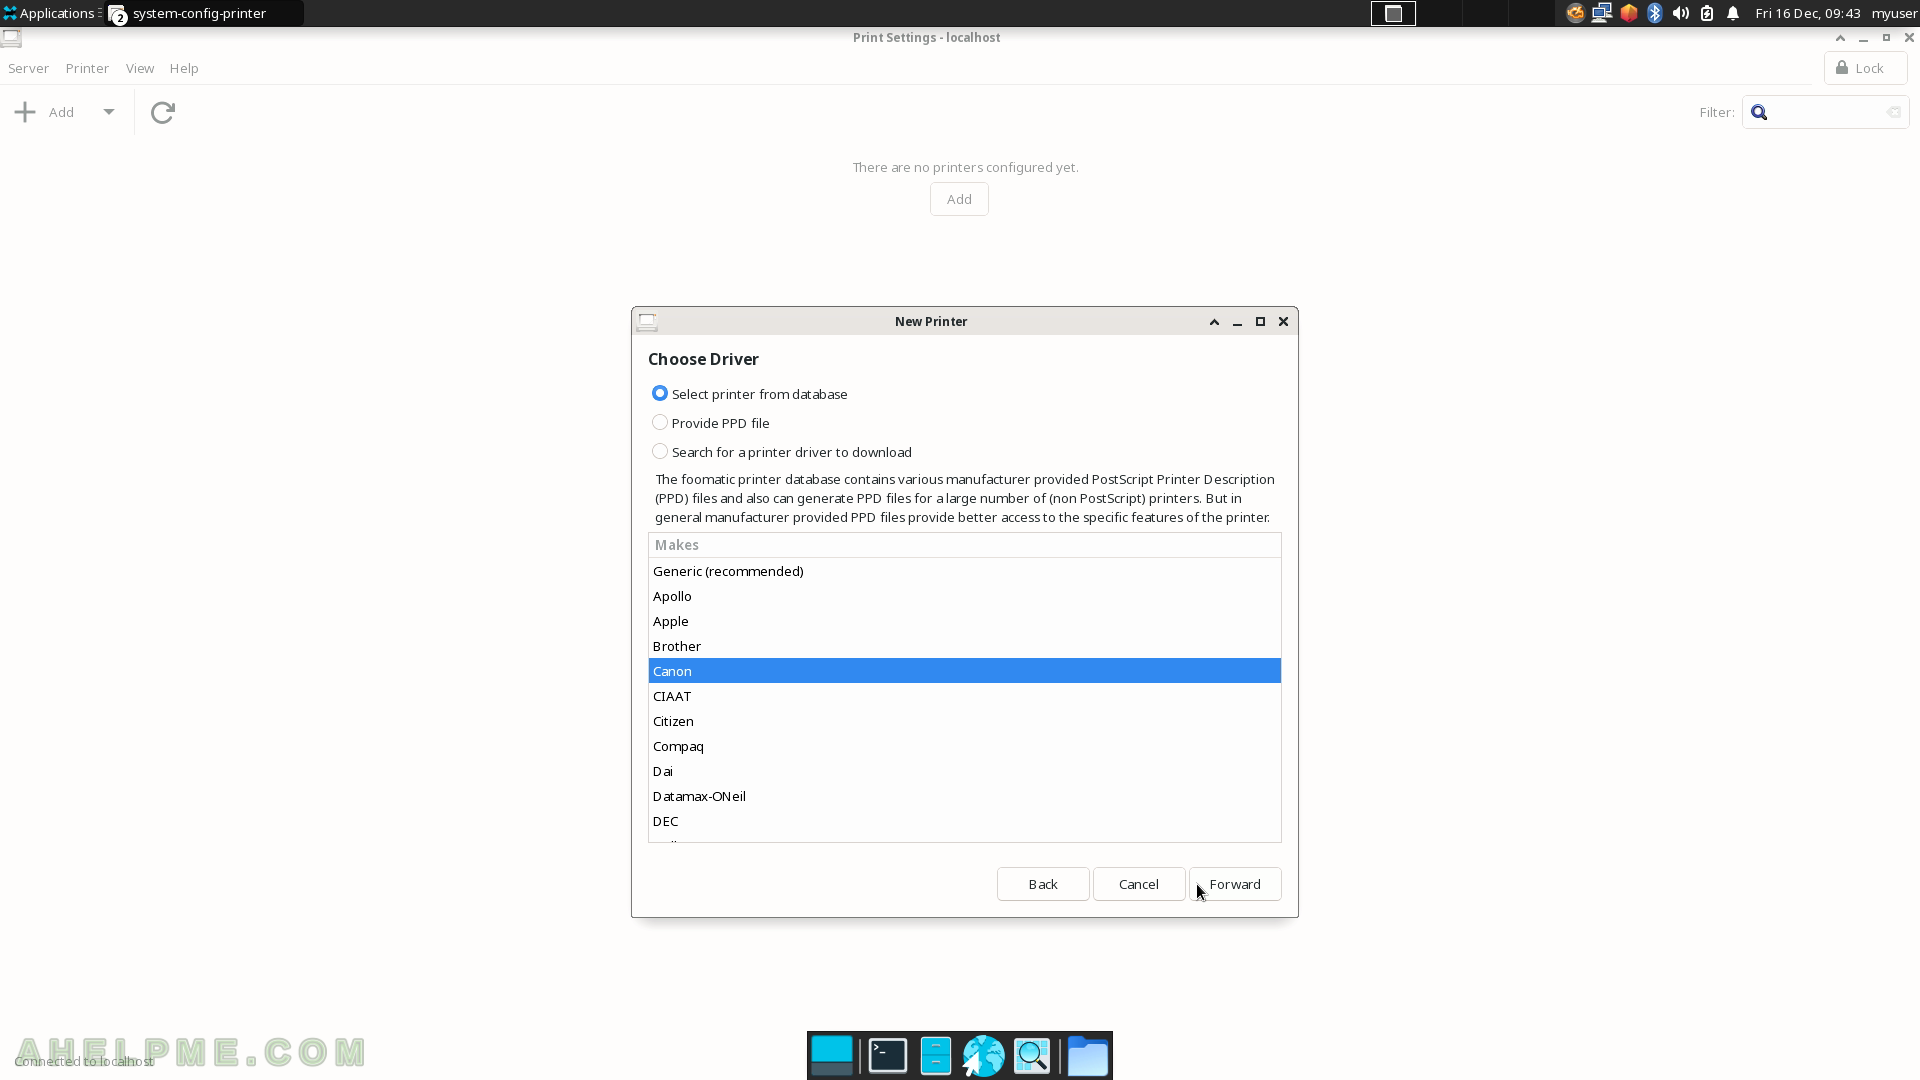
SCREENSHOT 49) Choose a driver from the list below.
Select Canon and click “Forward”.
SCREENSHOT 50) Scroll down to the line with the name G3020 and click on “Forward”.