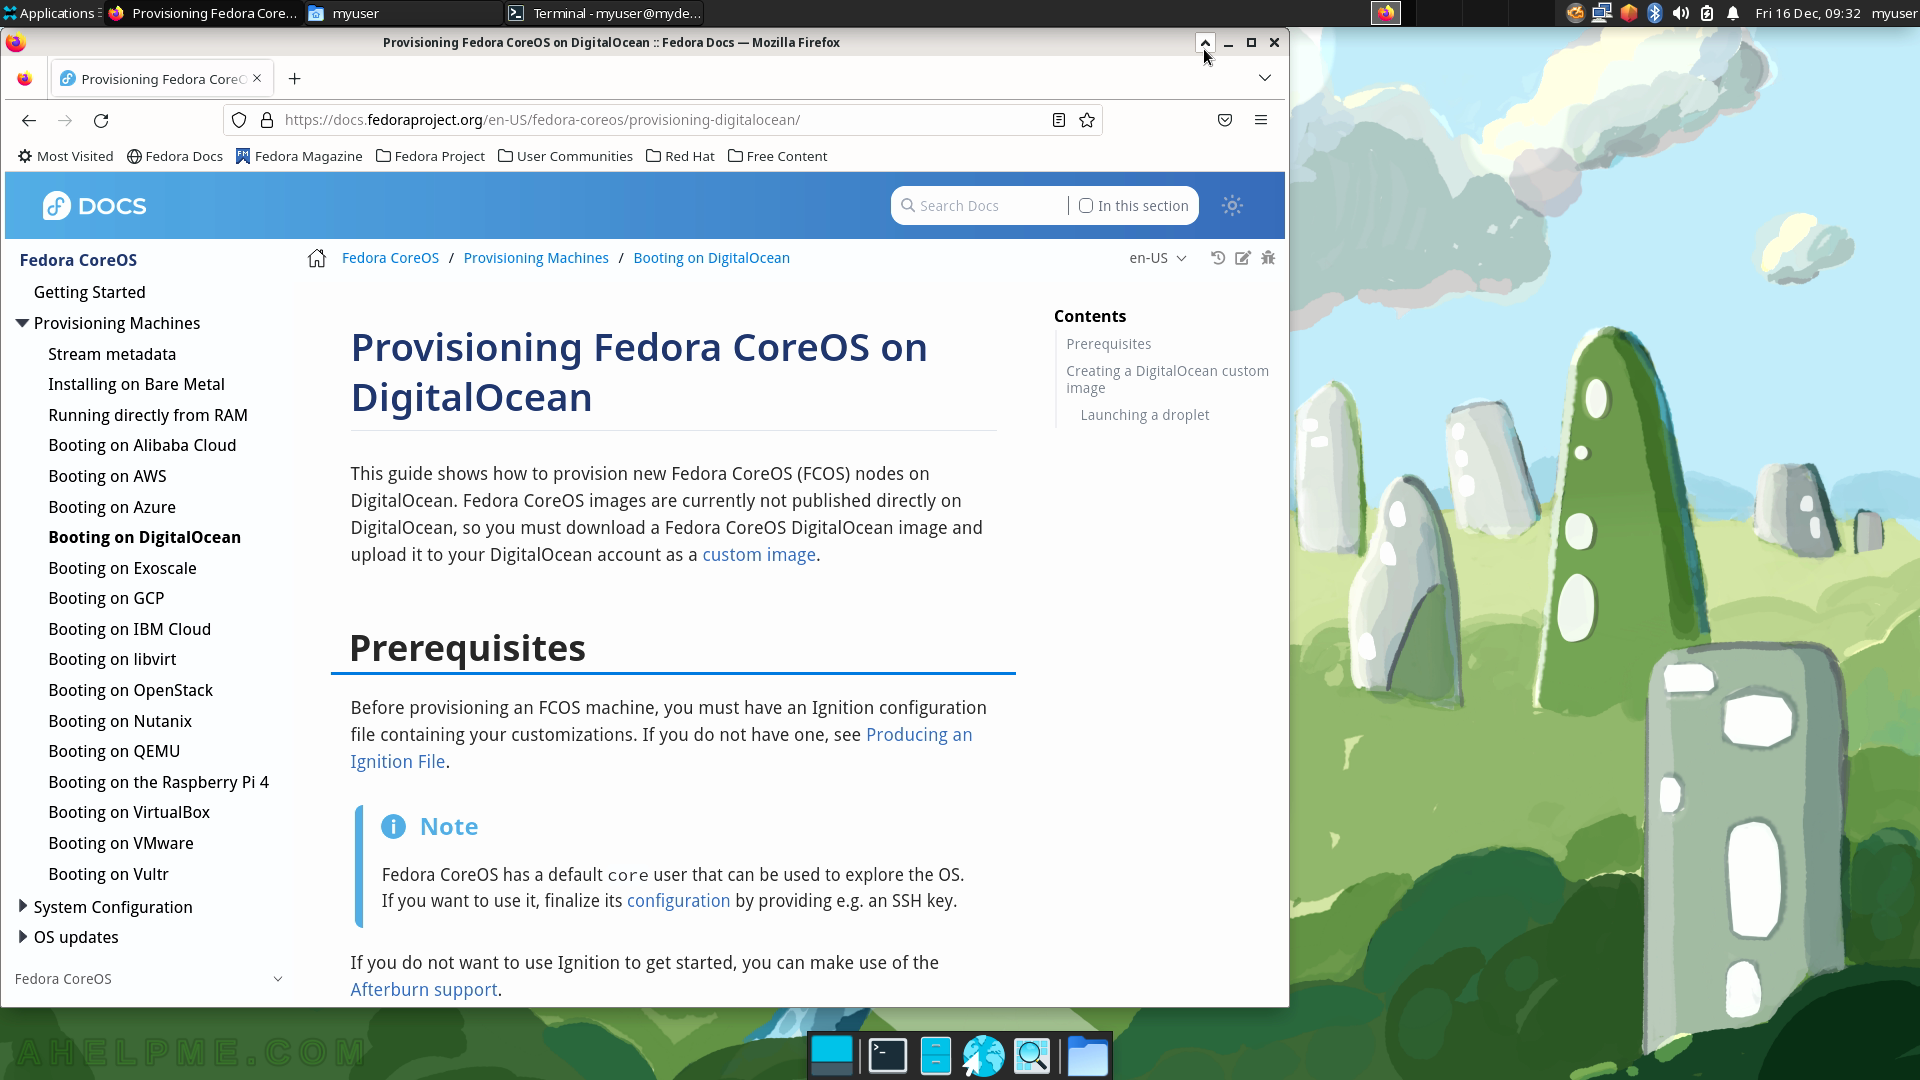
SCREENSHOT 21) The context menu of the top (toolbar) panel.
Add New Items…
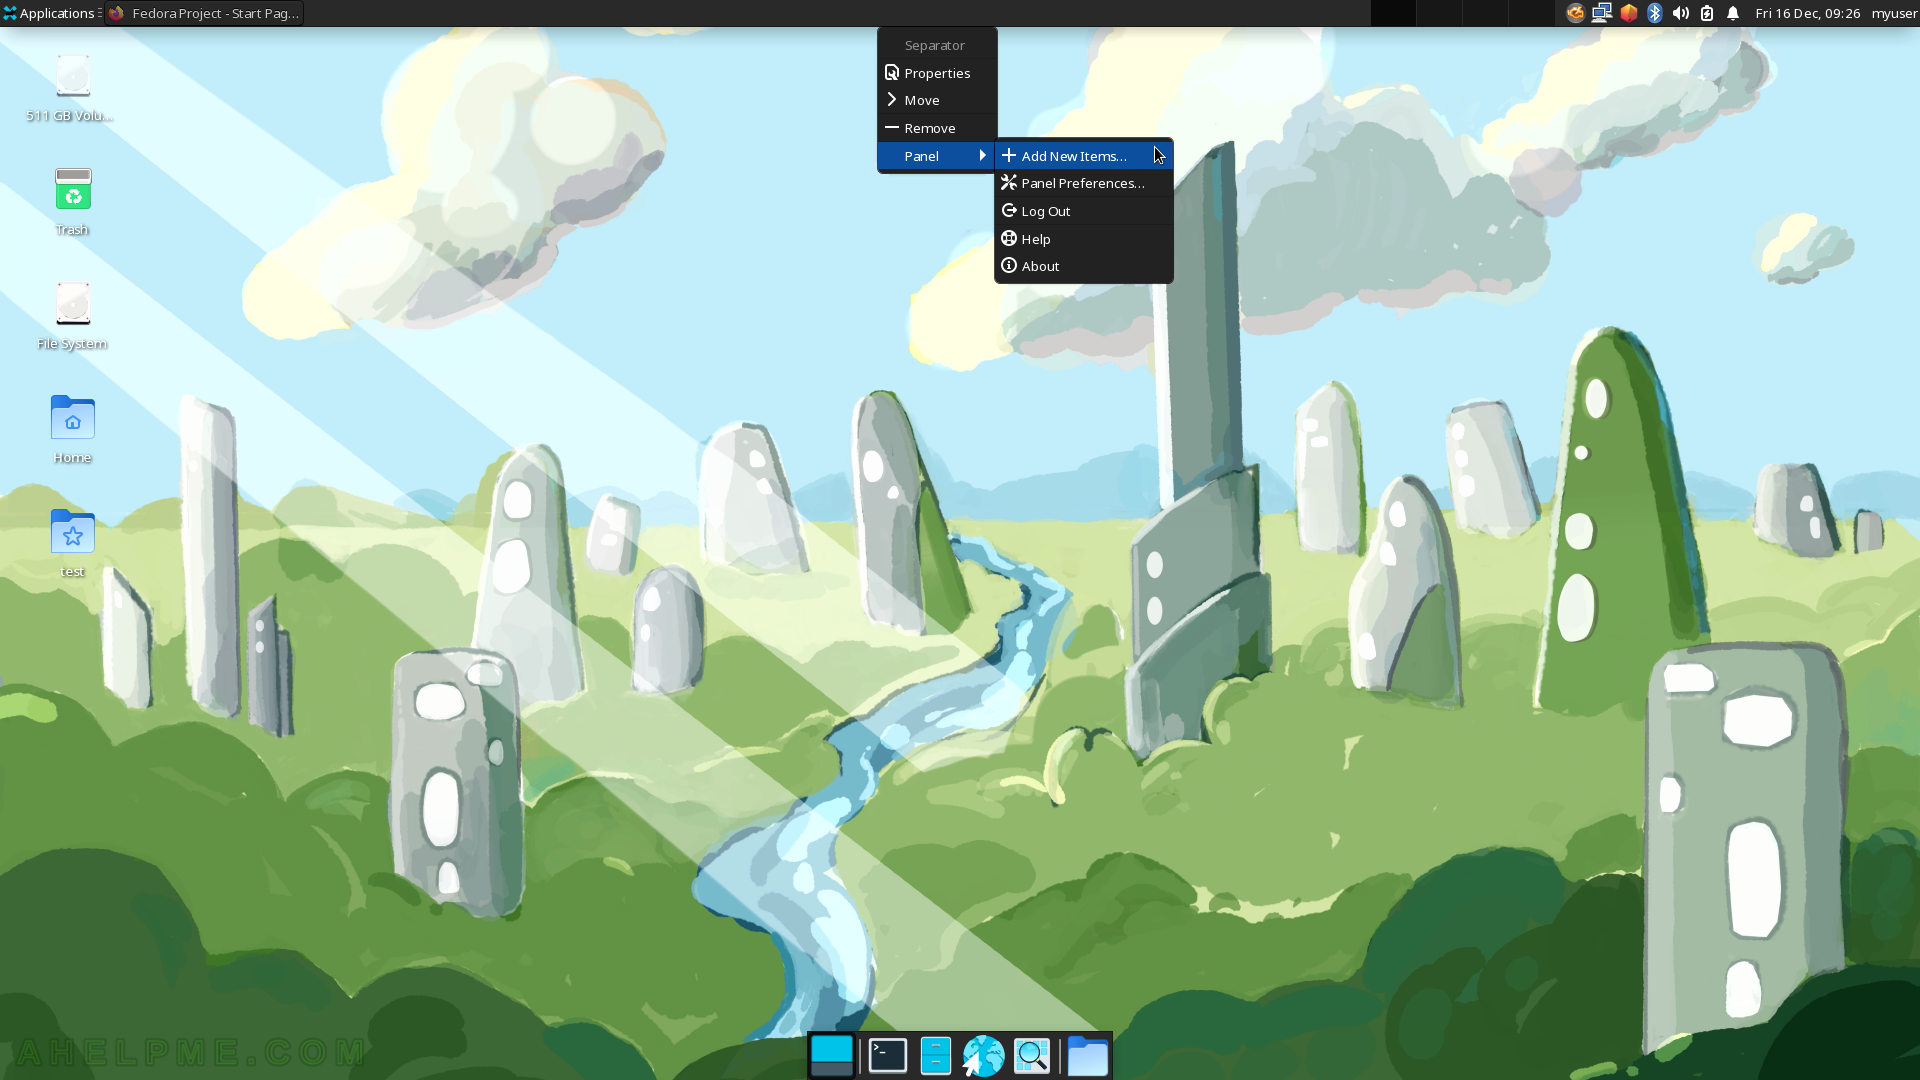
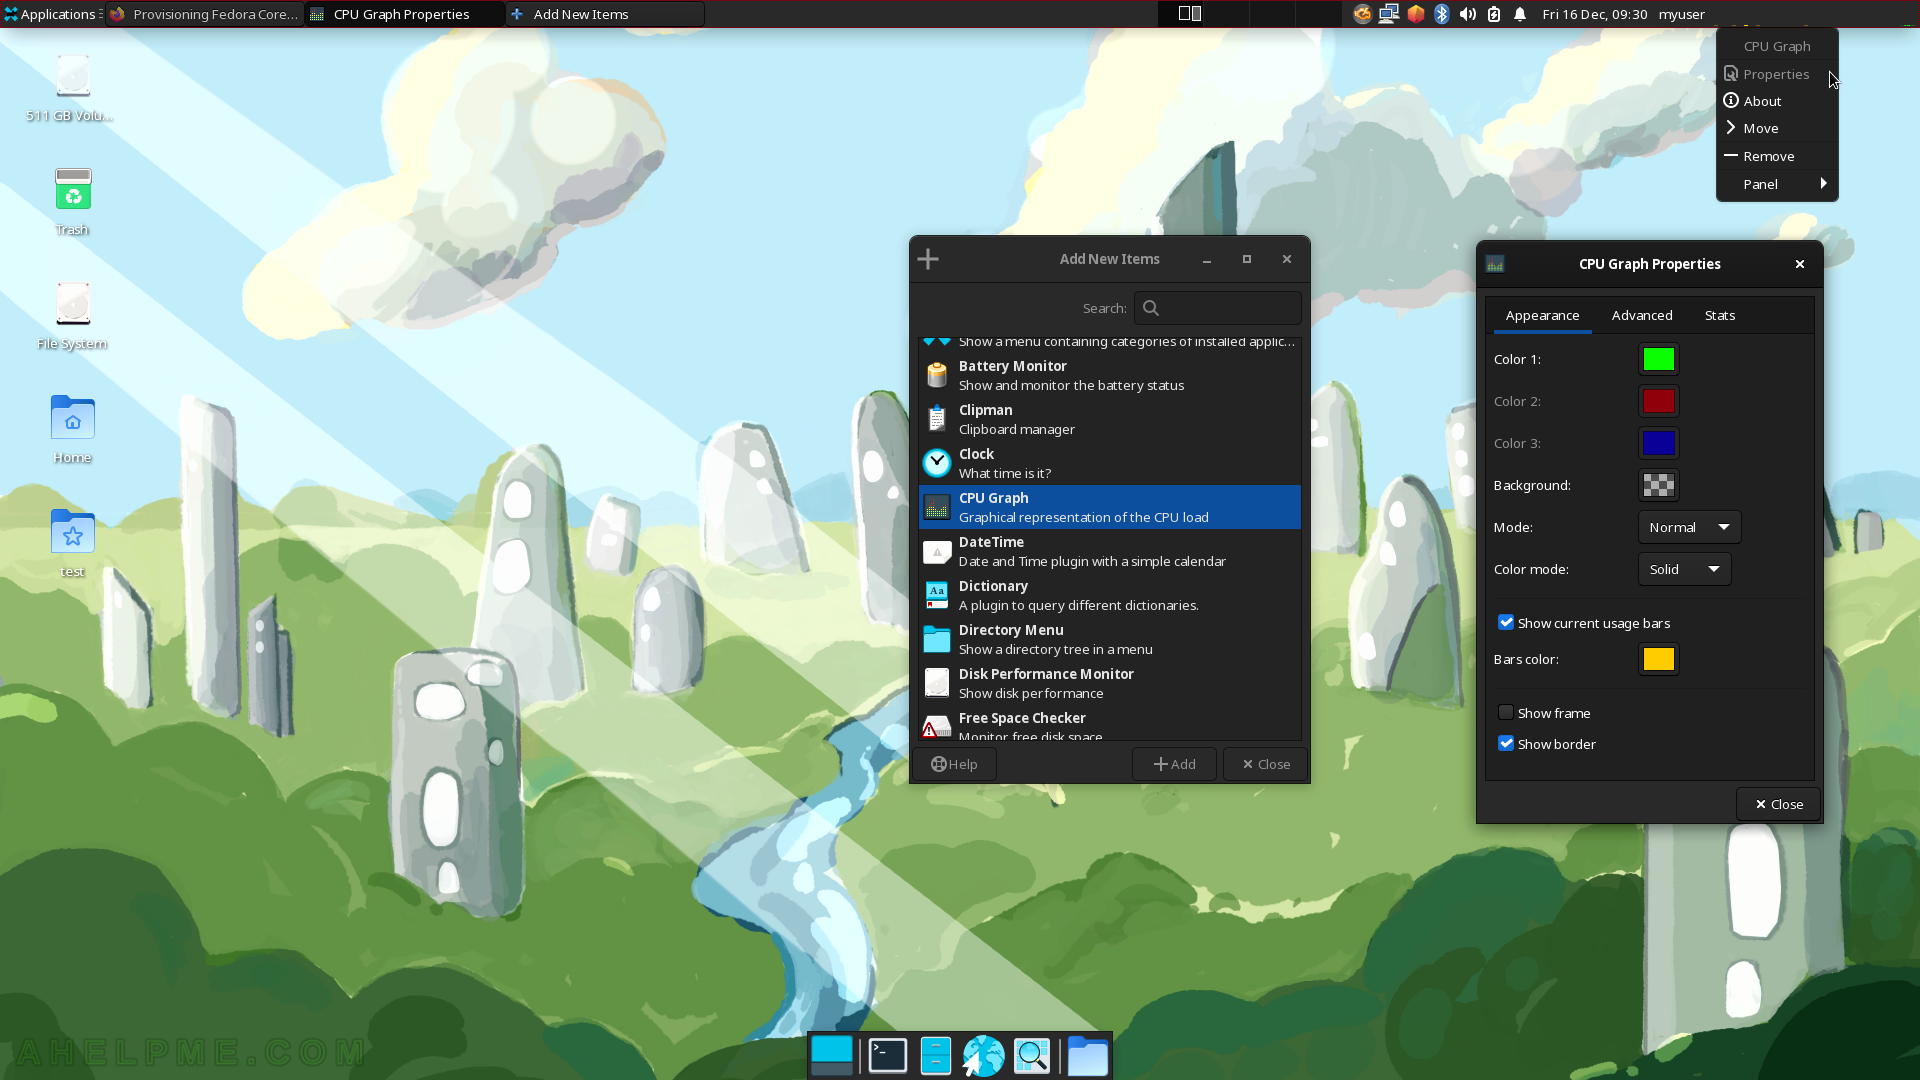
SCREENSHOT 22) Multiple items are available to add in the top panel.
Some of the items are Launcher (program launcher with optional menu), Separator (add a separator or space between panel items), Action Buttons (log out, lock or other system actions), Applications Menu (show a menu containing categories of installed applications), Battery Monitor (show and monitor the battery status), Clipman (Clipboard manager), Clock (what time is it?), CPU Graph (Graphical representation of the CPU load), DateTime (Date and time plugin with a simple calendar) and more…The “CPU Graph” is added and it is visible in the top right corner of the screen on the toolbar next to the user name.
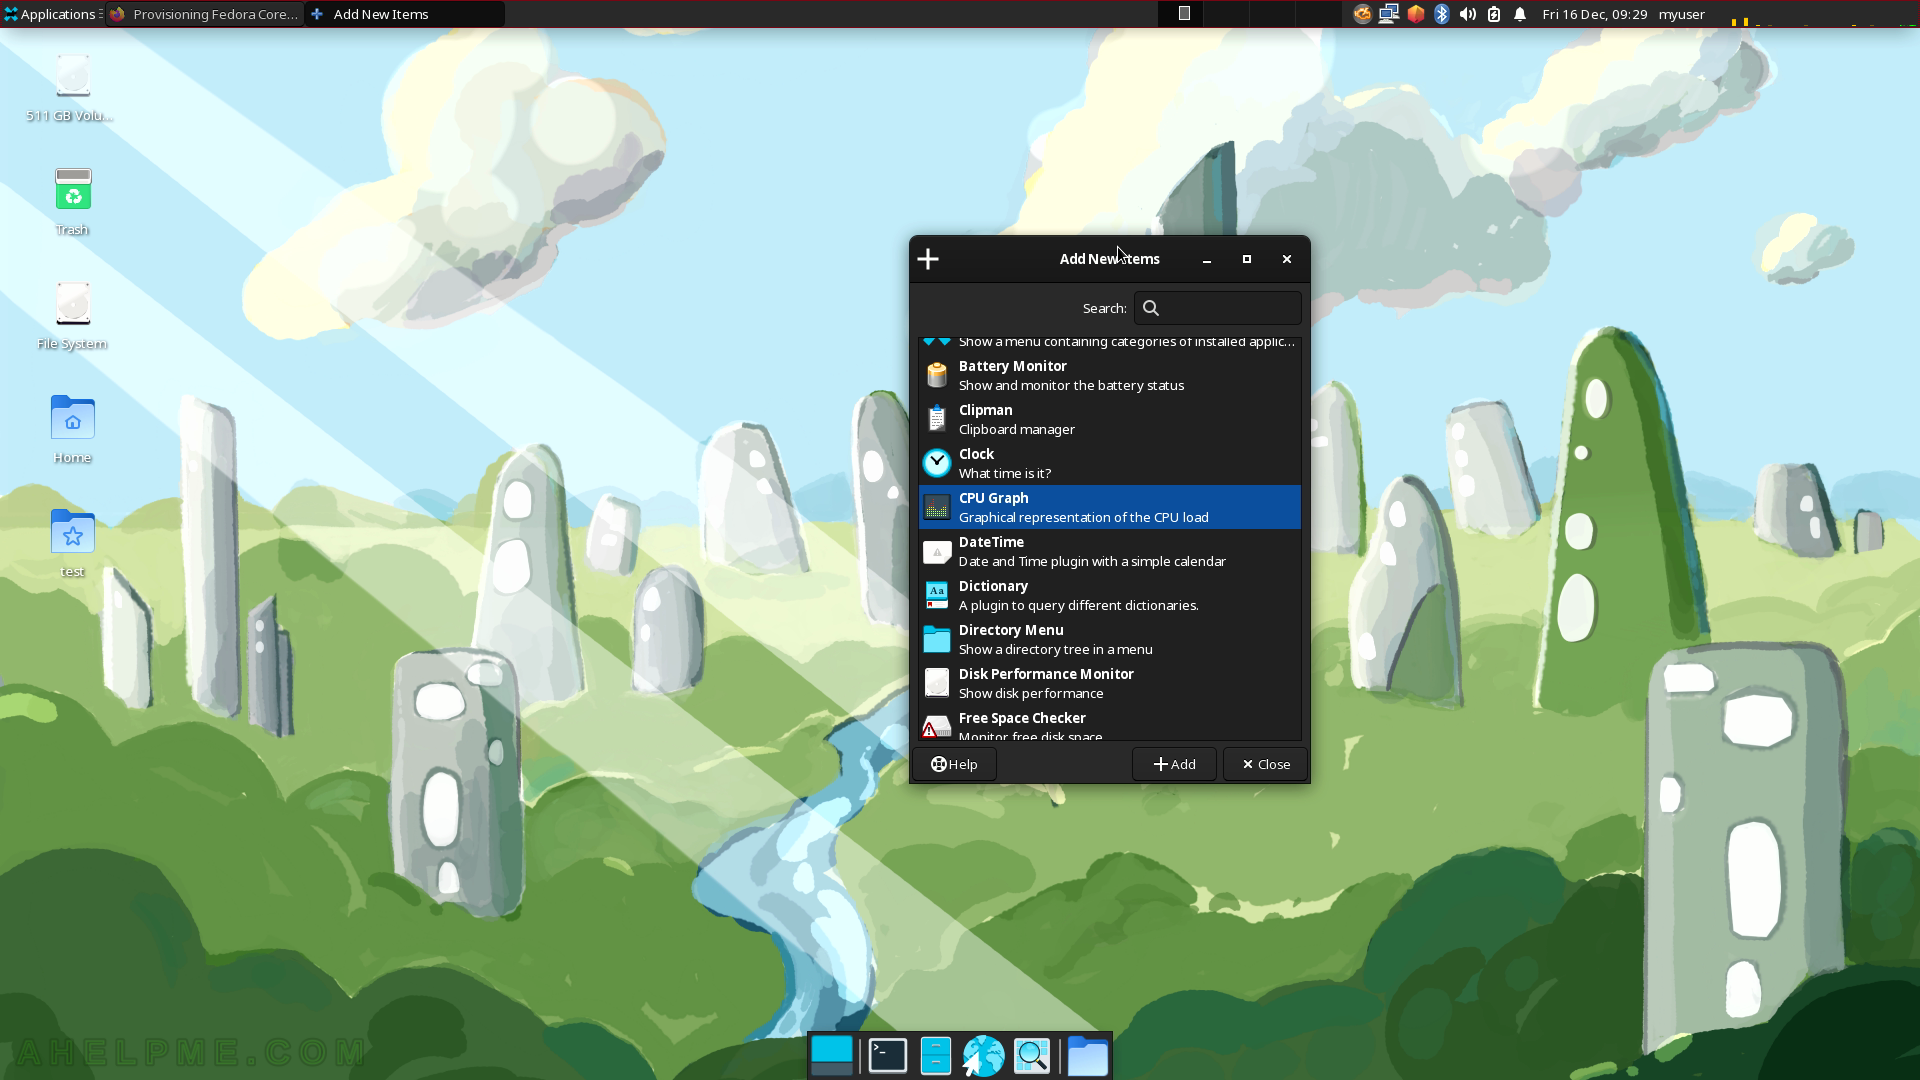
SCREENSHOT 23) The CPU Graph properties – there are multiple options.
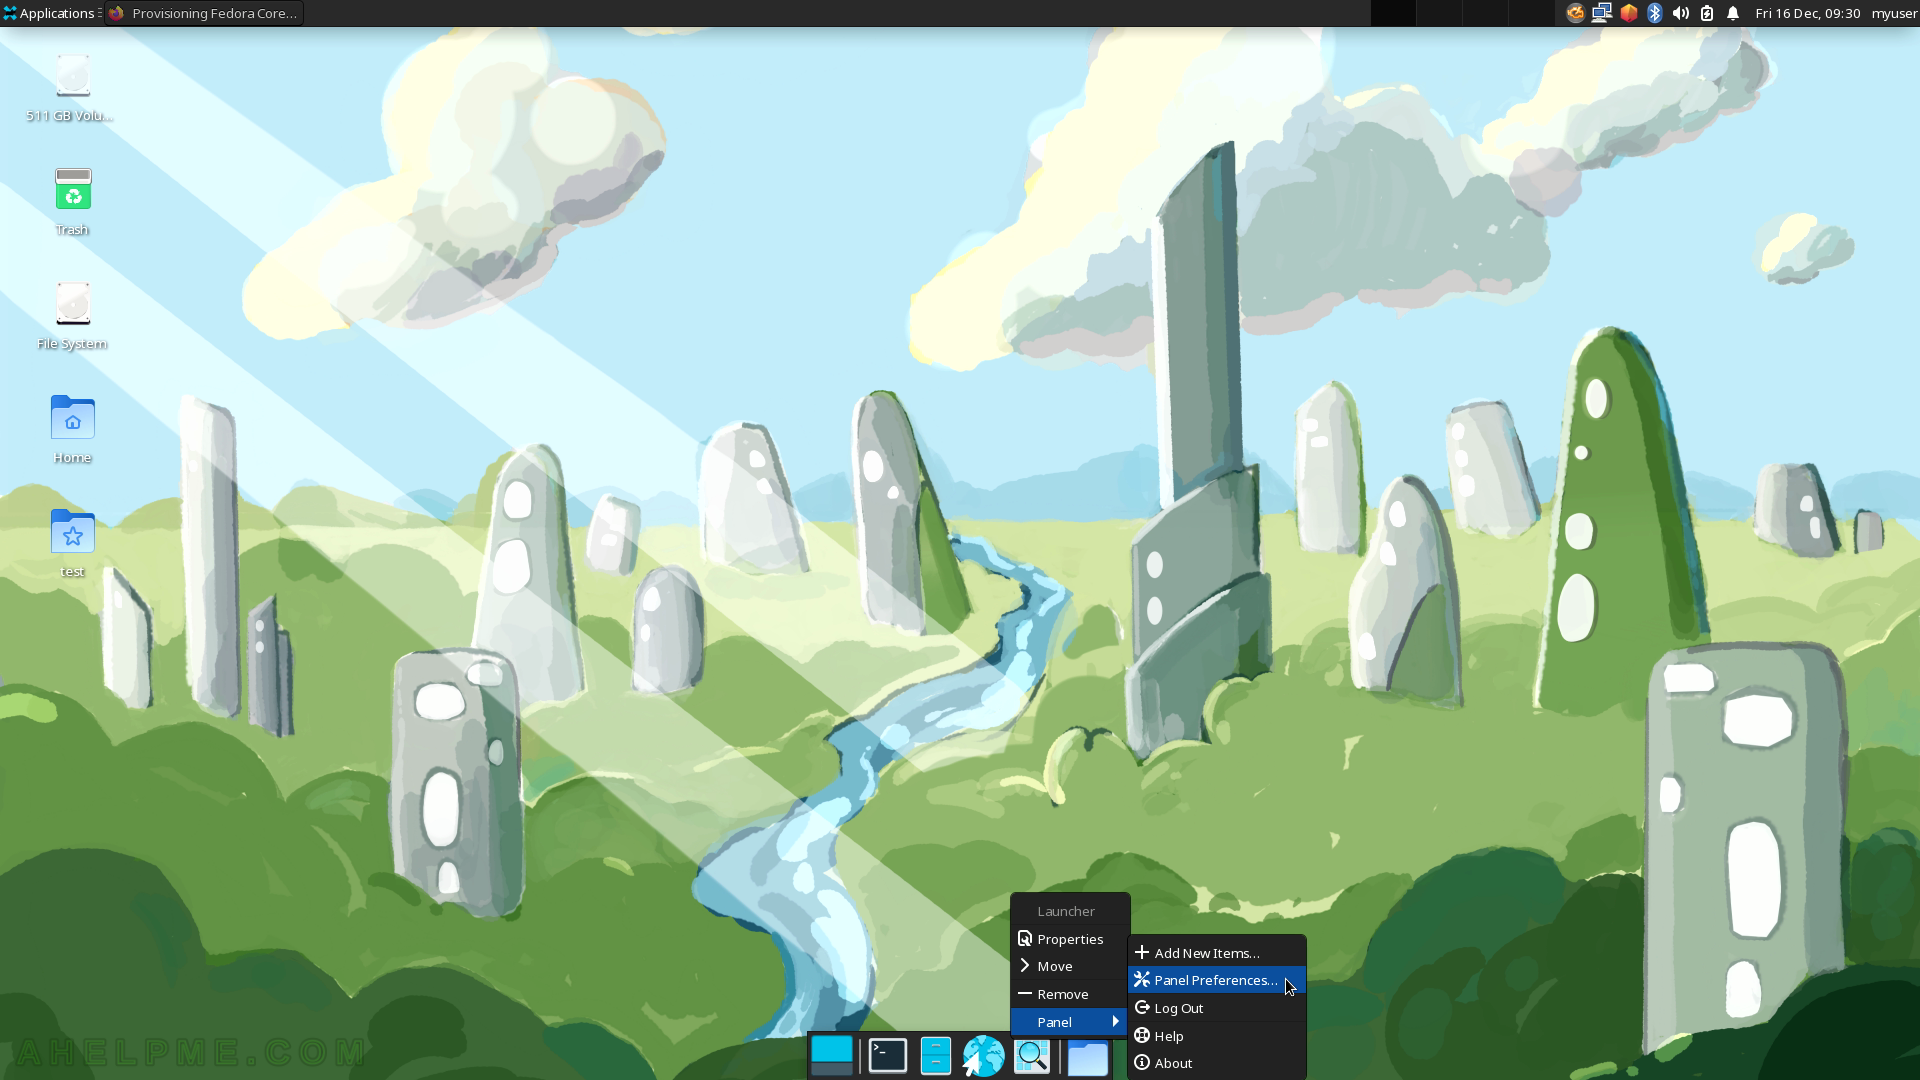
SCREENSHOT 24) The context menu of the bottom Panel.
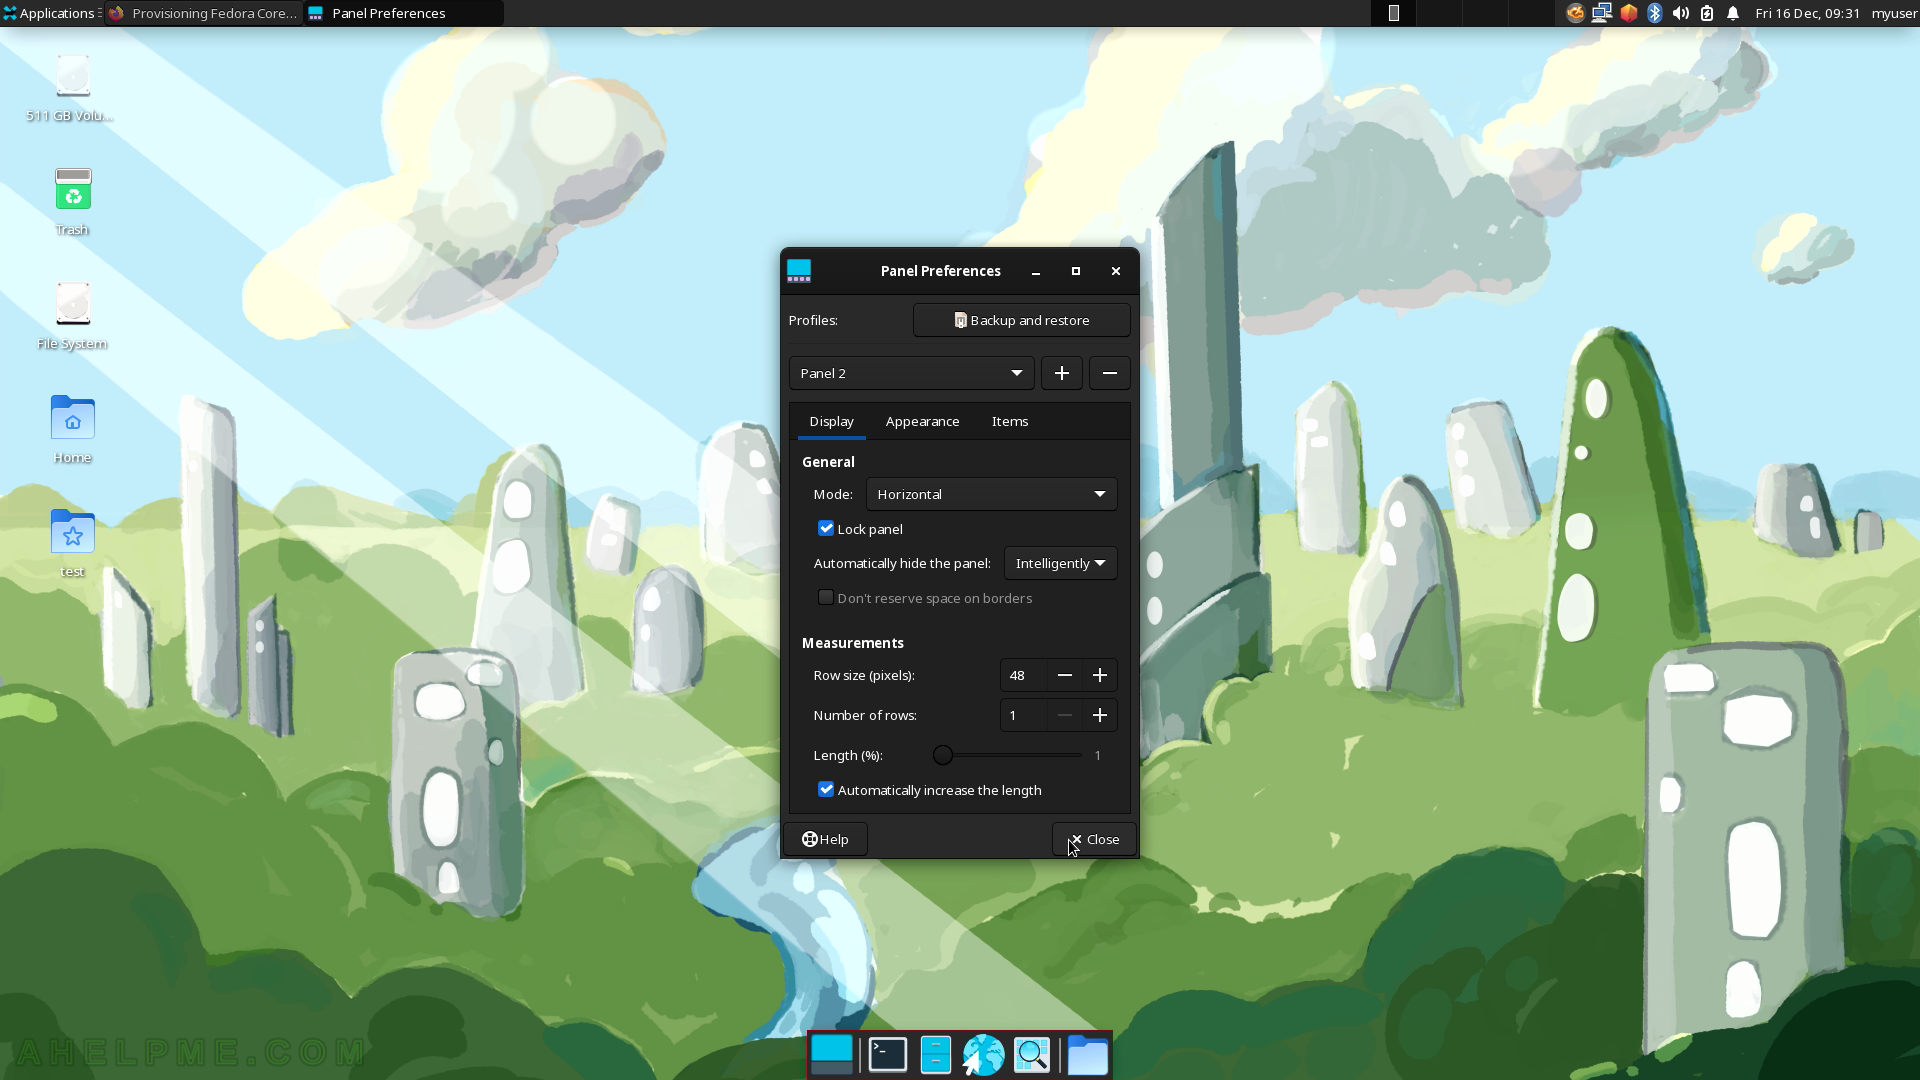
Click on “Panel Preferences…” to configure the Panel.
SCREENSHOT 25) Panel Preferences include the panel profile, display, appearance, items, size length and many more.
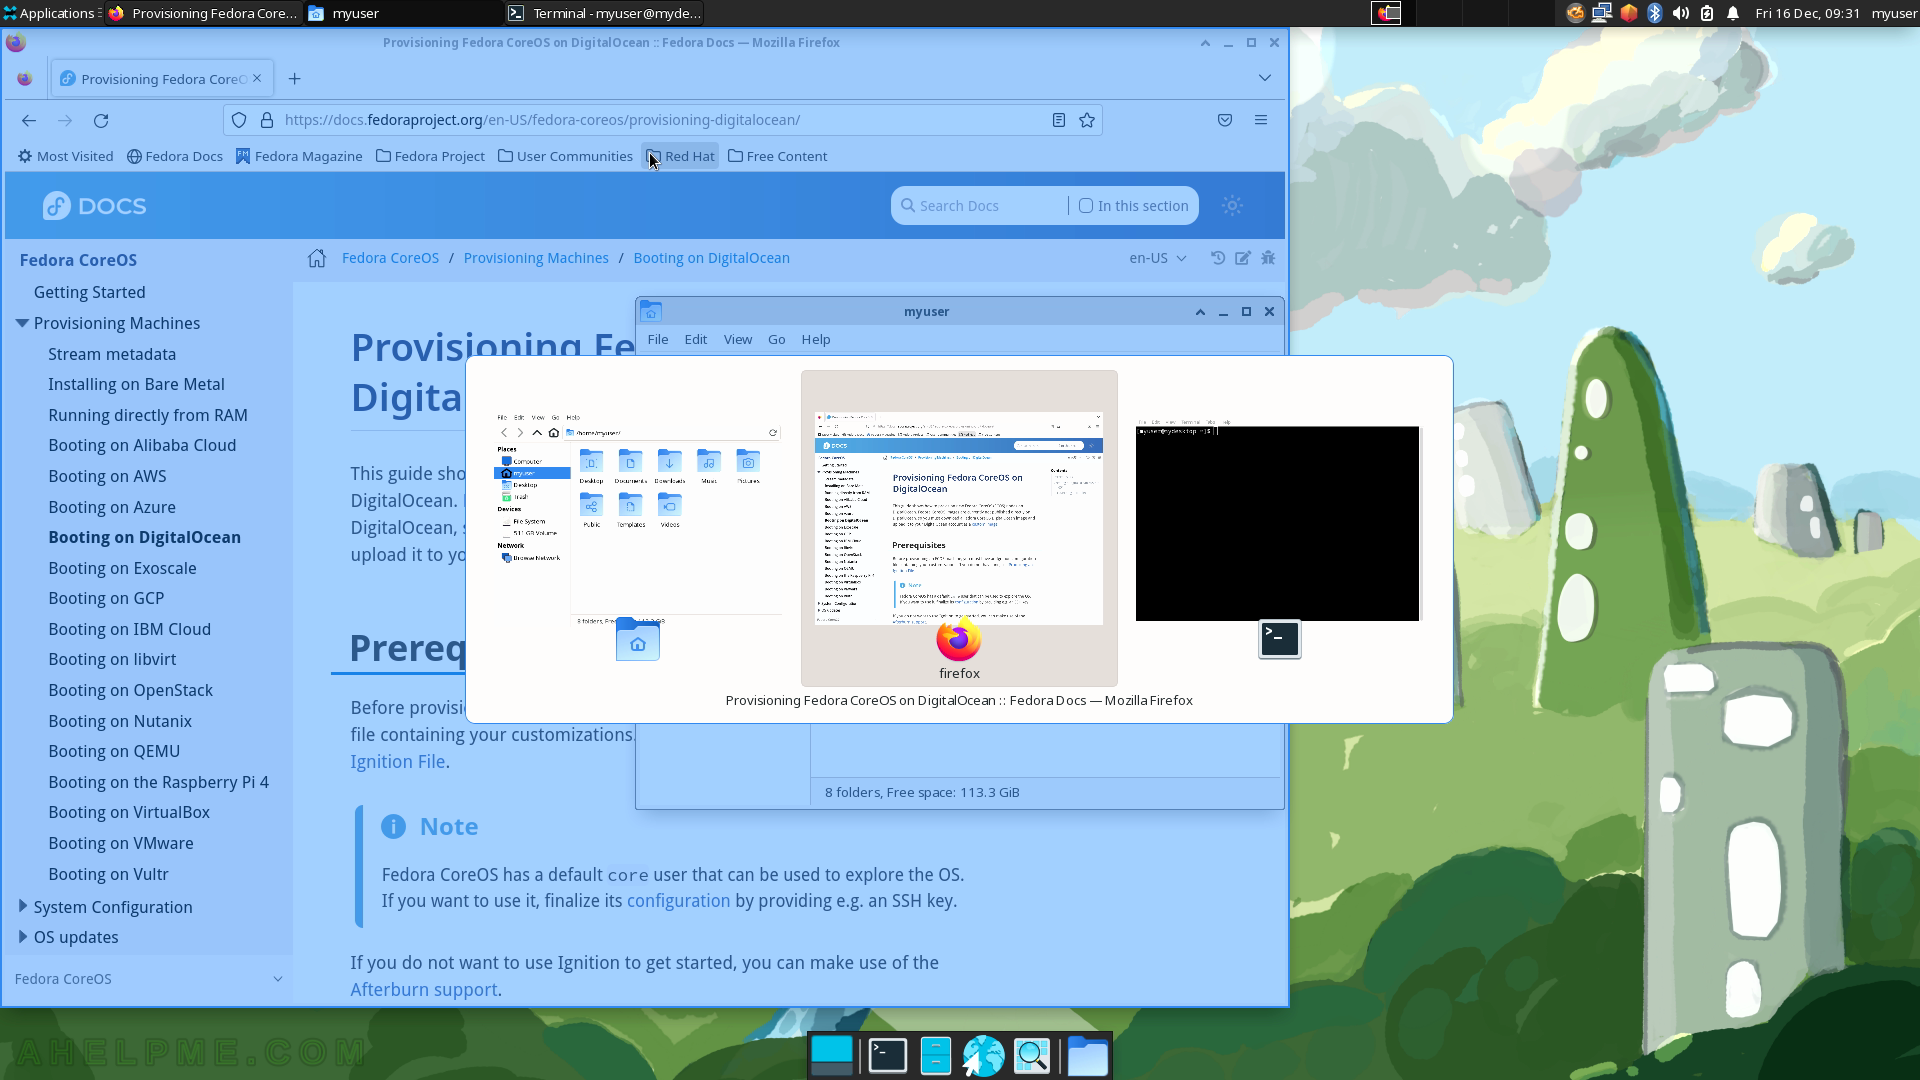
SCREENSHOT 26) Switching between the active program with alt+tab keys.
The Xfce GUI draws a blue rectangle over the new active windows.
SCREENSHOT 27) Even if the window is in the background a blue rectangle is drawn, where the window is.
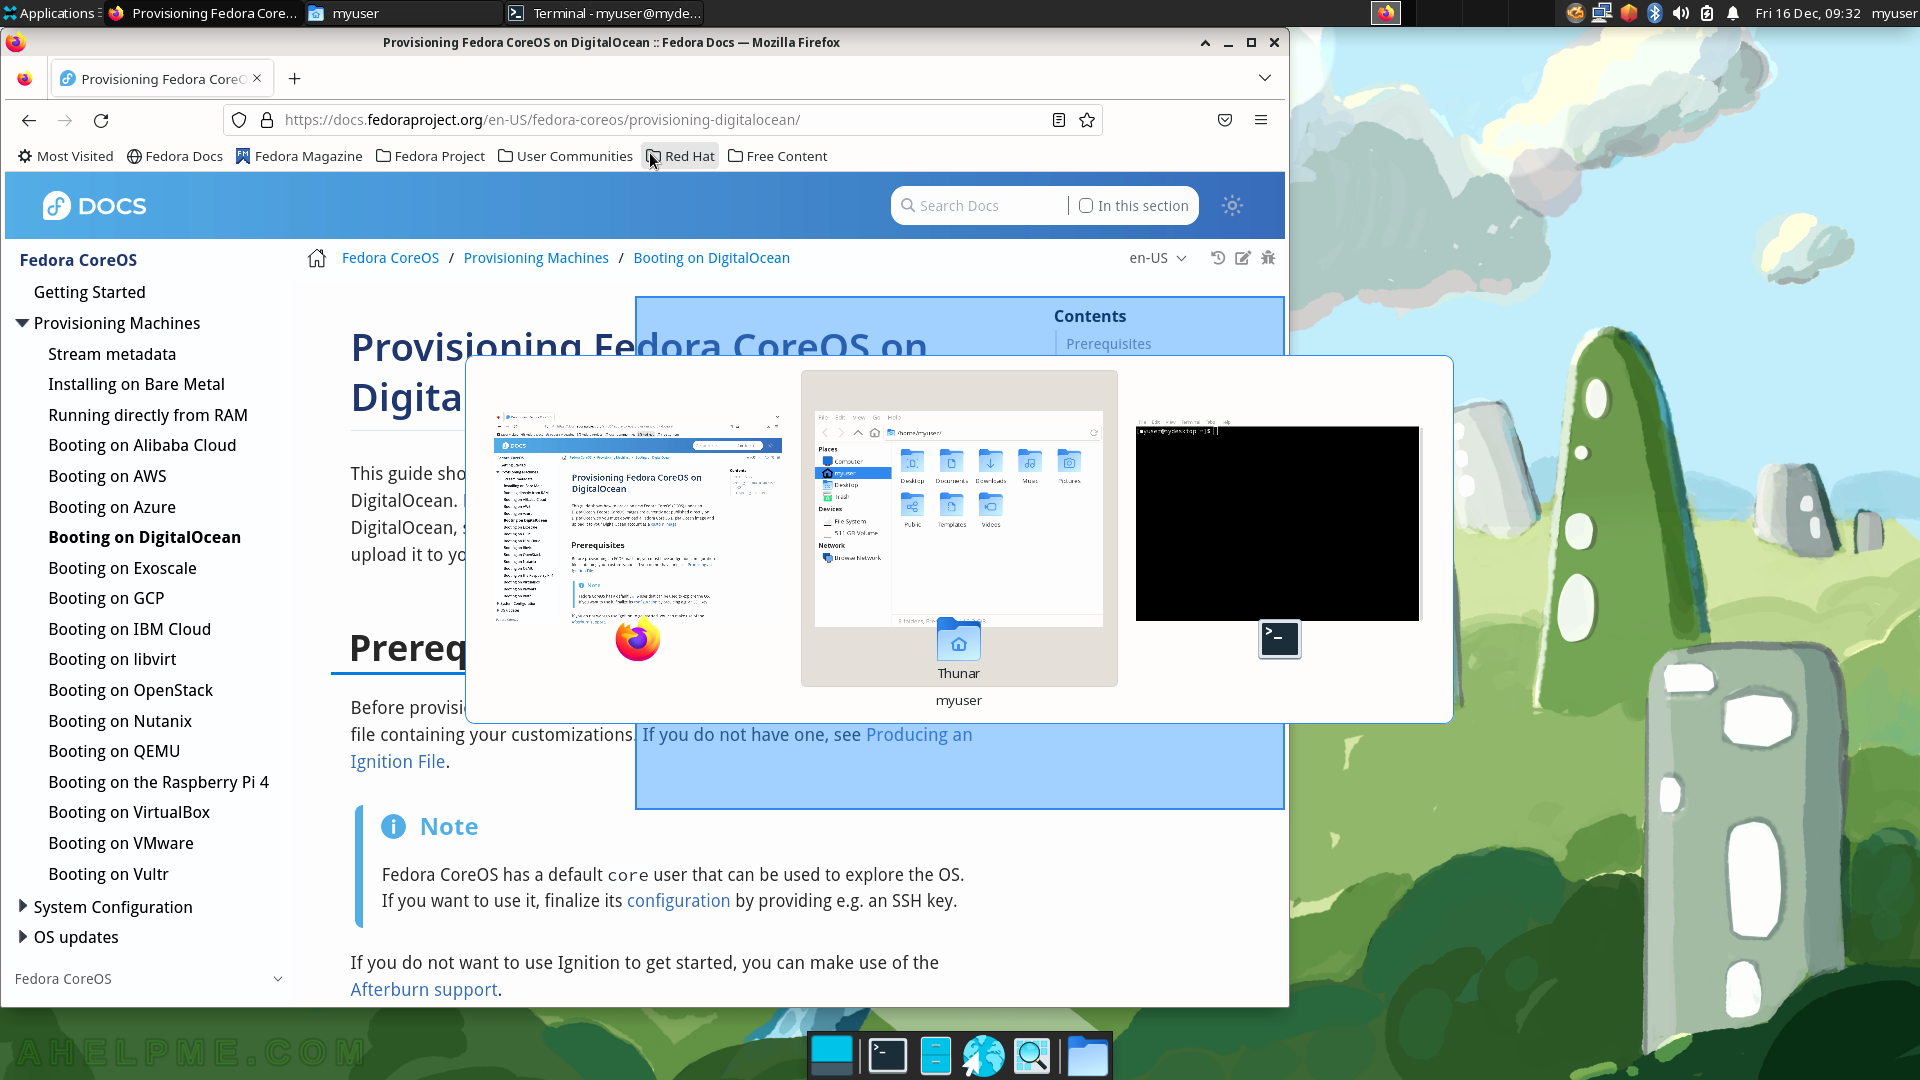
SCREENSHOT 28) The workspace switcher shows a tiny preview of the workspace and by clicking on it it will become active.
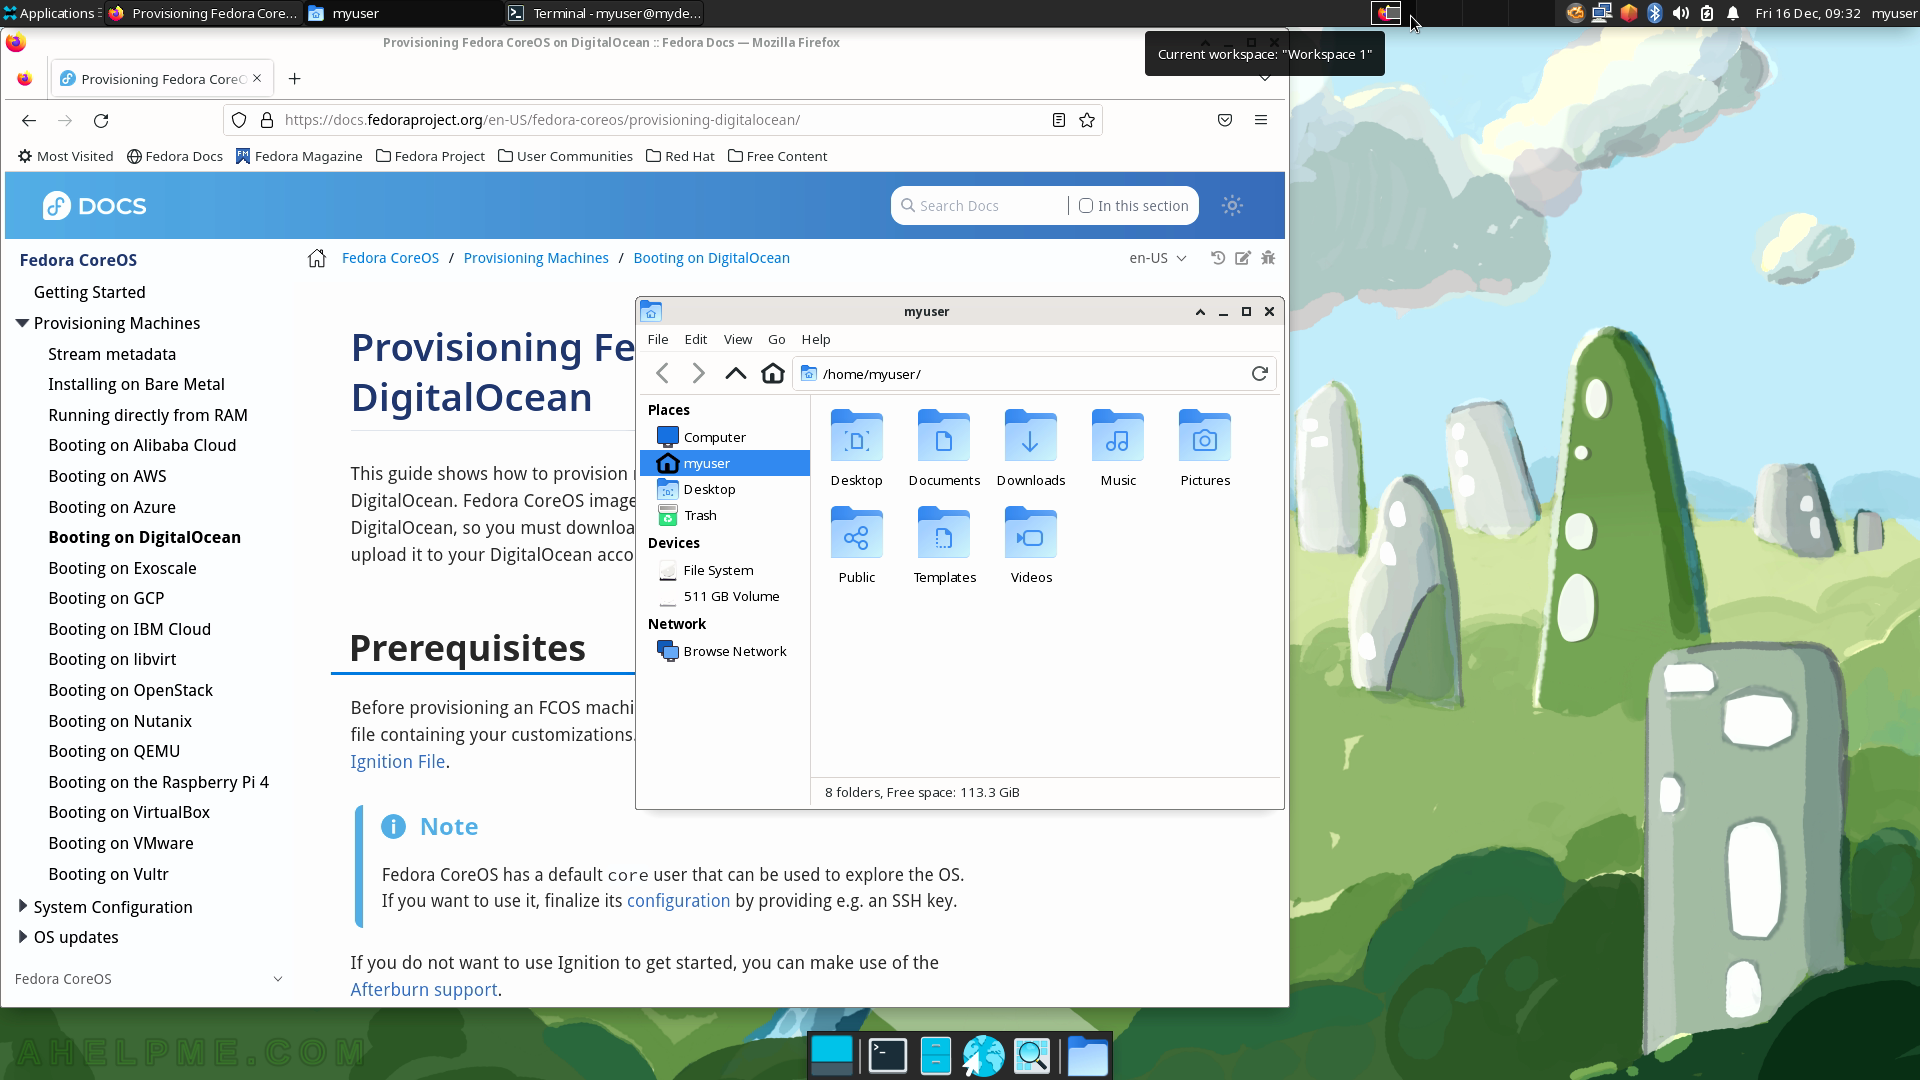
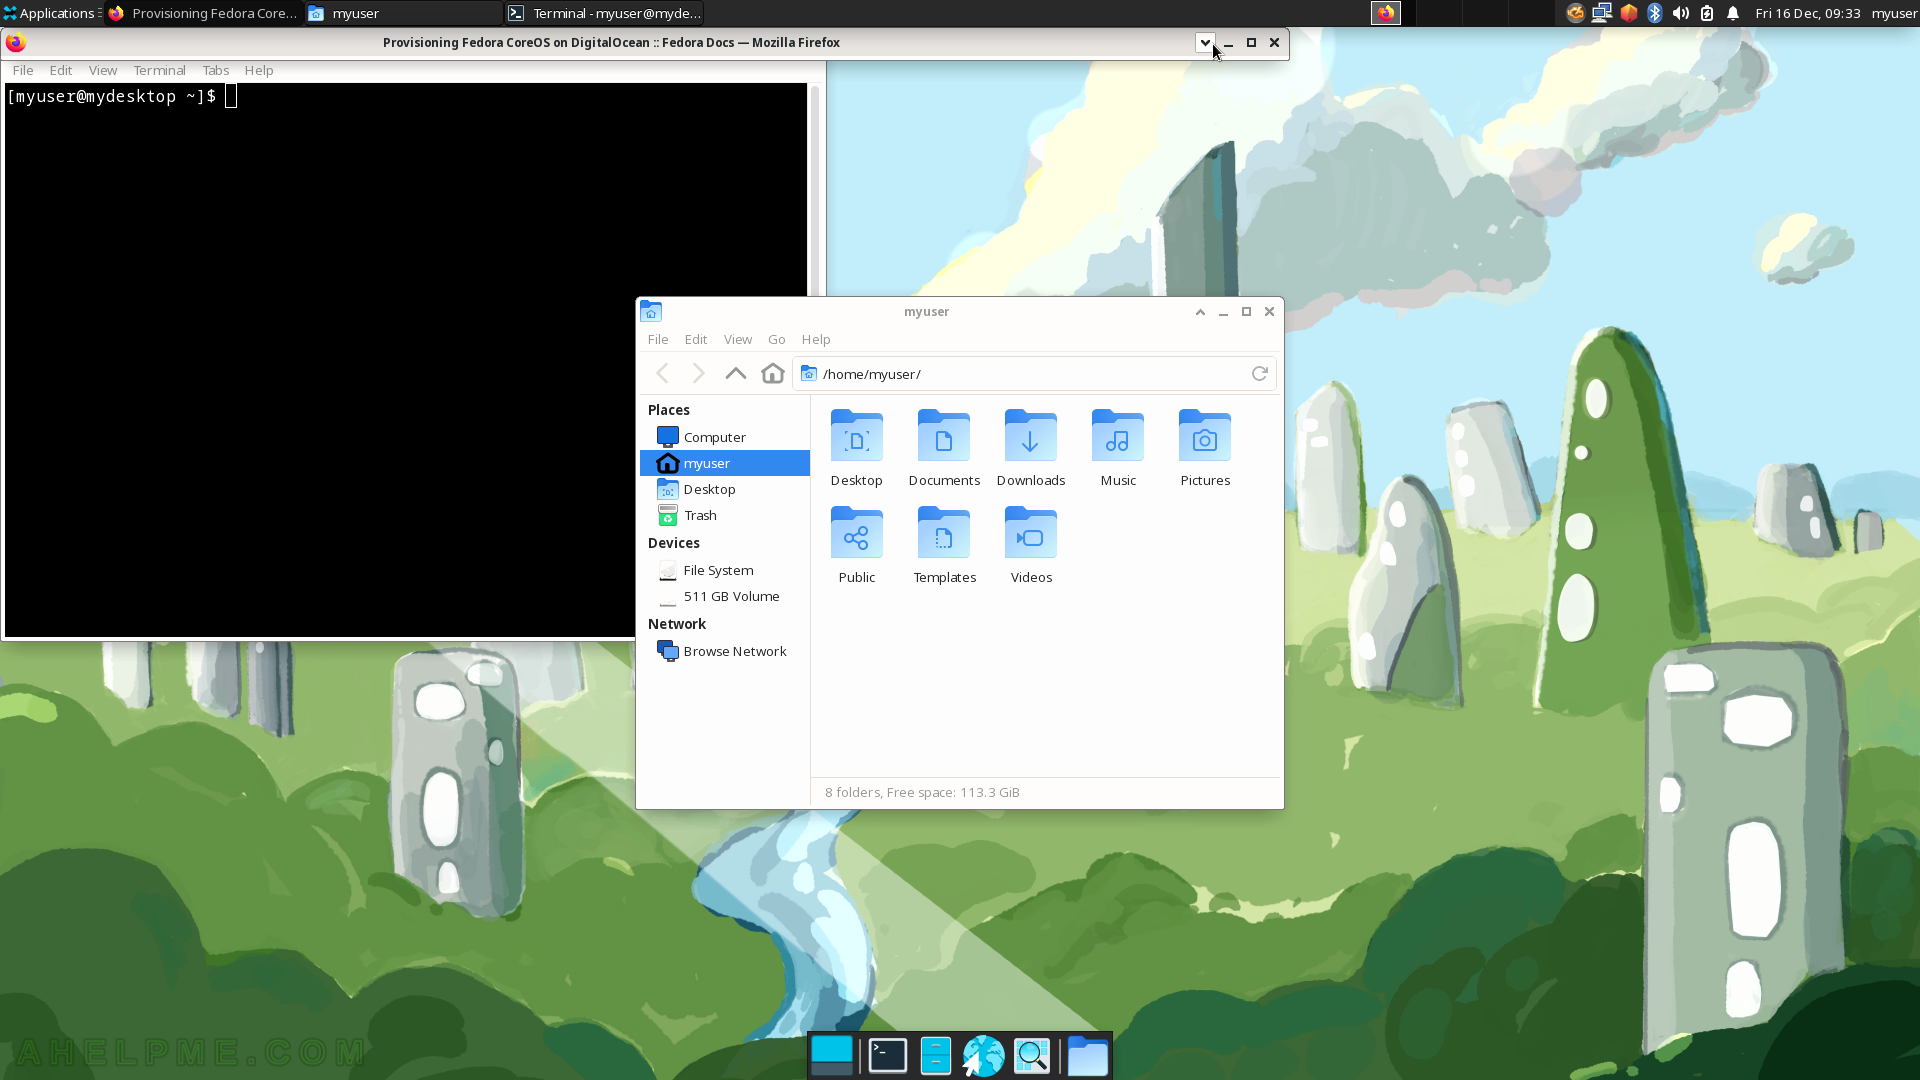
SCREENSHOT 29) In addition to the min, max, and hide buttons in the top right of every Xfce window, there is one more shade window.
It will roll up the window and only the title bar will be displayed. Click on the shade button as shown.
