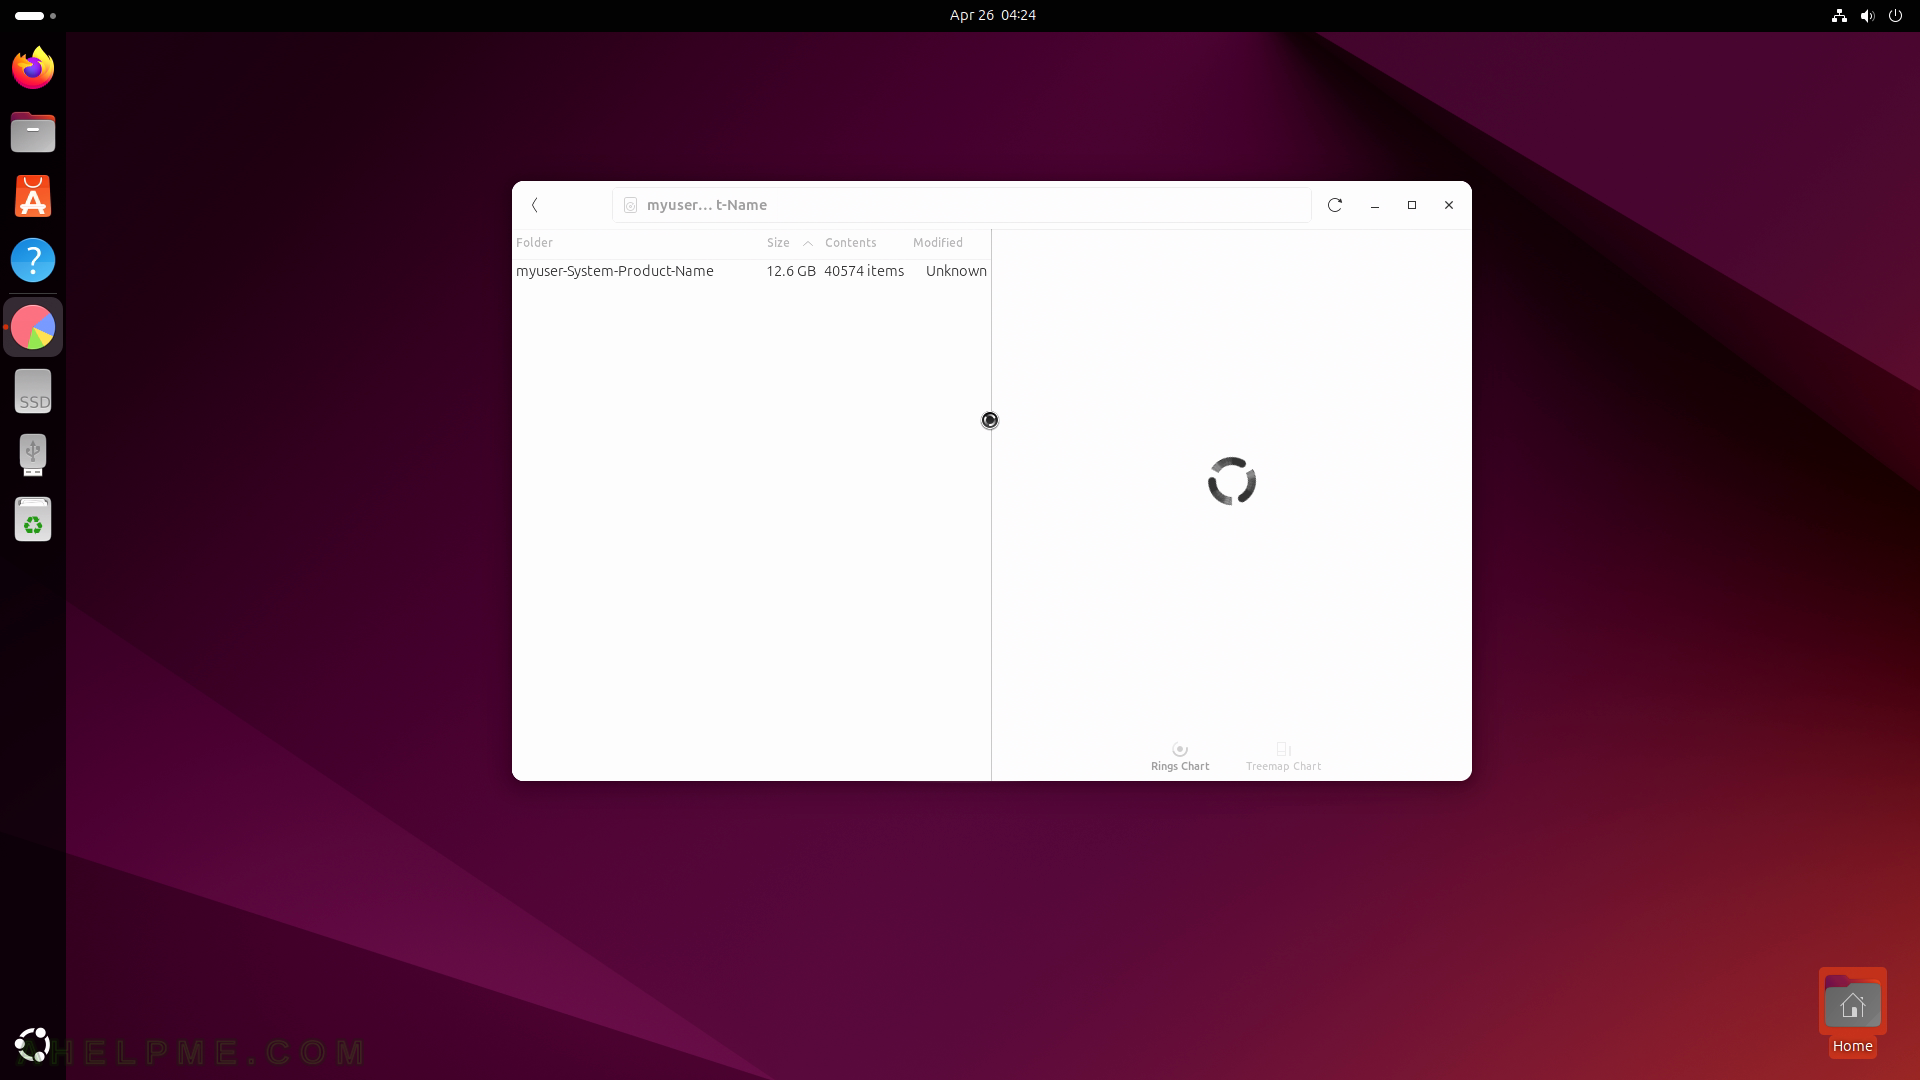
SCREENSHOT 136) myuser-System-Product-Name is the name of this computer under this Ubuntu Desktop 24.04 LTS installation.
Clicking on it to get details.

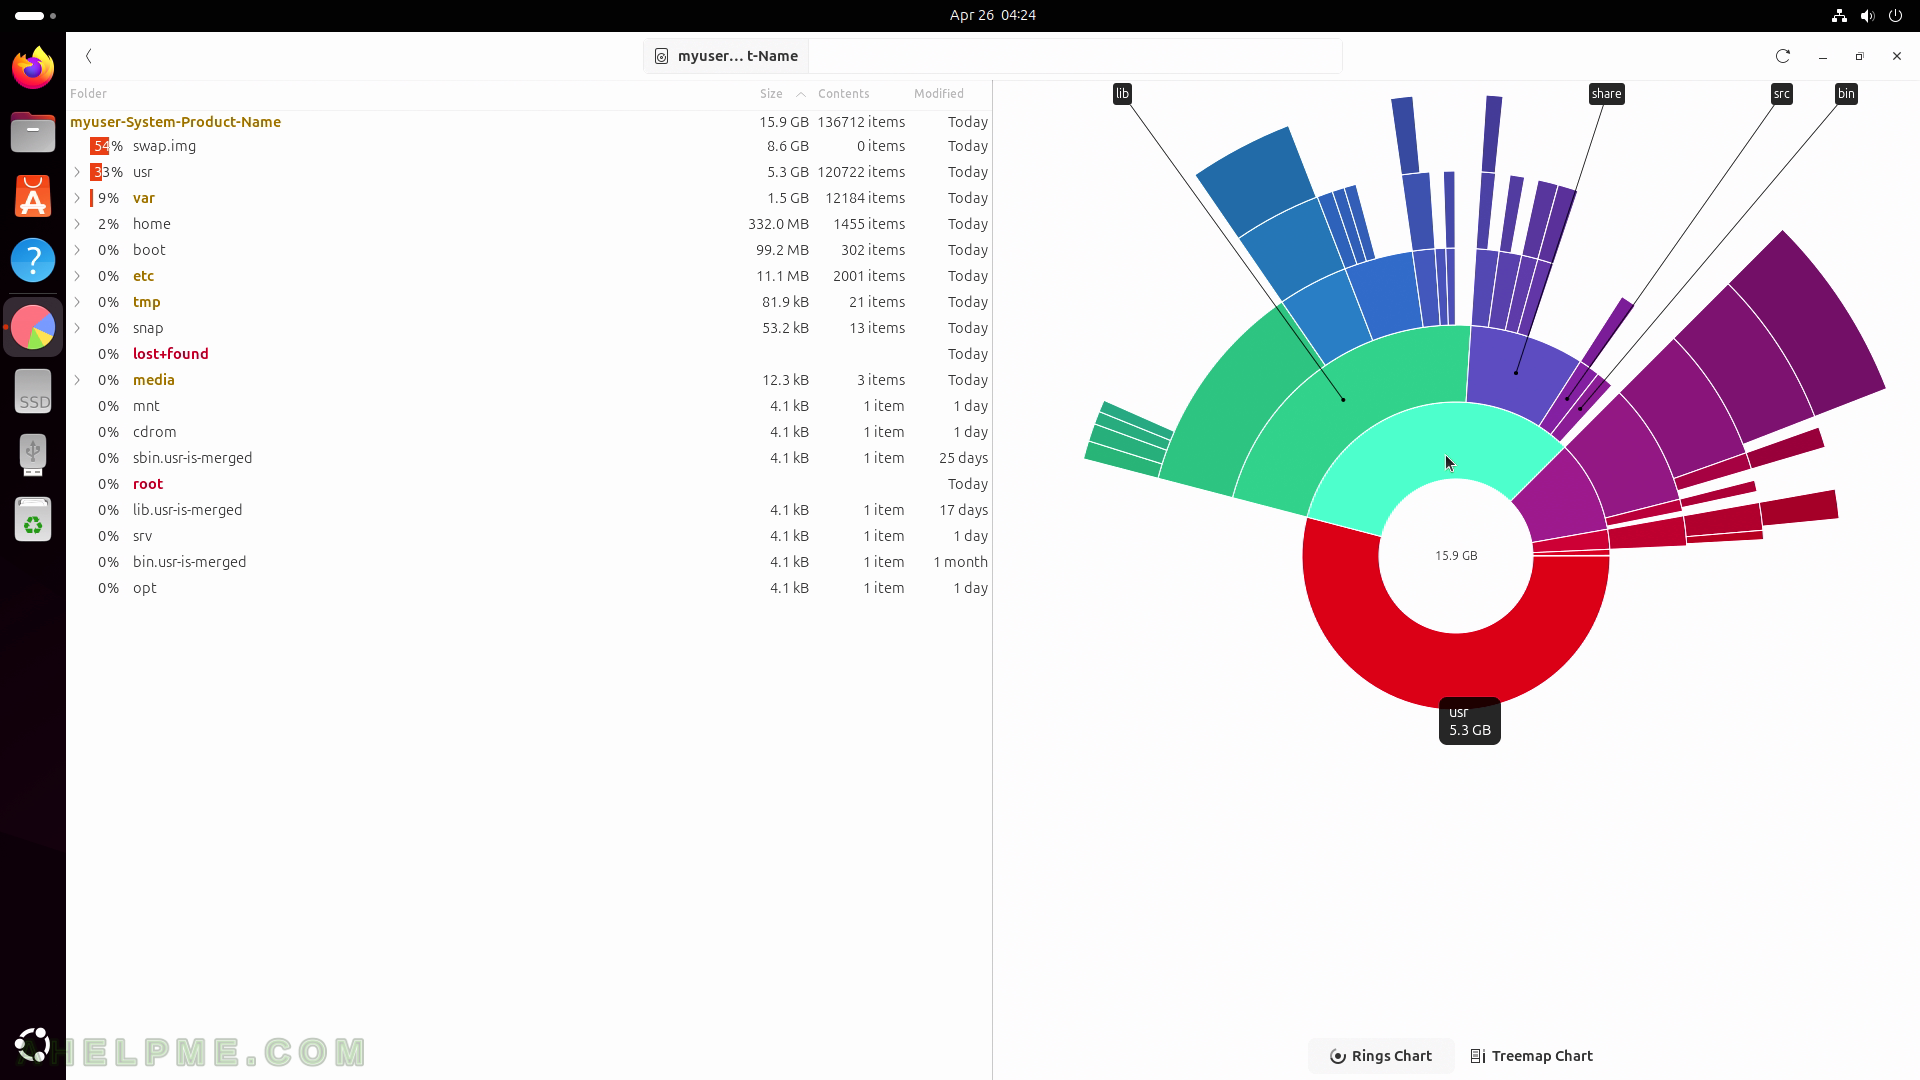
SCREENSHOT 137) The Disk Usage Analyzer is analyzing the Ubuntu root file system.
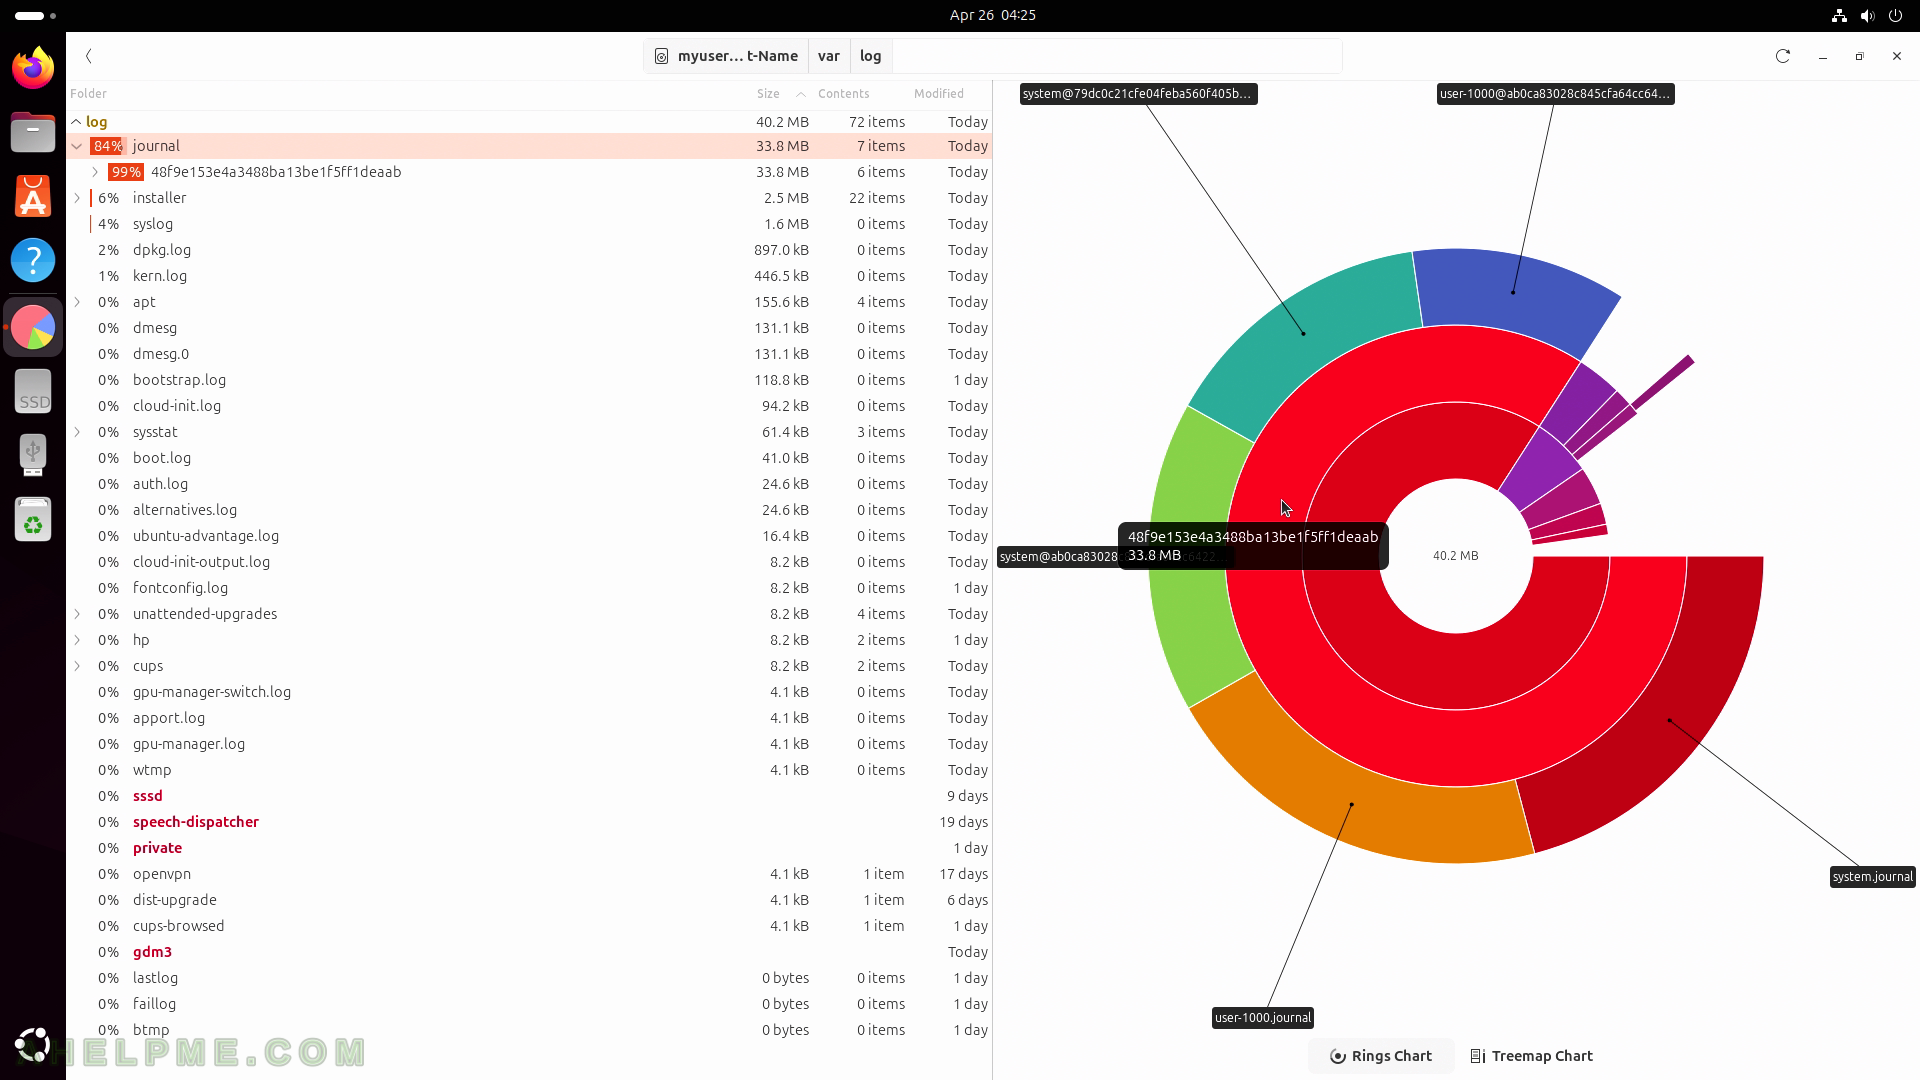
SCREENSHOT 138) Disk Usage Analyzer shows in a tree with circular chart how much space is occupied by each directory.
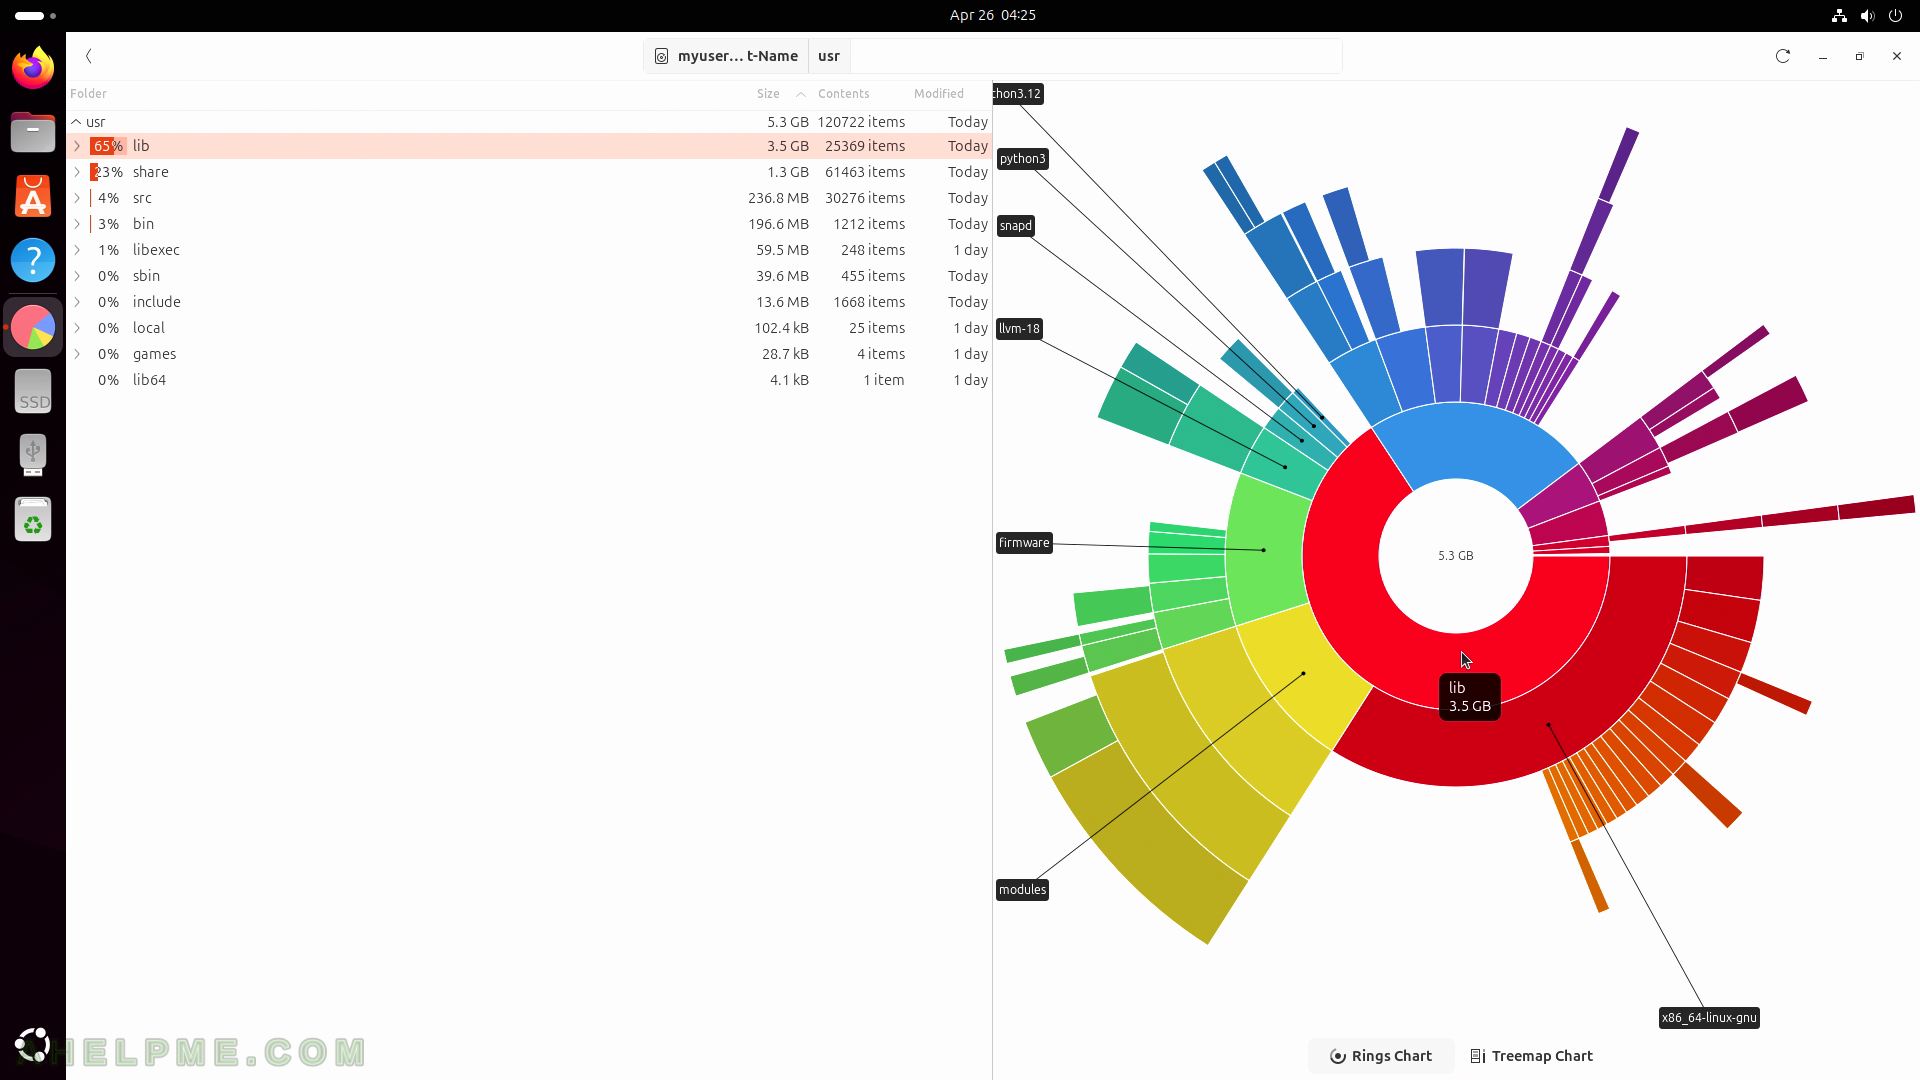
SCREENSHOT 139) To show a chart in the left for a folder, select it in the left.
SCREENSHOT 140) The chart is for the selected folder in the left – /usr/lib.
SCREENSHOT 141) Disk Usage Analyzer 46.0
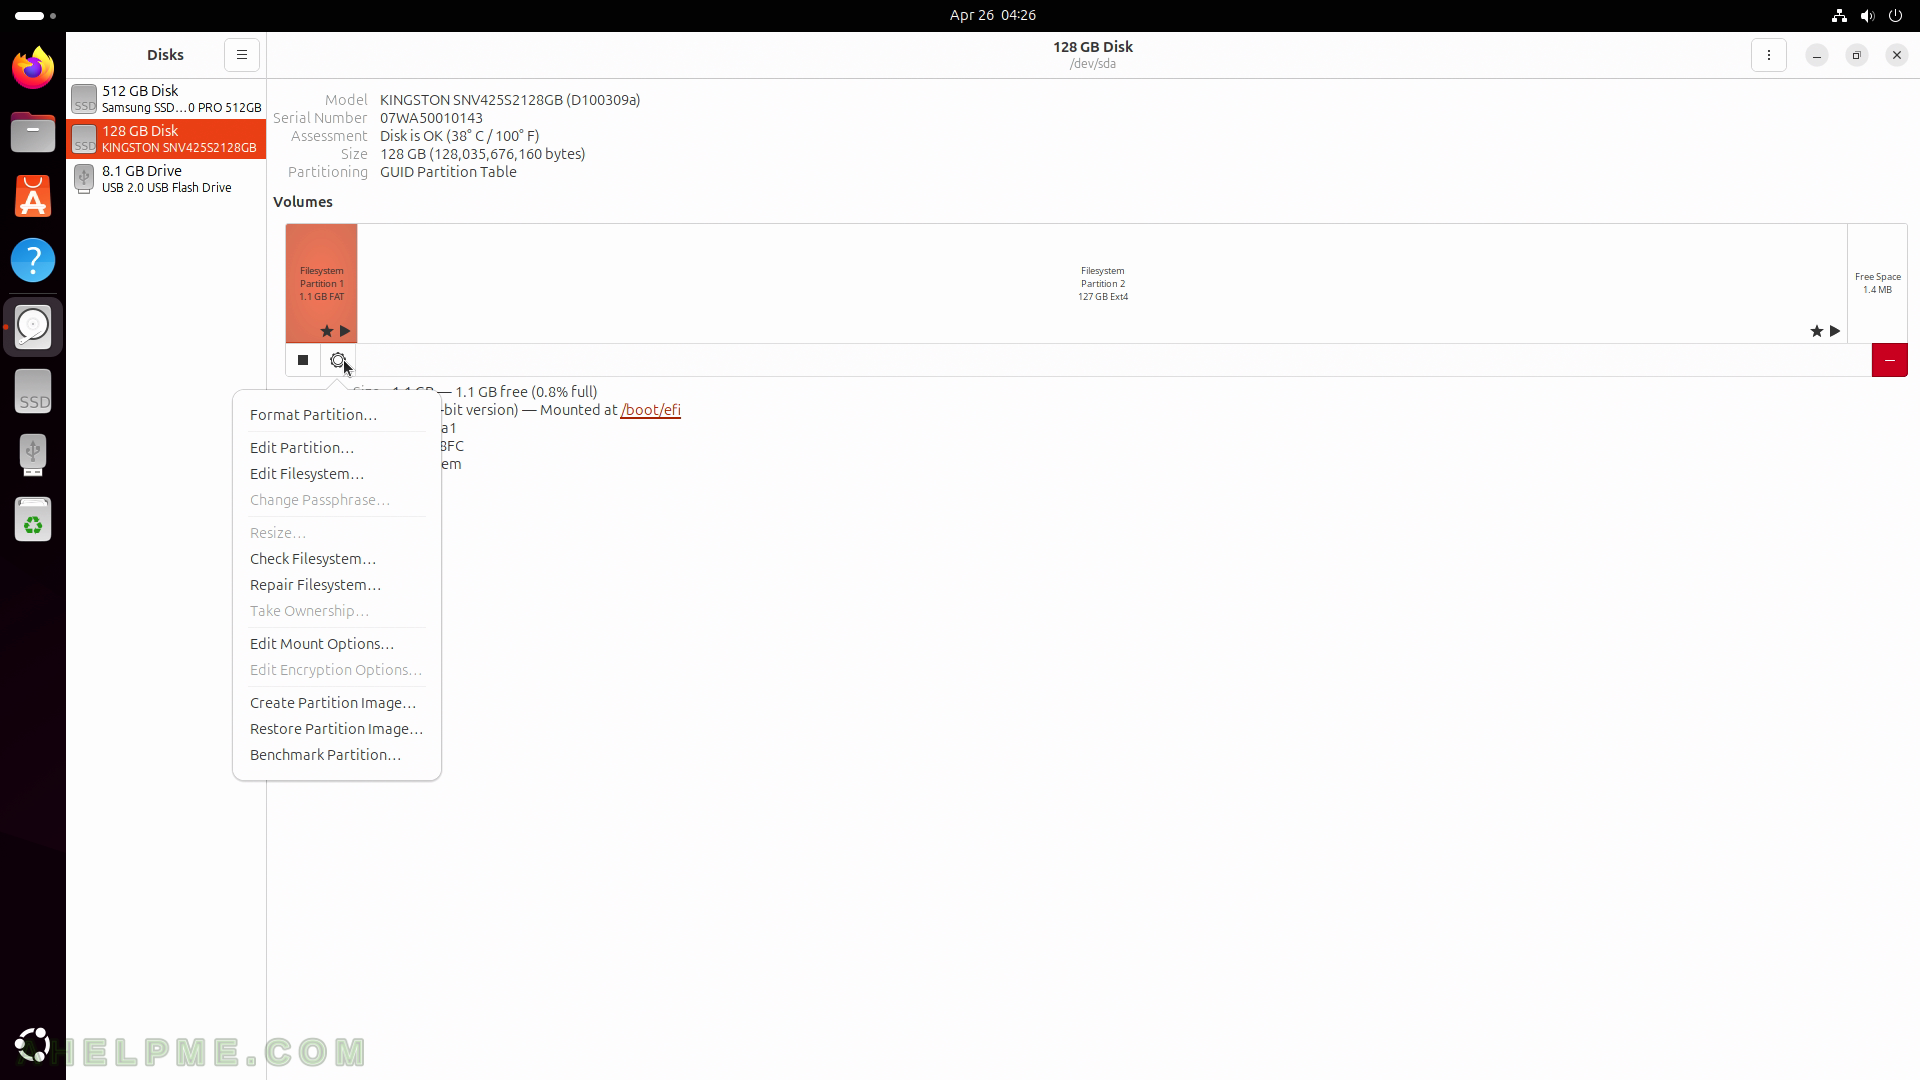
SCREENSHOT 142) The additional partition options show what the user can do with the selected partition such as Format Partition, Edit Partition, Edit Filesystem, Resize, Check Filesystem, Repair Filesystem, Edit Mount Options, Create Partition Image, Restore Partition Image, and Benchmark Partition.
SCREENSHOT 143) More driver settings are available.
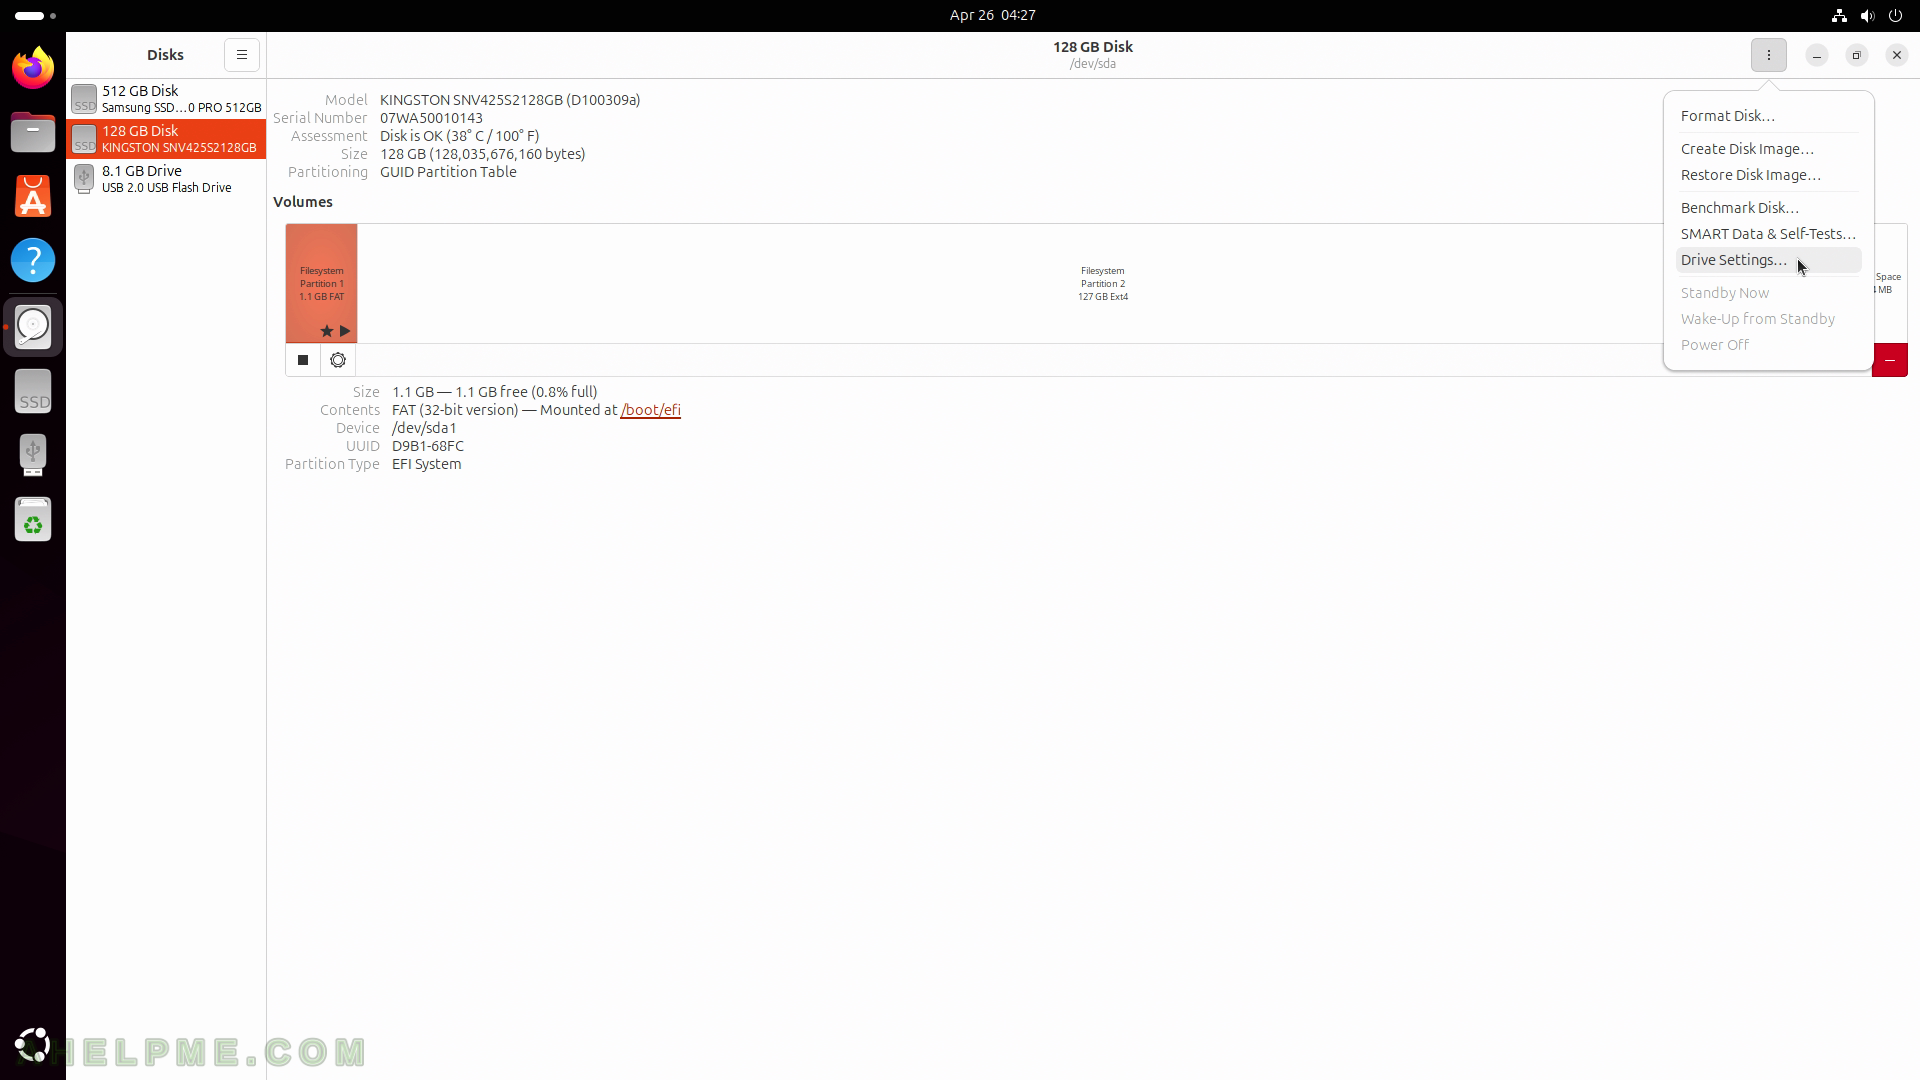
SCREENSHOT 144) There are two main settings for each hardware/SSD/NVME drive.
To apply advanced power management settings to the drive.

SCREENSHOT 145) Enable Write Cache settings to increase the disk performance.
Power loss may result in data loss!

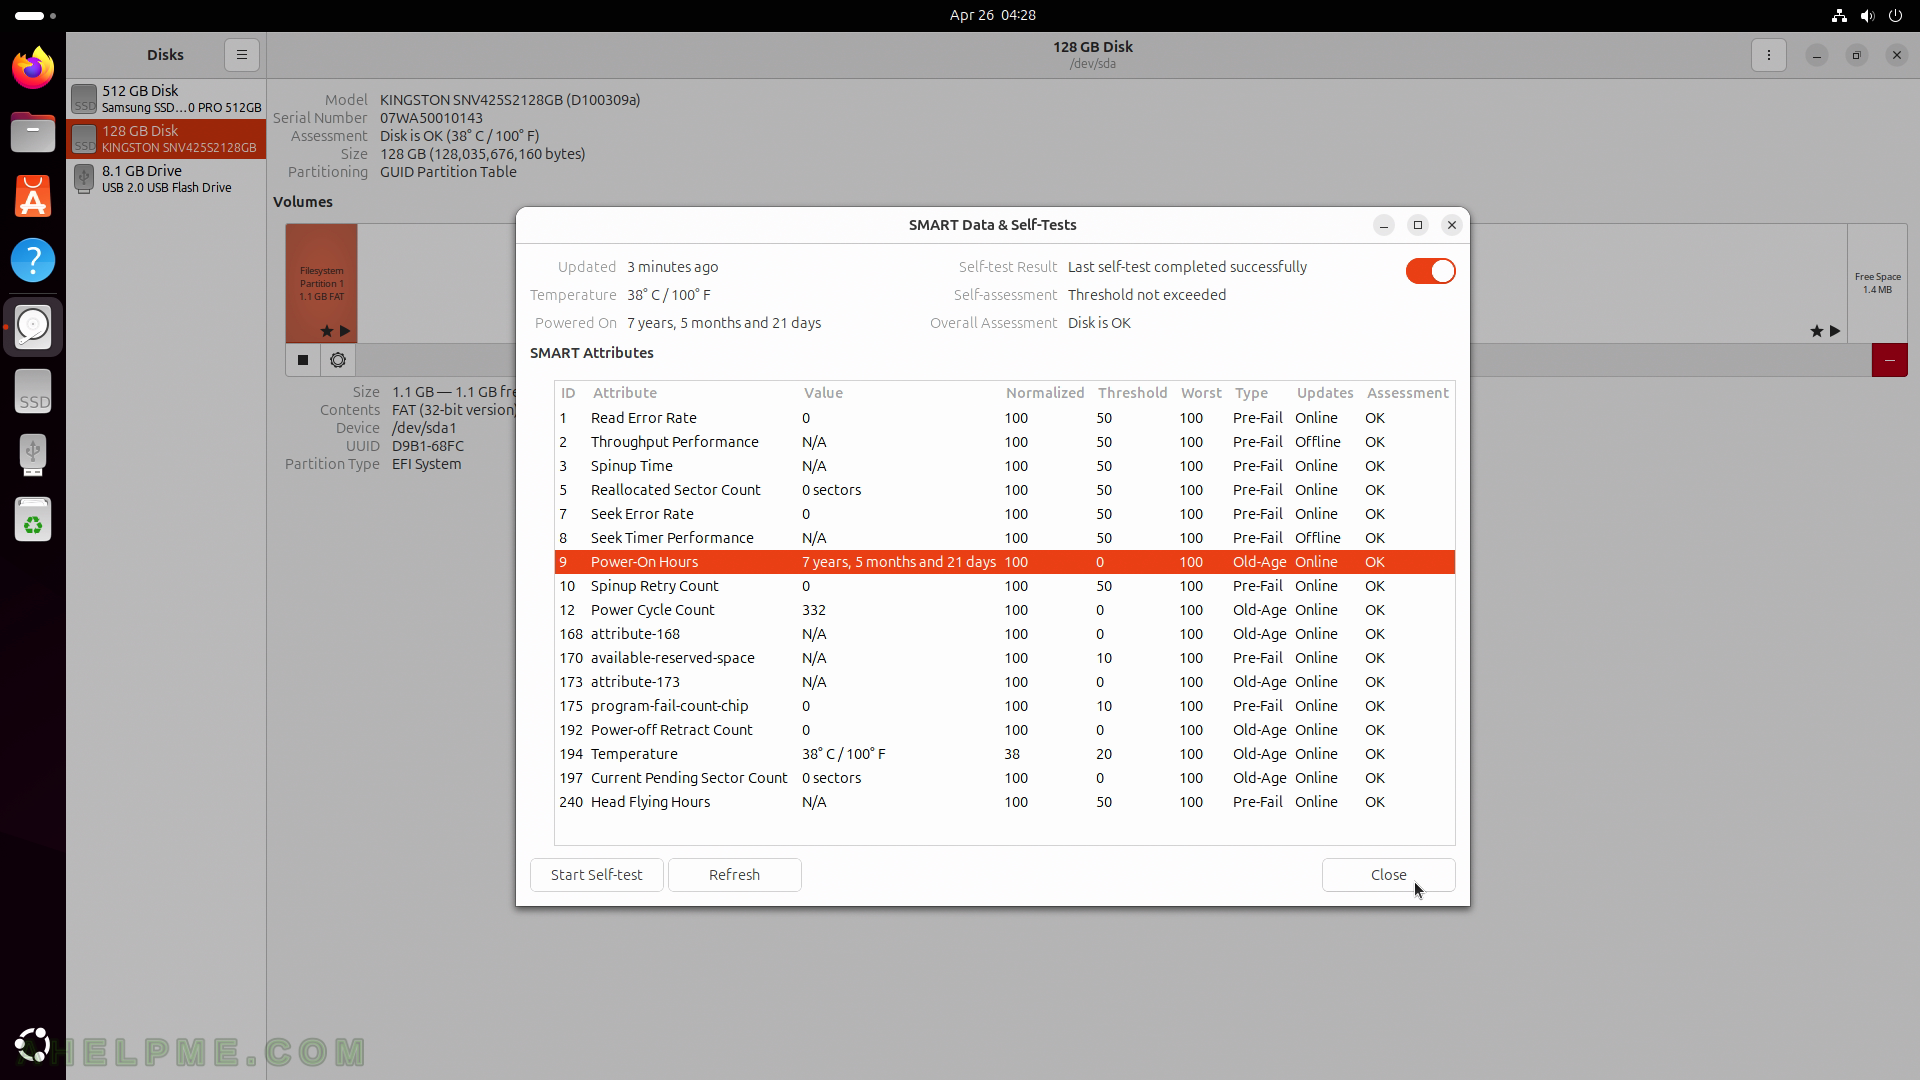
SCREENSHOT 146) Show the SMART Data and Self-Tests on the currently selected disk.
SCREENSHOT 147) To start the benchmark click on the “Start Benchmark” button and additional configuration will be asked for.
Select the Drive Options (right top corner, the three vertical dots button) and then the “Benchmark Disk…” button.

SCREENSHOT 148) Benchmark settings to tune the tests. By default, read-only tests are performed, which can be changed if “Perform write-benchmark” is checked.
Click on “Start Benchmarking…” to start the tests.

SCREENSHOT 149) Authentication is required by an administrative user to run a benchmark test.
Fill in the administrative credentials to continue.

SCREENSHOT 150) The tests are ongoing and the last one is “Measuring transfer rate”.
Useful information is displayed as Samples, Average Read Rate, and so on. The Benchmark test is ready and the final results after 100 samples are 185.8 Mbytes/s average read rate.
