After the tutorial of how to install Fedora 36 Xfce Desktop this tutorial is mainly to see what to expect from a freshly installed Fedora 36 Xfce Desktop – the look and feel of the new Xfce GUI (Xfce version – 4.16). The Fedora 36 Xfce Desktop is part of Fedora spins – https://spins.fedoraproject.org/xfce/
Here you can find how to Install Fedora 36 Xfce Desktop.
The idea of this article is just to see what to expect from Fedora 36 Xfce – the look and feel of the GUI, the default installed programs and their look and how to do some basic steps with them. Here you’ll find more than 130 screenshots and not so many texts we do not want to turn this review of many texts and version information and 3 meaningless screenshots, which you could not see anything for the user interface because these days it is the primary goal of a Desktop system. You can expect more of this kind of review in the future.
This article is the first part of reviewing the Fedora 36 Xfce Desktop. The second article contains Xfce Settings screenshots and it is coming soon.
Xfce is a collection of programs, which together provides a features-rich desktop environment.
Here are some core elements:
- Window Manager (xfwm4) – Handles the placement of windows on the screen.
- Panel (xfce4-panel) – Provides a home for window buttons, launchers, app menu and more.
- Desktop Manager (xfdesktop) – Sets desktop backgrounds, handles icons and more.
- File Manager (thunar) – Manages your files in a modern, easy-to-use and fast way.
- Volume Manager (thunar-volman) – Manages removable drives and media for Thunar.
- Session Manager (xfce-session) – Saves and restores your session, handles startup, autostart and shutdown.
- Setting System (xfce3-settings) – Configures appearance, display, keyboard, and mouse settings.
- Application Finder (xfce4-appfinder) – Quickly finds and launches applications installed on your system
- Settings Daemon (xfconf) – Stores your settings in a D-Bus-based configuration system.
- A Menu Library (garcon) – Implements a freedesktp.org compliant menu based on GLib and GIO.
- Thumbnails Services (tumbler) – Implements the thumbnails management D-Bus specification.
Fedora 36 Xfce screenshots
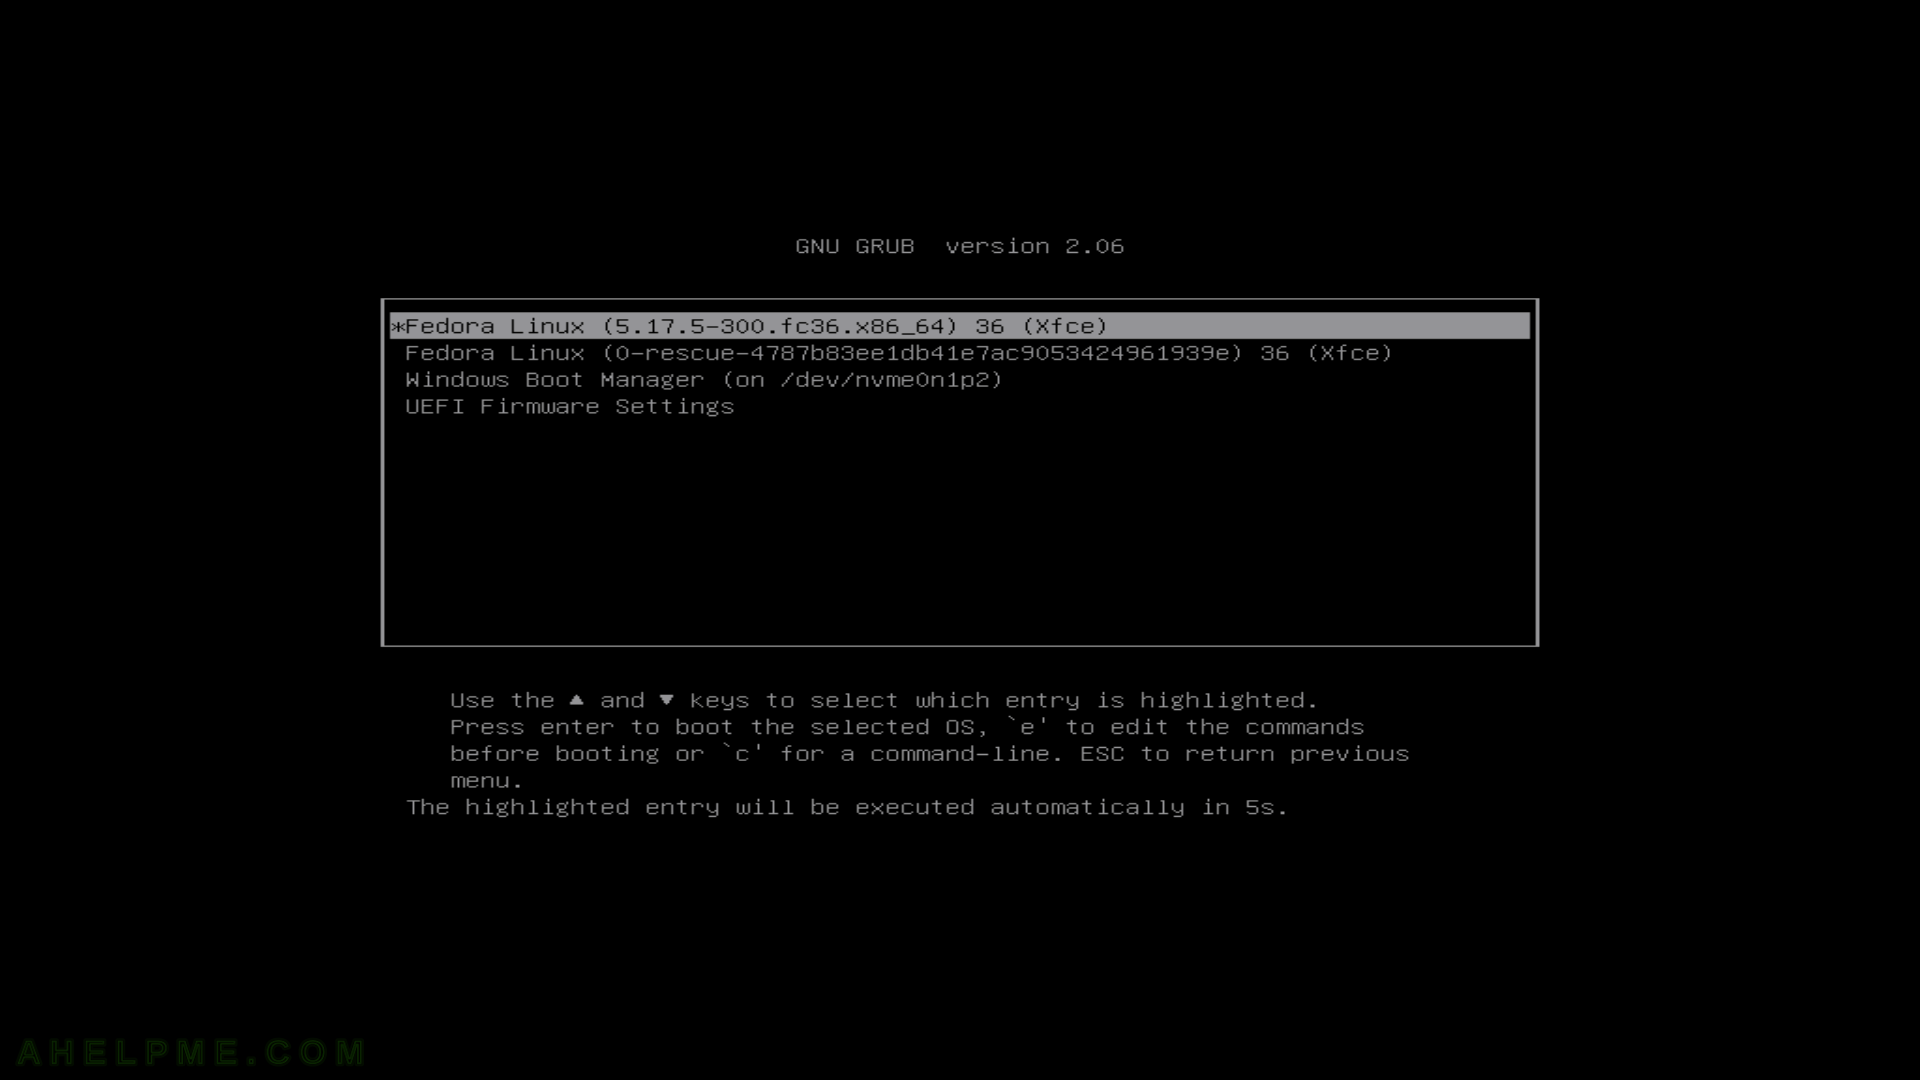
SCREENSHOT 1) Fedora (5.17.5-300.fc36.x86_64) 36 (Xfce)

Keep on reading!

