This article will show the simple steps of installing a modern Linux Distribution like Fedora 36 Xfce Desktop with Xfce for the user graphical interface – one of the alternatives, which tries to break the domination of Gnome and partly KDE Plasma. First, it is offered the basic steps for installing the Operating system and then there are some screenshots of the installed system and the look and feel of it. Here is another article available with more screenshots of the installed and working Fedora 36 Xfce Desktop – Review of freshly installed Fedora 36 Xcfe Desktop.
Xfce offers fast, easy and lightweight graphical environment for Linux systems and Fedora teams brings it out-of-the-box with their spins projects – Fedora Xfce Spin
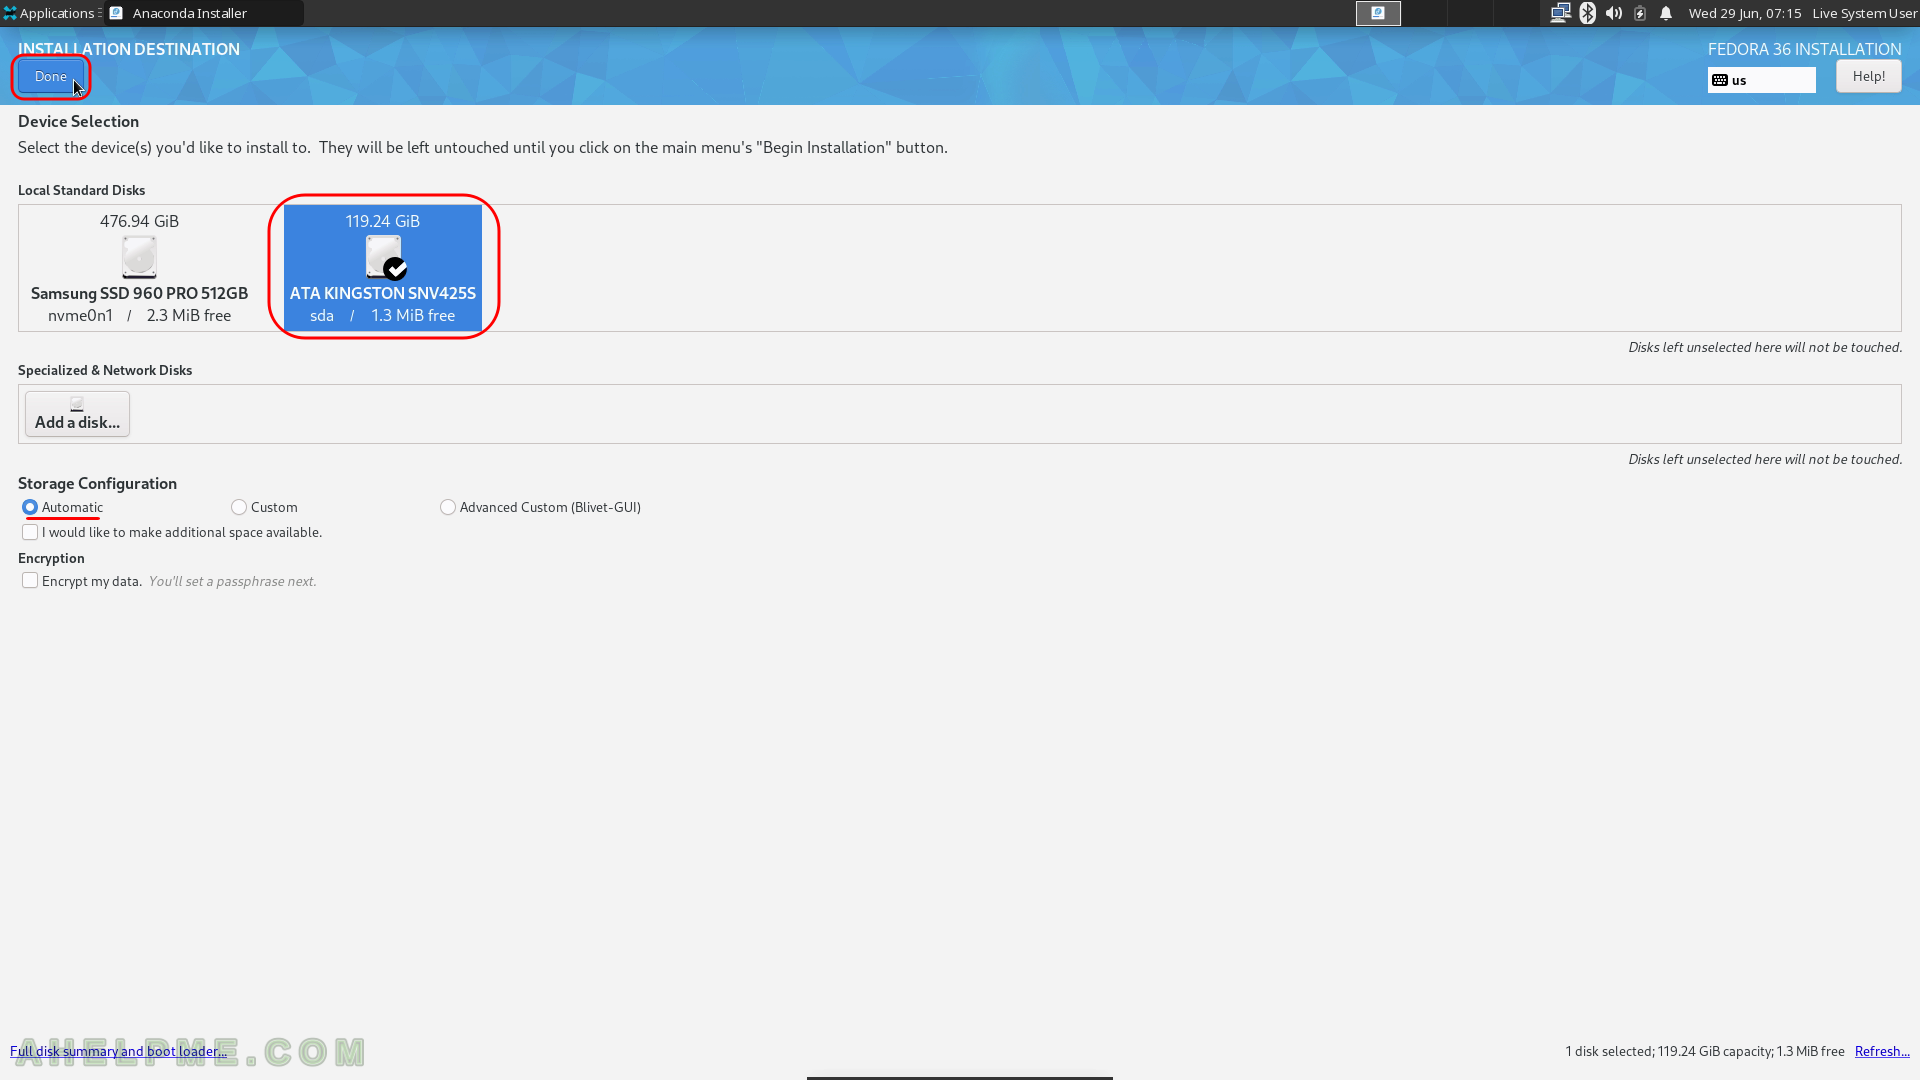
This is the simplest set up. One hard disk device in the system is installed, which is detected as sda and the entire disk will be used for the installation of Fedora 36 Xfce Desktop. All disk information in sda disk device will be permanently deleted by the installation wizard!
The Fedora 36 Xfce Desktop comes with:
- Xorg X server – 1.20.14 XWayland is used by default
- linux kernel – 5.17.5
- Xfce: 4.16, which is the latest stable as of the official Xfce site.
For more packages versions information check out the Fedora 36 server articles – Software and technical details of Fedora Server 36 including cockpit screenshots and Software comparison Ubuntu server 22.04 LTS vs Fedora 36 server edition – head-to-head.
We used the following ISO for the installation process:
https://download.fedoraproject.org/pub/fedora/linux/releases/36/Spins/x86_64/iso/Fedora-Xfce-Live-x86_64-36-1.5.iso
It is a LIVE image so you can try it before installing it. The easiest way is just to download the image and burn it to a DVD disk or USB stick and then follow the installation below:
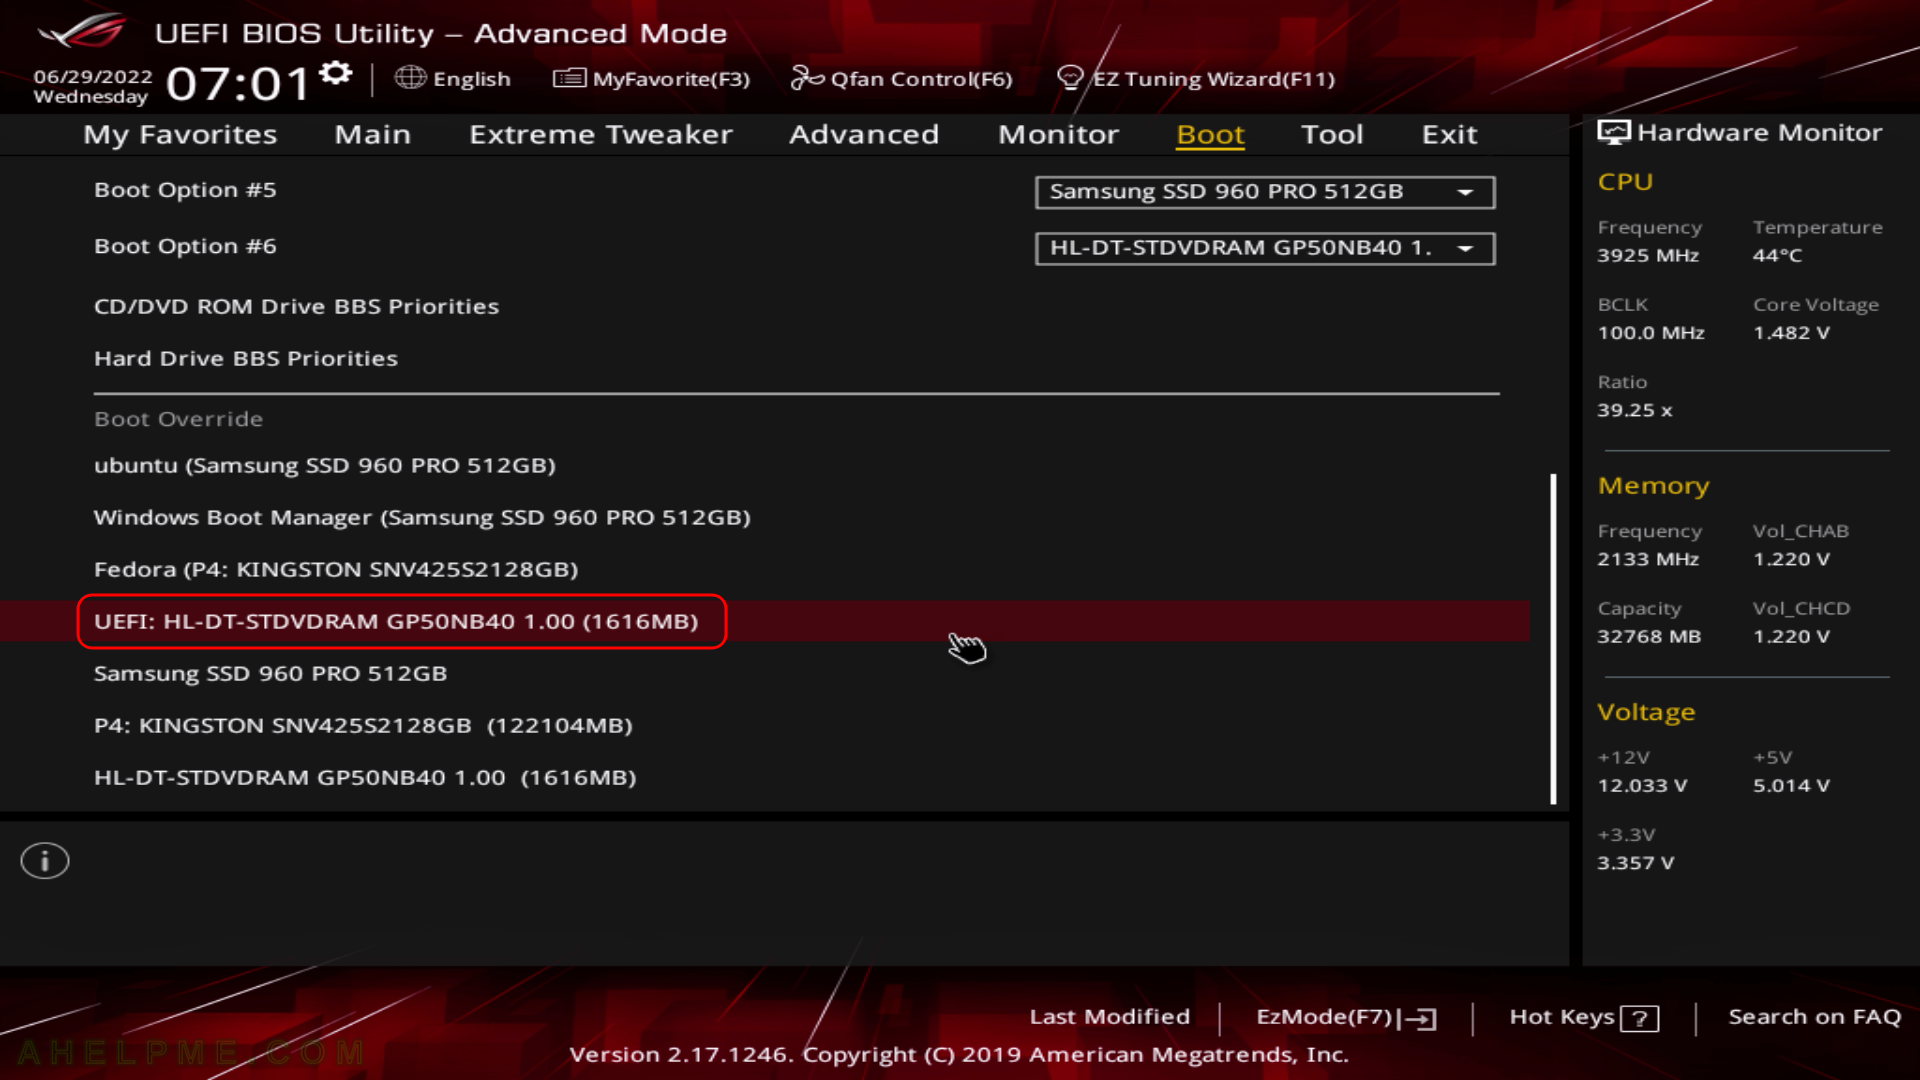
SCREENSHOT 1) Boot from the UEFI DVD-ROM device.
It is the same with the USB bootable removable drive. Choose the UEFI USB drive and boot the installation live drive.
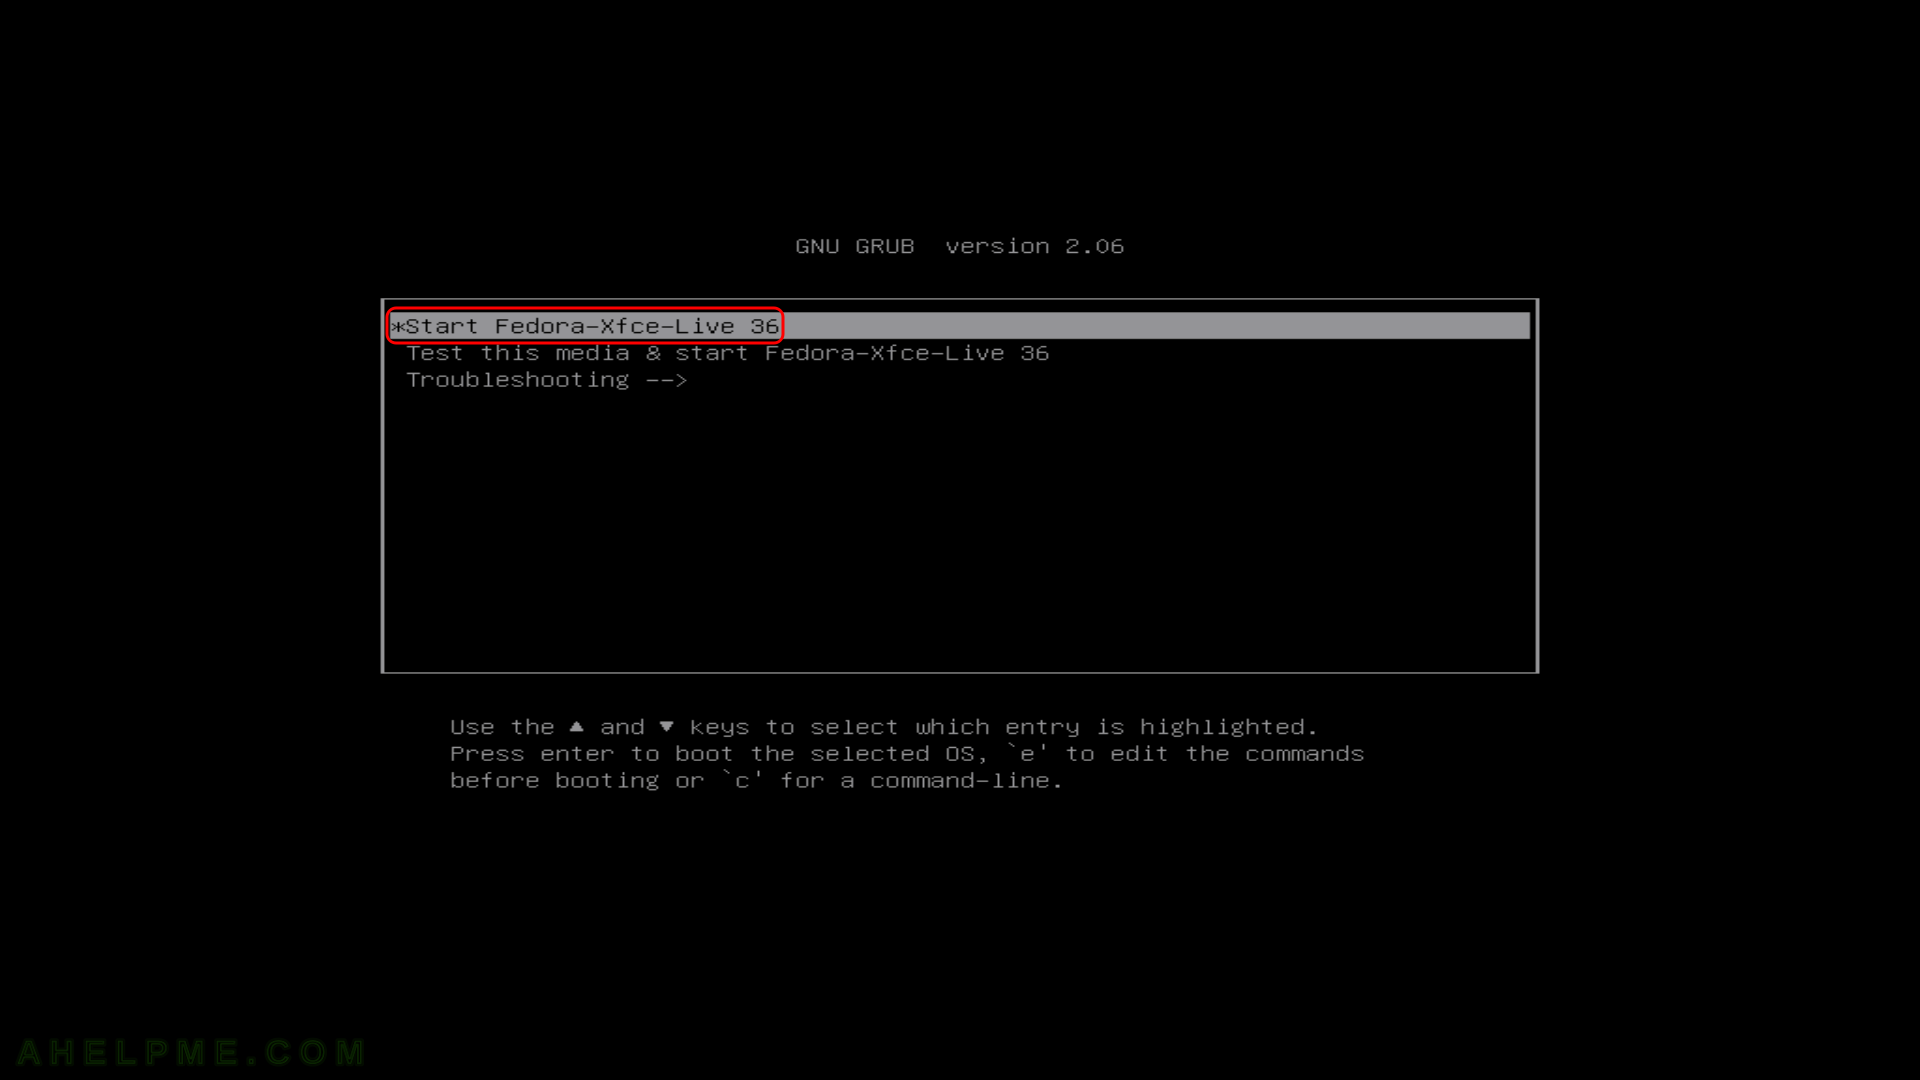
SCREENSHOT 2) Select to “Start Fedora-Xfce-Live 36” and hit enter.
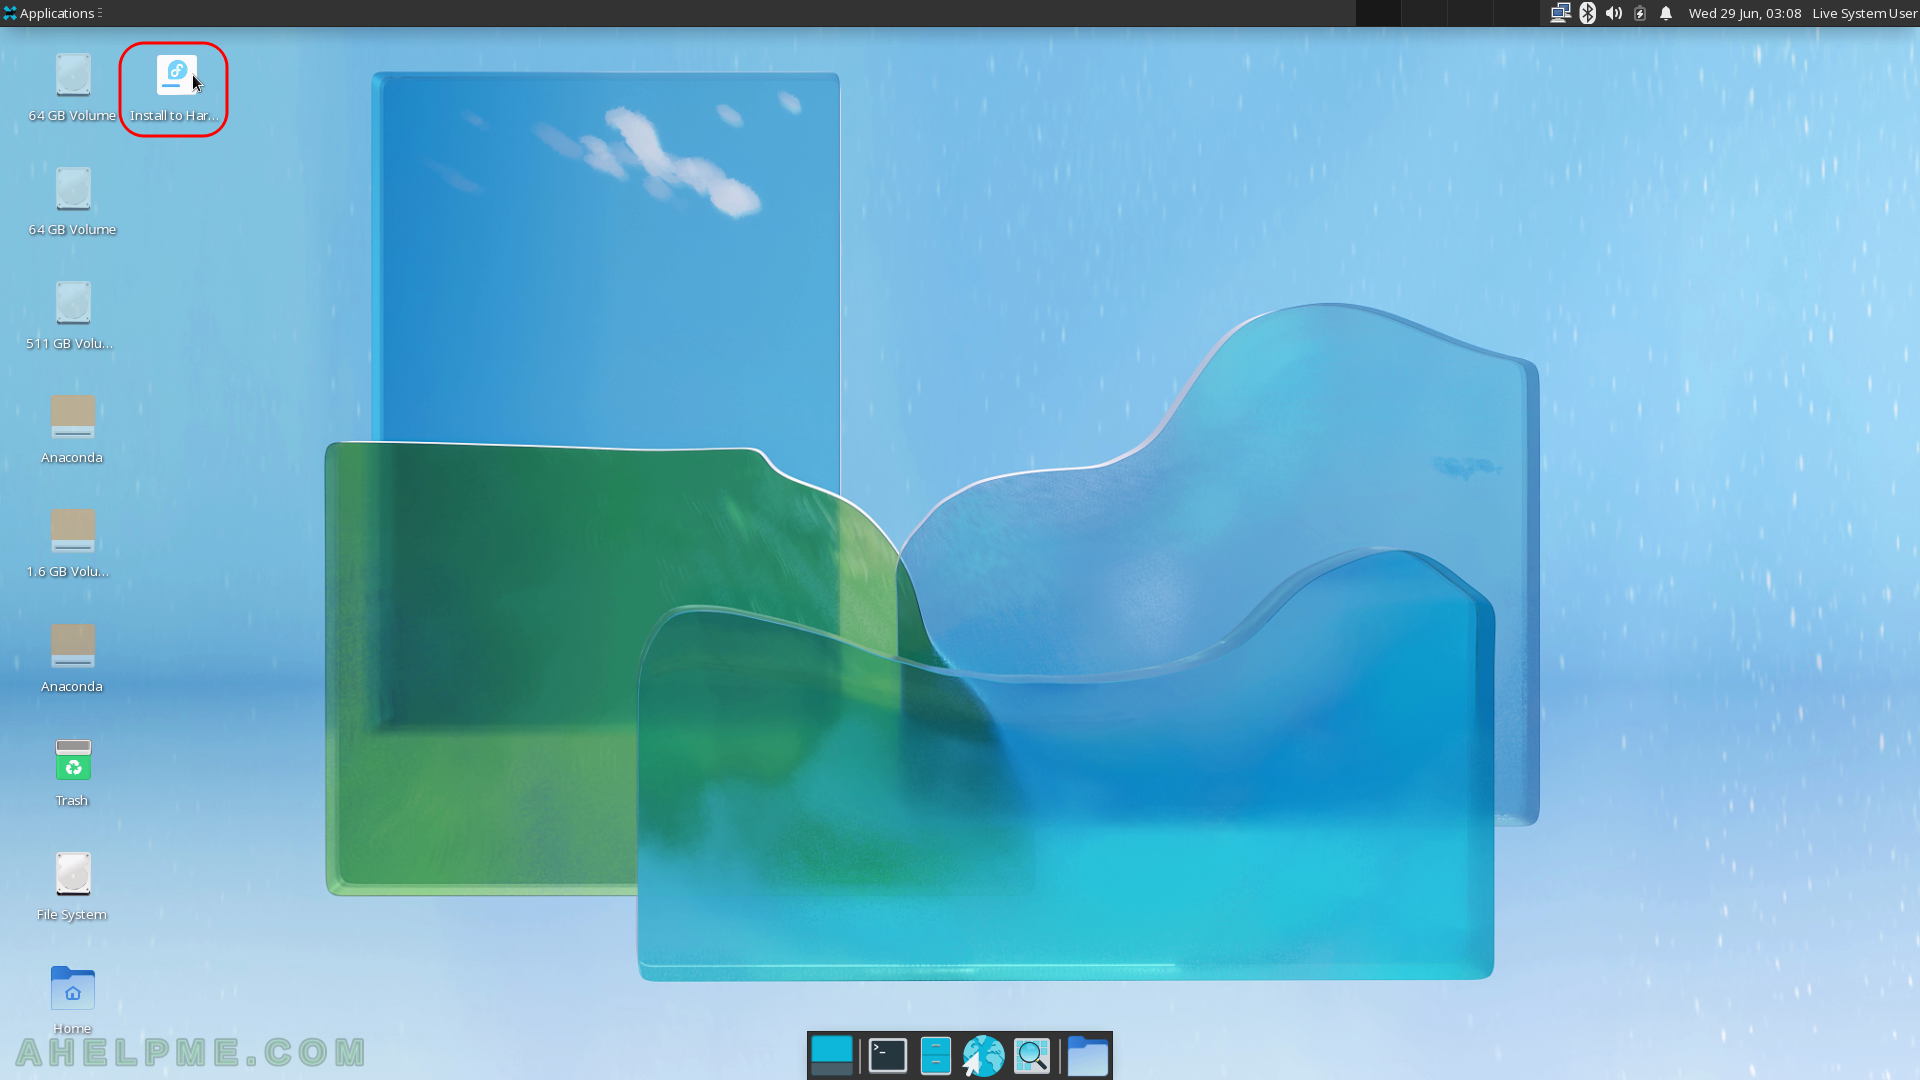
SCREENSHOT 3) Autologged in the Xfce Desktop of Fedora-Xfce-Live 36.
Click on “Install to Hard Drive” to install Fedora 36 Xfce Desktop.
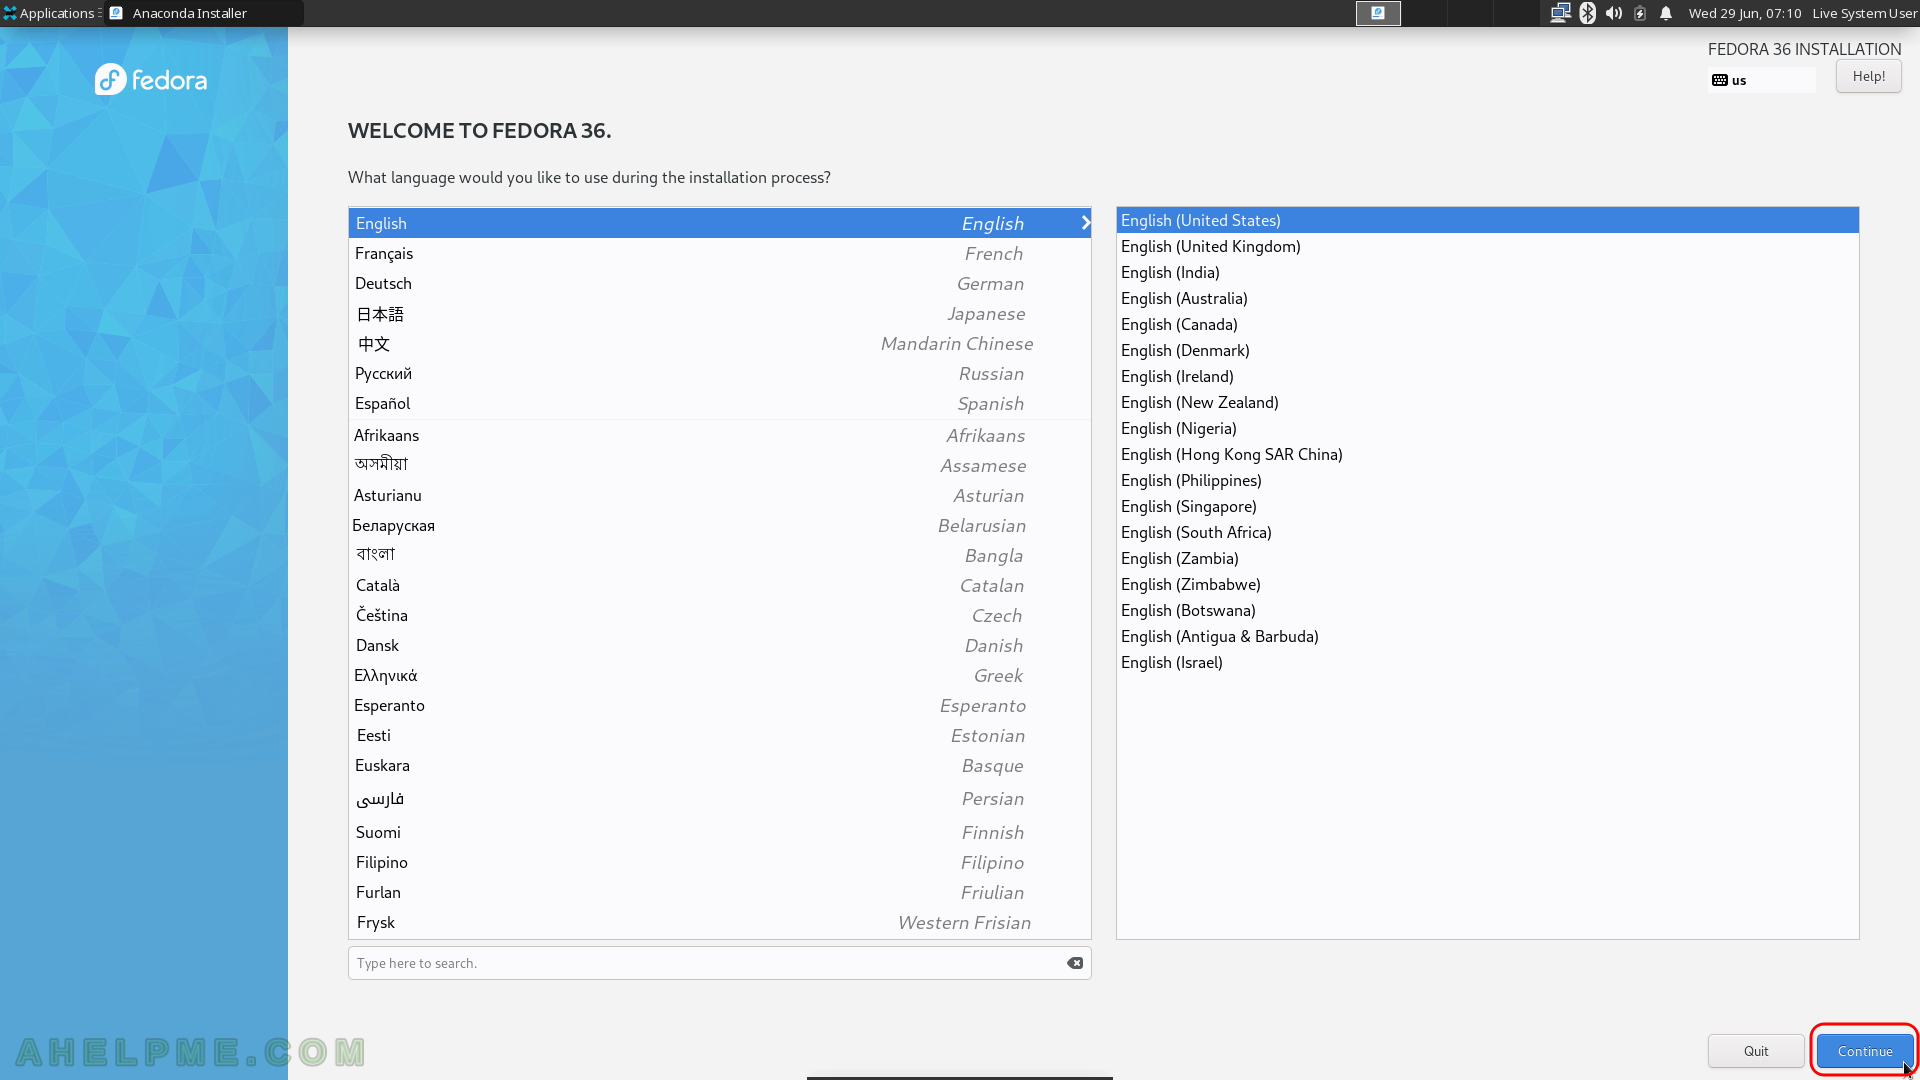
SCREENSHOT 4) Choose your system language. Here we selected the English.
The setup will guide you through the steps in the language you select here and the installed system will use the selected language as default.
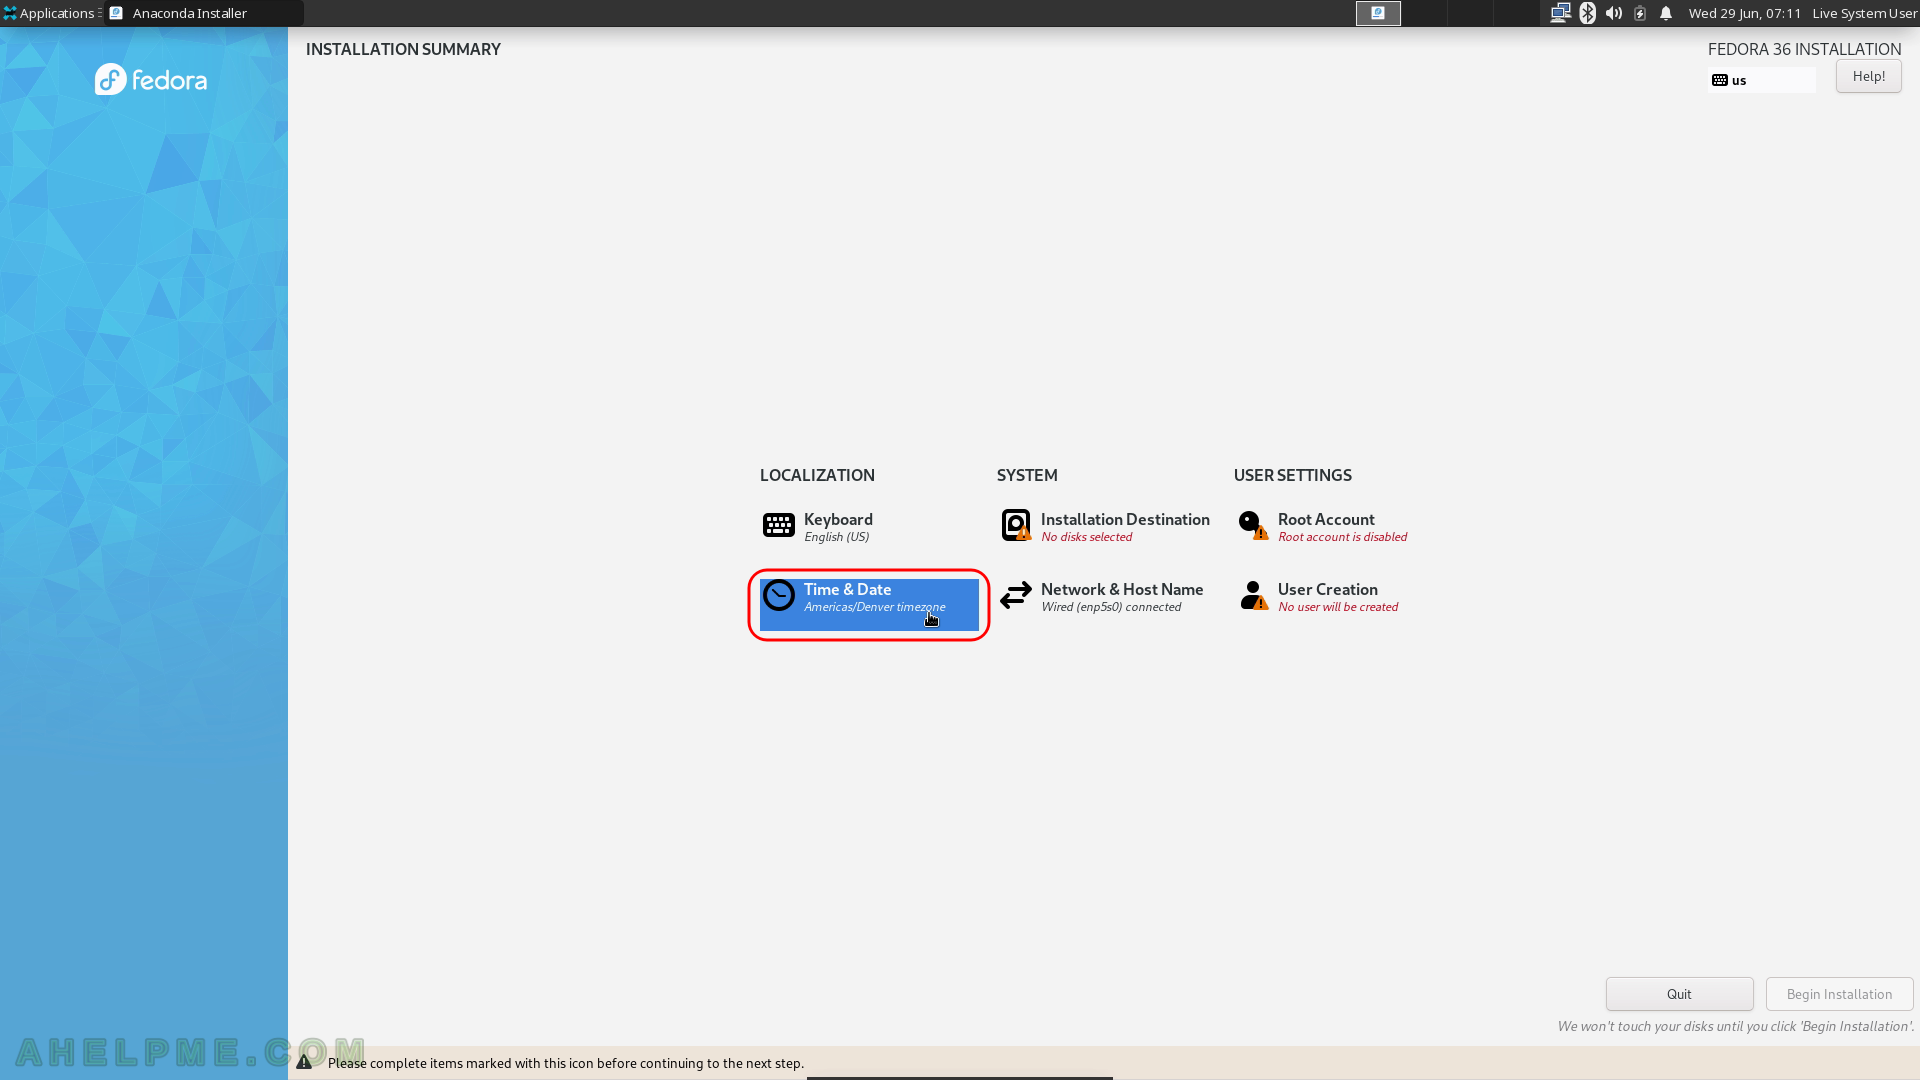
SCREENSHOT 5) Click on “Time & Date” to choose the right time zone for this computer.
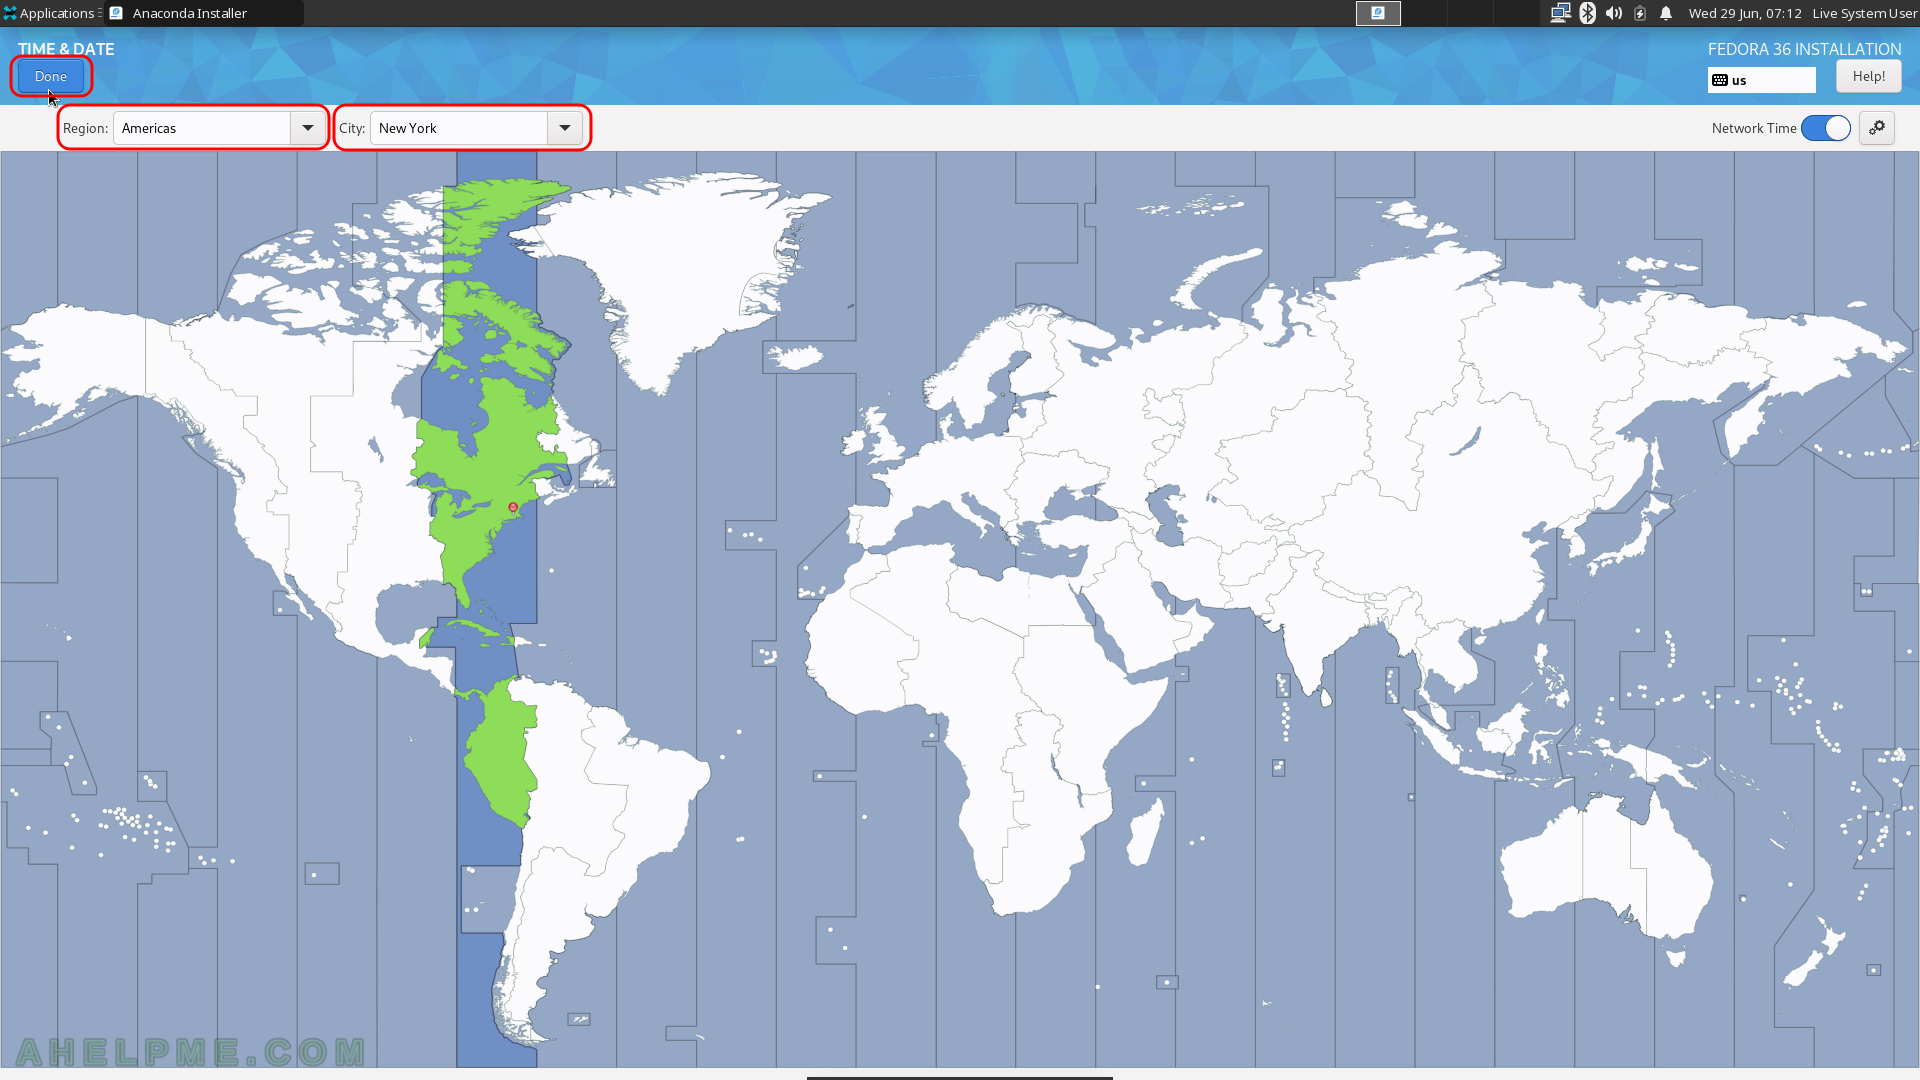
SCREENSHOT 6) Select your timezone to configure your clock.
Probably the default is ok, the setup tries to autodetect it. The New York time is selected here. Click on “Continue”.
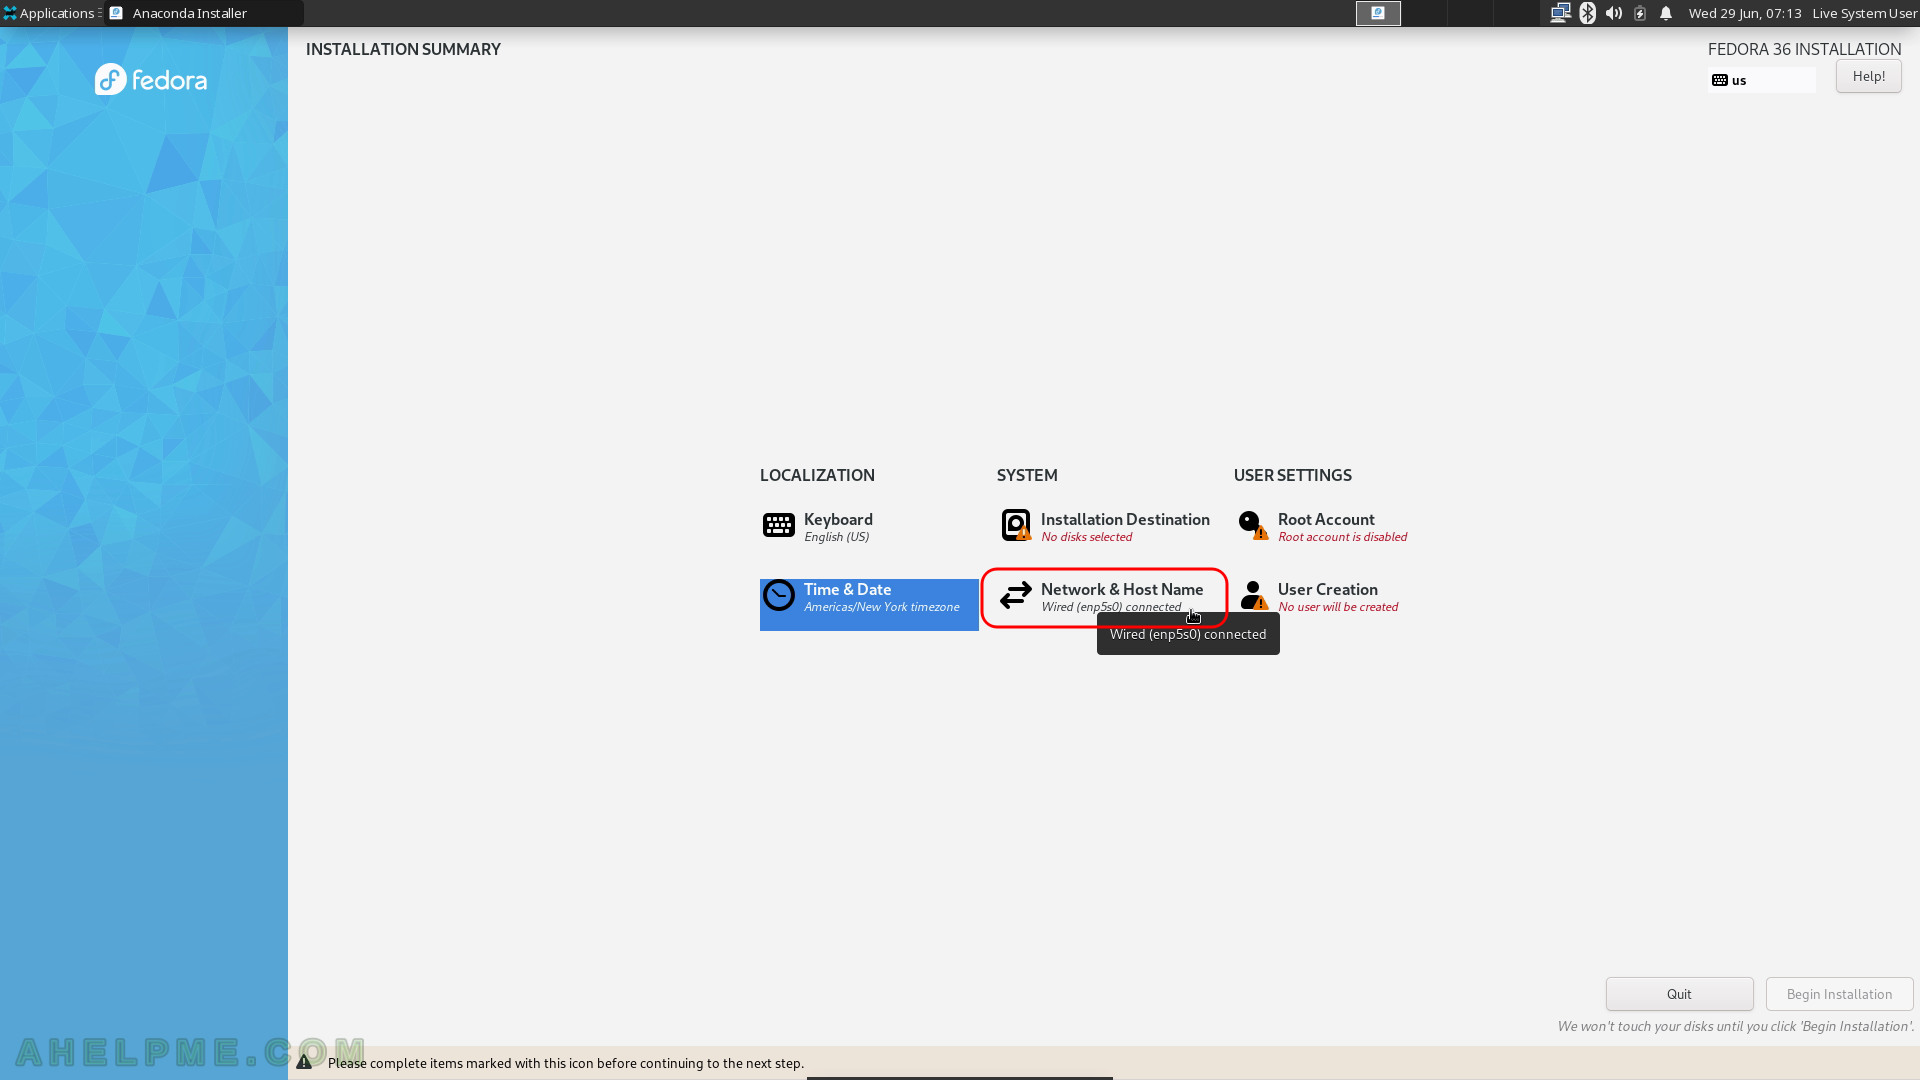
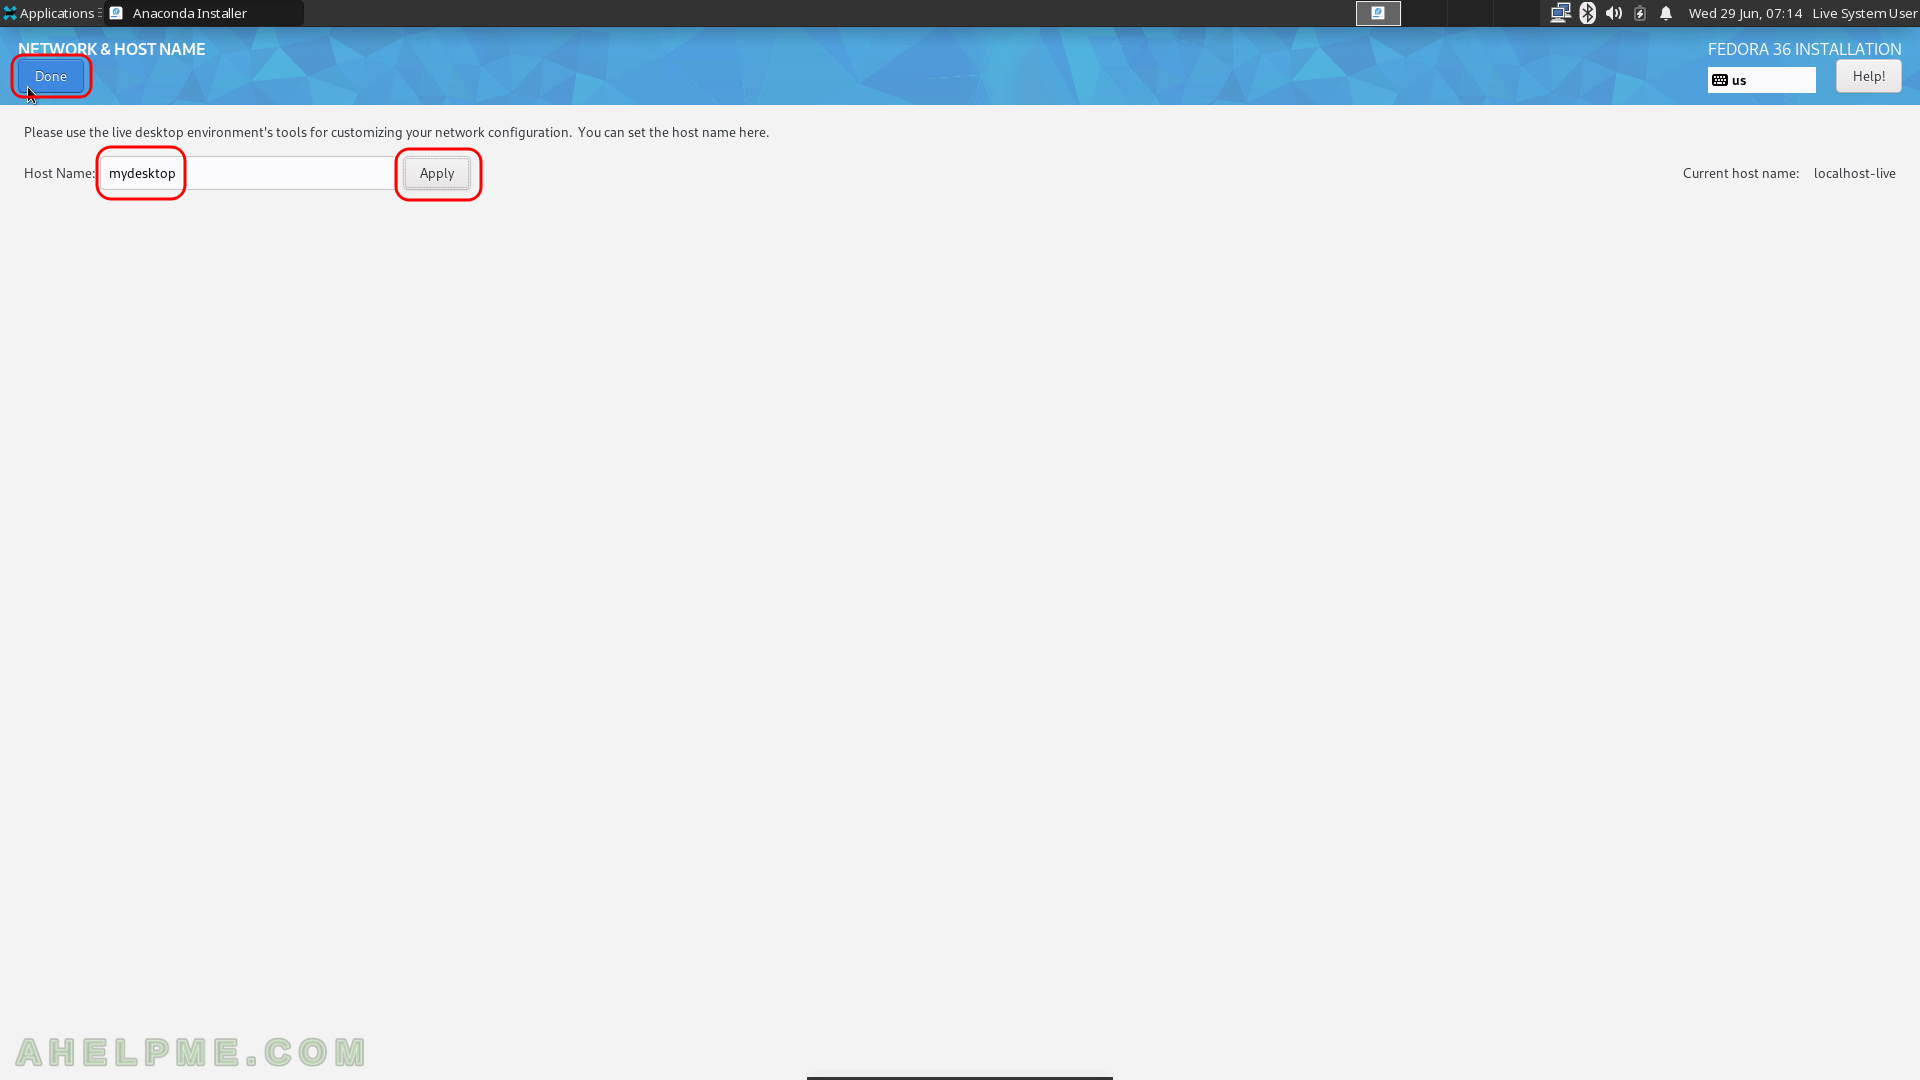
SCREENSHOT 7) Set the network name of your computer.
The hint says which adapter is selected automatically because if DHCP availability.
SCREENSHOT 8) Set the hostname of your computer and click on “Apply” then on the “Done”.
To use another network adaptor or network configuration you should use the network configuration tools, which comes with the Live USB/DVD, but this is beyond the scope of this article. In fact, the setup autodetect the network interface with the Internet (i.e. DHCP server) and use it as the main connection for the computer.
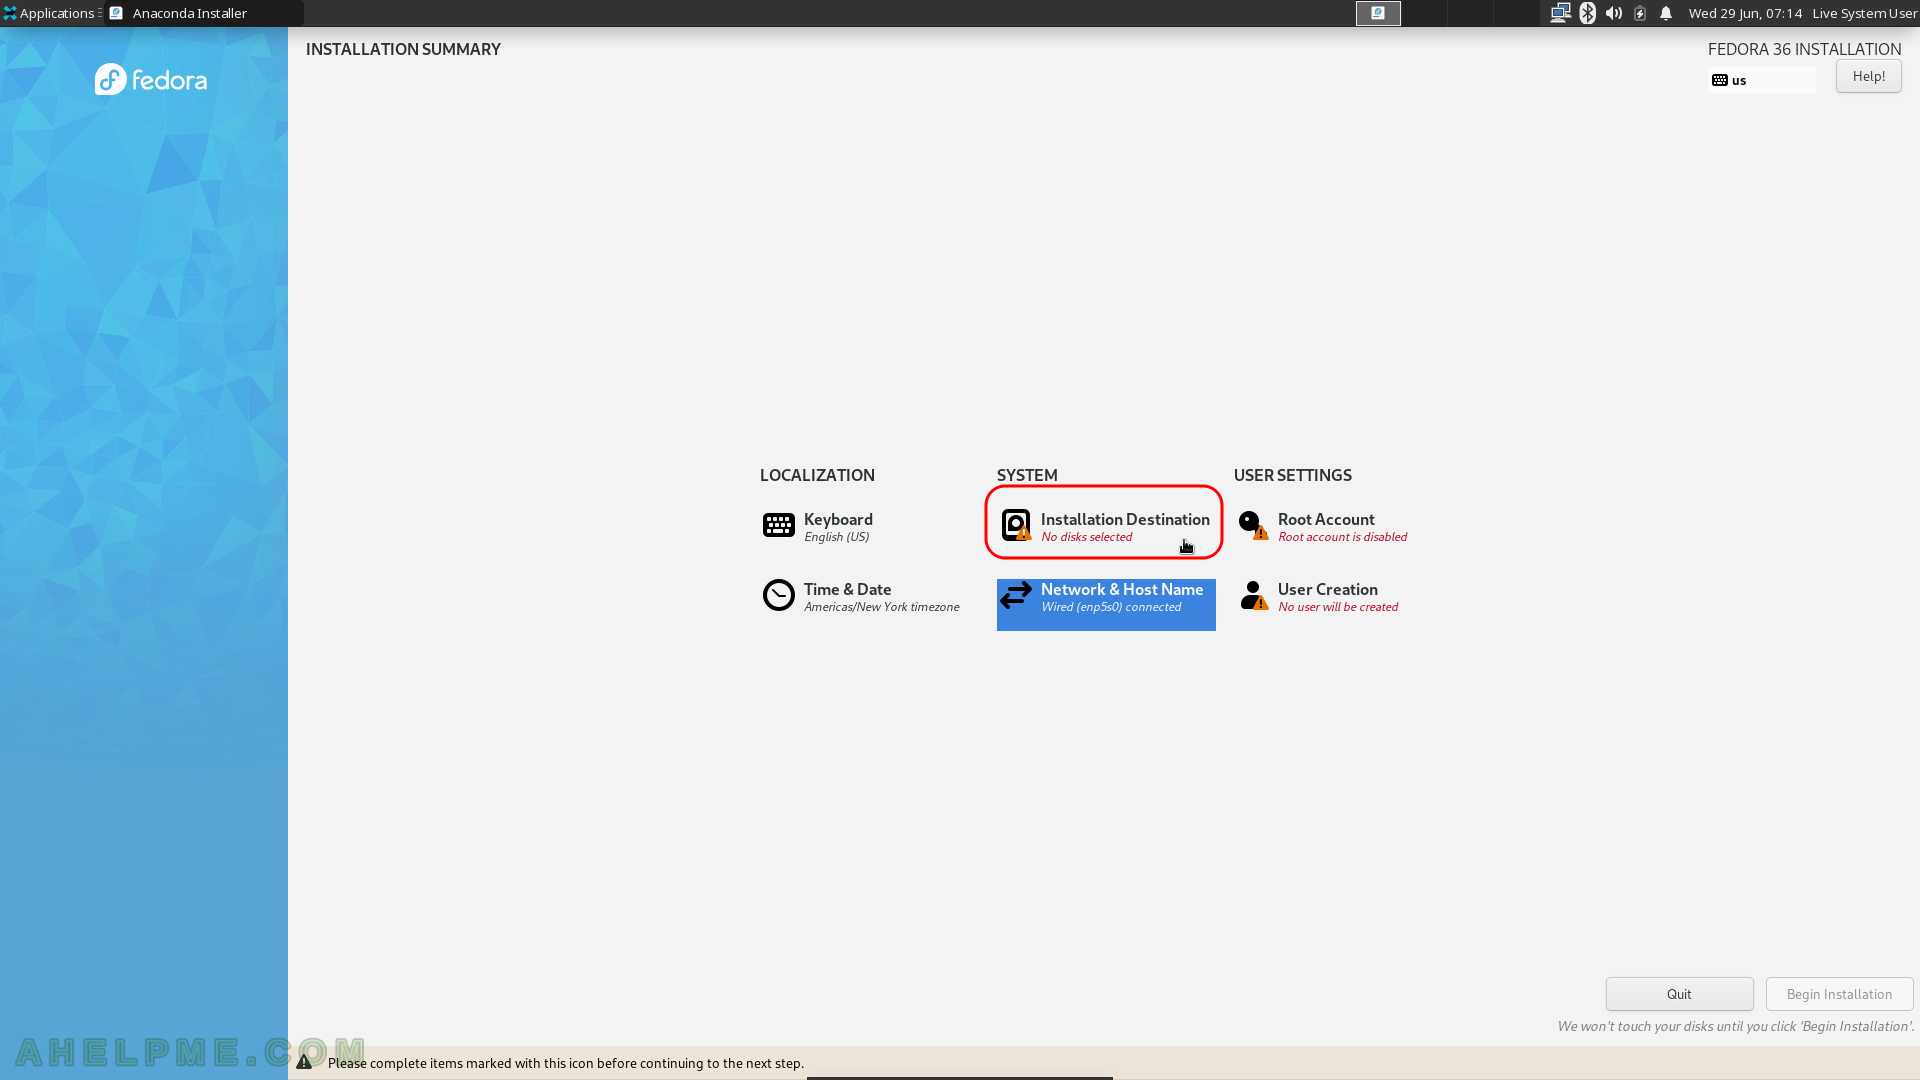
SCREENSHOT 9) Installation destination – on which device you want to install the Fedora 36 Xfce Desktop.
SCREENSHOT 10) As stated before, this article is to show installation procedure, which installs Fedora 36 Xfce Desktop on an entire disk, the option “Automatic” for the Storage setup means it will use the whole selected drive for the Fedora 36 Xfce Desktop.
This way is the easiest one, but be sure the destination disk, where the Fedora will be installed, is going to be completely erased and all data lost! Proceed only if you are sure the disk does not have anything valuable for you. If there are multiple disks the user should select the proper device (SSD/harddisk – sdb, sdc or nvme). Clock on “Done” to preceed with the selected disk – sda, in this case.