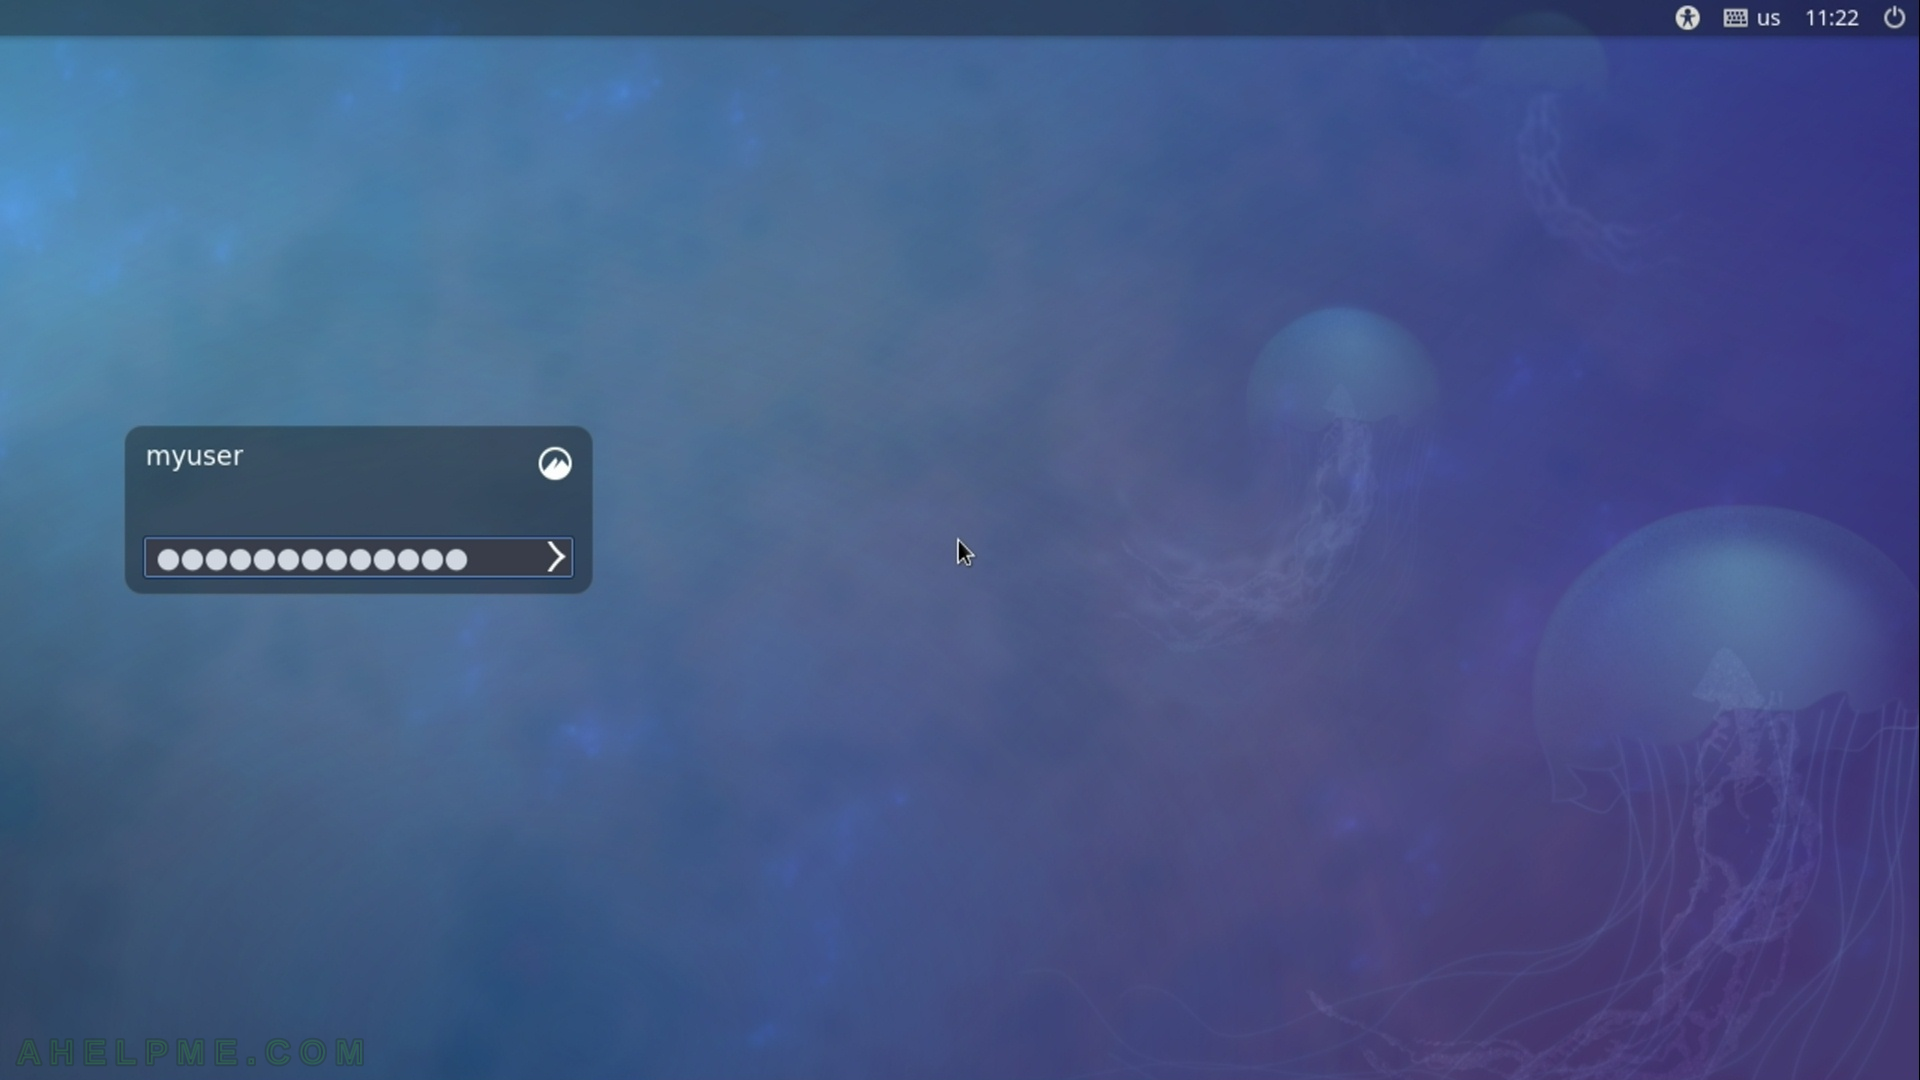
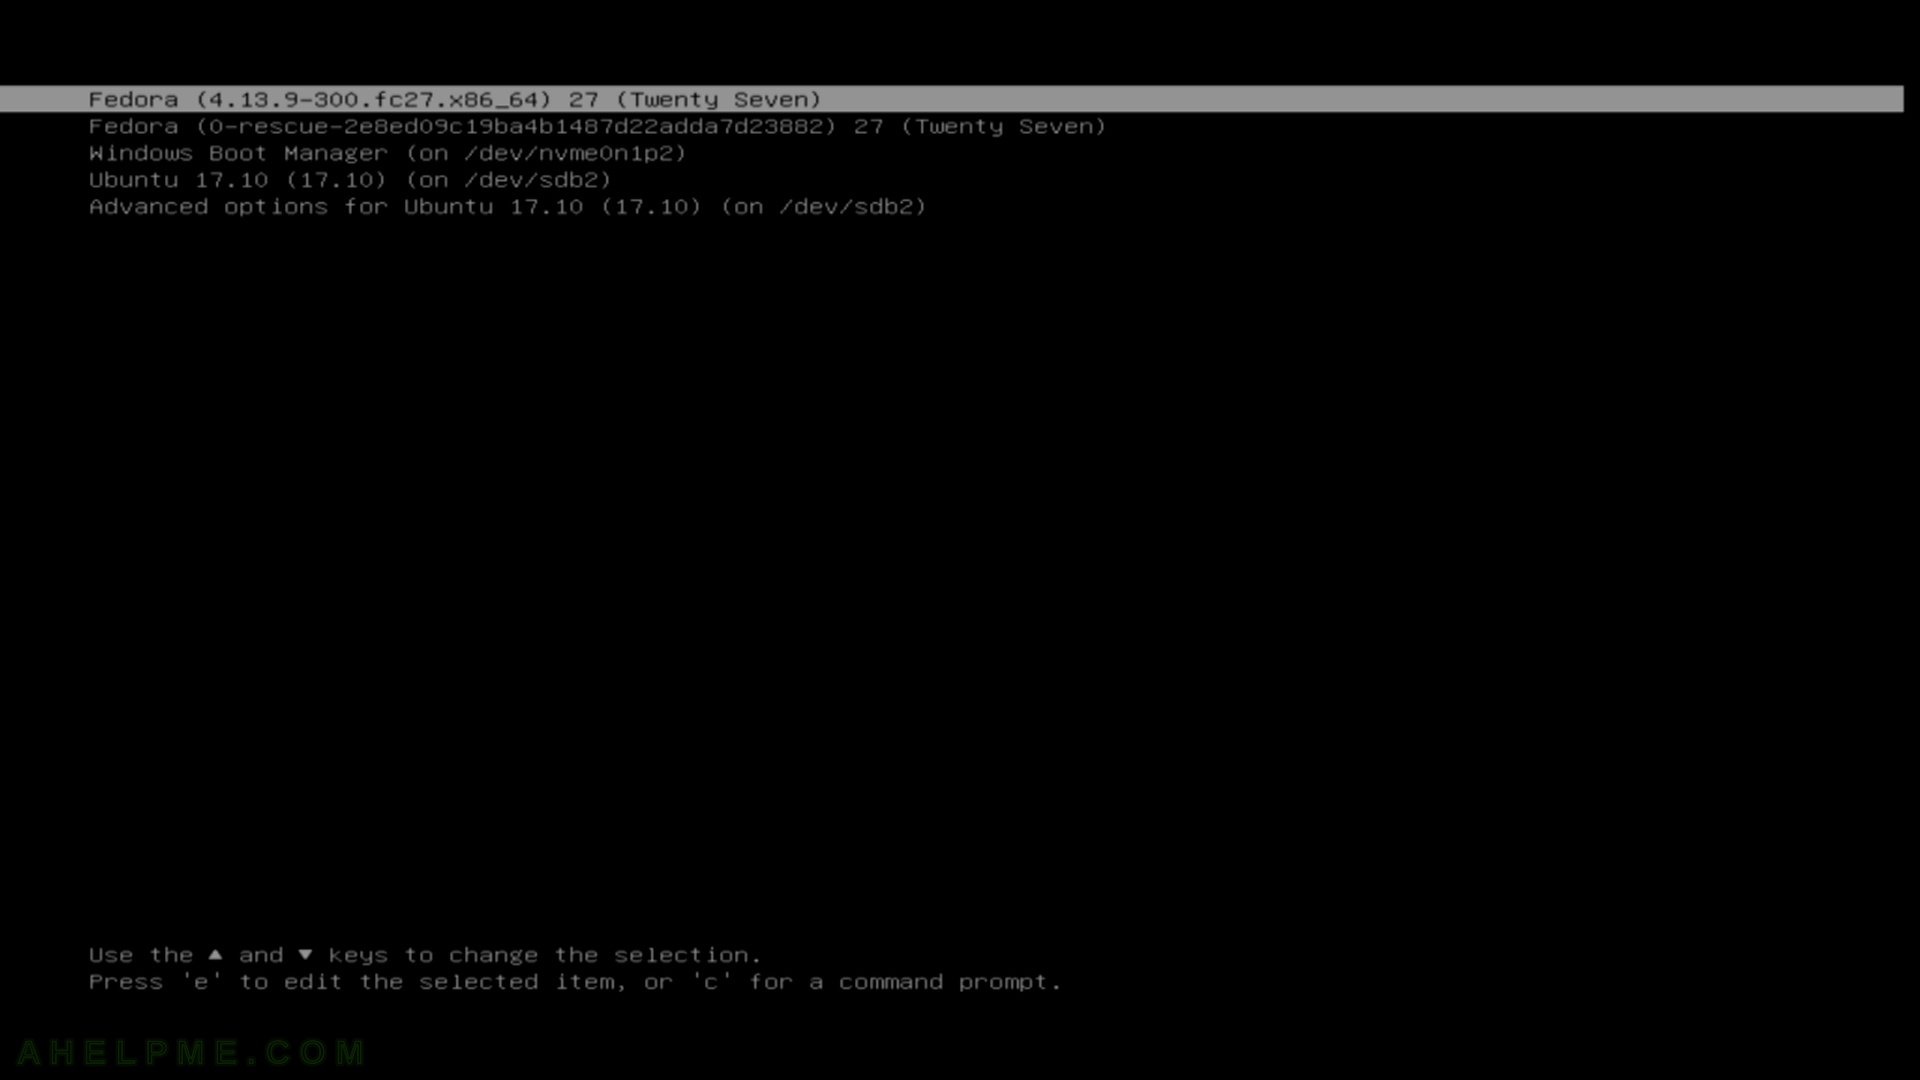
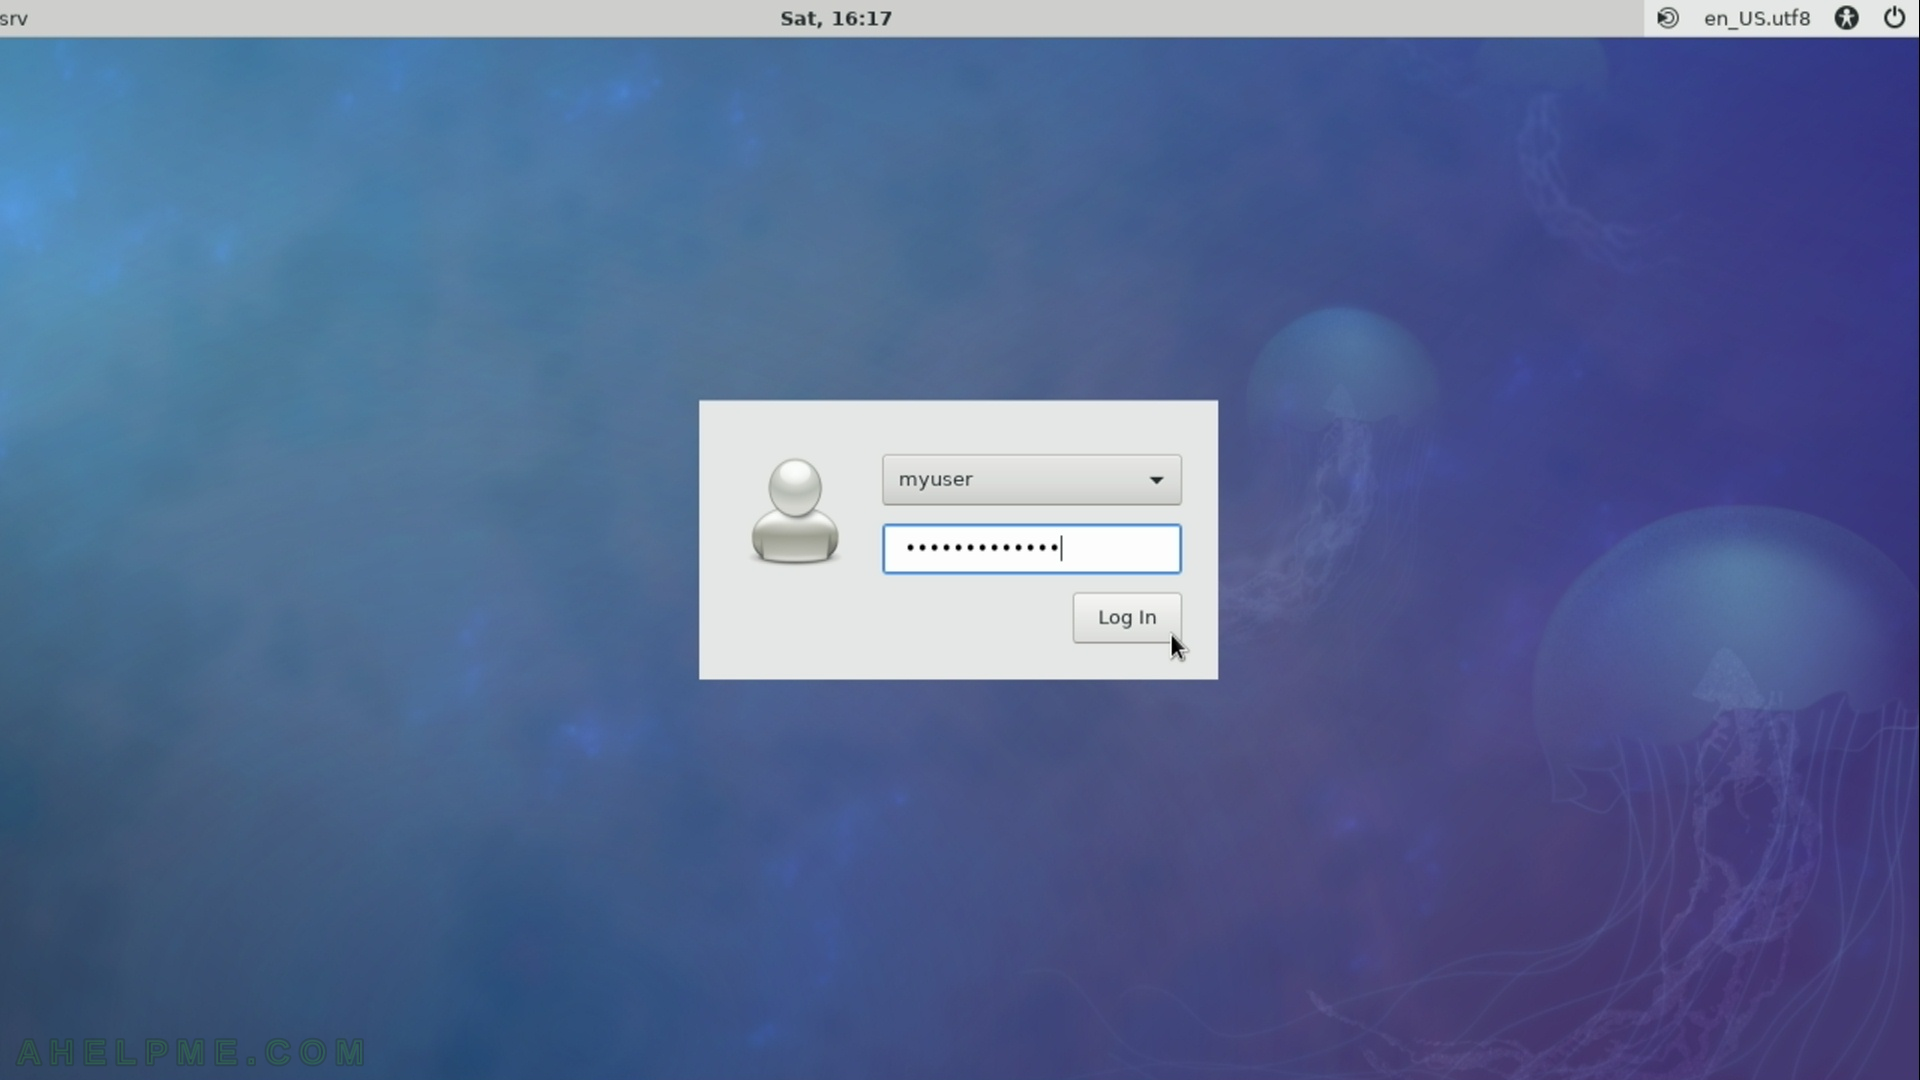
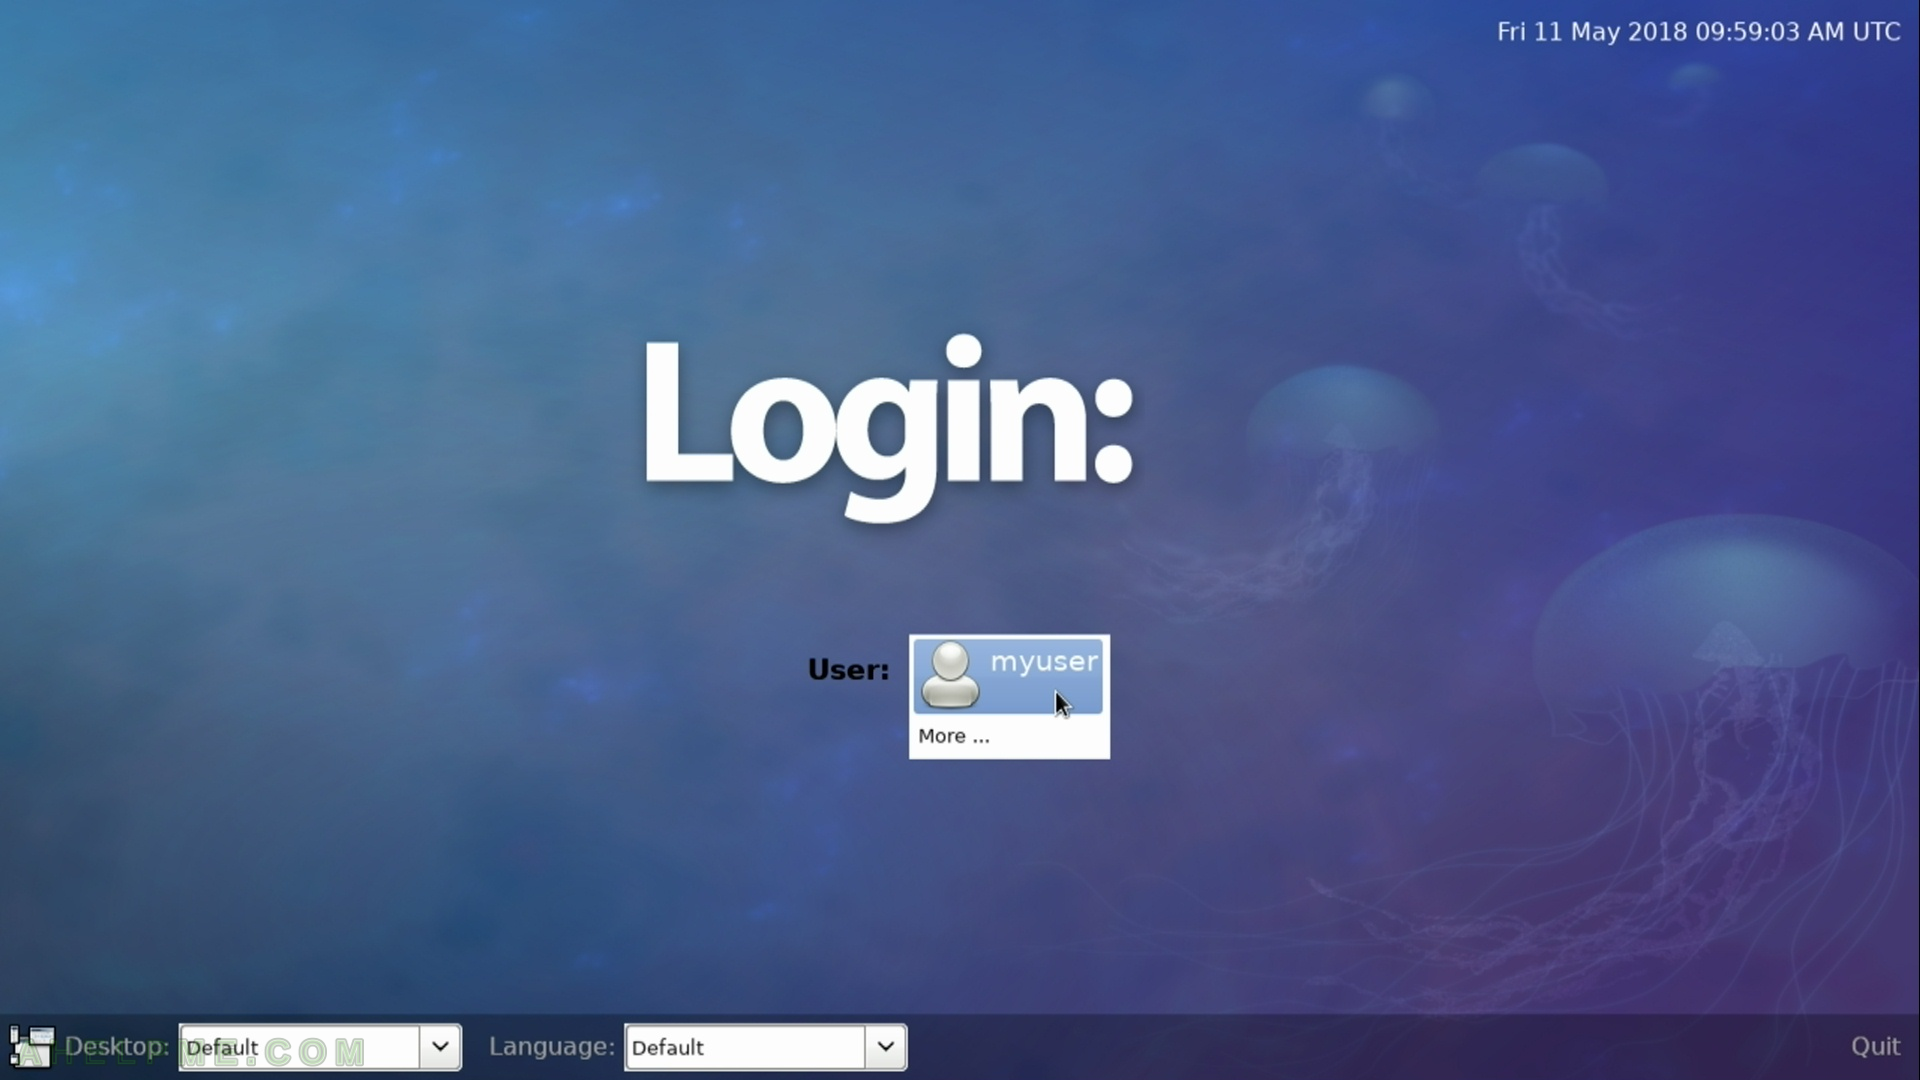
After the tutorial of Install Fedora 27 Cinnamon Desktop this tutorial is mainly to see what to expect from a freshly installed Fedora 27 Cinnamon – the look and feel of the Cinnamon GUI – http://developer.linuxmint.com/projects/cinnamon-projects.html
The idea of this tutorial is just to see what to expect from Fedora 27 Cinnamon – the look and feel of the GUI, the default installed programs and their look and how to do some basic steps with them, it is included also screenshots of the Cinnamon settings programs. Here you’ll find more than 100 screenshots and not so many text we do not want to turn this review of many text and version information and 3 meaningless screenshot, which you cannot see anything for the user interface, which these days is the primary goal of a Desktop system. You can expect more of this kind reviews in the future…
Cinnamon derives from GNOME 3 and it follows the traditional desktop conventions. After the release of GNOME 3 and GNOME Shell (and abandoning GNOME 2) a fork of GNOME 3 was made and Cinnamon was born to follow traditional desktop not the “shell” interface of GNOME 3. At present Cinnamon is not a front-end on top of the GNOME any more despite it still uses GTK+. If you search for a GTK+ based GNOME 2 or xfce similar linux desktop GUI you might reach a good option with Cinnamon. Its look and feel is more like KDE than MATE, which follows more strictly GNOME 2 layout.
Cinnamon is developed by Linux Mint team, which is yet another Linux distro.You can check it here – https://linuxmint.com/ As you may see from the screenshots below the main idea is to have a taskbar situated bottom of the screen with a “start” button and all programs arranged in different categories – the traditional Desktop behavior. The desktop feels fast, but there are reports of using greater memory footprint.
Category: Linux
Linux rules the world, right?
Install Fedora 27 Cinnamon Desktop
This tutorial will show you the simple steps of installing a modern Linux Distribution like Fedora 27 Cinnamon for the user graphical interface. Cinnamon derives from GNOME 3 and it follows the traditional desktop conventions. After the release of GNOME 3 and GNOME Shell (and abandoning GNOME 2) a fork of GNOME 3 was made and Cinnamon was born to follow traditional desktop not the “shell” interface of GNOME 3. At present Cinnamon is not a front-end on top of the GNOME any more despite it still uses GTK+. If you search for a GTK+ based GNOME 2 or xfce similar linux desktop GUI you might reach a good option with Cinnamon. Its look and feel is more like KDE than MATE, which follows more strictly GNOME 2 layout.
First we present the basic steps for installing the Operating system in addition to your present operating systems (here we have two: Windows 10 and Ubuntu) and then you can see some screenshots of the installed system and the look and feel of it. We have another tutorials showing more screenshots of the installed and working Fedora 27 Cinnamon (Gnome and KDE plasma) – so you can decide which of them to try first – coming soon. All of the installation setups are very similar for all GUIs of Fedora 27 it loads a live edition of the version of Fedora 27 you install and then the setup is launched by the user, the setup almost identical in all editions, but we do not want to give you a tutorials with “spaghetti” and unstructured flow of steps to follow.
We used the following ISO for the installation process:
https://download.fedoraproject.org/pub/fedora/linux/releases/27/Spins/x86_64/iso/Fedora-Cinnamon-Live-x86_64-27-1.6.iso
It is a LIVE image so you can try it before installing. The easiest way is just to download the image and burn it to a DVD disk and then follow the installation below:
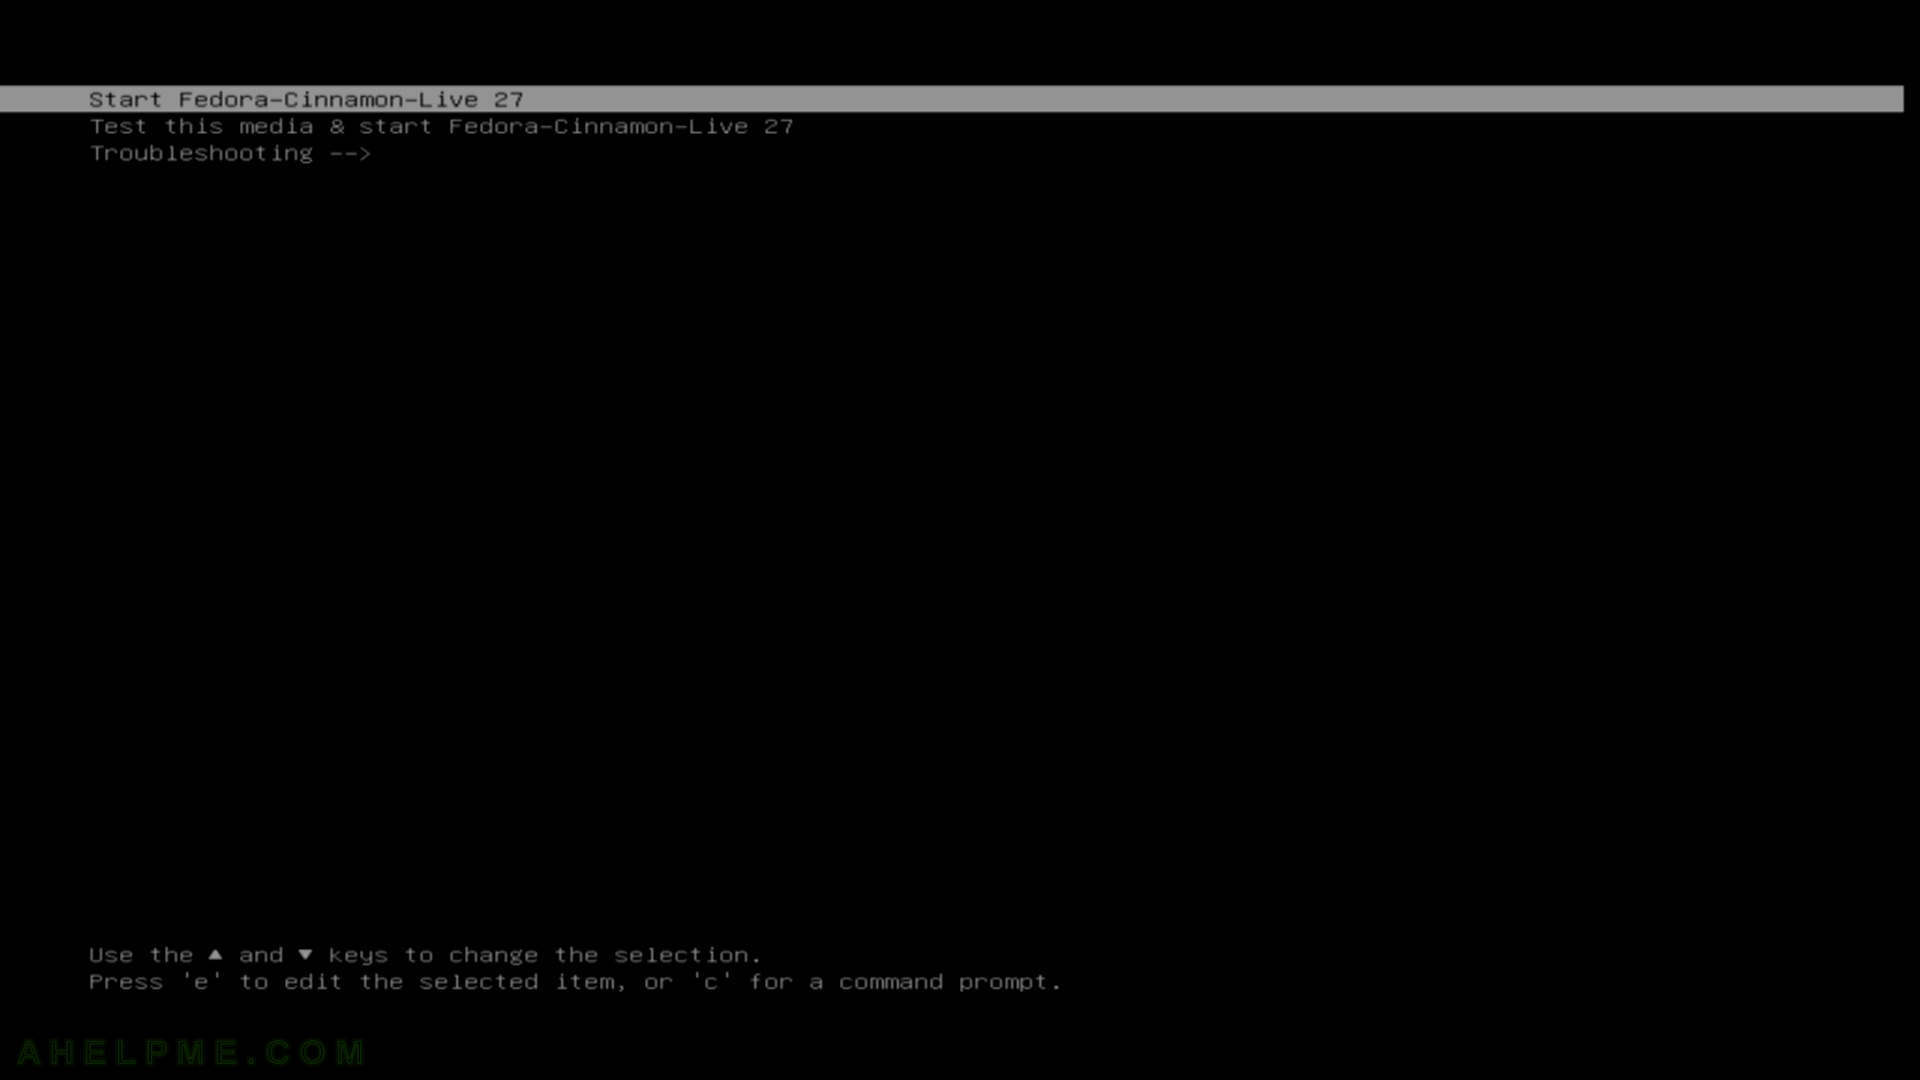
STEP 1) If you booted from the DVD you would get this first screen – select “Start Fedora-Cinnamon-Live 27” and hit Enter
Keep on reading!
Update supermicro server’s firmware BIOS under linux with the SUM cli
The newer Supermicro motherboards have the ability to update the system BIOS from IPMI Web management or with a Supermicro tool called
“Supermicro Update Manager (SUM)”
This tool consists of a linux cli and it works on most of the X9/X10/X11 Supermicro systems. If you have one of these motherboards you probably could update your BIOS under linux console and throwing away your freedos cd prehistoric update process (probably coming soon). If you’ve used Supermicro with for ages you probably are aware of the problem with the updating the BIOS, their tool is an old DOS flash utility, which could be used under MS Windows and with linux servers we got a problem! But not any more! Recent motherboards with built-in IPMI modules have “BIOS Update” option in the web interface (under Maintenance menu), but you need a license (which by the way is not expensive).
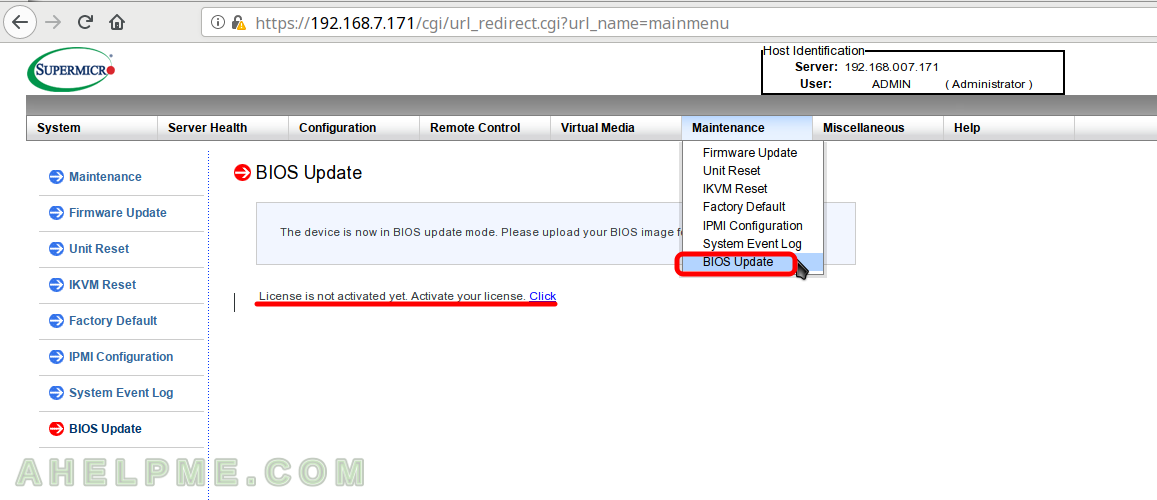
So if you happen to have such server you could give a try to SUM linux cli (yes they made a linux cli and even a freebsd one!). With the SUM cli you could do more than just update the BIOS (which is pretty important) here are the functions you can do Key Management, System Checks, BIOS Management, BMC Management, System Event Log, CMM Management, Storage Management, Applications (through the network) and for some of them you still need a license, but for BIOS update you do not need if you do it as Supermicro says
In-Band
which basically means from the server you want to update (or in general use it). KEEP IN MIND this method will reset your BIOS options to DEFAULTS!!! In fact you need a license to use preserve settings you can see the output of the SUM help for the command UpdateBios. So save your changes to recover them after the update!
And here we present a BIOS update with SUM on one of our Supermicro servers with motherboard X11SSV-M4F
So the BIOS version was 1.0 reported by lshw:
[srv@local ~]# lshw|head -n 25
srv@local
    description: System
    product: Super Server (To be filled by O.E.M.)
    vendor: Supermicro
    version: 0123456789
    serial: 0123456789
    width: 64 bits
    capabilities: smbios-3.0 dmi-3.0 smp vsyscall32
    configuration: boot=normal chassis=server family=To be filled by O.E.M. sku=To be filled by O.E.M. uuid=00000000-0000-0000-0000-111111111111
  *-core
       description: Motherboard
       product: X11SSV-M4F
       vendor: Supermicro
       physical id: 0
       version: 1.02
       serial: 112233000044
       slot: To be filled by O.E.M.
     *-firmware
          description: BIOS
          vendor: American Megatrends Inc.
          physical id: 0
          version: 1.0
          date: 10/18/2016
          size: 64KiB
          capacity: 15MiB
And here are the steps to do:
STEP 1) Download the SUM cli – Supermicro Update Manager and unpack it in your server
You could download freely the SUM version 2 from here: https://www.supermicro.com/solutions/SMS_SUM.cfm (this link explains what the tool is used for) at the bottom of the page there is a link to download the SUM – https://www.supermicro.com/SwDownload/UserInfo.aspx?sw=0&cat=SUM Here you should fill the form with your name, company and email address and then you will be redirected to the download page, which at present is like the screenshot below:
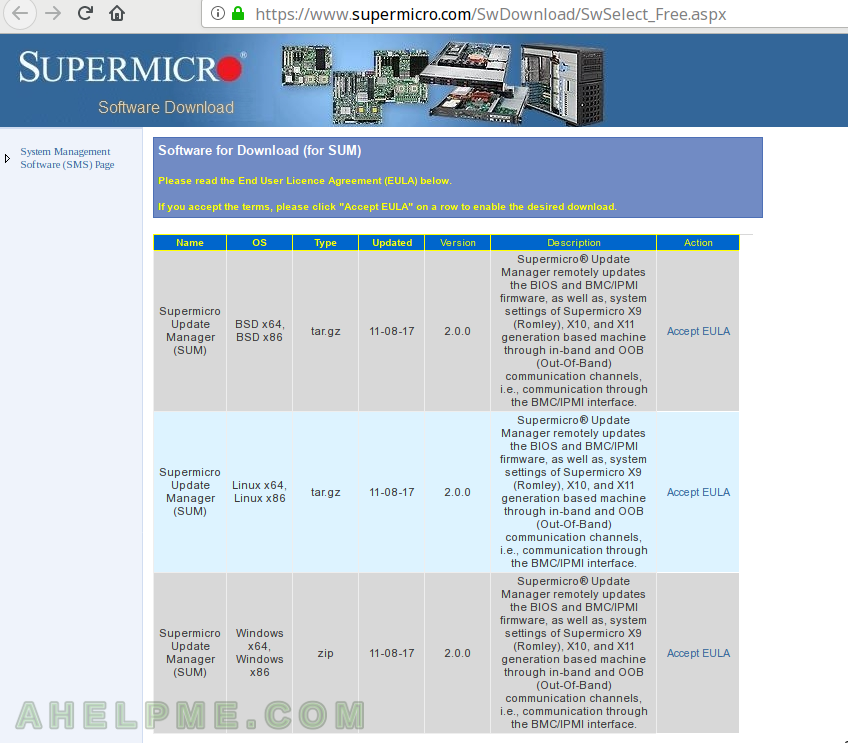
When downloaded the linux version you would have the following files in the archive file:
[srv@local ~]# cd
[srv@local ~]# tar xzvf sum_2.0.0_Linux_x86_64_20171108.tar.gz
sum_2.0.0_Linux_x86_64/
sum_2.0.0_Linux_x86_64/ReleaseNote.txt
sum_2.0.0_Linux_x86_64/sum
sum_2.0.0_Linux_x86_64/ExternalData/
sum_2.0.0_Linux_x86_64/ExternalData/VENID.txt
sum_2.0.0_Linux_x86_64/ExternalData/SMCIPID.txt
sum_2.0.0_Linux_x86_64/driver/
sum_2.0.0_Linux_x86_64/driver/RHL4_x86_64/
sum_2.0.0_Linux_x86_64/driver/RHL4_x86_64/sum_bios.ko
sum_2.0.0_Linux_x86_64/driver/RHL6_x86_64/
sum_2.0.0_Linux_x86_64/driver/RHL6_x86_64/sum_bios.ko
sum_2.0.0_Linux_x86_64/driver/RHL5_x86_64/
sum_2.0.0_Linux_x86_64/driver/RHL5_x86_64/sum_bios.ko
sum_2.0.0_Linux_x86_64/driver/RHL7_x86_64/
sum_2.0.0_Linux_x86_64/driver/RHL7_x86_64/sum_bios.ko
sum_2.0.0_Linux_x86_64/SUM_UserGuide.pdf
The “sum” file binary is the tool you need.
STEP 2) Download the new motherboard BIOS firmware
, which for our board (X11SSV-M4F – https://www.supermicro.com/products/motherboard/Xeon/C236_C232/X11SSV-M4F.cfm) it was version 1.1 with filename “X11SVMF8_308.zip”, unpack the file under X11SVMF8_308
[srv@local ~]# cd
[srv@local ~]# unzip X11SVMF8_308.zip
Archive:  X11SVMF8_308.zip
   creating: X11SVMF8.308/
  inflating: X11SVMF8.308/AFUDOSU.SMC
  inflating: X11SVMF8.308/CHOICE.SMC
  inflating: X11SVMF8.308/FDT.smc
  inflating: X11SVMF8.308/FLASH.BAT
  inflating: X11SVMF8.308/Readme for UP X11 AMI  BIOS.txt
  inflating: X11SVMF8.308/X11SVMF8.308
The file “X11SVMF8.308” is the BIOS firmware of the motherboard. As you can see the prehistoric DOS executable flash utility is still distributed and is supported method of updating.
STEP 3) Update the BIOS
[srv@local ~]# cd /root/sum_2.0.0_Linux_x86_64
[srv@local ~]# ./sum -c UpdateBios --file ../X11SVMF8.308/X11SVMF8.308
Supermicro Update Manager (for UEFI BIOS) 2.0.0 (2017/11/08) (x86_64)
Copyright©2017 Super Micro Computer, Inc. All rights reserved
Reading BIOS flash ..................... (100%)
Checking BIOS ID ...
Checking ME Firmware ...
Comparing FDT for ROM file and flash.... (100%)

***************************<<<<<CRITICAL WARNING>>>>>***************************

ExitCode                = 254
Description             = Manual steps are required
Program Error Code      = 119.18
Error message:
    FDT is different. Please use system reboot(do not shutdown
    or poweroff system) command to force ME enter manufacturing mode
    and run UpdateBIOS command again to update BIOS and ME region.

********************************************************************************
[srv@local ~]# reboot
As you can see we got critical warning! You may not have the critical, but if you do you need to run the command second time to really flash the new BIOS firmware. So here it is, AFTER rebooting your server login again and execute the command again:
[srv@local ~]# cd /root/sum_2.0.0_Linux_x86_64
[srv@local ~]# ./sum -c UpdateBios --file ../X11SVMF8.308/X11SVMF8.308
Supermicro Update Manager (for UEFI BIOS) 2.0.0 (2017/11/08) (x86_64)
Copyright©2017 Super Micro Computer, Inc. All rights reserved
Reading BIOS flash ..................... (100%)
Checking BIOS ID ...
Programming BIOS and ME (including FDT)
Writing BIOS flash ..................... (100%)
Verifying BIOS flash ................... (100%)
Checking ME Firmware ...
Putting ME data to BIOS ................ (100%)
Writing ME region in BIOS flash ...
 - Update success for FDR
 - Updated Recovery Loader to OPRx
 - Updated FPT, MFSB, FTPR and MFS
 - ME Entire Image done
WARNING:Must power cycle or restart the system for the changes to take effect!
[srv@local ~]# reboot
And there you have it you updated the BIOS of your server successfully. KEEP IN MIND the BIOS settings are reset to Defaults! When you restart the server the second time (if you get the critical warning or the first time if you do not) you should load the optimized defaults and change your settings according your needs. Go to BIOS and load the optimized defaults and change the settings according your needs (or your backup).
[srv@local ~]# lshw|head -n 25
srv@local
    description: System
    product: Super Server (To be filled by O.E.M.)
    vendor: Supermicro
    version: 0123456789
    serial: 0123456789
    width: 64 bits
    capabilities: smbios-3.0 dmi-3.0 smp vsyscall32
    configuration: boot=normal chassis=server family=To be filled by O.E.M. sku=To be filled by O.E.M. uuid=00000000-0000-0000-0000-111111111111
  *-core
       description: Motherboard
       product: X11SSV-M4F
       vendor: Supermicro
       physical id: 0
       version: 1.02
       serial: 112233000044
       slot: To be filled by O.E.M.
     *-firmware
          description: BIOS
          vendor: American Megatrends Inc.
          physical id: 0
          version: 1.1
          date: 03/08/2018
          size: 64KiB
          capacity: 15MiB
* SUM cli – UpdateBios help output
[srv@local ~]# ./sum -h -c UpdateBios
Supermicro Update Manager (for UEFI BIOS) 2.0.0 (2017/11/08) (x86_64)
Copyright©2017 Super Micro Computer, Inc. All rights reserved
Description
    Updates BIOS with the given image file.
Required Arguments
    --file    <file name>
Optional Arguments
    --reboot
          Forces the managed system to reboot or power up after operation.
    --flash_smbios
          Overwrites the SMBIOS data
    --preserve_nv
          Preserves the NVRAM region
    --preserve_mer
          Preserves the ME firmware region
    --preserve_setting
          Preserves setting configurations
Usage Modes
    [OOB] [In-Band] [Multiple systems OOB]
Node Product Key Required
     No for [In-Band]
    Yes for [OOB]
Examples
OOB
  # ./sum -i 192.168.34.56 -u ADMIN -p ADMIN -c UpdateBios --file BIOS.rom
    --reboot
In-Band
  # ./sum -c UpdateBios --file BIOS.rom --reboot
Multiple systems OOB
  # ./sum -l IP_ADDR_RANGE.txt -u ADMIN -p ADMIN -c UpdateBios --file BIOS.rom
    --reboot
Notice
    1. For [OOB] and [Multiple systems OOB] usage modes, before executing this
    command, it is recommended to shutdown the managed system first.
    2. --preserve_setting option is only supported in Purley and the platforms
    of later versions. Note that --preserve_setting option for in-band usage
    requires "SFT-OOB-LIC" product key. The preserved setting configurations
    will be listed in preserved_settings.log.
* SUM cli generic help output
[srv@local ~]# ./sum
Supermicro Update Manager (for UEFI BIOS) 2.0.0 (2017/11/08) (x86_64)
Copyright©2017 Super Micro Computer, Inc. All rights reserved

NAME
  sum (Supermicro Update Manager)

SYNOPSIS
  sum [OPTIONs] [COMMAND] [COMMAND ARGUMENTS]

OPTIONS
  -h  Shows help information.
  -v  Displays the verbose output.
  -i  <BMC/CMM IP address or BMC/CMM host name>
  -l  <BMC/CMM system list file name. Refer to the user's guide for formatting>
  -u  <BMC/CMM user ID>
  -p  <BMC/CMM user password>
  -c  <command name> (case insensitive)

USAGE MODES
○  Single System Out-Of-Band (OOB) Management [operates on single BMC/CMM]:
    Must use -i,-u, -p options
○  Single System In-Band Management [operates on local OS]: Do not use -i, -u
    and -p options
○  Concurrent Systems OOB Management [operates on multiple system BMCs/CMMs]:
    Replace -i option with -l option

COMMANDS
Function Group             Command Names

Key Management             ActivateProductKey, QueryProductKey, ClearProductKey
System Checks              CheckOOBSupport, CheckAssetInfo,
                           CheckSystemUtilization, CheckSensorData
BIOS Management            GetBIOSInfo, UpdateBios, GetDefaultBiosCfg,
                           GetCurrentBiosCfg, ChangeBiosCfg,
                           LoadDefaultBiosCfg, GetDmiInfo, ChangeDmiInfo,
                           EditDmiInfo, SetBiosAction
BMC Management             GetBmcInfo, UpdateBmc, GetBmcCfg, ChangeBmcCfg
System Event Log           GetEventLog, ClearEventLog
CMM Management             GetCmmInfo, UpdateCmm, GetCmmCfg, ChangeCmmCfg
Storage Management         GetRaidControllerInfo, UpdateRaidController,
                           GetRaidCfg, ChangeRaidCfg, GetSataInfo, GetNvmeInfo
Applications               TpmProvision, MountIsoImage, UnmountIsoImage

COMMAND USAGE
  See help message for each command
  Syntax:"  # ./sum -h -c <command name>"
  Notes: 1)Command support is platform dependent. Please refer to Appendix C in
         the user's guide for platform dependency hints.
         2)If BMC/CMM user ID or password includes special characters, it has
         to be quoted.

EXAMPLES
OOB
  # ./sum -i 192.168.34.56 -u ADMIN -p ADMIN -c ChangeBmcCfg --file BmcCfg.txt
  # ./sum -i 192.168.34.56 -u ADMIN -p "&123456" -c ChangeBmcCfg --file
  BmcCfg.txt
Multiple systems OOB
  # ./sum -l IP_ADDR_RANGE.txt -u ADMIN -p ADMIN -c GetBIOSInfo --file BIOS.rom
  # ./sum -l IP_ADDR_RANGE.txt -u ADMIN -p "&123456" -c GetBIOSInfo --file
  BIOS.rom
In-Band
  # ./sum -c UpdateBios --file BIOS.rom
Help Message
  # ./sum -h -c UpdateBios
Review of freshly installed Fedora 27 LXQt Desktop
After the tutorial of Install Fedora 27 LXQt Desktop this tutorial is mainly to see what to expect from a freshly installed Fedora 27 LXQt – the look and feel of the LXQt GUI – https://lxqt.org//
The idea of this tutorial is just to see what to expect from Fedora 27 LXQt – the look and feel of the GUI, the default installed programs and their look and how to do some basic steps with them, it is included also screenshots of the LXQt settings programs. Here you’ll find more than 90 screenshots and not so many text we do not want to turn this review of many text and version information and 3 meaningless screenshot, which you cannot see anything for the user interface, which these days is the primary goal of a Desktop system. You can expect more of this kind reviews in the future…
LXQt stands for Lightweight Qt Desktop Environment and it is a bundle of packages to offer a LXDE ported with QT libraries. It is still under heavy development, but at present it is pretty stable and nice looking light linux GUI (light as we can tell using QT, of course). Even using QT it maintains the idea of light and fast GUI as the original idea of LXDE using GTK3+. In fact in our opinion LXQt is nicer and better looking than LXDE and if you need a pretty system on not so new hardware you could give a try with it! If you are a fan of the old KDE, the KDE 3.5 you could become a fan of LXQt for sure! There is a great resemblance between them in the GUI (not the builtin application, because KDE has and had a lot more!).
SCREENSHOT 1)
Install Fedora 27 LXQt Desktop
This tutorial will show you the simple steps of installing a modern Linux Distribution like Fedora 27 LXQt for the user graphical interface. LXQt stands for Lightweight Qt Desktop Environment and it is a bundle of packages to offer a LXDE ported with QT libraries. It is still under heavy development, but at present it is pretty stable and nice looking light linux GUI (light as we can tell using QT, of course). Even using QT it maintenances the idea of light and fast GUI as the original idea of LXDE using GTK3+. In fact in our opinion LXQt is nicer and better looking than LXDE and if you need a pretty system on not so new hardware you could give a try with it! If you were familiar with KDE 3.5 you would like LXQt for sure! There is a great resemblance between them in the GUI (not the builtin application, because KDE has and had a lot more!).
First we present the basic steps for installing the Operating system in addition to your present operating systems (here we have two: Windows 10 and Ubuntu) and then you can see some screenshots of the installed system and the look and feel of it. We have another tutorials showing more screenshots of the installed and working Fedora 27 LXQt (Gnome and KDE plasma) – so you can decide which of them to try first – coming soon. All of the installation setups are very similar for all GUIs of Fedora 27 it loads a live edition of the version of Fedora 27 you install and then the setup is launched by the user, the setup almost identical in all editions, but we do not want to give you a tutorials with “spaghetti” and unstructured flow of steps to follow.
We used the following ISO for the installation process:
https://download.fedoraproject.org/pub/fedora/linux/releases/27/Spins/x86_64/iso/Fedora-LXQt-Live-x86_64-27-1.6.iso
It is a LIVE image so you can try it before installing. The easiest way is just to download the image and burn it to a DVD disk and then follow the installation below:
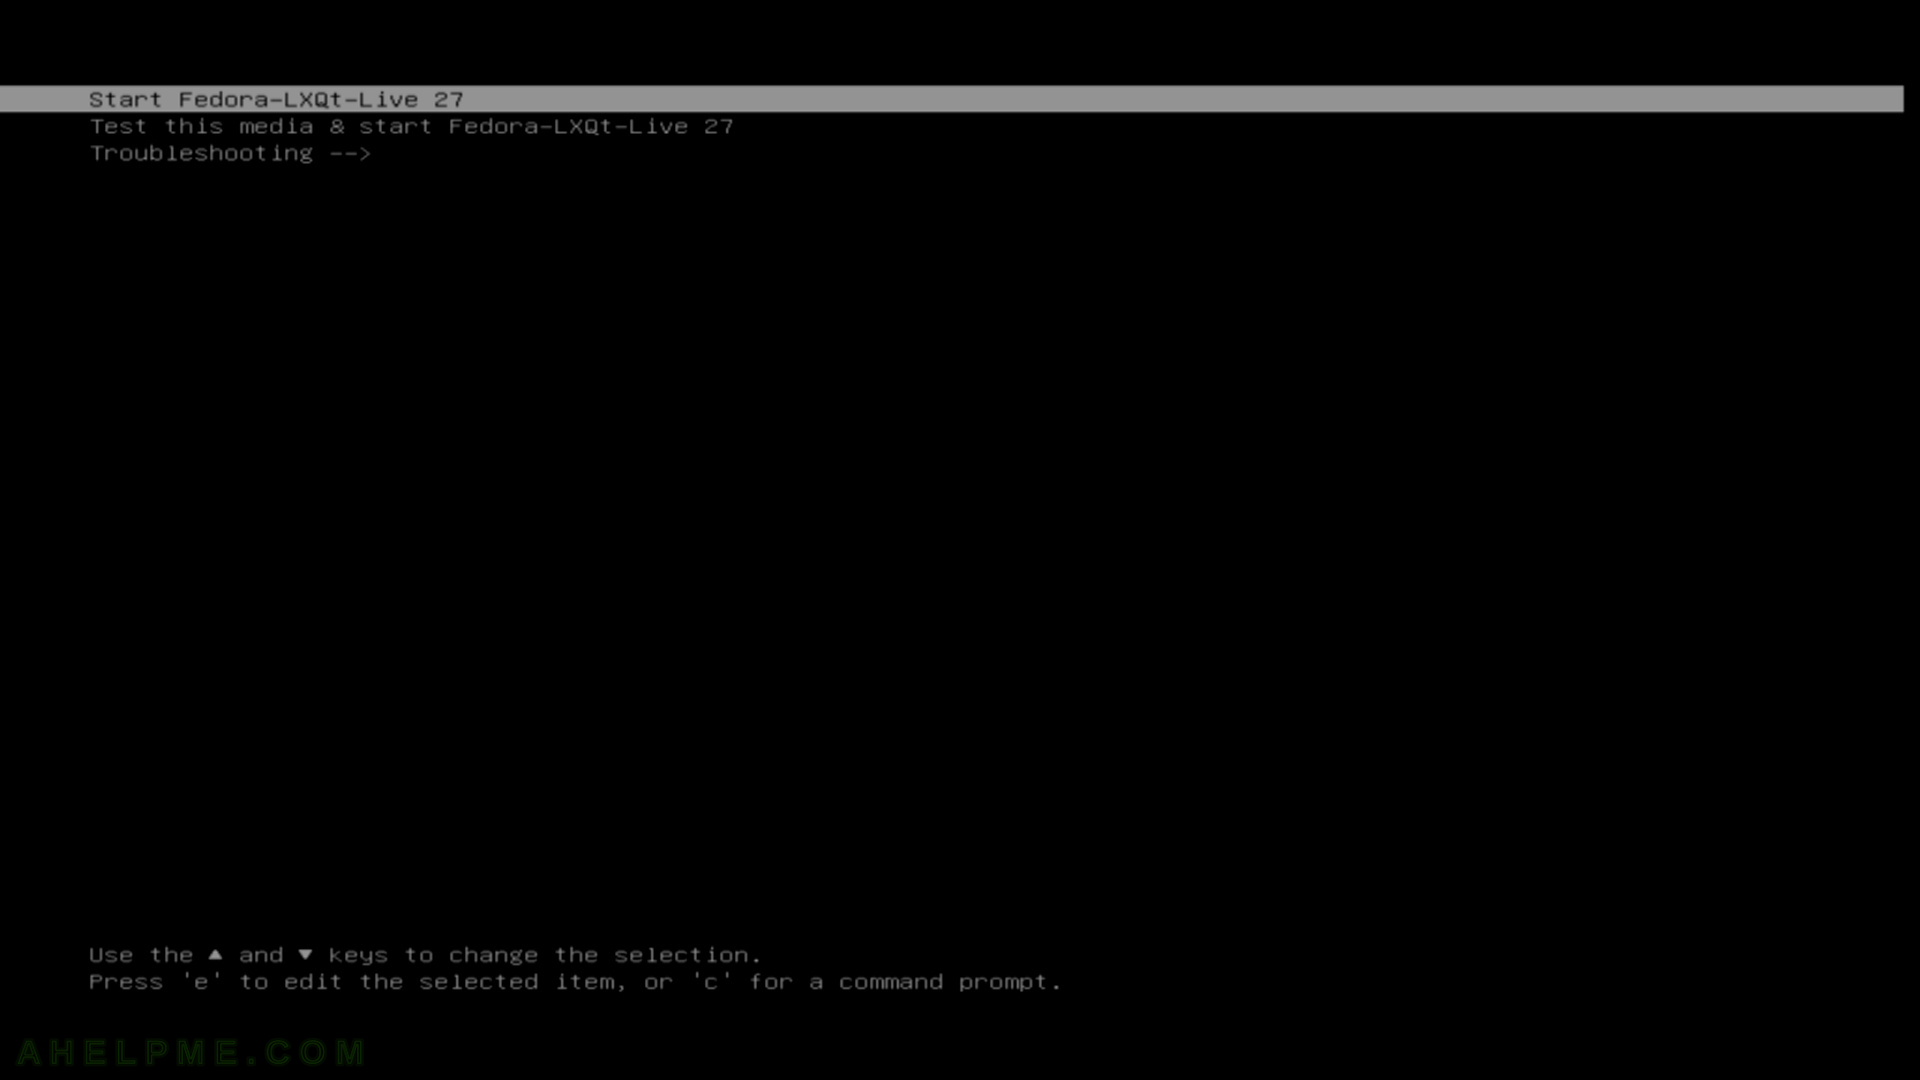
STEP 1) If you booted from the DVD you would get this first screen – select “Start Fedora-LXQt-Live 27” and hit Enter
Keep on reading!
Review of freshly installed Fedora 27 MATE Compiz Desktop
After the tutorial of Install Fedora 27 MATE Compiz Desktop and this tutorial is mainly to see what to expect from a freshly installed Fedora 27 MATE Compiz – the look and feel of the MATE GUI – https://lxde.org/
The idea of this tutorial is just to see what to expect from Fedora 27 MATE Compiz – the look and feel of the GUI, the default installed programs and their look and how to do some basic steps with them, it is included also screenshots of the MATE and Compiz settings programs. Here you’ll find more than 100 screenshots and not so many text we do not want to turn this review of many text and version information and 3 meaningless screenshot, which you cannot see anything for the user interface, which these days is the primary goal of a Desktop system. You can expect more of this kind reviews in the future…
Fedora 27 MATE Compiz is really fast. MATE is the choice of people, which like the old and excellent GNOME 2 desktop environment, because the aim of the MATE is the continuation of GNOME 2. In combinations with Compiz you could have a modern 3D Experience and still be light to use on an old hardware. Compiz could be enabled and disabled in the settings so MATE could be used in really old hardware if you need a light, fast and more mature than LXDE (Review of freshly installed Fedora 27 LXDE Desktop) GUI.
SCREENSHOT 1)
Install Ubuntu 16.04 LTS on a PC with existing windows 10 and linux
This tutorial will show you the simple steps of installing a modern Linux Distribution – Ubuntu Desktop 16.04 LTS (in fact the version presented here is 16.04.4 Desktop LTS). Here we present the more advanced setup installation, when you have already had installed operating systems, so this installation will add Ubuntu 16.04 LTS to our two existing ones – Microsoft Windows 10 Professional and Ubuntu 17.10. So we have 4 disks – one is NVME, the other three are SSDs and we want to install our Ubuntu 16.04 to the third disk – “sdc” in this case. Our third SSD do not have partitions or any data, so we can use the whole device.
Ubuntu Desktop 16.04 LTS comes with the following software:
- Xorg X server – 1.19.5
- unity (the GUI) – 7.4.5
- linux kernel – 4.13.0
- linux-firmware – 1.157.17
- QT – 5.5.1
- libc – 2.23
- gnu gcc – 5.4.0
- coreutils – 8.25
- python2.7 (default) – 2.7.12
- python3 – 3.5.1
- perl – 5.22.1
- compiz – 0.9.12.3
- apt – 1.2.25
- cups – 2.1.3
We used the following ISO for the installation process – Ubuntu 16.04.4 LTS (Xenial Xerus):
http://releases.ubuntu.com/16.04/ubuntu-16.04.4-desktop-amd64.iso
It is a LIVE image so you can try it before installing. The easiest way is just to download the image and burn it to a DVD disk and then follow the installation below:
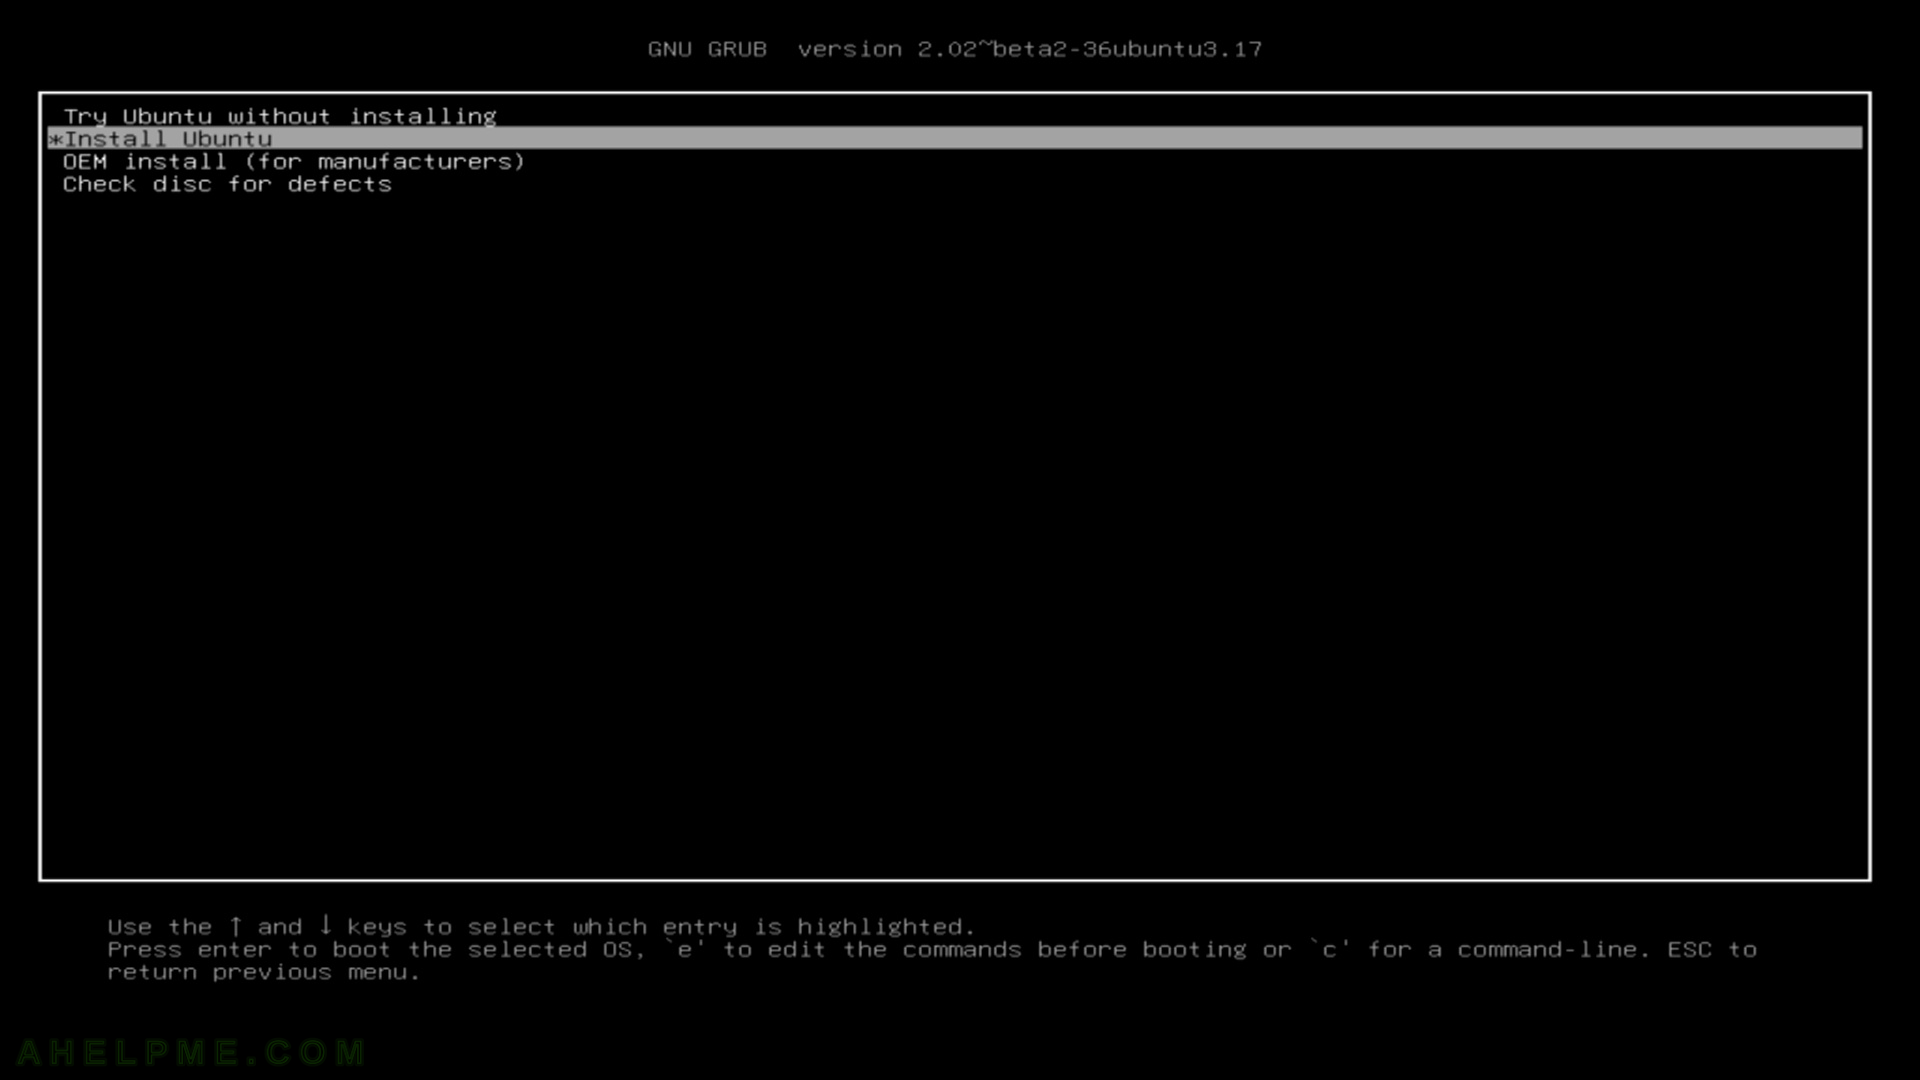
STEP 1) Change to “Install Ubuntu” and hit enter.
To install Ubuntu from your DVD or USB you must boot from it, so change your BIOS accordingly – first boot devide should be the DVD or USB drive with Ubunto installation. If you do it successfully you would see the screenshot below.
Keep on reading!
Install Fedora 27 MATE Compiz Desktop
This tutorial will show you the simple steps of installing a modern Linux Distribution like Fedora 27 MATE Compiz for the user graphical interface. The MATE Desktop Environment is the continuation of GNOME 2 and this GUI is for those who do not like Gnome 3 and where it is heading on. This GUI also is good for using with older hardware, but with Compiz could offer a modern 3D experience and effects. First we present the basic steps for installing the Operating system in addition to your present operating systems (here we have two: Windows 10 and Ubuntu 17) and then you can see some screenshots of the installed system and the look and feel of it. We have another tutorials showing more screenshots of the installed and working Fedora 27 MATE Compiz (Gnome and KDE plasma) – so you can decide which of them to try first – coming soon. All of the installation setups are very similar for all GUIs of Fedora 27 it loads a live edition of the version of Fedora 27 you install and then the setup is launched by the user, the setup almost identical in all editions, but we do not want to give you a tutorials with “spaghetti” and unstructured flow of steps to follow.
We used the following ISO for the installation process:
https://download.fedoraproject.org/pub/fedora/linux/releases/27/Spins/x86_64/iso/Fedora-MATE_Compiz-Live-x86_64-27-1.6.iso
It is a LIVE image so you can try it before installing. The easiest way is just to download the image and burn it to a DVD disk and then follow the installation below:
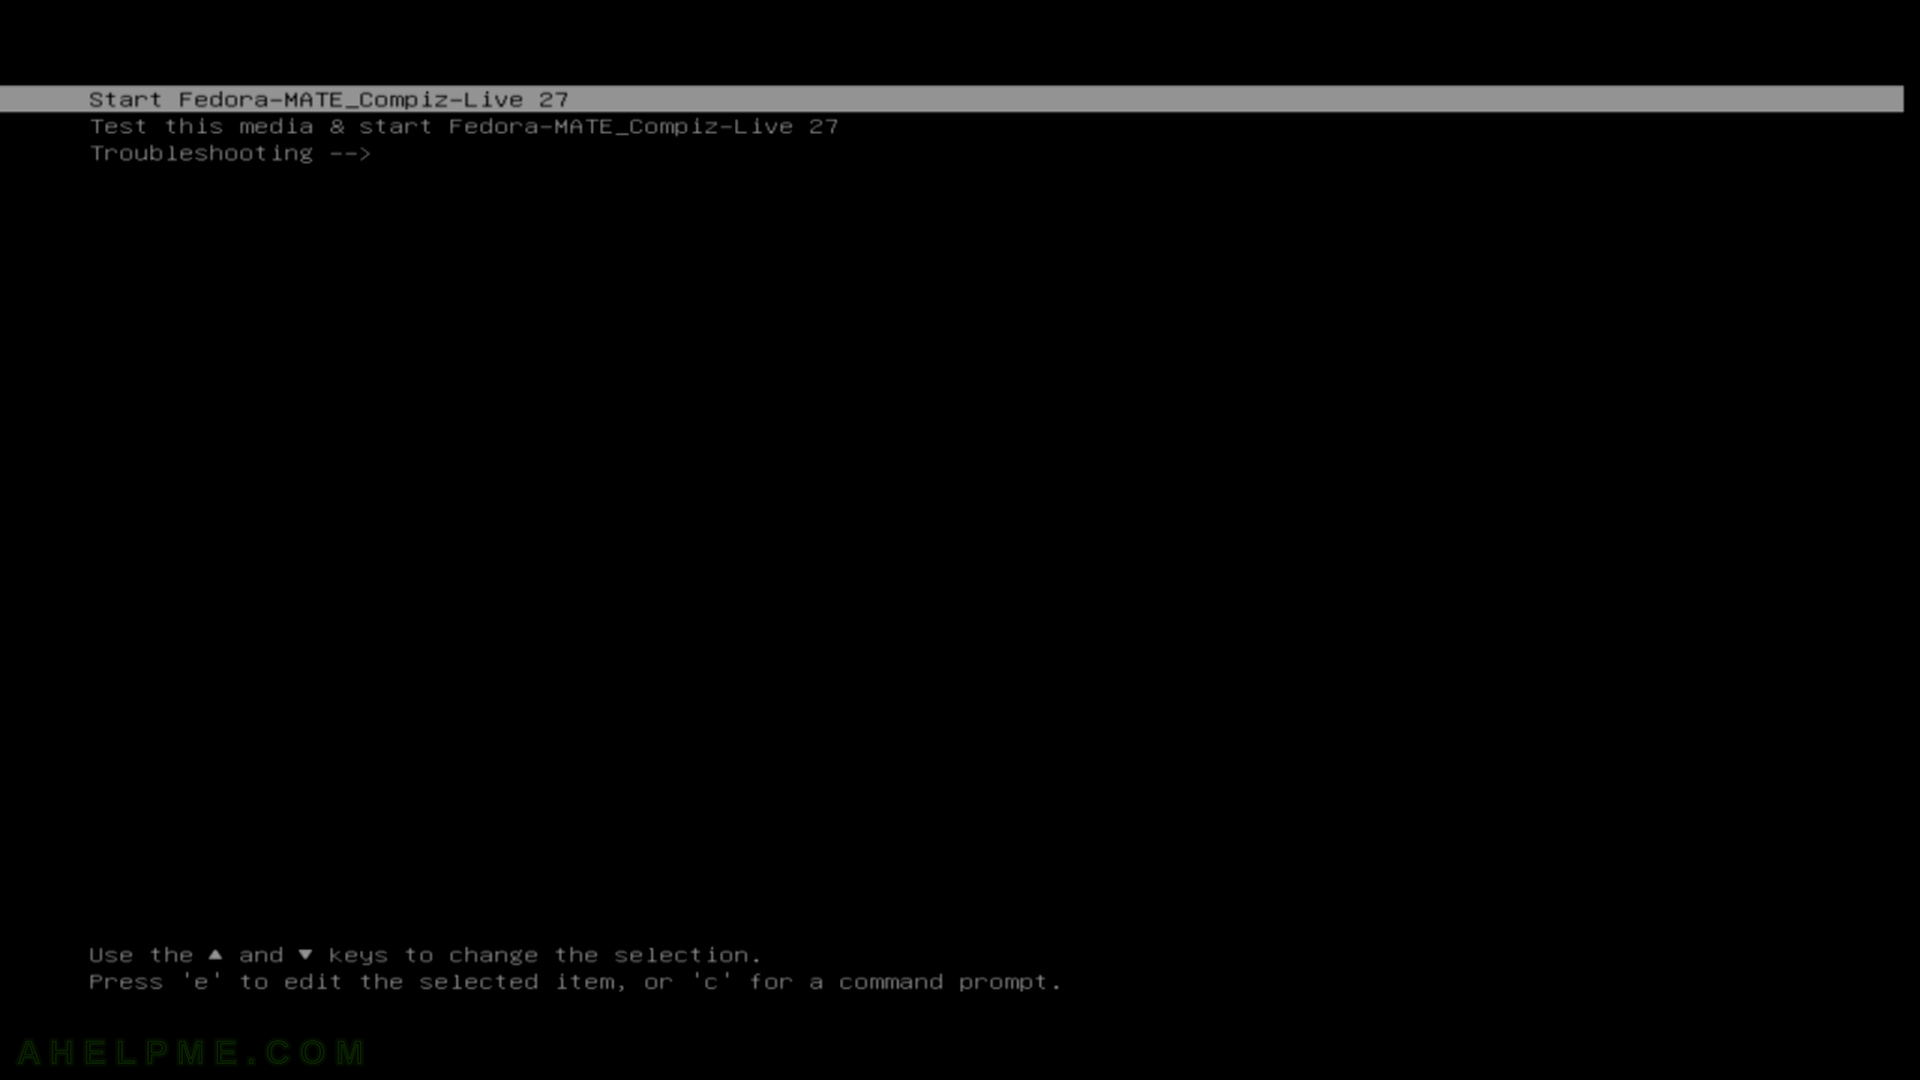
STEP 1) If you booted from the DVD you would get this first screen – select “Start Fedora-MATE_Compiz-Live 27” and hit Enter
Keep on reading!
Review of freshly installed Fedora 27 LXDE Desktop
After the tutorial of Install Fedora 27 LXDE Desktop and this tutorial is mainly to see what to expect from a freshly installed Fedora 27 LXDE Desktop – the look and feel of the LXDE GUI – https://lxde.org/
The idea of this tutorial is just to see what to expect from Fedora 27 LXDE – the look and feel of the GUI, the default installed programs and their look and how to do some basic steps with them, it is included also screenshots of the LXDE settings programs. Here you’ll find more than 87 screenshots and not so many text we do not want to turn this review of many text and version information and 3 meaningless screenshot, which you cannot see anything for the user interface, which these days is the primary goal of a Desktop system. You can expect more of this kind reviews in the future…
Fedora 27 LXDE is really light and fast. The default installation includes only minimum software, but you could always install additional packages. It really should be used on a old system or embedded devices (like ex-windows tablets with low memory), because the GUI do not have many features like panel customization and build-in programs. Still it is extremely fast and if you do not need a fancy look and customization you could use it!
SCREENSHOT 1)
vmware-modules failed with too many arguments to function smp_call_function and smp_call_function_single
vmware-modules is really tough to compile on a bleeding edge kernel like last versions from kernel.org When a new kernel is out the chances you cannot vmware modules are really big and if you look at the patches a gentoo build applies at present 40 (at the end you can see a log from Gentoo) an almost all begin with
kernel_version-[why_is_needed].patch
But apparently not only the patches are needed the CFLAGS are also important. And if you include
-fomit-frame-pointer in CFLAGS/CXXFLAGS
you’ll get into troubles! And this is not specific to Gentoo and probably not to specific kernel version, because there are reports from 2012 and before 2012! So if you have the following error:
In file included from /var/tmp/portage/app-emulation/vmware-modules-308.5.9/work/vmmon-only/linux/driver.c:69:0:
/var/tmp/portage/app-emulation/vmware-modules-308.5.9/work/vmmon-only/linux/driver.c: In function ‘LinuxDriverEstimateTSCkHz’:
/var/tmp/portage/app-emulation/vmware-modules-308.5.9/work/vmmon-only/linux/vmmonInt.h:88:15: error: too many arguments to function ‘smp_call_function_single’
               smp_call_function_single(cpu, fn, info, 1, wait)
               ^
/var/tmp/portage/app-emulation/vmware-modules-308.5.9/work/vmmon-only/linux/driver.c:208:10: note: in expansion of macro ‘compat_smp_call_function_single’
    err = compat_smp_call_function_single(0, LinuxDriverEstimateTSCkHzWork,
          ^~~~~~~~~~~~~~~~~~~~~~~~~~~~~~~
In file included from /usr/src/linux-4.16.3-gentoo/include/linux/percpu.h:7:0,
                 from /usr/src/linux-4.16.3-gentoo/include/linux/percpu-rwsem.h:7,
                 from /usr/src/linux-4.16.3-gentoo/include/linux/fs.h:33,
                 from /usr/src/linux-4.16.3-gentoo/include/linux/highmem.h:5,
                 from /var/tmp/portage/app-emulation/vmware-modules-308.5.9/work/vmmon-only/linux/driver.c:25:
/usr/src/linux-4.16.3-gentoo/include/linux/smp.h:32:5: note: declared here
 int smp_call_function_single(int cpuid, smp_call_func_t func, void *info,
     ^~~~~~~~~~~~~~~~~~~~~~~~
In file included from /var/tmp/portage/app-emulation/vmware-modules-308.5.9/work/vmmon-only/linux/driver.c:69:0:
/var/tmp/portage/app-emulation/vmware-modules-308.5.9/work/vmmon-only/linux/driver.c: In function ‘LinuxDriverSyncCallOnEachCPU’:
/var/tmp/portage/app-emulation/vmware-modules-308.5.9/work/vmmon-only/linux/vmmonInt.h:34:50: error: too many arguments to function ‘smp_call_function’
 #define compat_smp_call_function(fn, info, wait) smp_call_function(fn, info, 1, wait)
                                                  ^
/var/tmp/portage/app-emulation/vmware-modules-308.5.9/work/vmmon-only/linux/driver.c:1224:4: note: in expansion of macro ‘compat_smp_call_function’
    compat_smp_call_function(LinuxDriverSyncCallHook, &args, 0);
    ^~~~~~~~~~~~~~~~~~~~~~~~
In file included from /usr/src/linux-4.16.3-gentoo/include/linux/percpu.h:7:0,
                 from /usr/src/linux-4.16.3-gentoo/include/linux/percpu-rwsem.h:7,
                 from /usr/src/linux-4.16.3-gentoo/include/linux/fs.h:33,
                 from /usr/src/linux-4.16.3-gentoo/include/linux/highmem.h:5,
                 from /var/tmp/portage/app-emulation/vmware-modules-308.5.9/work/vmmon-only/linux/driver.c:25:
/usr/src/linux-4.16.3-gentoo/include/linux/smp.h:100:5: note: declared here
 int smp_call_function(smp_call_func_t func, void *info, int wait);
     ^~~~~~~~~~~~~~~~~
distcc[32709] ERROR: compile /var/tmp/portage/app-emulation/vmware-modules-308.5.9/work/vmmon-only/linux/driver.c on localhost failed
make[3]: *** [/usr/src/linux-4.16.3-gentoo/scripts/Makefile.build:325: /var/tmp/portage/app-emulation/vmware-modules-308.5.9/work/vmmon-only/linux/driver.o] Error 1
make[3]: *** Waiting for unfinished jobs....
Revise your CFLAGS/CXXFLAGS environment variables and remove “-fomit-frame-pointer”.
In our system we used (manual compile/install):
export CFLAGS="-O2 -msse -msse2 -mssse3 -march=core2 -pipe"
export CXXFLAGS="${CFLAGS}"
export LDFLAGS="-Wl,-O1"
or for Gentoo configuration file /etc/portage/make.conf
CFLAGS="-O2 -msse -msse2 -mssse3 -march=core2 -pipe"
CXXFLAGS="${CFLAGS}"
LDFLAGS="-Wl,-O1"
* All needed patches in Gentoo for compiling vmware-modules 308.5.9 ( with vmware-player-12.5.9.7535481 ) successfully in a modern kernel
>>> Preparing source in /var/tmp/portage/app-emulation/vmware-modules-308.5.9/work ...
 * Applying 308-makefile-kernel-dir.patch ...                [ ok ]
 * Applying 308-makefile-include.patch ...                   [ ok ]
 * Applying 308-netdevice.patch ...                          [ ok ]
 * Applying 308-apic.patch ...                               [ ok ]
 * Applying 308-3.10-00-dentry.patch ...                     [ ok ]
 * Applying 308-3.10-01-inode.patch ...                      [ ok ]
 * Applying 308-3.10-02-control.patch ...                    [ ok ]
 * Applying 308-3.10-03-inline.patch ...                     [ ok ]
 * Applying 308-3.11-00-readdir.patch ...                    [ ok ]
 * Applying 308-3.11-01-filldir.patch ...                    [ ok ]
 * Applying 308-3.15-00-vsock.patch ...                      [ ok ]
 * Applying 308-3.18-00-version-redefined.patch ...          [ ok ]
 * Applying 308-3.19-00-compat-namei.patch ...               [ ok ]
 * Applying 308-3.19-02-vmblock-path.patch ...               [ ok ]
 * Applying 308-3.19-04-iovec.patch ...                      [ ok ]
 * Applying 308-3.19-05-vmci_qpair.patch ...                 [ ok ]
 * Applying 308-3.19-06-vsock.patch ...                      [ ok ]
 * Applying 308-3.19-07-vsock.patch ...                      [ ok ]
 * Applying 308-4.01-00-vsock.patch ...                      [ ok ]
 * Applying 308-4.02-00-nd_set_link.patch ...                [ ok ]
 * Applying 308-4.02-01-sk_alloc.patch ...                   [ ok ]
 * Applying 308-4.03-00-vmci-misc_deregister.patch ...       [ ok ]
 * Applying 308-4.05-00-vmblock-follow_link.patch ...        [ ok ]
 * Applying 308-4.06-00-user-pages.patch ...                 [ ok ]
 * Applying 308-4.07-01-readlink_copy.patch ...              [ ok ]
 * Applying 308-4.08-00-vmmon-fix-page-accounting.patch ...  [ ok ]
 * Applying 308-4.09-00-user-pages.patch ...                 [ ok ]
 * Applying 308-4.10-00-generic_readlink.patch ...           [ ok ]
 * Applying 308-4.11-00-missing-headers.patch ...            [ ok ]
 * Applying 308-4.11-01-vsock-lockdep.patch ...              [ ok ]
 * Applying 308-4.12-00-vmblock-current_time.patch ...       [ ok ]
 * Applying 308-4.12-01-vmci-do_once.patch ...               [ ok ]
 * Applying 308-4.12-02-vmci-pci_enable_msix.patch ...       [ ok ]
 * Applying 308-4.13-00-vmnet-refcount.patch ...             [ ok ]
 * Applying 308-4.13-01-vmmon-fix-page-accounting.patch ...  [ ok ]
 * Applying 308-4.14-00-vmmon-global-page-state.patch ...    [ ok ]
 * Applying 308-4.14-01-deprecated-asm-uaccess.patch ...     [ ok ]
 * Applying 308-4.15-00-init_timer.patch ...                 [ ok ]
 * Applying 308-4.16-00-vmblock-iversion.patch ...           [ ok ]
>>> Source prepared.
In fact if you come from another linux distro and need some of the patches you could always download them if you need – just paste the name of the patch file in let’s say google and you’ll get the patch or you can always add vmware overlay, but you should have Gentoo.

