After the tutorial of Install CentOS Stream 9 Workstation (Gnome GUI) this tutorial is mainly to see what to expect from a freshly installed CentOS Stream 9 Workstation installation – the look and feel of the GUI (Gnome – version 40).
- Xorg X server – 1.20.11
- GNOME (the GUI) – 40.4.0
- linux kernel – 5.14.0
More technical details are available for the server installation, which is not different from the workstation but the GUI (Gnome) installed – Software and technical details of CentOS Stream 9 minimal install. The later article may be of interest to developers, too. The CentOS Stream 9 Workstation install may install all of the listed software for CentOS Stream 9 Server.
The idea of this tutorial is just to see what to expect from CentOS Stream 9 Workstation (Gnome) – the look and feel of the GUI, the default installed programs and their look and how to do some basic steps with them. Here the reader finds more than 125 screenshots and not so many text the main idea is not to distract the user with much text and version information and 3 meaningless screenshot, which the reader cannot see anything for the user interface, but these days the user interface is the primary goal of a Desktop system. More reviews of the kind will follow in the future …
CentOS is a pretty stable Linux Distribution System, which follows the paid Red Hat enterprise RHEL 9. And if the user really just wants a stable OS with a GUI for the next let’s say 5-10 years with support and fast security updates the CentOS Stream 9 might be perfect for it! Developing on this platform should be easy, too, because it supports all kind of virtualization and despite it may not include the bleeding edge libraries and software, it is easy enough to install latest software in a full or para virtualization or a container!
For all installation and review articles real workstations are used, not virtual environments!
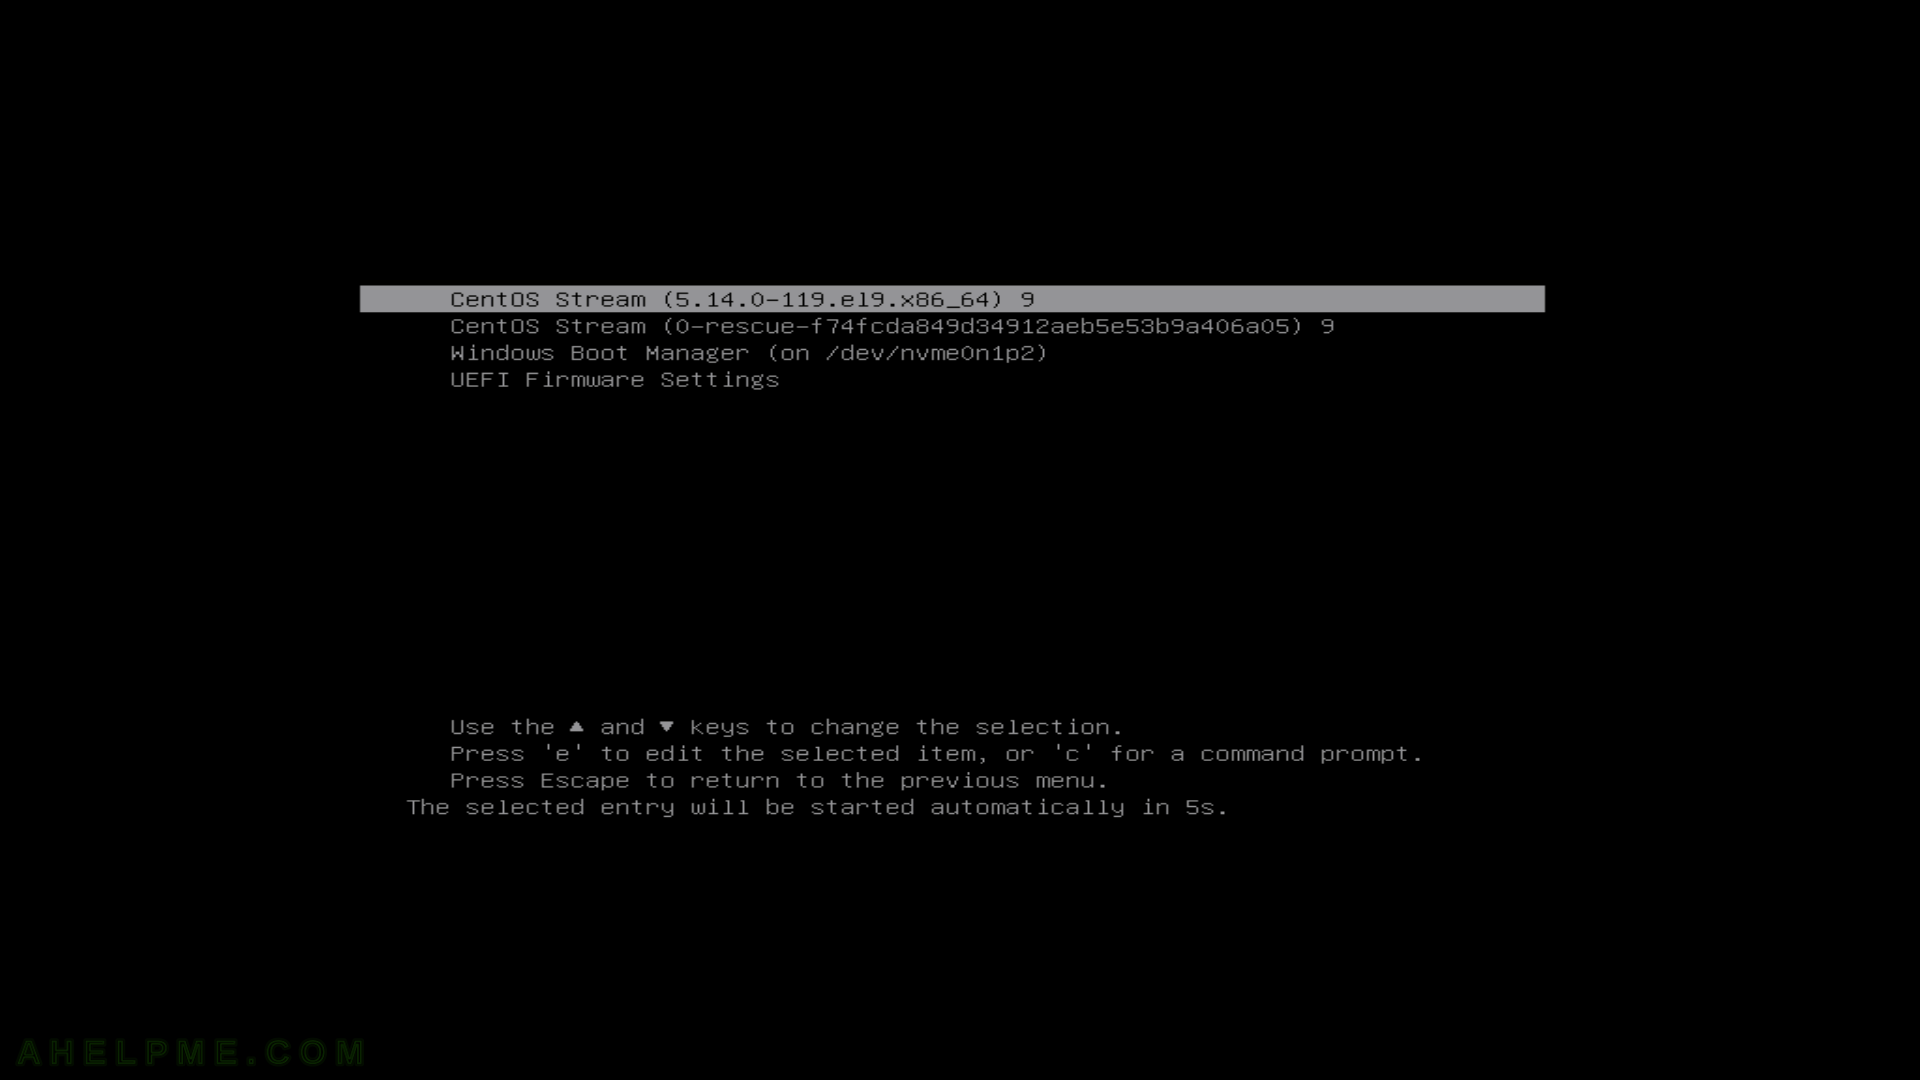
SCREENSHOT 1) Fedora Linux (5.14.0-119.el9.x86_64) 9
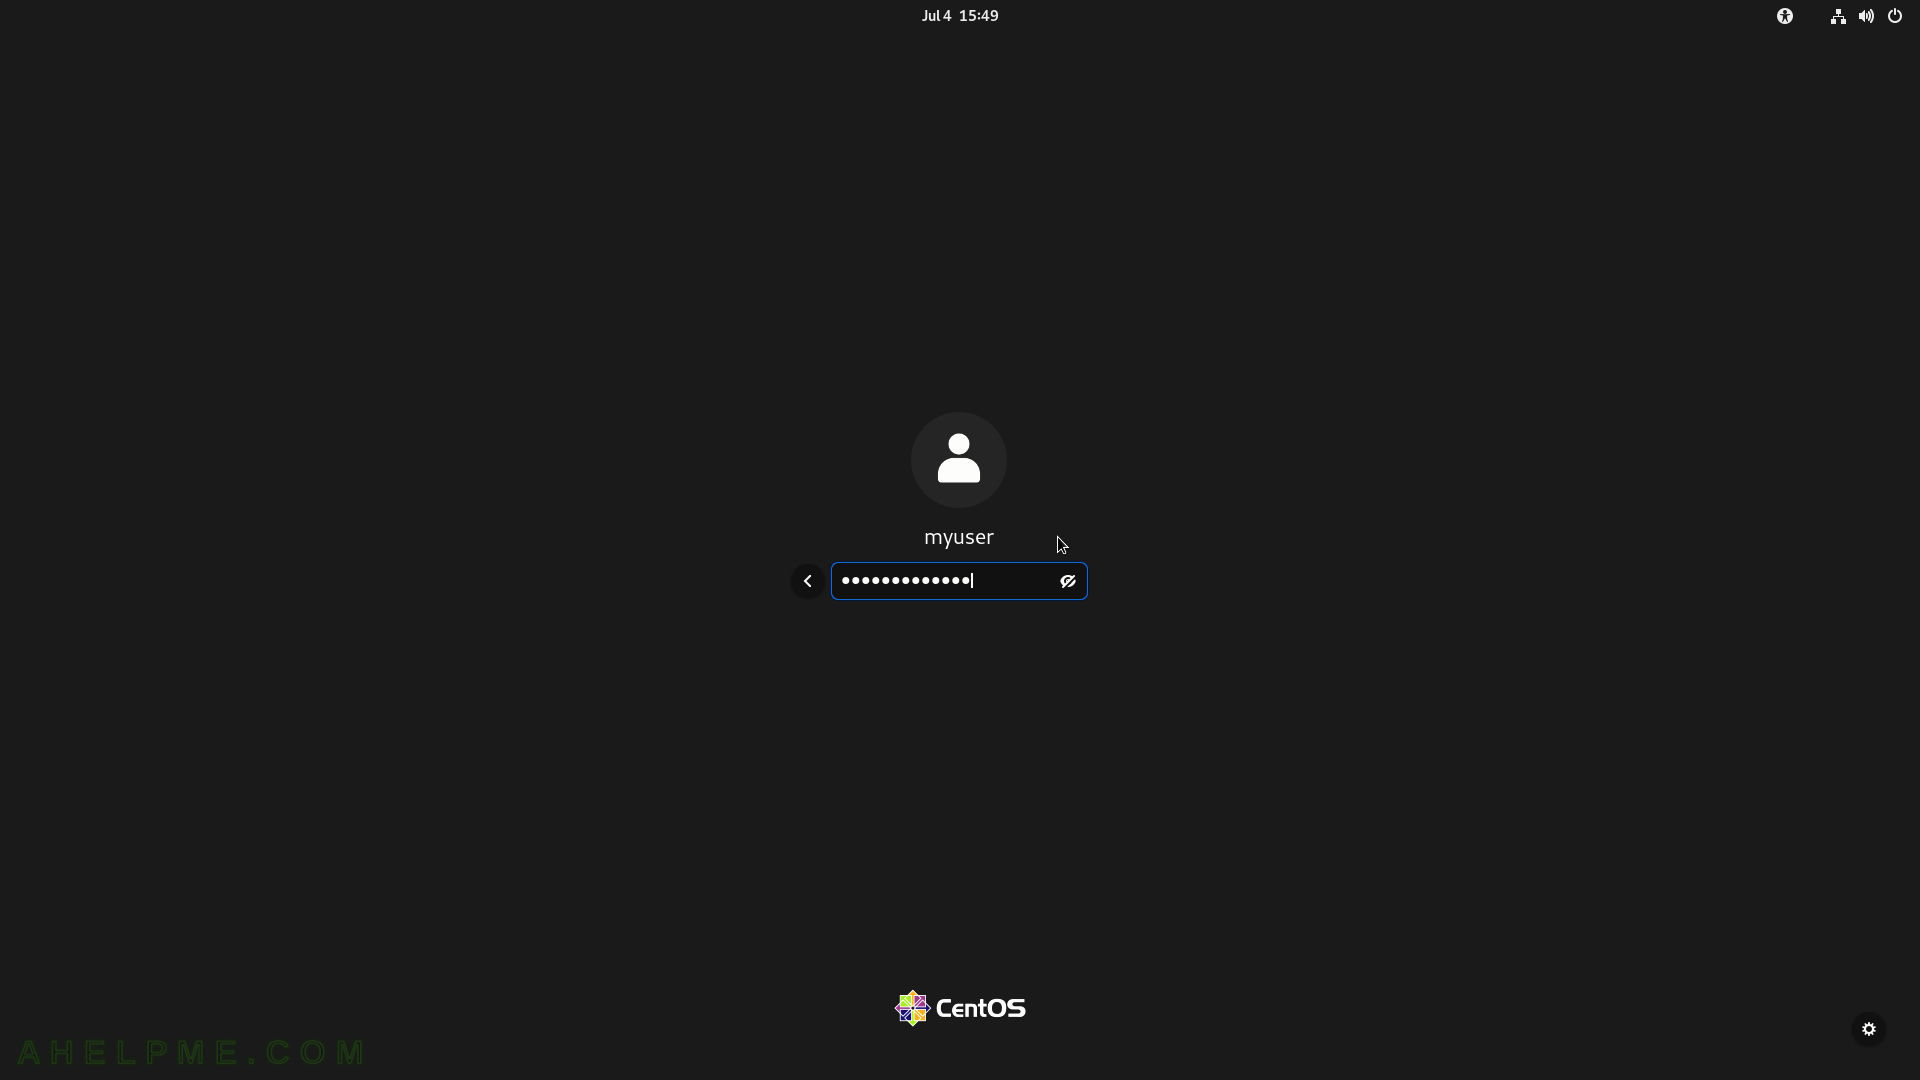
SCREENSHOT 2) Select the user and enter the password
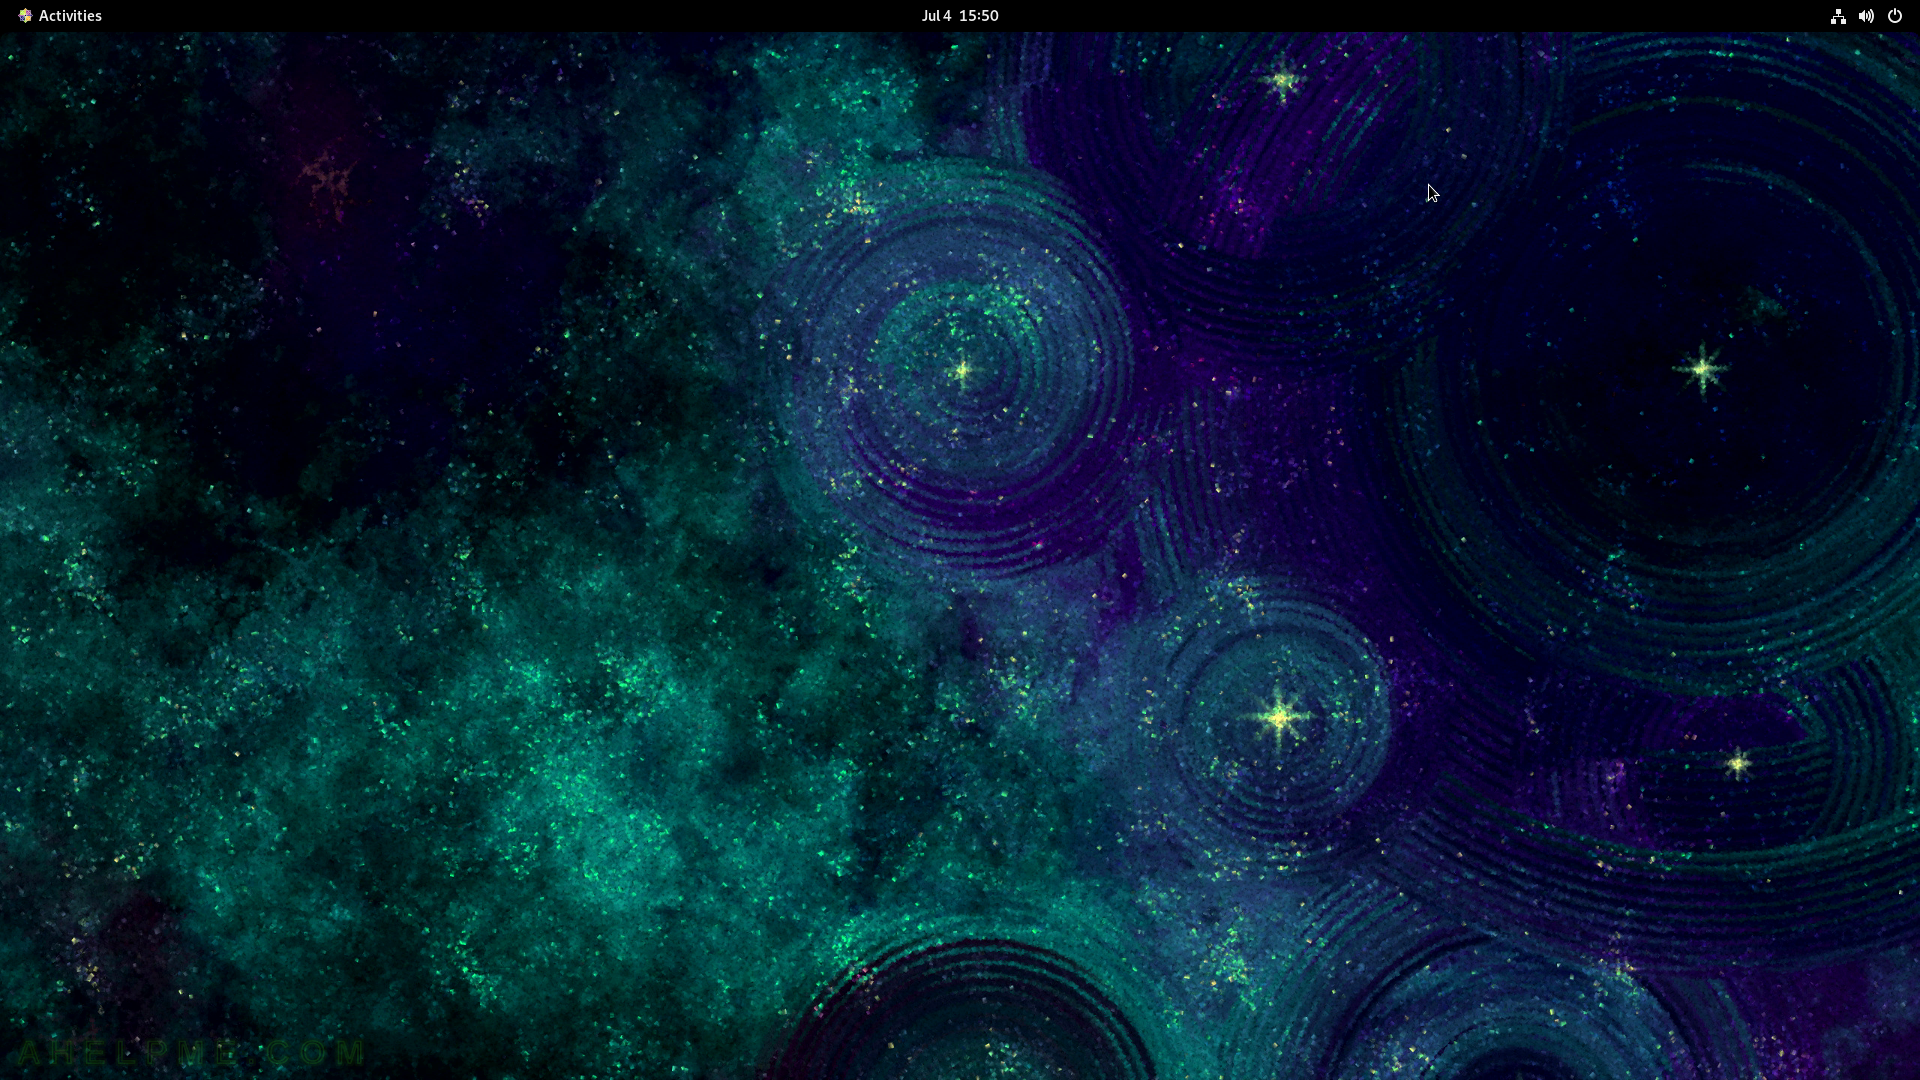
SCREENSHOT 3) One desktop selected with no application started.
SCREENSHOT 4) The activities overview – search, dash toolbar with application icons and the “All applications” button and two virtual desktops.

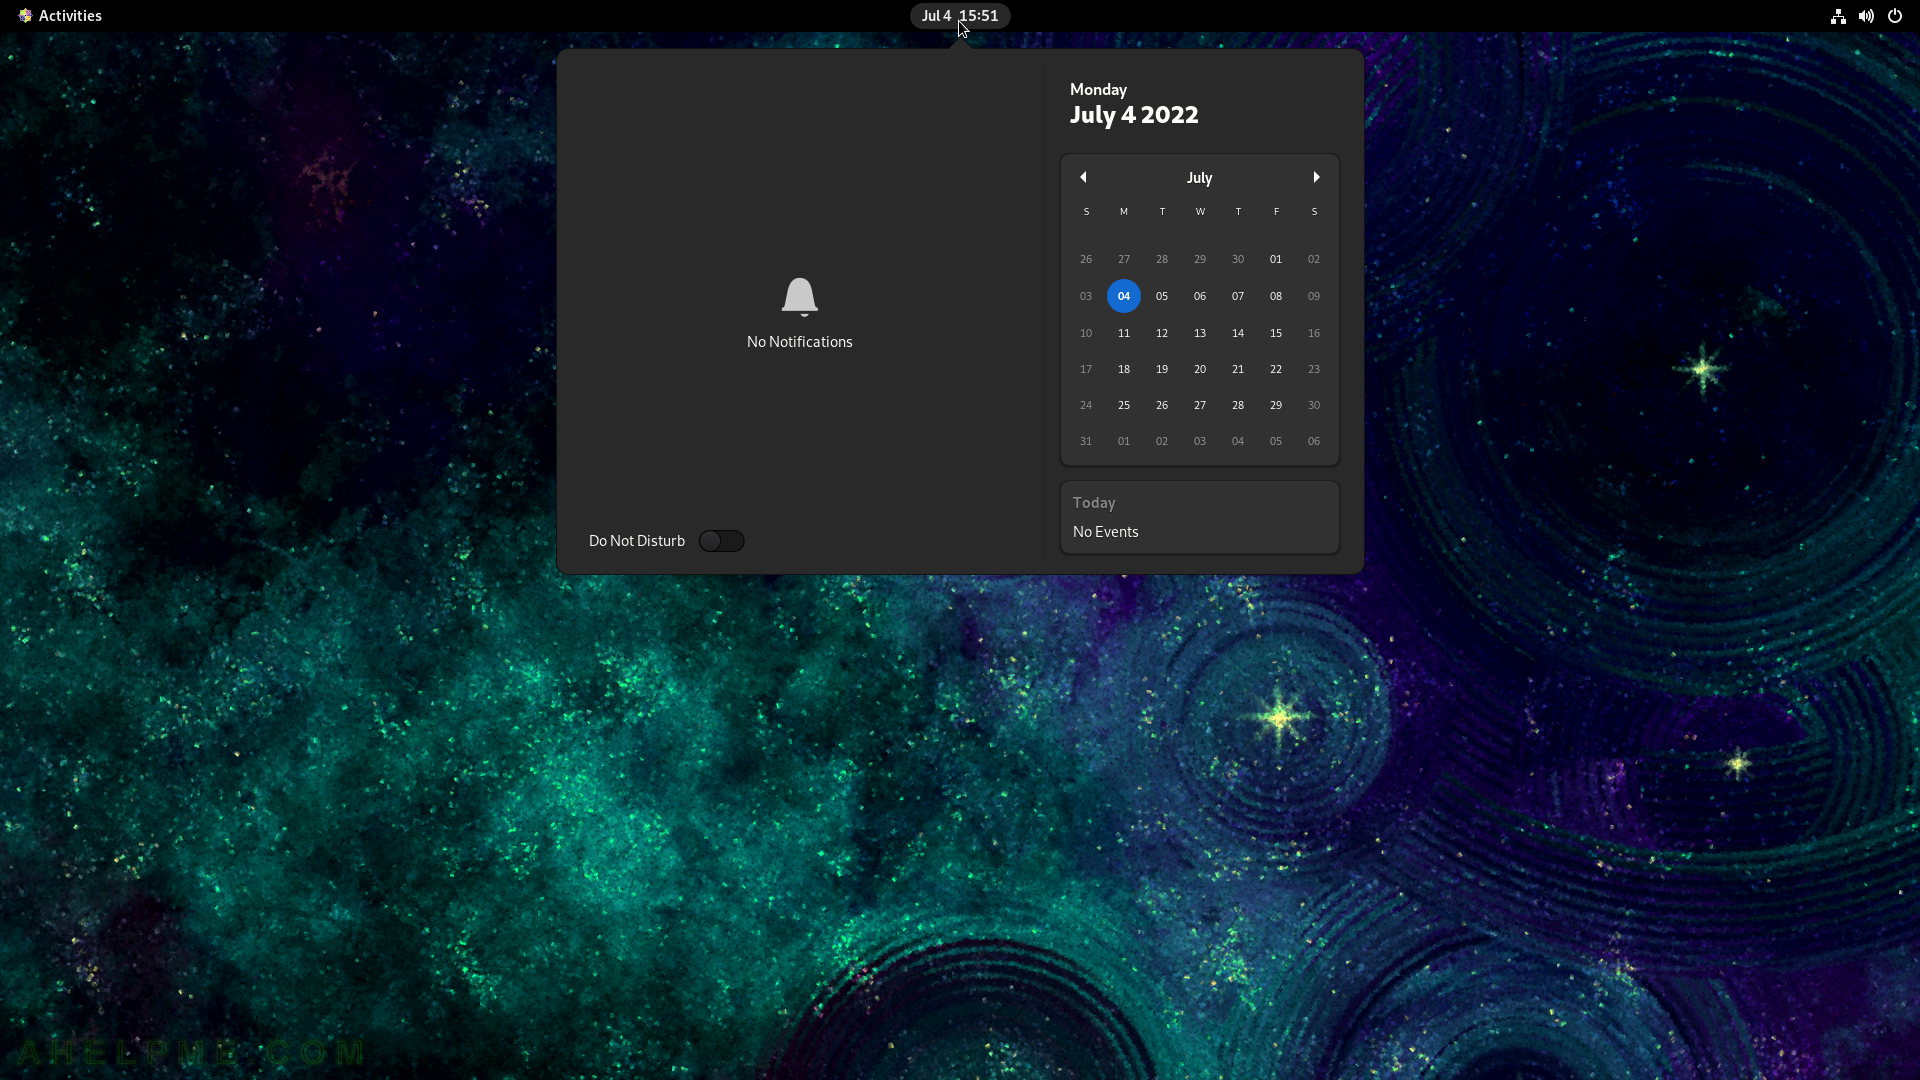
SCREENSHOT 5) Clock, calendar & appointments
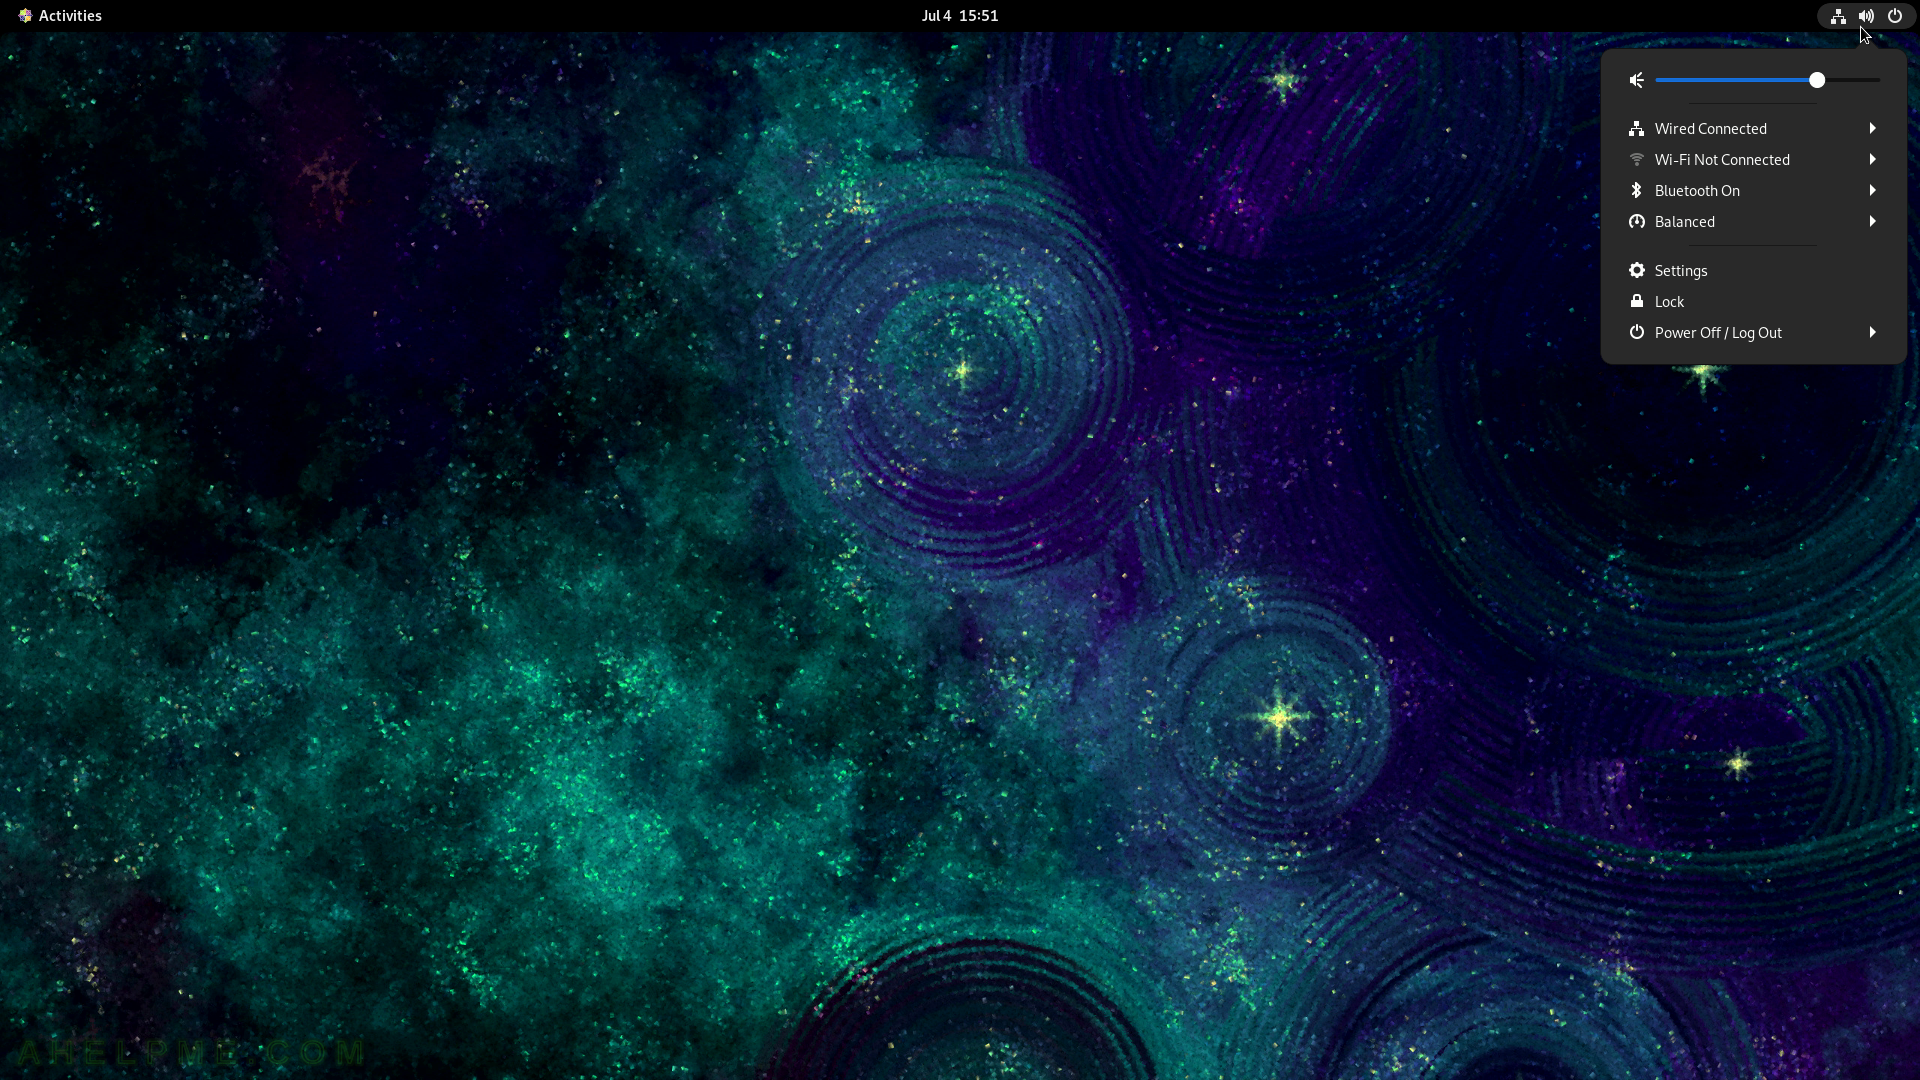
SCREENSHOT 6) Status menu
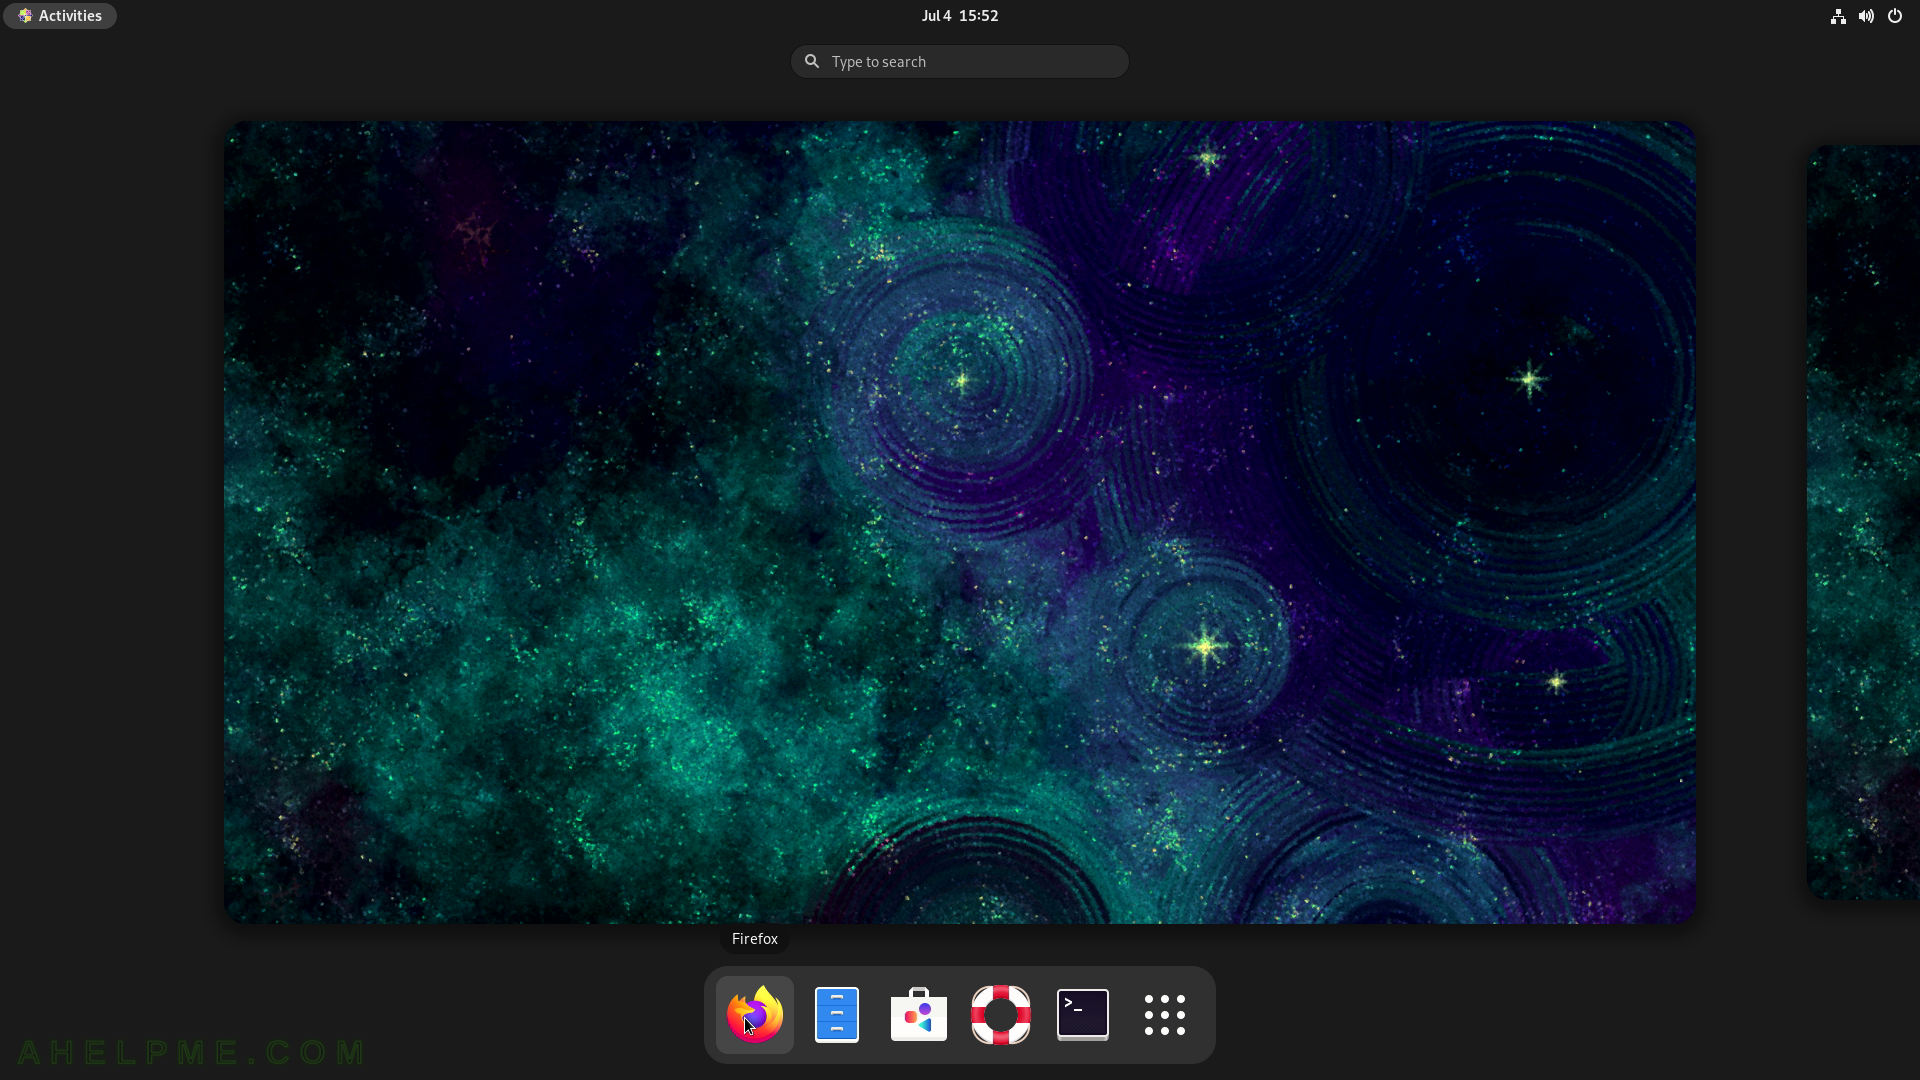
SCREENSHOT 7) Start the Firefox, which icon is on the Dash.
Dash hosts the most used applications and the “All applications” button.
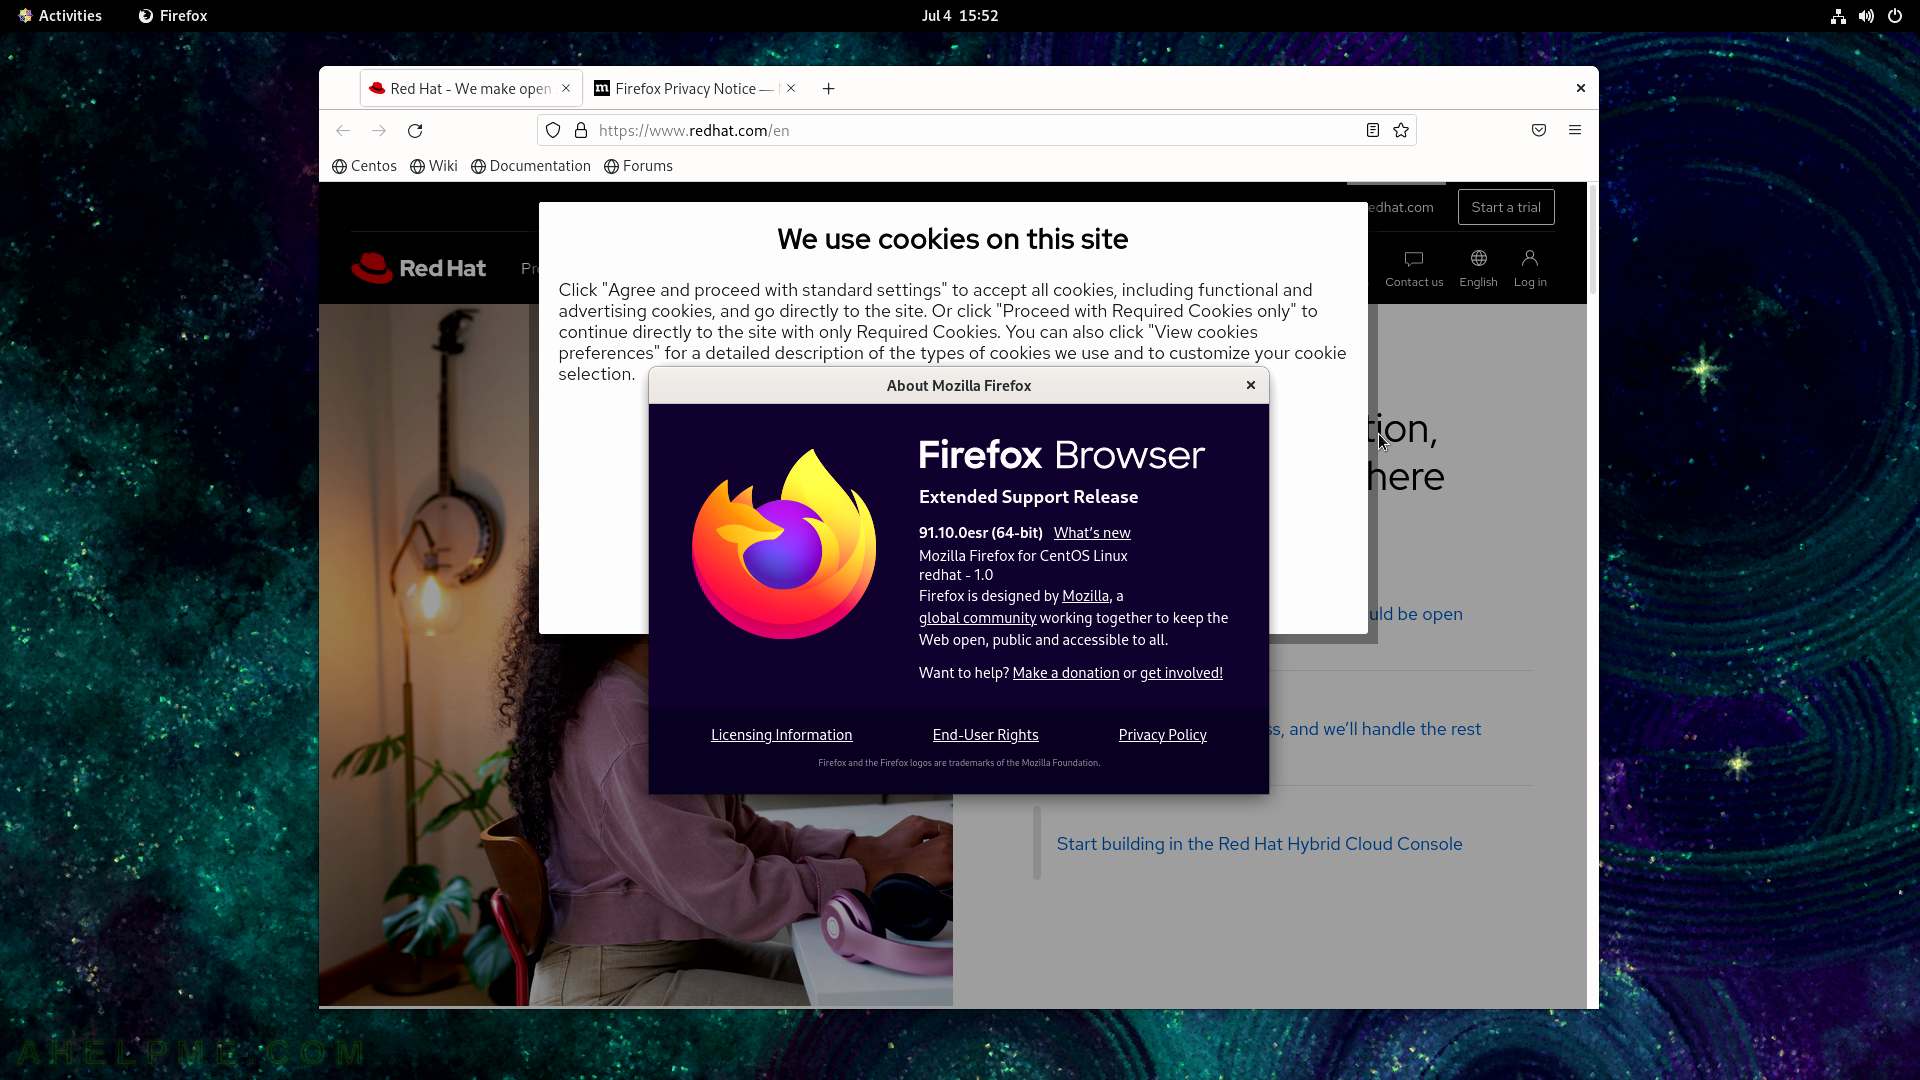
SCREENSHOT 8) Firefox 91.10.0esr
SCREENSHOT 9) Activities button clicked. The Activity overview is shown with the Dash and “Show Applications” button.
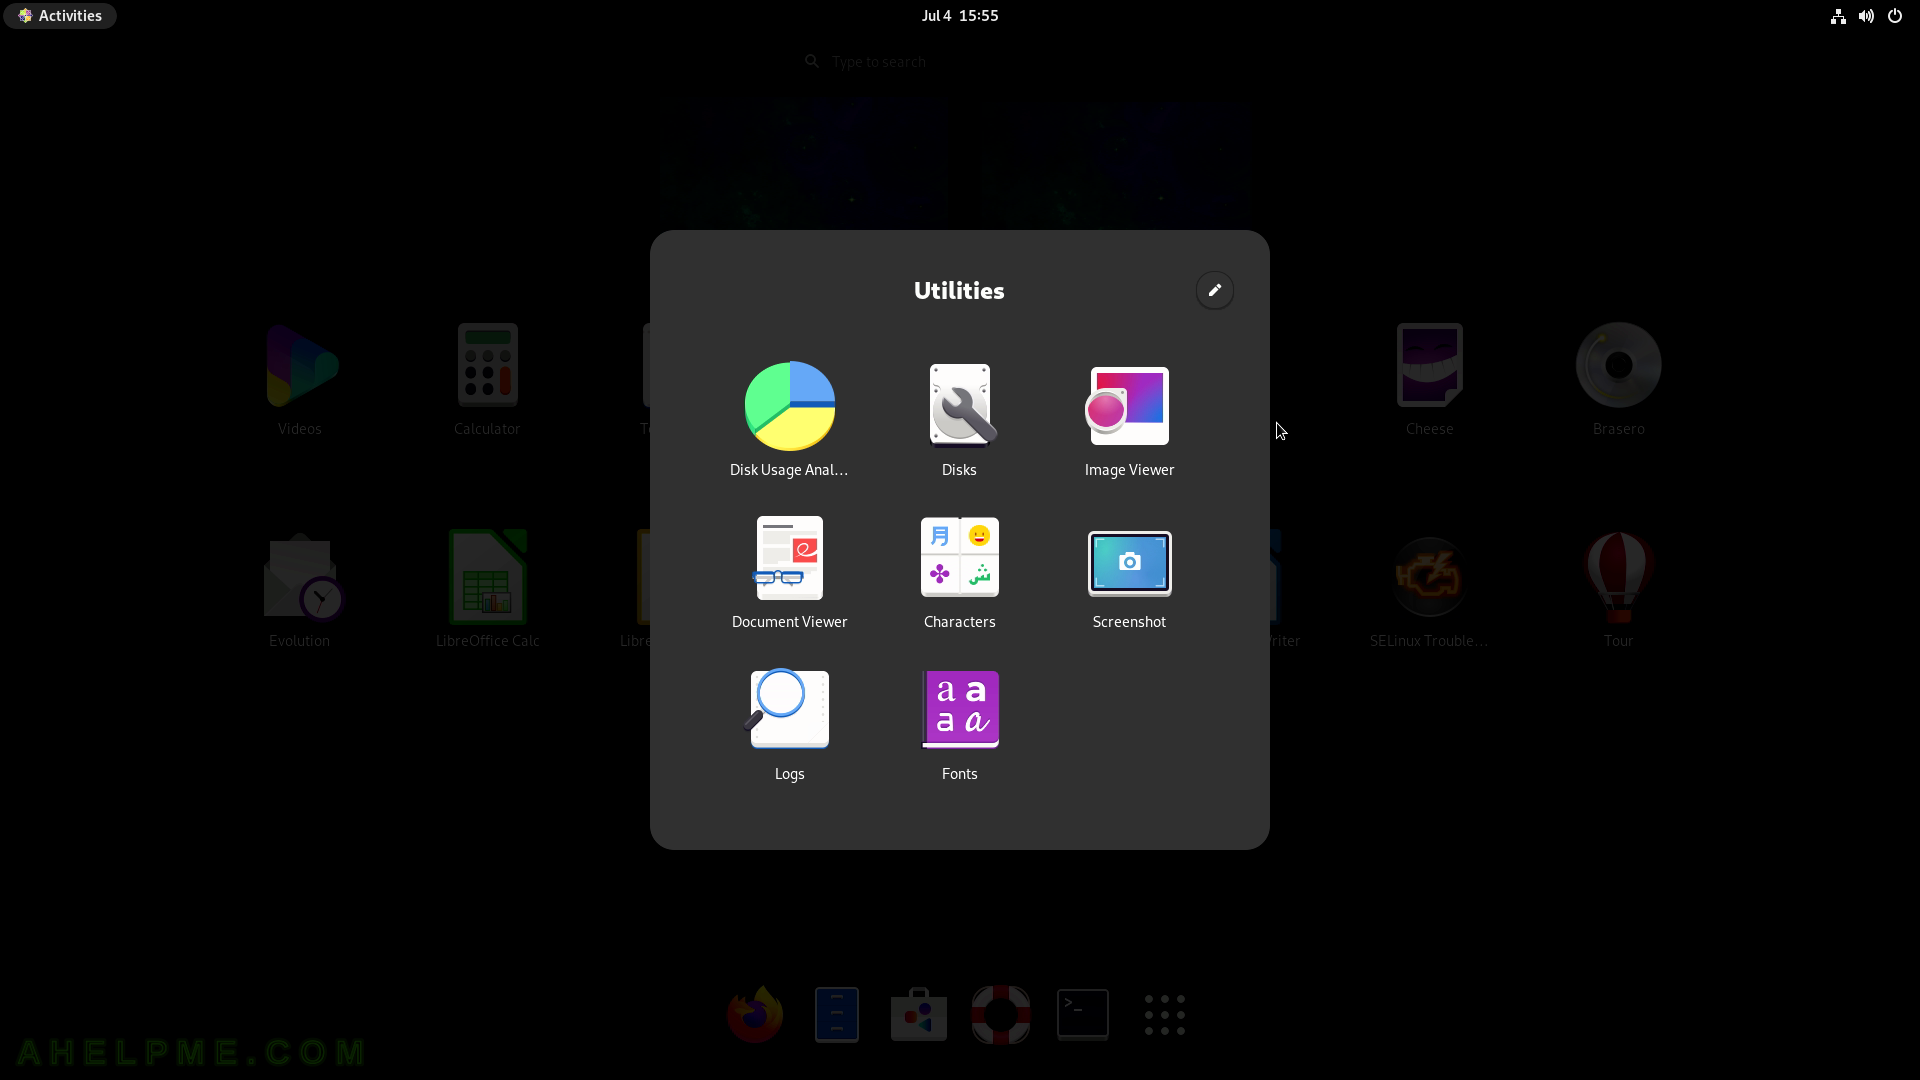
Click on “Show Applications” to show all installed GUI applications. There is a sub-group – Utilities.
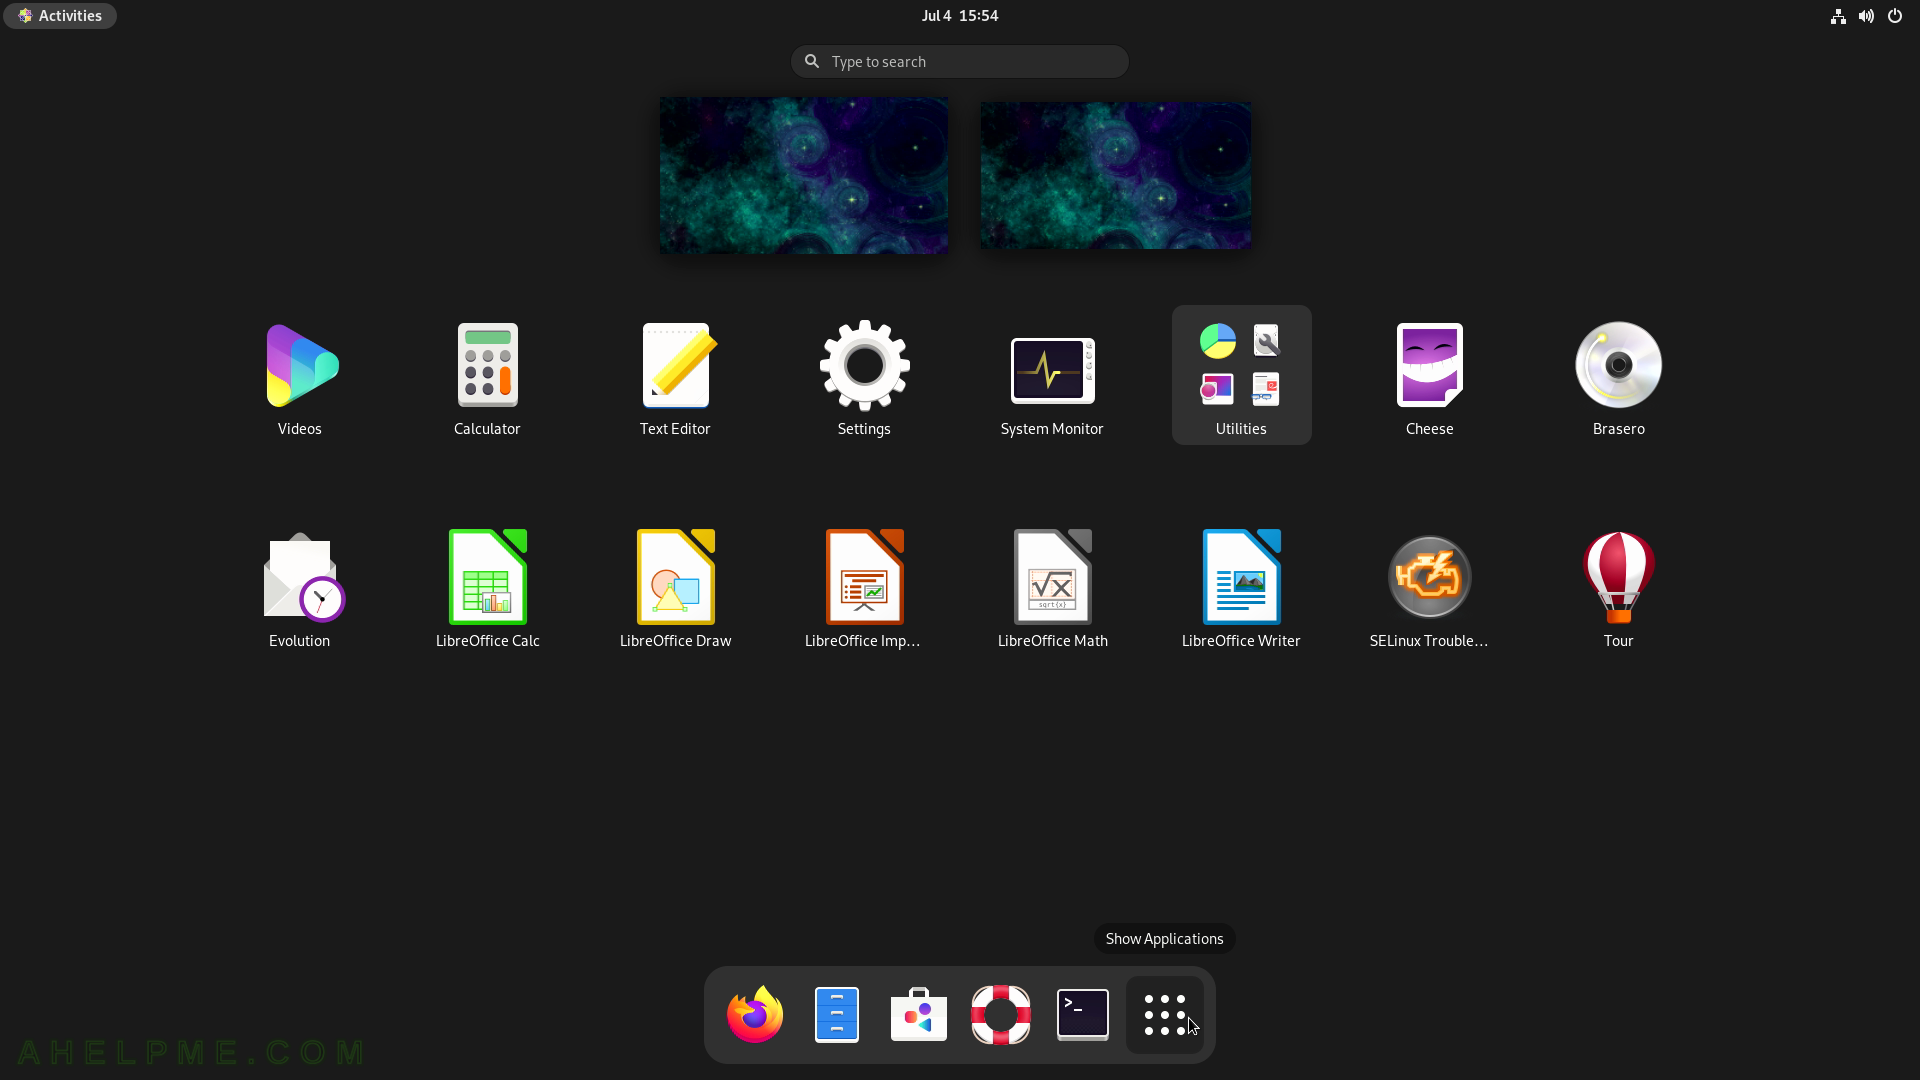
SCREENSHOT 10) This is a sub-menue named Utilities with applications like Disk Usage Analyzer, Disks, Image Viewer, Document Viewer, Characters, Screenshot, Logs and Fonts.