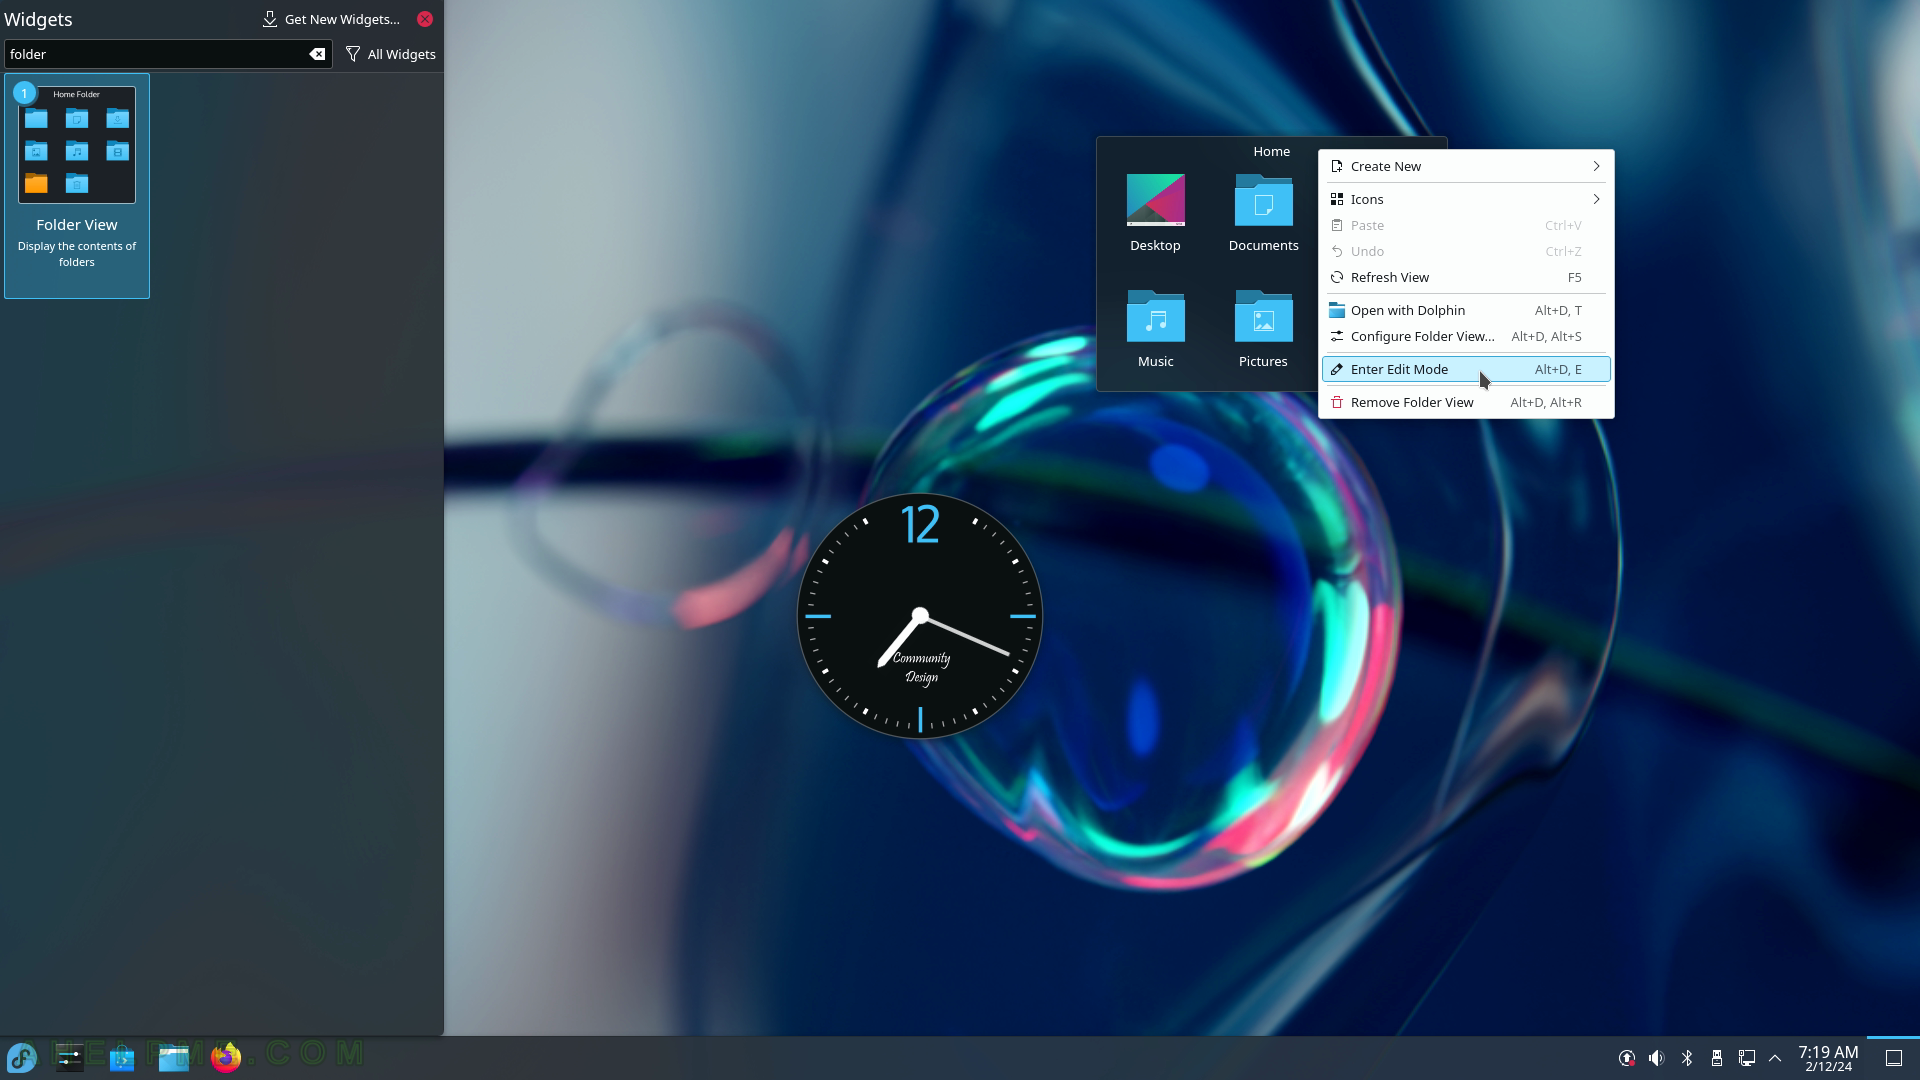
SCREENSHOT 31) To enter edit mode right click on any Widget or on the Desktop will trigger the context menu, which has an “Enter Edit Mode” option.
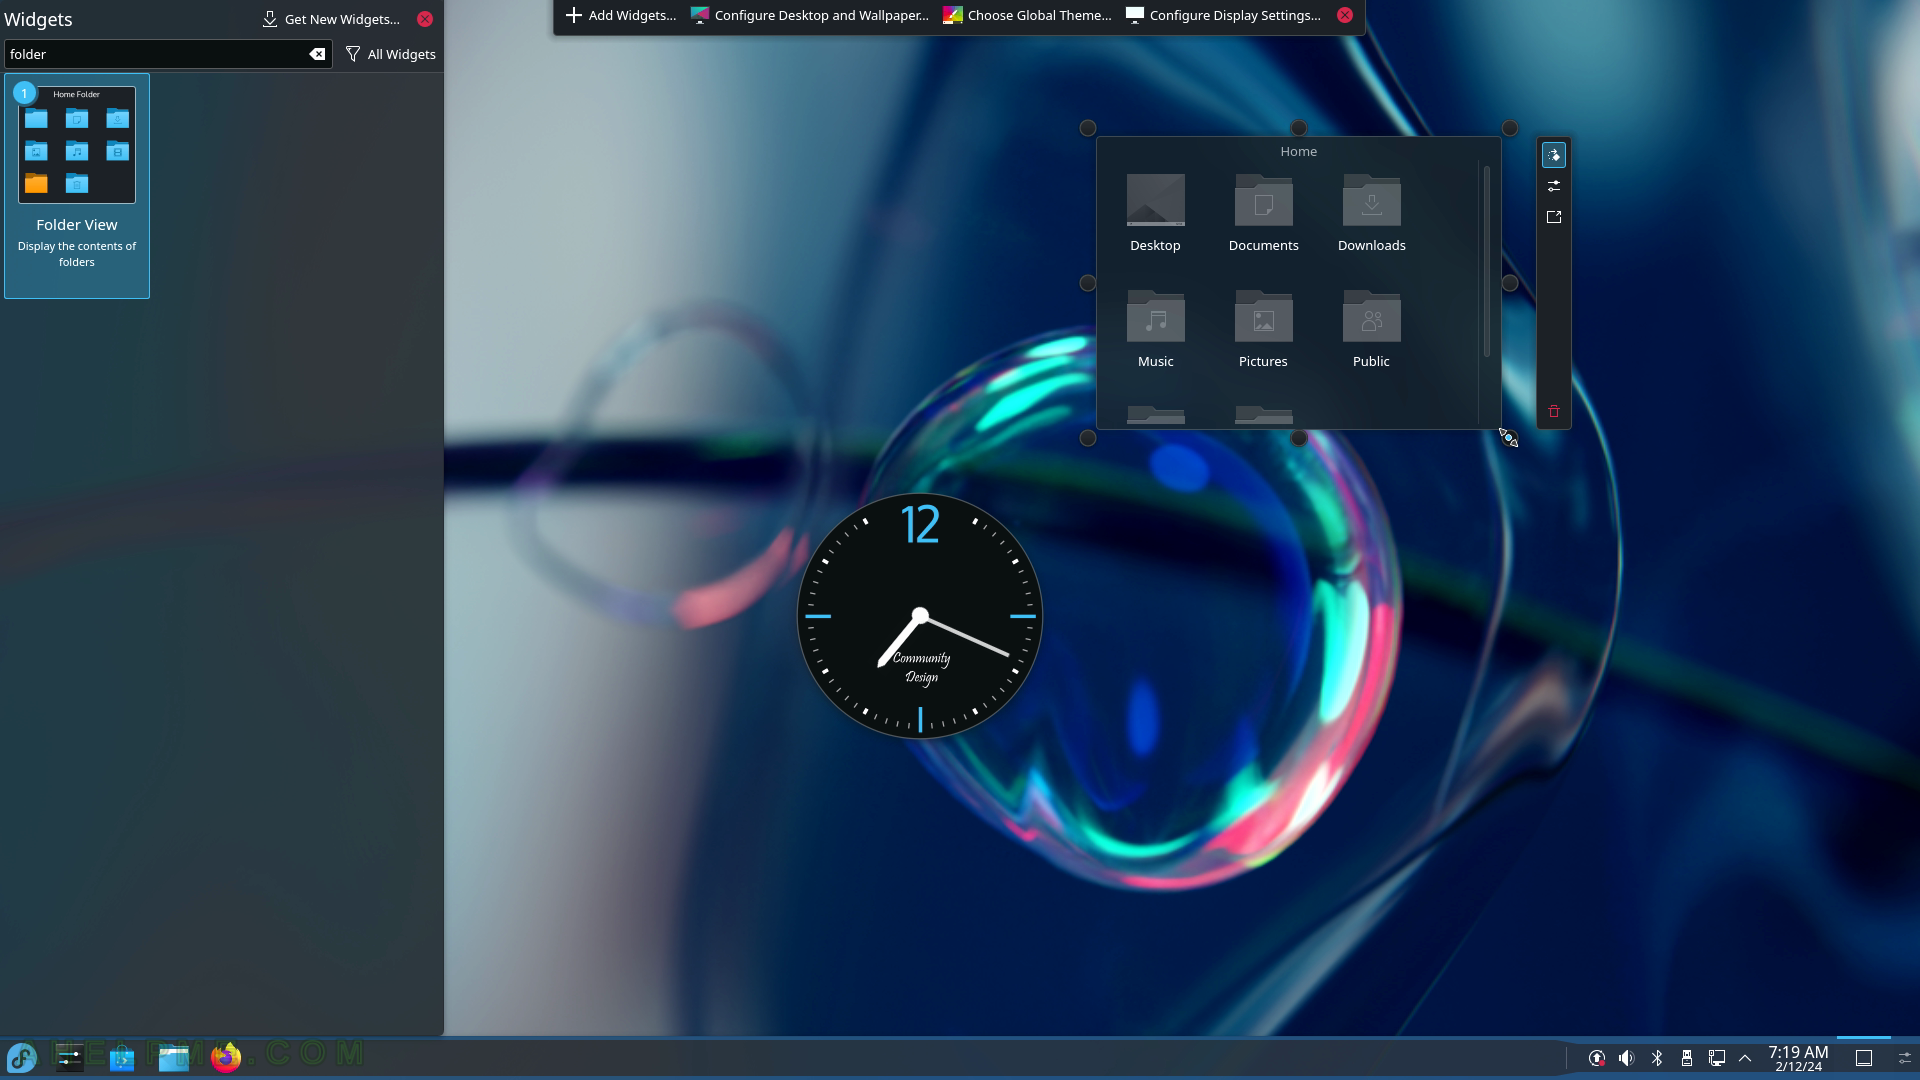
SCREENSHOT 32) In edit mode, the widgets may be moved, resized, configured, and removed.
SCREENSHOT 33) To change the look and feel of the bottom toolbar (Panel Toolbox), right-click on it to show the context menu and then “Enter Edit Mode”.
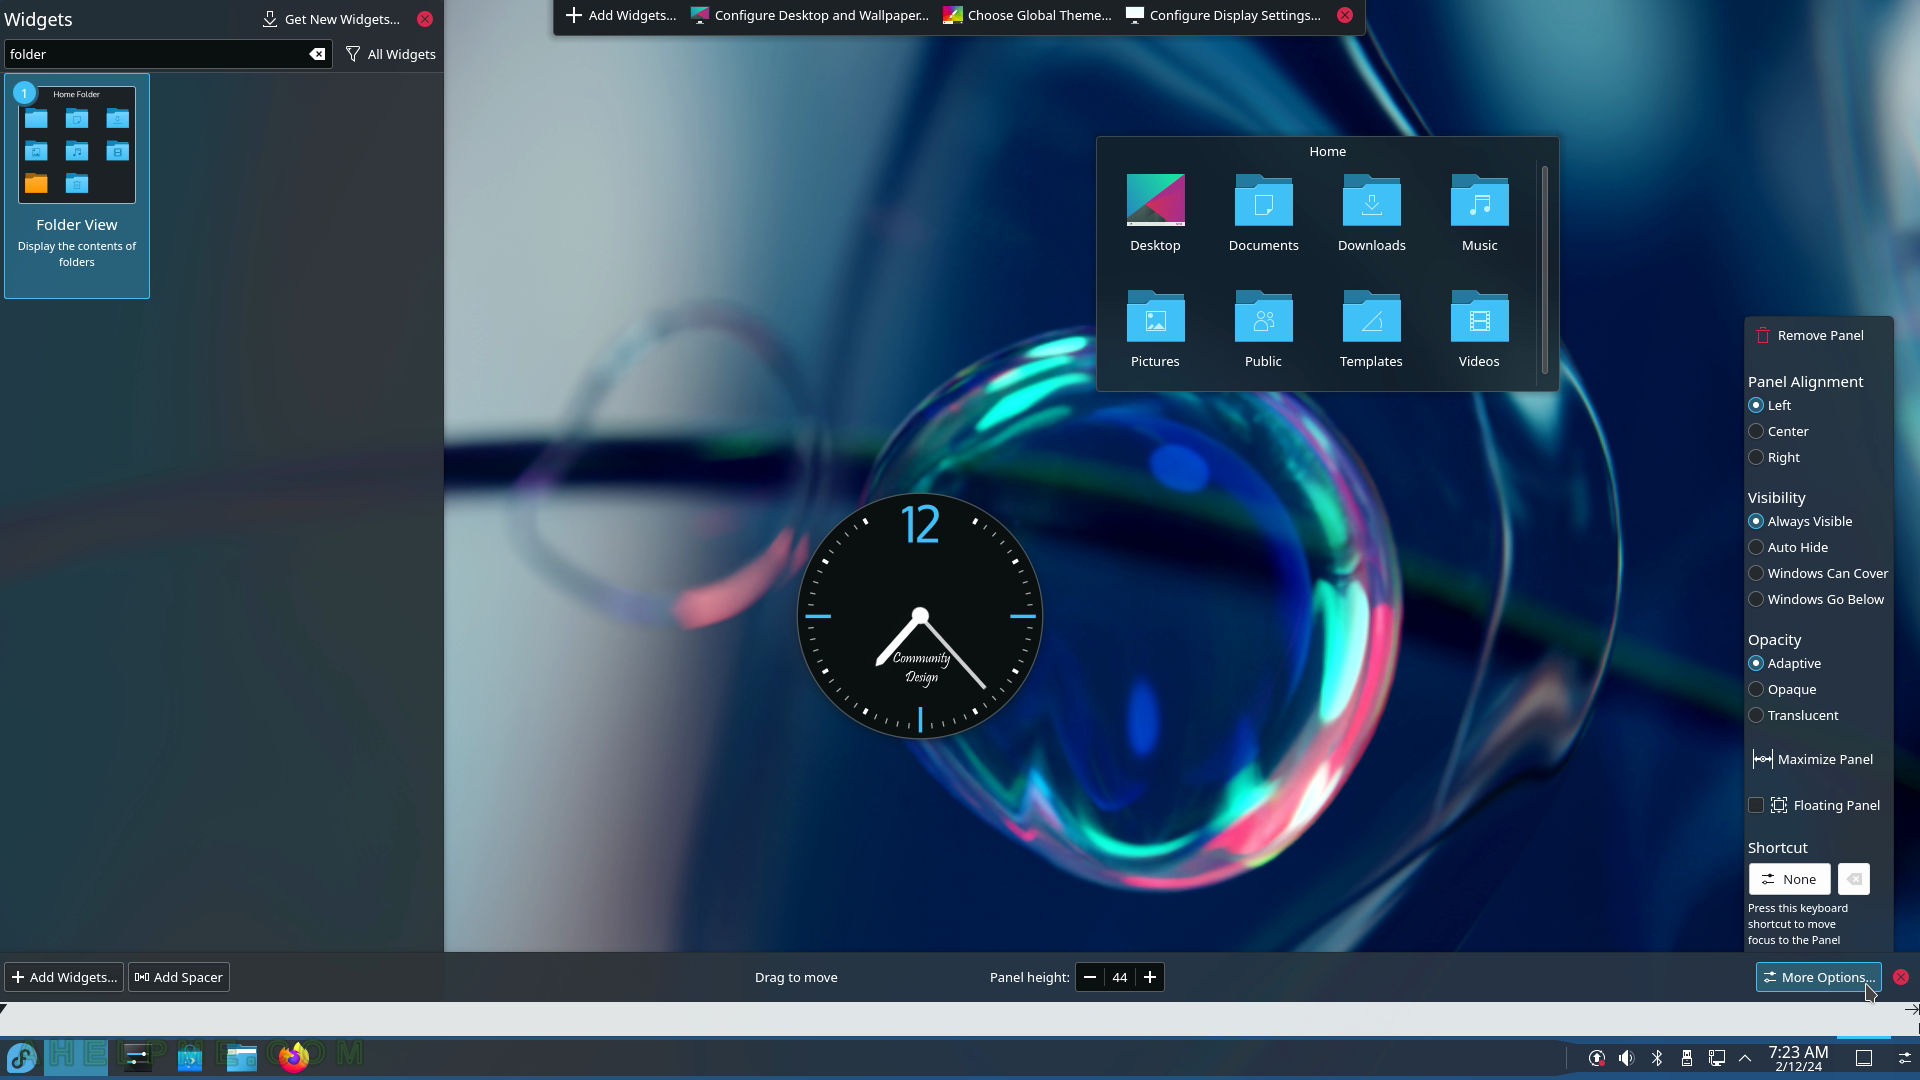
SCREENSHOT 34) This is the edit mode of the bottom toolbox called Panel Toolbox.
Multiple options: Panel Alignment – Left, Center, Right; Visibility – Always Visible, Auto Hide, Windows Can Cover, Windows Go Below; Opacity – Adaptive, Opaque, Translucent, Maximize Panel, and Floating Panel.
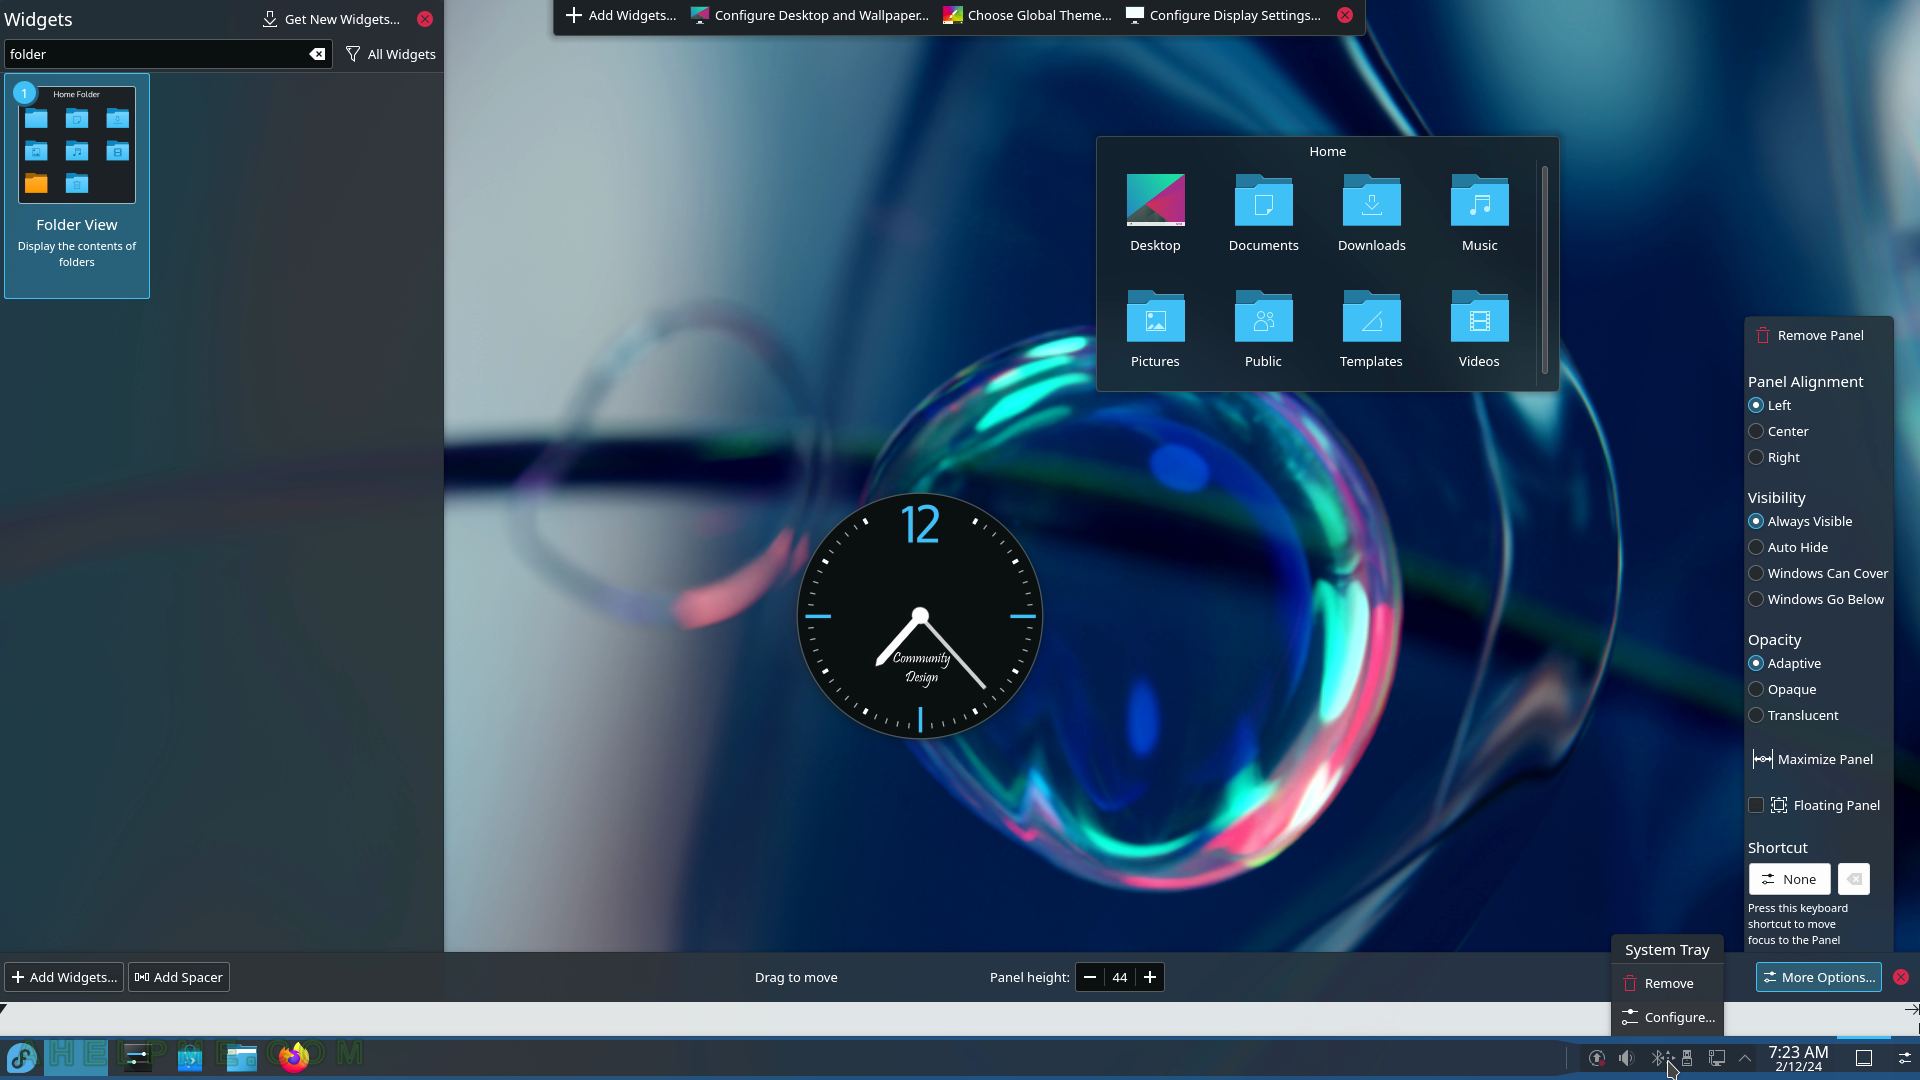
SCREENSHOT 35) The Panel Toolbox hosts different widgets like the system tray, which can be moved to another place on the Panel Toolbox.
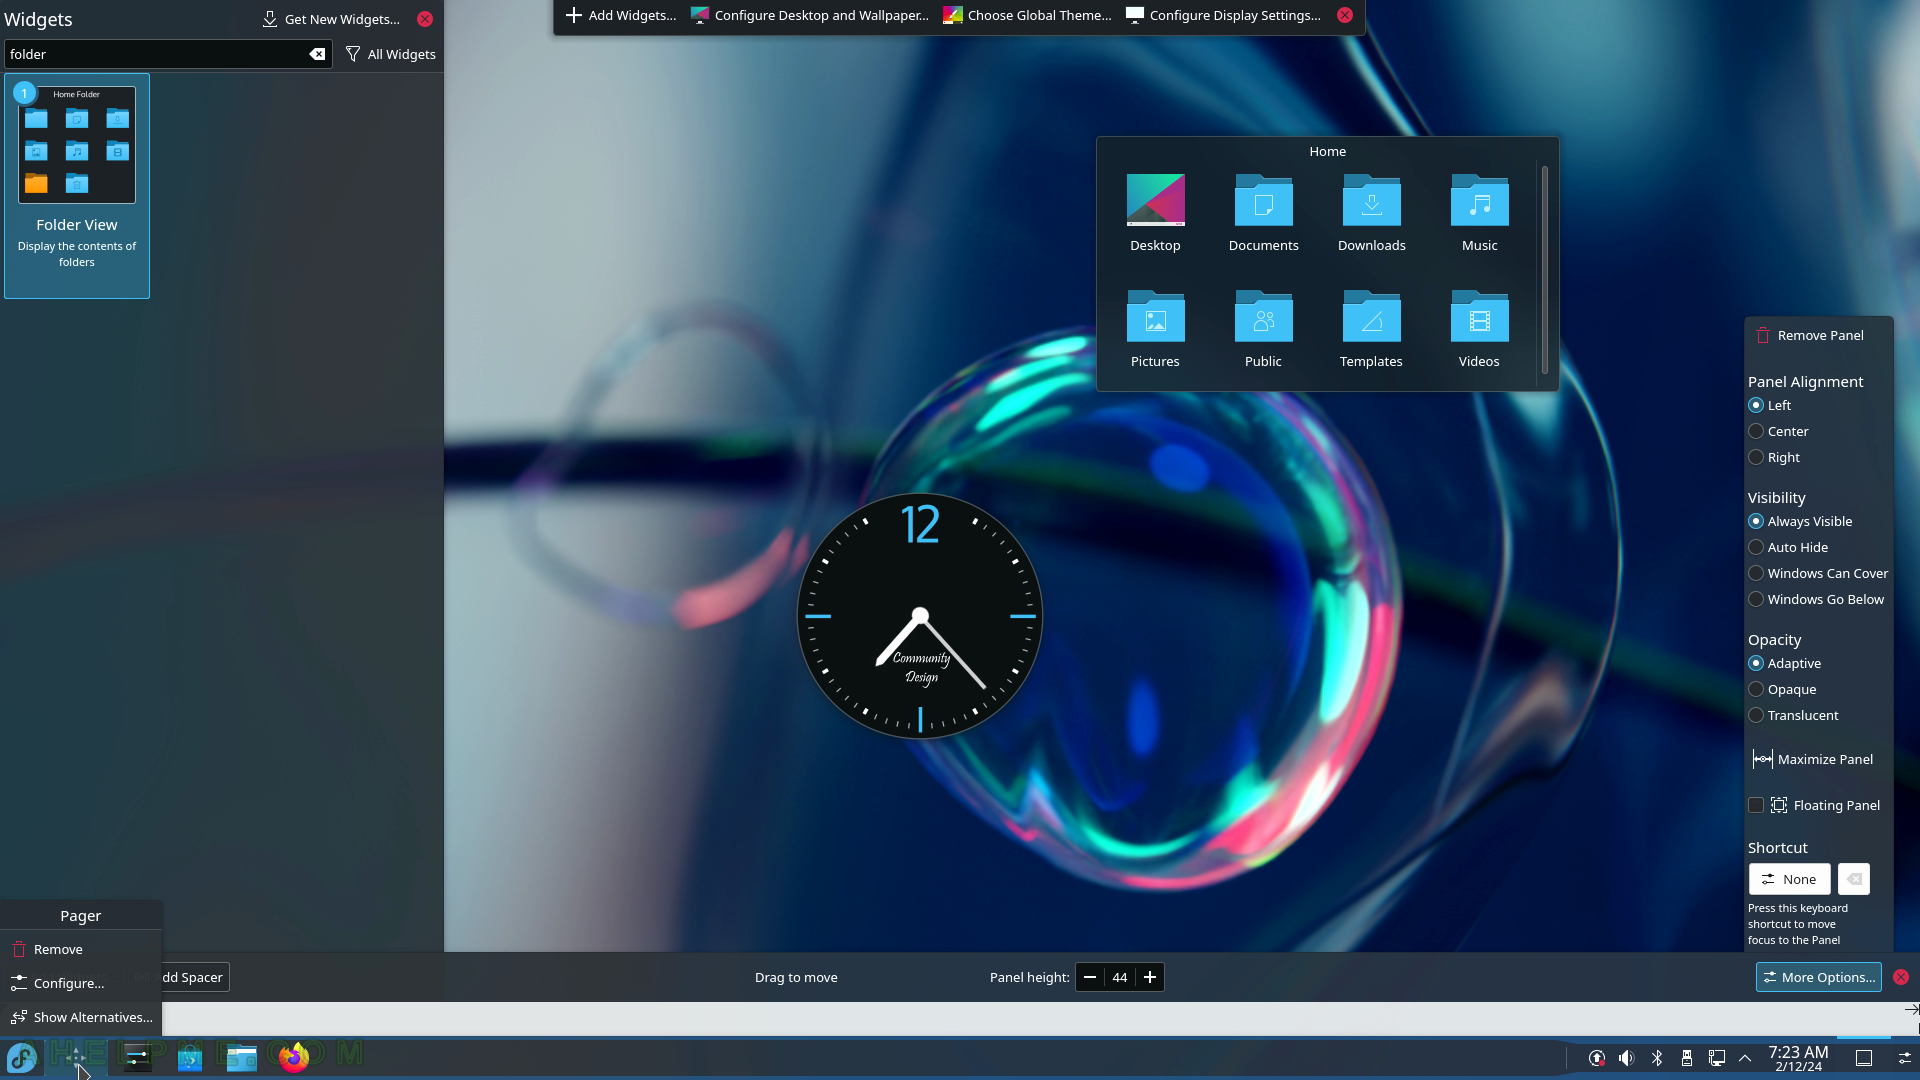
SCREENSHOT 36) The page application – shows a preview of the different desktop screens if there is more than one.
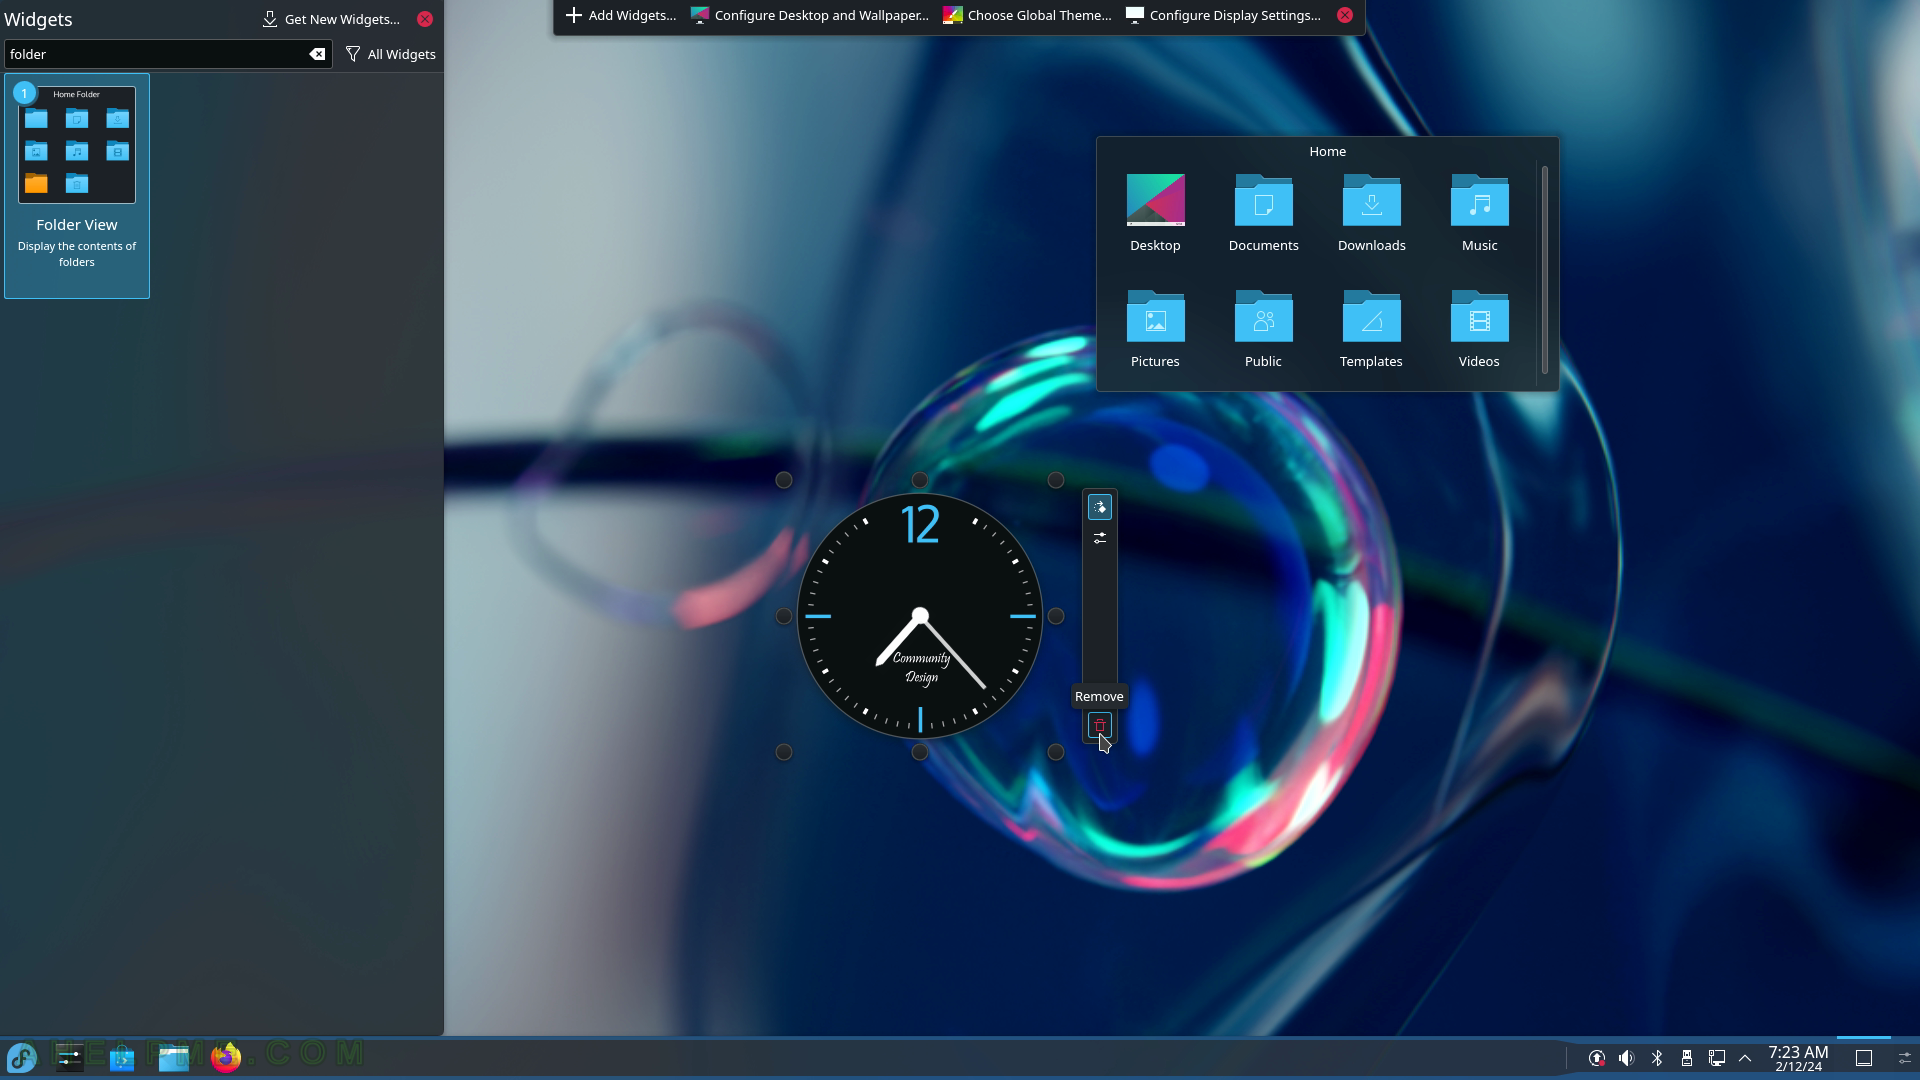
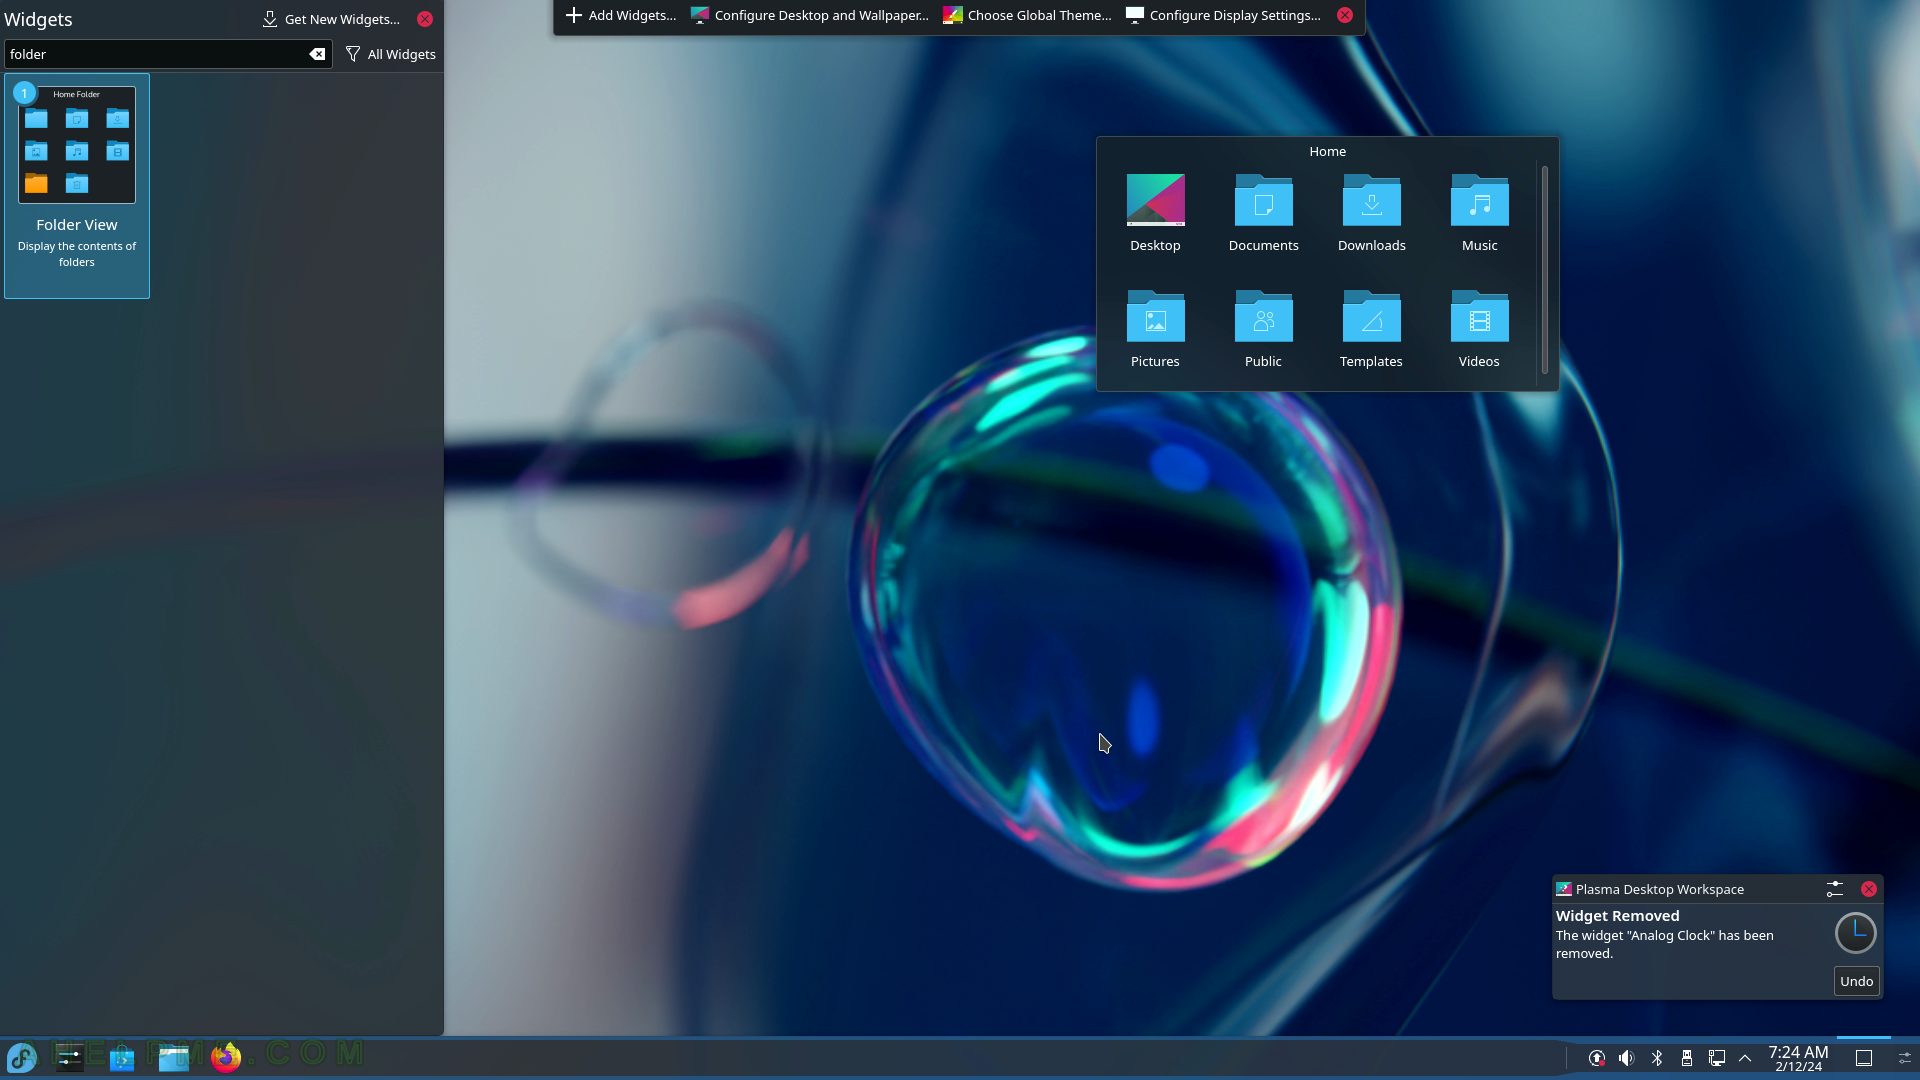
SCREENSHOT 37) Remove the “Analog clock” widget with the right-click context menu.
SCREENSHOT 38) The widget “Analog Clock” has been removed.
You may undo the operation.
SCREENSHOT 39) Switch between programs with Alt-tab.
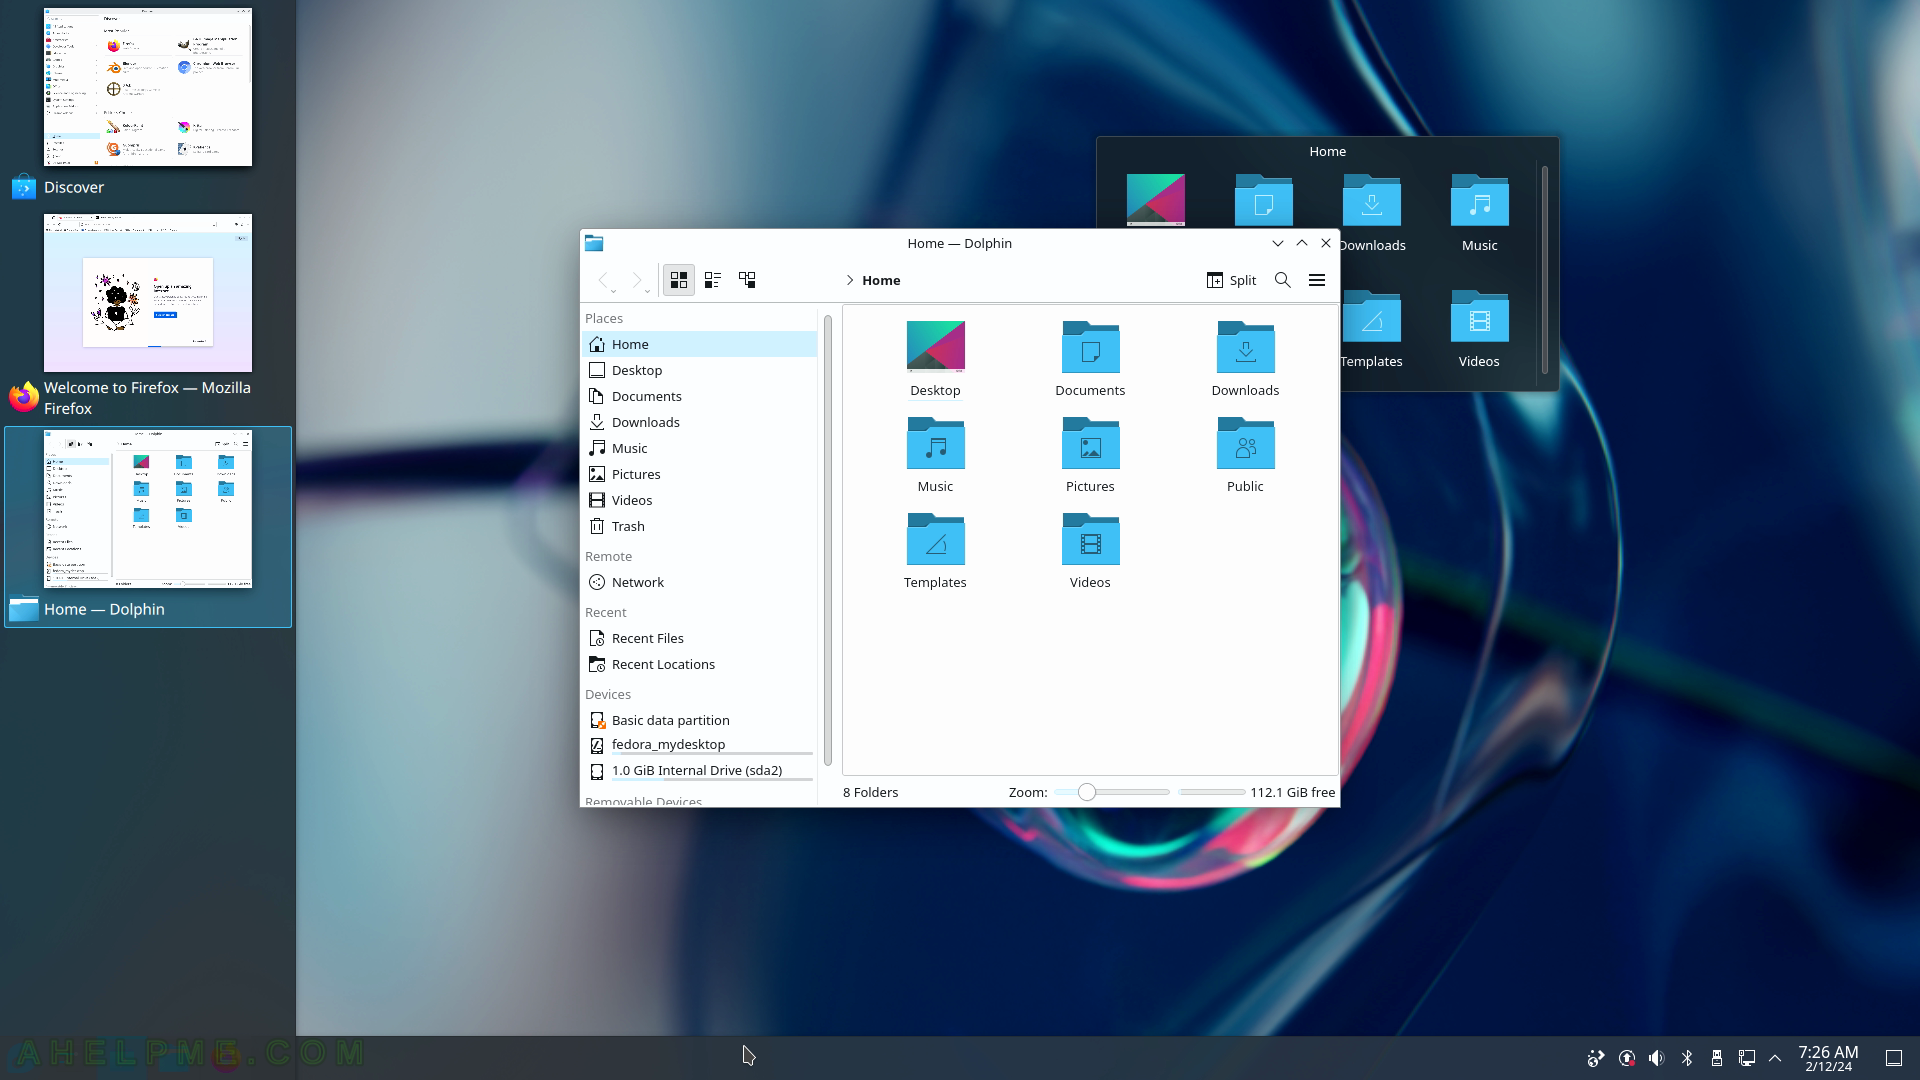
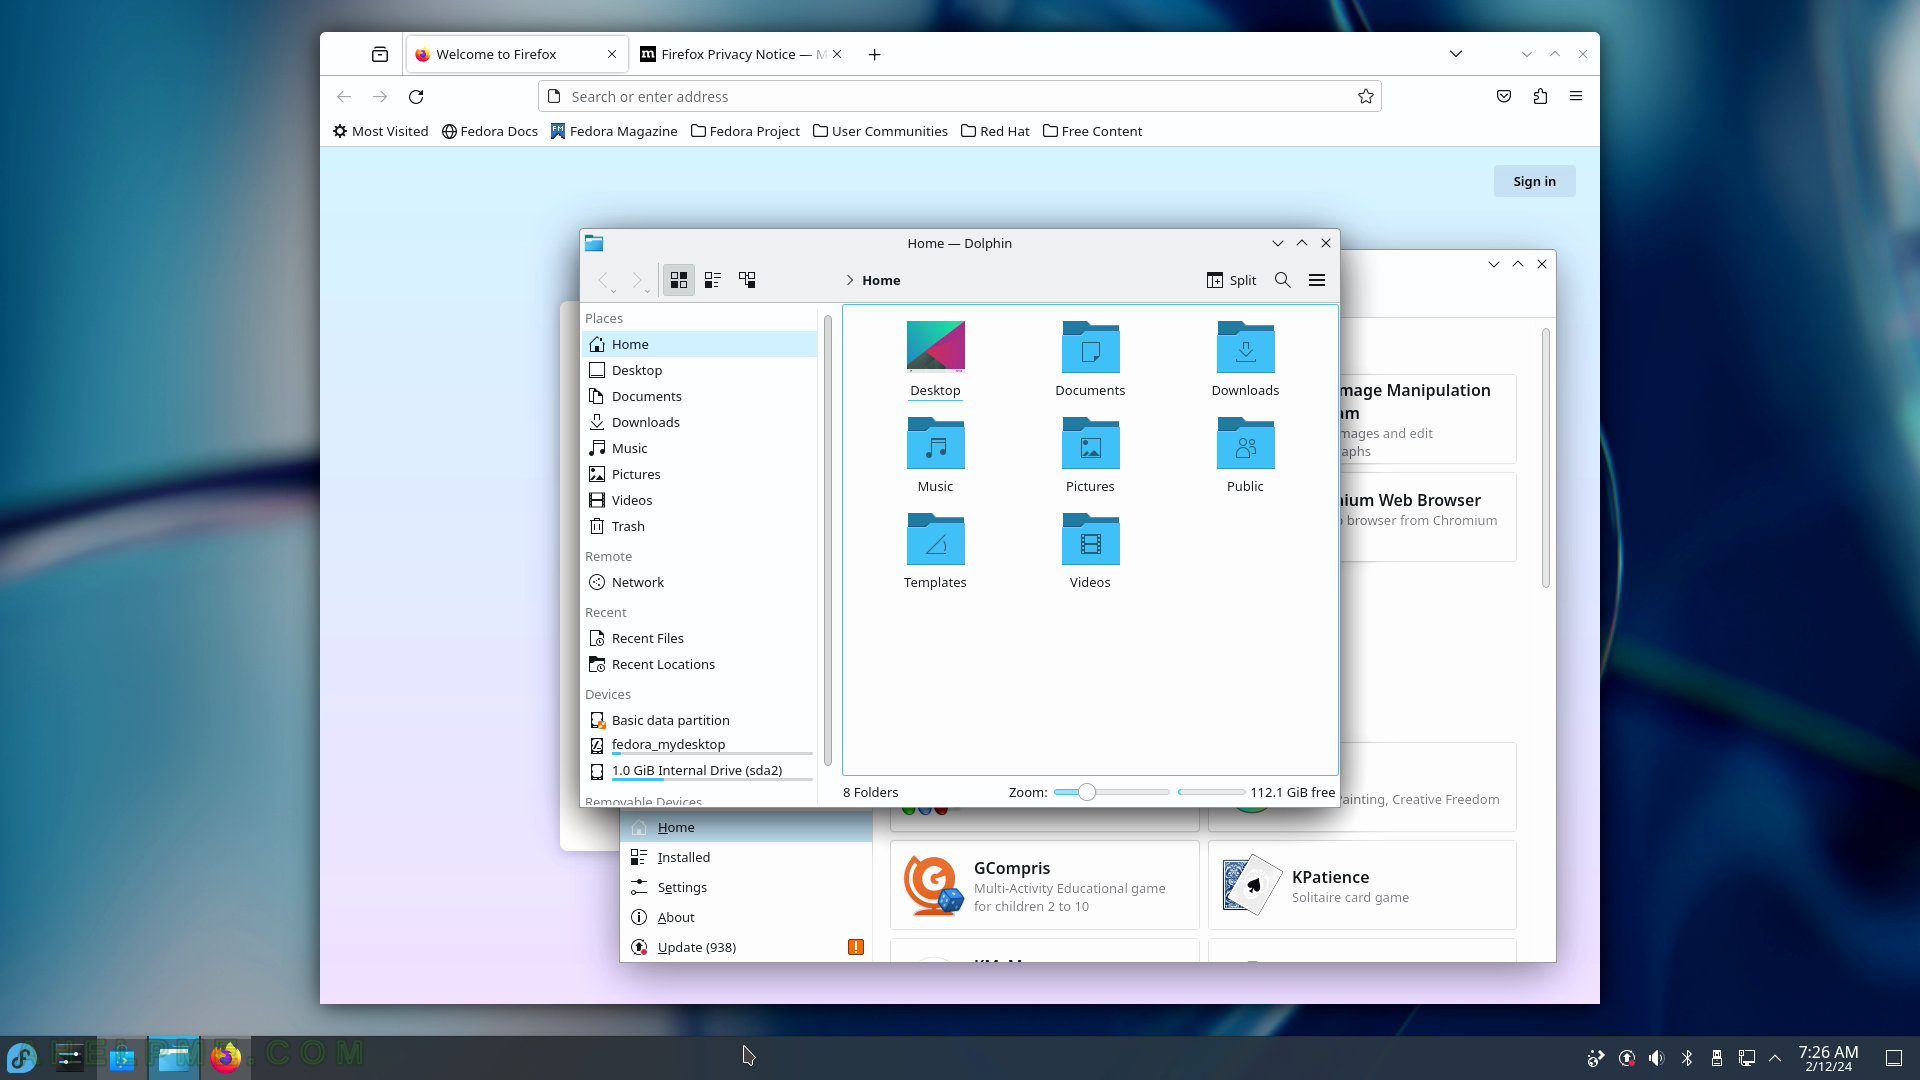
SCREENSHOT 40) Three opened applications and the Dolphin application on focus.
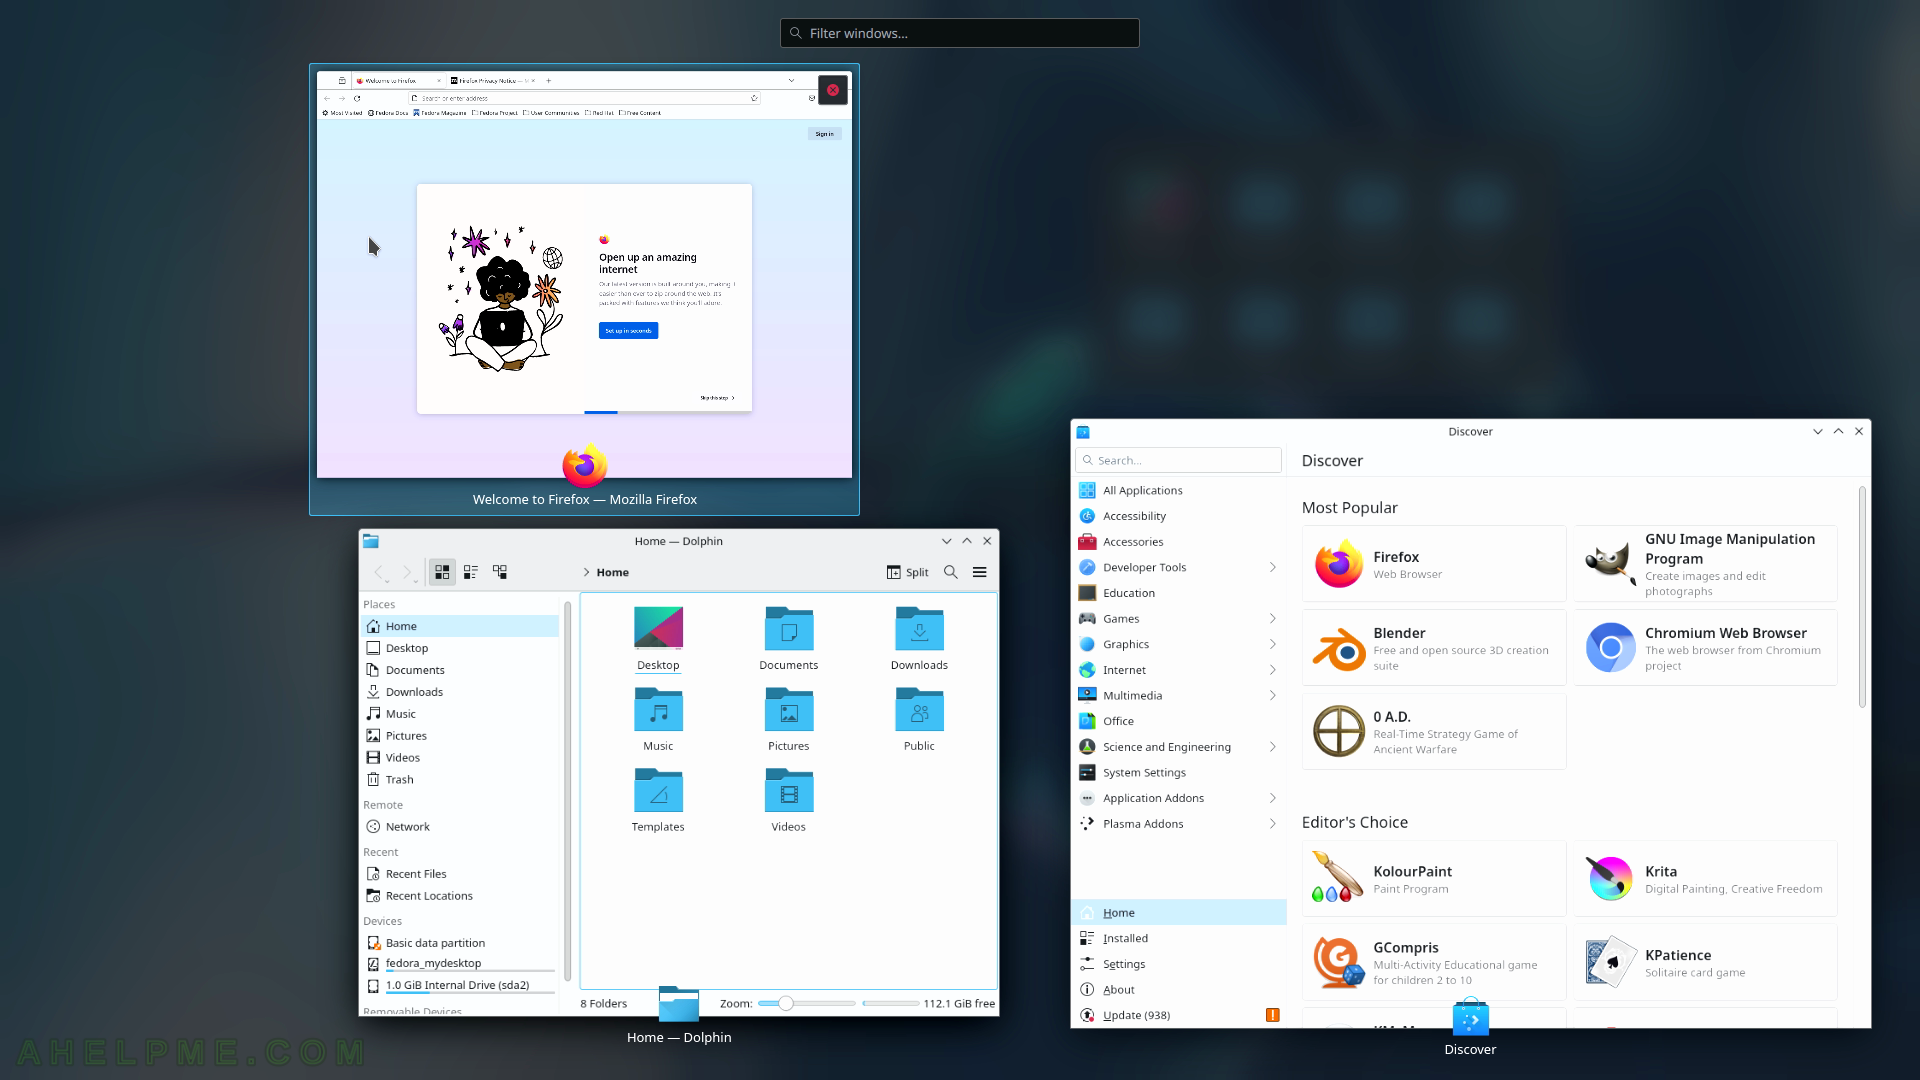
SCREENSHOT 41) The upper right corner task switcher.
Go with the mouse to the upper right corner to activate the task switch. All windows are visible and the one with the mouse over it is brighter.
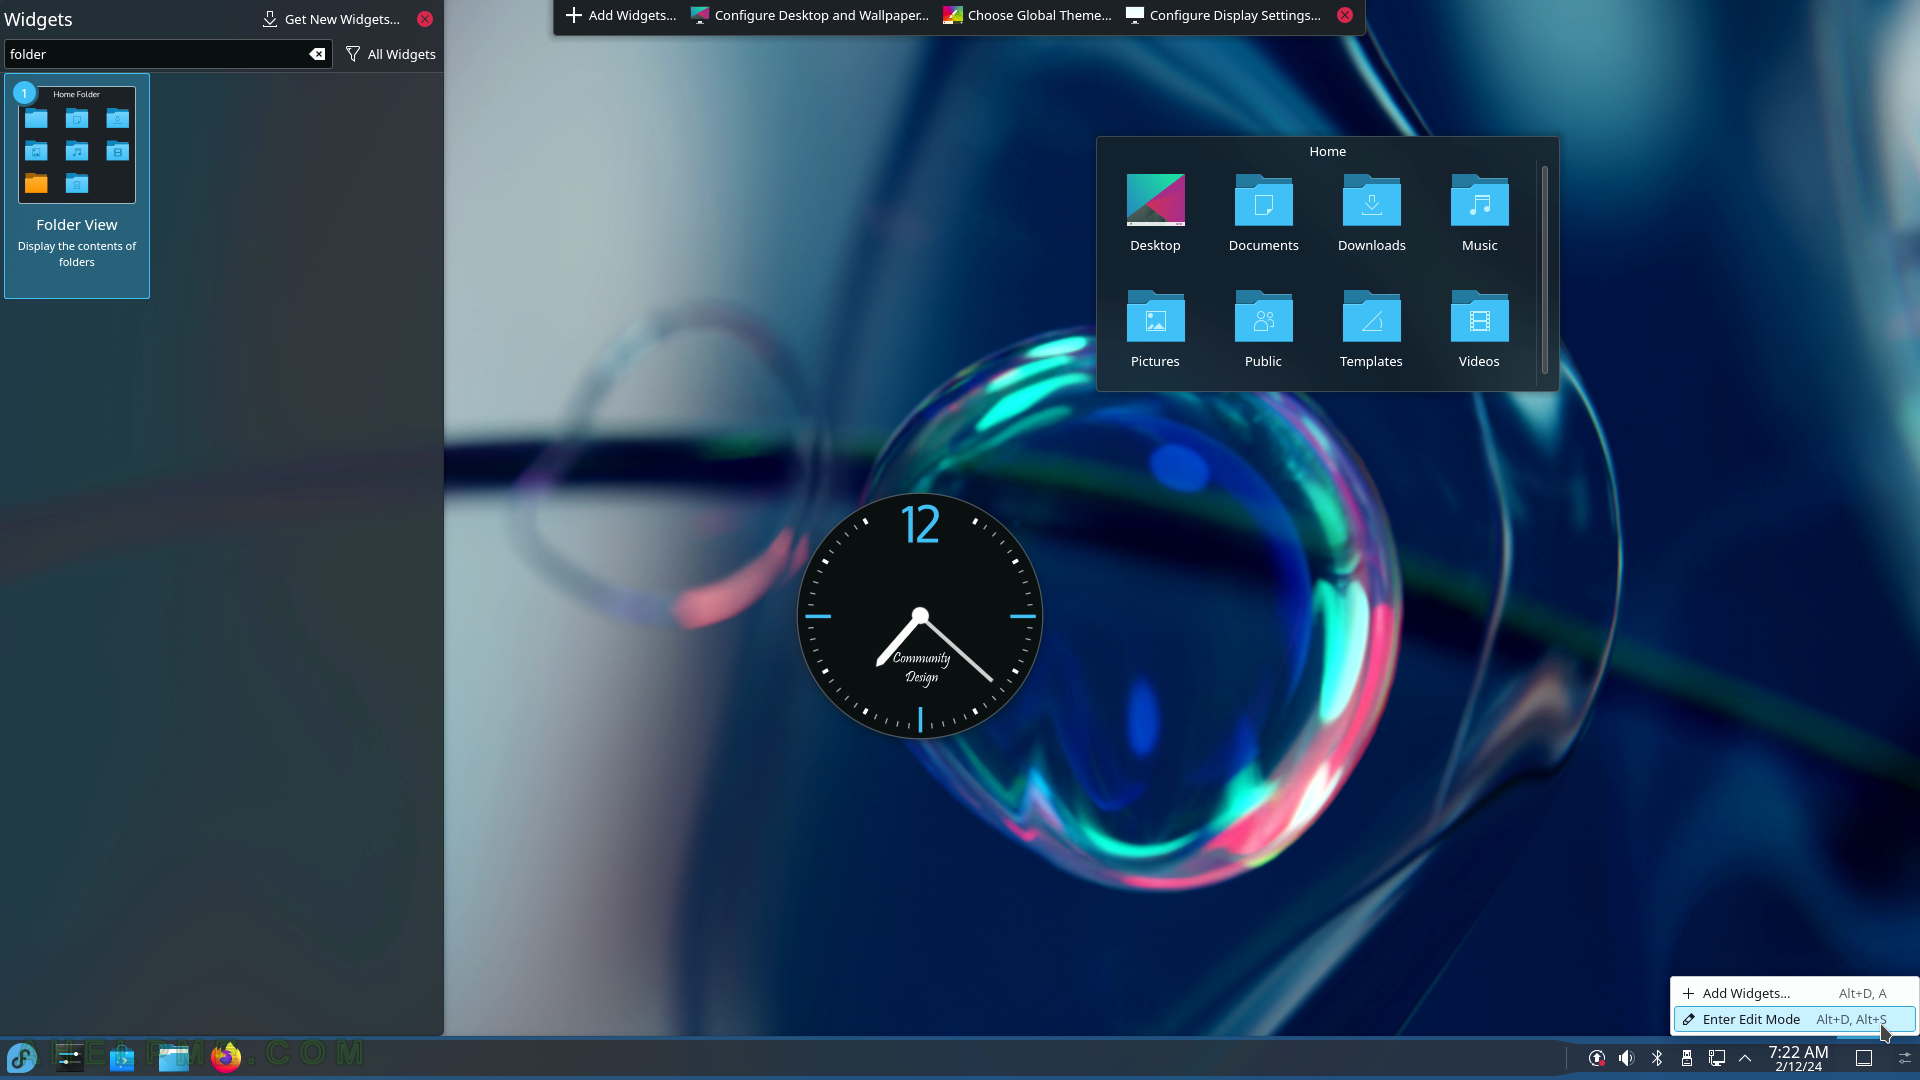
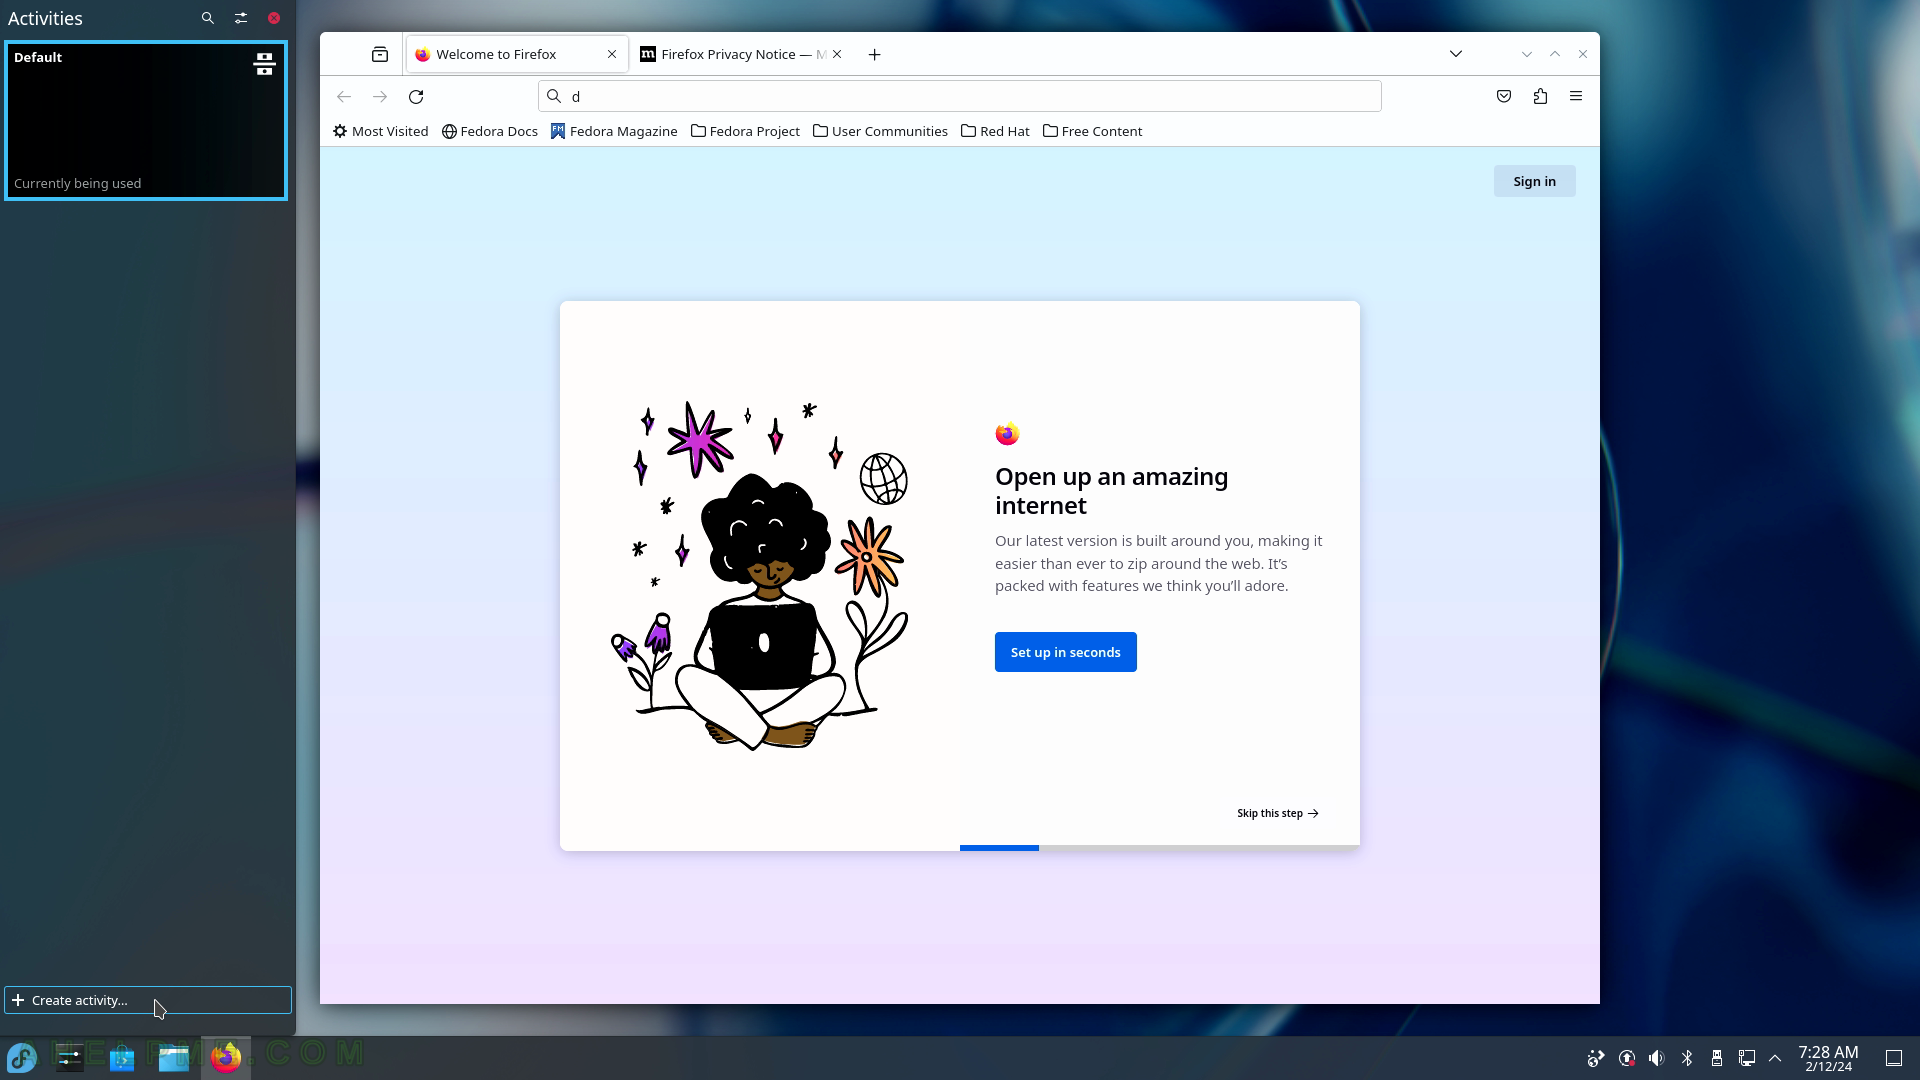
SCREENSHOT 42) Switch or create a new Activity with the Alt+D+A.
Click on “Create activity…” to create a new activity. Here is more on KDE Plasma Activity – https://docs.kde.org/stable5/en/plasma-desktop/plasma-desktop/activities-interface.html.
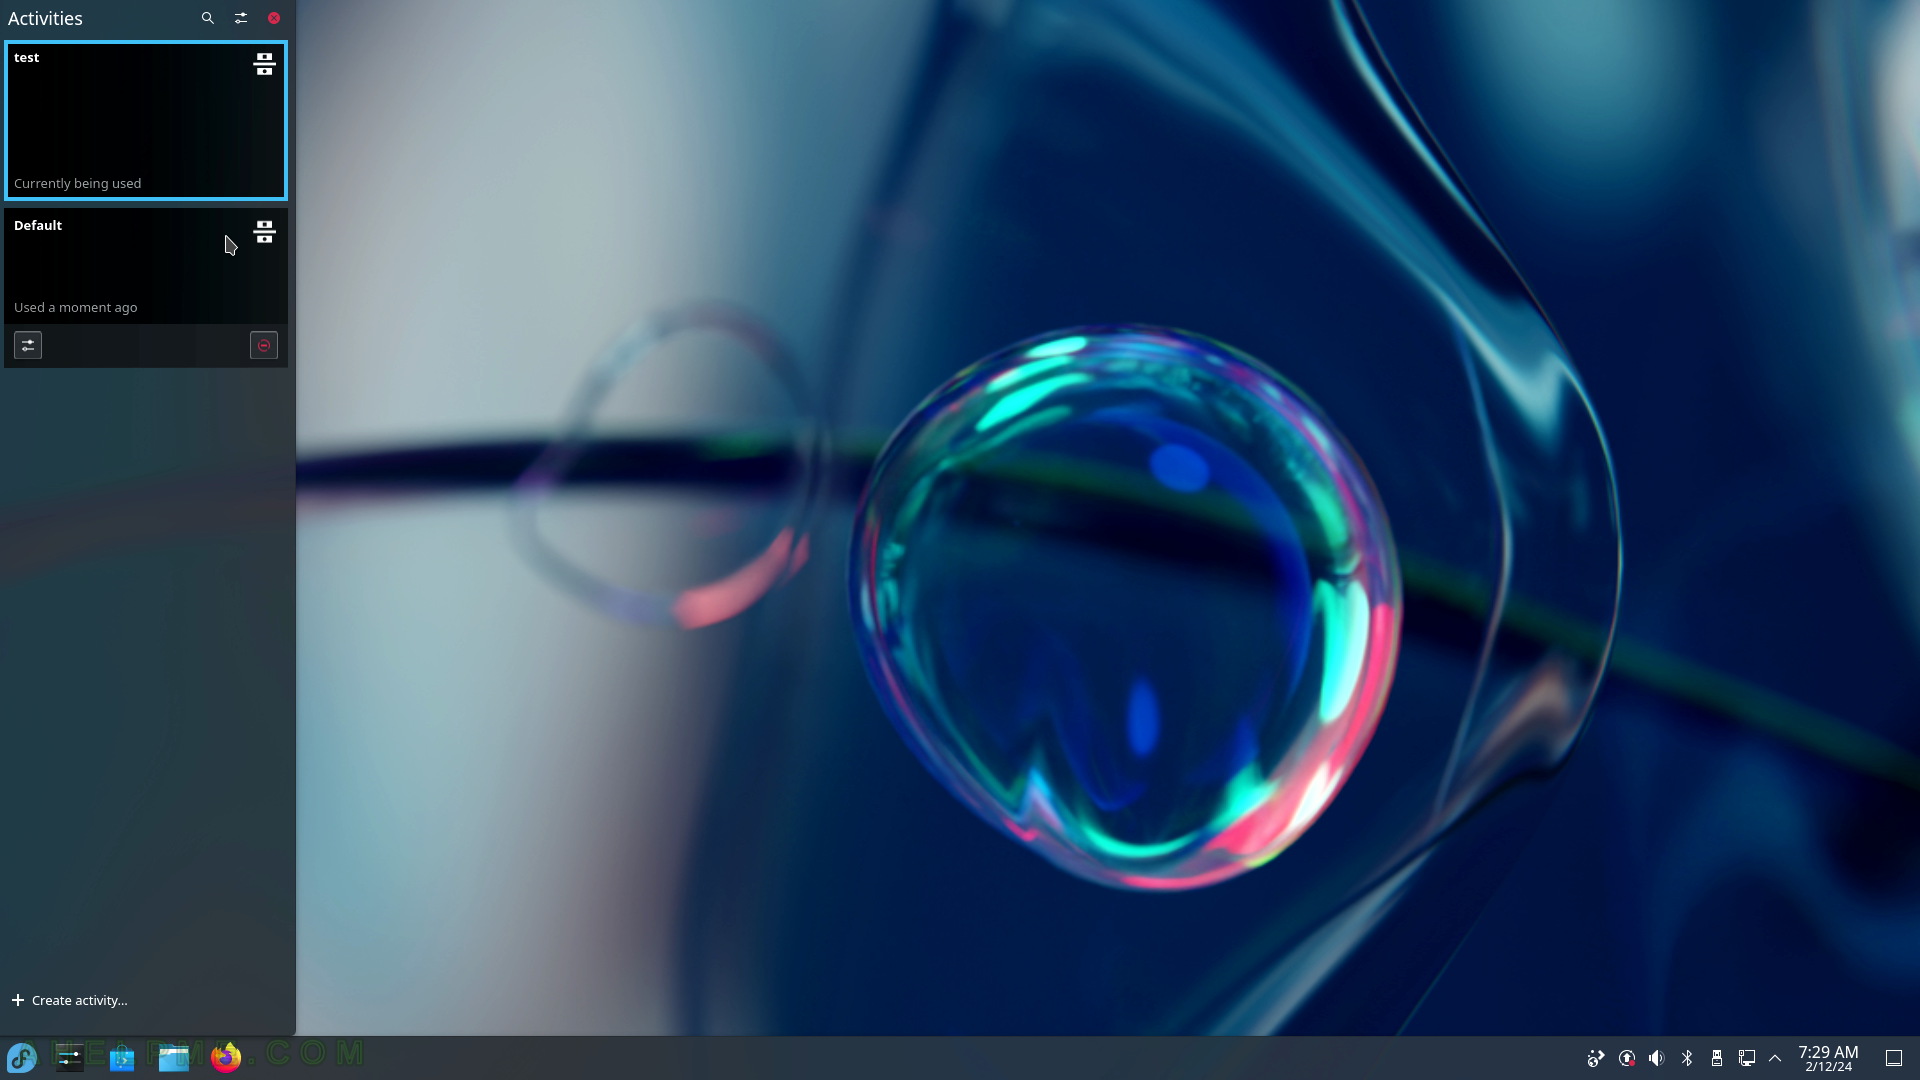
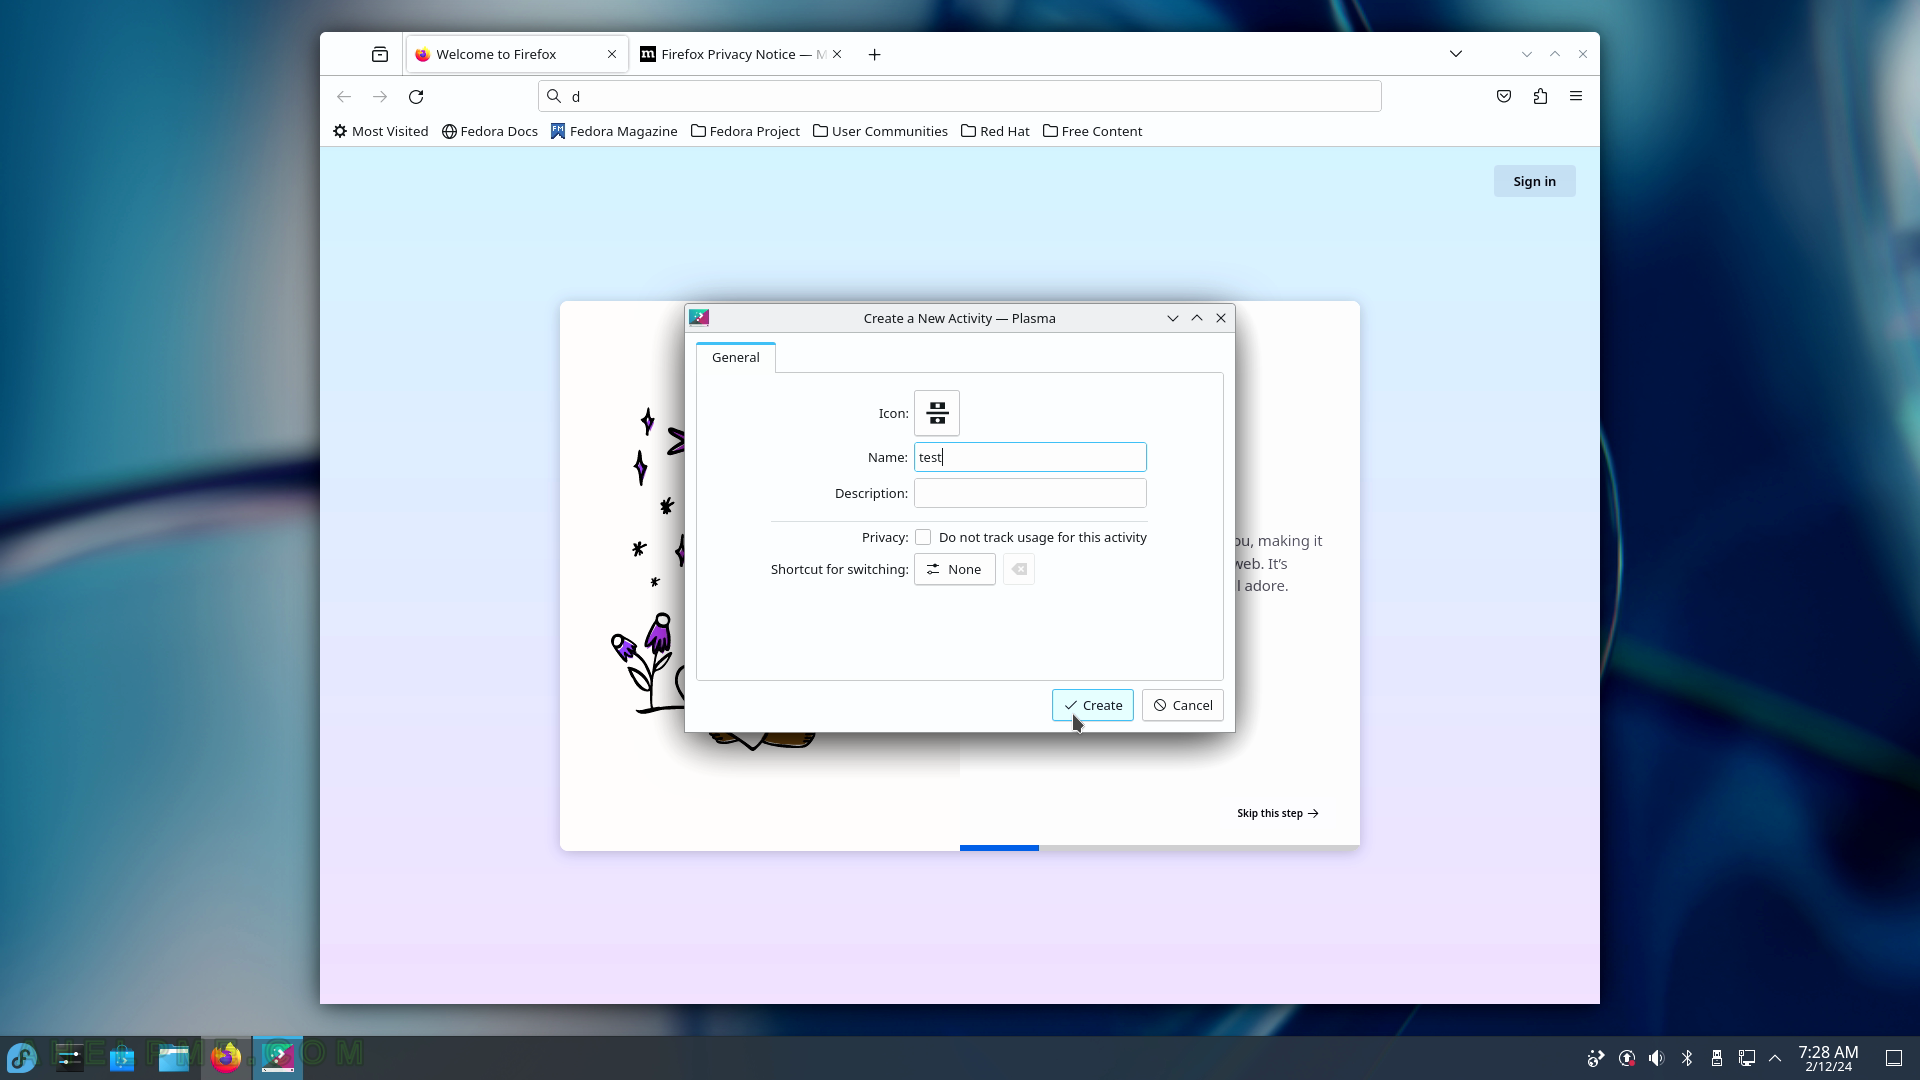
SCREENSHOT 43) Create a new activity with the name “test”.
SCREENSHOT 44) Switch between the activities by clicking on the one you want to switch to.
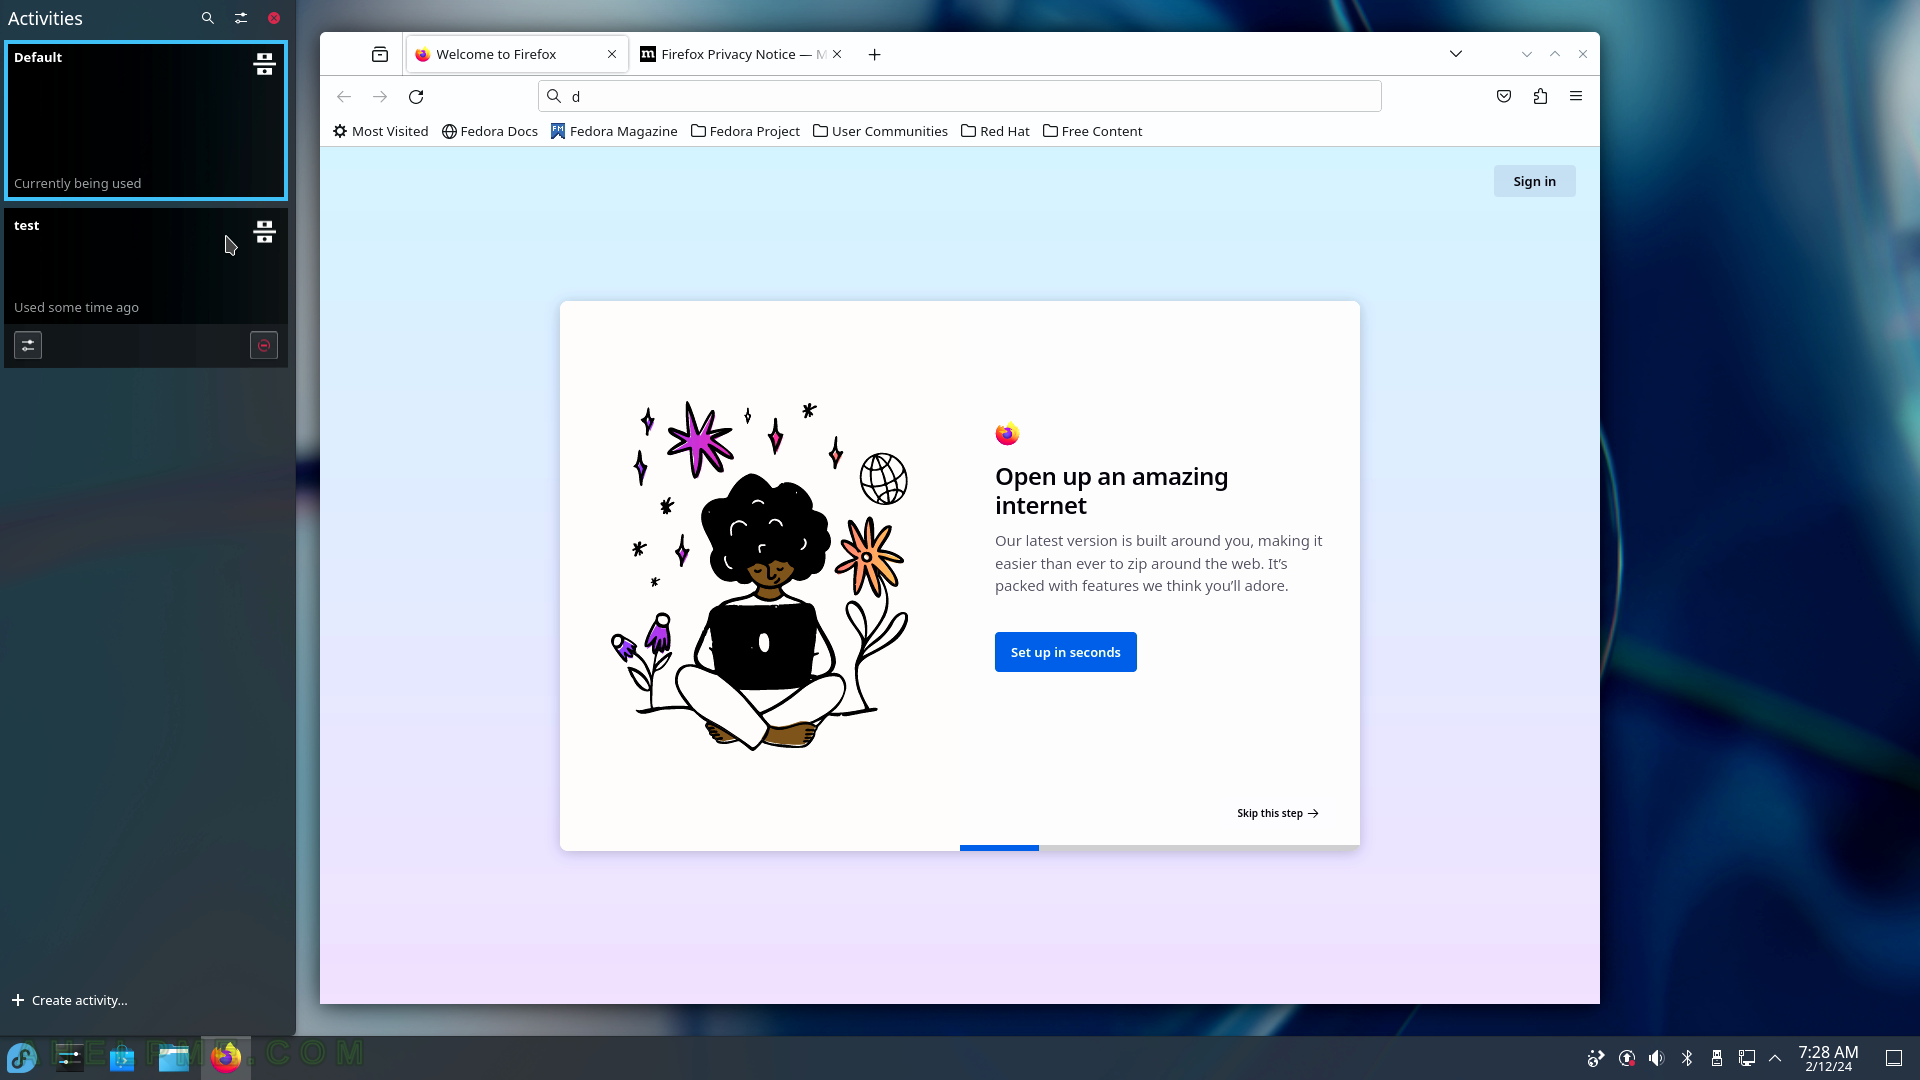
SCREENSHOT 45) The new activity “test” is active and on focus now.