Automatically start zram swap device on boot with systemd zram-generator under CentOS Stream 9

zram-generator package will install necessary tools to automate the creation on boot the compressed RAM devices. This article focuses on compressed swap devices.
main menu
install

As of writing this article, the latest version in the package system under CentOS Stream 9 is 0.32. The the latest version on the original page of the software is much higher number 1.1.2 and many of the following configuration options are marked as OBSOLETE, but they work in the 0.32 version included in CentOS Stream 9 (and the new configuration options does not!). That’s why it is important to check the included sample configuration file.
The package installs no configuration file, just a sample configuration file – /usr/share/doc/zram-generator/zram-generator.conf.example.
zram in the kernel space – https://docs.kernel.org/admin-guide/blockdev/zram.html

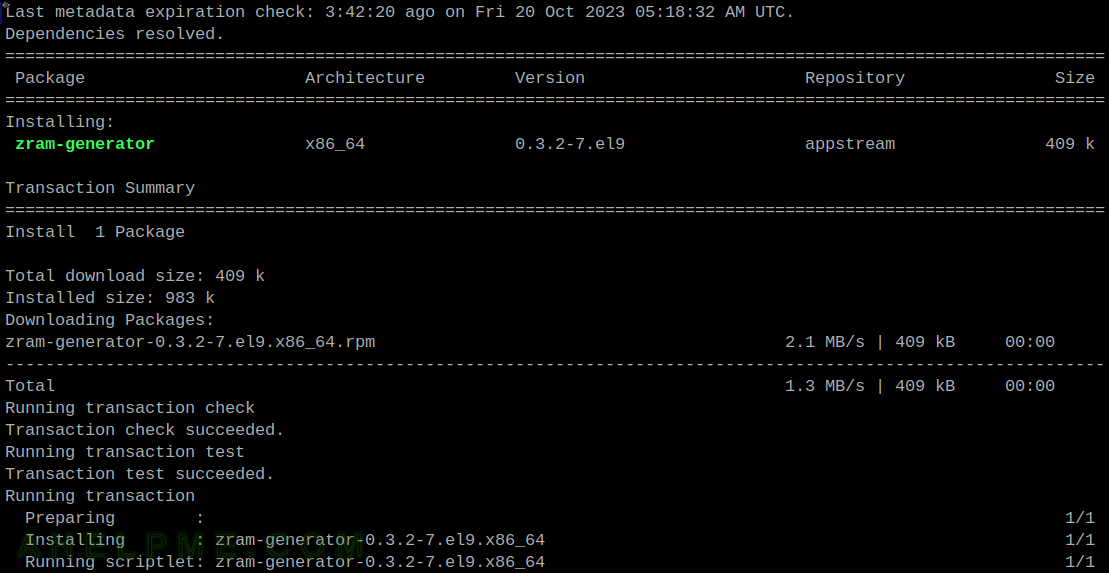
STEP 1) Install the zram-generator

It is easy and straightforward, just a single package:

[root@srv) ~]# dnf install -y zram-generator
Last metadata expiration check: 3:42:20 ago on Fri 20 Oct 2023 05:18:32 AM UTC.
Dependencies resolved.
==============================================================================================================
 Package                      Architecture         Version                      Repository               Size
==============================================================================================================
Installing:
 zram-generator               x86_64               0.3.2-7.el9                  appstream               409 k

Transaction Summary
==============================================================================================================
Install  1 Package

Total download size: 409 k
Installed size: 983 k
Downloading Packages:
zram-generator-0.3.2-7.el9.x86_64.rpm                                         2.1 MB/s | 409 kB     00:00    
--------------------------------------------------------------------------------------------------------------
Total                                                                         1.3 MB/s | 409 kB     00:00     
Running transaction check
Transaction check succeeded.
Running transaction test
Transaction test succeeded.
Running transaction
  Preparing        :                                                                                      1/1 
  Installing       : zram-generator-0.3.2-7.el9.x86_64                                                    1/1 
  Running scriptlet: zram-generator-0.3.2-7.el9.x86_64                                                    1/1 
  Verifying        : zram-generator-0.3.2-7.el9.x86_64                                                    1/1 

Installed:
  zram-generator-0.3.2-7.el9.x86_64                                                                           

Complete!

STEP 2) Create a configuration and start the service

By default, there is no configuration file. The best place for it is /etc/systemd/zram-generator.conf.
Here is an example, which will fulfill the following:

  • Set the maximum RAM of the system, because it is a hard-coded 9G, by default. And if not redefined the device will be with 9G max memory no matter how much is tuned by the other options.
  • Set the RAM of the compressed device.
  • Set the fraction of the ram, which may be used by the device. Again as with the above configuration option, it is important, because it limits the maximum available memory to allocate for the compressed device.
  • Set the type of the device – filesystem or swap device.

There is the real world example configuration – /etc/systemd/zram-generator.conf

[root@srv ~]# cat /etc/systemd/zram-generator.conf
[zram0]
host-memory-limit = none
max-zram-size = 32768
zram-fraction = 1.0
compression-algorithm = zstd
swap-priority = 100
fs-type = swap

Keep on reading!

Create graph for swap usage using Grafana, InfluxDB and collectd

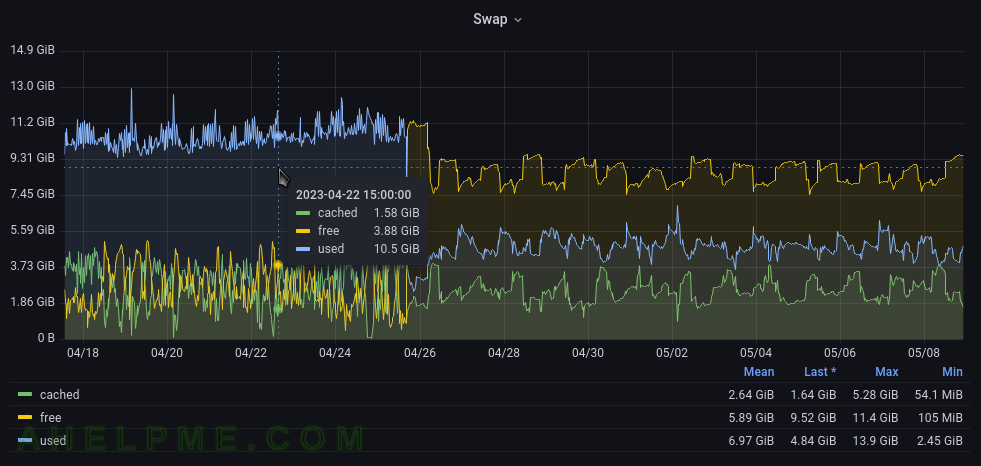
This article shows how to make a graph showing a Linux machine’s swap memory. This plugin gathers physical swap memory utilization – cached, free, and used. In general, this module collects simple data for the swap memory like the Linux command free. The purpose of this article is to make a graph showing swap memory usage and consumption.

main menu
example usage of swap usage

The Linux machine is using collectd to gather the swap memory statistics and send them to the time series back-end – InfluxDB. Grafana is used to visualize the data stored in the time series back-end InfluxDB and organize the graphs in panels and dashboards. Check out the previous articles on the subject to install and configure such software to collect, store and visualize data – Monitor and analyze with Grafana, influxdb 1.8 and collectd under CentOS Stream 9, Monitor and analyze with Grafana, influxdb 1.8 and collectd under Ubuntu 22.04 LTS and Create graph for Linux CPU usage using Grafana, InfluxDB and collectd
The collectd daemon is used to gather data on the Linux system and to send it to the back-end InfluxDB.

Key knowledge for the Swap collectd plugin

  • The collectd plugin Swap official page – https://collectd.org/wiki/index.php/Plugin:Swap
  • The Swap plugin options – https://collectd.org/documentation/manpages/collectd.conf.5.shtml#plugin_swap This article relies on the default plugin’s options
    <Plugin swap>
    #       ReportByDevice false
    #       ReportBytes true
    #       ValuesAbsolute true
    #       ValuesPercentage false
    #       ReportIO true
    </Plugin>
    

    All the devices are reported as a single device not per device and bytes and absolute values are used not percentages.

  • to enable the Swap plugin, load the plugin with the load directive in /etc/collectd.conf
    LoadPlugin swap
    
  • The Swap plugin collects data every 10 seconds.
  • swap_value – includes a single Gauge value under swap type – a metric, which value that can go up and down. It is used to count the swap occupancy for the different categories (the category is saved in a tag value of one record, and the categories are free, used and etc.). So there are multiple gauge values with different tags for the different swap categories at a given time. And a second counter under swap_io type
    tag key tag value description
    host server hostname The name of the source this measurement was recorded.
    type swap | swap_io swap is the type, which will group the swap usage categories (cached, free, used). The swap_io groups the swap IO usage – how many IO operations are executed (in, out).
    type_instance swap categories The categories are cached, free, used.
  • A Gauge value – a metric, which value that can go up and down. More on the topic – Data sources.

    A GAUGE value is simply stored as-is. This is the right choice for values which may increase as well as decrease, such as temperatures or the amount of memory used.

  • A DERIVE value – a metric, in which the change of the value is interesting. For example, it can go up indefinitely and it is important how fast it goes up, there are functions and queries, which will give the user the derivative value.

    These data sources assume that the change of the value is interesting, i.e. the derivative. Such data sources are very common with events that can be counted, for example, the number of emails that have been received per second by an MTA since it was started. The total number of emails is not interesting.

  • To cross-check the value, the user can use the /proc/swap, /proc/meminfo and /proc/vmstat
    [root@srv ~]# cat /proc/swaps
    Filename                                Type            Size    Used    Priority
    /dev/zram0                              partition       16777212        2533856 -1
    [root@srv ~]# cat /proc/meminfo |egrep -e "^(SwapTotal:|SwapFree:|SwapCached:)"
    SwapCached:       175416 kB
    SwapTotal:      16777212 kB
    SwapFree:       14202396 kB
    [root@srv ~]# cat /proc/vmstat |egrep -e "^(pswpout|pswpin)"
    pswpin 877611681
    pswpout 376878365
    

    The swap_io values are multiplied by the page size of the current system. For Linux, it is 4K. Note, by default, the ReportBytes collectd option is not enabled, so the swap_io measurement is in pages since the last reboot. The swap_io counter is read from the pswpout and pswpin (i.e. they also represent the pages since the last reboot). In fact, these two values are really important to track down because they tell how much the system touches swap device(s) and it could point out a problem with the physical memory shortages.

Keep on reading!

zswap – enable – the write back compressed RAM of your swap

Zswap is an interesting way to extend your swap space with a memory write-back cache. Here is our simple explanation:
When this feature is enabled an amount of machine’s RAM is put aside and when the system needs to use swap space it will first write to this area and when it is full then it will use the disk. The data is also compressed on-the-fly by the kernel when saved in the memory allocated for the zswap device. The data is not compressed when saved on the disk. So it may happen your disk won’t be touch at all if the data could fit in the compressed memory pool. In addition, if the memory pool is full or it is at the maximum allowed space and no further extension is possible it occurs data evictions to the disk swap space using least recently used (LRU) algorithm.
Of course, it is a little bit more complex like it compresses only pages and there two handlers, which stores up to 2 compress pages in 1 and another one stores up to 3 pages in 1 (as to understand it even if you sometimes could store more compressed pages in let’s say 5 in 1 page it would not happen, the current memory allocator will compress pages up to what it is configured).
The most important piece of information is:

zswap uses RAM to make a compressed pool, which is first used when a swap out request is made. No writing to the disk is made.

You can effectively increase the amount of RAM using this feature because it’s like you have the ability to compress part of your RAM and the current algorithms show 2x to 3x times compression ratio. So separating 20% of 2G RAM of your virtual server for the zswap device you end up with 1.6G RAM + 400M zswap with the average compression ratio of 2x you may have 2.4G before the swap process touches your disks.

There are multiple cases where this feature is very handful such as:

  • virtualization – virtual servers – increase your RAM
  • reduce IO to the slow disks such as hard drives
  • reduce IO to the flash-based storage, which may increase their life
  • database or DNS servers could have great benefits because the compression ratio could be around 3x (i.e. 3 compressed pages stored in 1 real page)

If you do not know what is 1 page in computer terminology – it is the smallest unit of data for memory management and in most cases it is 4K, of course there are additional sizes 8K, 16K and more. You can see more here – https://en.wikipedia.org/wiki/Page_(computer_memory)

Enable zswap

To enable zswap device you must do the following:
Boot your kernel with the kernel parameter (reset is required, on some old kernels of 3.x this is the only option):

zswap.enabled=1

Or just enable it from /proc filesystem (runtime enable, not possible in old kernels):

echo 1 > /sys/module/zswap/parameters/enabled

When you disable it by setting to 0 it will not immediately decompress all pages and remove the pool. The pages in the pool must be invalidated or fault back to the memory. You may force the removal of all the compressed pages and the pool by deactivating the swap device by

swapoff -a

To turn off all swap devices and it will return all swap out pages into memory including the ones in the zswap compressed memory pool. The pool will be removed.
Keep on reading!