As a continuation of our series about HPE Smart Array P440 controller here how you can enable HBA mode of your controller. There are various scenarios why you may want to enable HBA such as:
- JBOD mode -to use the disks in a sophisticated file system like ZFS, brtfs and more (or LVM, device mapper logical devices). You may have more features in the created logical device (or file system) – caching or managing the disks and so on
- not using the cache (RAM) of the controller, so it may lower the risk of data loss caused by power outages
- more platform independent when using software RAID / device mapper devices. When you create virtual drives in hardware mode, you must use only this type of proprietary controller or some compatible of the same company. When using software solution like software RAID or LVM (and the controller is in JBOD) you can move the disks with no problem to other hardware without the hardware controller.
- * Some old controller (not this one) might have problems with SSDs such as timings when the disks start; when failing a disk (the SSD would probably fail with read-only, which means it could not be removed from the array and the metadata header cannot be changed to remove the disk); no TRIM support, which is essential for the disk endurance and many more.
After the screenshots, you can see the part of the Linux dmesg command with the lines related to the HP HPSA Driver and how the system sees the disks.
The following screenshots start with a controller in hardware mode in (HPE terms – Smart Array Mode), then enable the HBA mode, the OS will see the disks as JBOD and then again enable the hardware mode (Smart Array Mode):
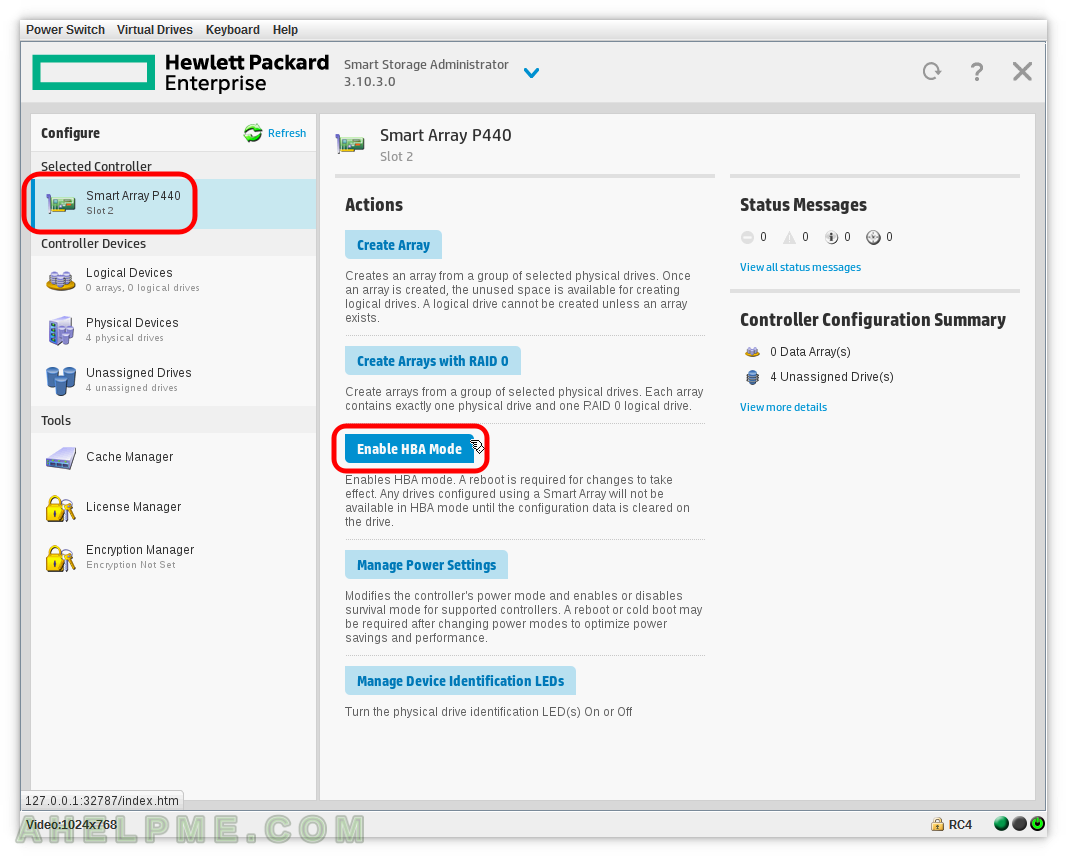
SCREENSHOT 1) Click on the controller “Smart Array P440” on the left and then “Enable HBA Mode” to enable JBOD mode.
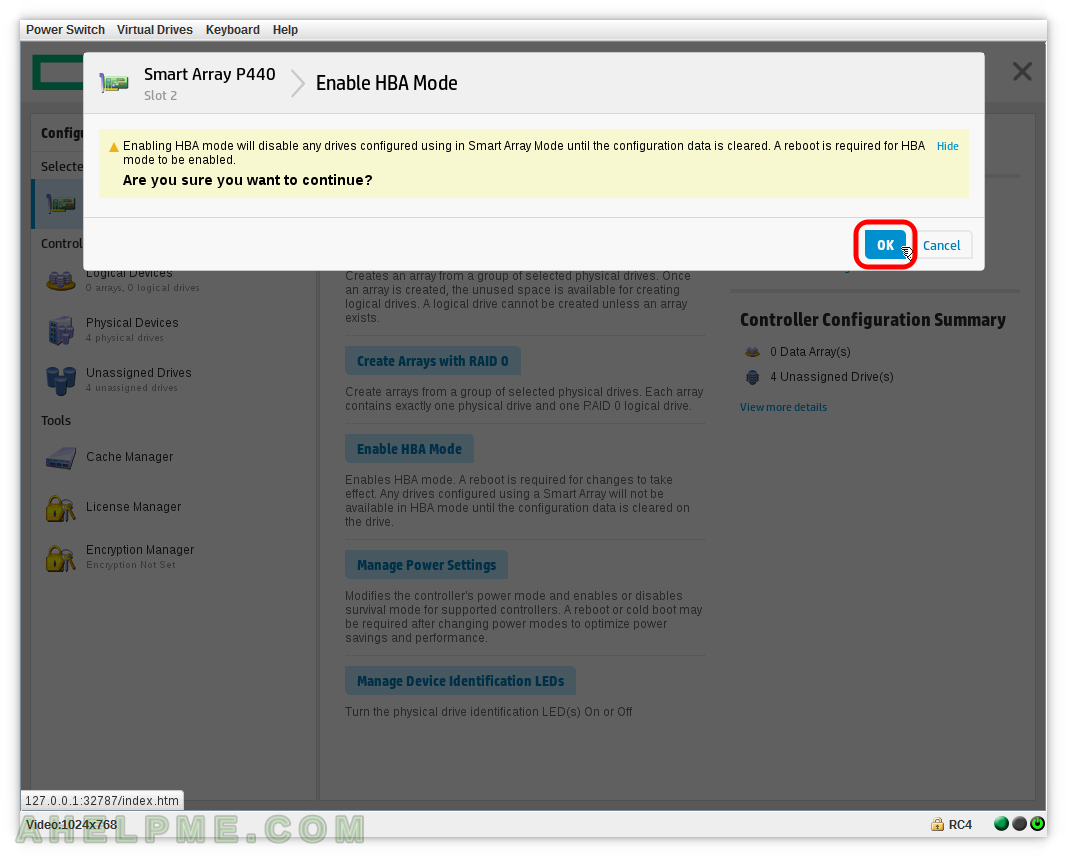
SCREENSHOT 2) Confirm by clicking on “OK” if you want to enable HBA Mode of the controller.
All disks with Smart Array configuration will be disabled and won’t be usable.
SCREENSHOT 3) “The controller has been set to enable HBA mode after reboot.”
So you must reboot before the controller gets in HBA mode. Here you can see the details of “Controller Hardware Information” and “Controller Power Settings”. Scroll down for more details.
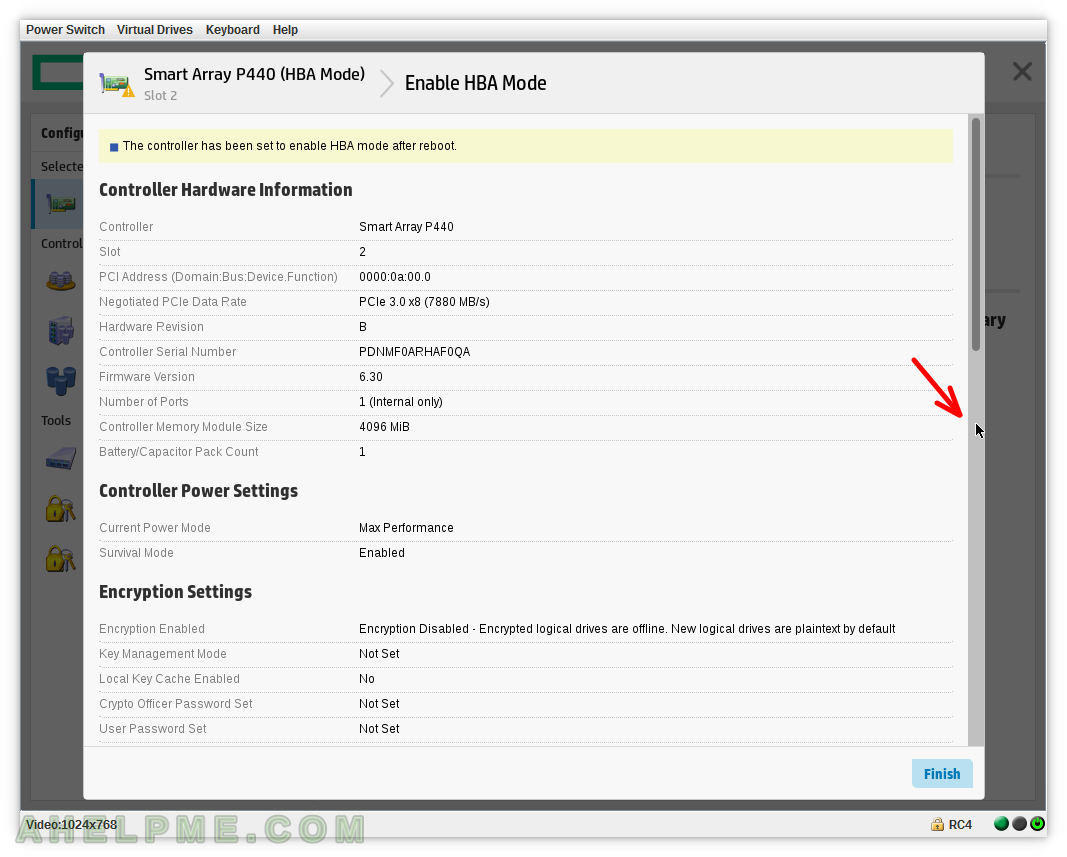
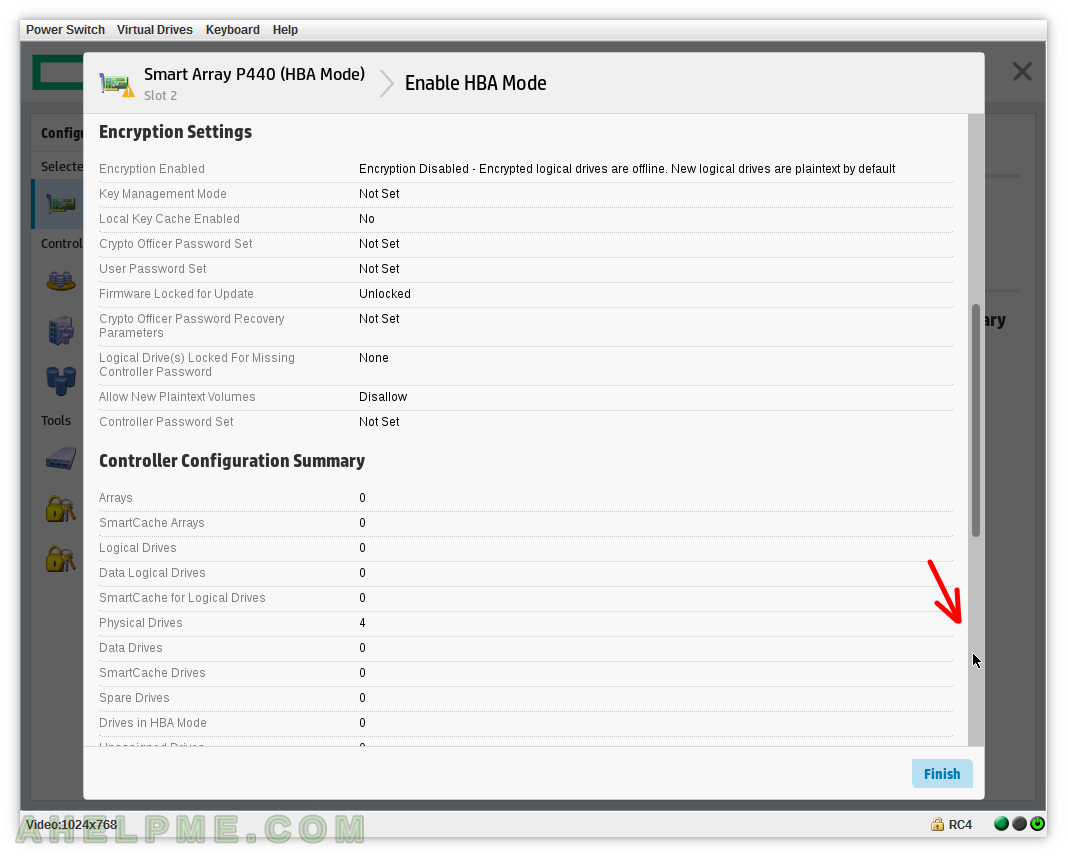
SCREENSHOT 4) Here you can see the details of “Encryption settings” and part of “Controller Configuration Summery”.
Scroll down for more details.
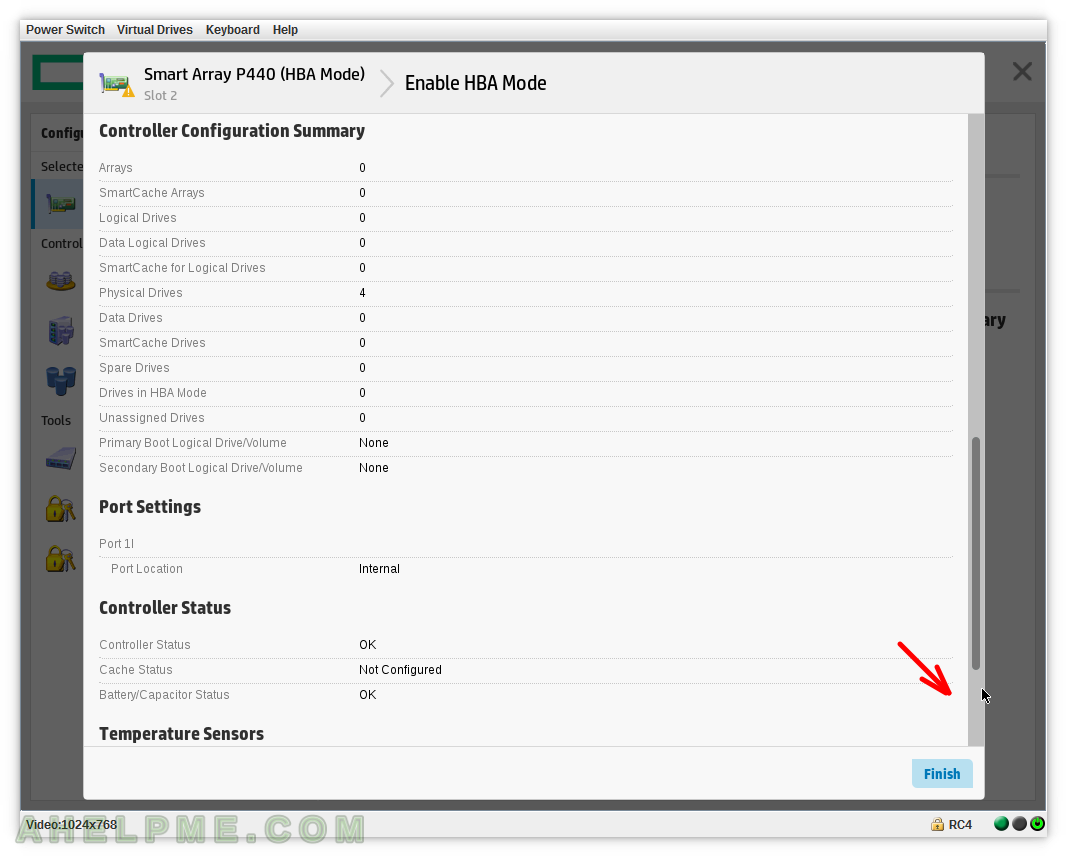
SCREENSHOT 5) Here you can see the details of “Controller Configuration Summery”, “Port Settings”, “Controller Status”.
Scroll down for more details.
SCREENSHOT 6) Here you can see the details of “Port Settings”, “Controller Status”, “Temperature Sensors” and “Storage Enclosures”.
Click on “Finish”.

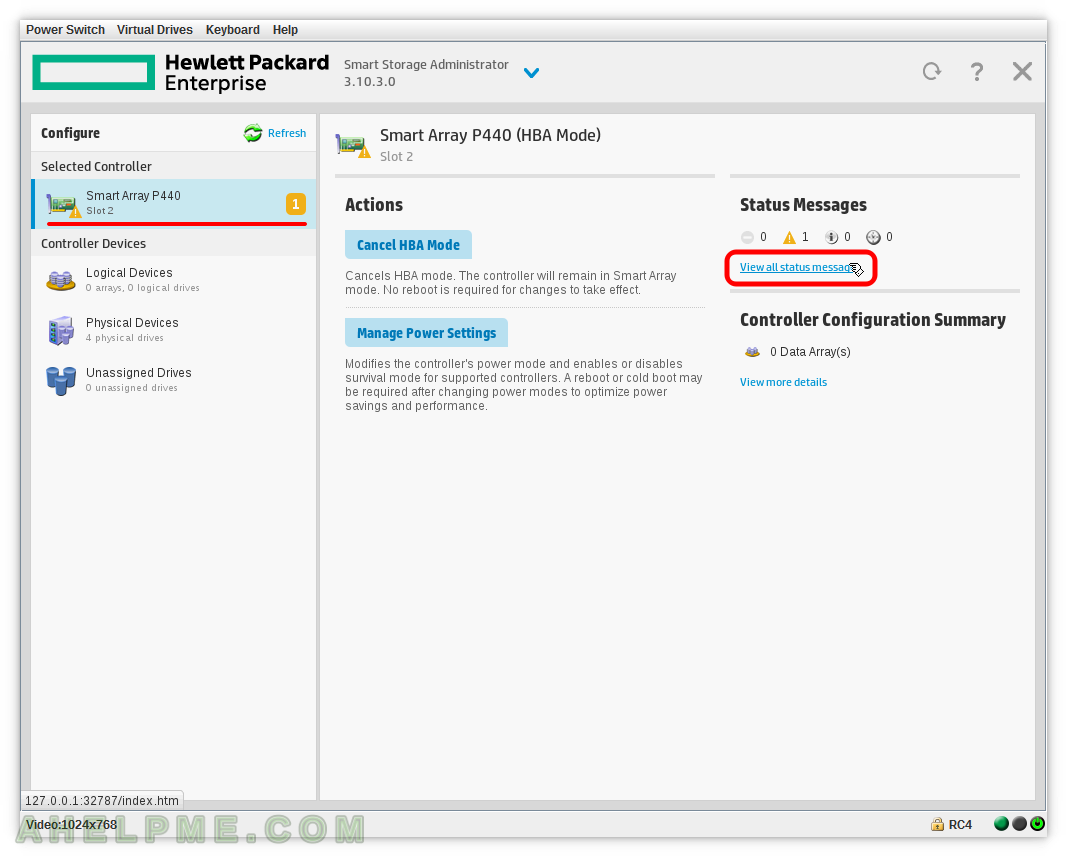
SCREENSHOT 7) You can see there is a warning message. Click on “View all status messages” to view the message.
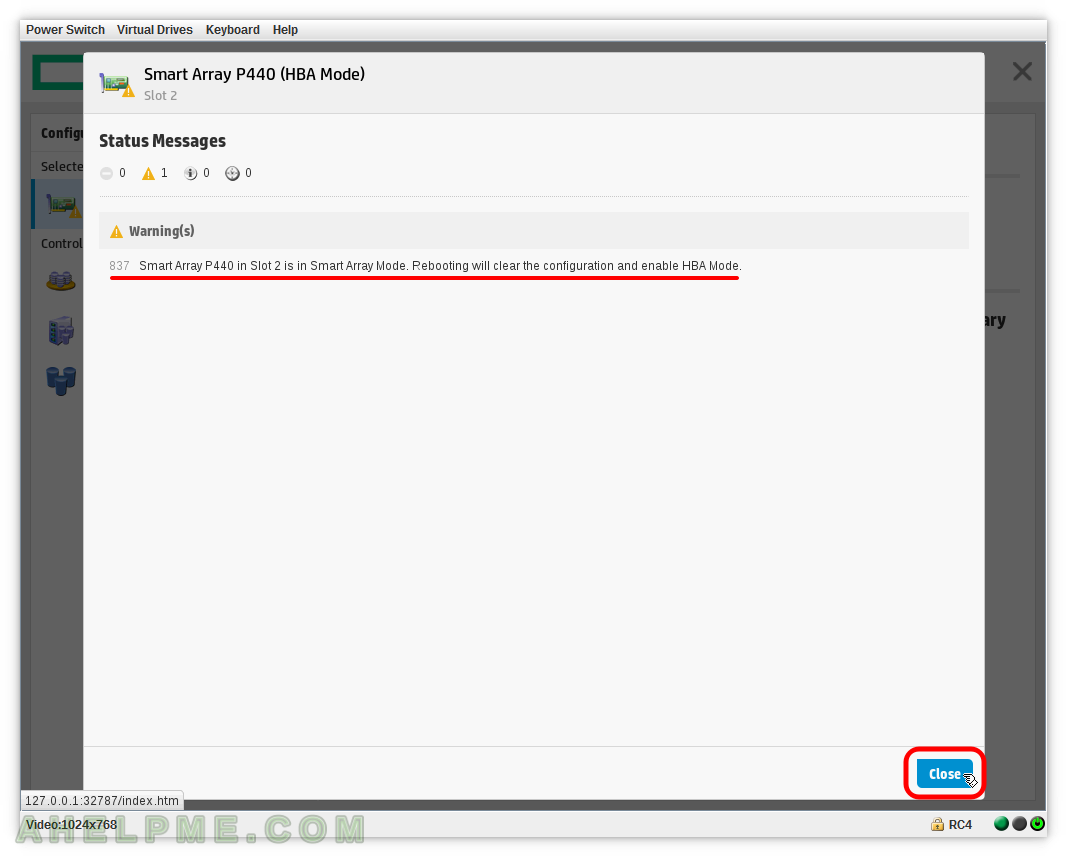
SCREENSHOT 8) The warning reports the controller needs a reboot to enable HBA mode.
Click “Close”.
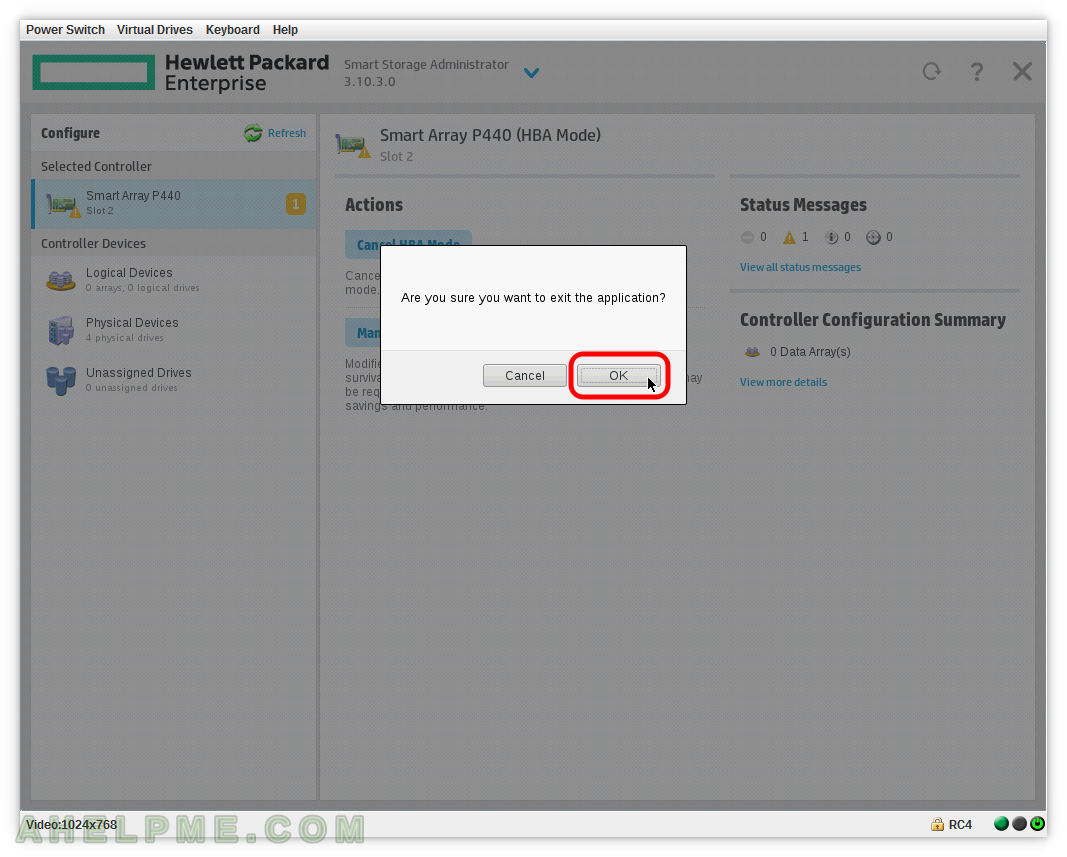
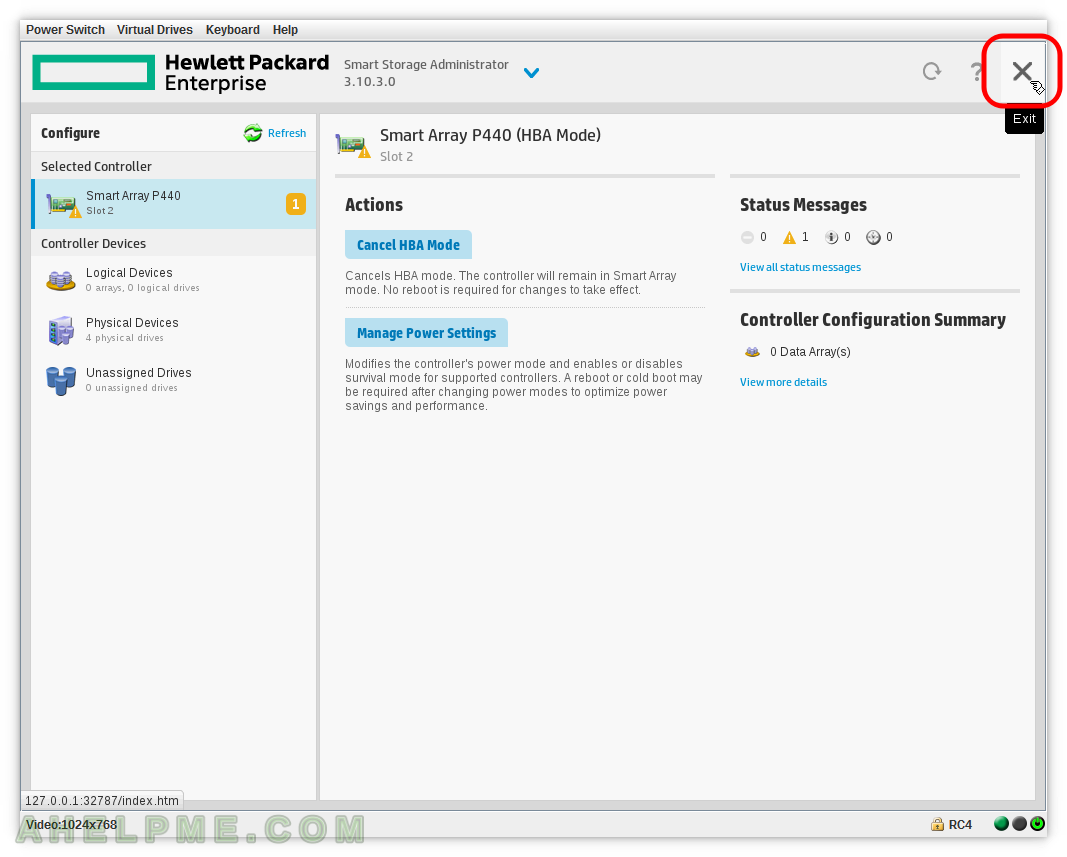
SCREENSHOT 9) Exit the controller to reboot the machine.
Click “X” to exit.
SCREENSHOT 10) Confirm by clicking on “OK” to exit the configuration utility Smart Storage Administrator.