This article shows how to create multiple RAID 0 drives for each disk at once. For example, a controller with 4 disks using this feature you can create 4 groups of devices with one logical drive in it with RAID 0 type.
This is feature is a kind of HBA mode, but on steroids, because it uses the cache of the controller and the hardware controller (Smart Array) optimizations.
All of your disks and the space in them will be available to the OS, but through the Virtual Drive logic of HPE Smart Array. If you check out the article and why you may need JBOD here – Smart Array P440 – enable or disable HBA mode using Smart Storage Administrator it is mainly because of some file systems such as ZFS or Btrfs (even LVM and device mapper devices) have many more features than a hardware controller. So with this feature, you can easily have your disk “exported” to the OS and use the raid or more complex feature of ZFS, Btrfs, LVM, device mapper or another setup, but using the controller optimizations and cache.
Be careful this setup could lead to much bigger risk of data loss on power outrages if write-back cache optimization is enabled. And the more complicated the file system (or device mapper) setup is the more problems it has on power outrages without battery unit back-up in the controller. Always use this feature with a healthy battery in the controller.
How to create multiple RAID 0 Virtual Devices on each disk attached to the controller at once:
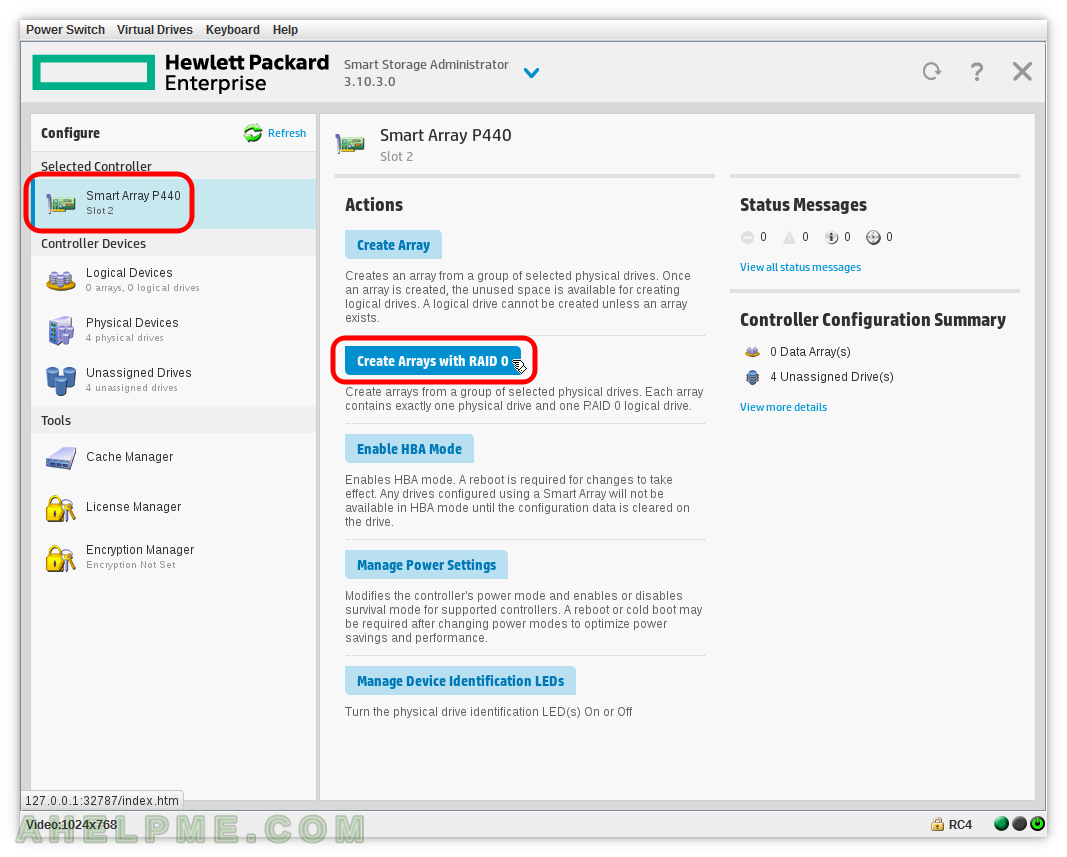
STEP 1) Click on the controller “Create Arrays with RAID 0” on the left to create multiple arrays of type RAID 0 at once.
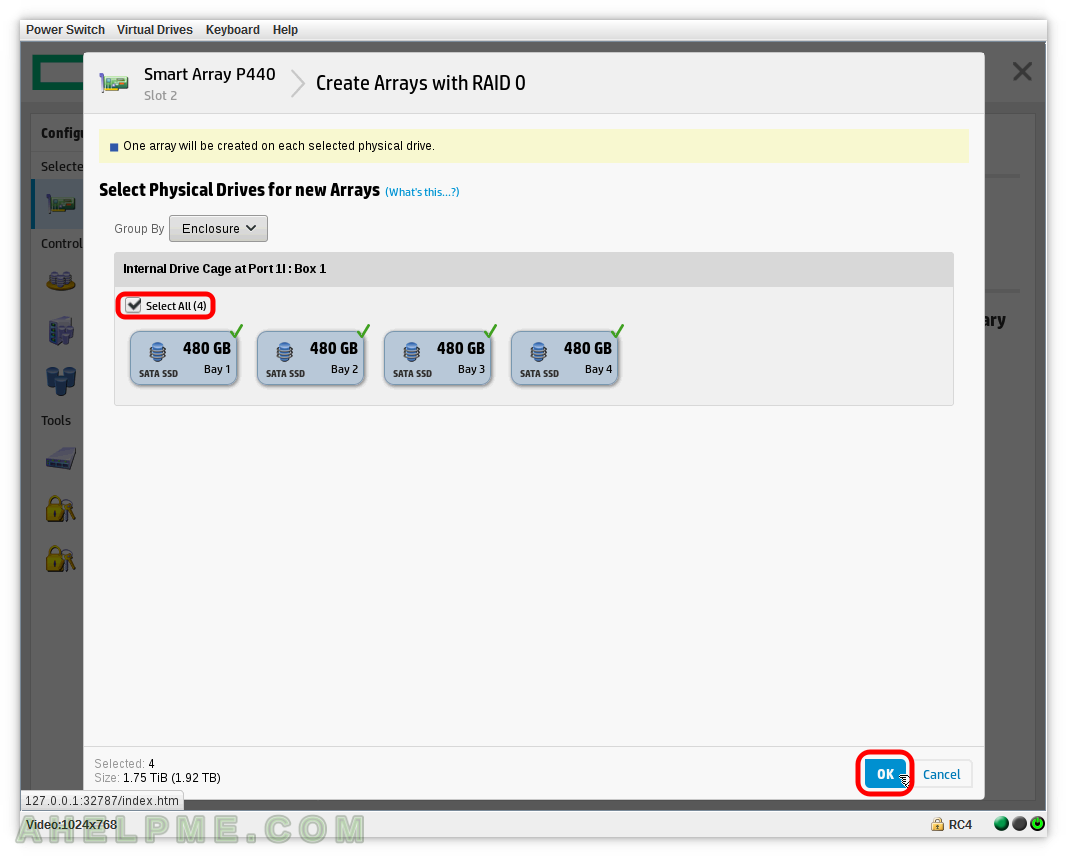
STEP 2) Select the drives, on which you want create RAID 0
On each device will be created a separate array group of one disk and logical drive. In our case we have selected all available physical drives by slicking on “Select All” and then click on “OK” to continue.
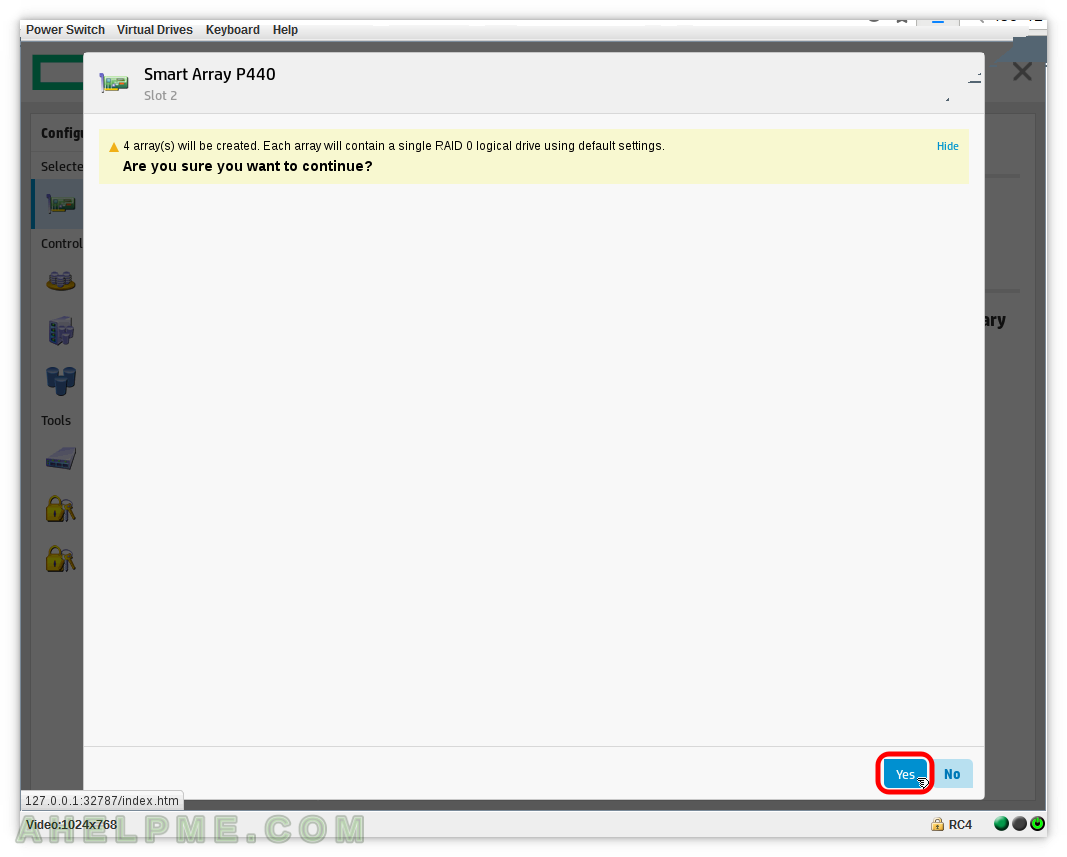
STEP 3) Confirm to create the RAID 0 drives.
The setup shows how many arrays (and respectively logical drives) will be created. Easch array will contain a single RAID 0 logical drive with default settings. Confirm by clicking “YES”.
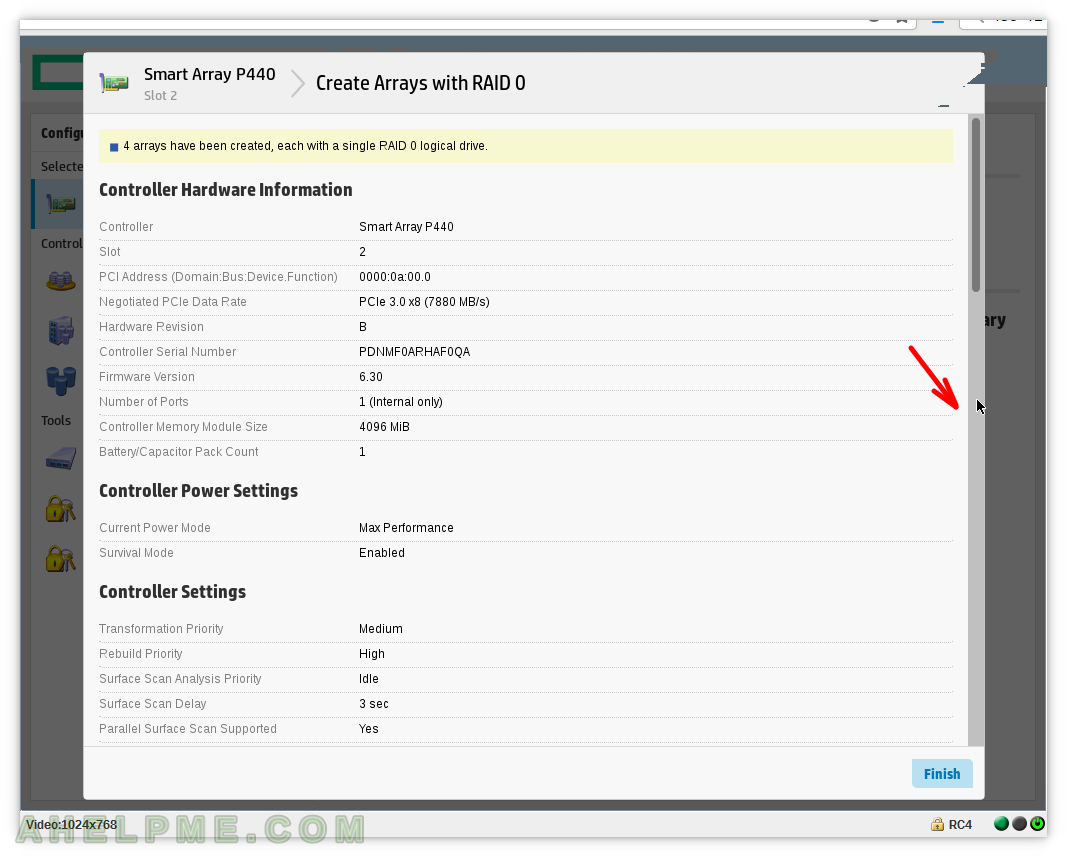
STEP 4) All of the arrays and their logical drives has been created.
Scrolling down you can see the details of the operation and the settings of the devices. On this screen you can see “Controller Hardware Information”, “Controller Power Settings”. Scroll down for more or click “Finish” to exit.
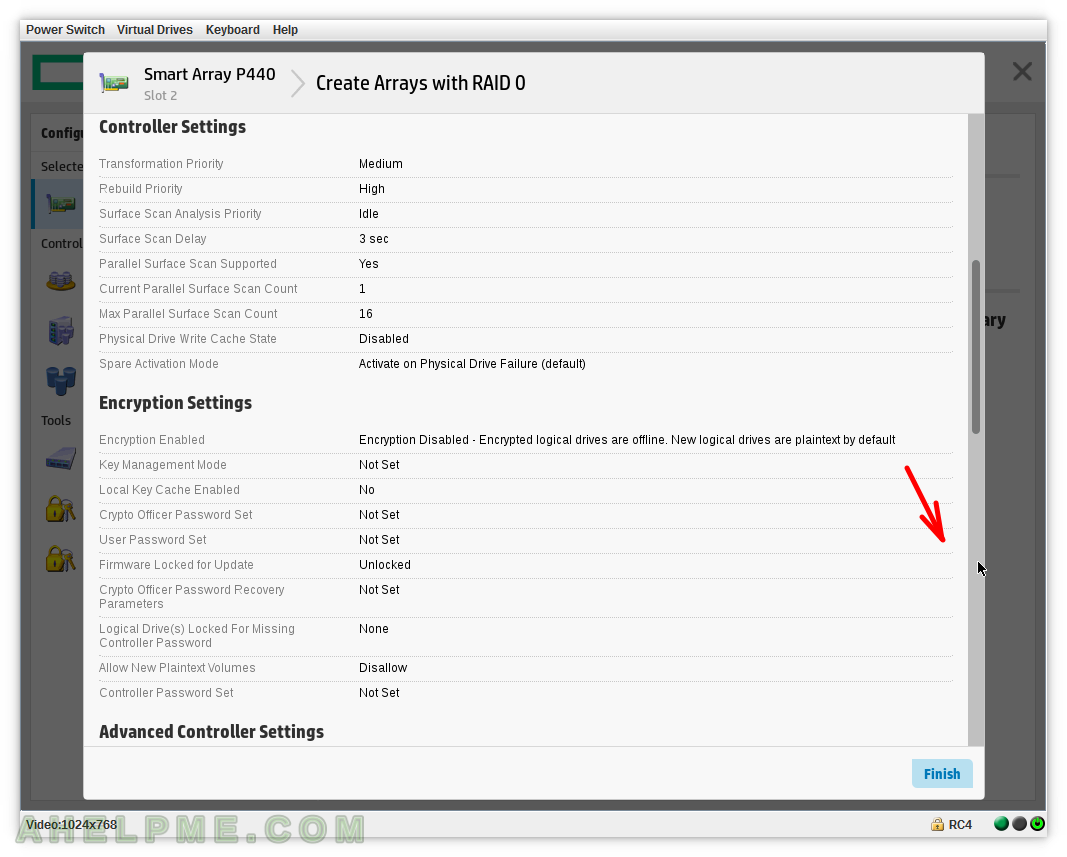
STEP 5) Scroll down for more information or click on “Finish” to exit.
On this screen you can see “Controller Settings” and “Encryption Settings”.
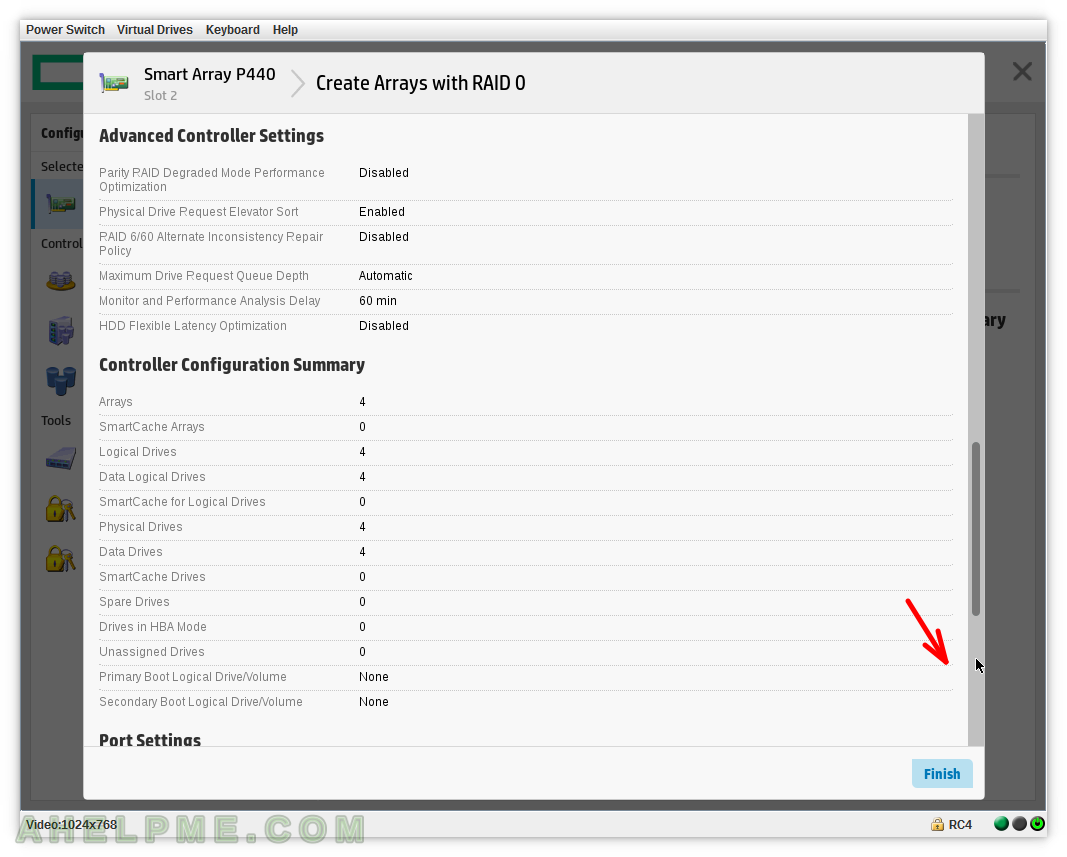
STEP 6) Scroll down for more information or click on “Finish” to exit.
On this screen you can see “Advanced Controller Settings” and “Controller Configuration Summary”.
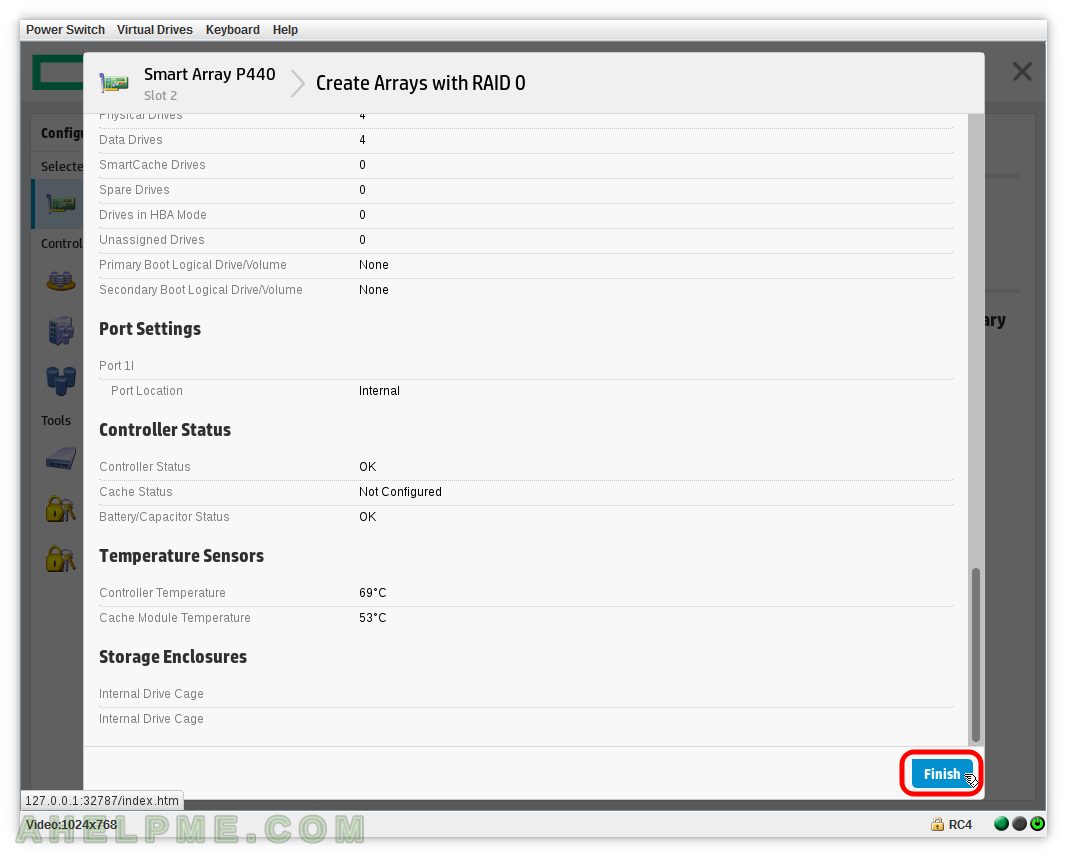
STEP 7) Click on “Finish” to exit.
On this screen you can see “Port Settings”, “Controller Status”, “Temperature Sensors” and “Storage Enclosures”.
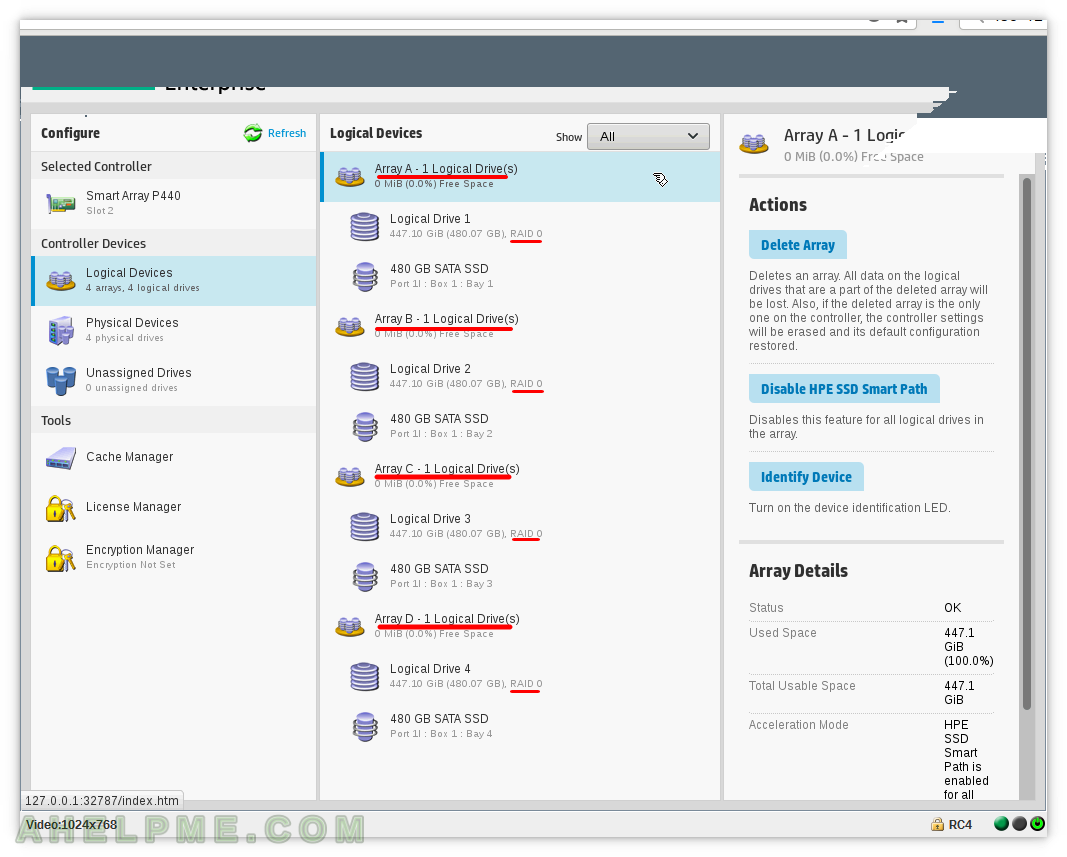
STEP 8) 4 arrays with names Array A, Array B, Array C and Array D and each of them has a Logical Drive.
Array A has Logical Drive 1, Array B has Logical Drive 2, Array C has Logical Drive 3 and Array D has Logical Drive 4. All of the logical drives are of type RAID 0.
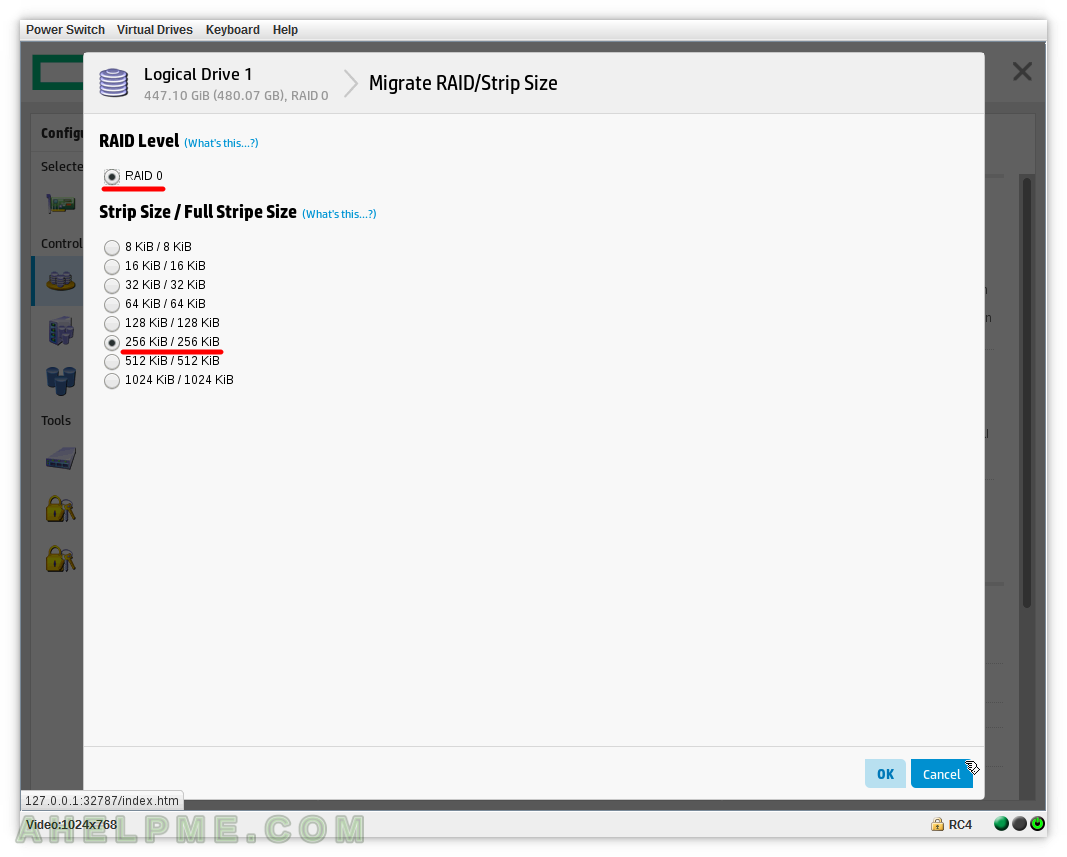
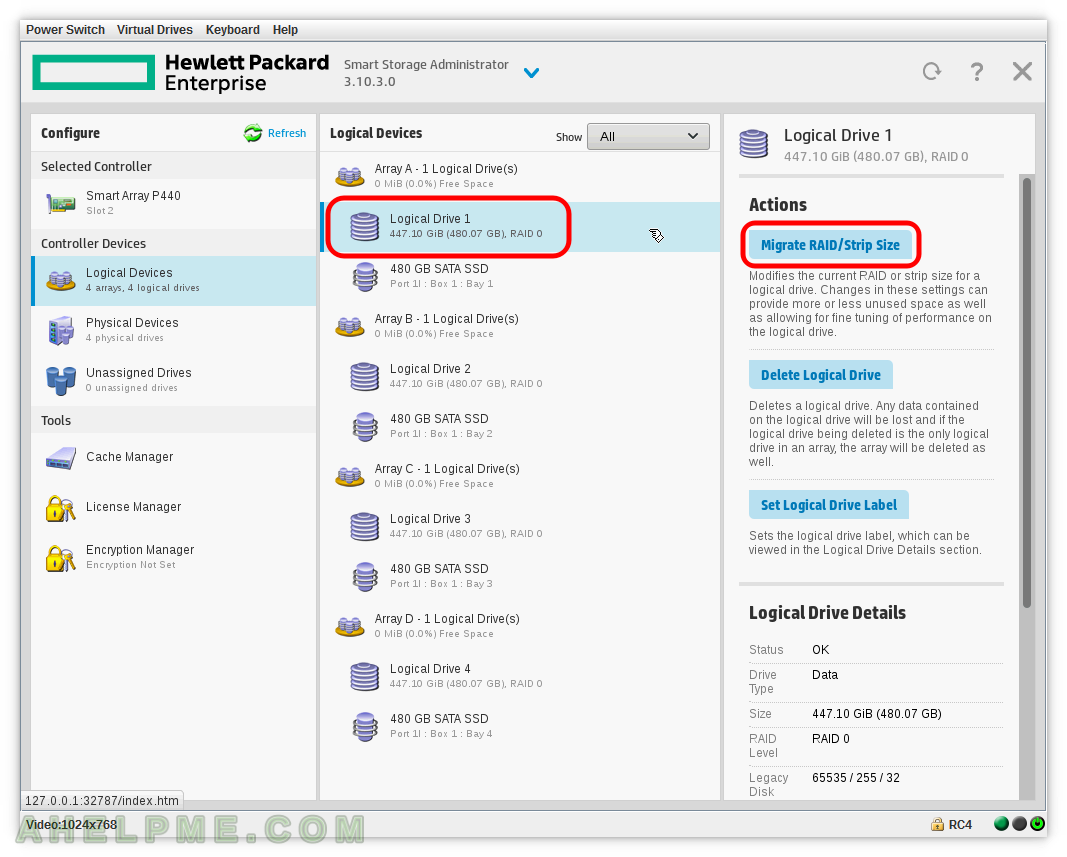
STEP 9) Modify the current Migrate RAID or Strip Size of the selected Array A – Logical Drive 1.
First, select Logical Drive 1 and then click on right “Migrate RAID/Strip Size”.
STEP 10) RAID 0 Level could be migrated only to RAID 0 so no transition to different RAID 0 type is available.
You can change only the Strip size here to any supported by the controller. From 8 KiB, 16 KiB, 32 KiB, 64 KiB, 128 KiB, 256 KiB, 512 KiB and 1024 KiB. Change the current Strip size and click on “OK” to accept the new Strip size and the controller will start a background transformation on-the-fly. This operation is non-destructive so your data is safe. Still always backup your data before any array or logical drive operations! You can have multiple Logical Drives with different Strip Sizes. First you create multiple logical Drives at once all with the same Strip size and then you can change each one manually with this operation.