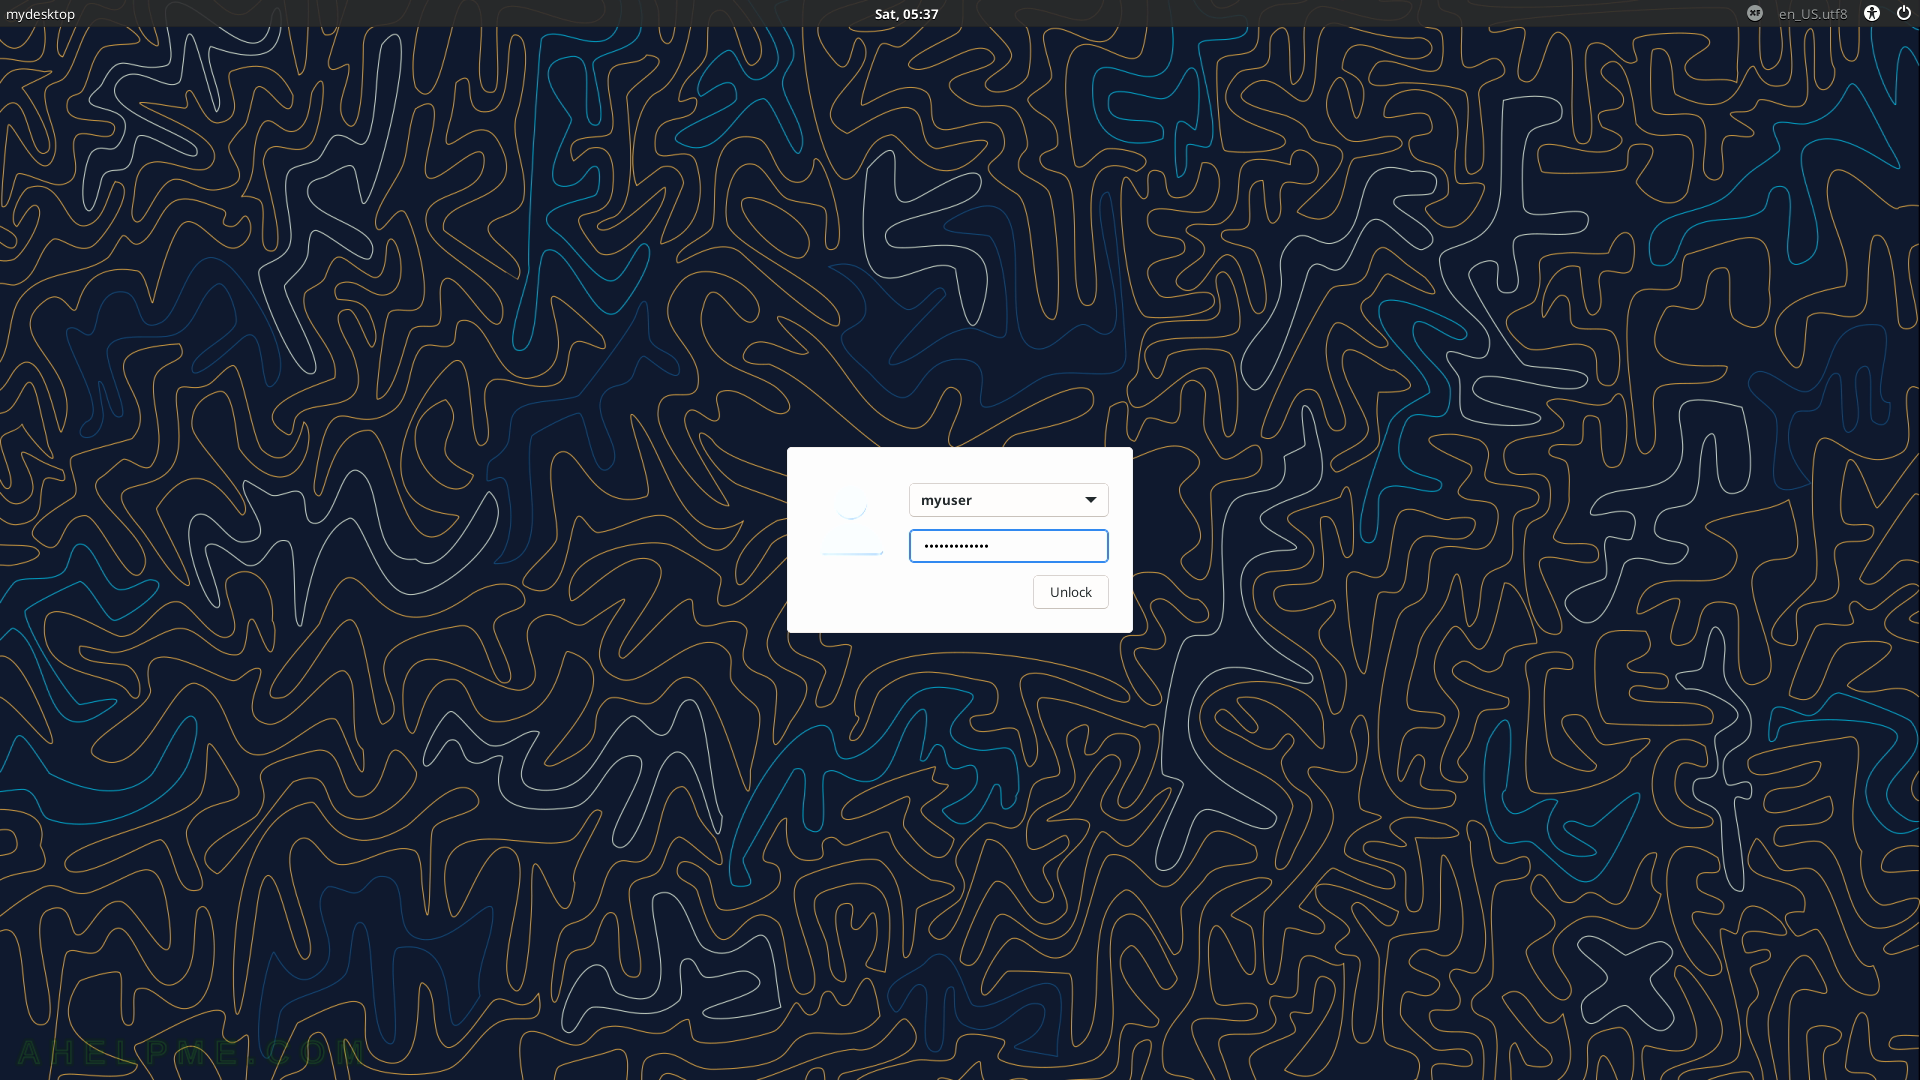
SCREENSHOT 31) Even if the window is in the background a blue rectangle is drawn, where the window is.
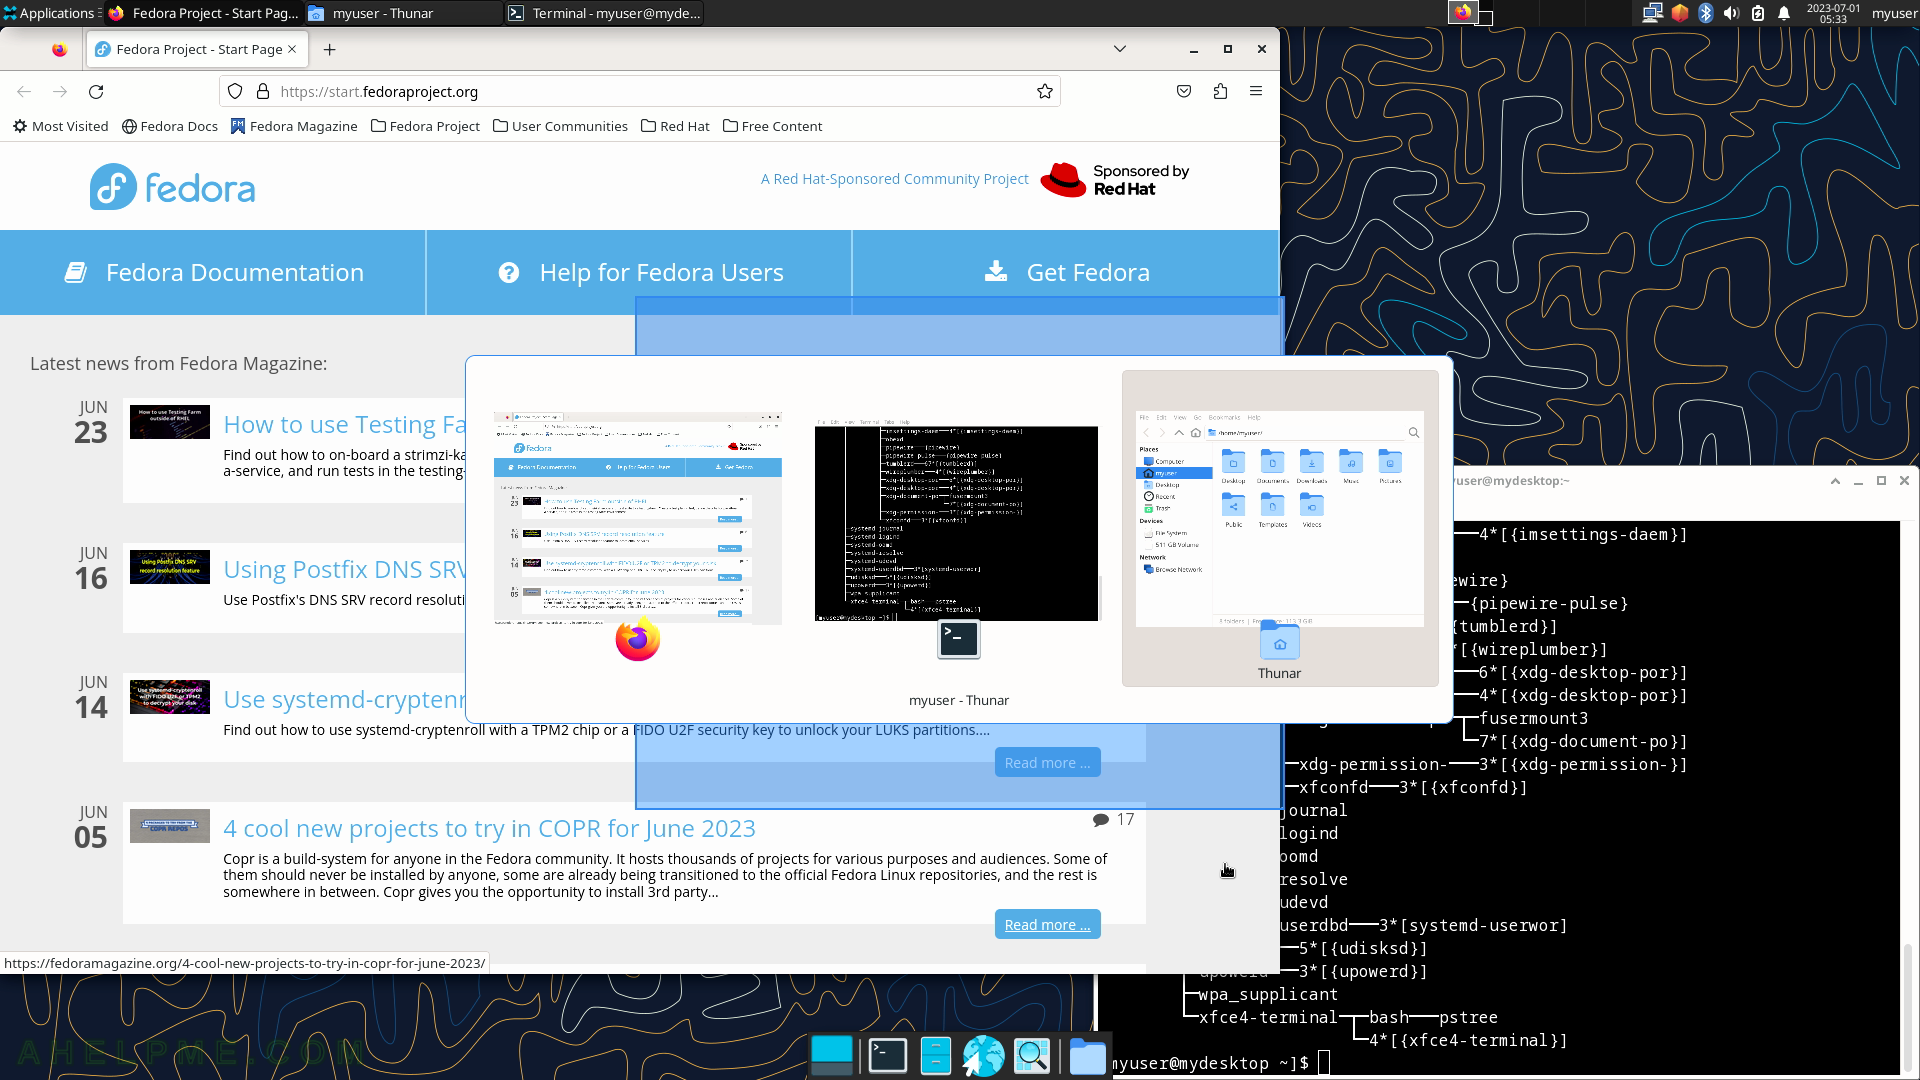
SCREENSHOT 32) The workspace switcher shows a tiny preview of the workspace and by clicking on it it will become active.
Look at the four panels (resembling the four different screens, i.e. workspaces) on the top toolbar.
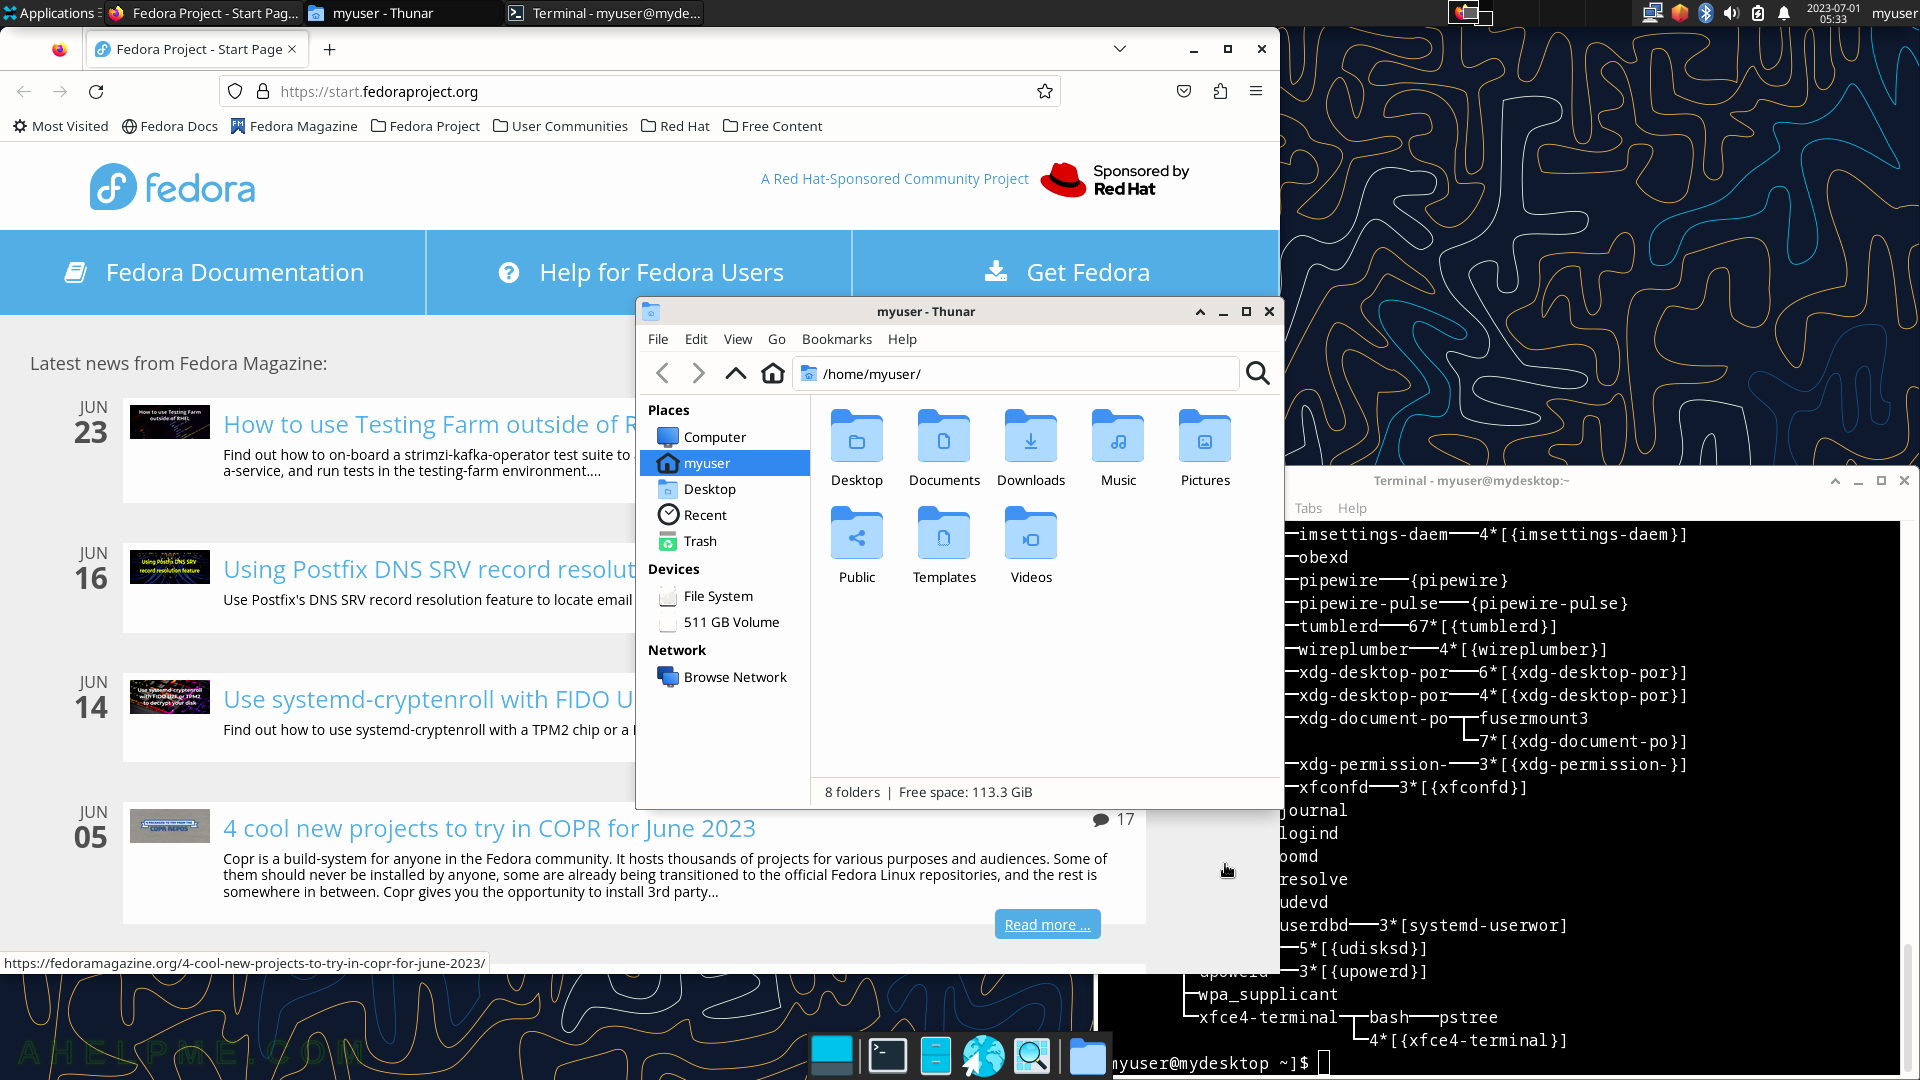
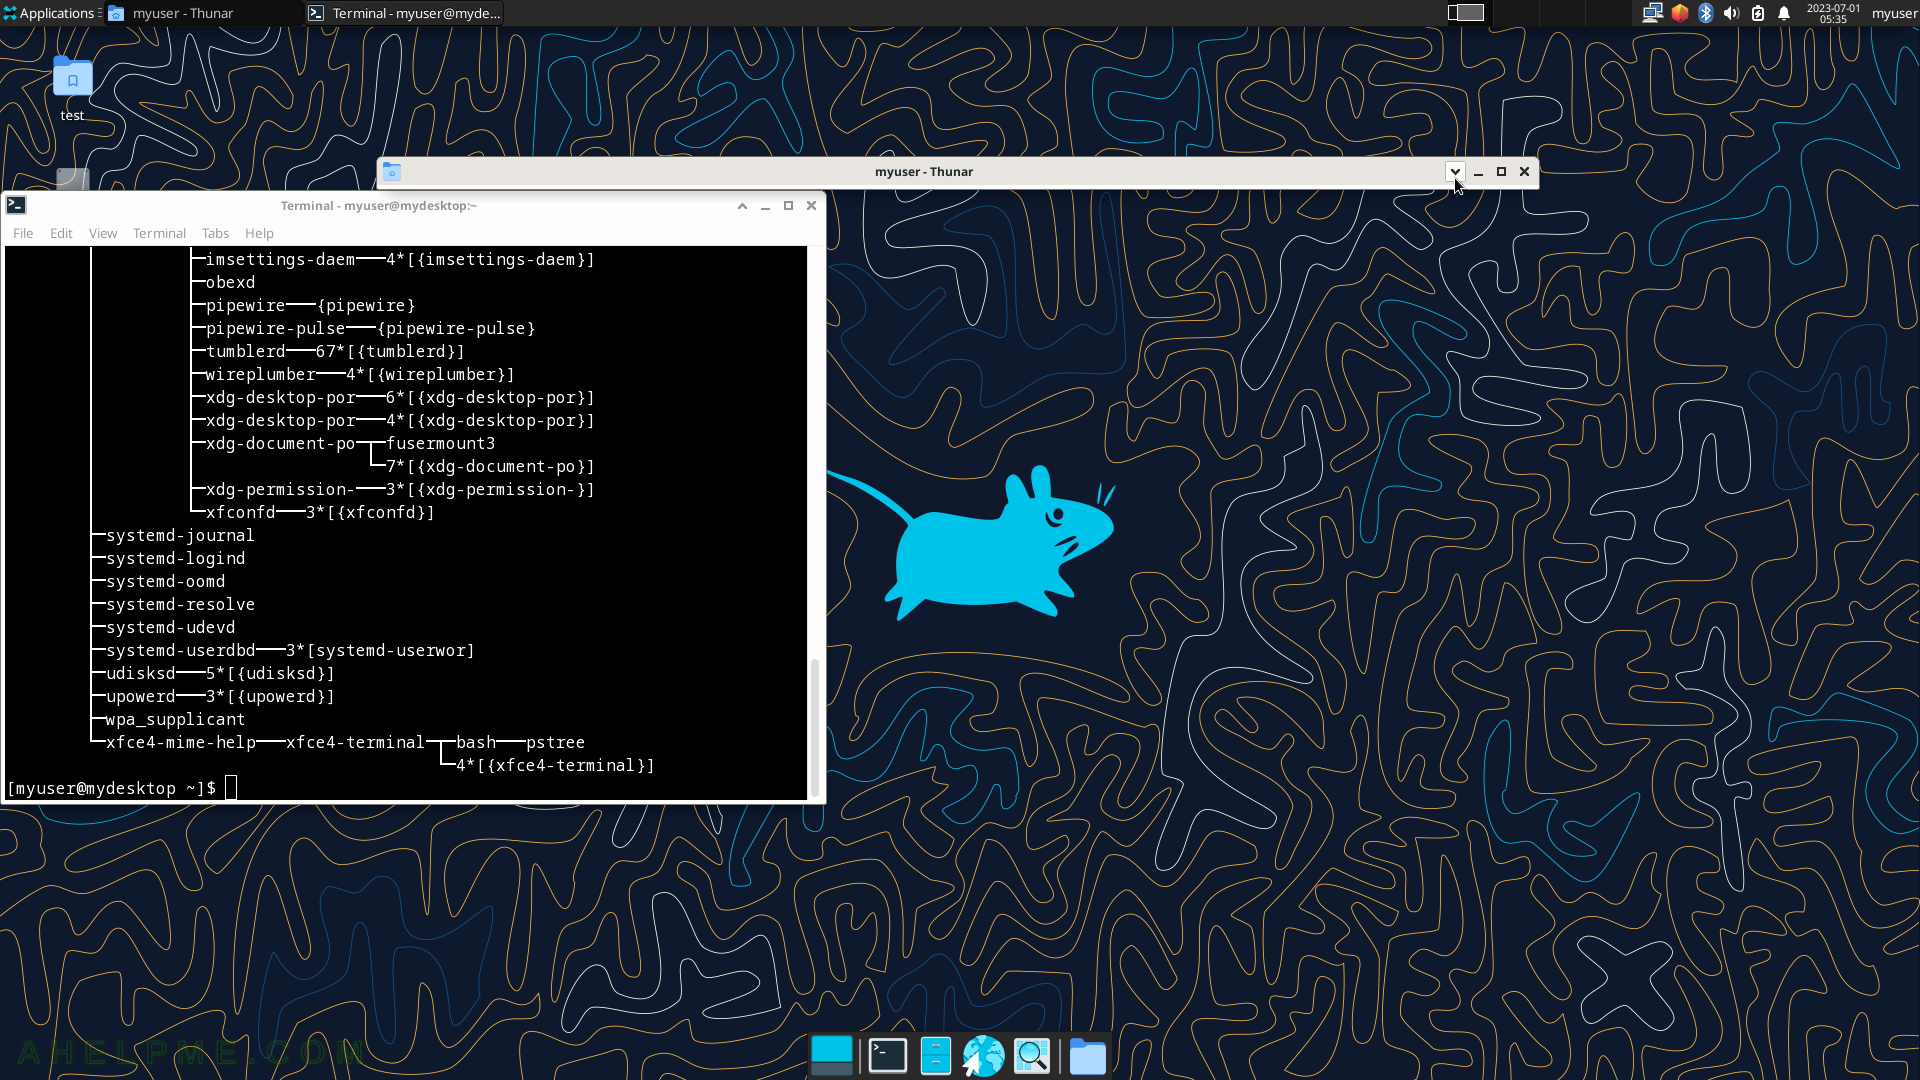
SCREENSHOT 33) In addition to the min, max, and hide buttons in the top right of every Xfce window, there is one more shade window.
It will roll up the window and only the title bar will be displayed. Click on the shade button as shown.
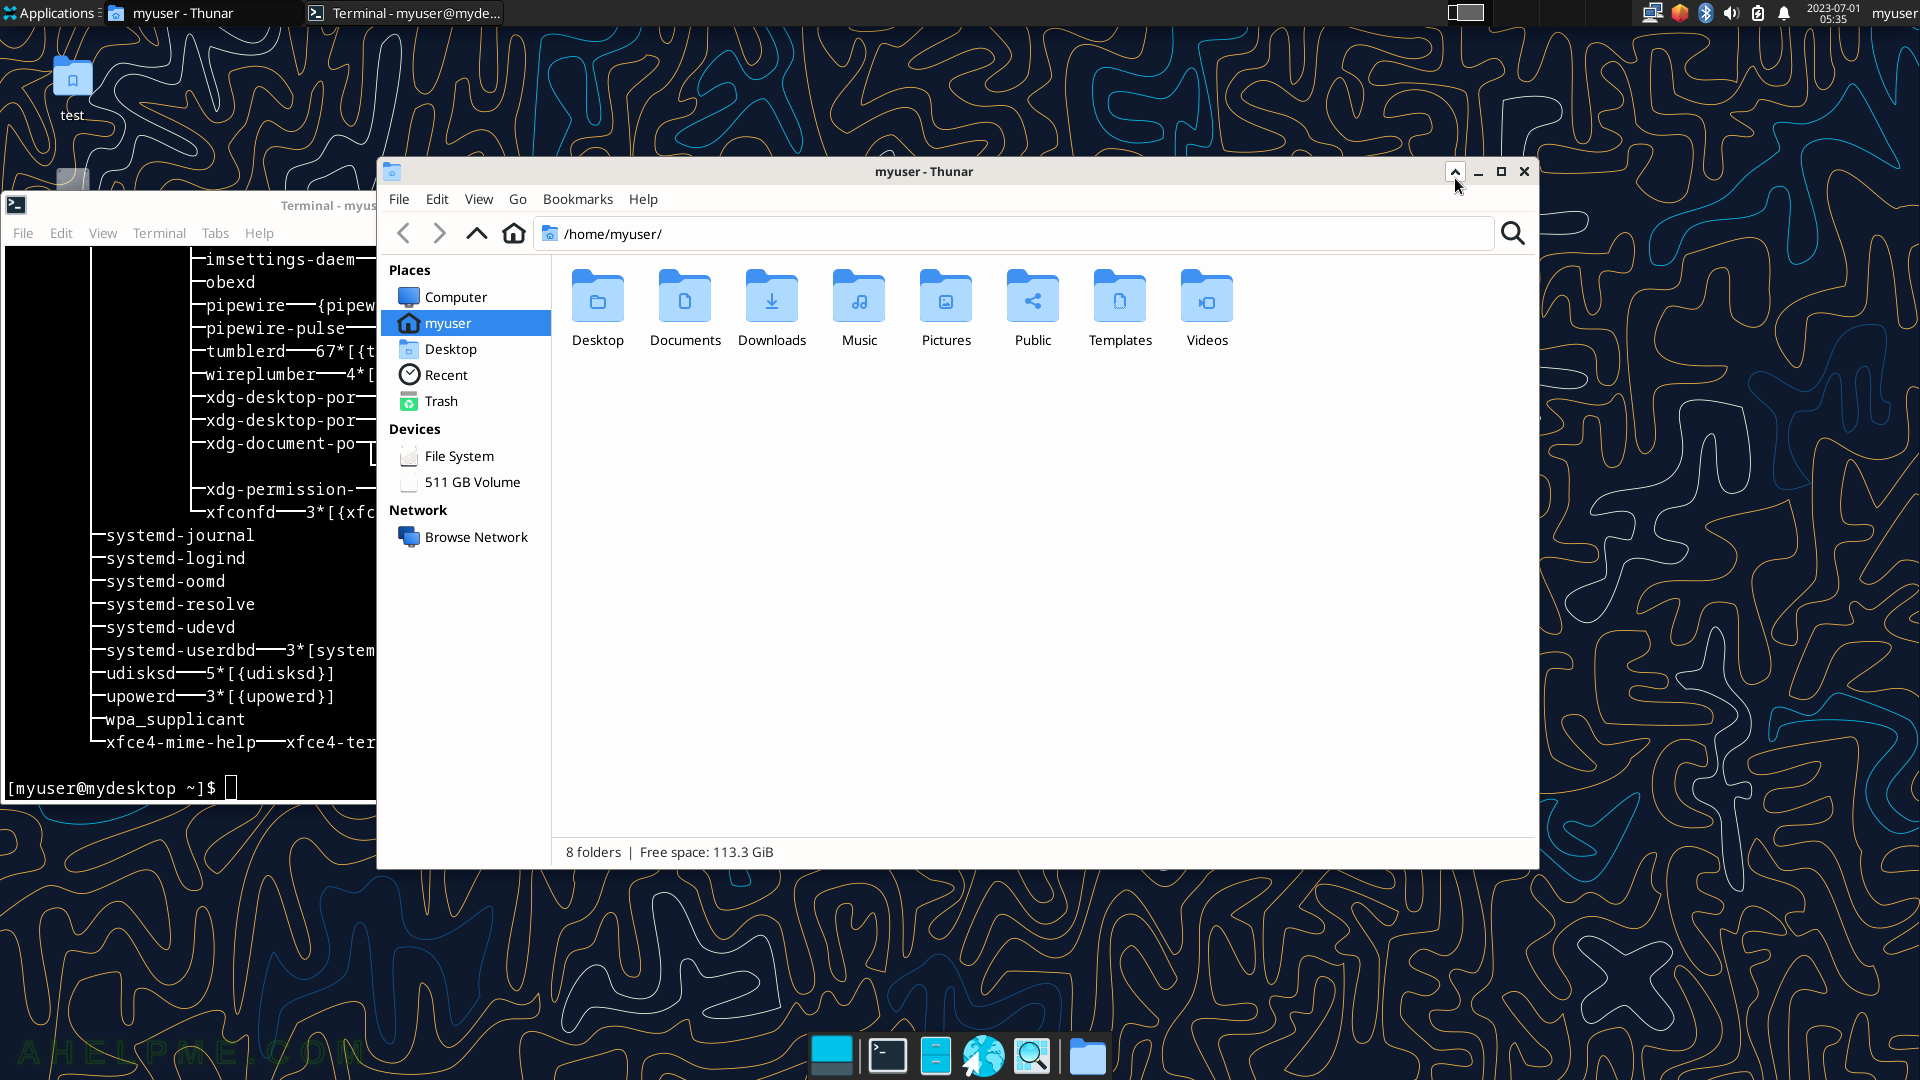
SCREENSHOT 34) The Thunar window is rolled up and only the title bar stayed.
All windows below are displayed.
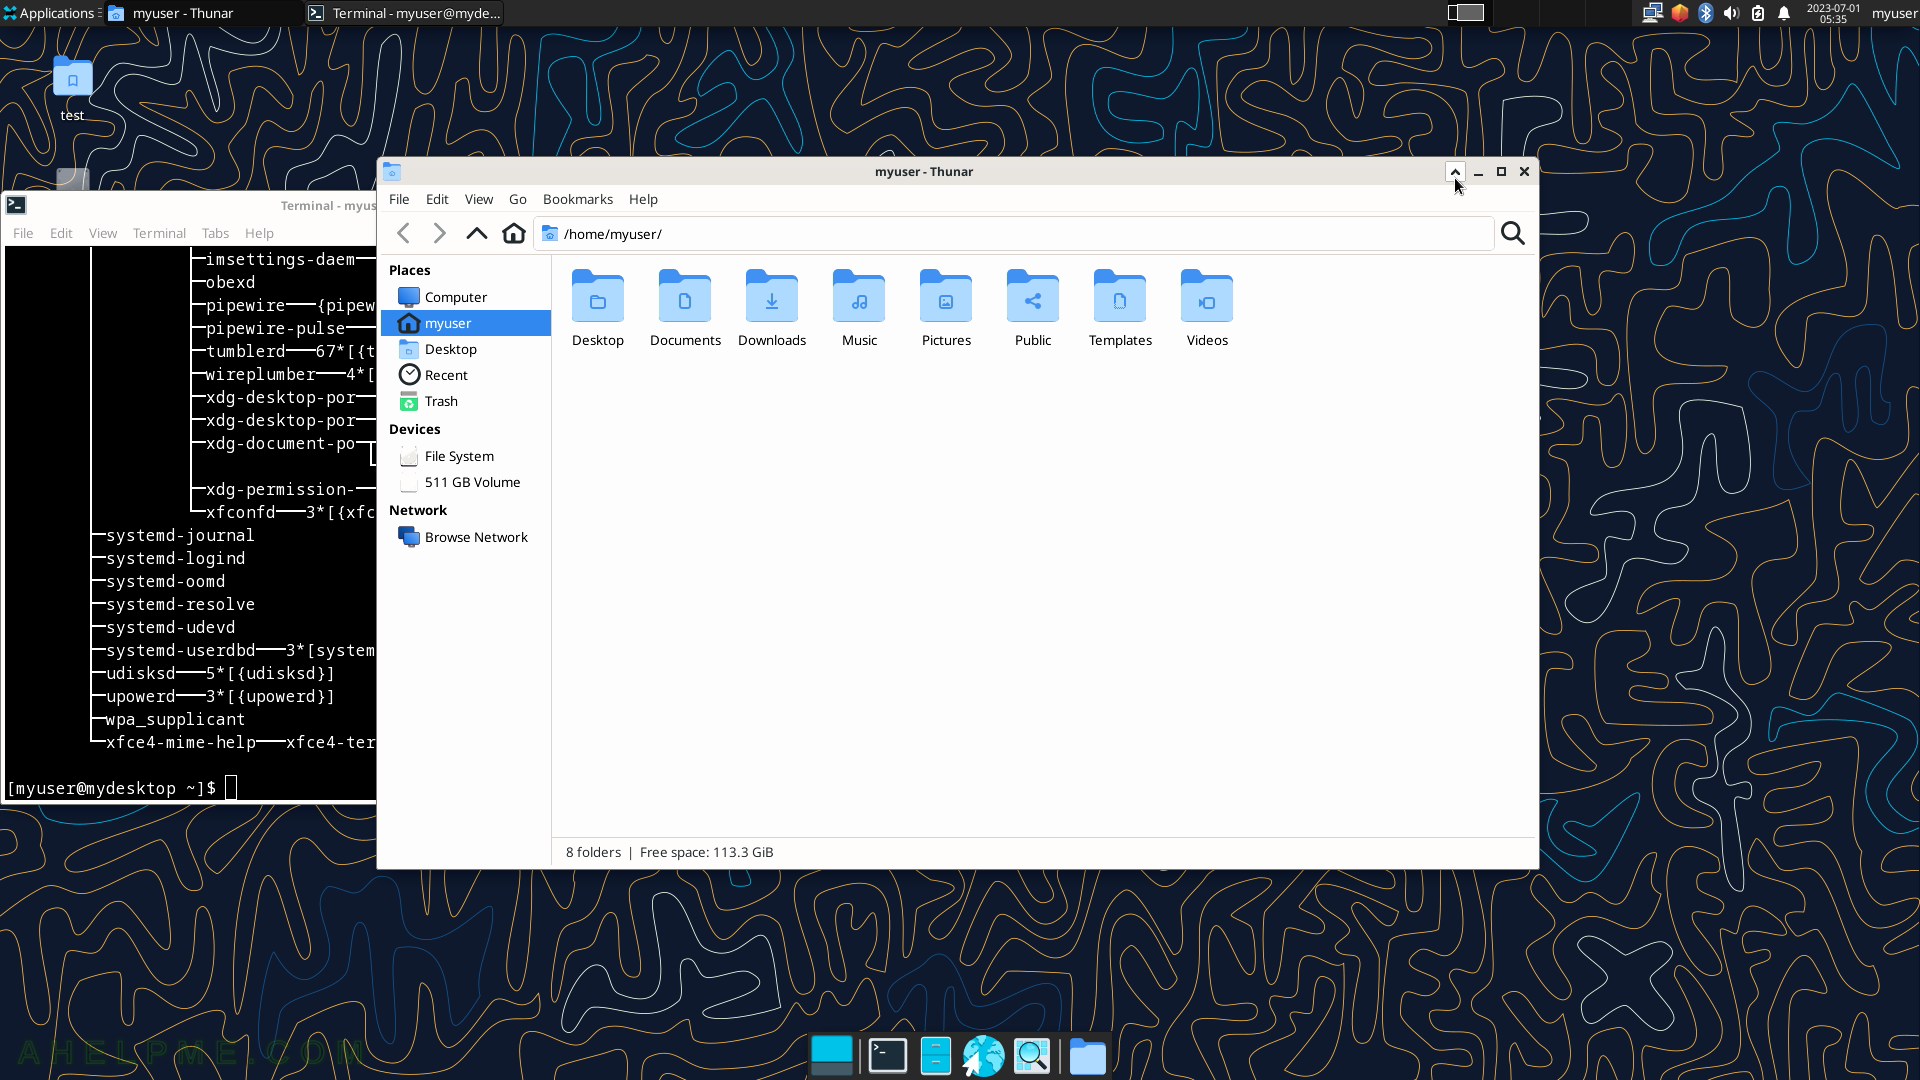
SCREENSHOT 35) Clicking on the “shade” button again will restore the Thunar window back to its previous state.
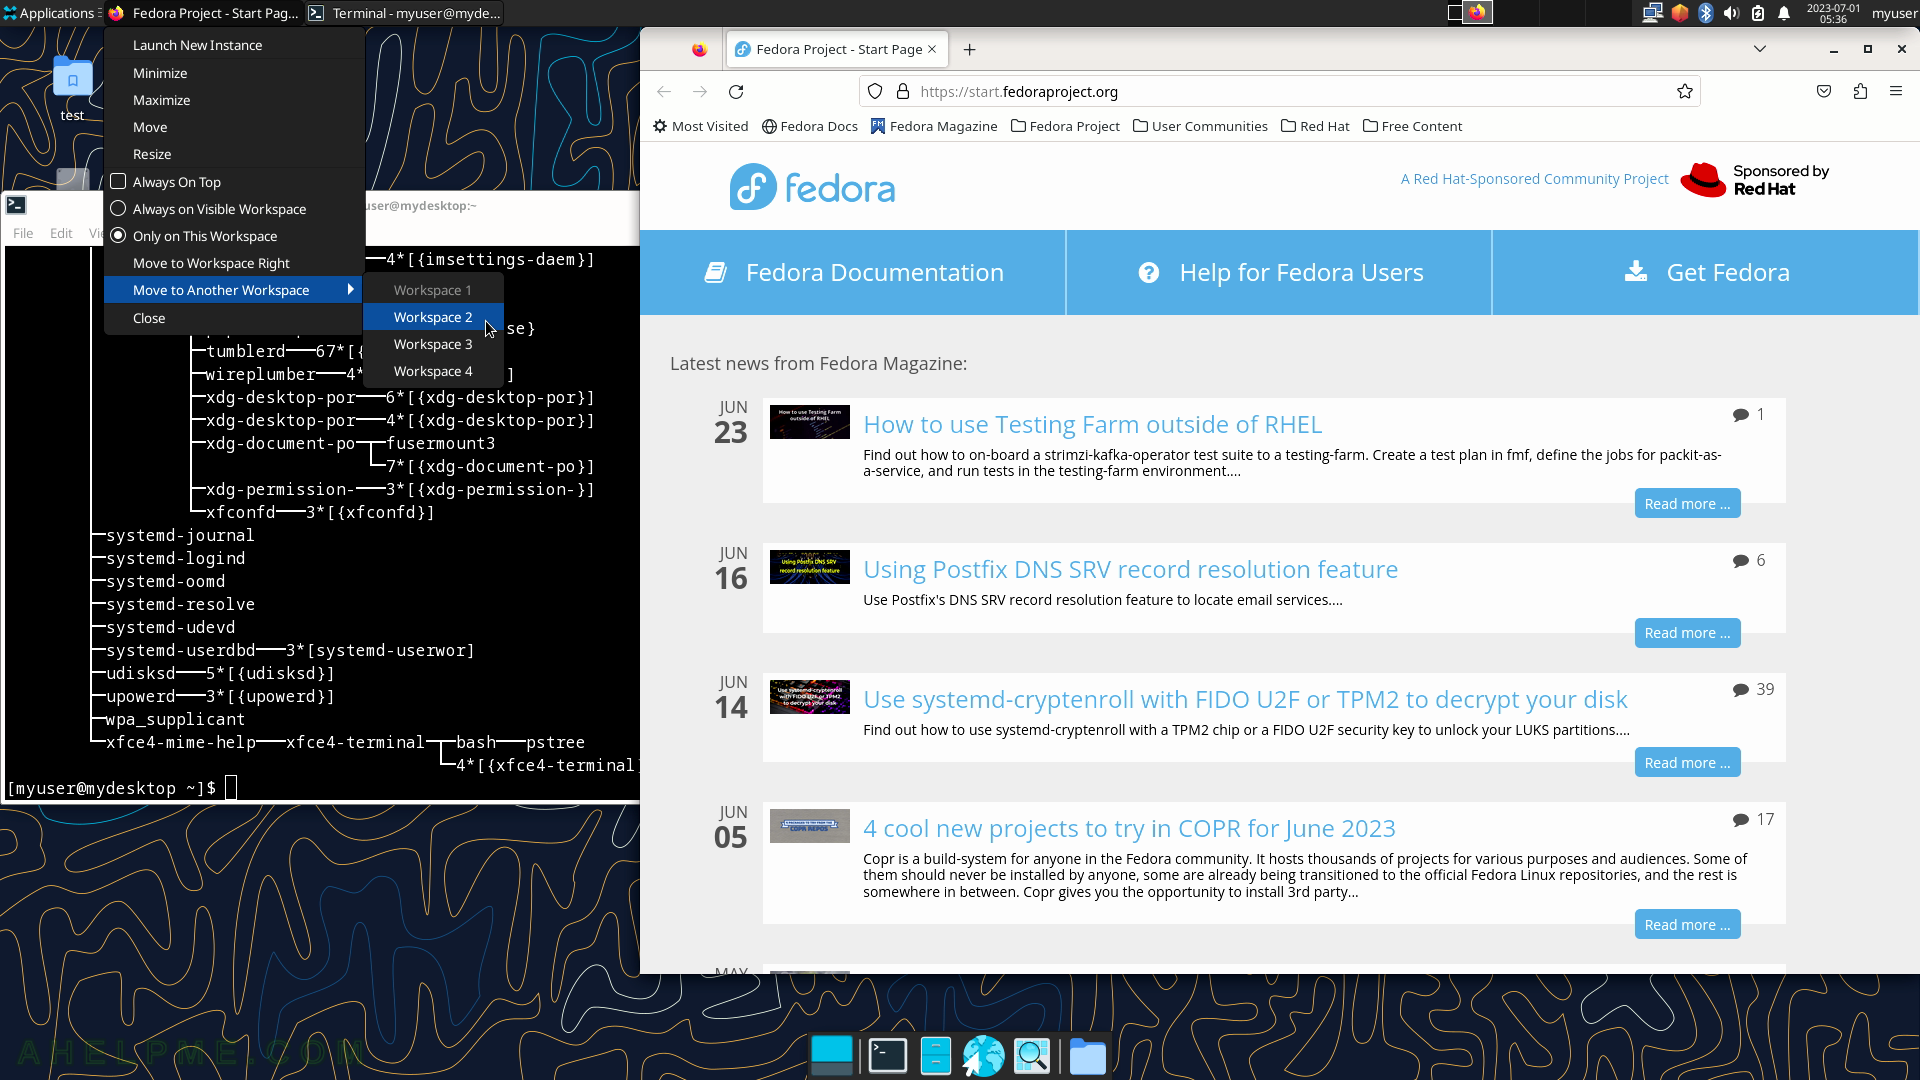
SCREENSHOT 36) The windows context menu for each application windows offers multiple actions.
These are the options: “Launch New Instance…”, Minimize, Maximize, Move, Resize, “Always on Top”, “Always on Visible Workspace”, “Only on This Workspace”, “Move to Workspace Right”, “Move to Another Workspace” with a dropdown of all available workspace and “Close”.
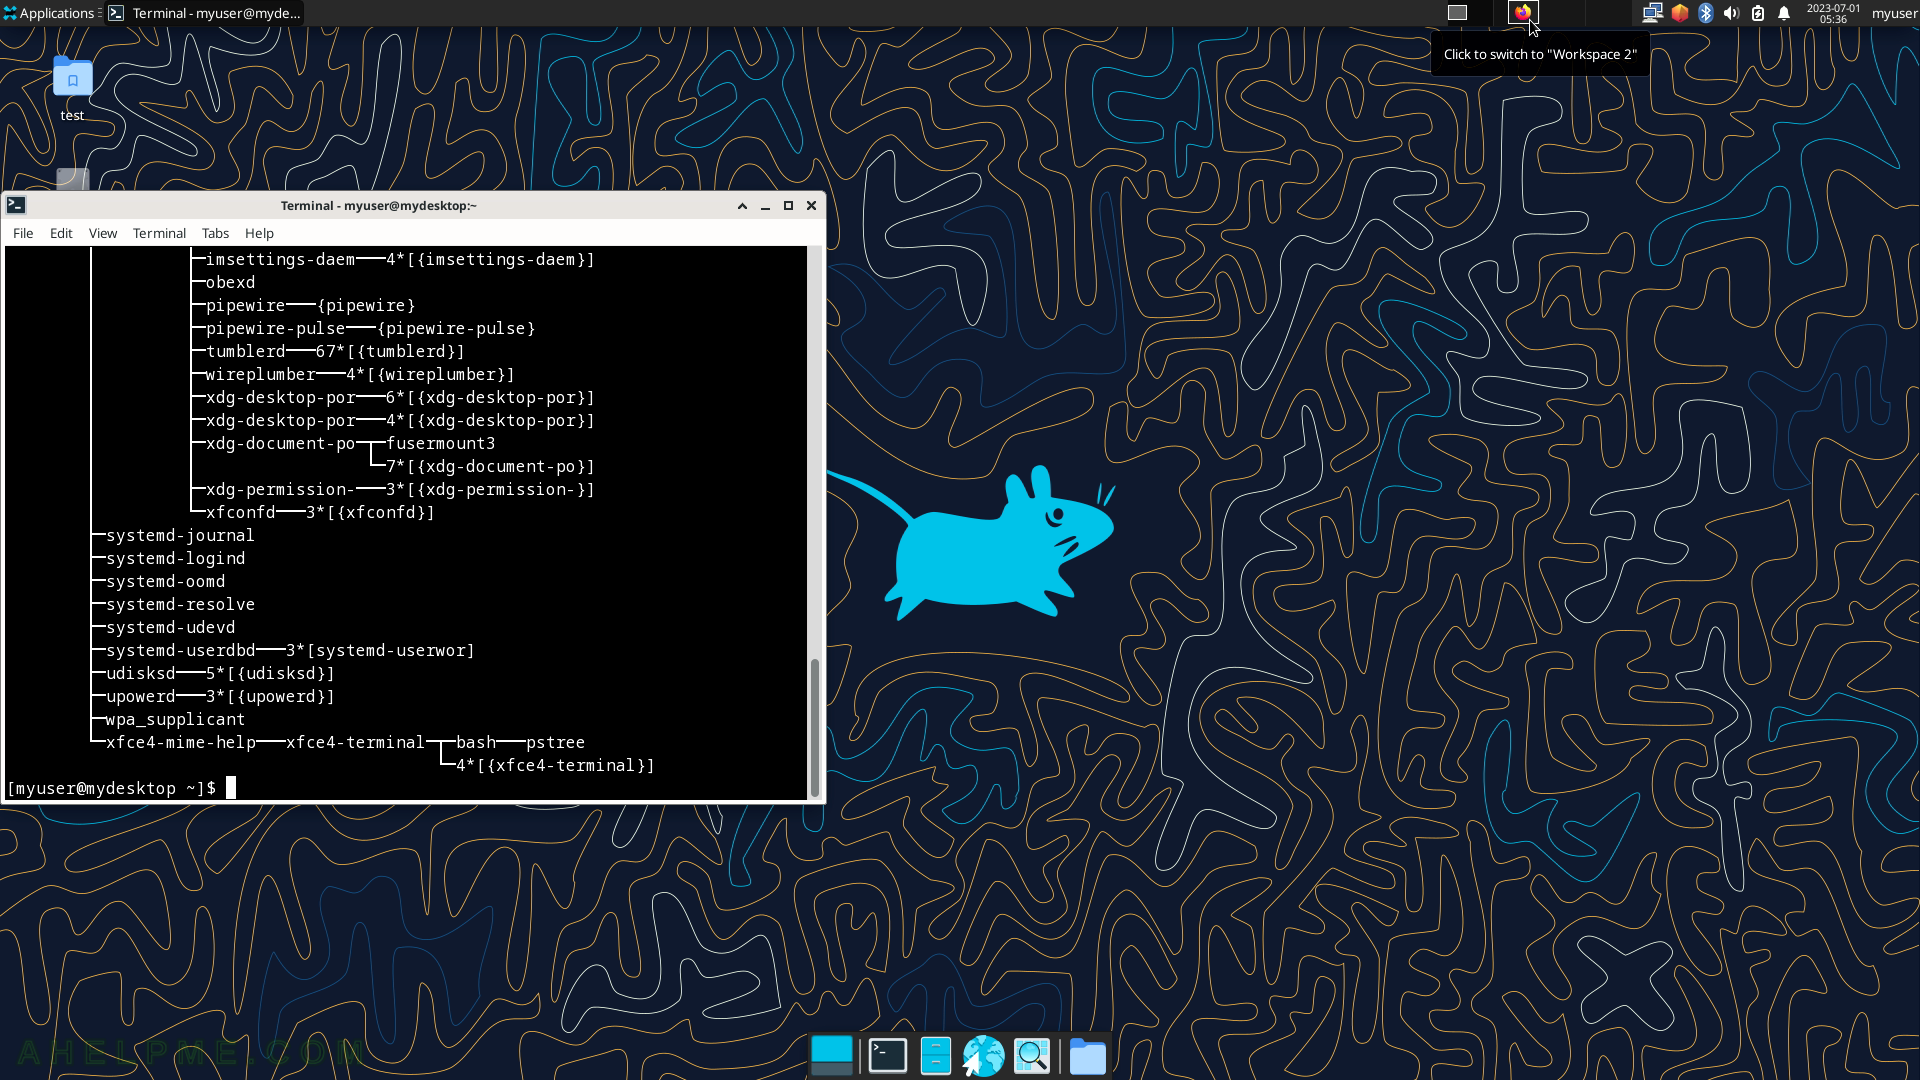
SCREENSHOT 37) The Firefox has been moved to the second workspace.
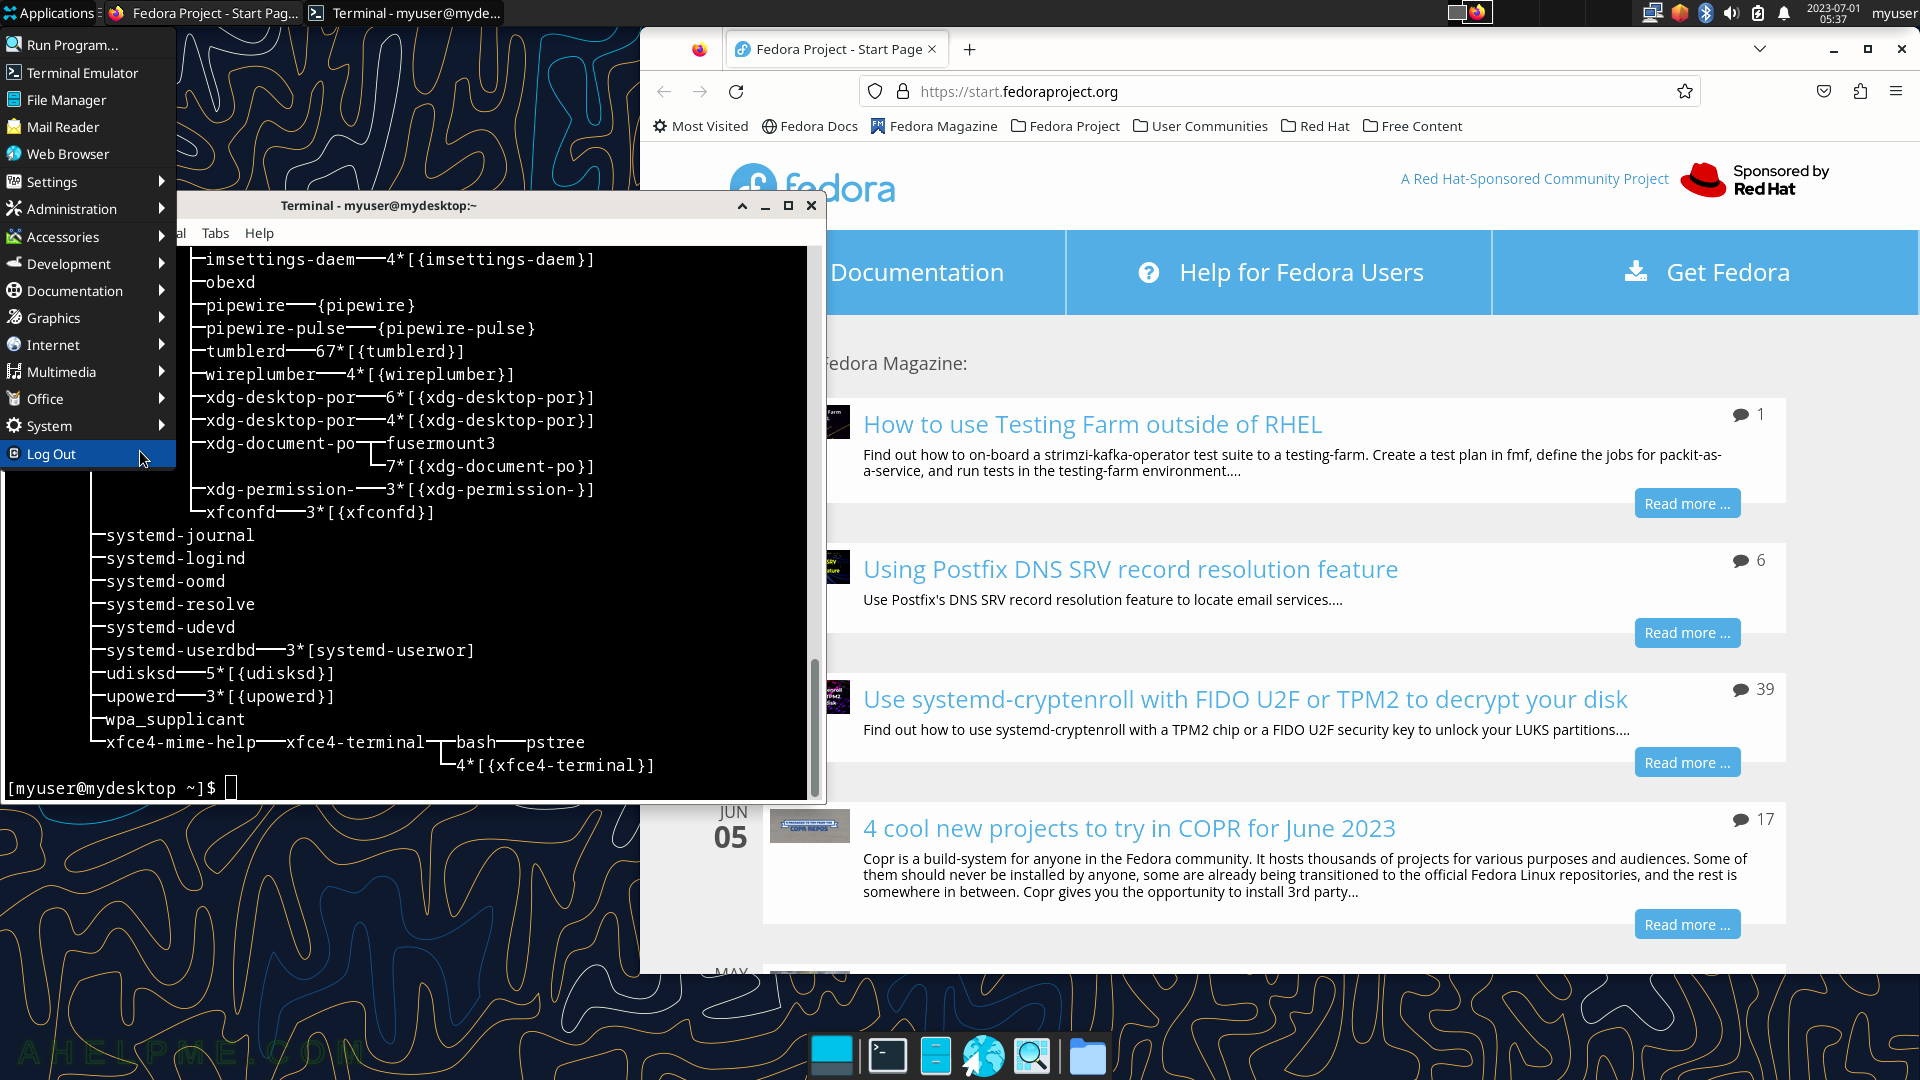
SCREENSHOT 38) The Log out sub-item will show several options from shut down to lock and suspend.
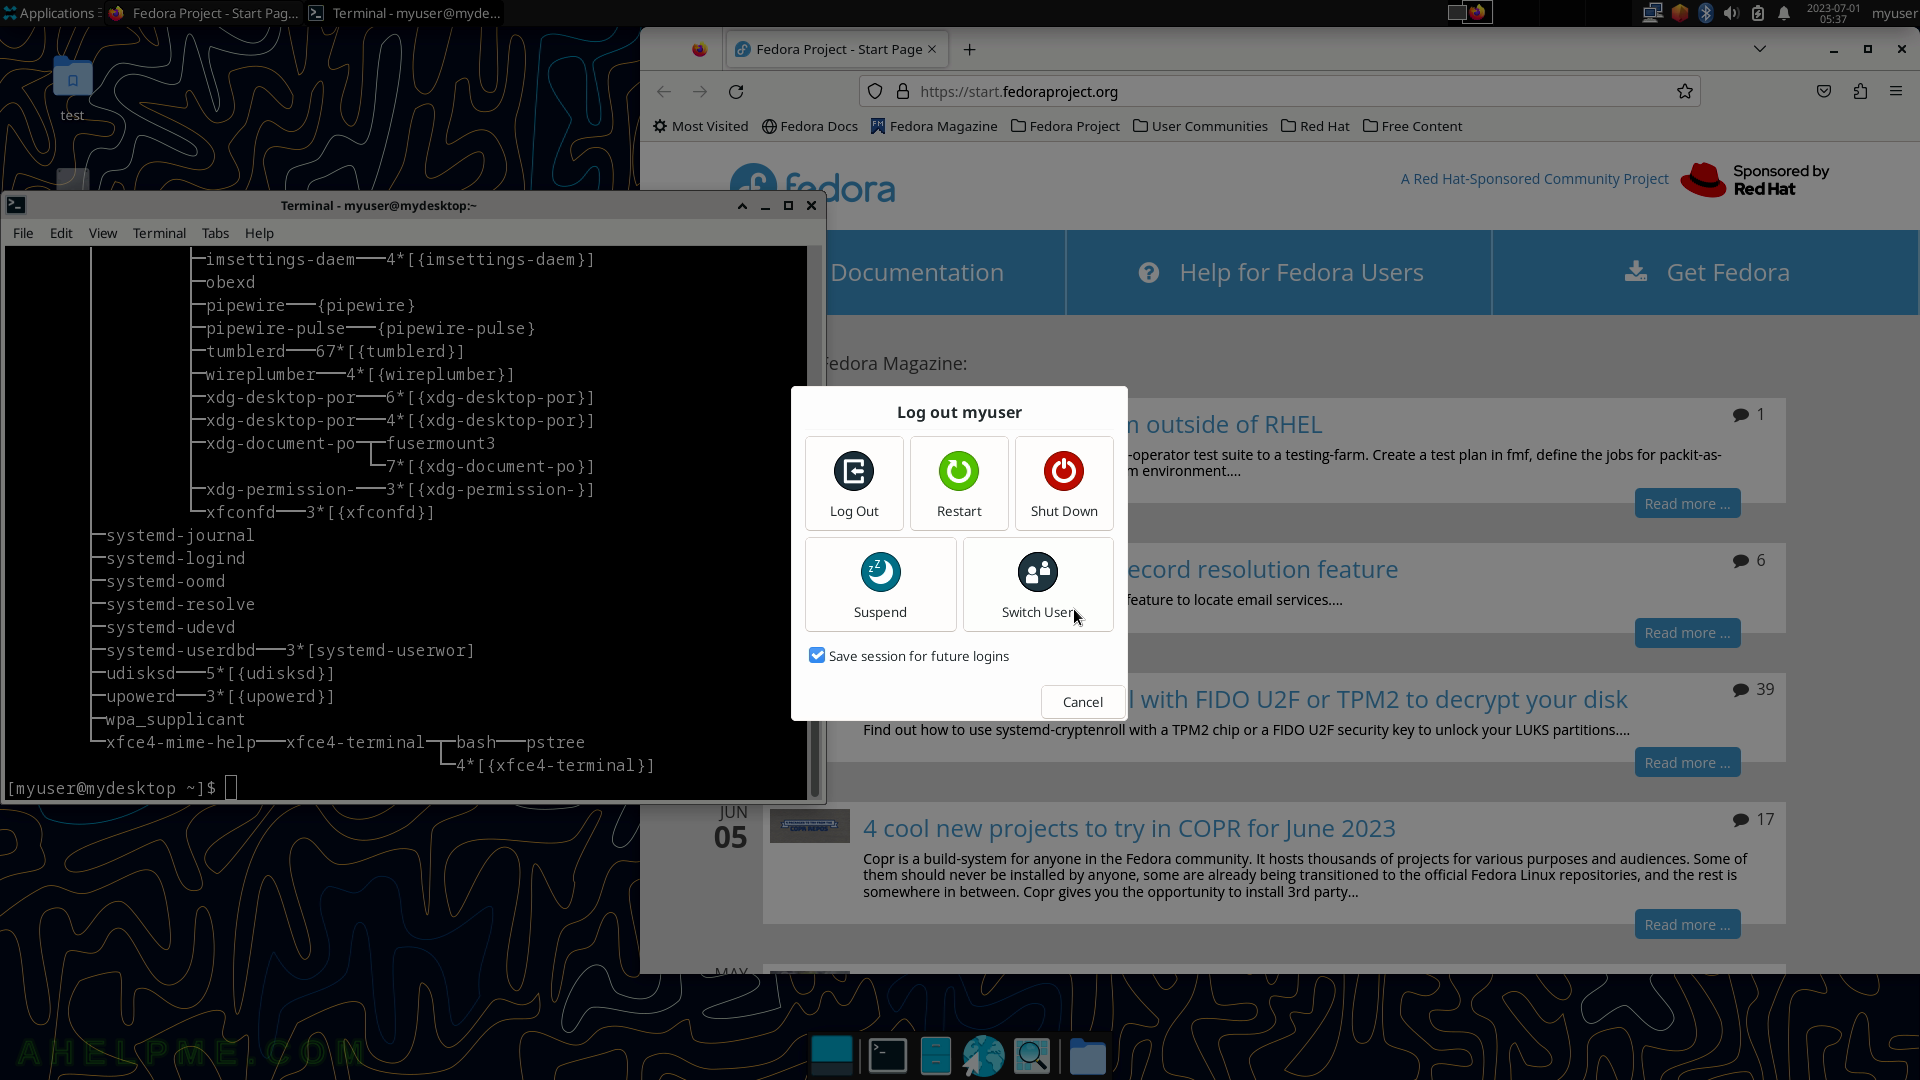
SCREENSHOT 39) Log out, Restart, Shut Down, Suspend, and Switch User are available options under Log out.
By default, the Xfce session is saved and loaded on the next login of the same user. All customization and configuration done by the user are saved in a session, which is then loaded on the user log-in.
SCREENSHOT 40) The user screen is locked.
Choose the user and the password to unlock.
