SCREENSHOT 136) Follows several screens with more information for the Connections application.
It’s a remote desktop application.
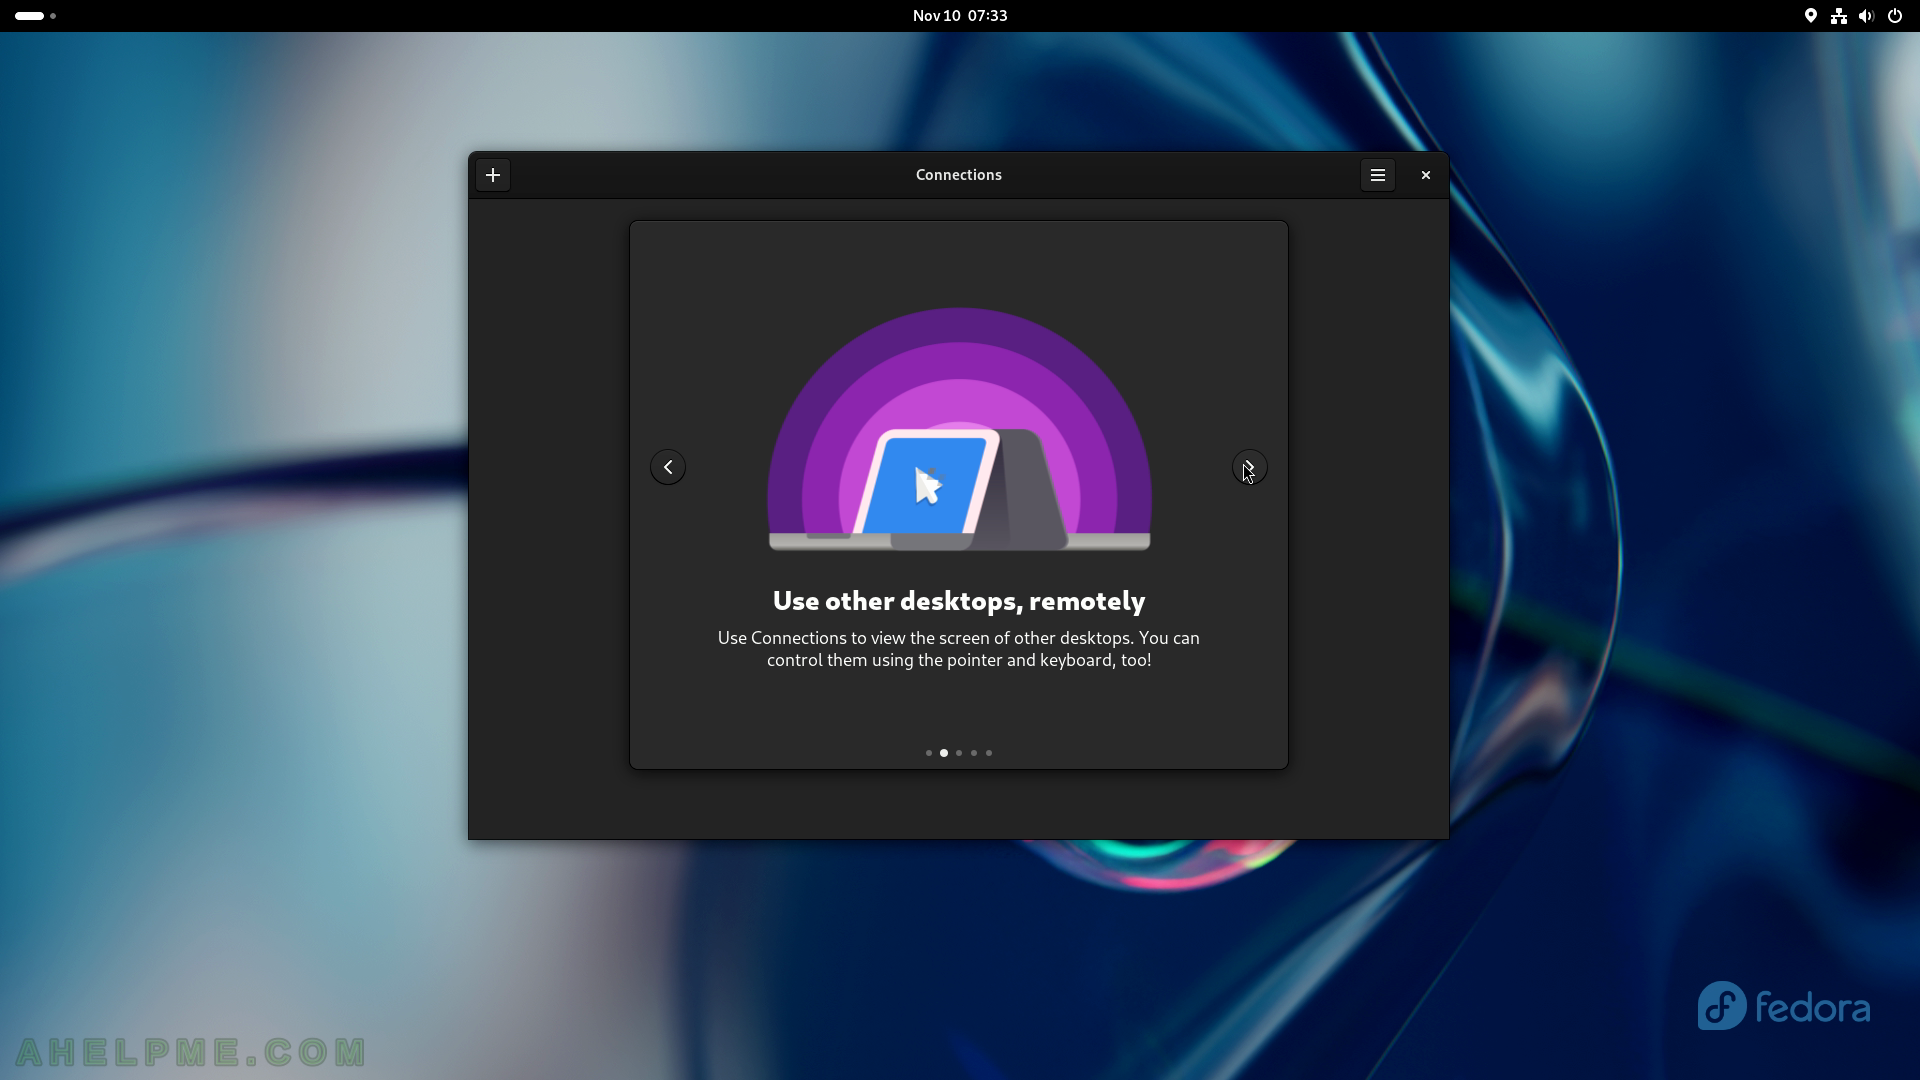
SCREENSHOT 137) Connect to different operating systems with Connections.
Access Linux, Mac, and Windows.

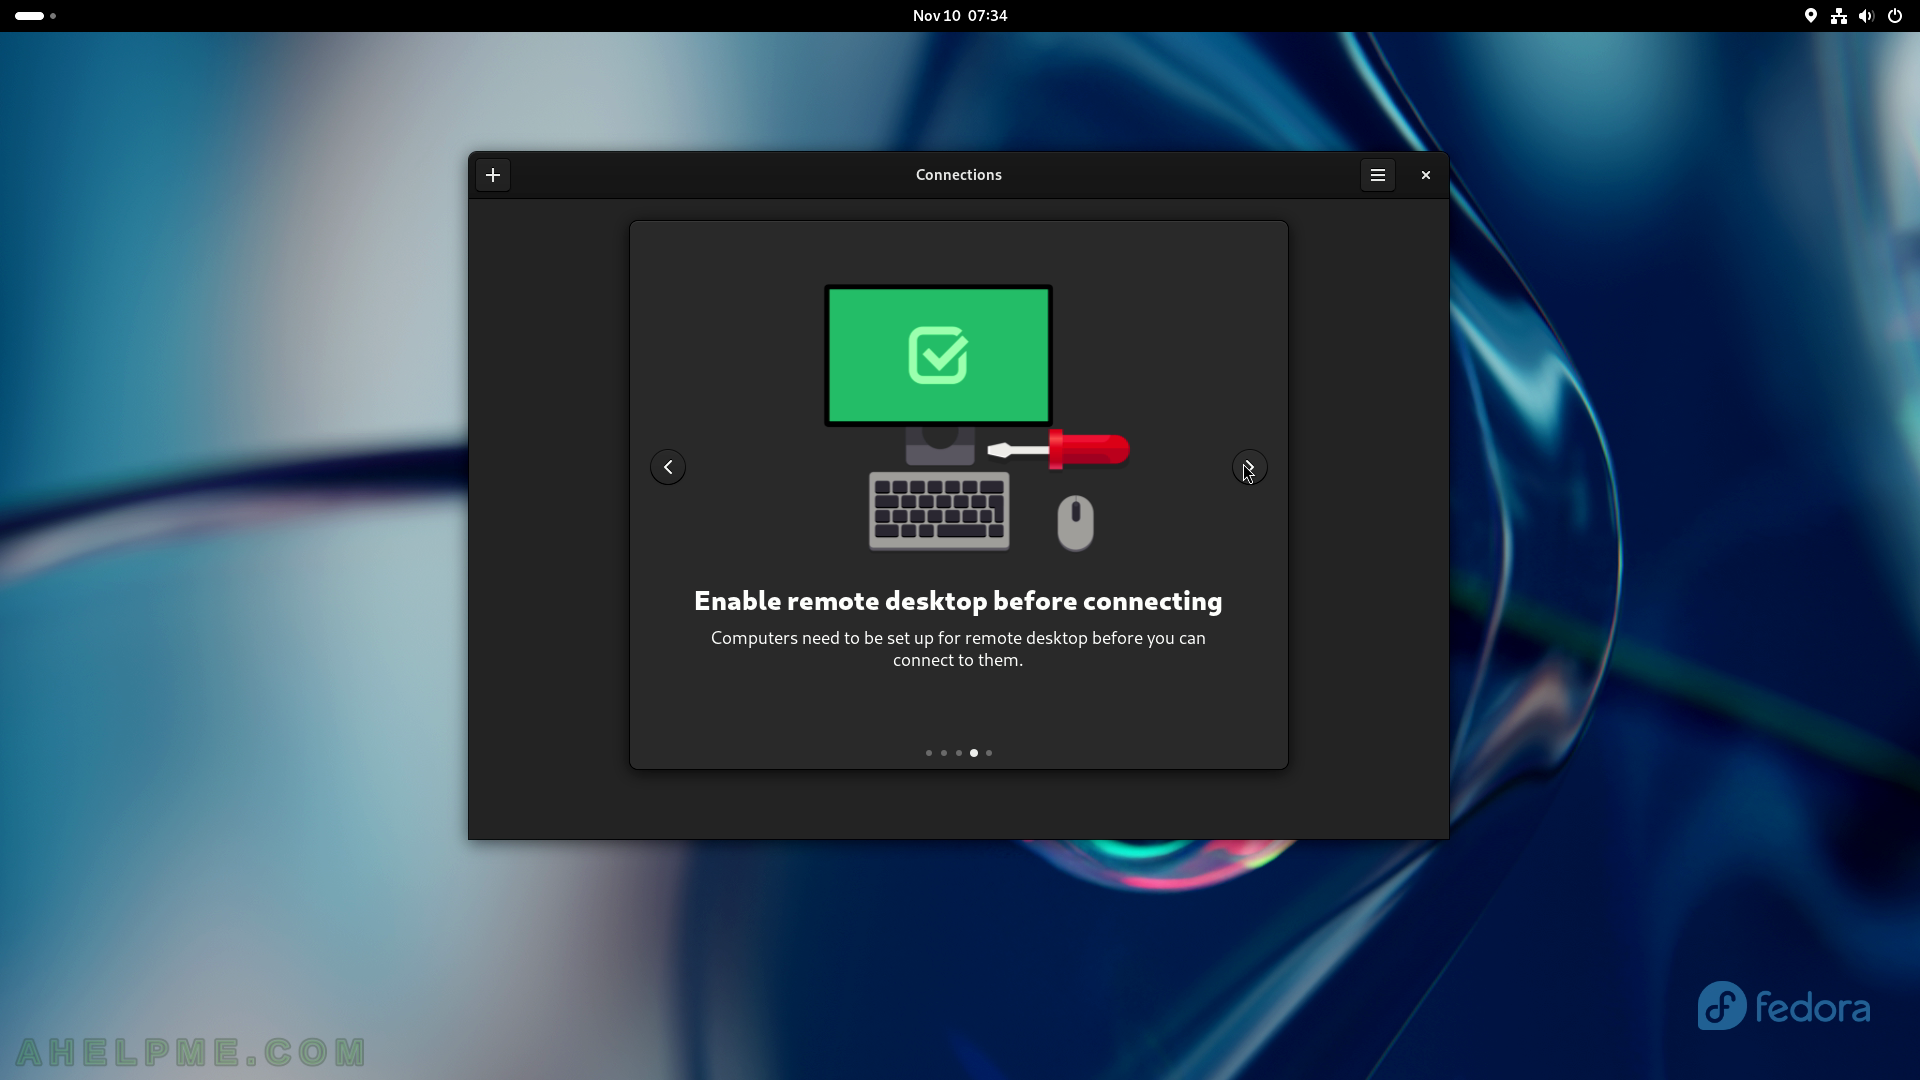
SCREENSHOT 138) Enable the remote computer’s remote desktop feature before connecting with the Connections.
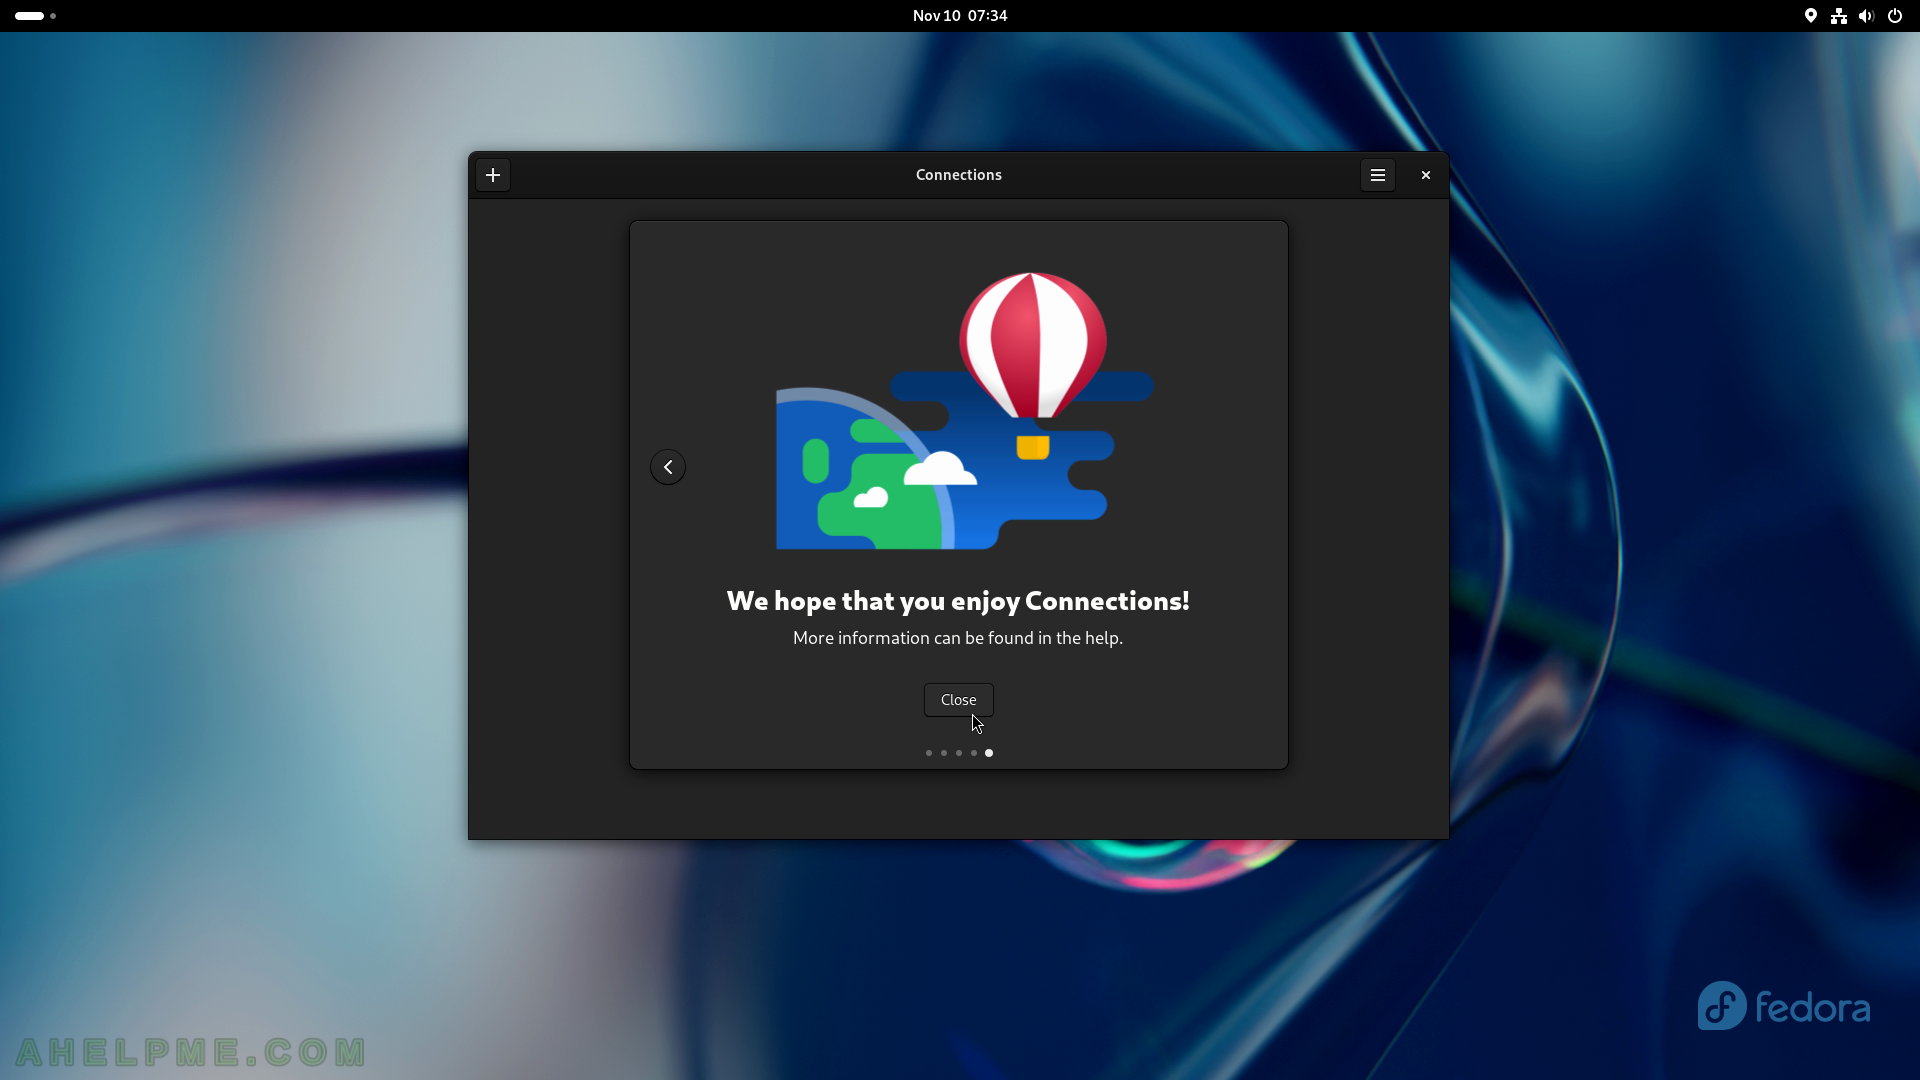
SCREENSHOT 139) Last information screen for Connections application.
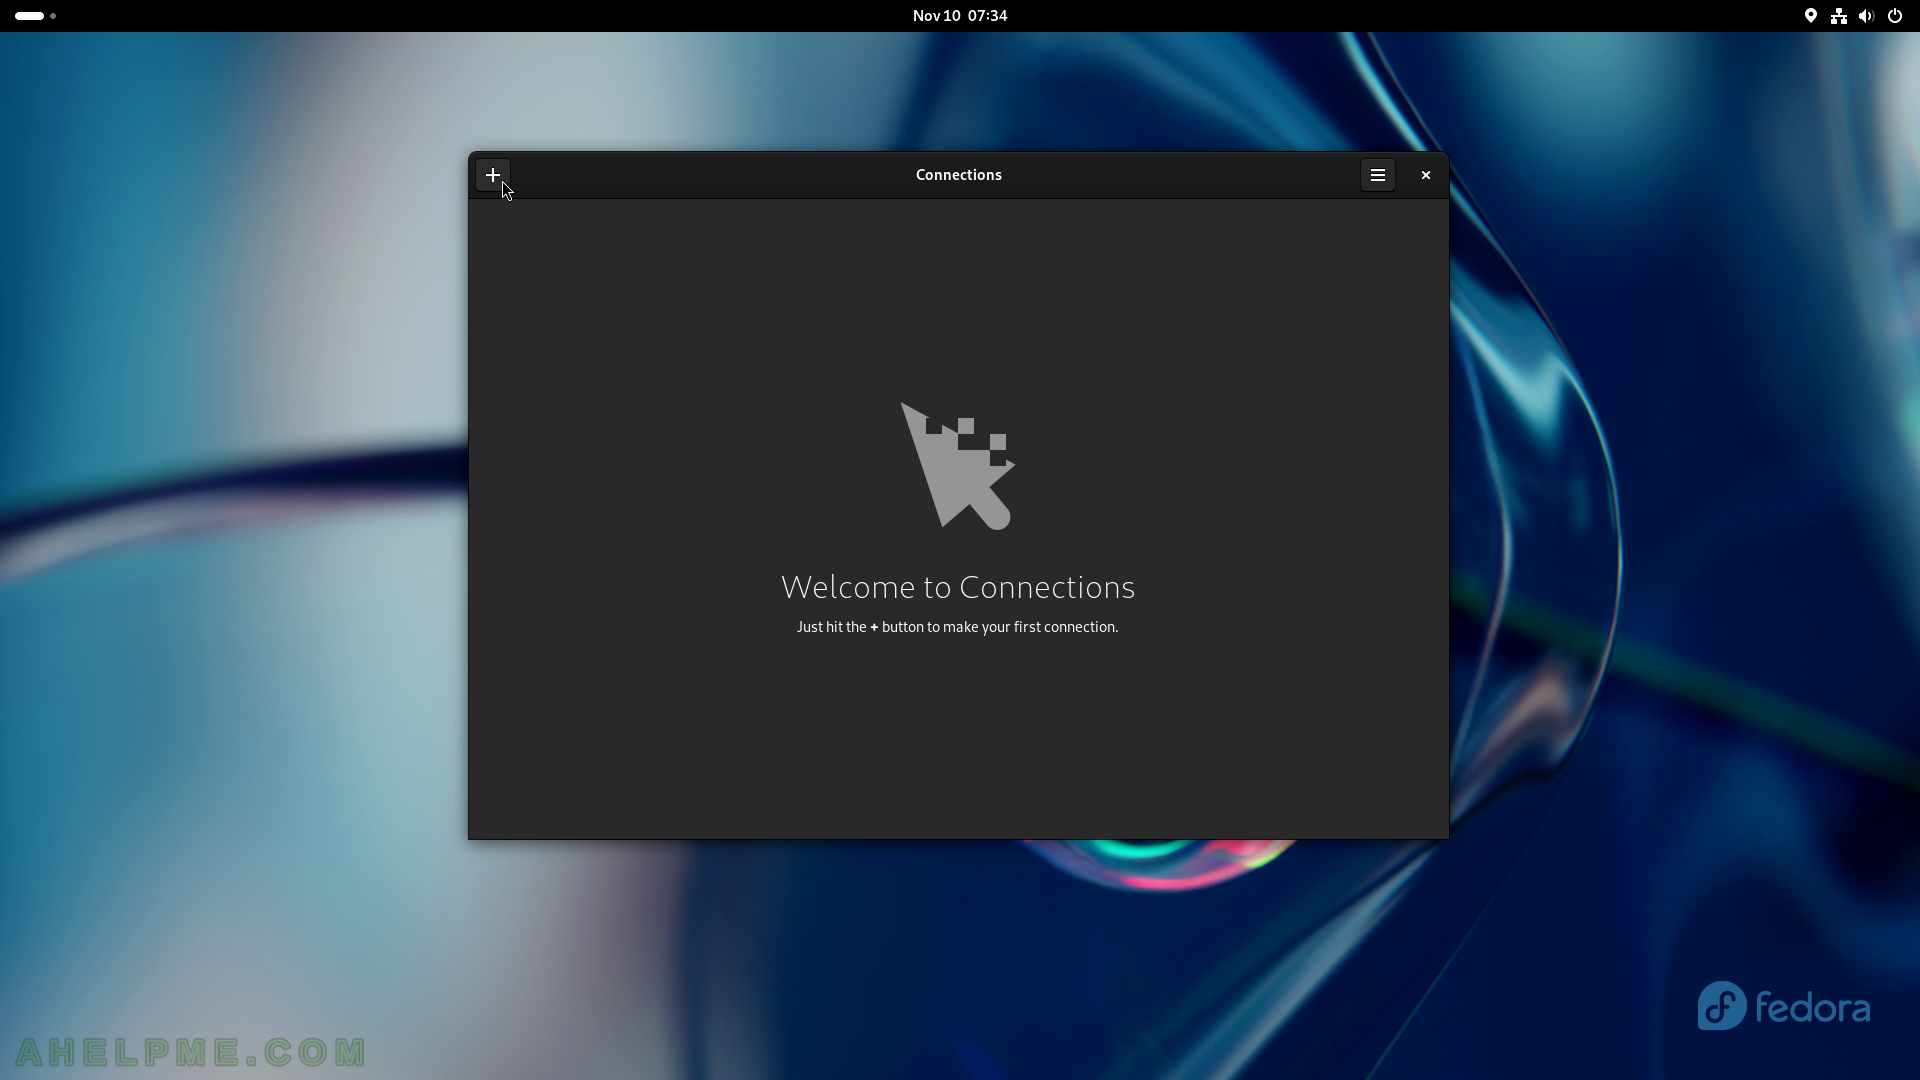
SCREENSHOT 140) The main view of the Connections application with no saved connections.
Click on the right top corner plus button to add a connection to a computer.
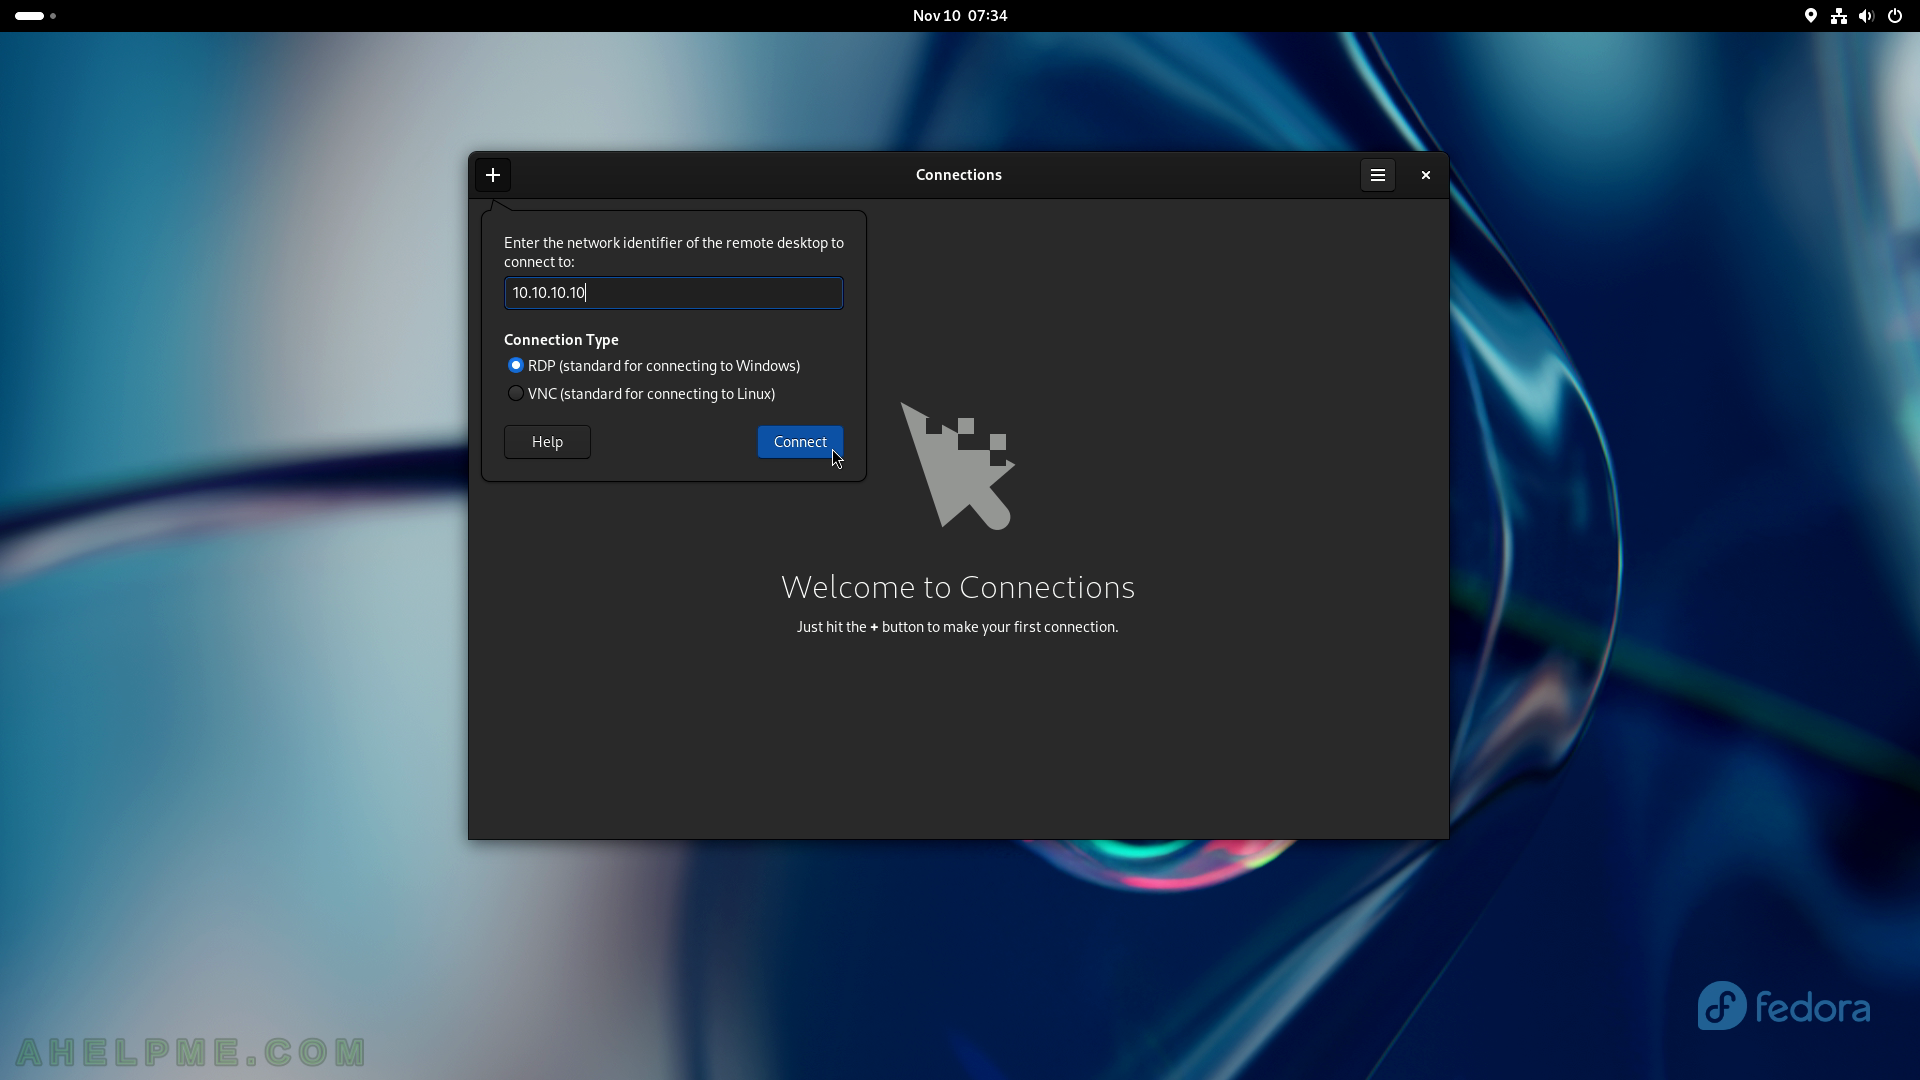
SCREENSHOT 141) Add a new connection – RDP (using Windows Remote Desktop protocol) or VNC (a protocol to connect to Linux boxes).
Click on the “Connect” button to add a username and password.
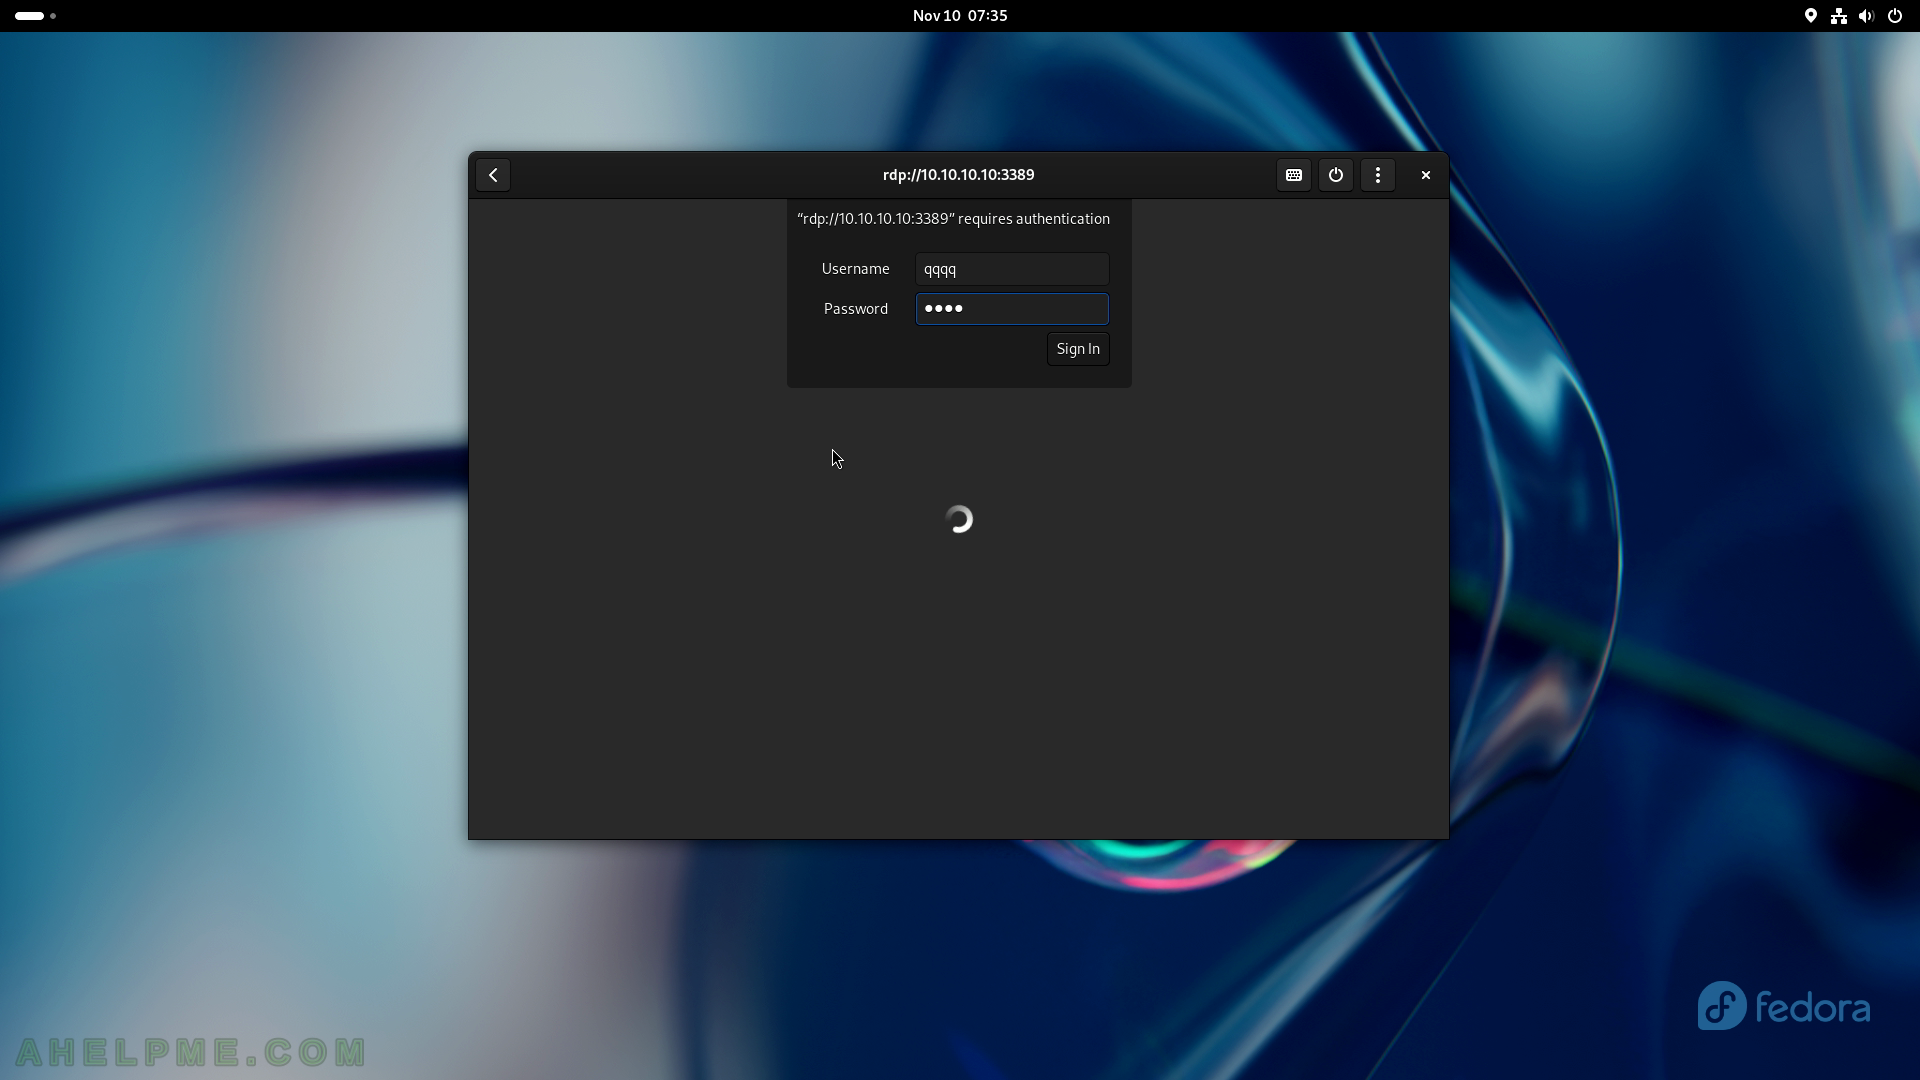
SCREENSHOT 142) Add the username and password to log in to the remote computer.
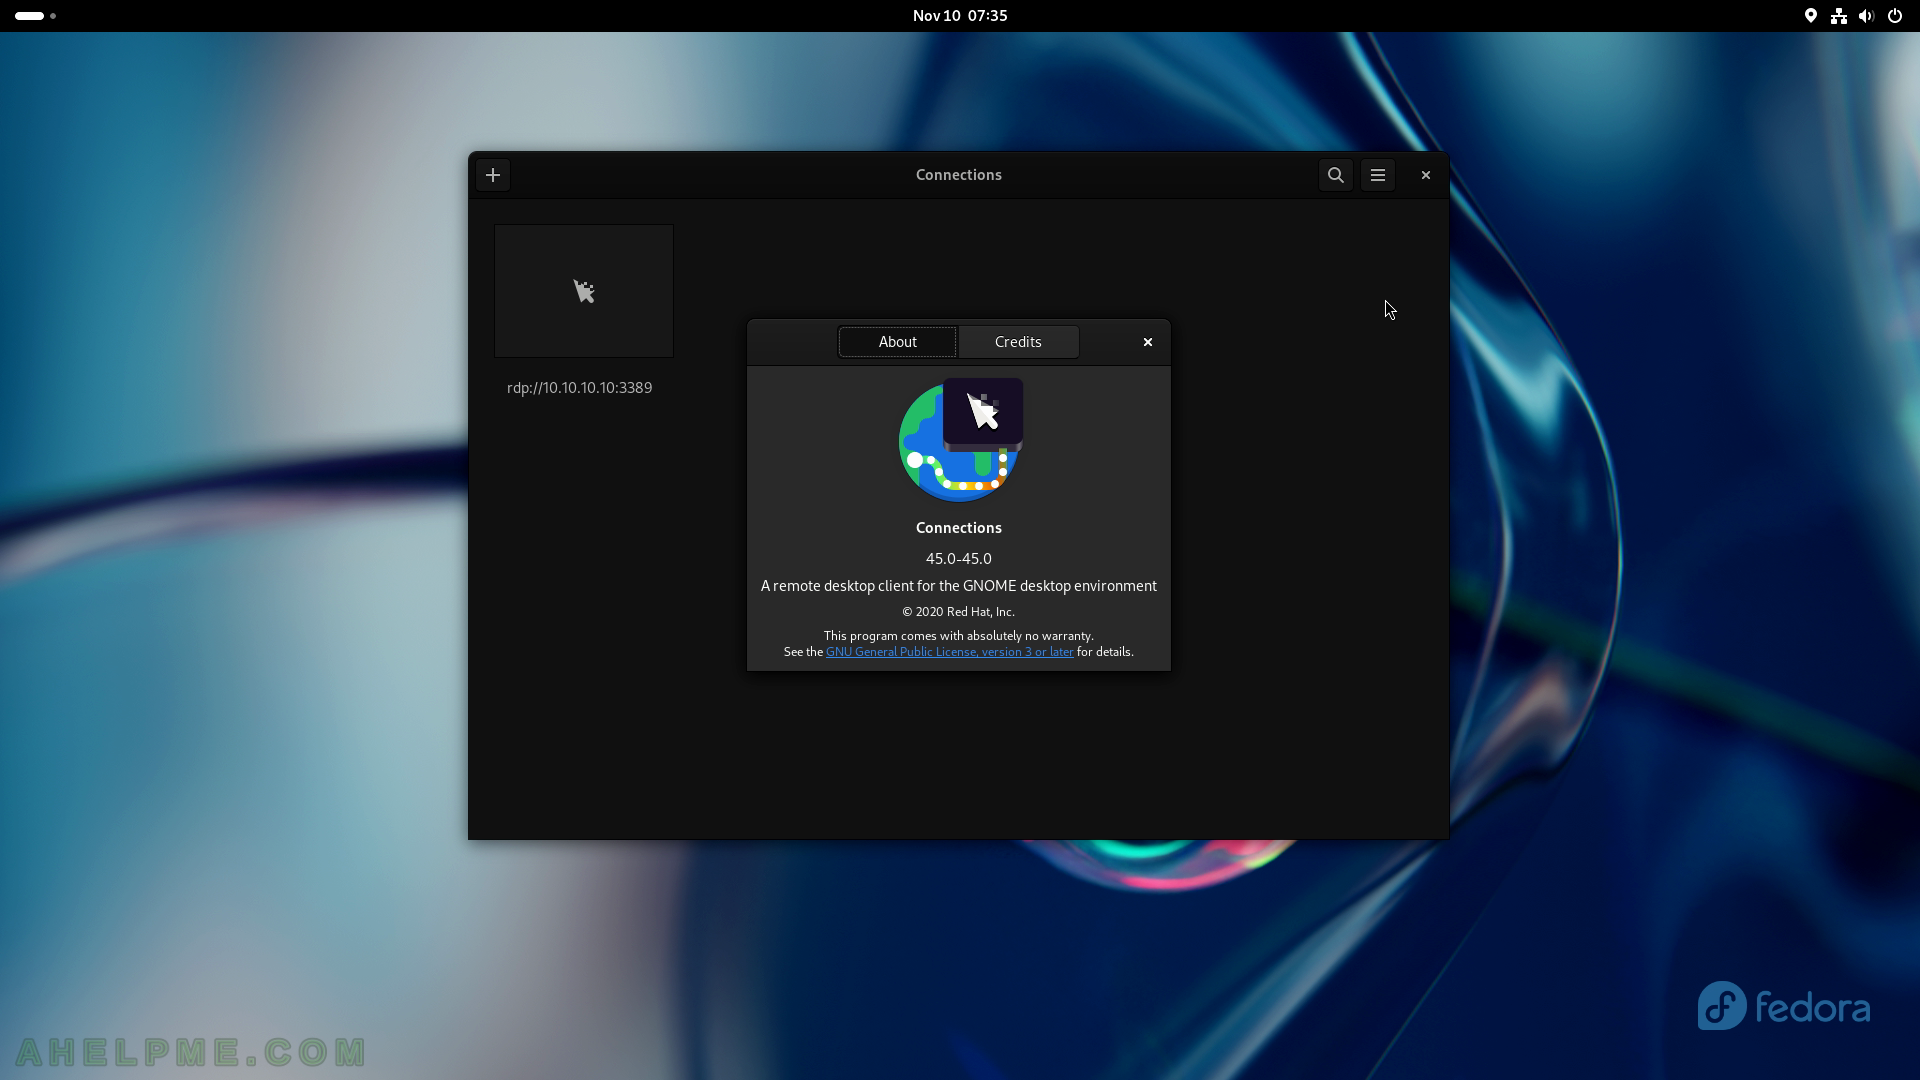
SCREENSHOT 143) Connections 45.0 with one connection saved.
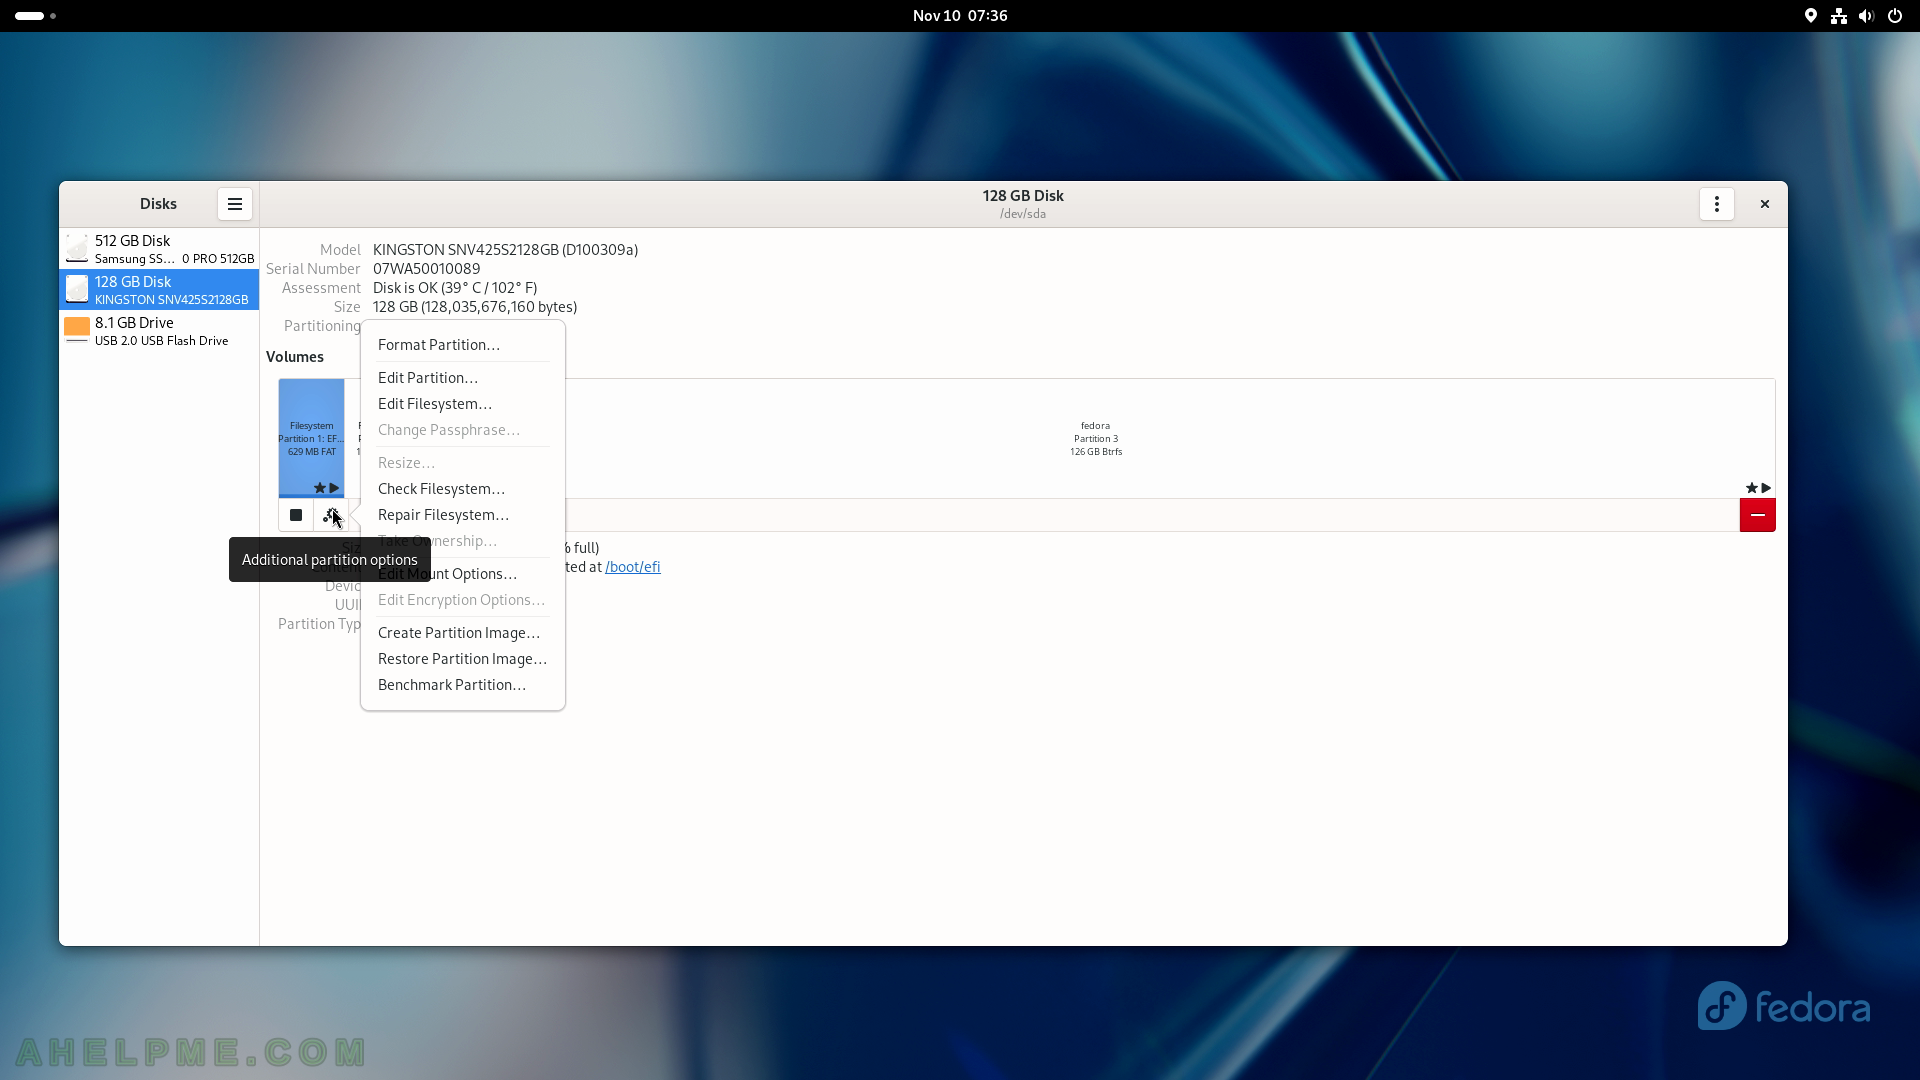
SCREENSHOT 144) The additional partition options show what the user can do with the selected partition such as Format Partition, Edit Partition, Edit Filesystem, Resize, Check Filesystem, Repair Filesystem, Edit Mount Options, Create Partition Image, Restore Partition Image, and Benchmark Partition.
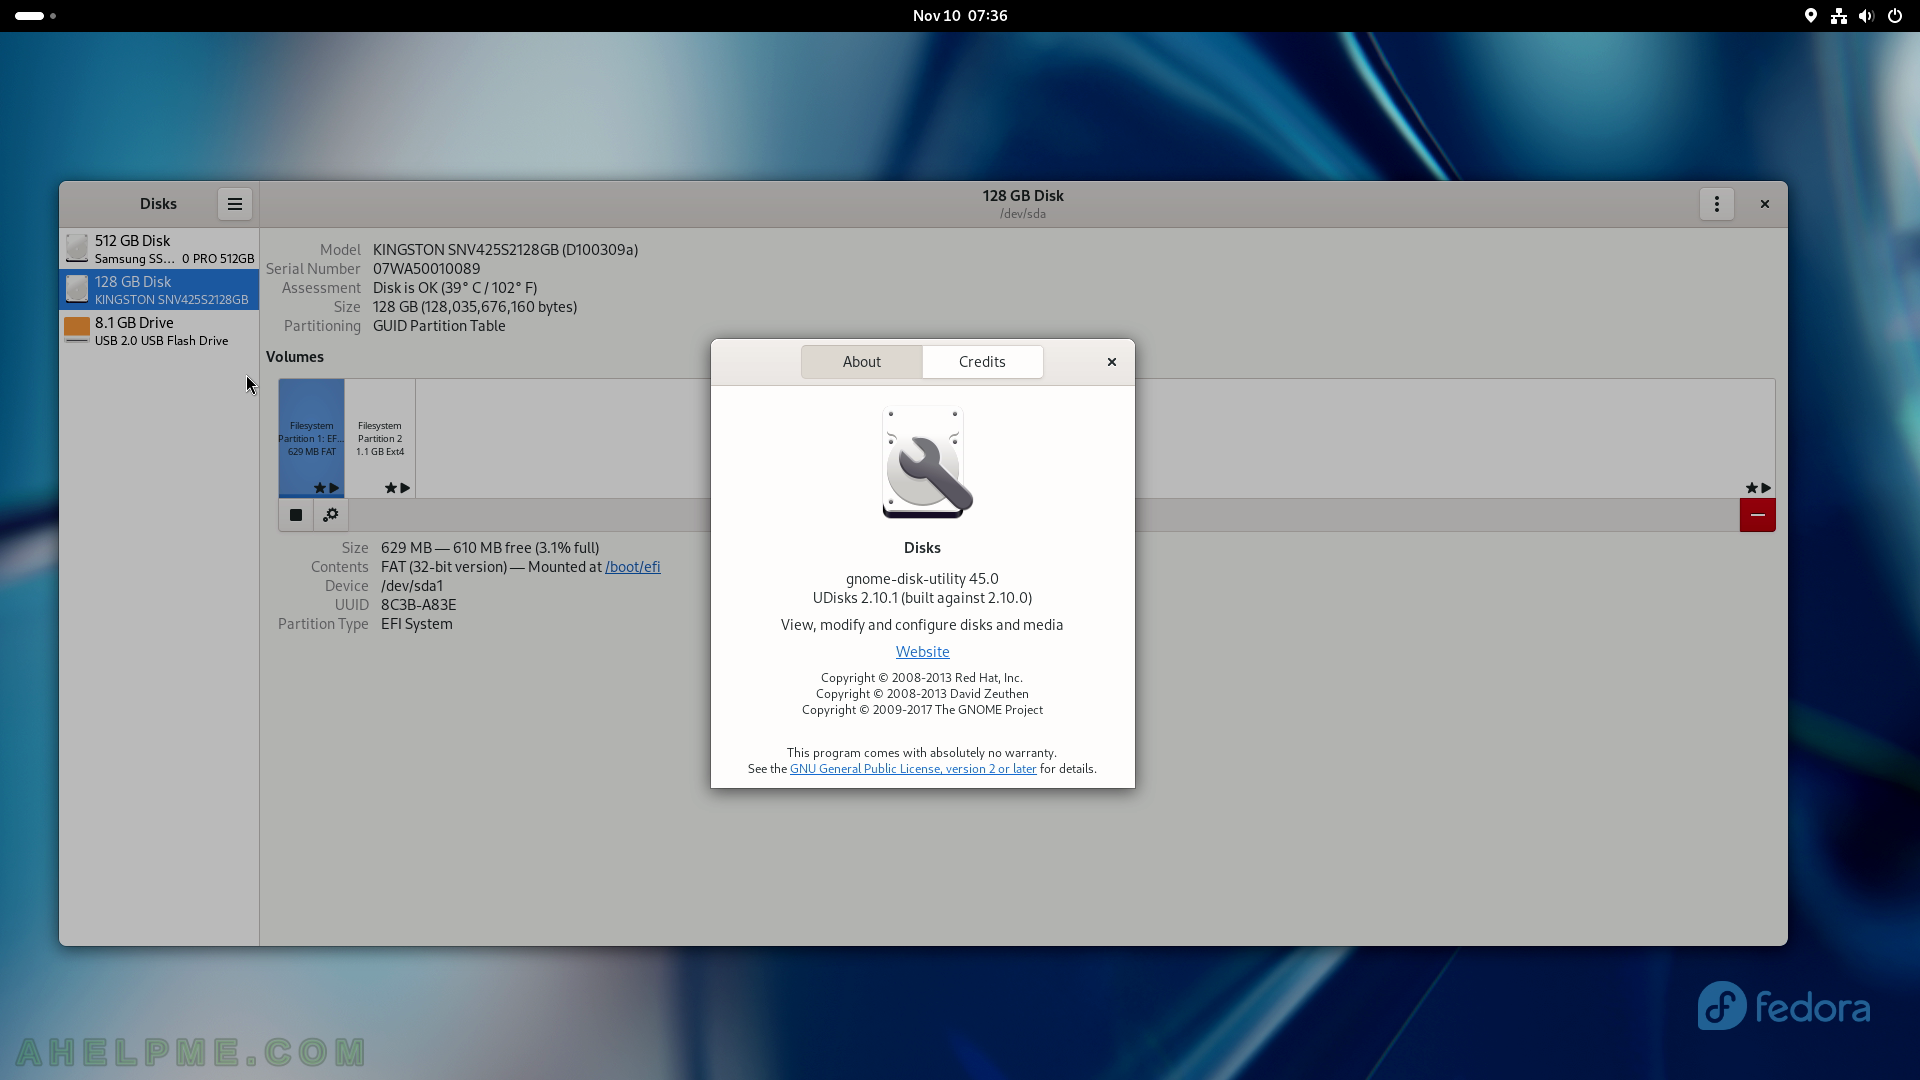
SCREENSHOT 145) The GNOME Disks application is built against the UDisks 2.10.1.
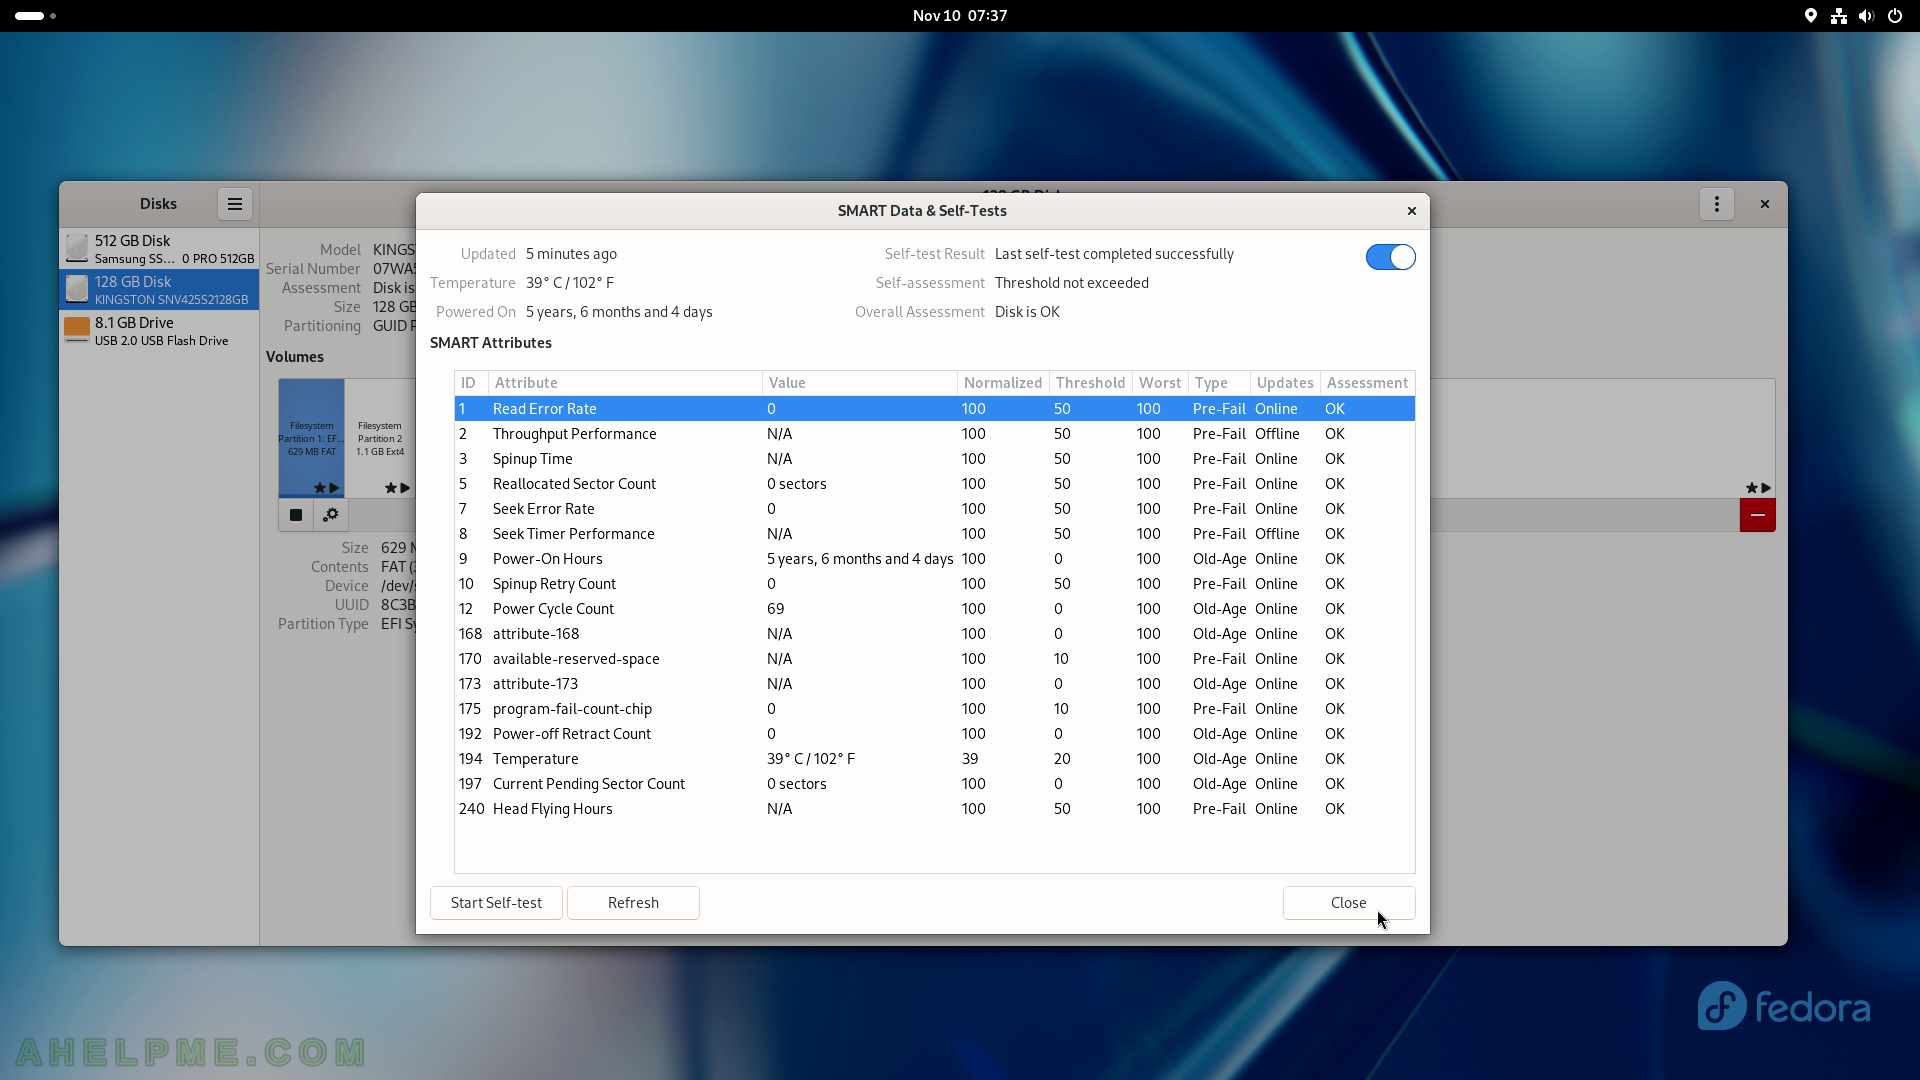
SCREENSHOT 146) Show the SMART Data and Self-Tests on the currently selected disk.

SCREENSHOT 147) The Disks application shows the SMART data of the disks.
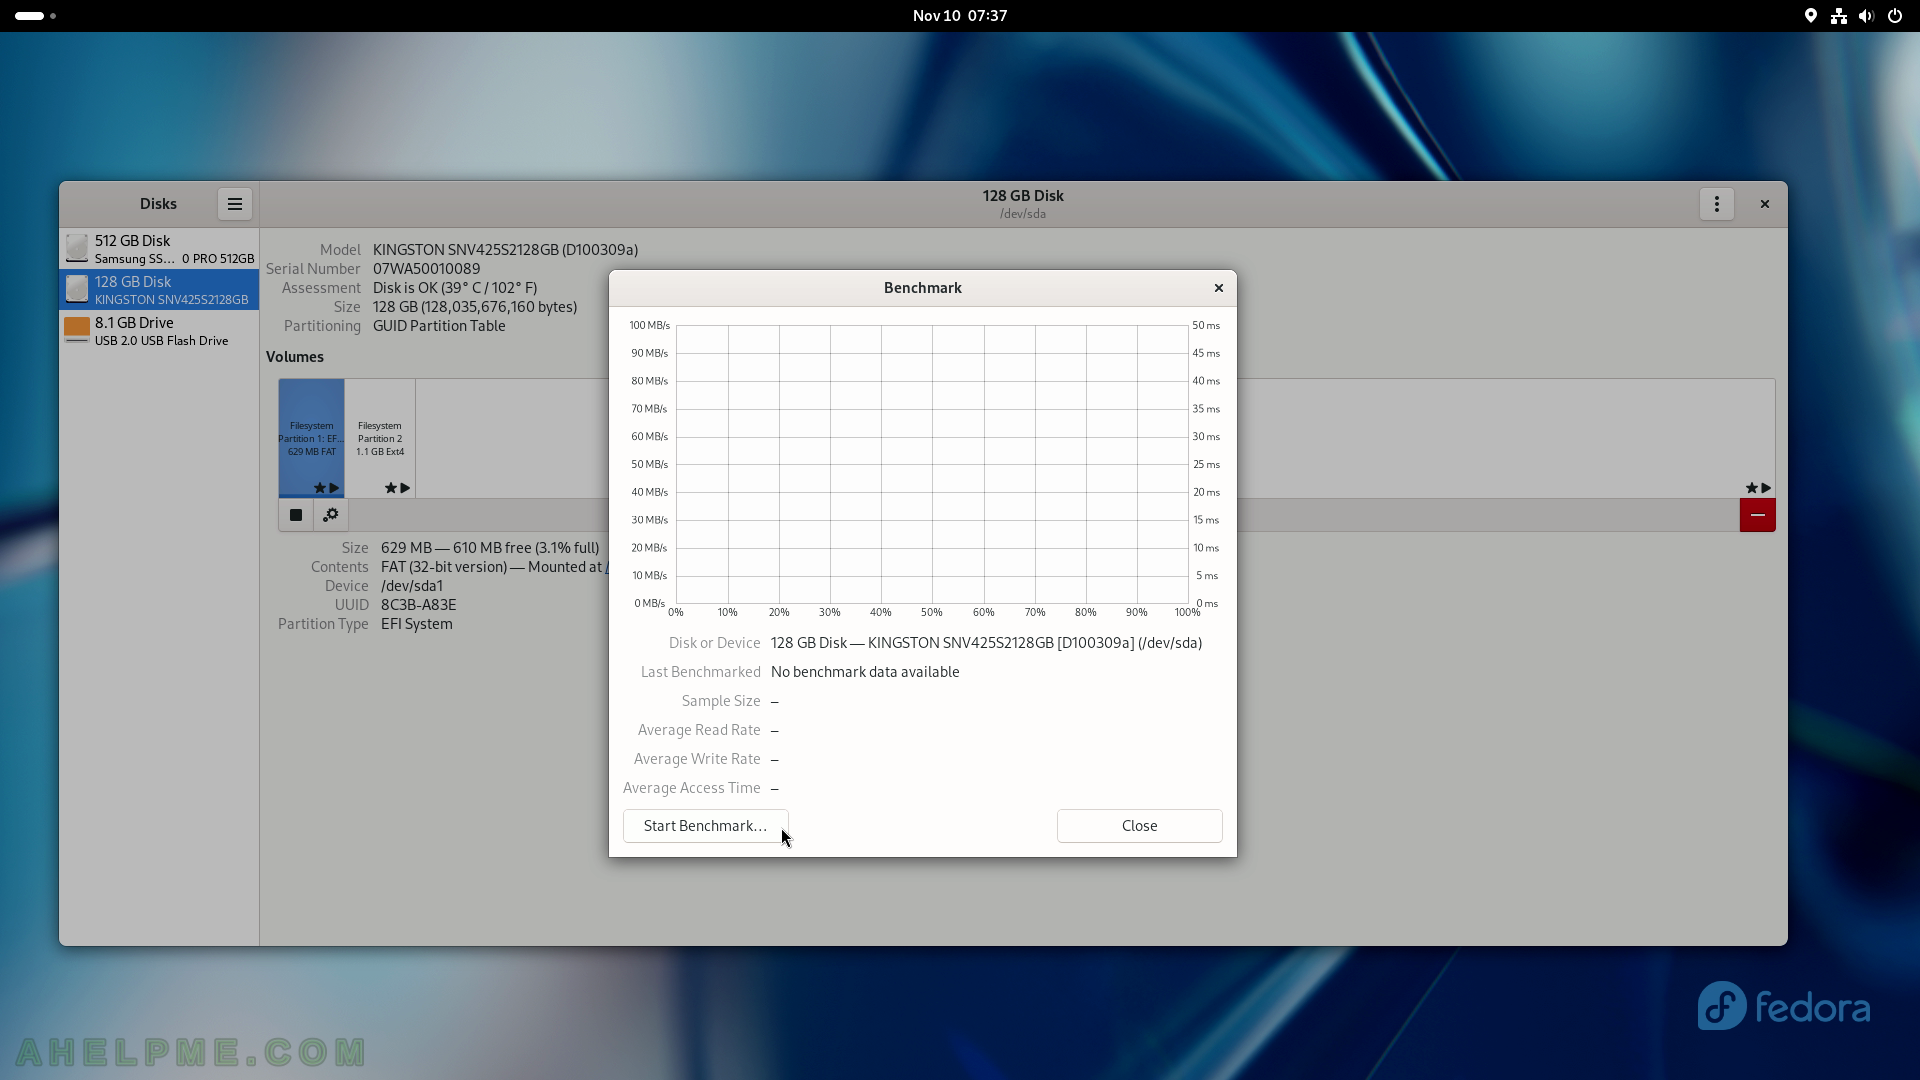
SCREENSHOT 148) To benchmark a disk use Disks, select the drive, and then click on the right top corner on the “Drive options” button.

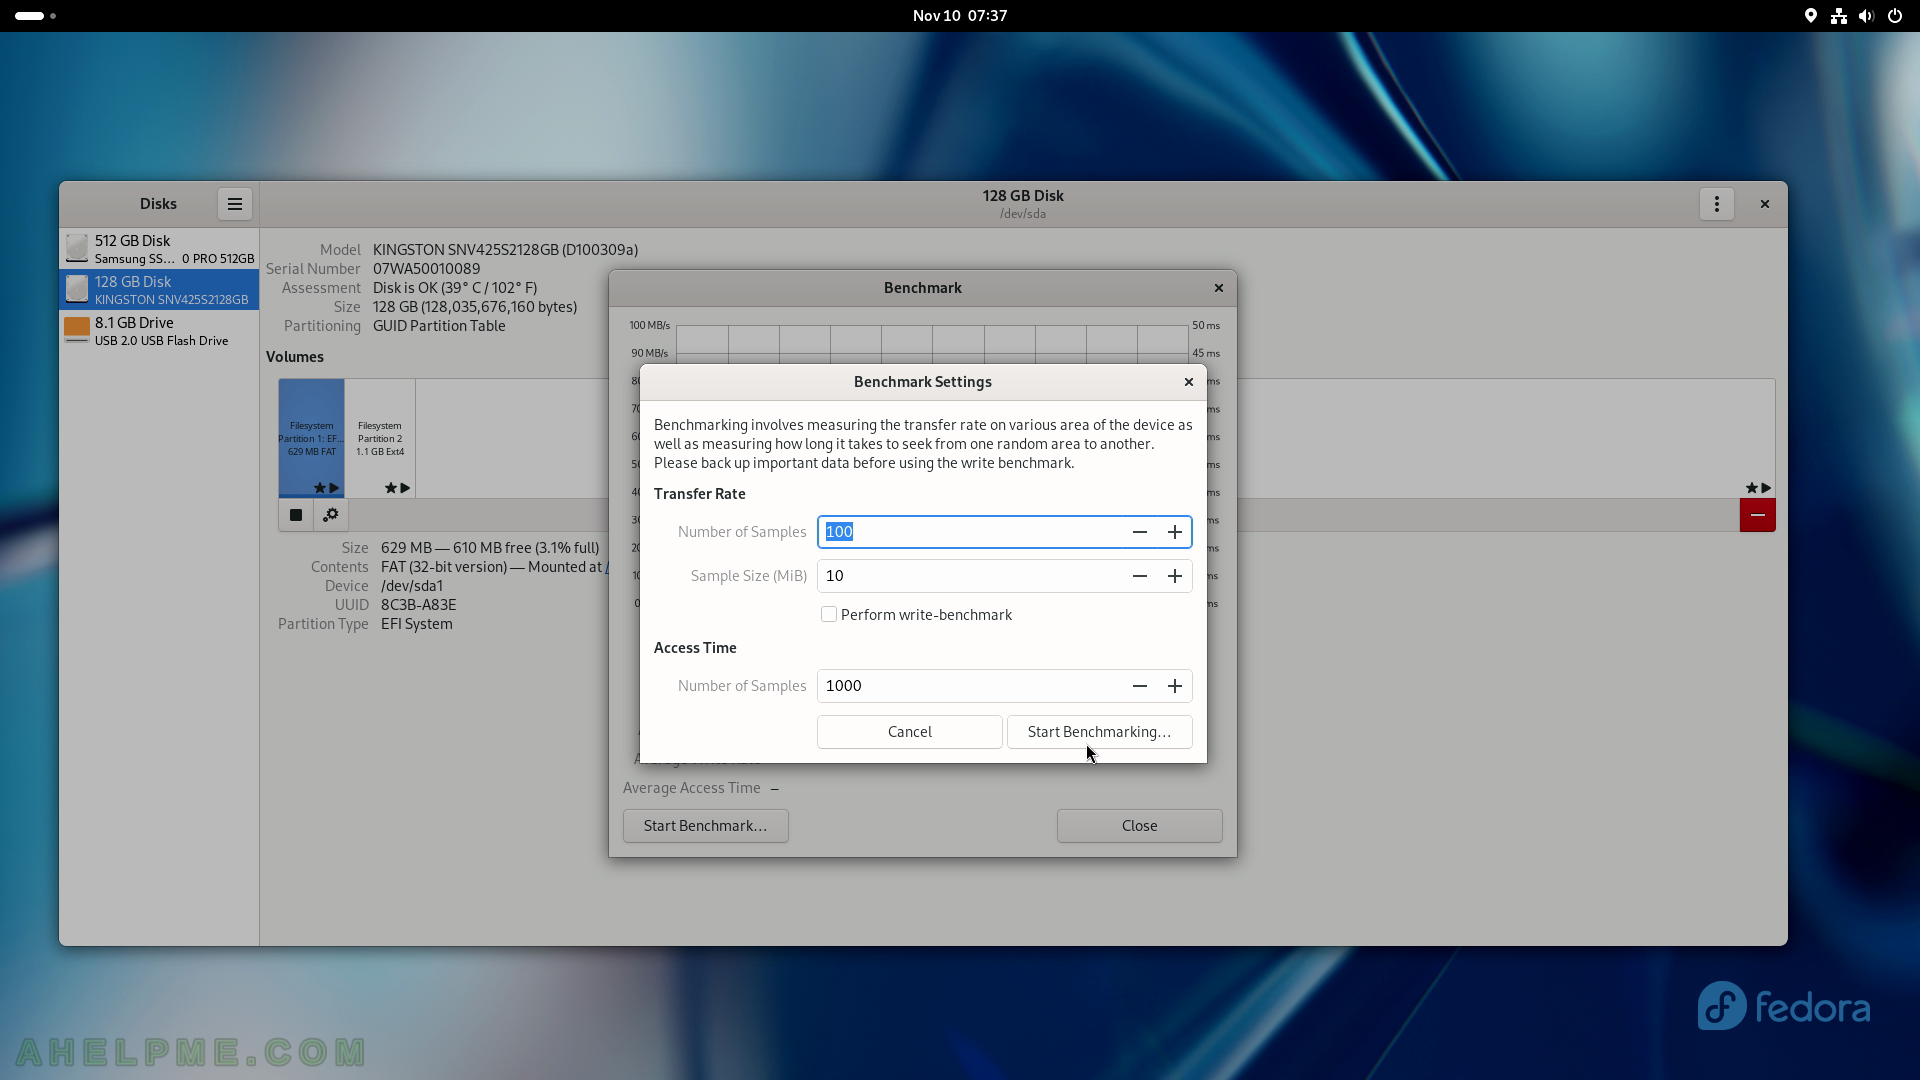
SCREENSHOT 149) To start the benchmark click on the “Start Benchmark” button and additional configuration will be asked for.
SCREENSHOT 150) Benchmark settings to tune the tests. By default, read-only tests are performed, which can be changed if “Perform write-benchmark” is checked.
Click on “Start Benchmarking…” to start the tests.