SCREENSHOT 21) After the “Begin Installation”, the new disk layout is created and the old data/partitions are deleted.

SCREENSHOT 22) All partitions are created and formatted.

SCREENSHOT 23) The setup is still working…
Installation progress is at 79%.

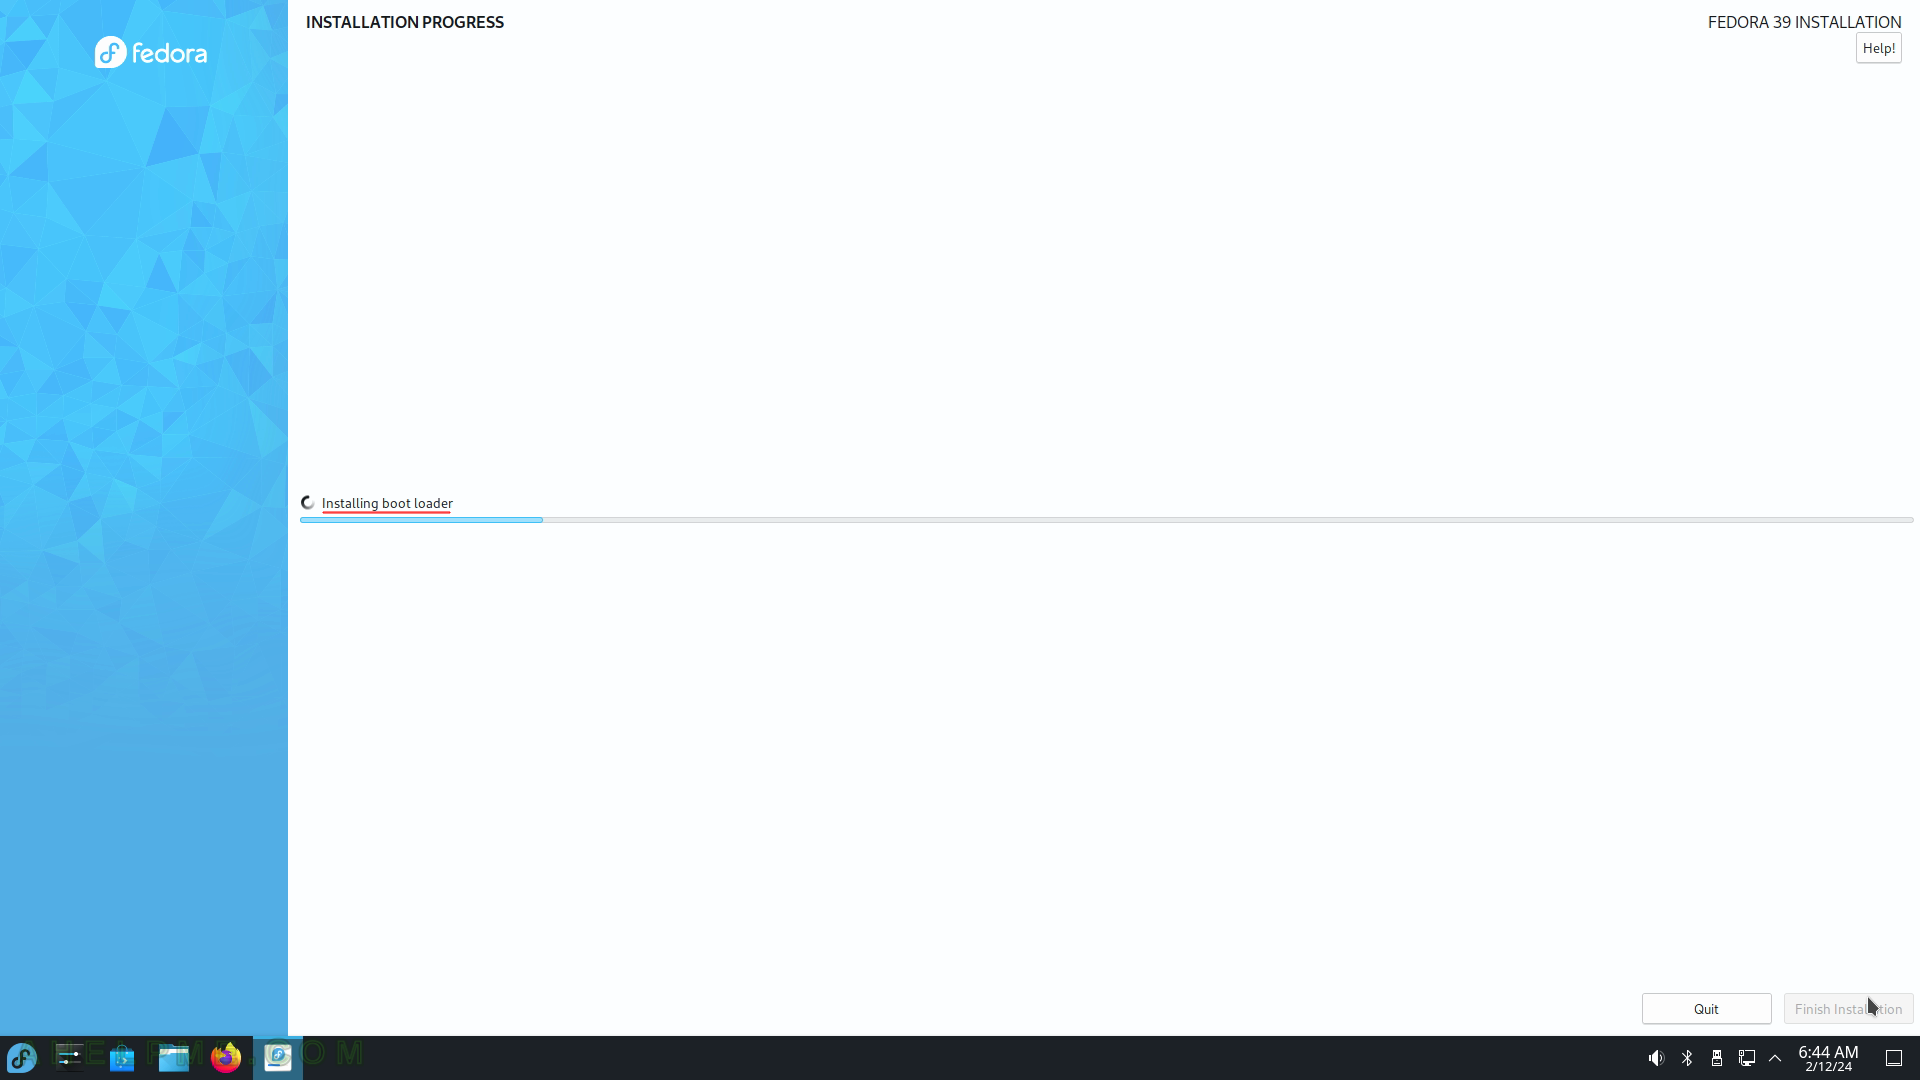
SCREENSHOT 24) One of the last steps is to install the system bootloader.
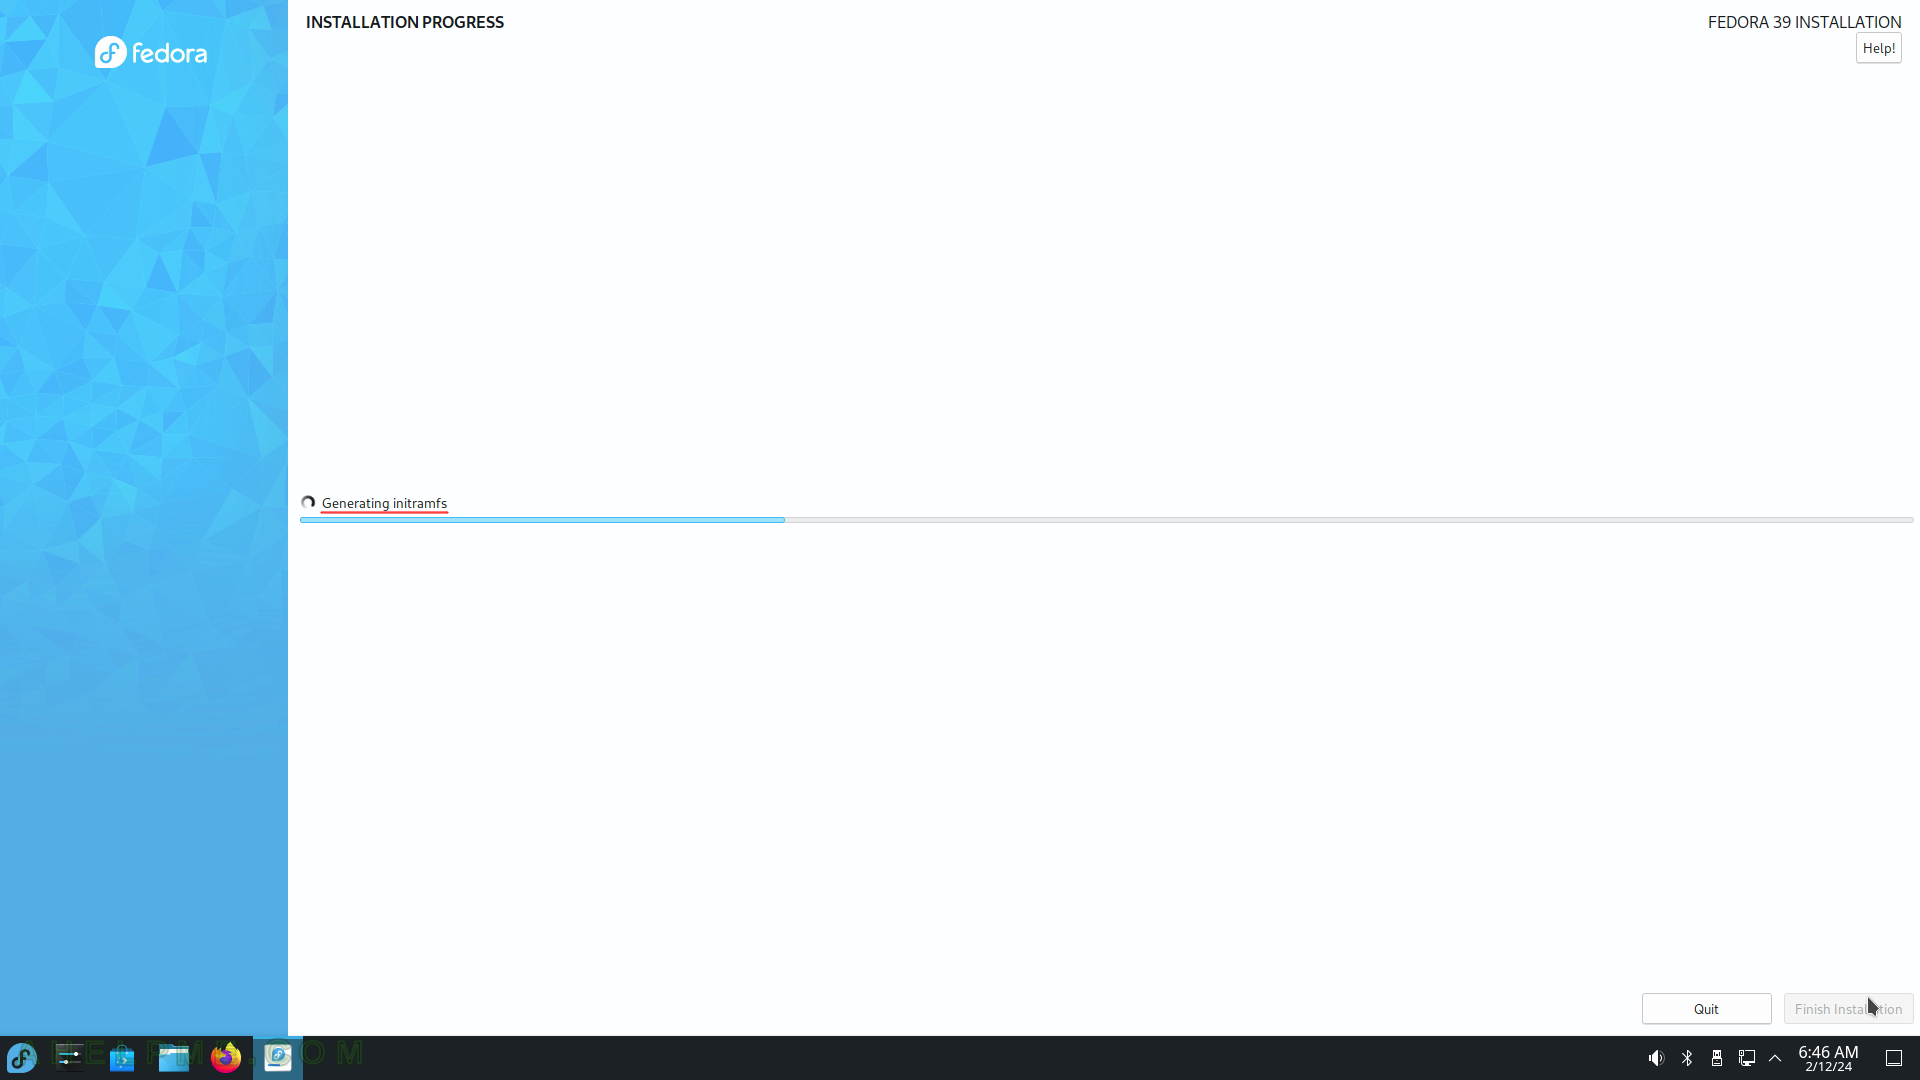
SCREENSHOT 25) The setup will generate the proper files for this current computer to boot successfully by scanning the devices and adding additional kernel drivers (modules) in the early boot process.
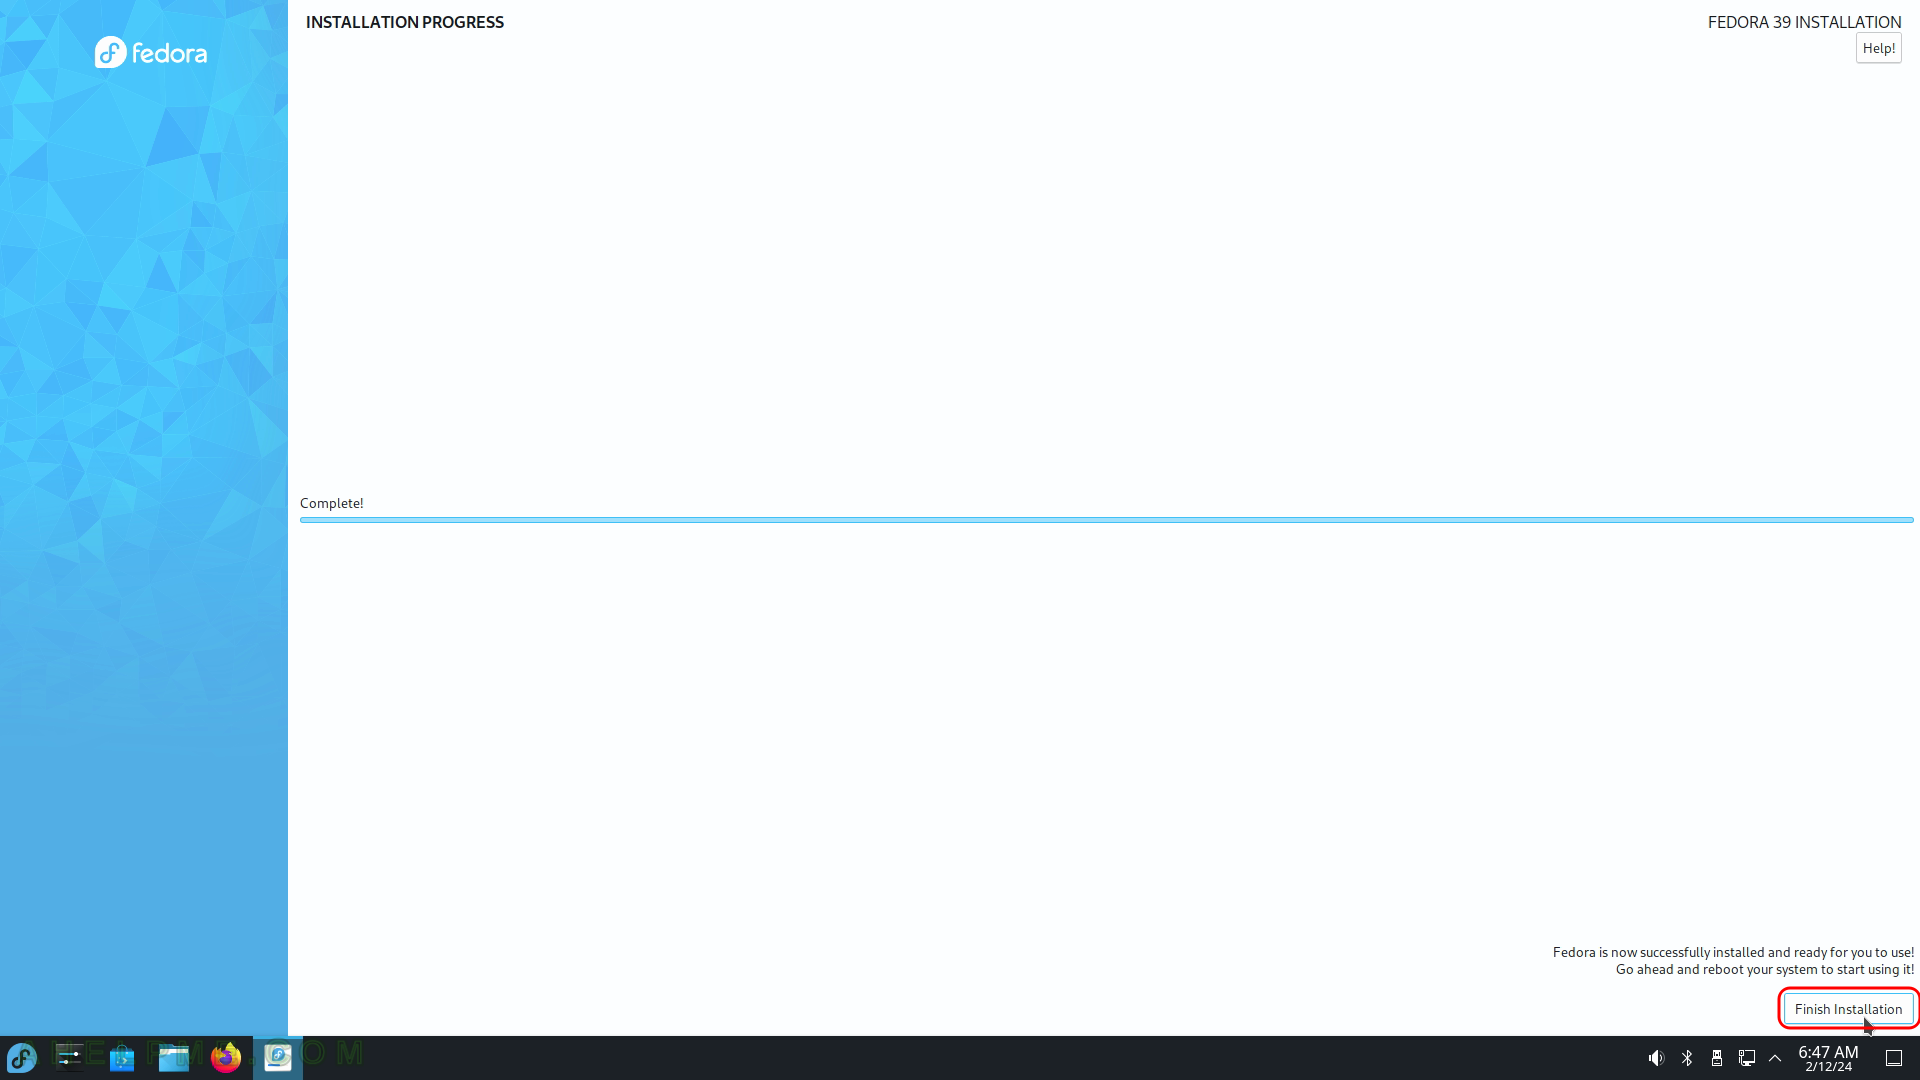
SCREENSHOT 26) The installation has finished.
Quit the installation program.
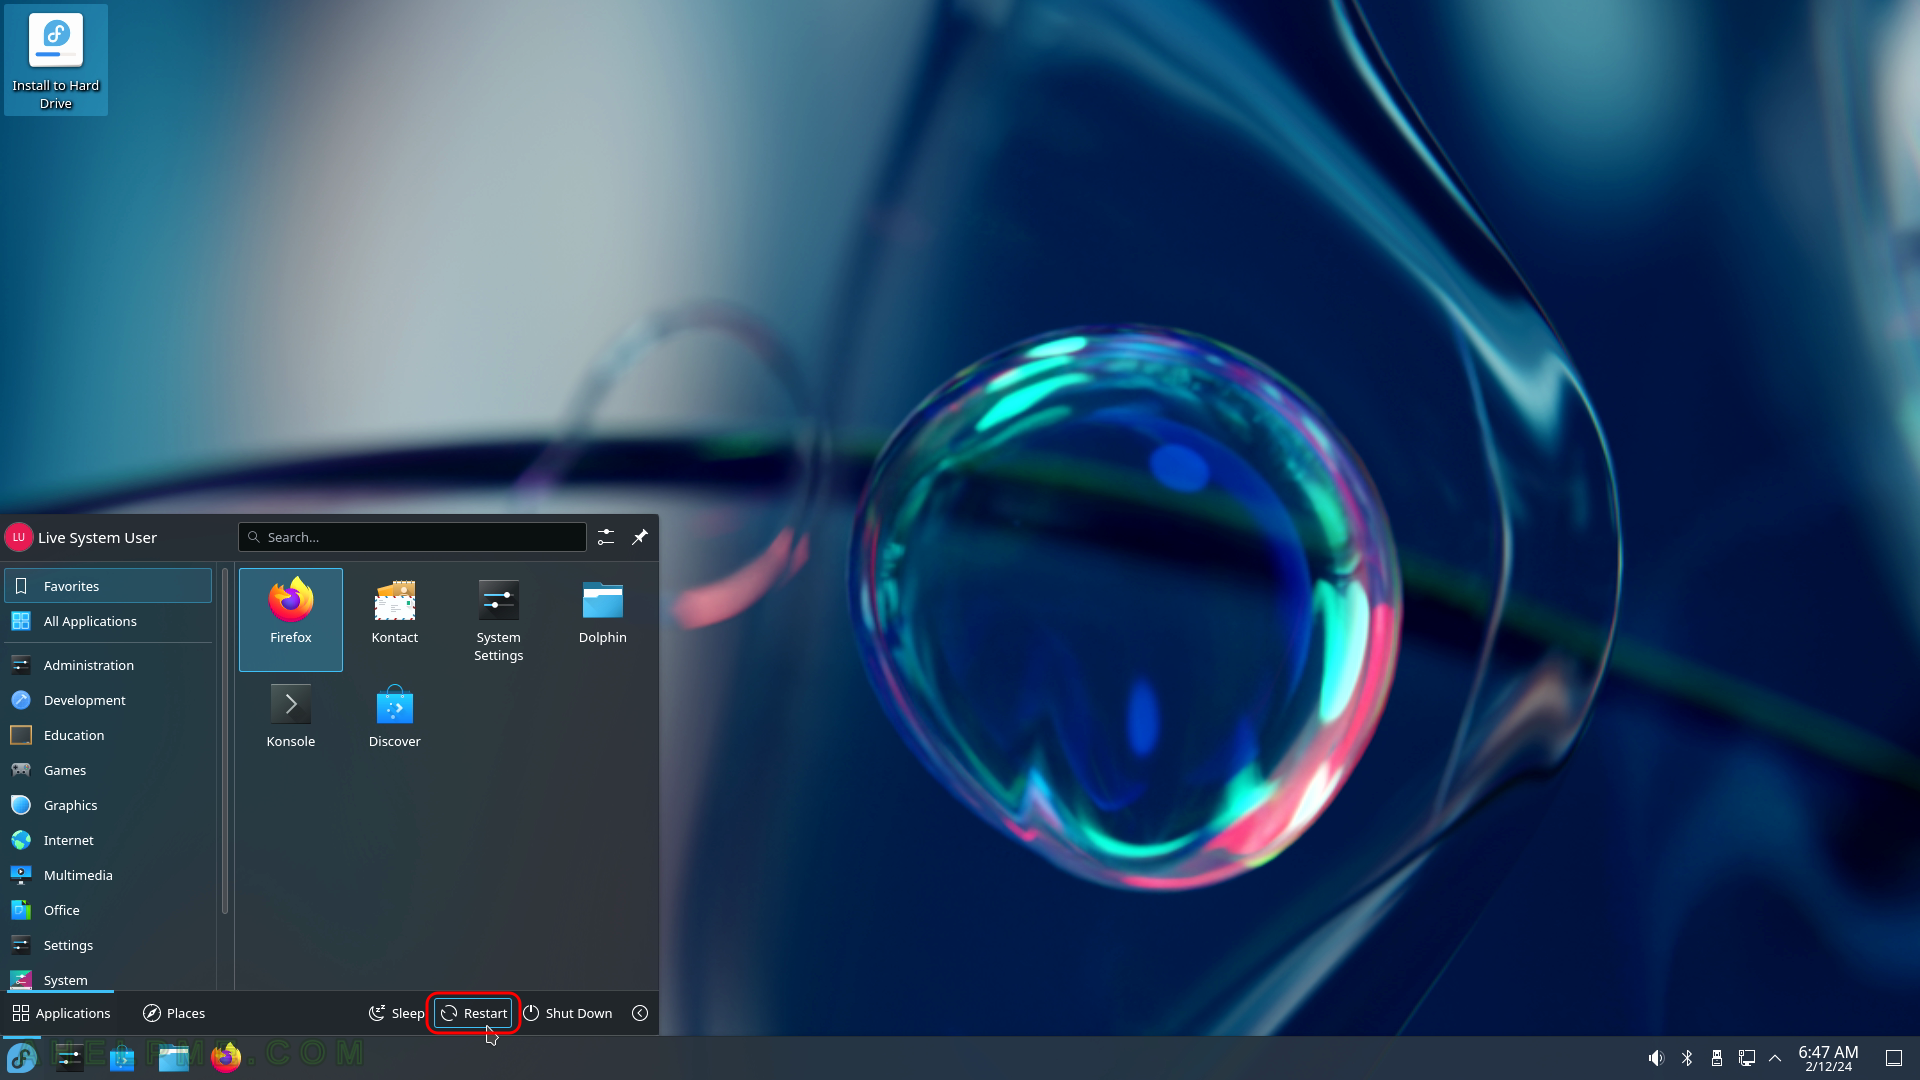
SCREENSHOT 27) The user is still in the Live image, so click on the bottom left corner and then click on “Restart” as shown.
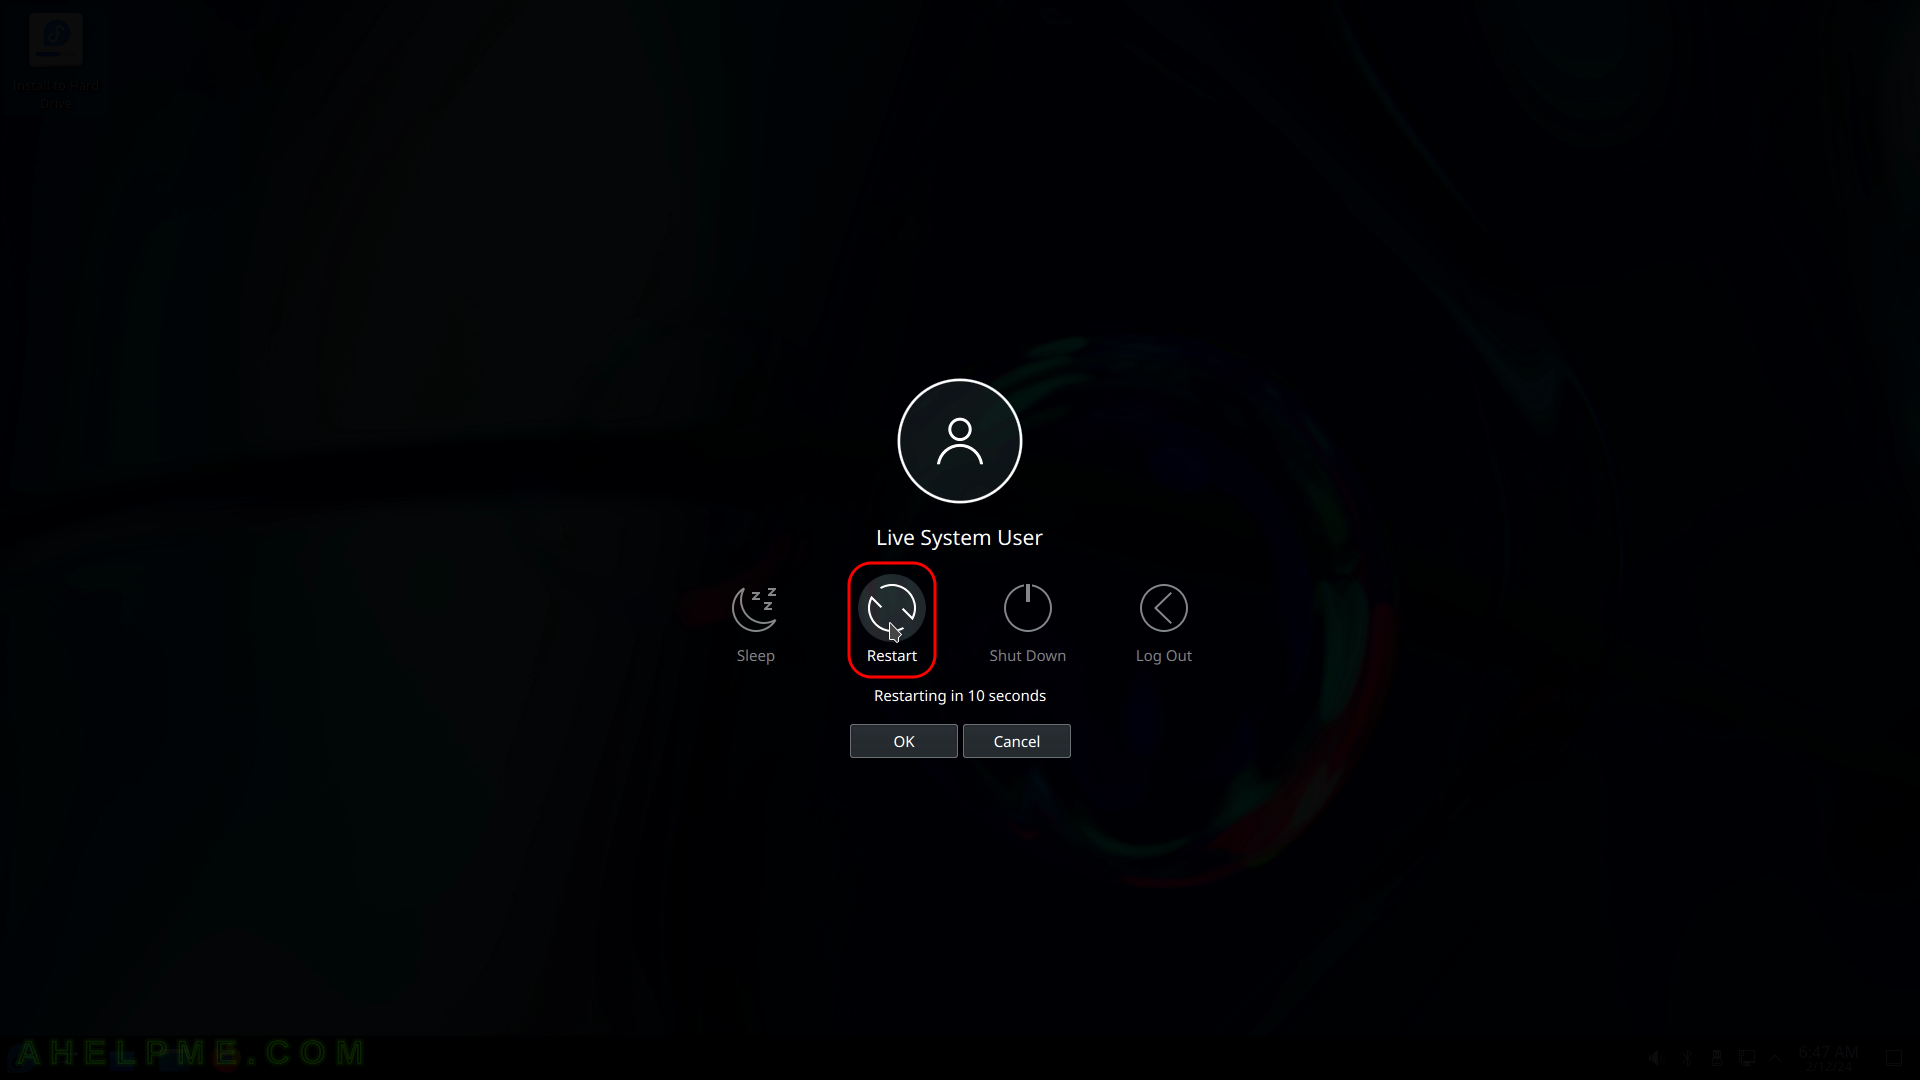
SCREENSHOT 28) A request to the user is issued to confirm the restart of the computer.
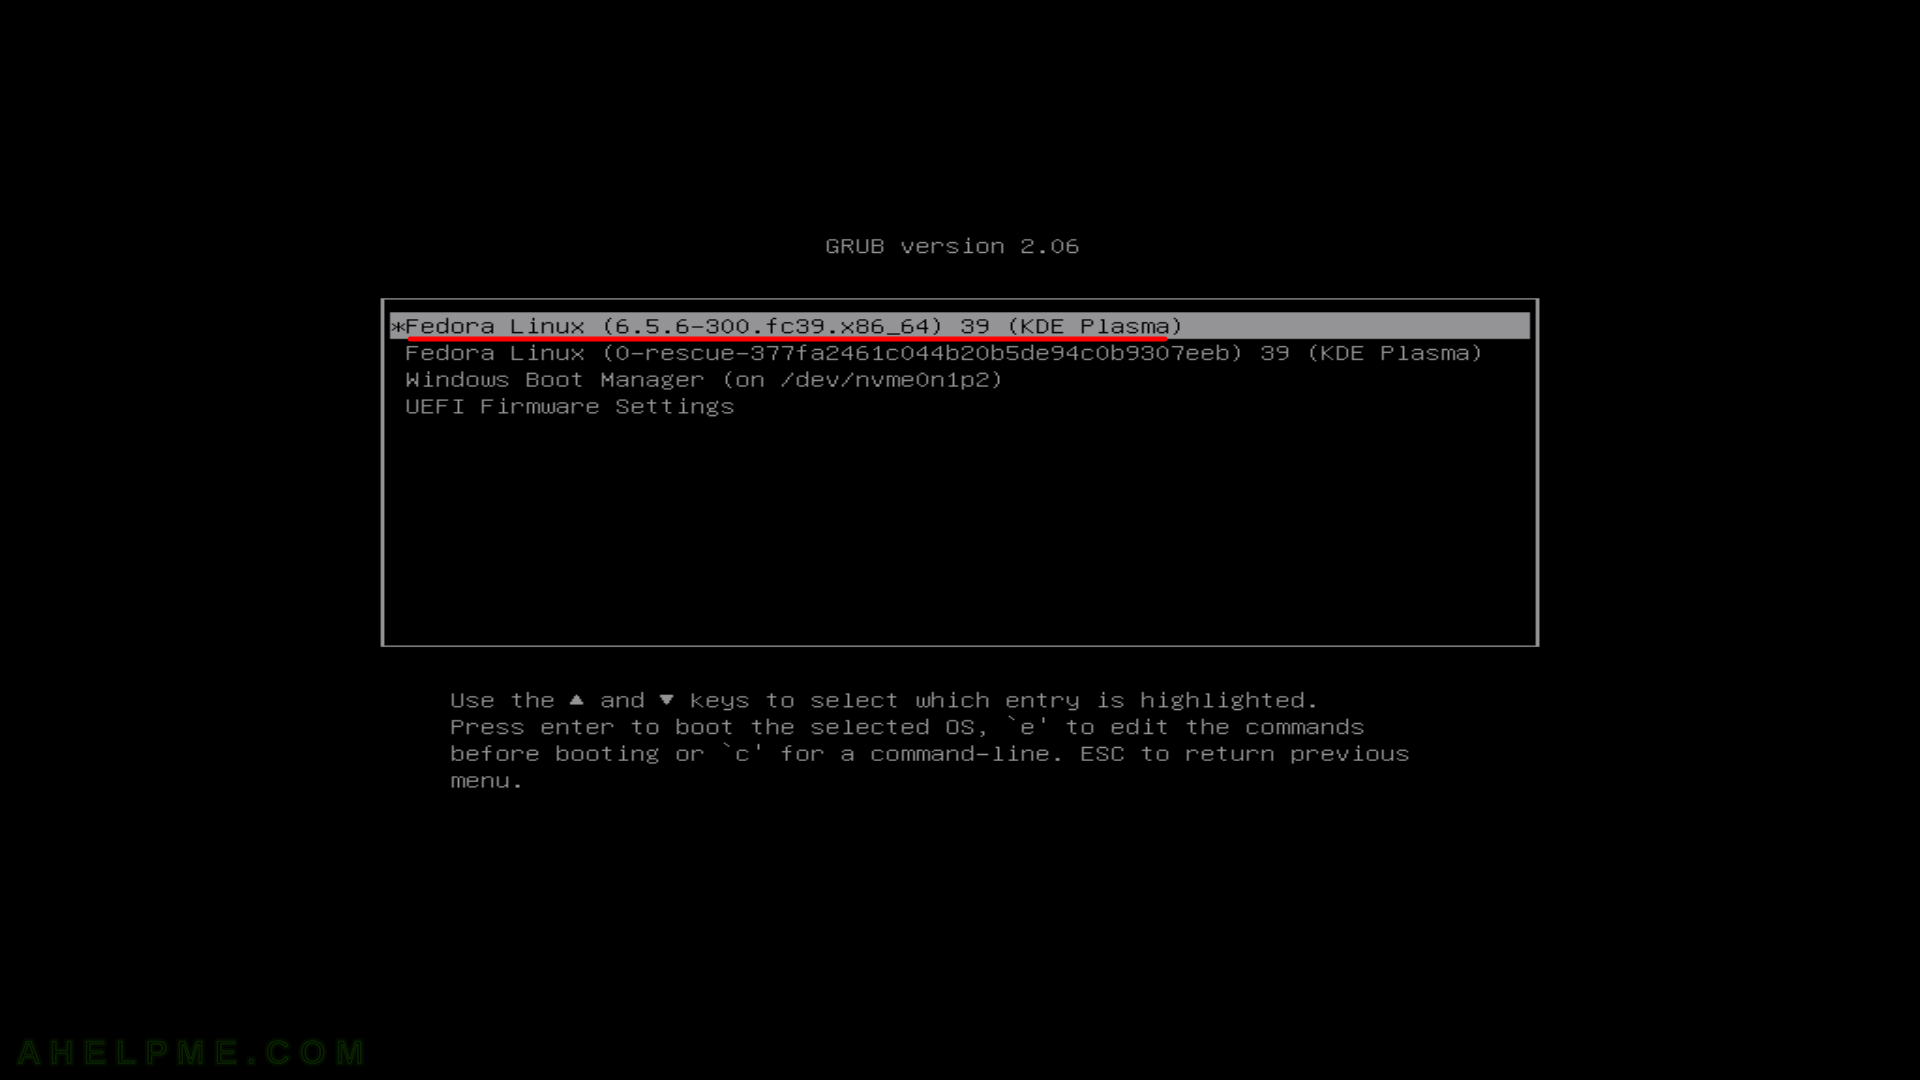
SCREENSHOT 29) Freshly installed Fedora 39 KDE Plasma is the default boot option in the booting program (grub2).
There are more options if more OSes are preset in the computer. The setup found these options and added them to the boot menu. The kernel version is shown – 6.5.6-300.
SCREENSHOT 30) Select your user and log in with the right password.