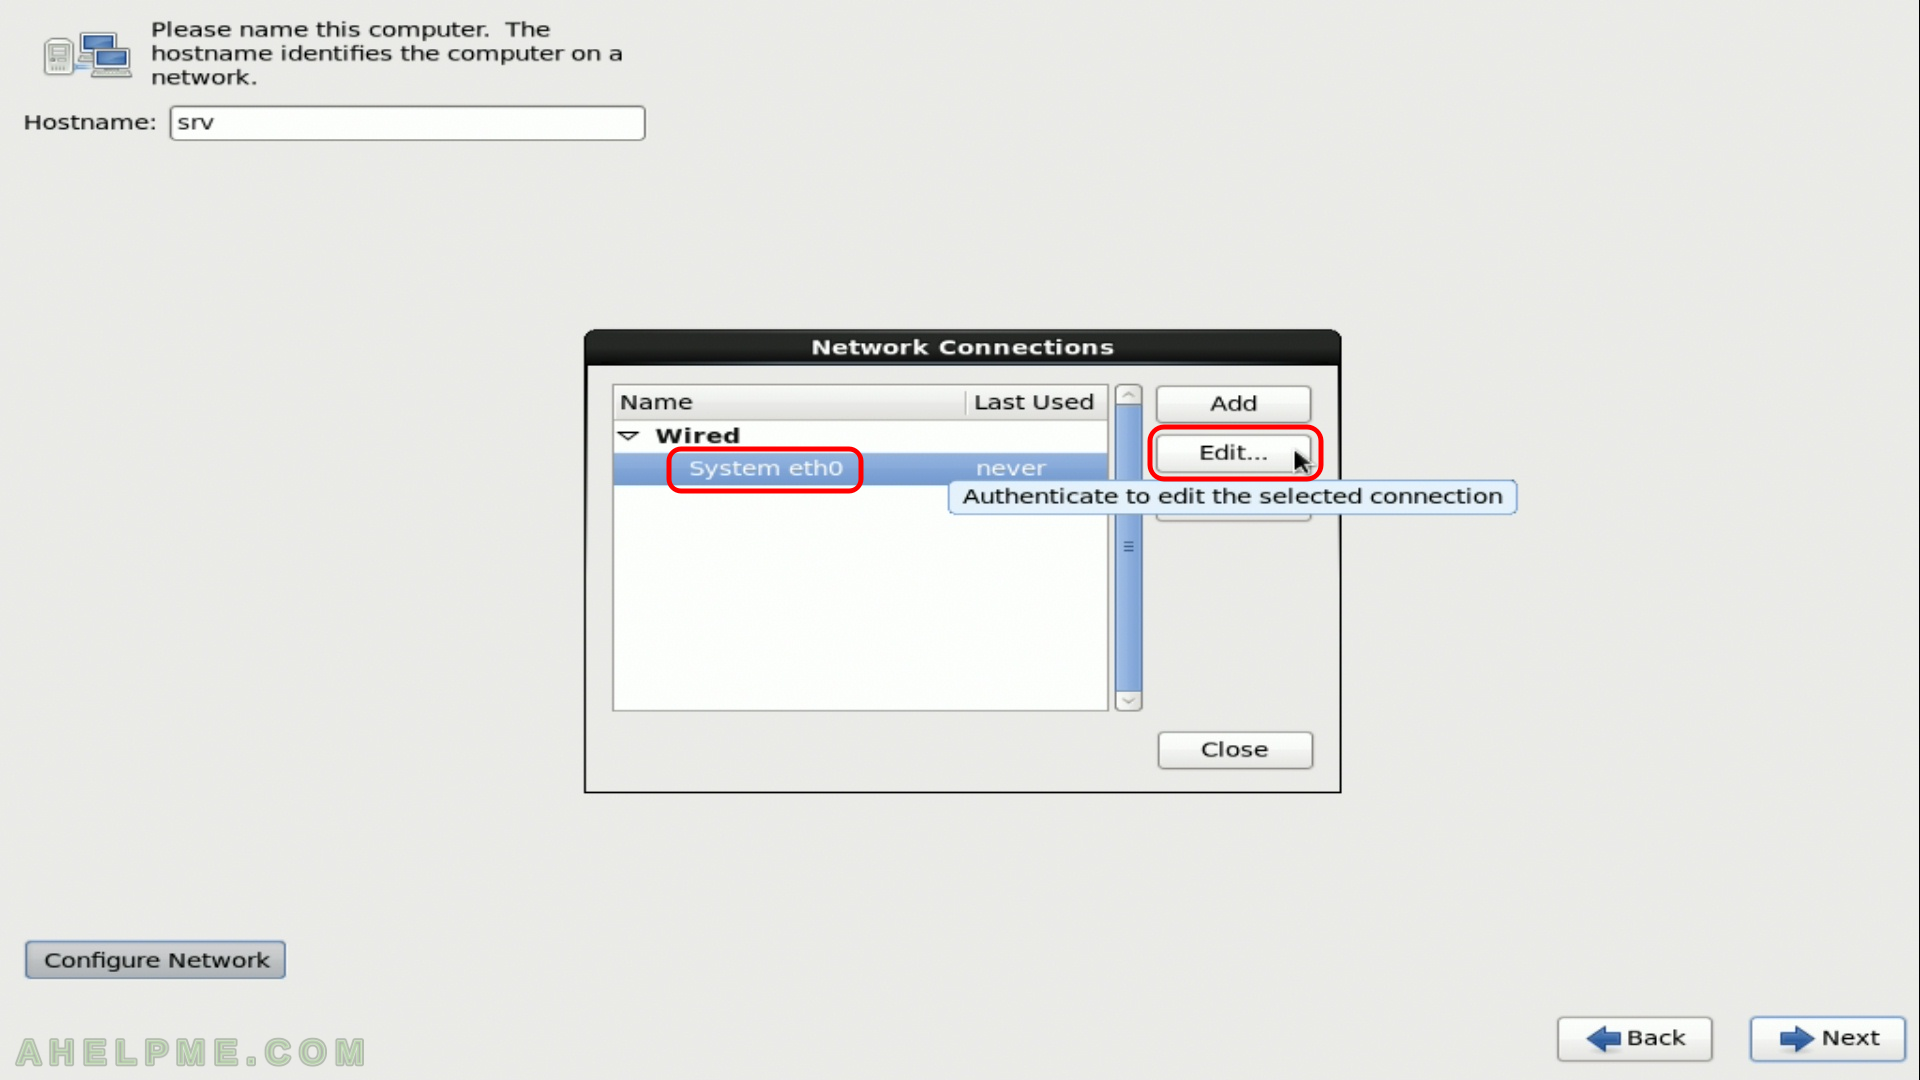
SCREENSHOT 11) Select your network card, in our setup we have only one network card with name eth0.
Select “System eth0” and click on “Edit…”
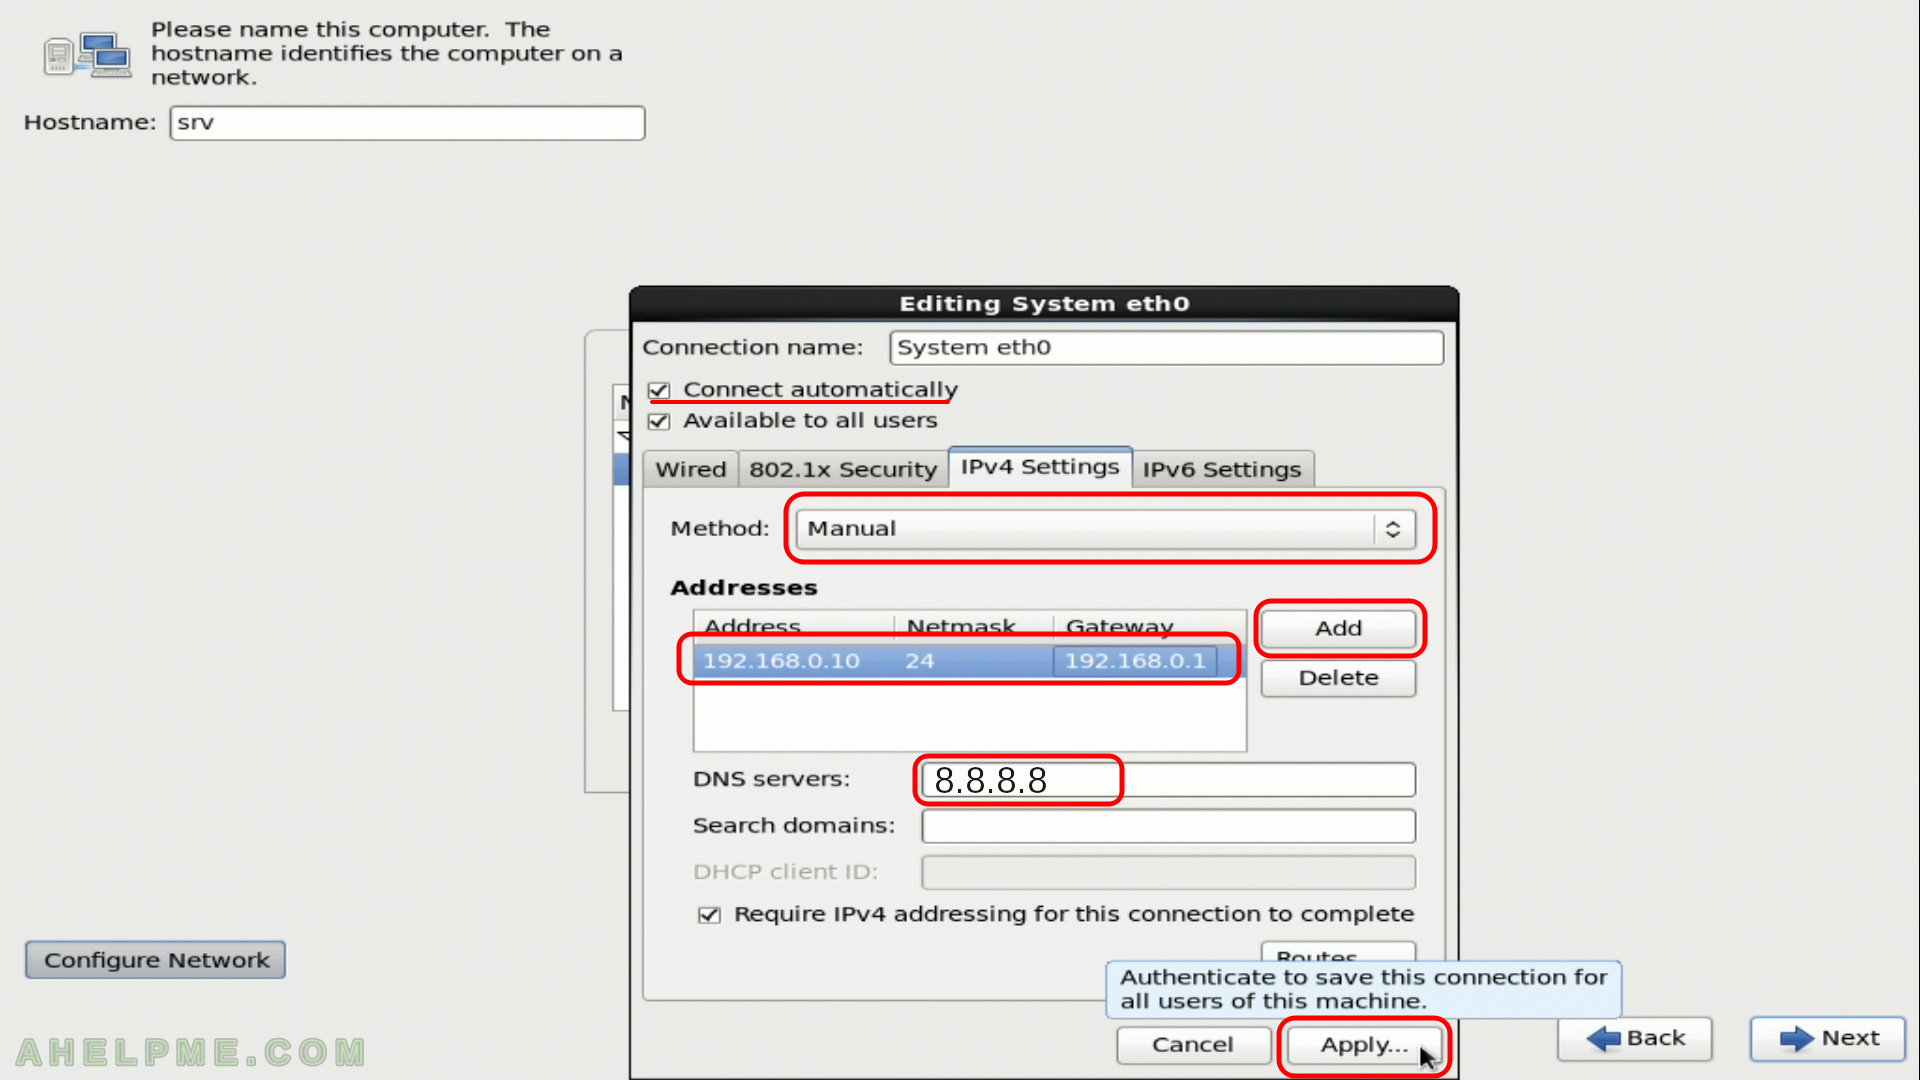
SCREENSHOT 12) Network configuration.
First check “Connect automatically”, then in the tab “IPv4 Settings” click on Method dropdown menu and set “Manual” after that click on “Add” and then set the IP Address, the mask and Gateway, then fill the “DNS Servers” with your local dns server IPs or set the google DNS public server 8.8.8.8. Last step is to click on “Apply…” to save the settings.
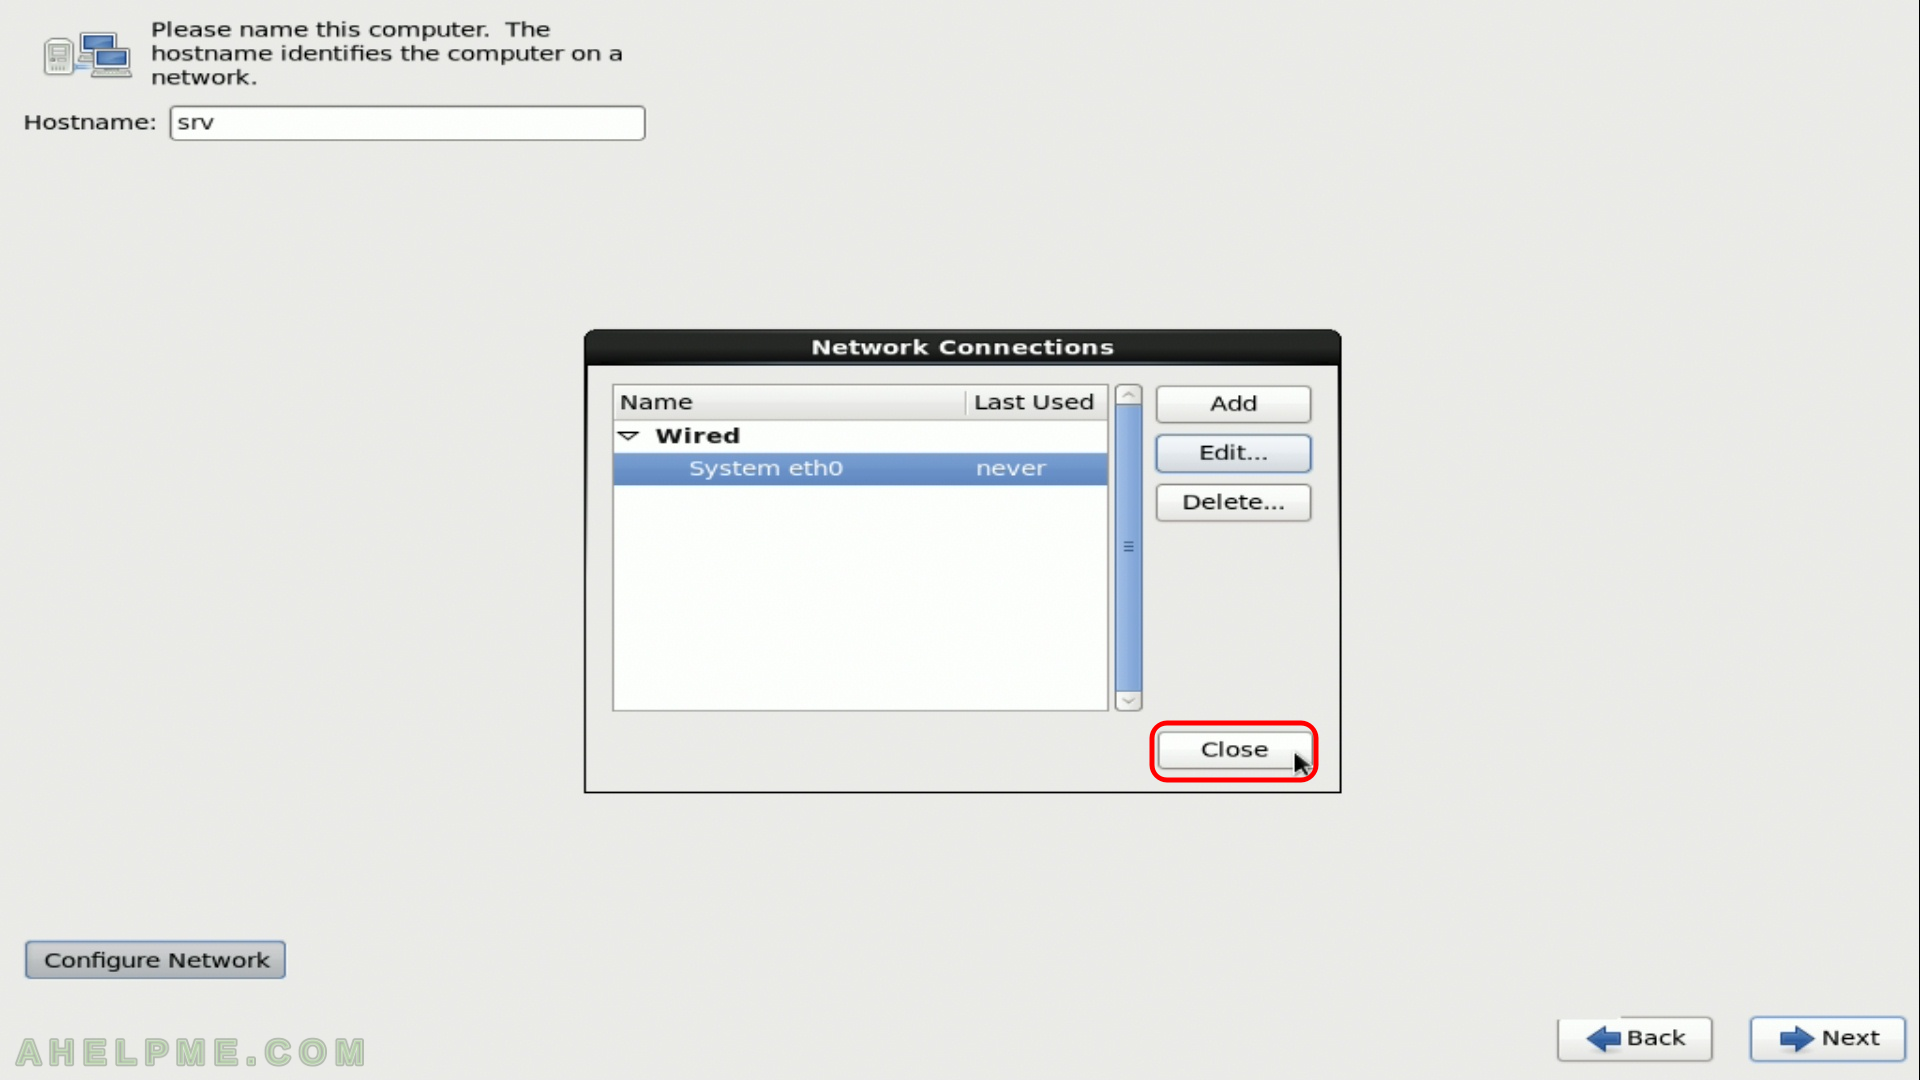
SCREENSHOT 13) Close the Network connections window.
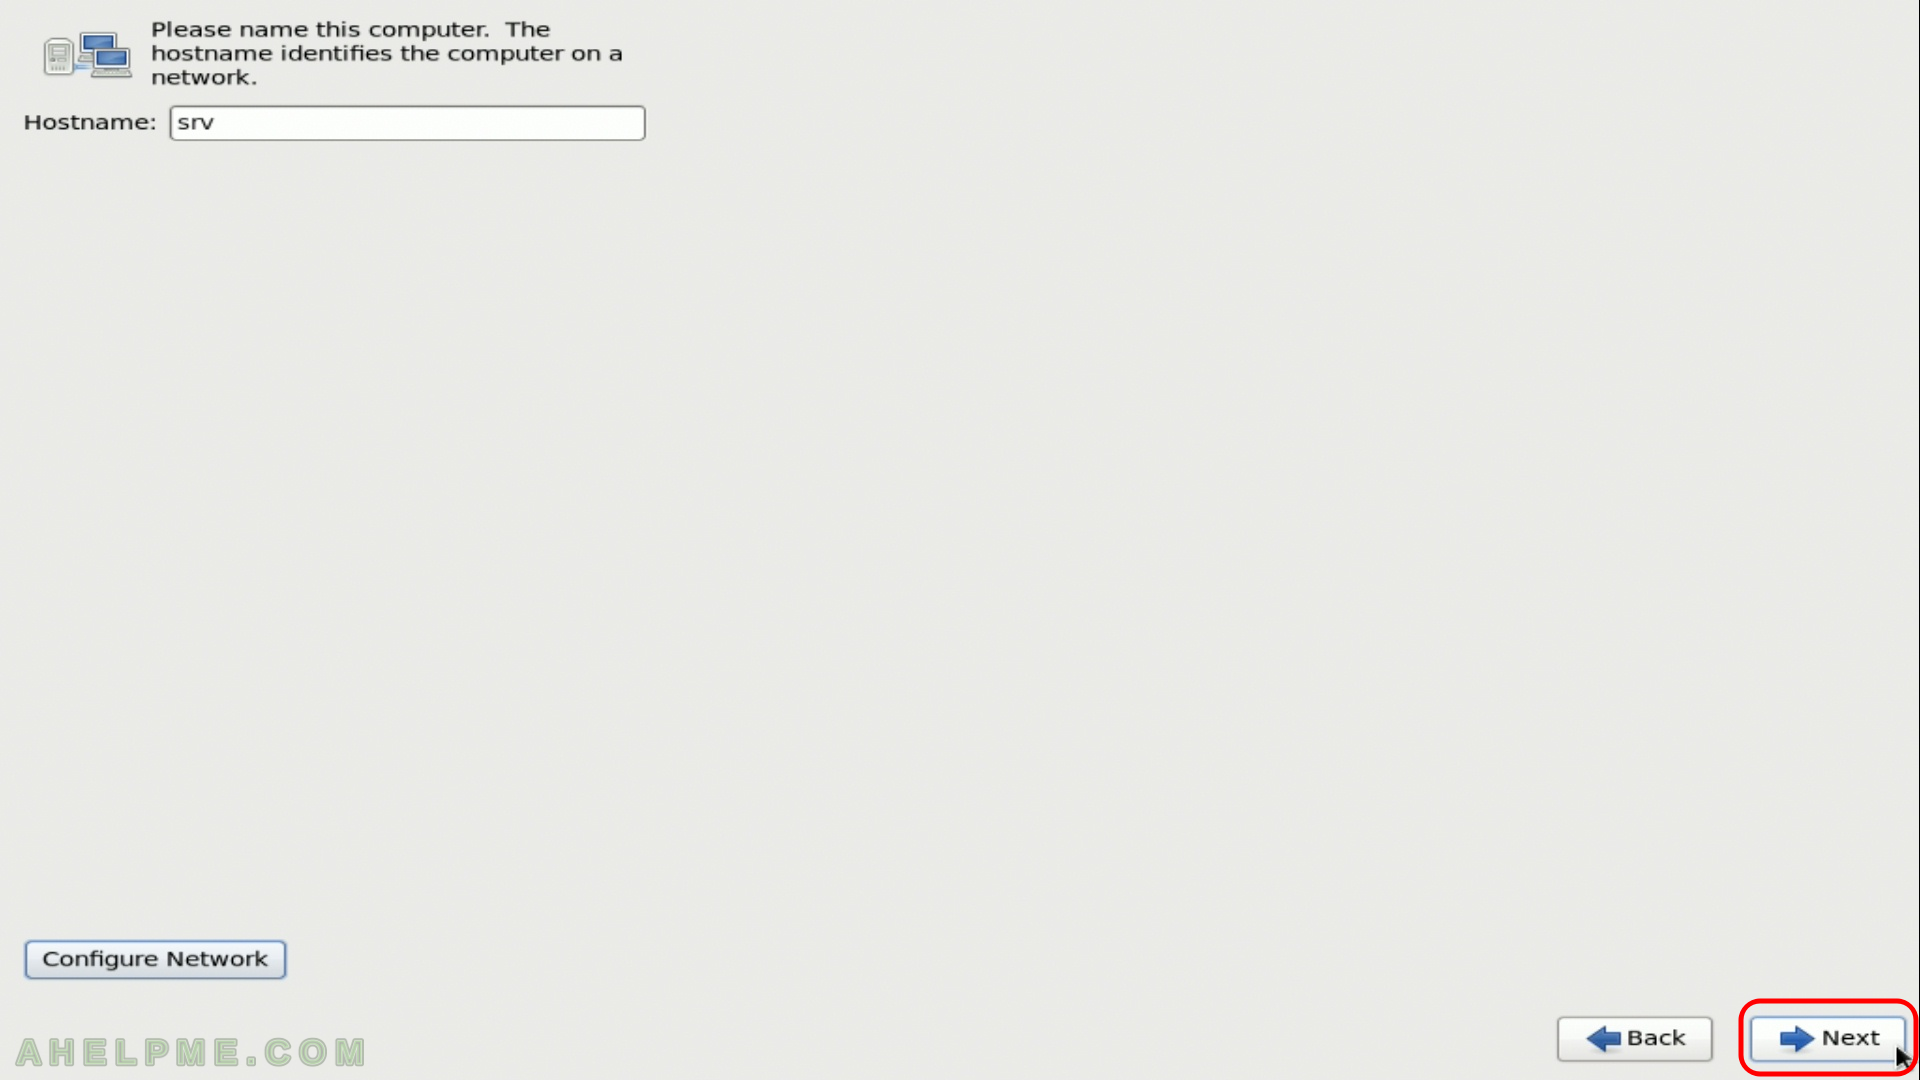
SCREENSHOT 14) You are ready just click “Next”.
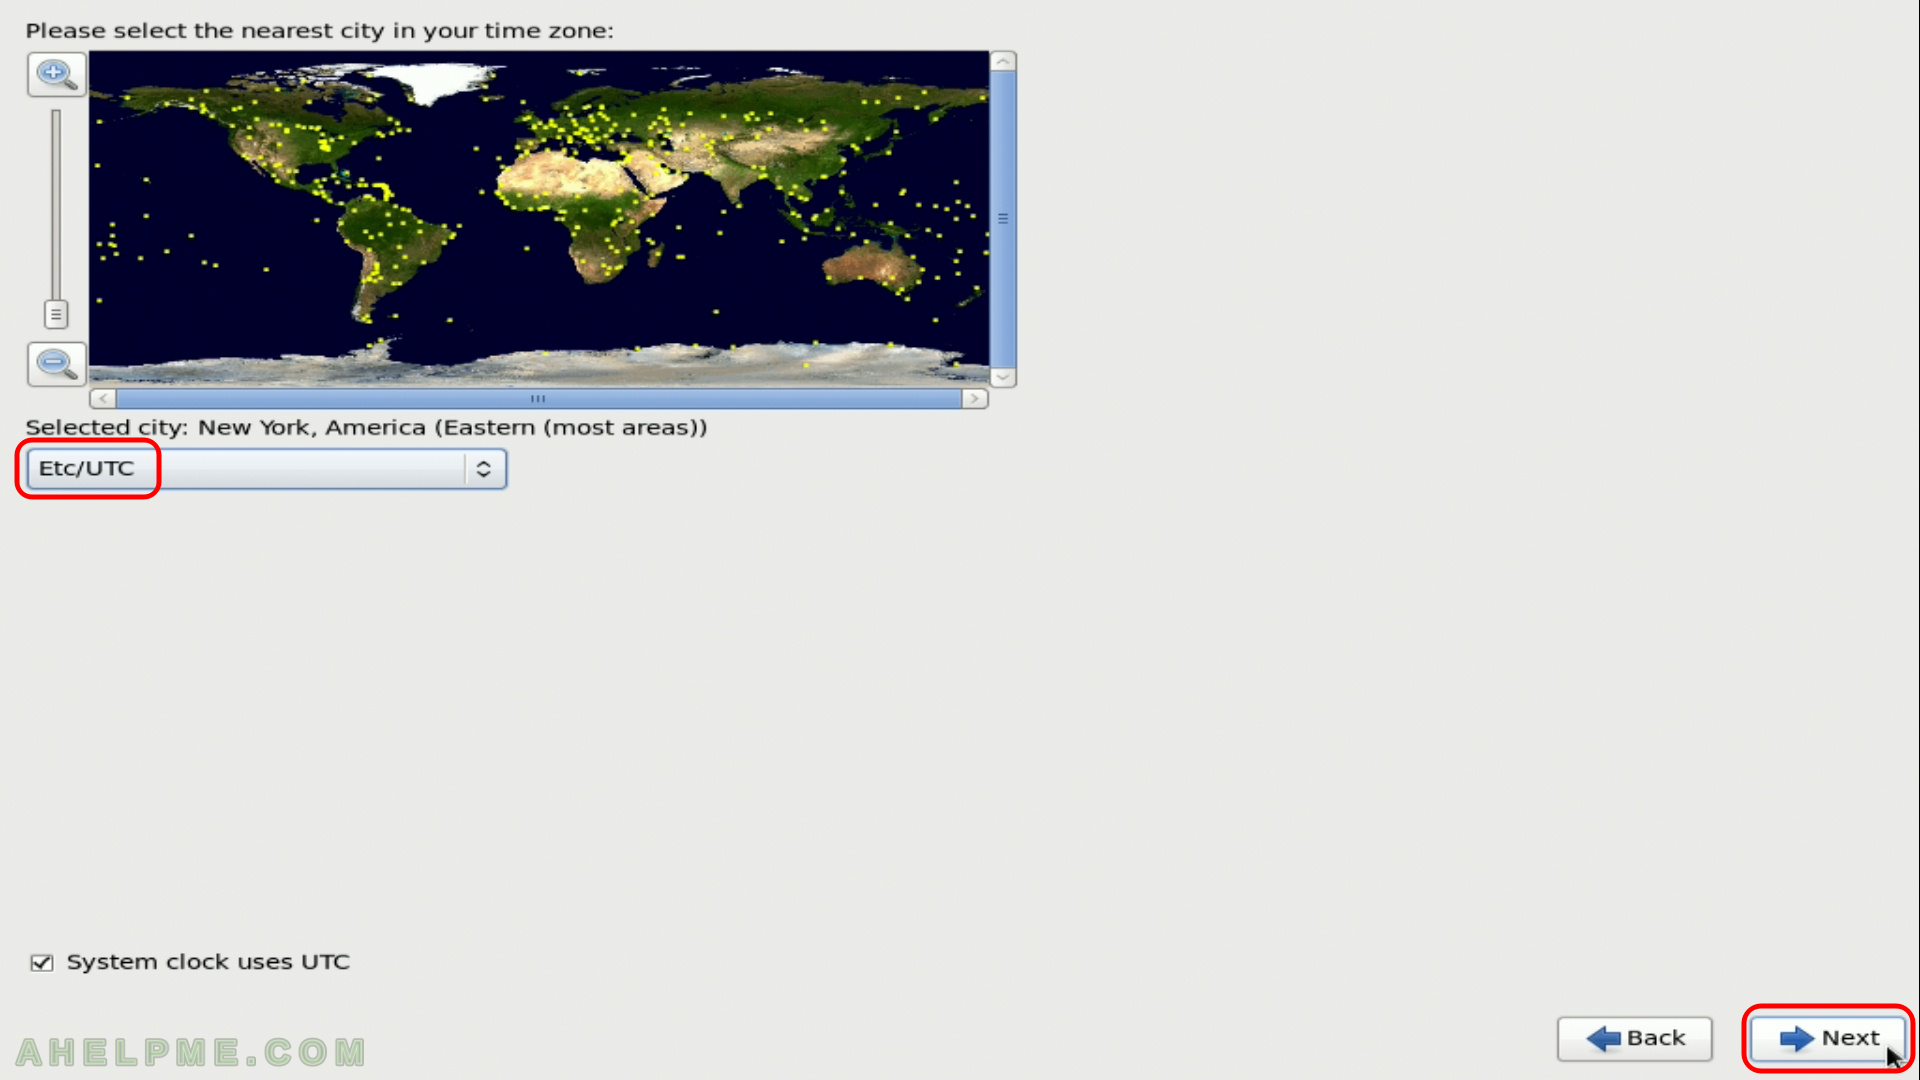
SCREENSHOT 15) Select your time zone – here we selected UTC (Universal Coordinated Time), but you can choose your time zone if it is not the right one by default. Click “Next”.
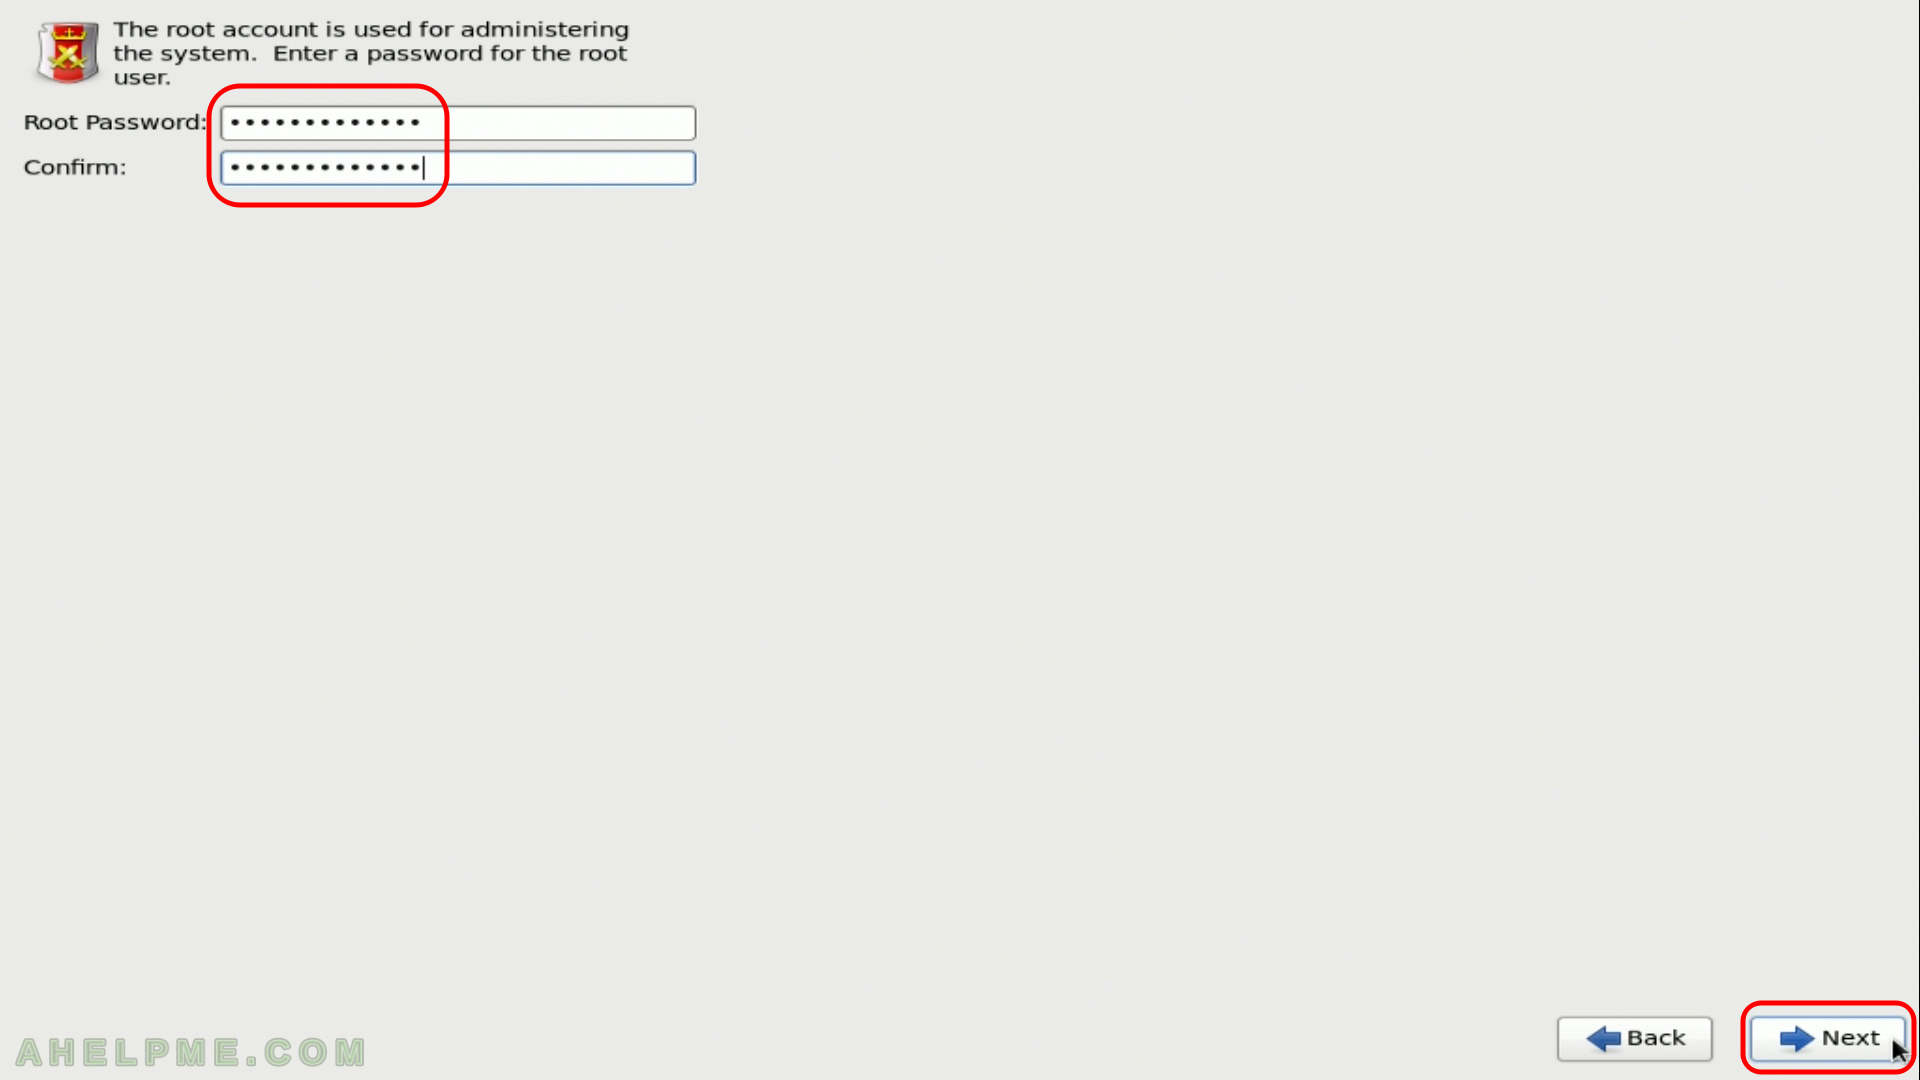
SCREENSHOT 16) Set the root password and confirm it then click “Next”
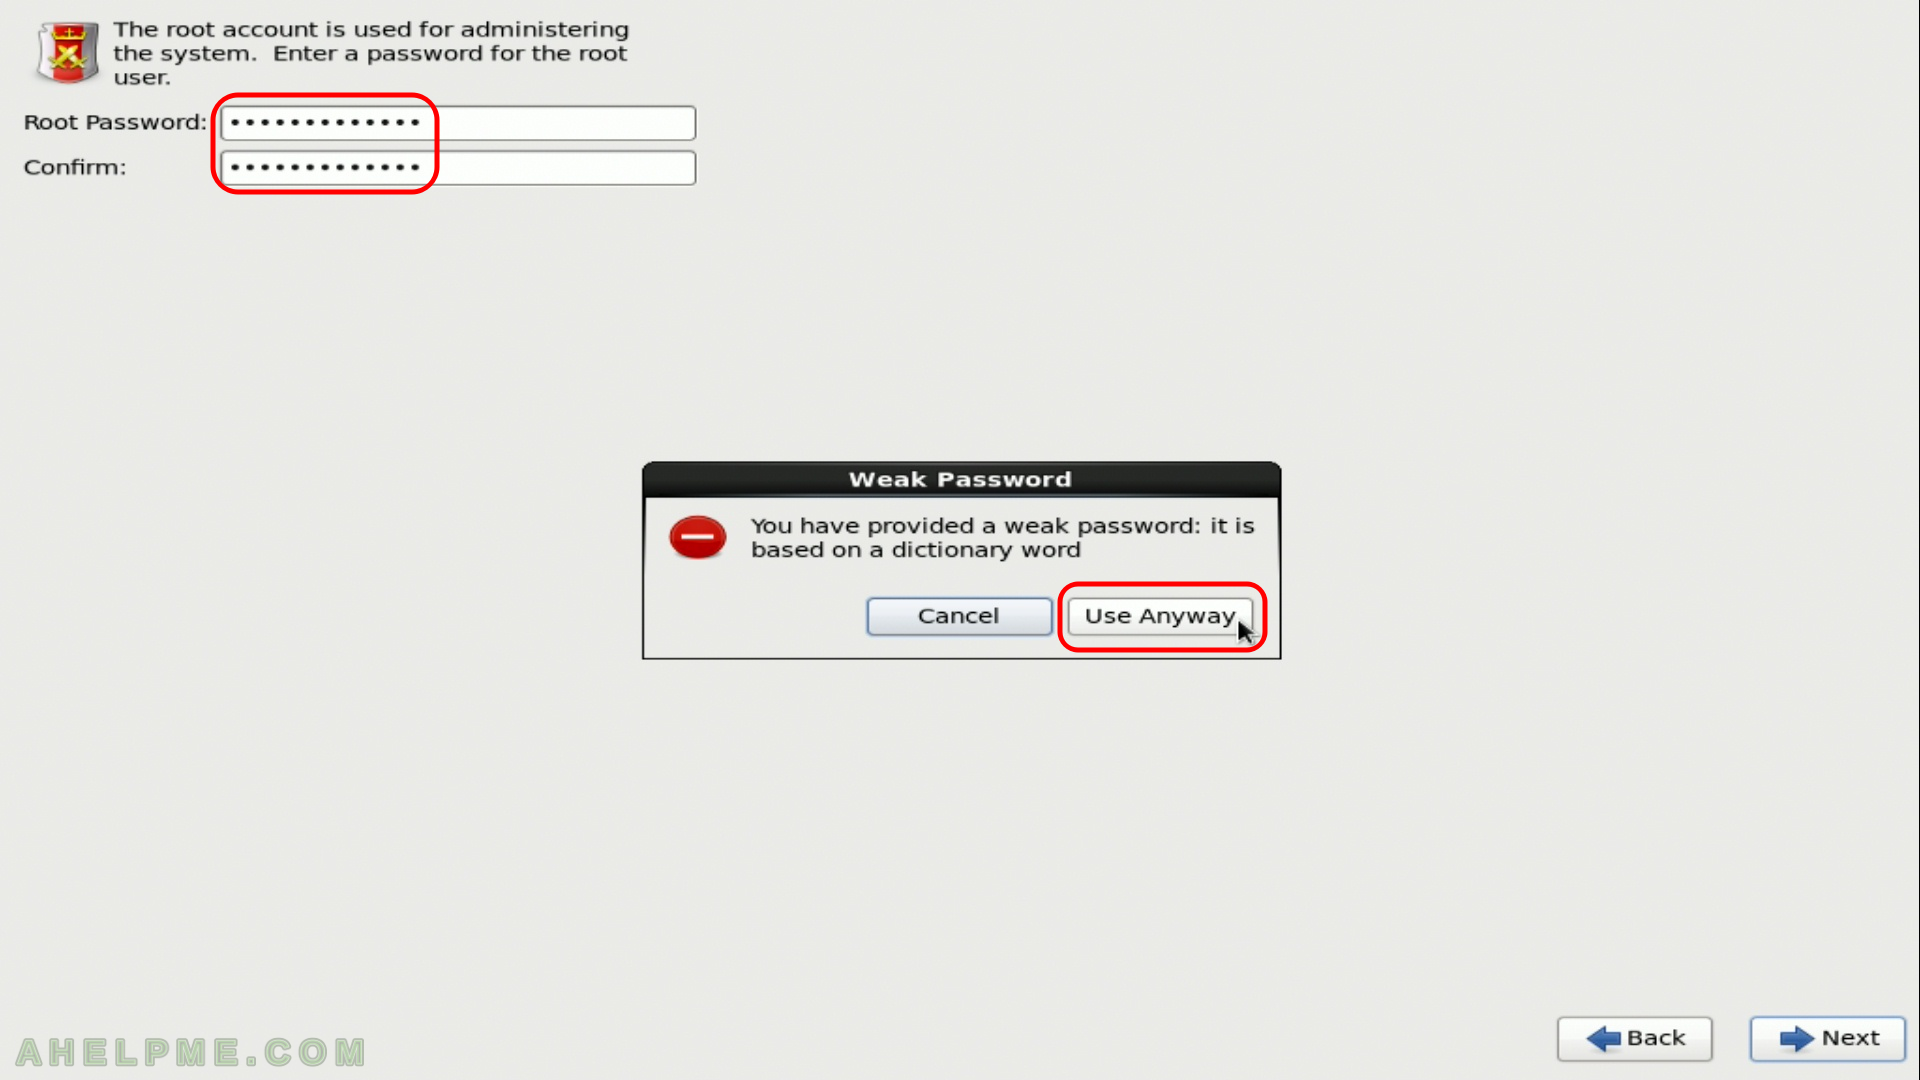
SCREENSHOT 17) If the password is weak a warning is shown!
If you are sure with your password click on “Use Anyway” or “Cancel” to enter a new root password.
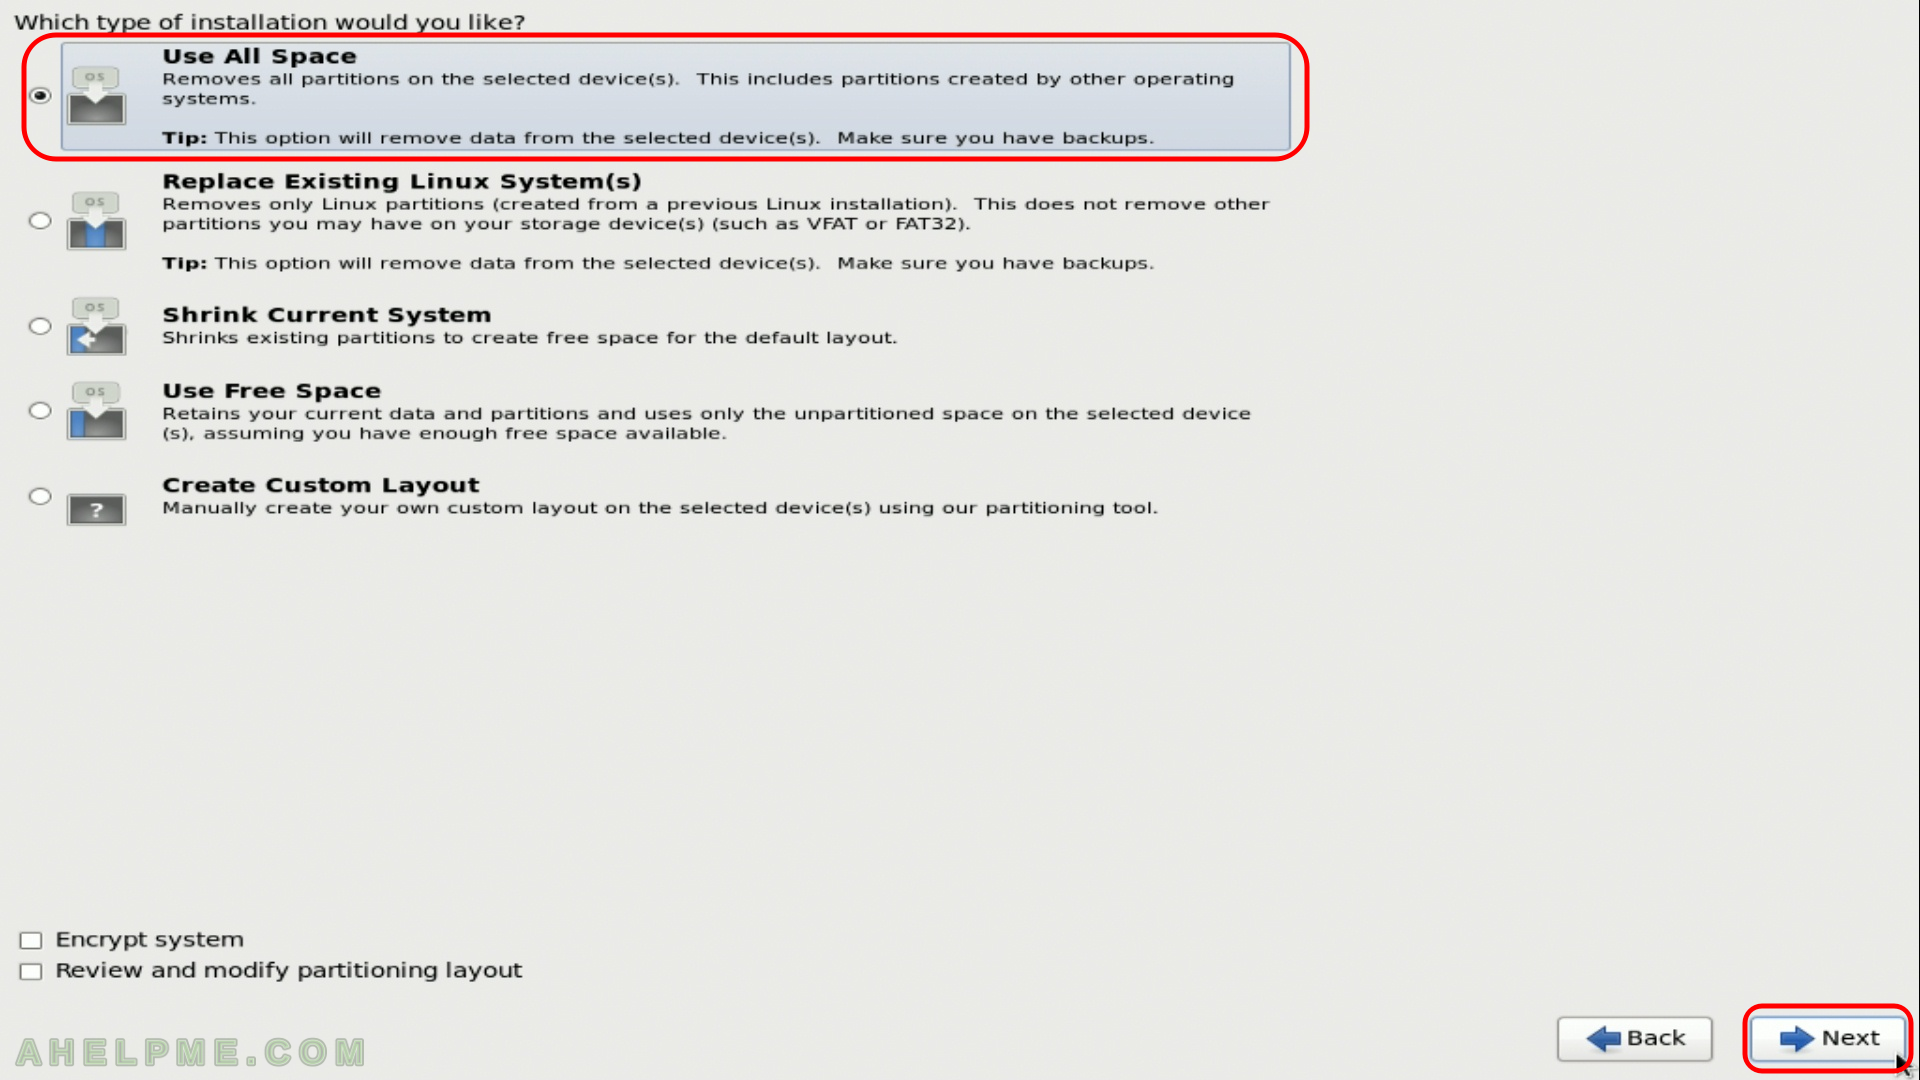
SCREENSHOT 18) Which type of installation would you like?
Because we want to use the whole SSD we chose the “Use All Space”, which will remove all partitions on the selected device(s). So all data will be erased, be careful here! Click “Next”. If you want to install it on the same hard drive along with another operating system this option is not for you, but the other options are beyond the scope of this article. We have another articles, which show you how you can do it.
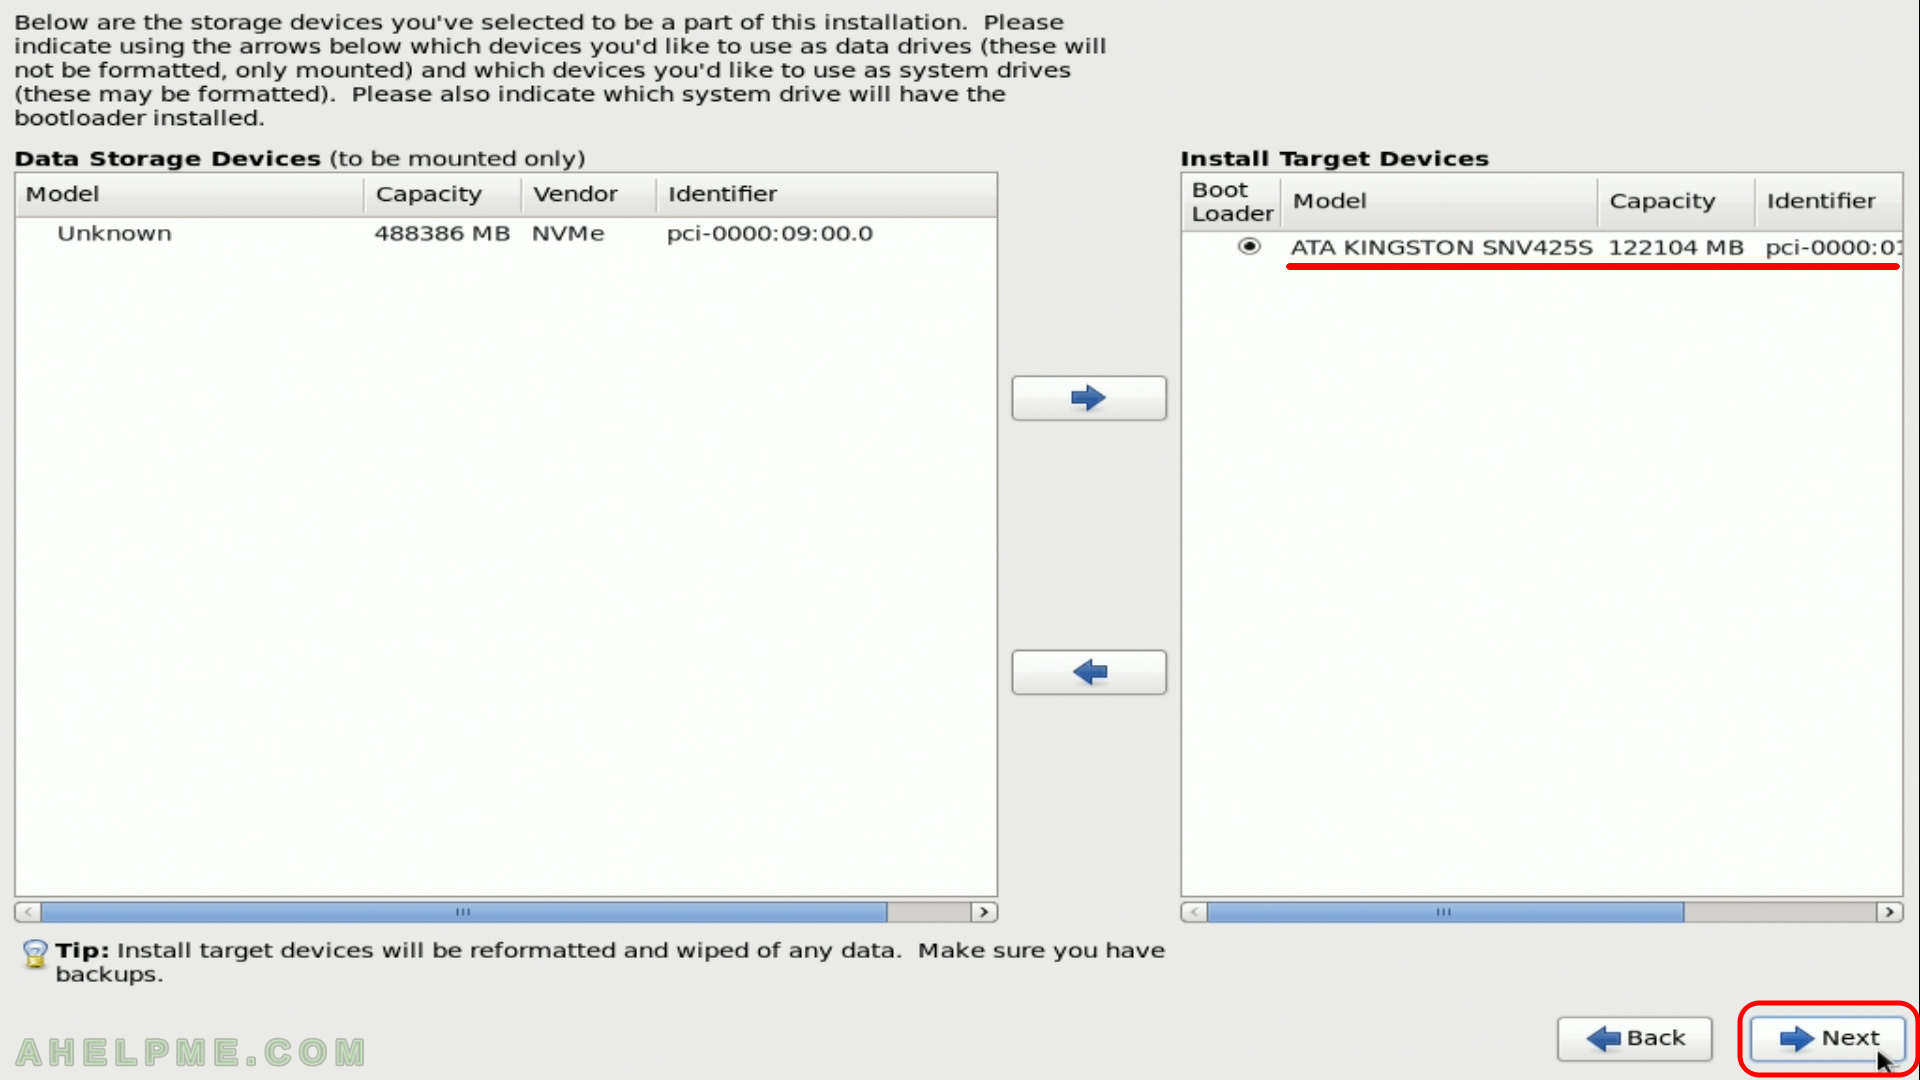
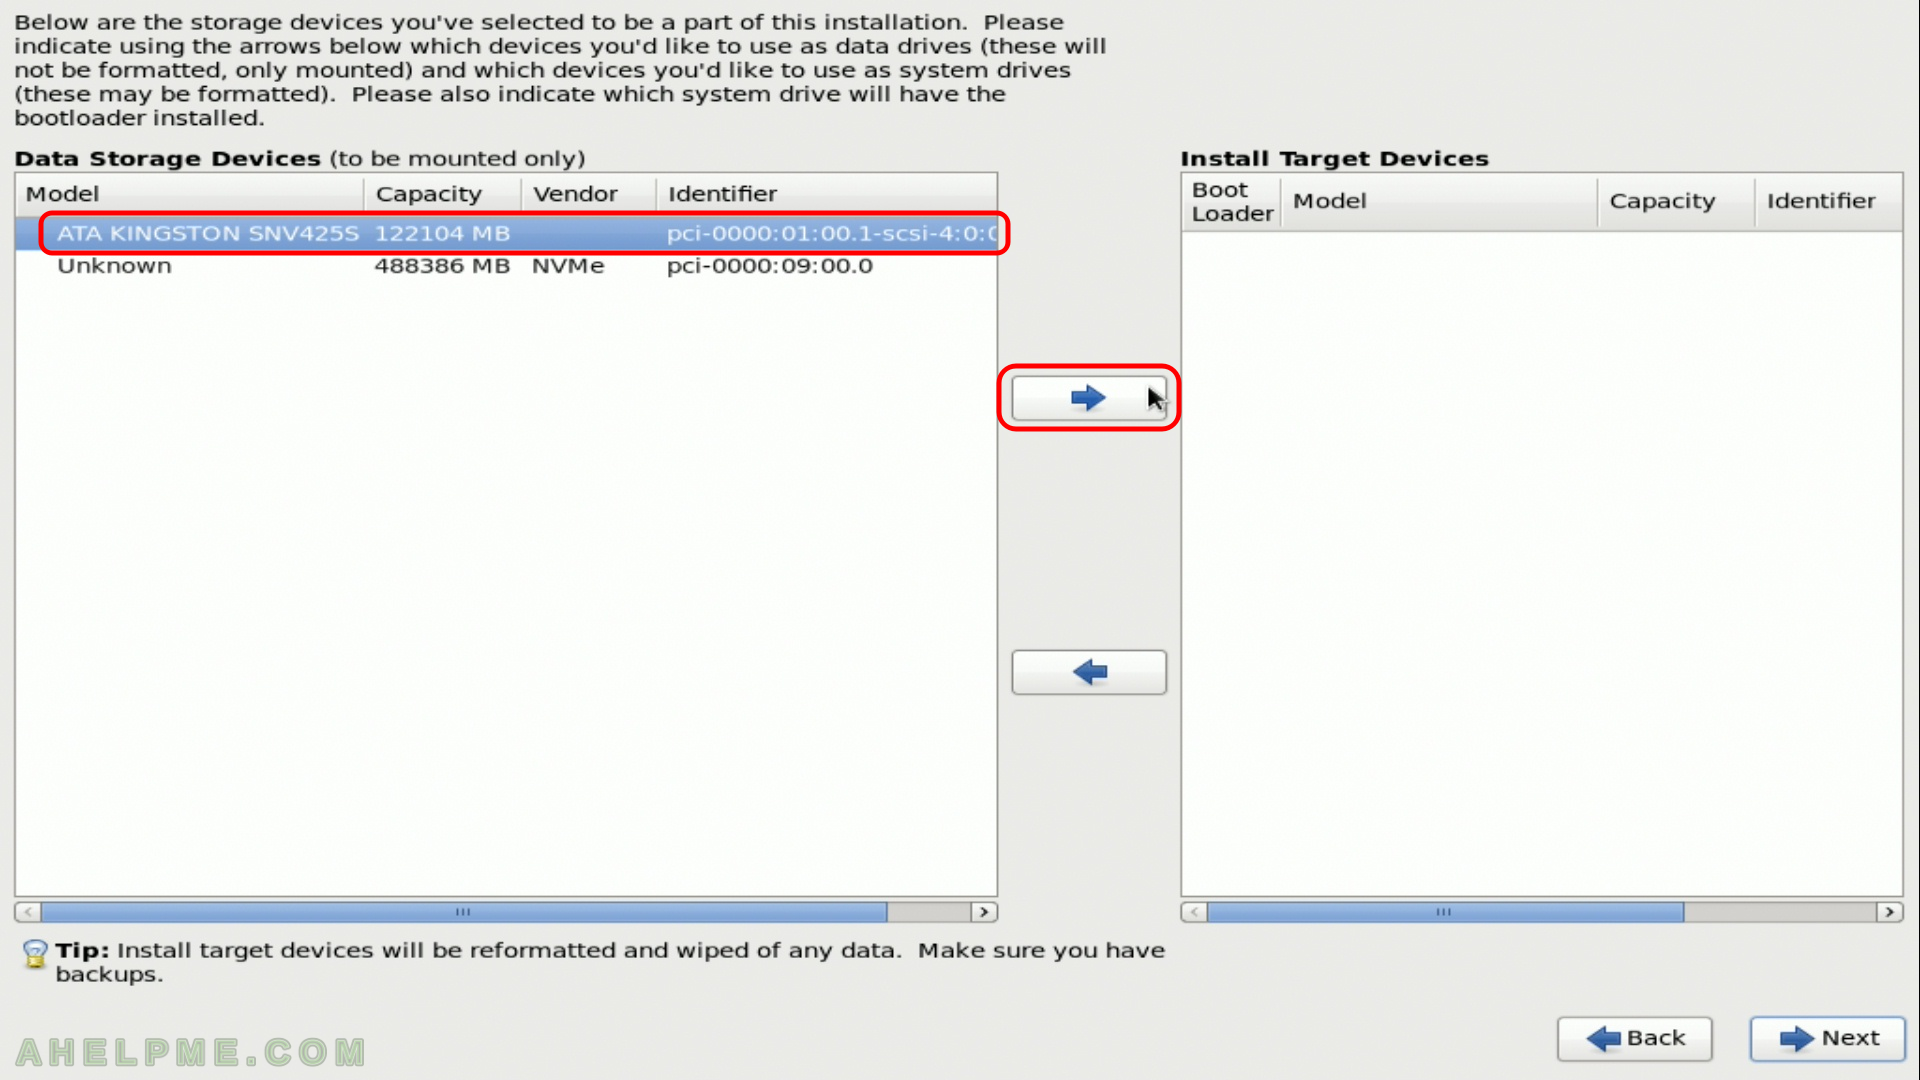
SCREENSHOT 19) The setup shows you all found devices in your system.
We have one NVME device and one SSD, we what to use our SSD for this installation so we select it and then click on the array “->” to appear in the left part of the screen under “Install Target Devices”.
SCREENSHOT 20) Check again if this is the right disk, because the information on the disk (if any) will be erased! Click “Next”.