This tutorial will show you the simple steps of installing a modern Linux Distribution CentOS 6.10 – minimal installation no GUI, this installation is suitable for base server installation. We are going to install it on our modern hardware – Asus X399 with AMD Ryzen Threadripper 1950X and NVIDIA 1080 TI. First we tried UEFI mode installation, but during loading of the kernel the system hanged up. Then we booted the installation in BIOS mode and no problem with the installation and after that.
Here we install CentOS 6.10 minimal in BIOS mode on the whole SSD drive (which means the installation will erase everything on the SSD device). No GUI installed.
The kernel is 2.6.32 (2.6.32-754.el6) – as you can see pretty old branch with many back-ports, but still old. CentOS 6 will be updated until November 30 2020! Many enterprise software still support CentOS 6 and you can have a pretty stable system with it for many years. The support is at least 10 years from the initial release!
Here you can see more technical details – Technical details of a default CentOS 6.10 minimal installation What software you could expect to install, what is the default hard drive layout, what is the memory footprint of a newly installed CentOS 6.10 minimal and so on. You should definitely check it!
Here are the steps to install CentOS 6.10:
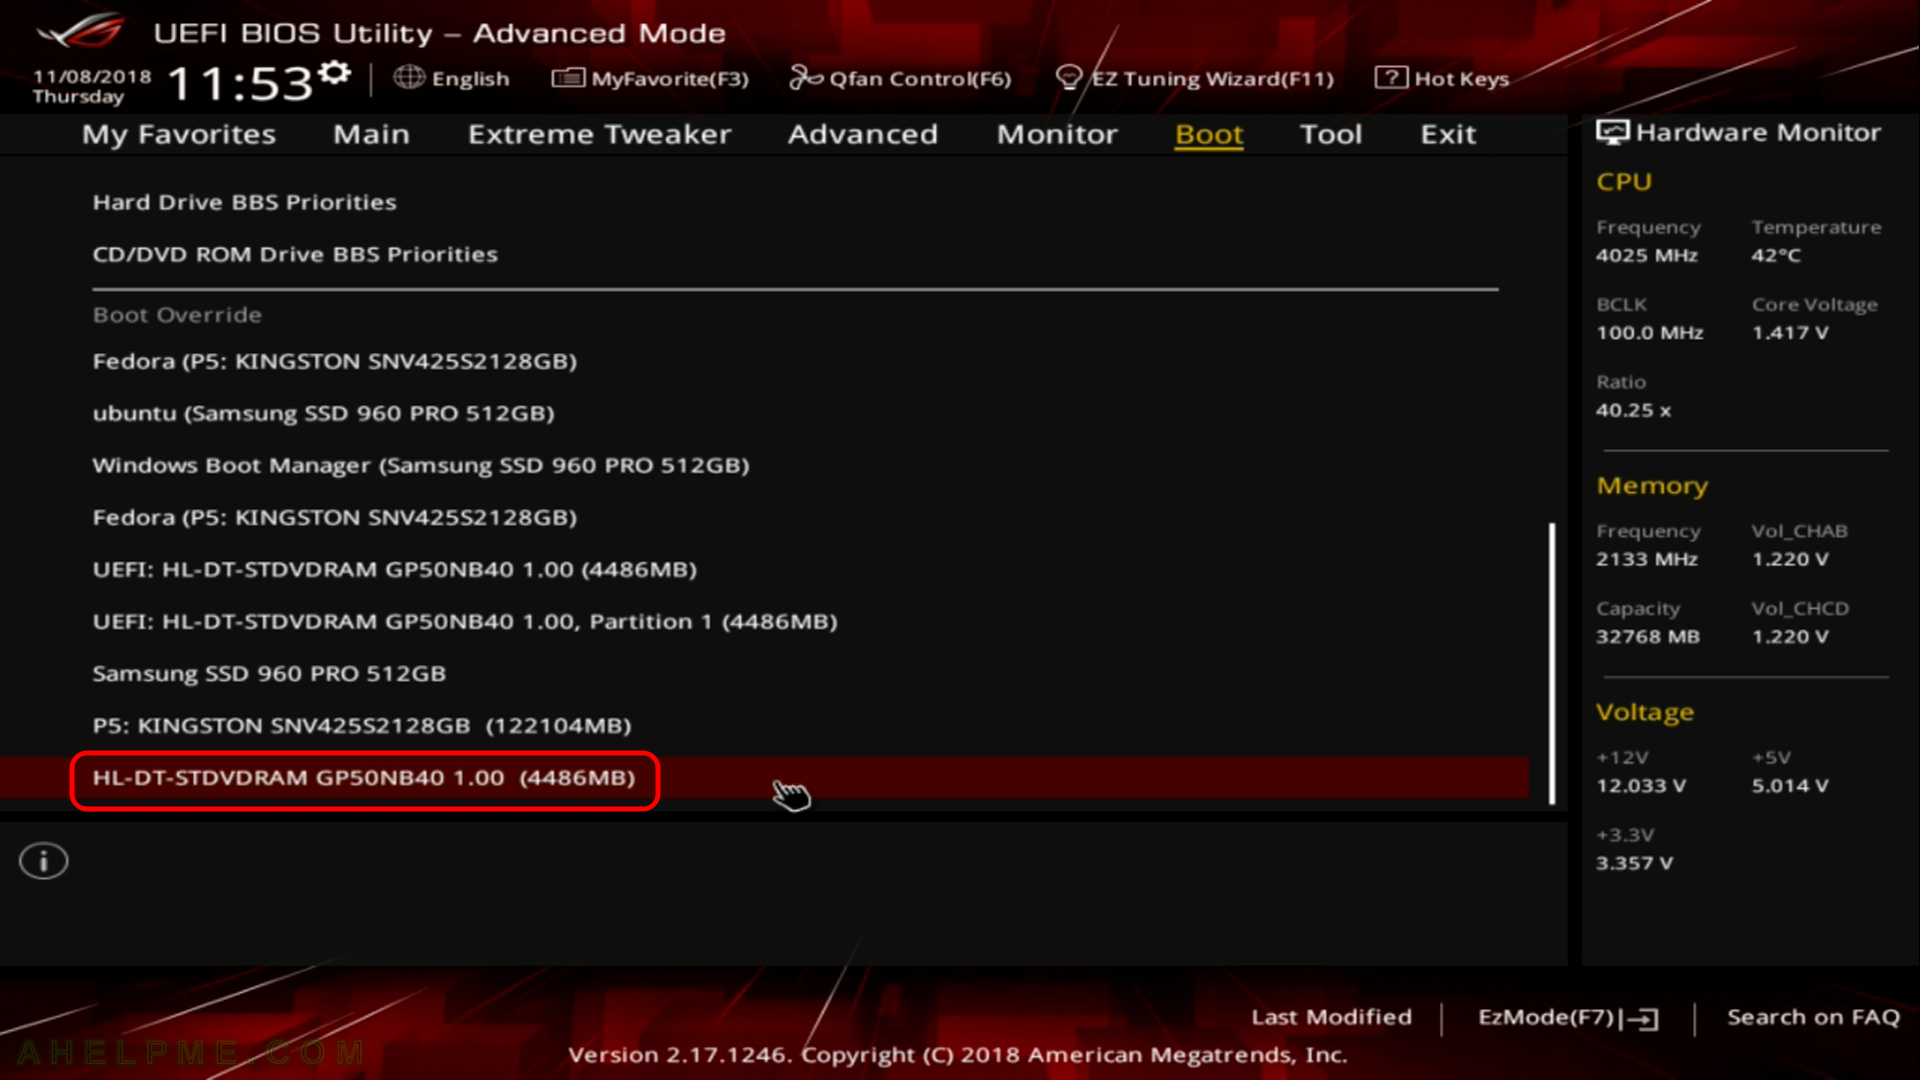
SCREENSHOT 1) Here is our “UEFI BIOS->Boot->Boot Override” and in most modern motherboard you can choose to override the default boot devices.
Choose the “HL-DT-STDVDRAM…” to boot and install CentOS 6.10. We chose this option here because our system cannot boot in UEFI mode.
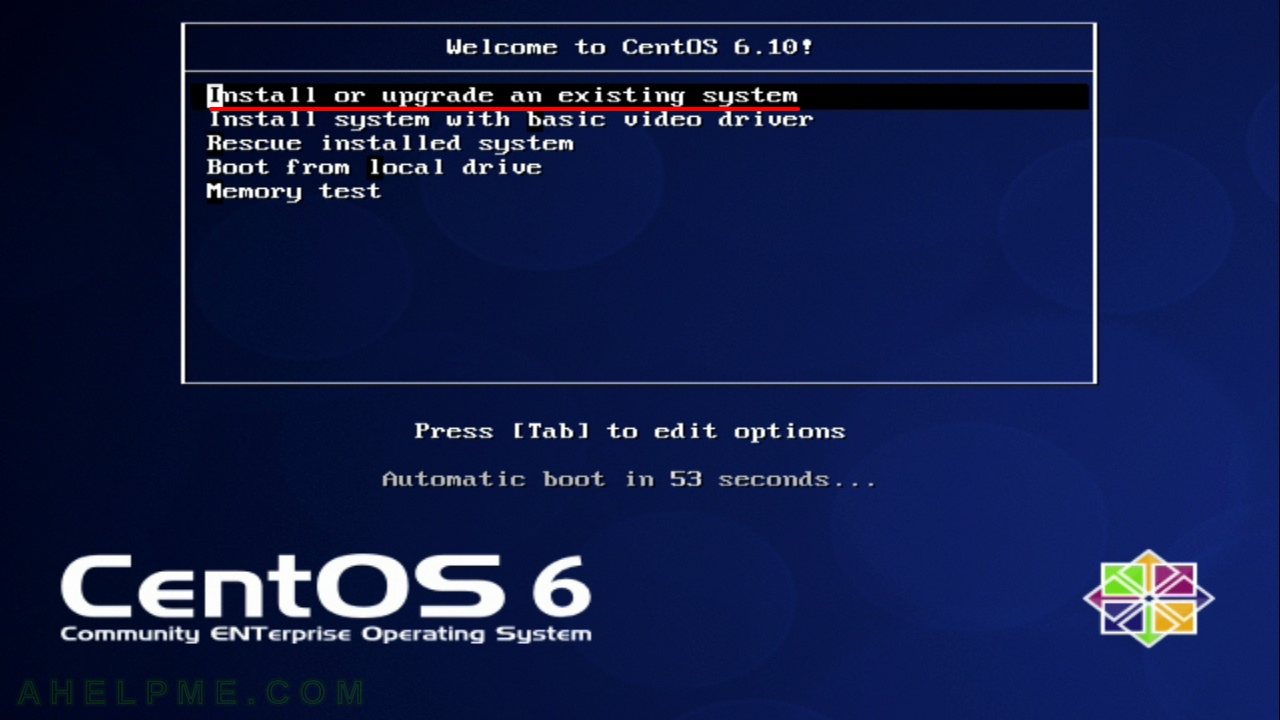
SCREENSHOT 2) Choose “Install or upgrade an existing system” to boot in the installation setup.
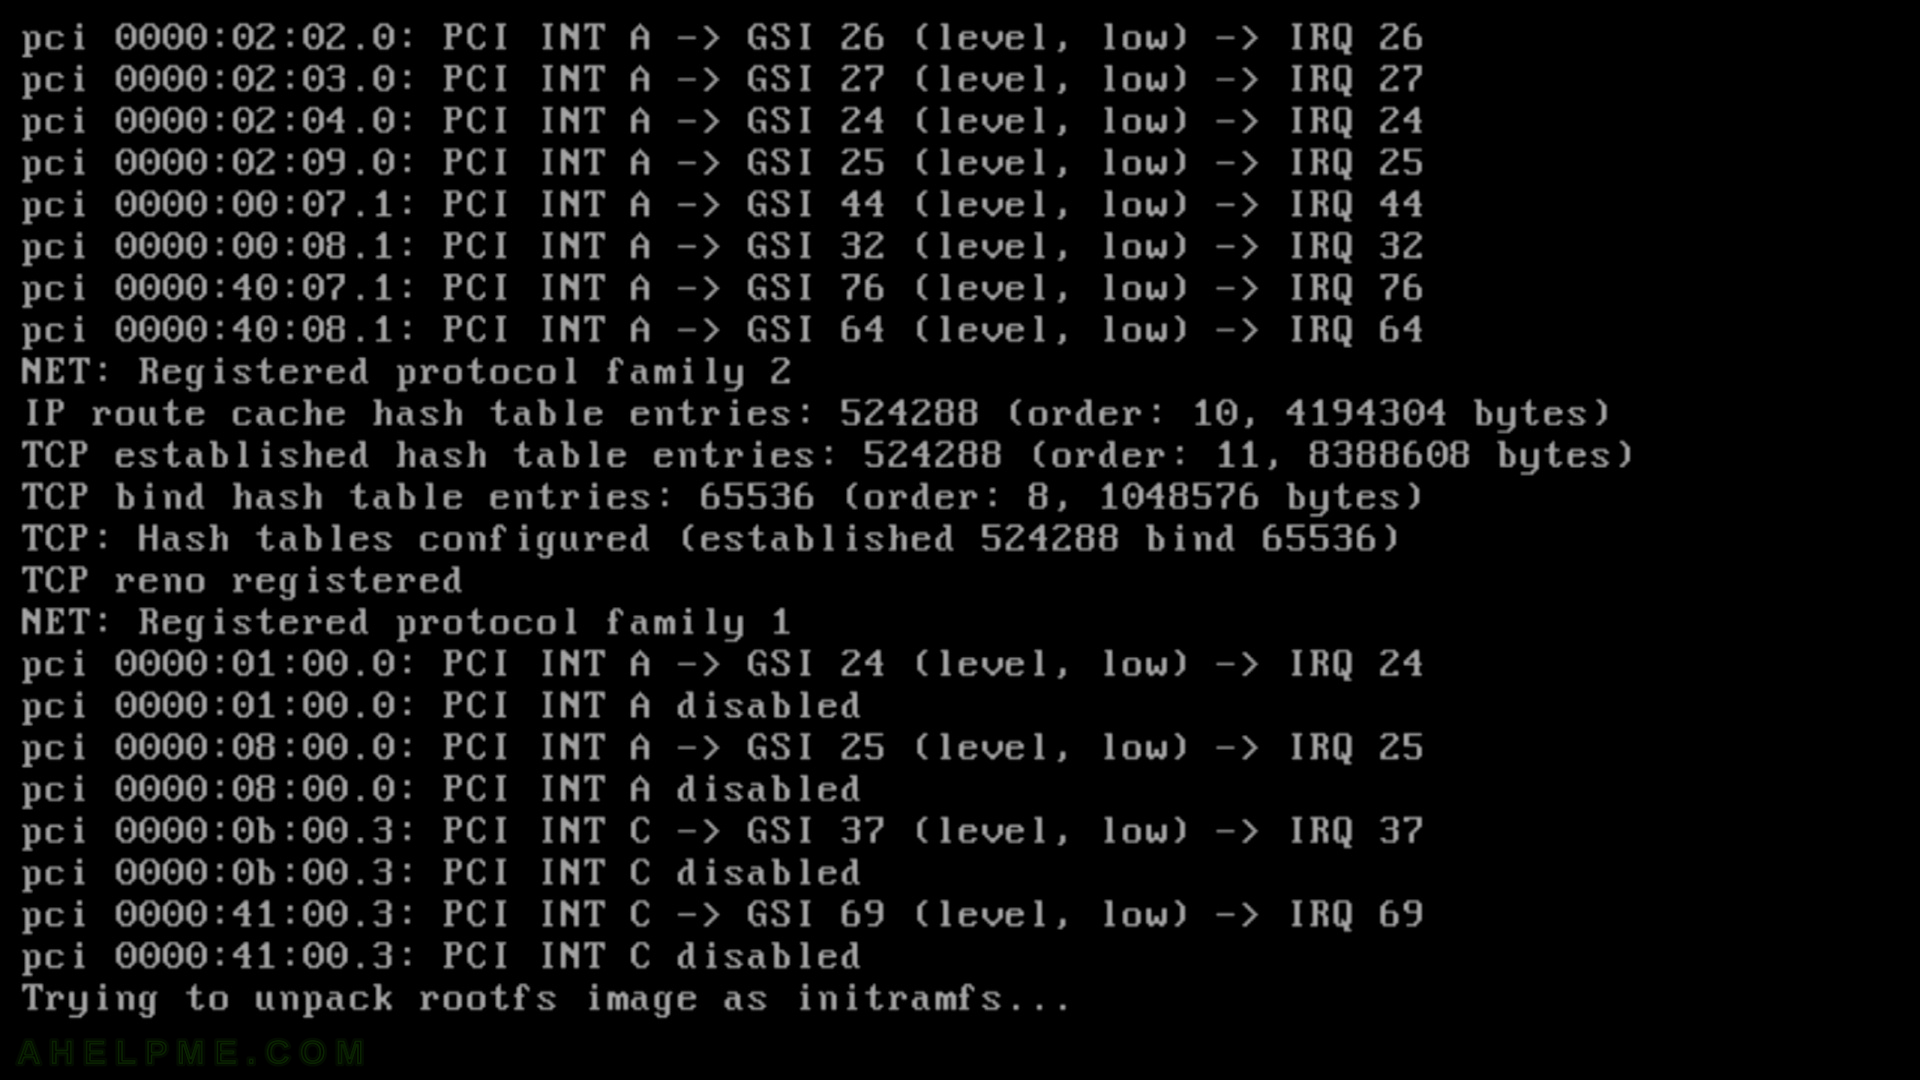
SCREENSHOT 3) The kernel and the live system are loading…
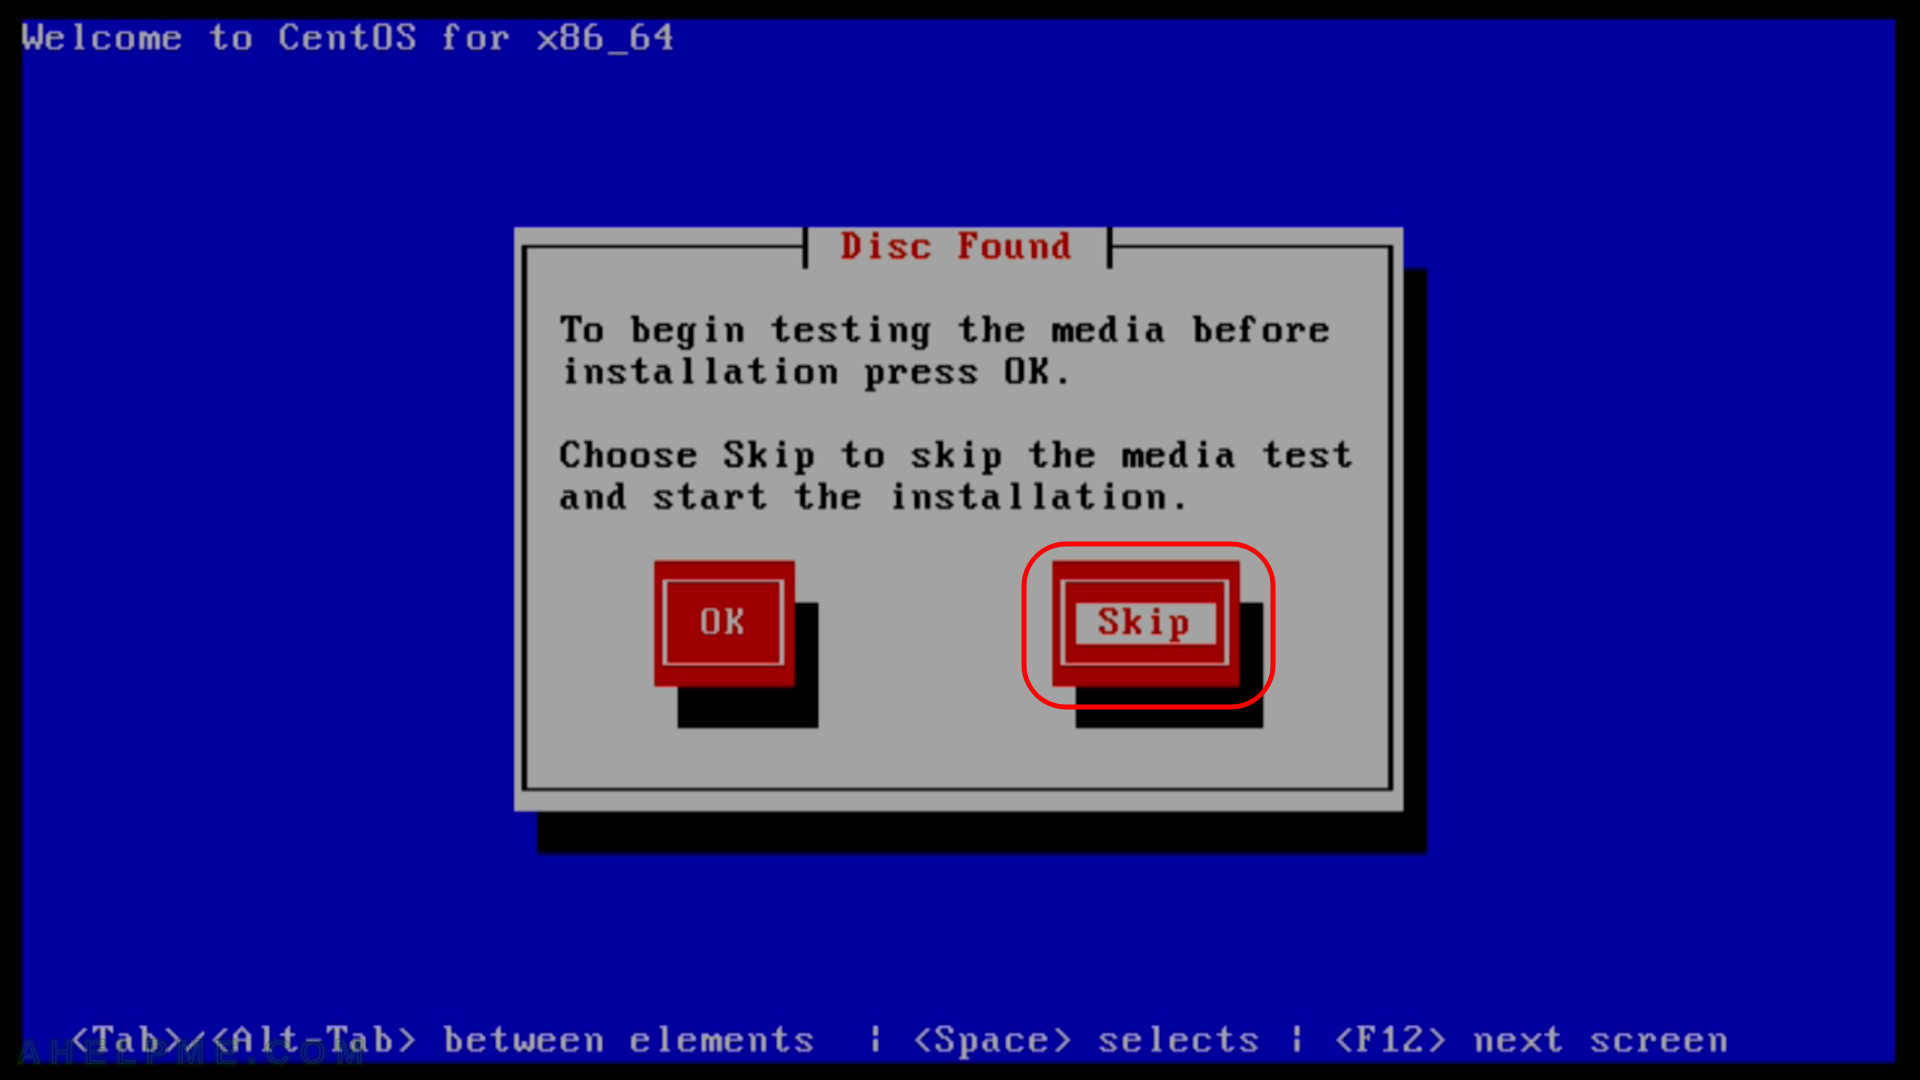
SCREENSHOT 4) Setup offers to test the installation media, no you do not need this any more. Just press tab key to select “Skip” and hit “Enter”.
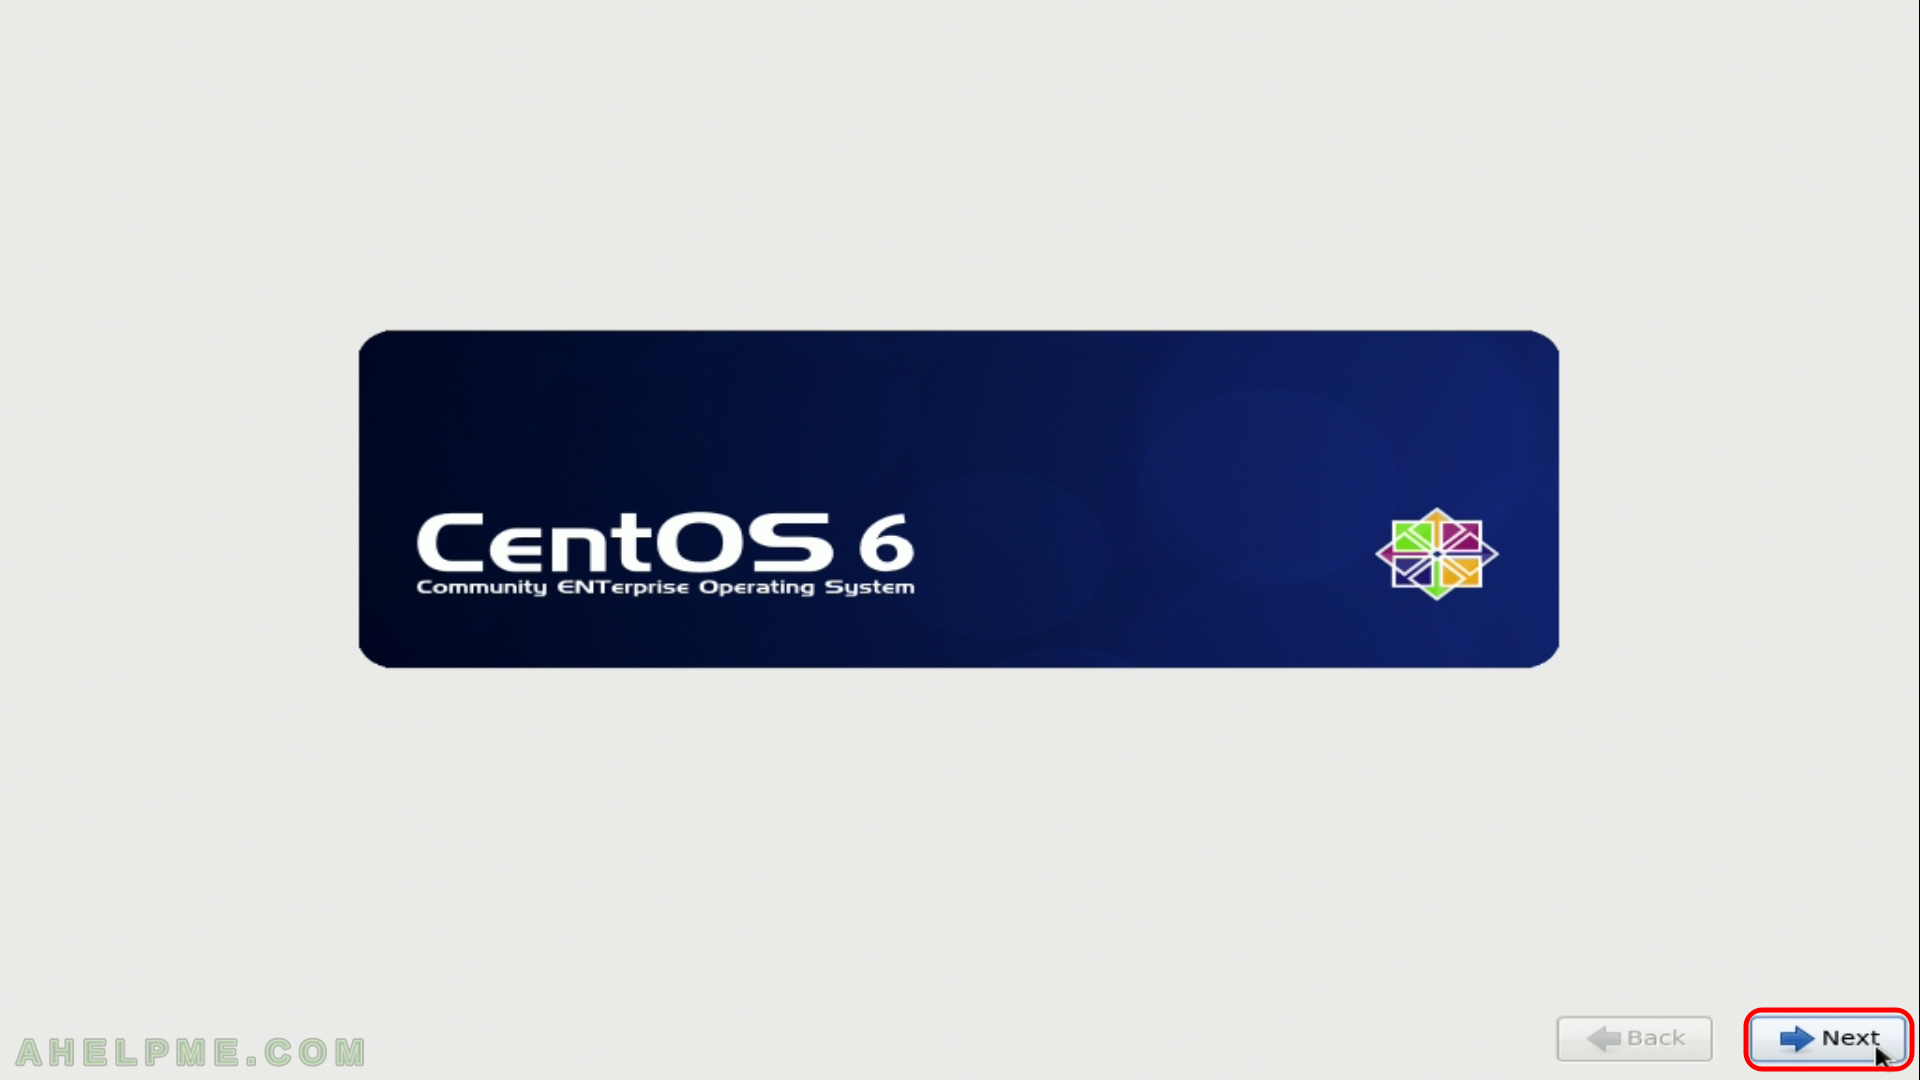
SCREENSHOT 5) The graphic setup of CentOS 6.10 loaded and press “Next”.
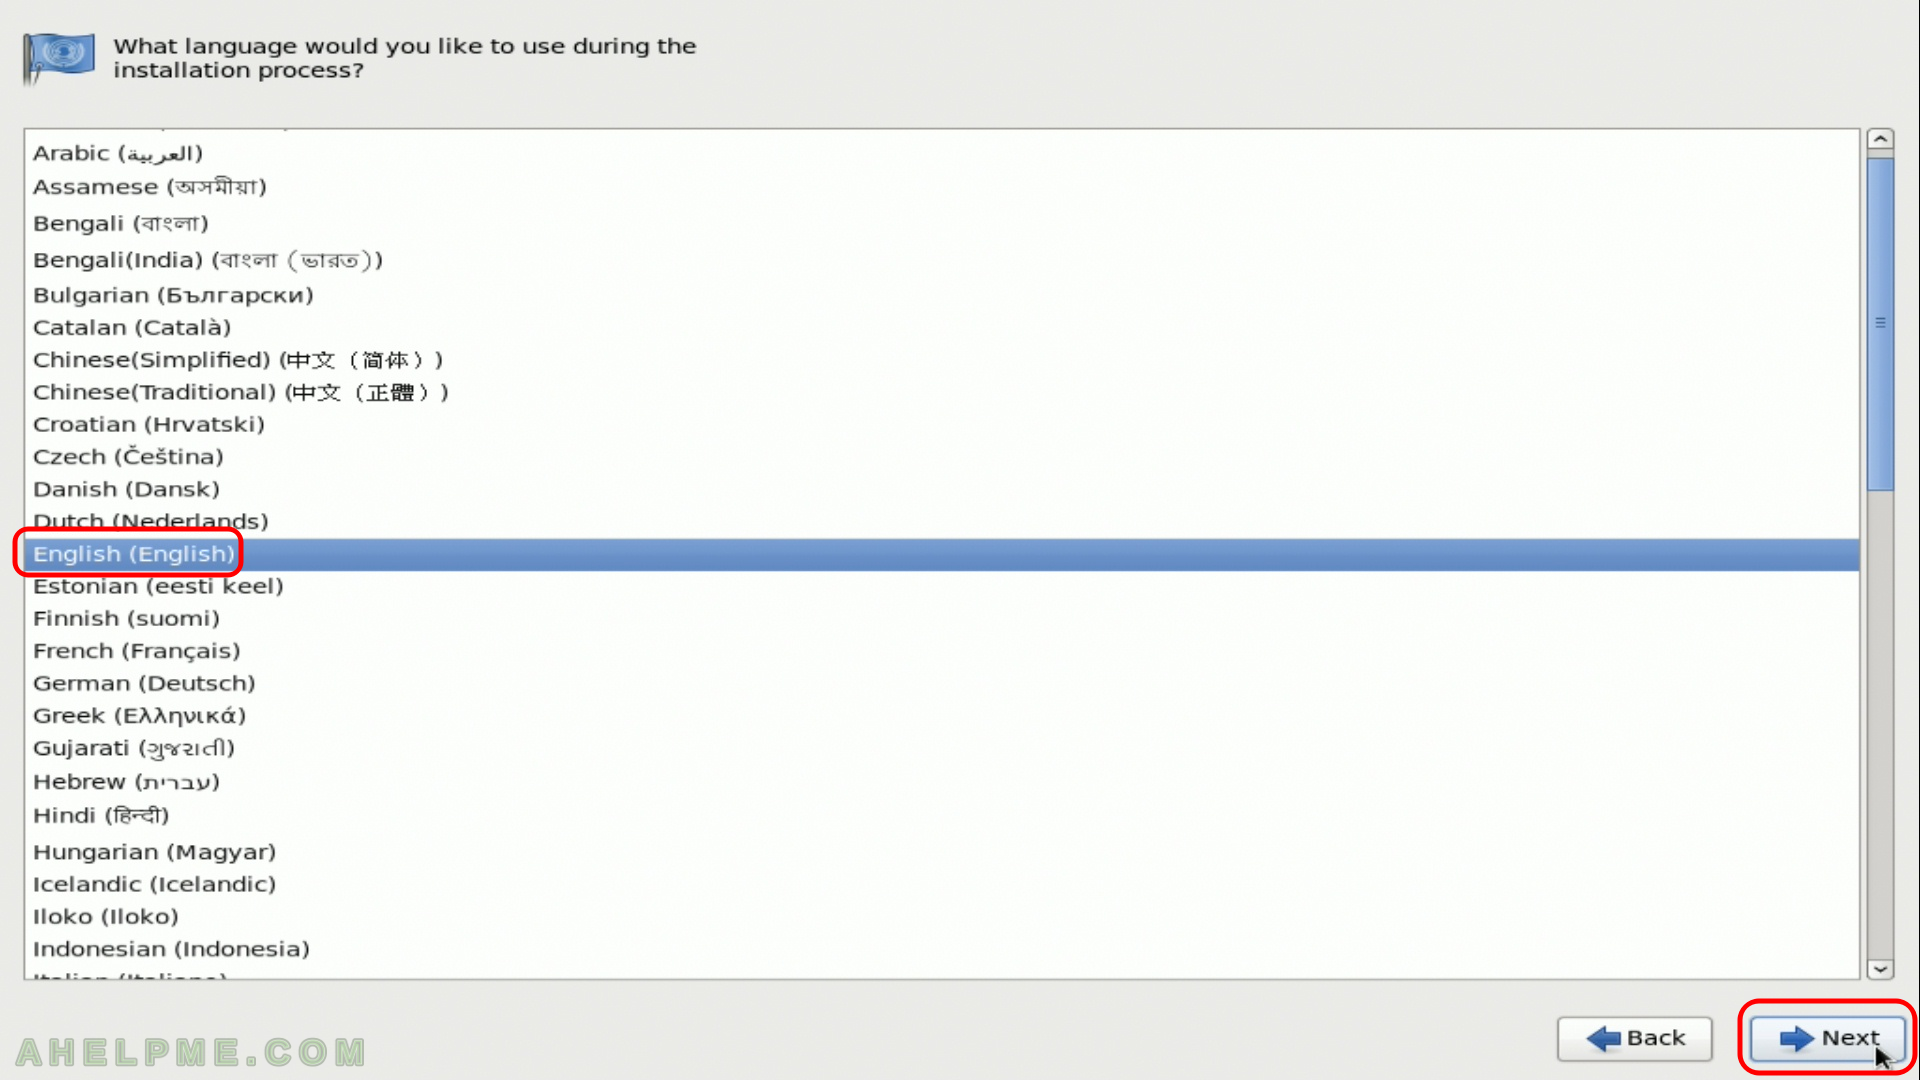
SCREENSHOT 6) What language would you like to use during the installation process? We choose “English (English)”, then press “Next”.
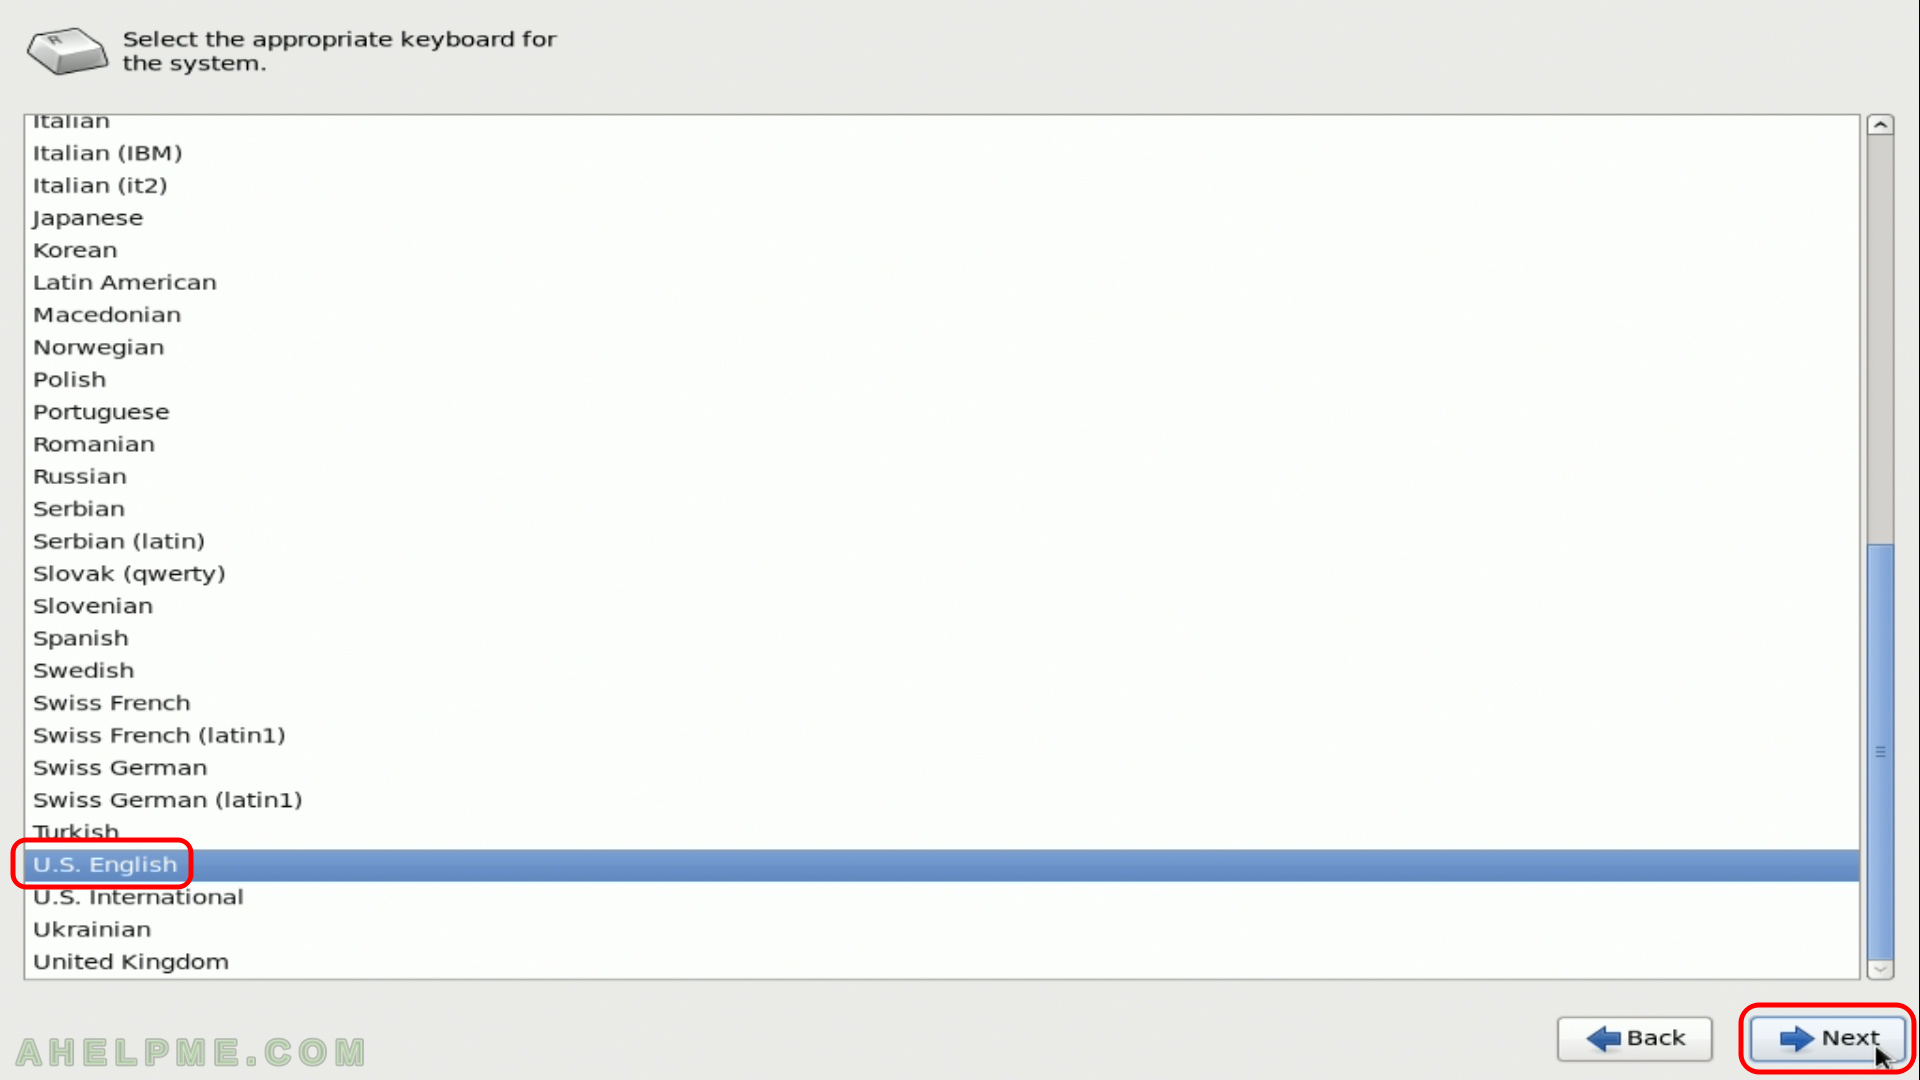
SCREENSHOT 7) Select the appropriate keyboard for the system. Our keyboard is U.S. English compliant so we choose this option here and the press “Next”.
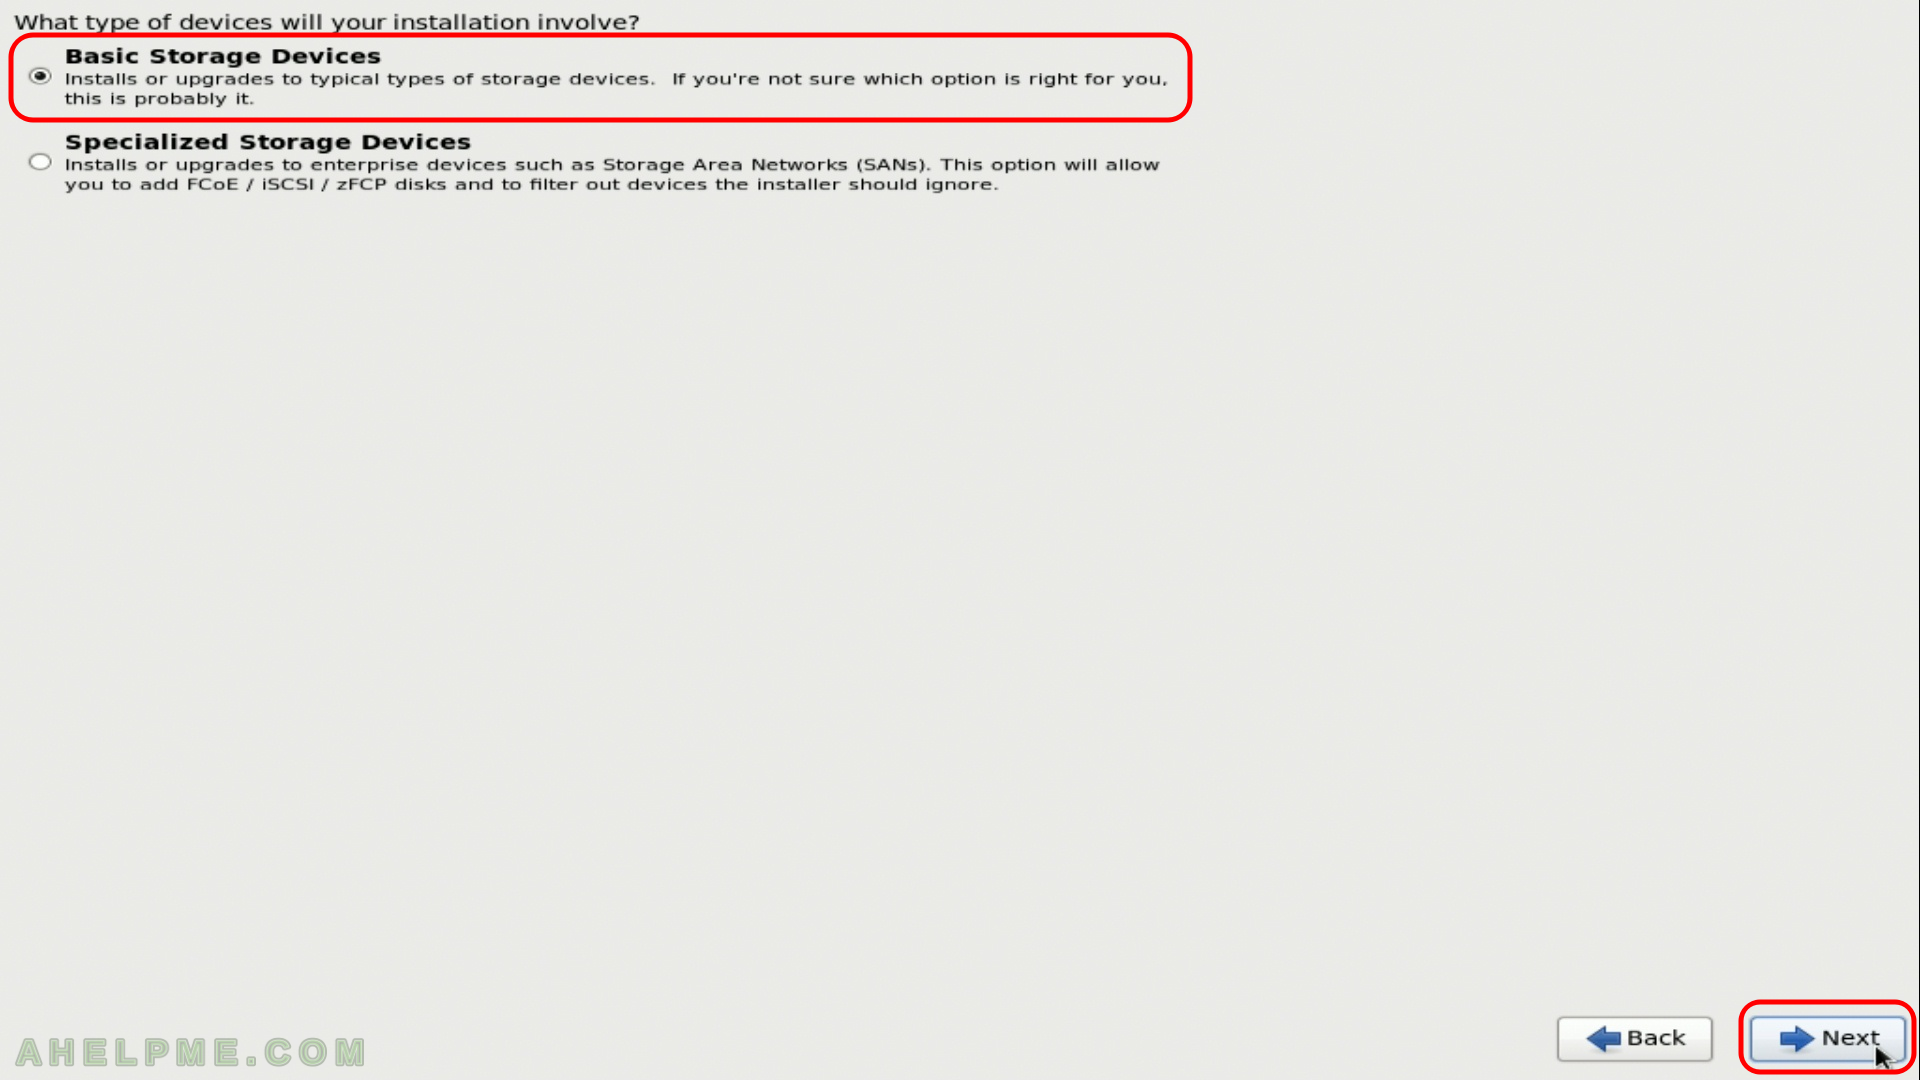
SCREENSHOT 8) What type of devices will your installation involve?
This is for all devices like hard drives, SSD, NVME SSD and hardware controllers like LSI, DELL PERC and so on. We use SSD so this is the right choice here. Click “Next”.
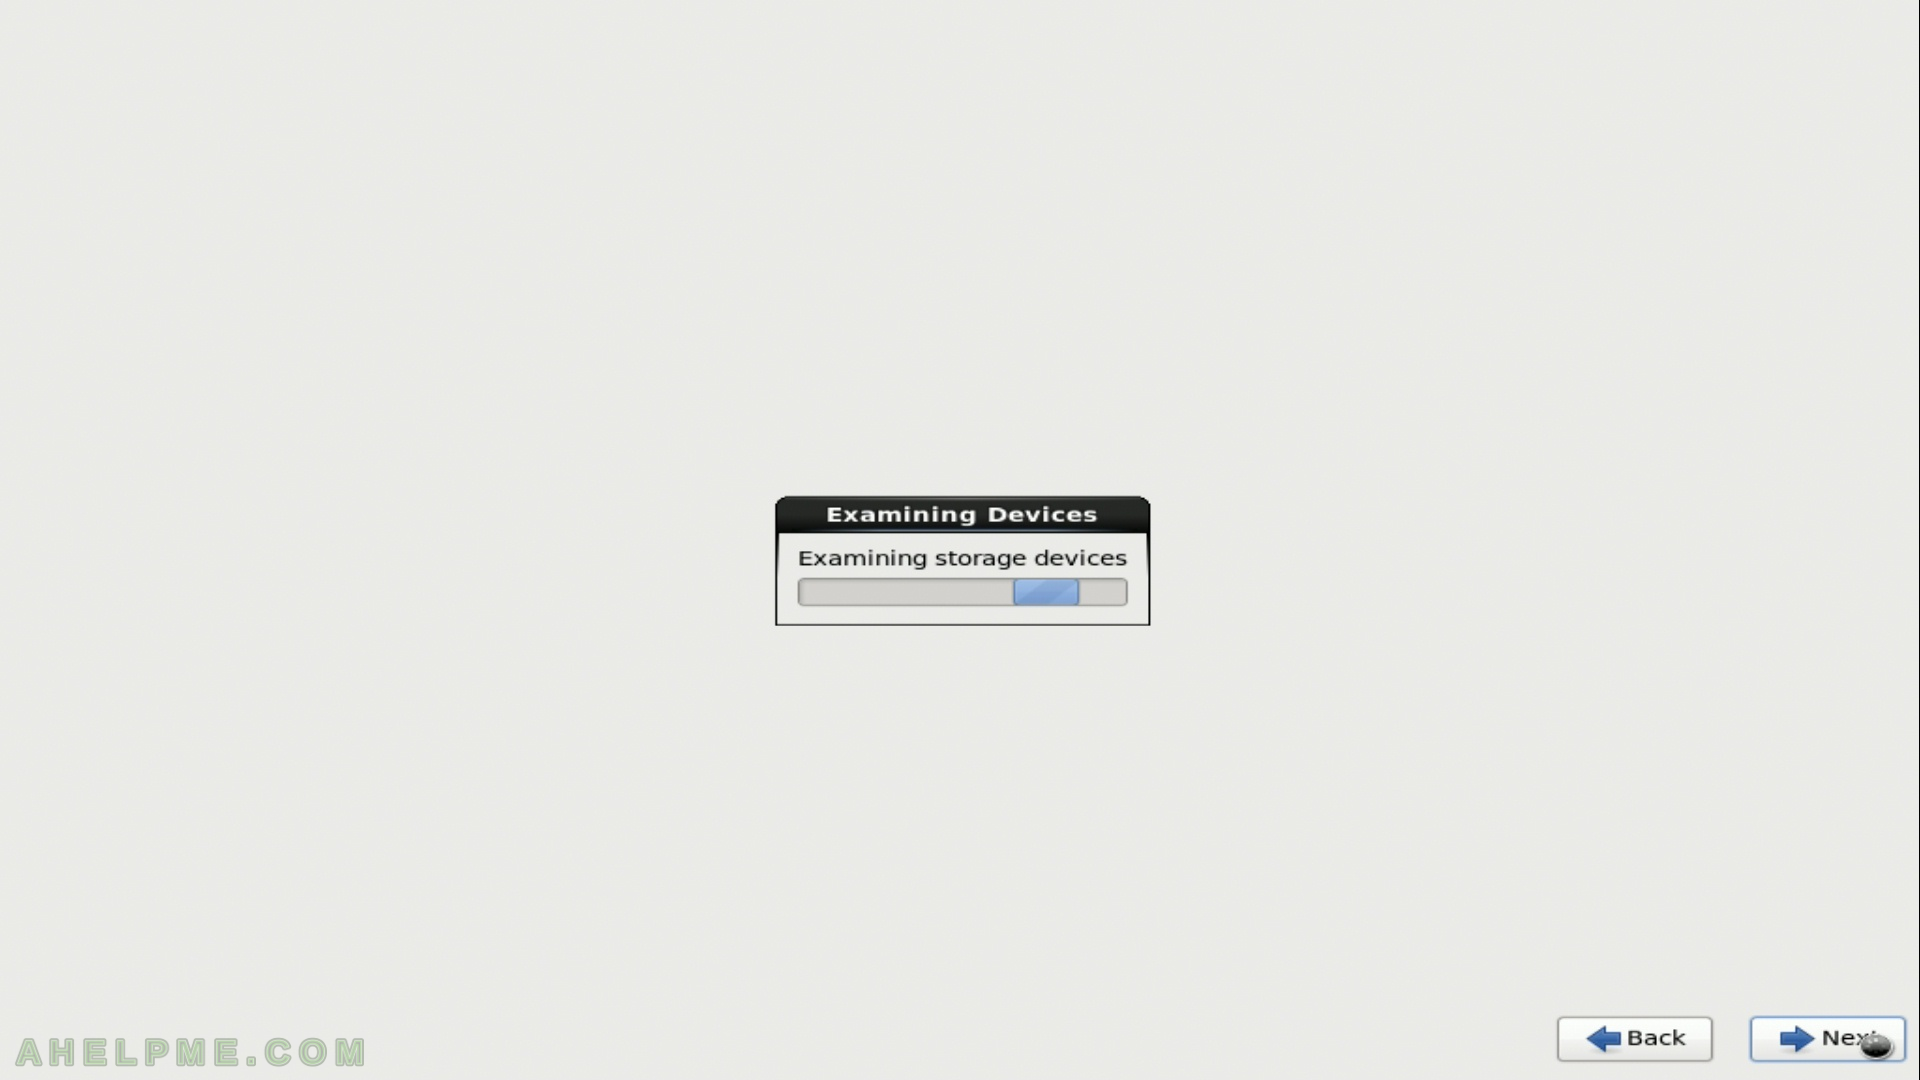
SCREENSHOT 9) The setup is looking for the storage devices.
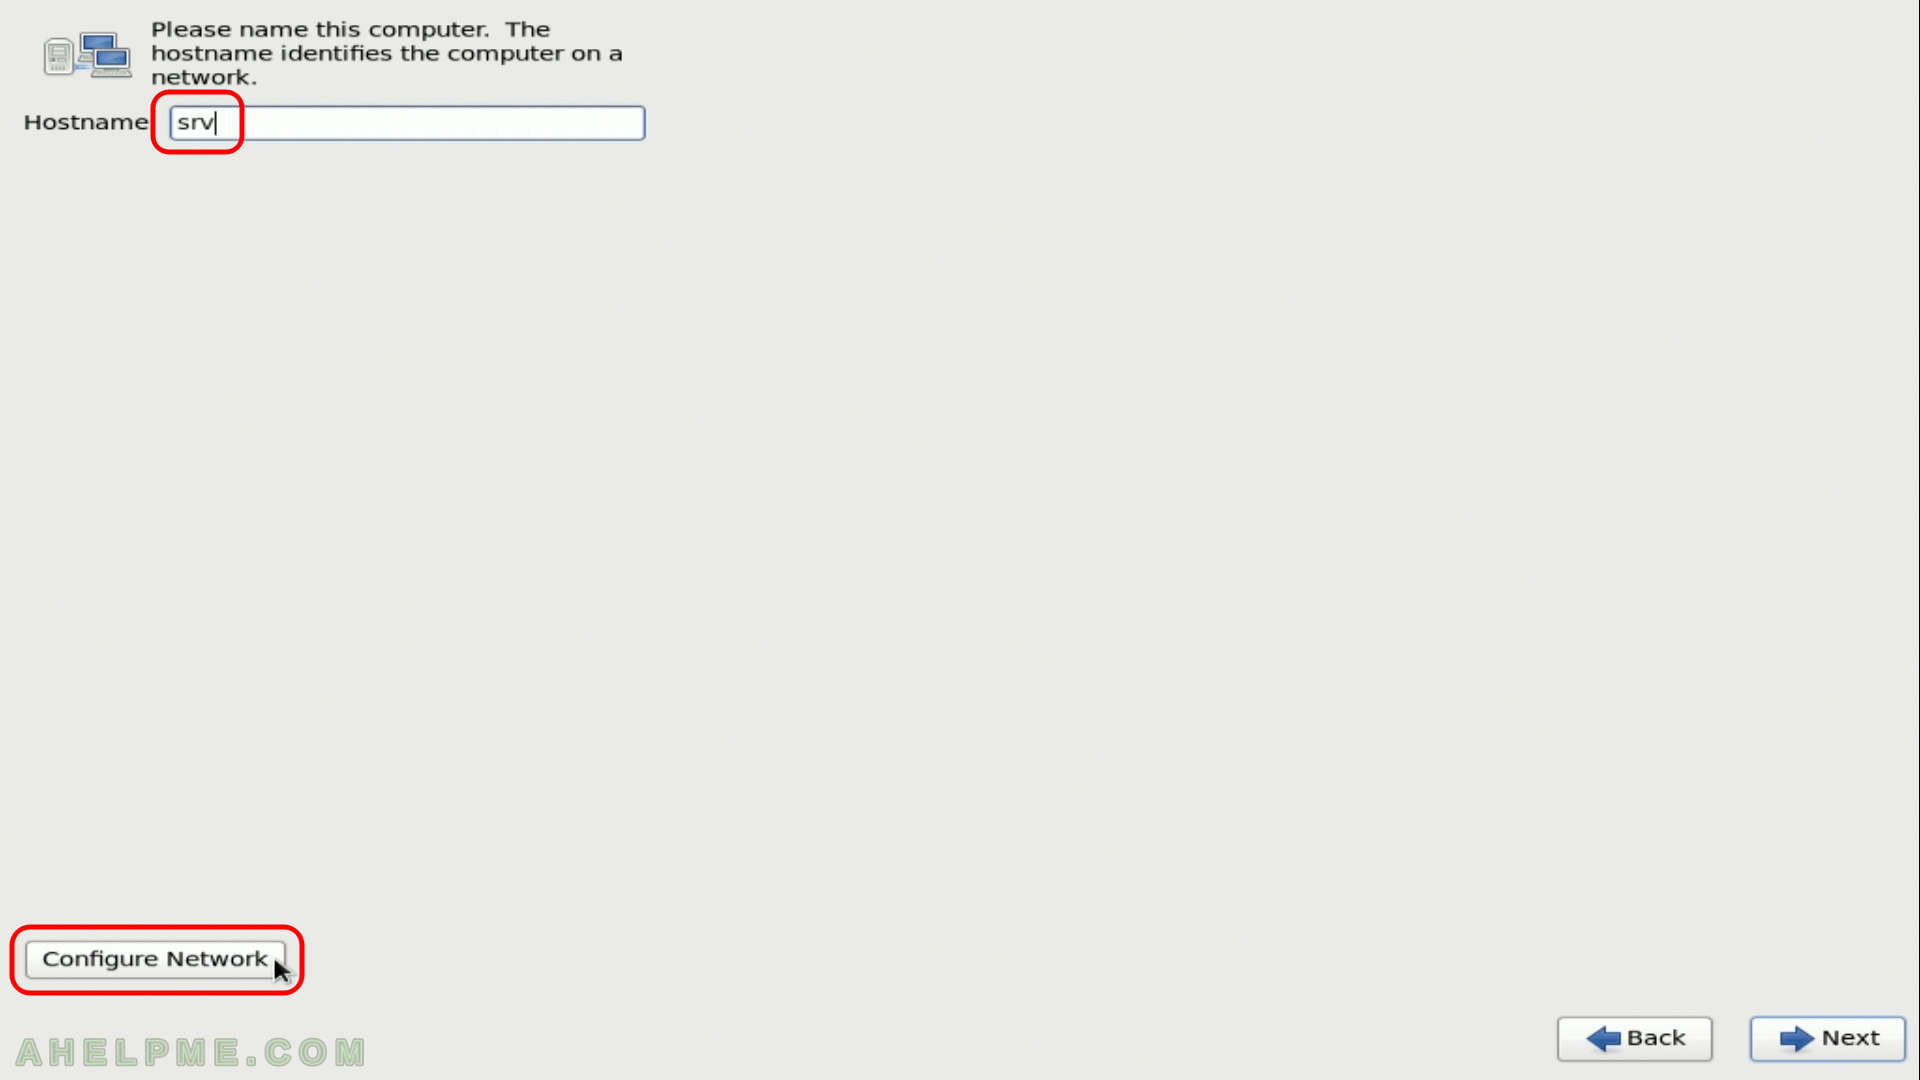
SCREENSHOT 10) Fill the “Hostname” editbox, then click on “Configure Network” to set network IP.