Always put your root partition separate from the storage (aka data) partitions. root partition should be only for system files and nothing more! Keeping this simple rule you may easily change your operating system (or clean install or clean upgrade) without deleting the user’s data thus preserving the old storage partitions.
Our storage has 2 storage partitions, which means they hosts only data and no system files and there are separate partitions for Linux booting (grub2) and system files (root partition). Here is the partitions layout:
[root@srv0 ~]# parted /dev/sda --script print
Model: AVAGO SMC3108 (scsi)
Disk /dev/sda: 48.0TB
Sector size (logical/physical): 512B/4096B
Partition Table: gpt
Disk Flags:

Number  Start   End     Size    File system  Name  Flags
 1      1049kB  53.7GB  53.7GB                     raid
 2      53.7GB  54.8GB  1075MB                     raid
 3      54.8GB  55.0GB  211MB   fat16              raid
 4      55.0GB  69.4GB  14.4GB                     raid
 5      71.8GB  48.0TB  47.9TB  ext4

[root@srv0 ~]# parted /dev/sdb --script print
Model: AVAGO SMC3108 (scsi)
Disk /dev/sdb: 48.0TB
Sector size (logical/physical): 512B/4096B
Partition Table: gpt
Disk Flags:

Number  Start   End     Size    File system  Name  Flags
 1      1049kB  53.7GB  53.7GB                     raid
 2      53.7GB  54.8GB  1075MB                     raid
 3      54.8GB  55.0GB  211MB   fat16              raid
 4      55.0GB  69.4GB  14.4GB                     raid
 5      71.8GB  48.0TB  47.9TB  ext4
[root@srv0 ~]# df -h
Filesystem      Size  Used Avail Use% Mounted on
devtmpfs         16G     0   16G   0% /dev
tmpfs            16G     0   16G   0% /dev/shm
tmpfs            16G  250M   16G   2% /run
tmpfs            16G     0   16G   0% /sys/fs/cgroup
/dev/md127       50G  1.7G   45G   4% /
/dev/md125      991M  133M  792M  15% /boot
/dev/md124      201M   12M  190M   6% /boot/efi
/dev/sda5        44T   23T   22T  52% /mnt/storage1
/dev/sdb5        44T   14T   30T  32% /mnt/storage2
tmpfs           3.2G     0  3.2G   0% /run/user/0
Of course, when there are partitions above 2T the GPT is mandatory.
You can skip the software RAID1 setup if you use only one controller or you have system partitions only in one disk (virtual drive and so on). Here we have two hardware controllers, which we want to use both for the system partitions.
4 RAID1 devices:
- EFI partition (/boot/efi)
- swap partition
- boot parition (/boot)
- root partition (/)
The best practice is have total between 30G and 50G for the 4 partitions (in fact, boot partition could be skipped). Have in mind most modern Linux distributions cannot be installed on less than 10G~20G and for optimal results just separate between 30G and 50G for 4 partitions above (or 3 if you choose to skip the boot one).
Upgrade to CentOS 8 with clean install over our old CentOS 7 system partitions preserving the big data partitions.
Couple of things before start:
- UEFI installation will be selected. So boot in UEFI mode.
- IPMI KVM is used to install the new Linux distribution – CentOS 8
- The installation disk is mounted in the Virtual CD/DVD IPMI KVM device – with Mount and boot ISO file from windows share in Supermicro IPMI Virtual media (CD-ROM)
- All system parititions will be removed (grub, boot, root) and a clean minimal installation will be performed.
- Network installation – using CentOS-8-x86_64-1905-boot.iso
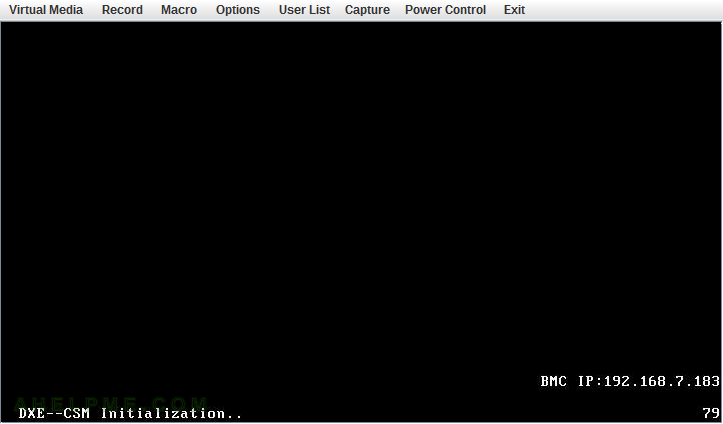
SCREENSHOT 1) The Server is starting. This is the IPMI KVM window. Press F11 to Boot in Boot Menu.
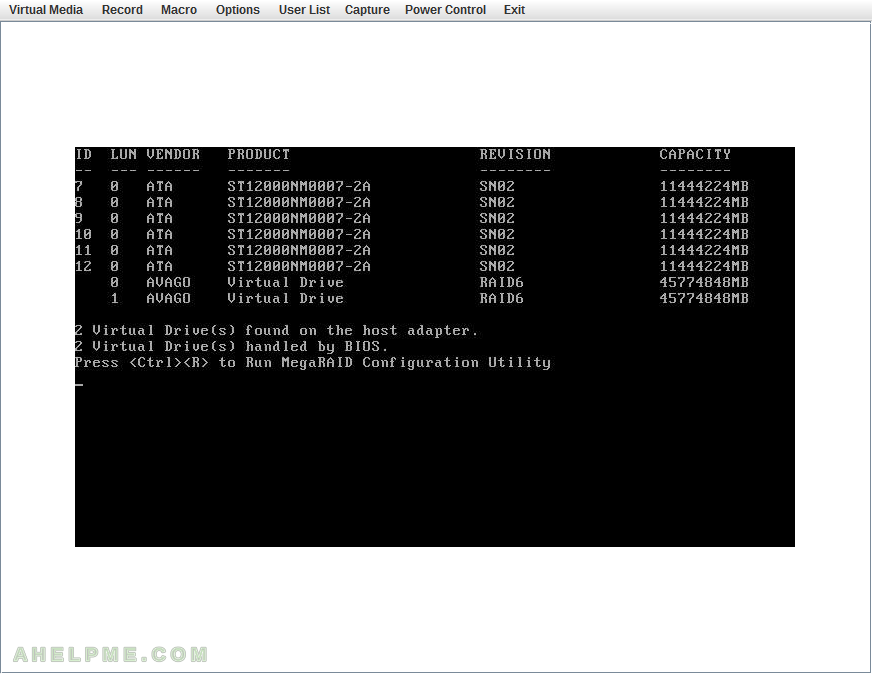
SCREENSHOT 2) The MegaRAID controller and the virtual drives are initiliazed.
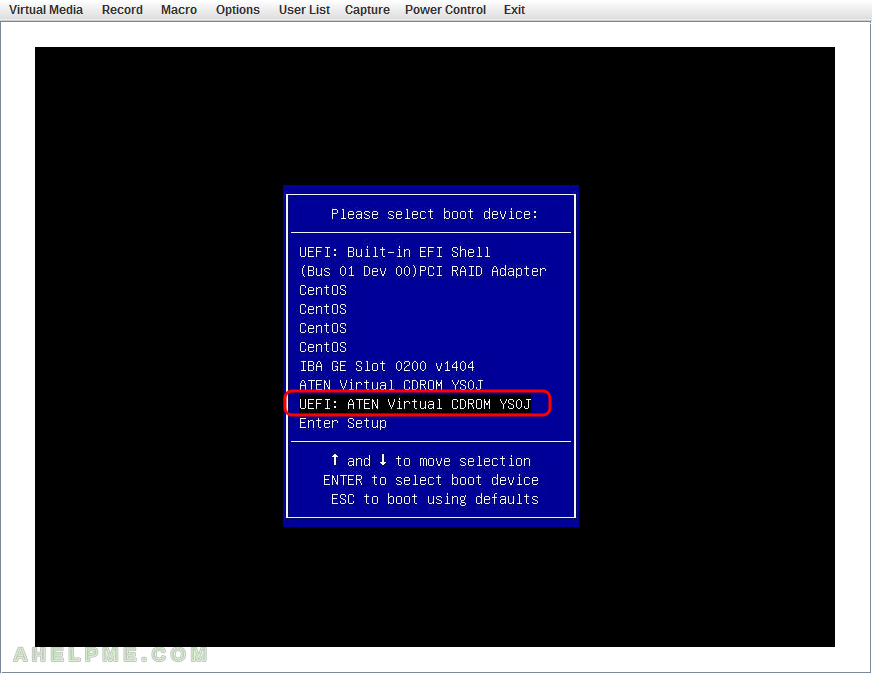
SCREENSHOT 3) Select the UEFI boot mode of the Virtual CDROM and hit “Enter” to continue.
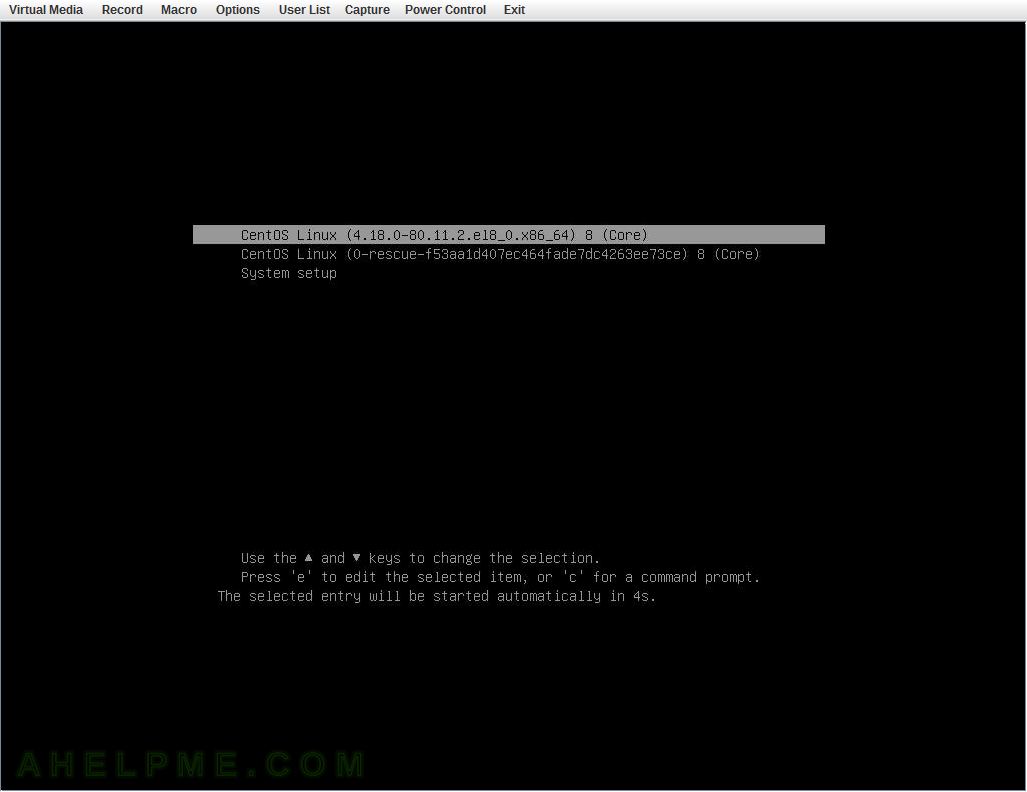
SCREENSHOT 4) If you booted from the CD you would get this first screen – select “Install CentOS Linux 8.0.1905” and hit Enter
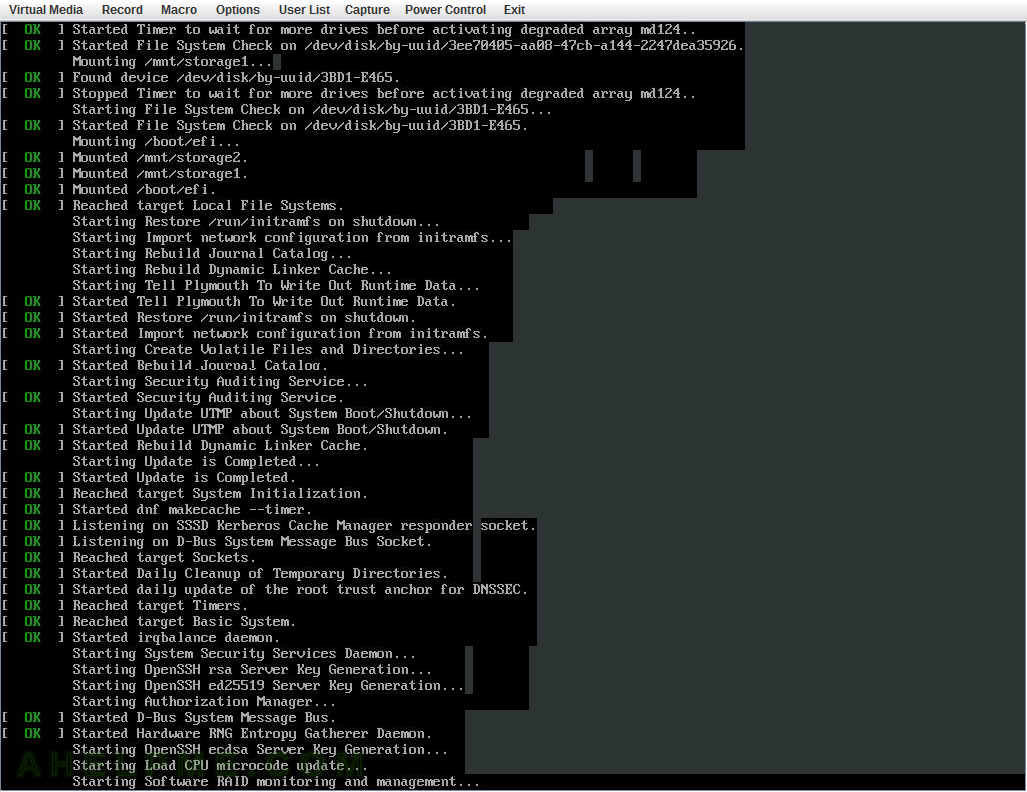
SCREENSHOT 5) The kernel and the live system are loading…
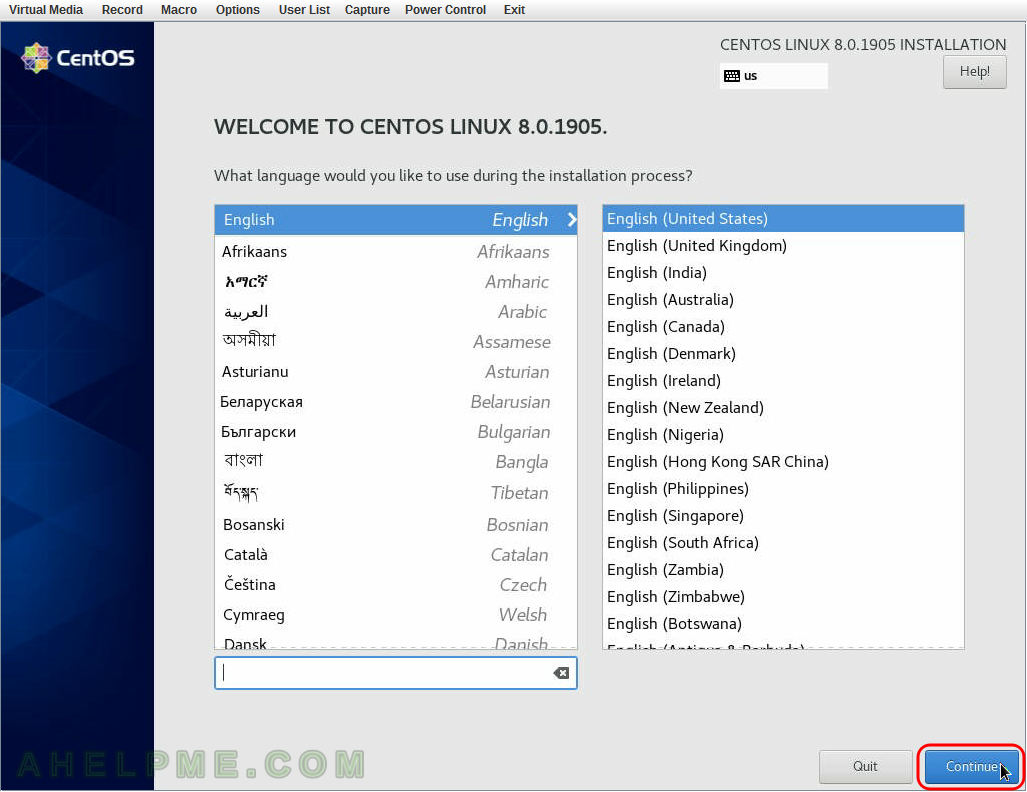
SCREENSHOT 6) Choose your system language. Here we selected the English.
The setup will guide you through the steps in the language you select here and the installed system will use the selected language as default.
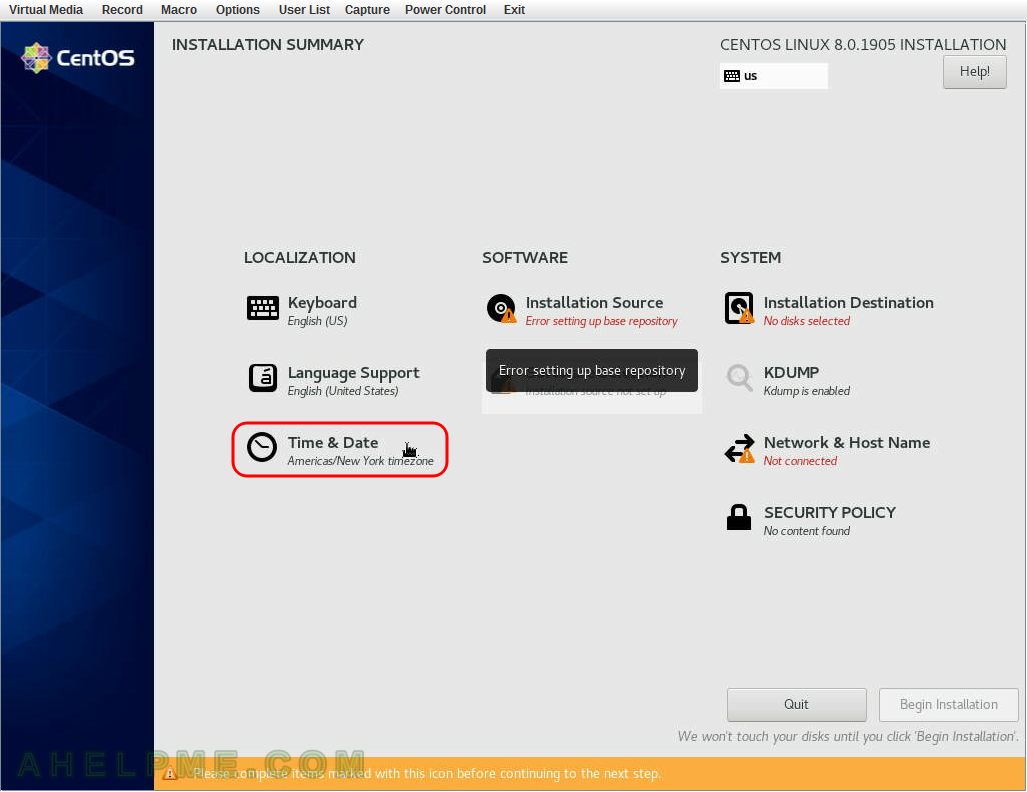
SCREENSHOT 7) Select time and date menu to set the time and date and the time zone of the system, which is very important. Click on “Time & Date”.
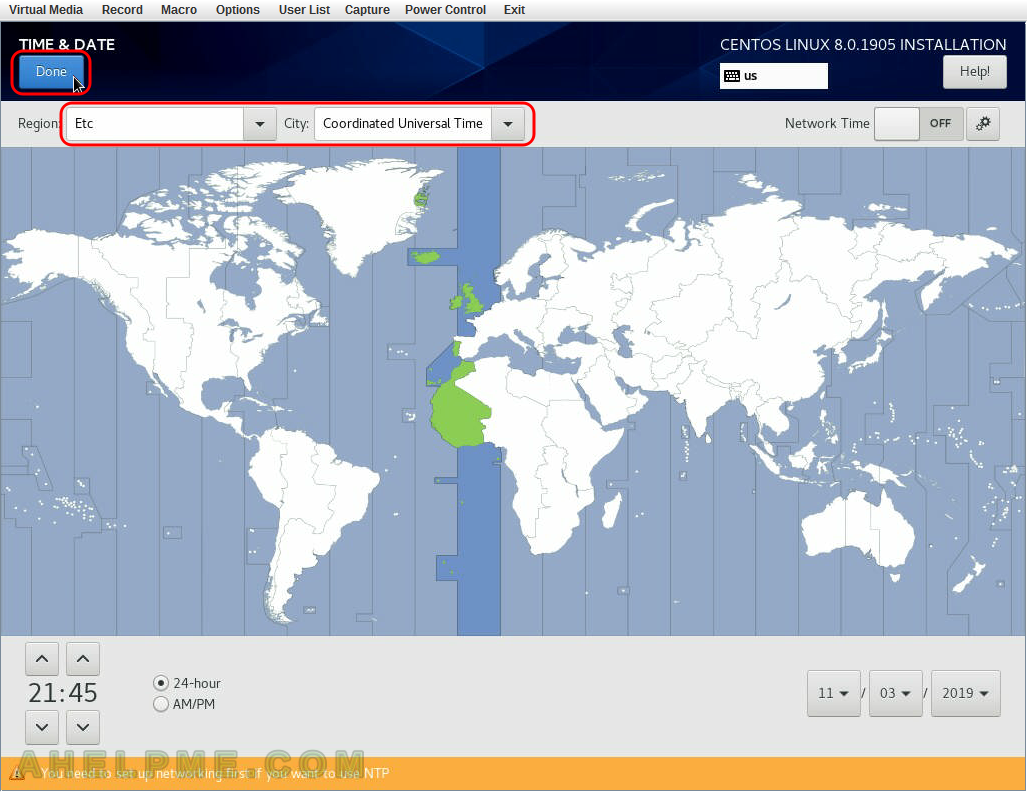
SCREENSHOT 8) Select your time zone – here we selected UTC (Universal Coordinated Time), but you can choose your time zone if it is not the right one by default.
You even may point with the mouse to your country on the map. Click on “Done” when you are ready.
SCREENSHOT 9) Set the connectivity of your server. Because this is network installation you cannot proceed with the installation without a working network.
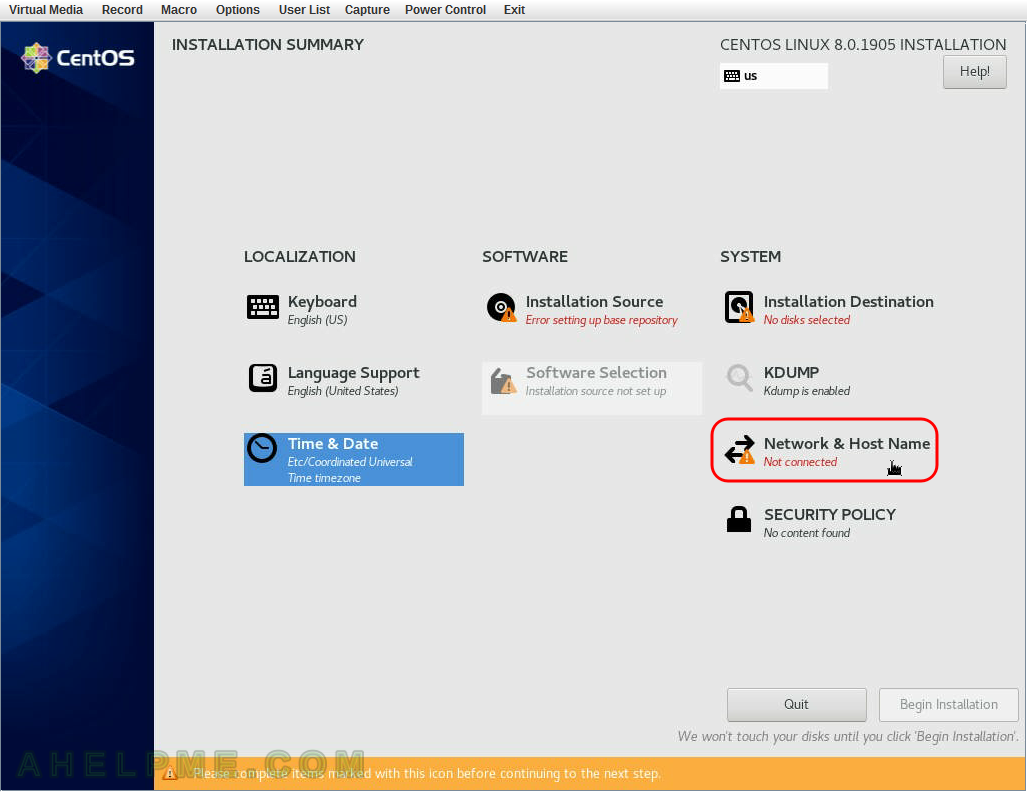
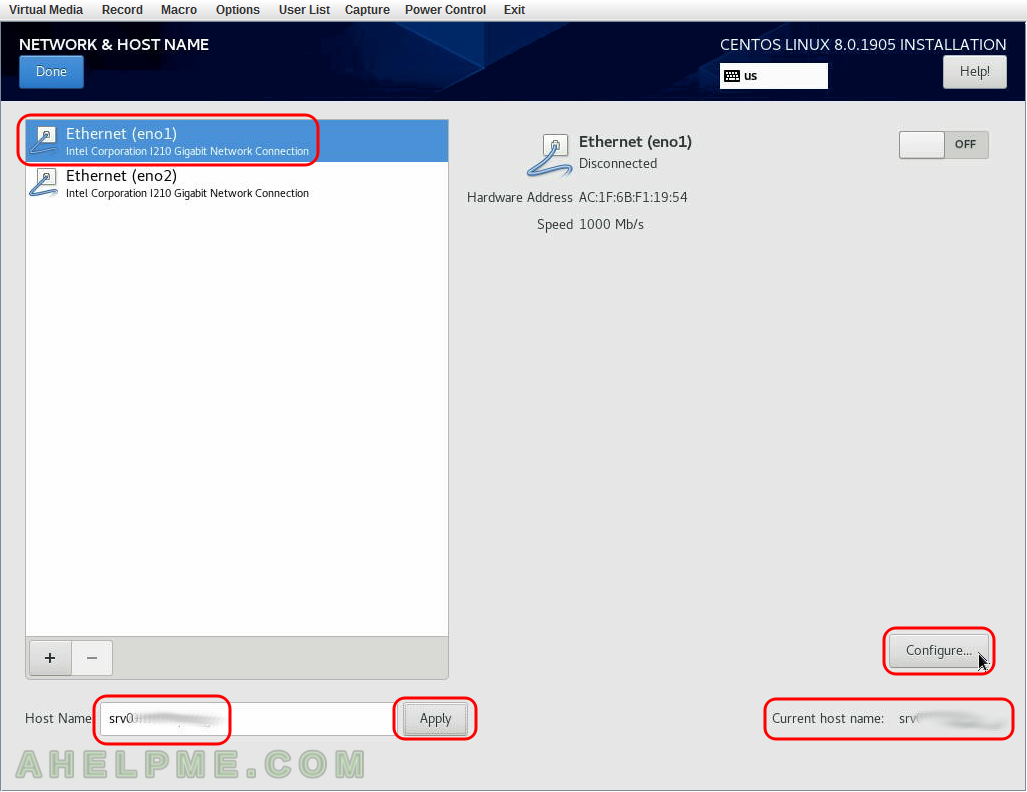
SCREENSHOT 10) Set the host name of your machine in the left bottom text box and click on “Apply”.
Then choose the ethernet adapter you want to configure and press “Configure…”.
One thought on “Install CentOS 8 over the old OS and preserve the storage partitions”