This tutorial shows you how to load any ISO file in the virtual CD/DVD-ROM of a Supermicro server and boot from it if it is bootable. You could install operating systems from a ISO file or just share a data. Here we use an installation DVD disk of CentOS 7 to boot. This tutorial expect there is a windows (samba) share on the local network if you need to do it you can check here – Configure and mount samba share in Supermicro IPMI Virtual media (CD-ROM)
Loading an ISO disk in the (virtual) CD/DVD-ROM device attached to your server could be of a great help to the system administrators, you could use diagnostic disks, update disks (BIOS and firmware of devices), install multiple operating systems including MS Windows, share data and many more! You could use ISO disk right from your computer or from a server next to the server you want to use the ISO to speed up access.
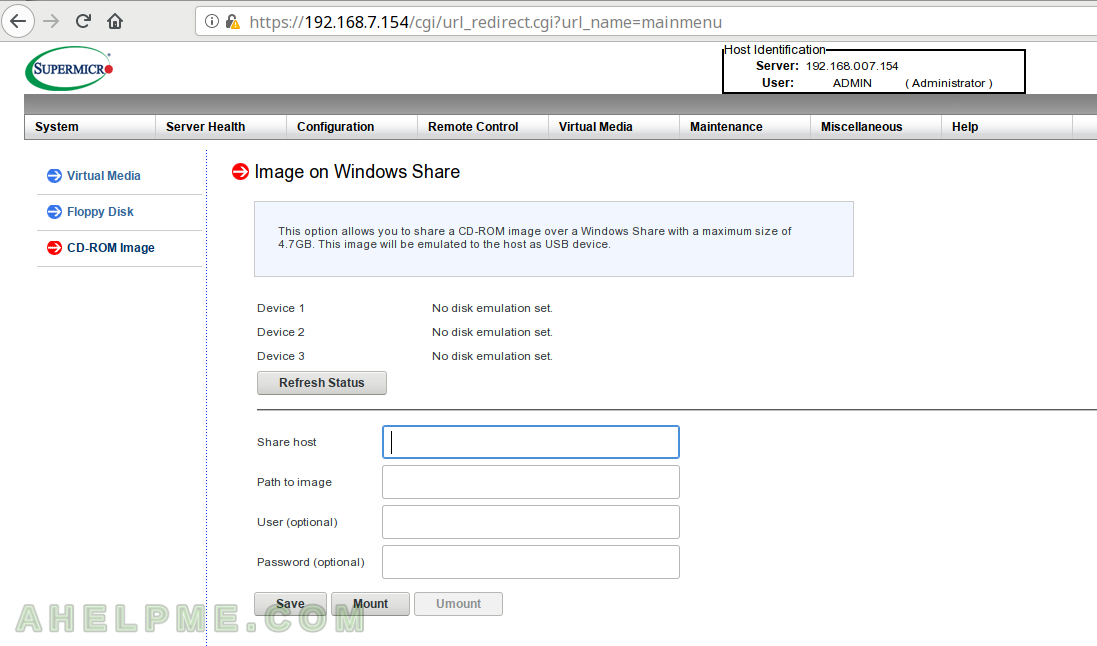
STEP 1) When you are logged in the Supermicro IPMI web interface click on Virtual Media menu and then CD-ROM Image.

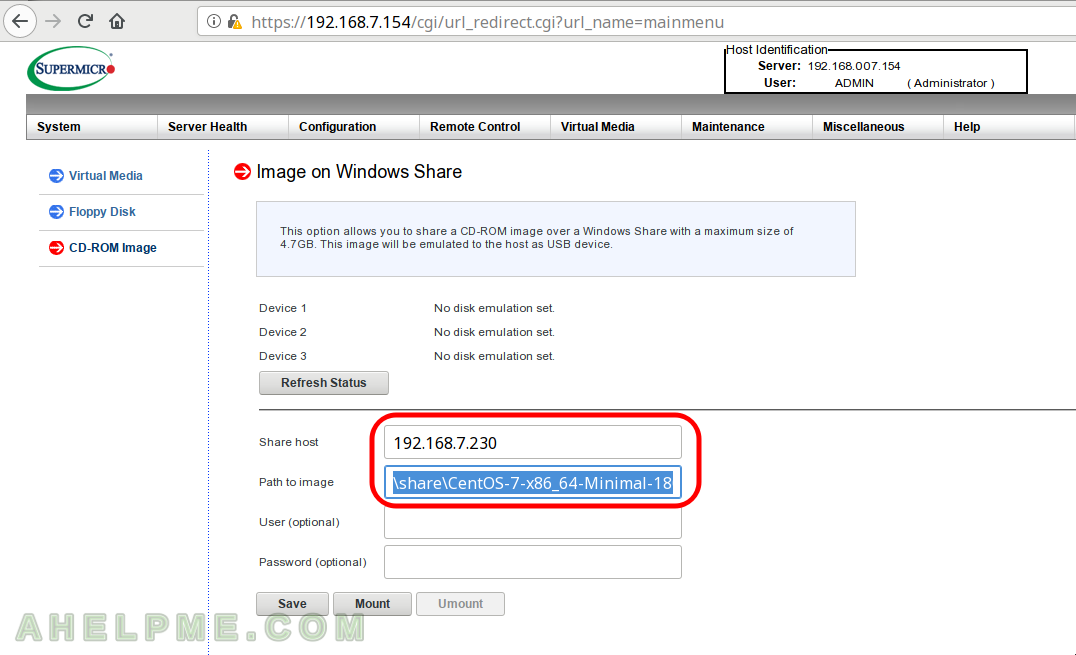
STEP 2) Fill the required edit boxes “Share host” (hostname or IP address) and “Path to image” the path to the image with “\” notation for the directories.
If anonymous login (guest) has access to the share you can leave “User” and “Password” blank.
STEP 3) When the required edit boxes are filled you can save the configuration.
Here we use our server with IP: 192.168.7.230, which is a samba server with shared resource “share” and a file CentOS-7-x86_64-Minimal-1804.iso, which is a bootable installation disk of CentOS 7. It is important the “Save” button do not check if the shared resource is available, it just checks for special characters the edit boxes and if everything is OK it saves the configuration. You can save everything in “Share host” and “Path to image” even a server and path to non existing server and share resource! If you cannot save the data there is probably a problem with your browser (or you used special characters that are not allowed).
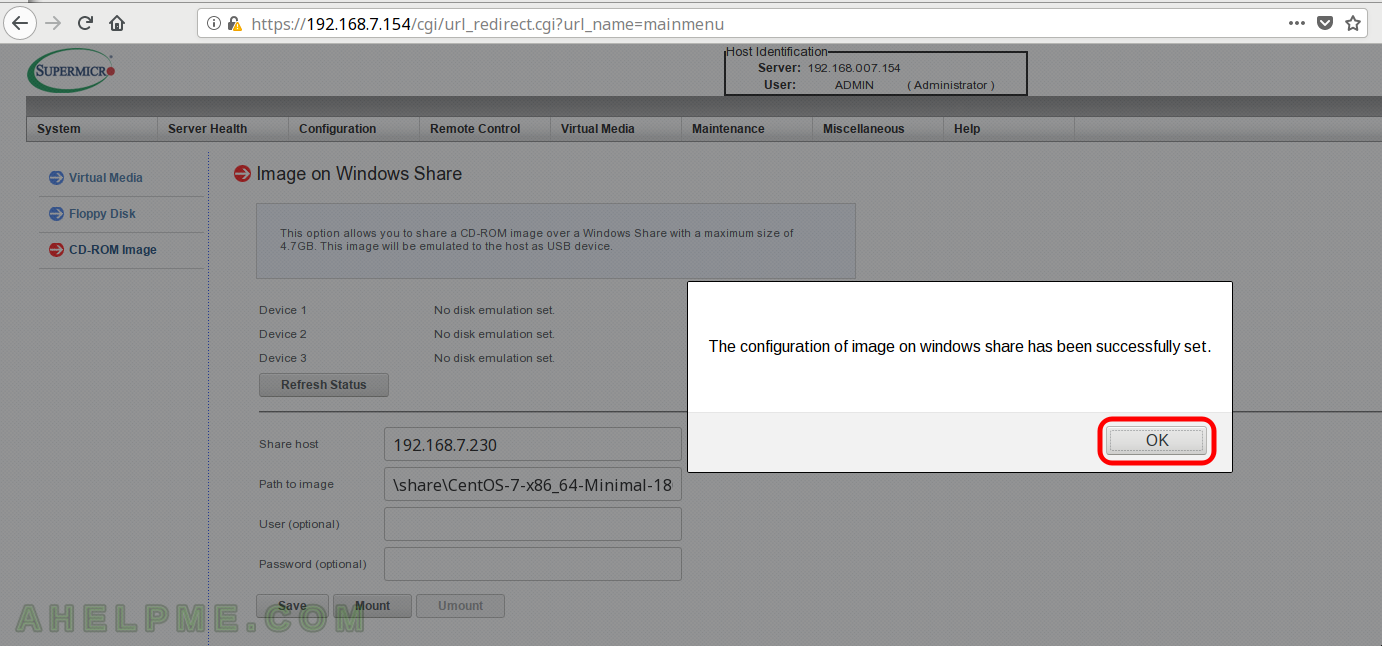
STEP 4) It should pop up a dialog with “The configuration of image on windows share has been successfully set.” As said above if there is no pop up for confirmation you got a problem (look the previous step).
STEP 5) Click “mount” to mount the ISO file from the “Path to image”.
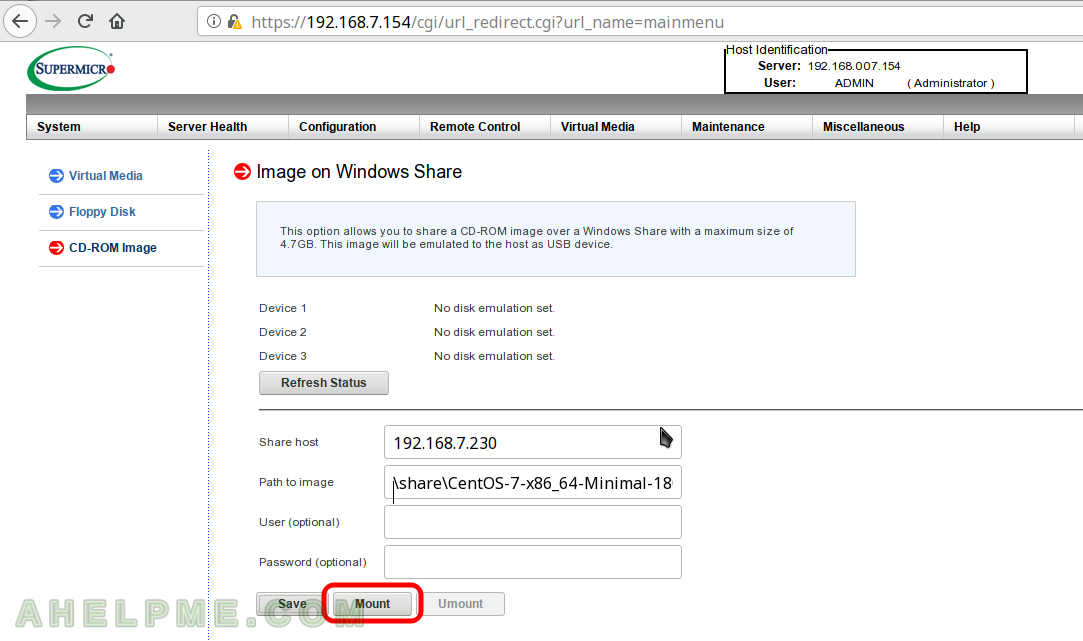
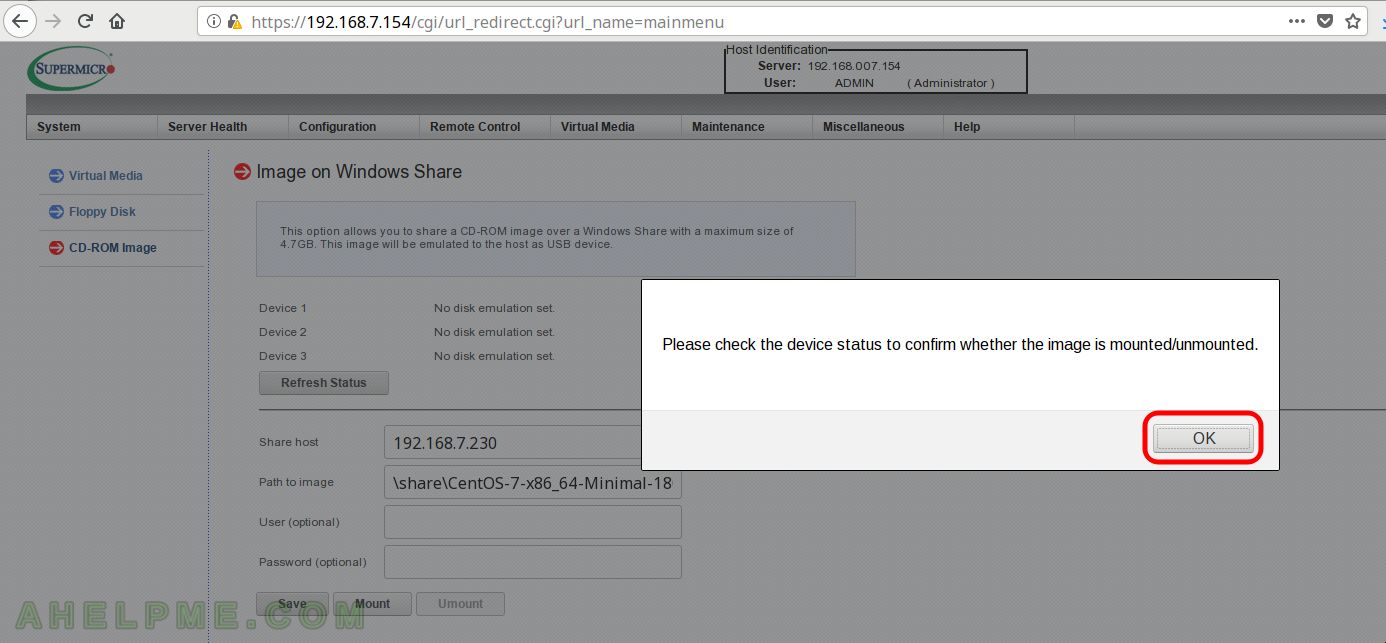
STEP 6) No confirmation here, the dialog just says you should check the Device status in the page to see if the mount operation was successful.
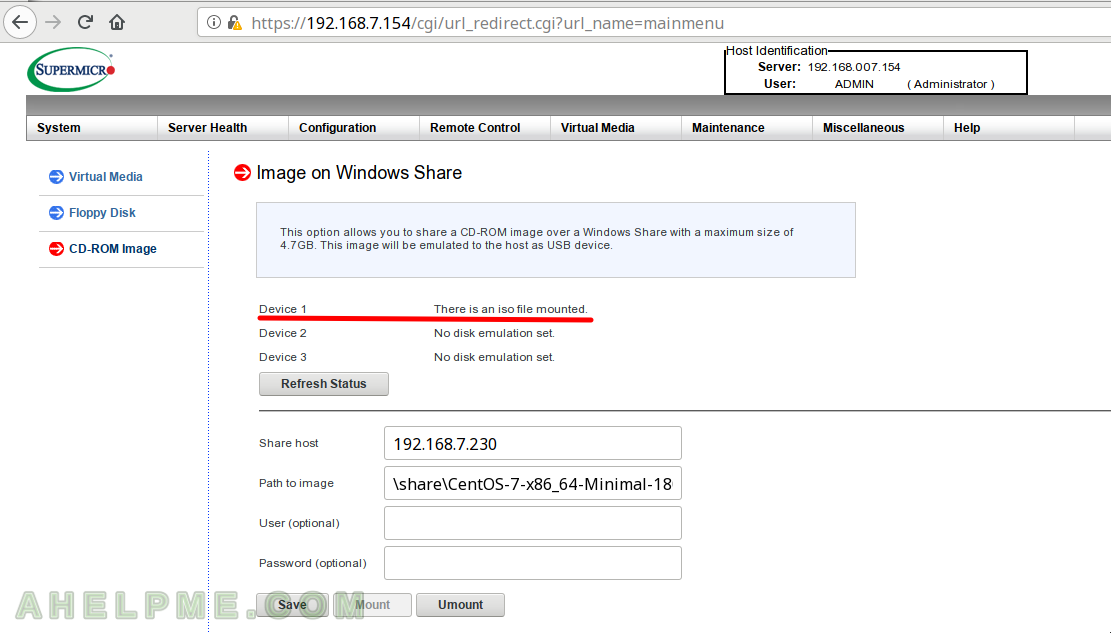
STEP 7) Upon successful mounting (loading the ISO file as a CD in the virtual CD-ROM) the status of the Device 1 would get changed into “There is an iso file mounted”.
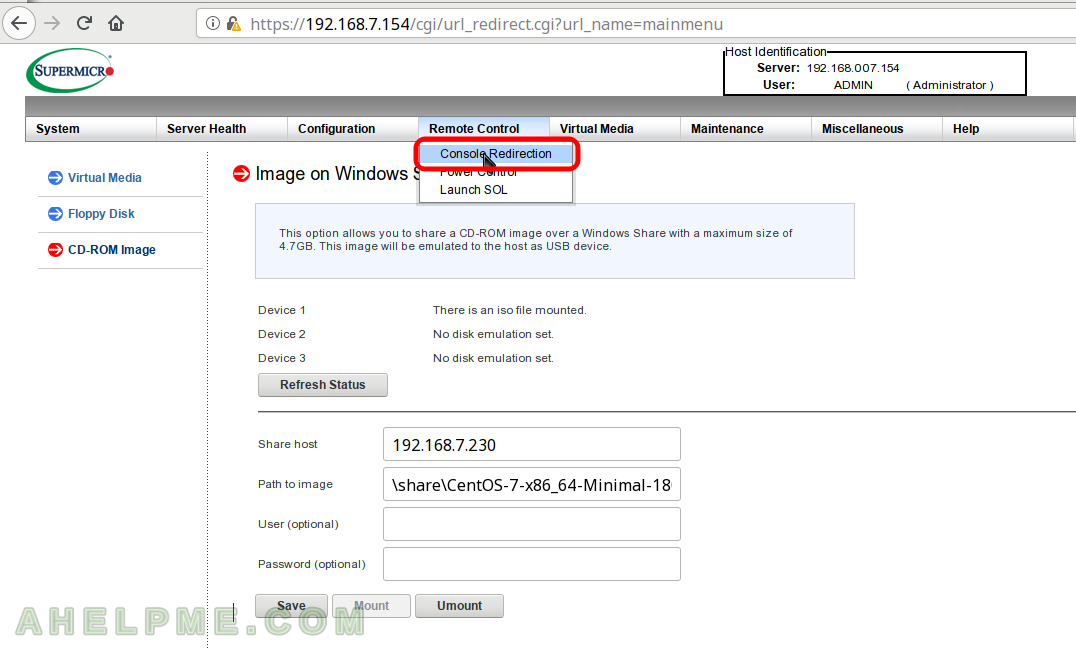
STEP 8) Click on Remote Control -> Console Redirection to start the IPMI KVM to boot from the ISO file we’ve just mounted – CentOS 7 installation DVD.
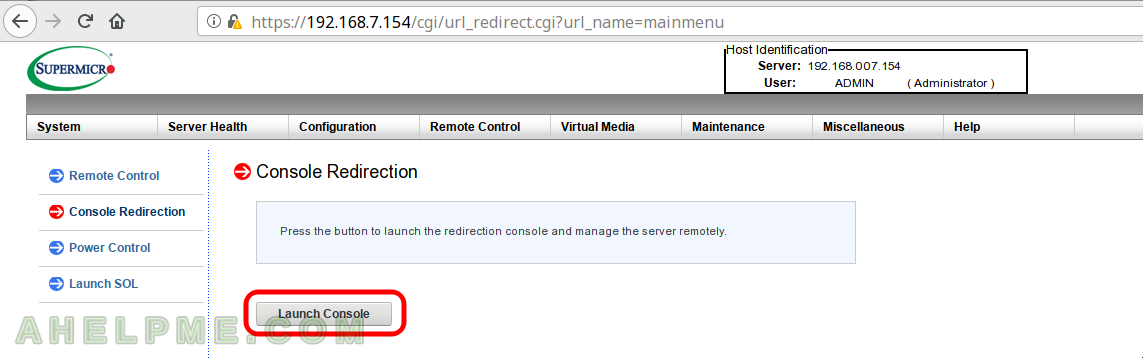
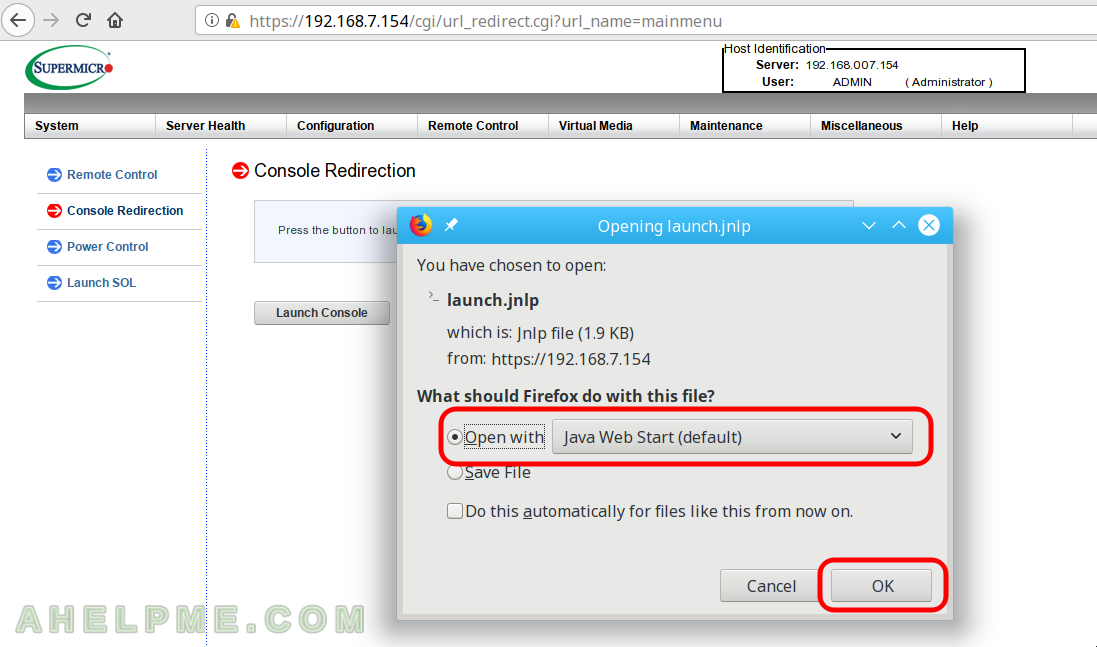
STEP 9) To start the IPMI KVM click on “Launch Console” and it will start the Java web start application, which offer manipulation of the redirected the Keyboard,Video and Mouse (KVM) on your computer.
STEP 10) Java Web Start start confirmation dialog in Firefox.
One thought on “Mount and boot ISO file from windows share in Supermicro IPMI Virtual media (CD-ROM)”