Review of freshly installed CentOS Stream 9 Workstation (Gnome GUI)

After the tutorial of Install CentOS Stream 9 Workstation (Gnome GUI) this tutorial is mainly to see what to expect from a freshly installed CentOS Stream 9 Workstation installation – the look and feel of the GUI (Gnome – version 40).

  • Xorg X server – 1.20.11
  • GNOME (the GUI) – 40.4.0
  • linux kernel – 5.14.0

More technical details are available for the server installation, which is not different from the workstation but the GUI (Gnome) installed – Software and technical details of CentOS Stream 9 minimal install. The later article may be of interest to developers, too. The CentOS Stream 9 Workstation install may install all of the listed software for CentOS Stream 9 Server.
The idea of this tutorial is just to see what to expect from CentOS Stream 9 Workstation (Gnome)the look and feel of the GUI, the default installed programs and their look and how to do some basic steps with them. Here the reader finds more than 125 screenshots and not so many text the main idea is not to distract the user with much text and version information and 3 meaningless screenshot, which the reader cannot see anything for the user interface, but these days the user interface is the primary goal of a Desktop system. More reviews of the kind will follow in the future …

CentOS is a pretty stable Linux Distribution System, which follows the paid Red Hat enterprise RHEL 9. And if the user really just wants a stable OS with a GUI for the next let’s say 5-10 years with support and fast security updates the CentOS Stream 9 might be perfect for it! Developing on this platform should be easy, too, because it supports all kind of virtualization and despite it may not include the bleeding edge libraries and software, it is easy enough to install latest software in a full or para virtualization or a container!

For all installation and review articles real workstations are used, not virtual environments!

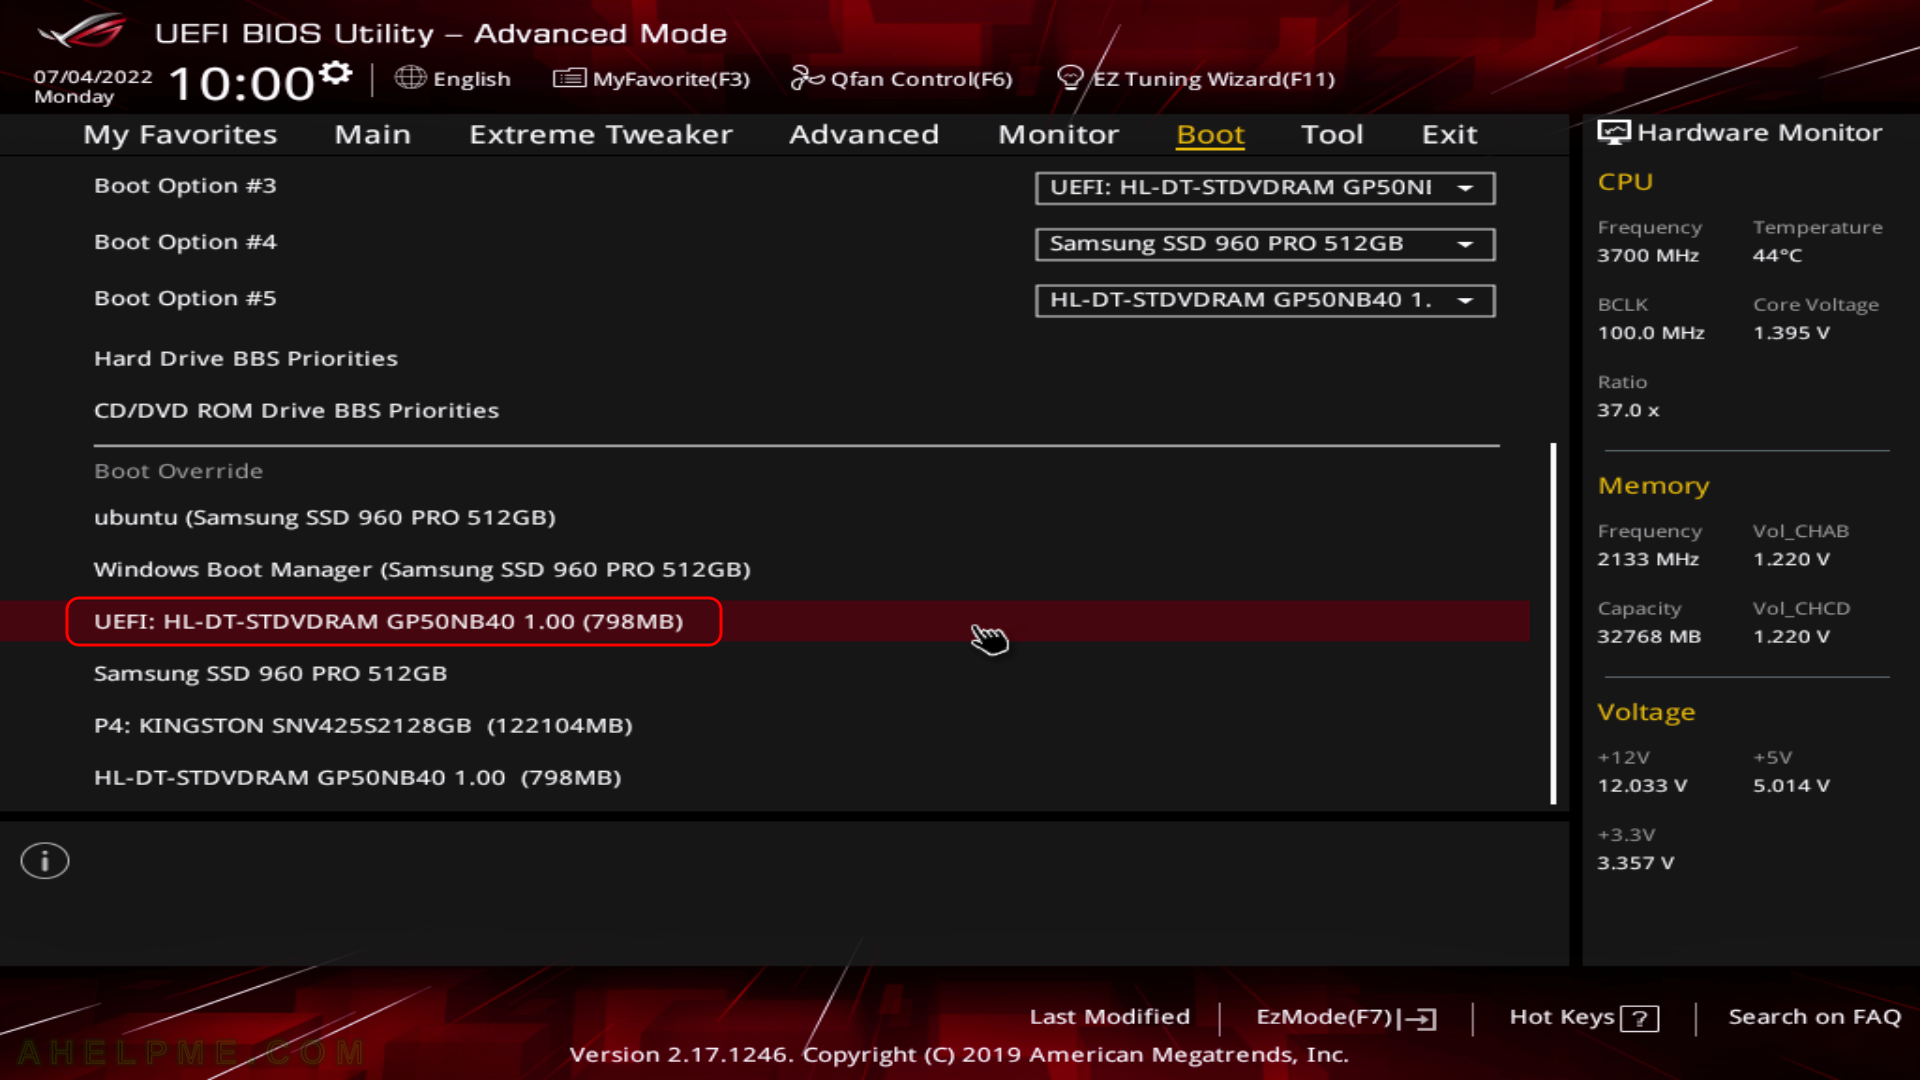
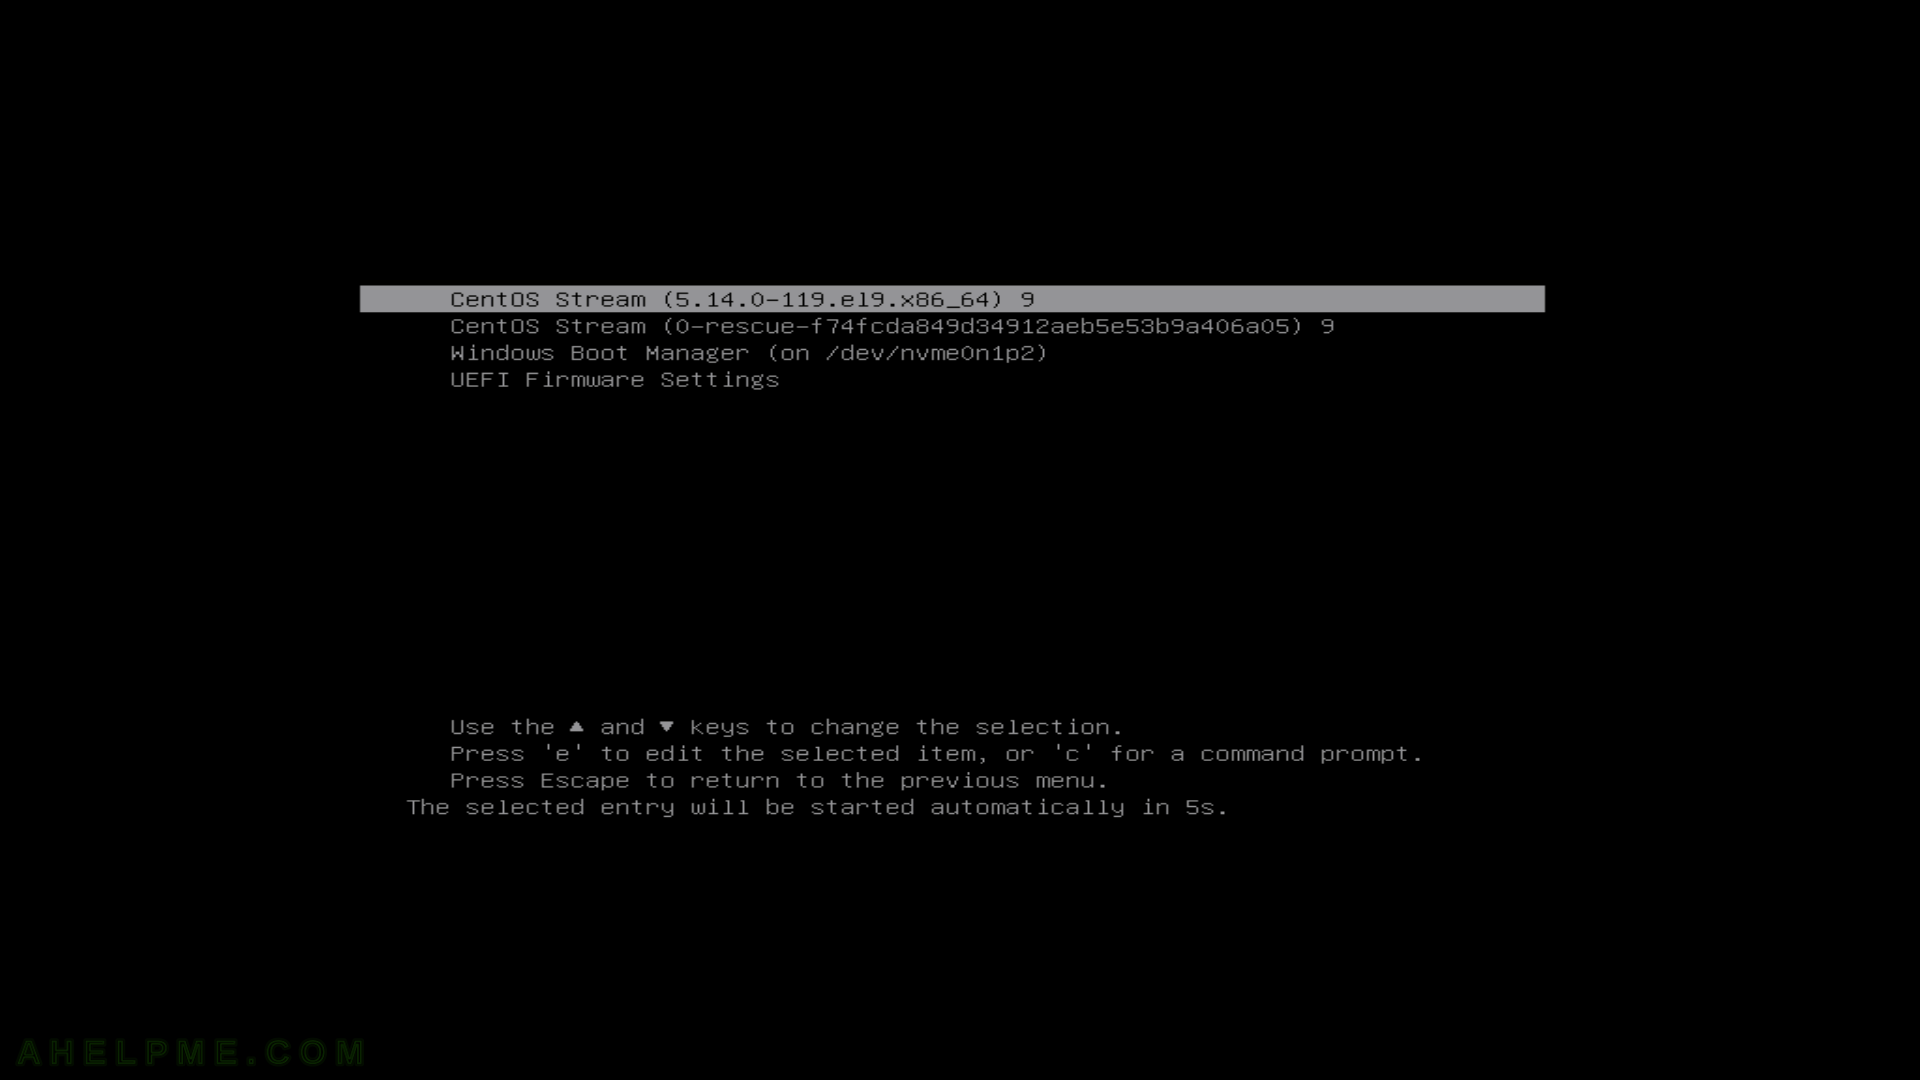
SCREENSHOT 1) Fedora Linux (5.14.0-119.el9.x86_64) 9

main menu
grub 2.06 entry boot

Keep on reading!

Install CentOS Stream 9 Workstation (Gnome GUI)

This is the latest CentOS version with a graphical interface Gnome for a workstation. If you are a developer or just a Linux user, which want to have a pretty stable Operating System, the CentOS Stream 9 may be an option for you. CentOS Stream 9 is based and follows the RedHat Enterprise Linux 9 – paid Linux for the enterprise world, which is available for free thanks to the Open-source Software. CentOS Stream 9 will receive all the updates from the paid Linux system RHEL 9 and the support will be 10 years from now. 5 years of full support and 5 more years of security updates. The use of CentOS Stream 9 assures the user to have a stable and secure Linux operating system, which will not bring fundamental changes and breaks things periodically as of a more enthusiastic Linux Distributions. More information for the system here – Software and technical details of CentOS Stream 9 minimal install and Software comparison Ubuntu server 22.04 LTS vs CentOS Stream 9 head-to-head
The CentOS Stream 9 has a generic installation wizard for multiple type of installations – server, server with gui, user workstation and so on. This article is to show what options to enable to install a user workstation with CentOS Stream 9 with a graphical interface – Gnome. Most of the people think CentOS as a server Linux Distribution, but in fact, it is ideal for a workstation, too, especially with the grade of stability and security these days.
This article uses network installation with the following media: http://mirror.stream.centos.org/9-stream/BaseOS/x86_64/iso/CentOS-Stream-9-latest-x86_64-boot.iso which always points to the latest release of the CentOS Stream 9. The network installation will choose automatically the best mirror to download the packages for the system. There is an option to use an off-line installation with an 8G ISO disk. Check out for more ISOs here – http://mirror.stream.centos.org/9-stream/BaseOS/x86_64/iso/

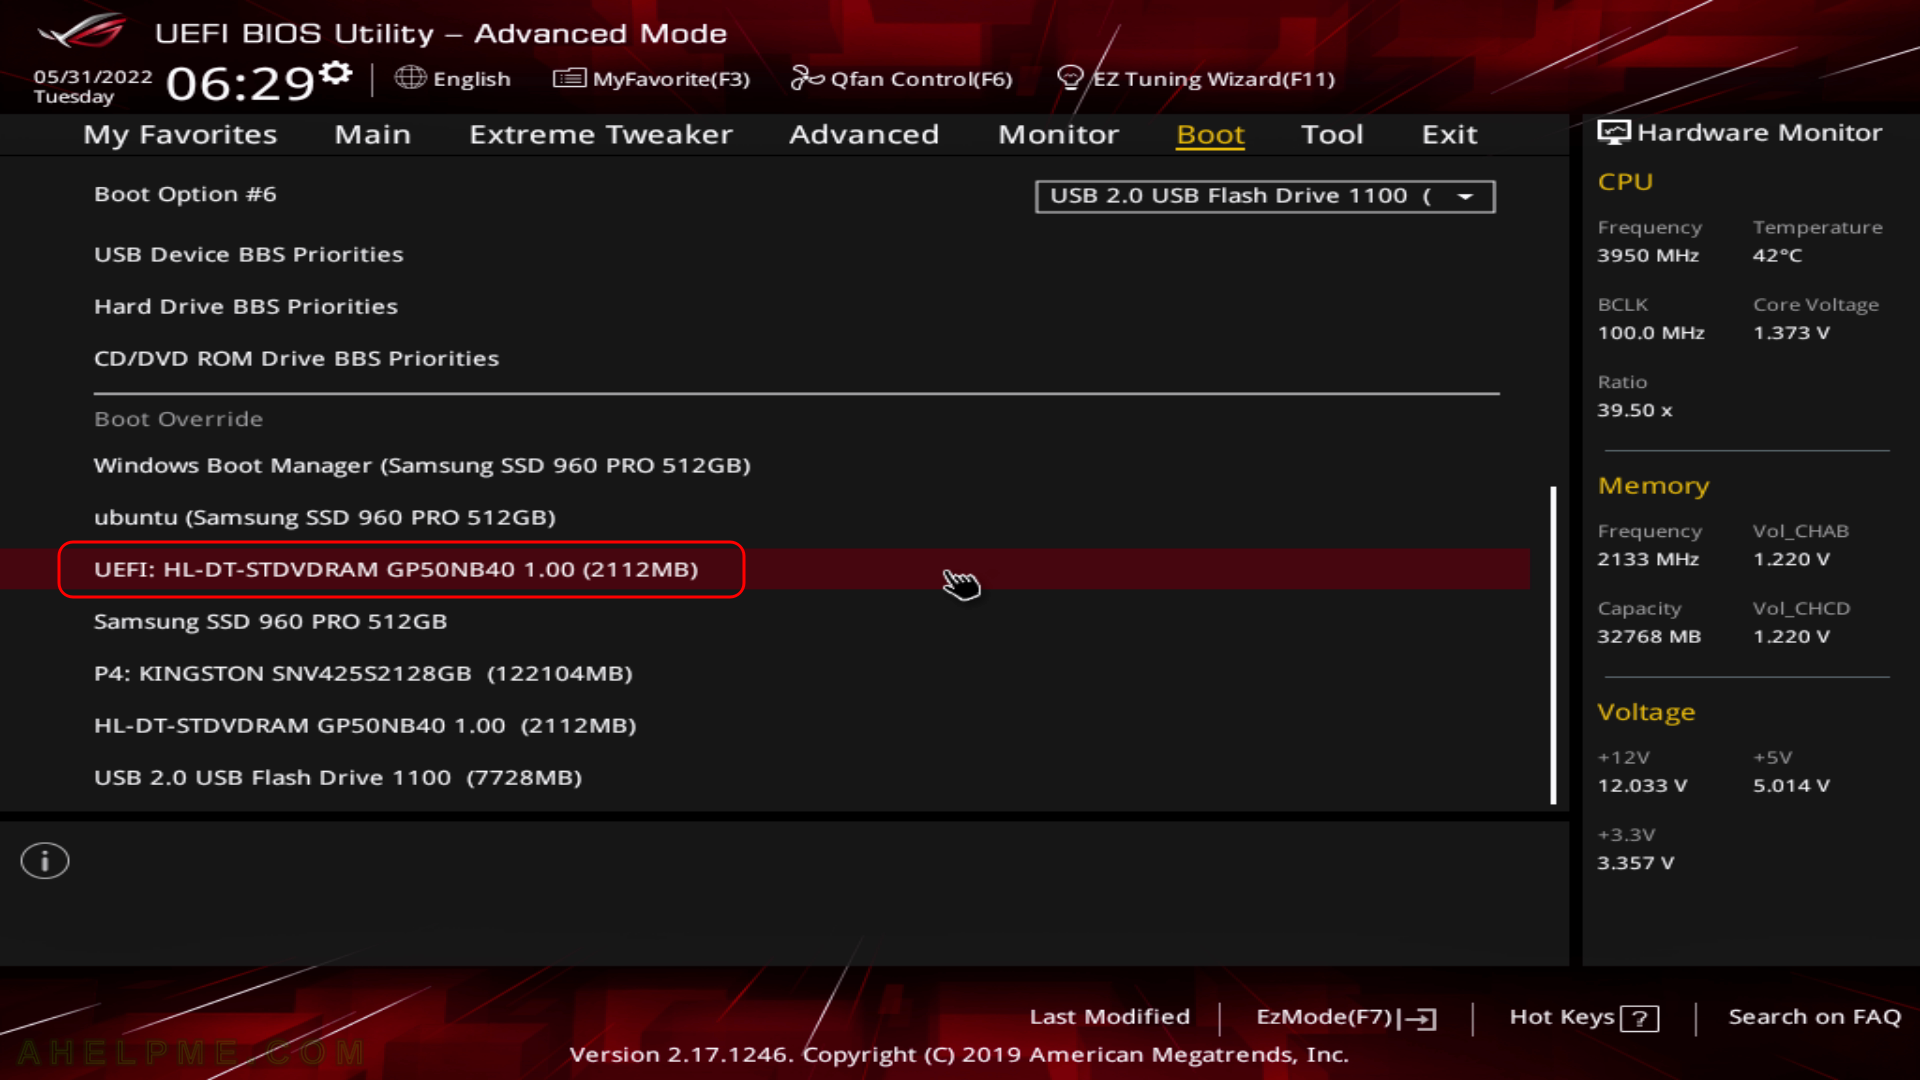
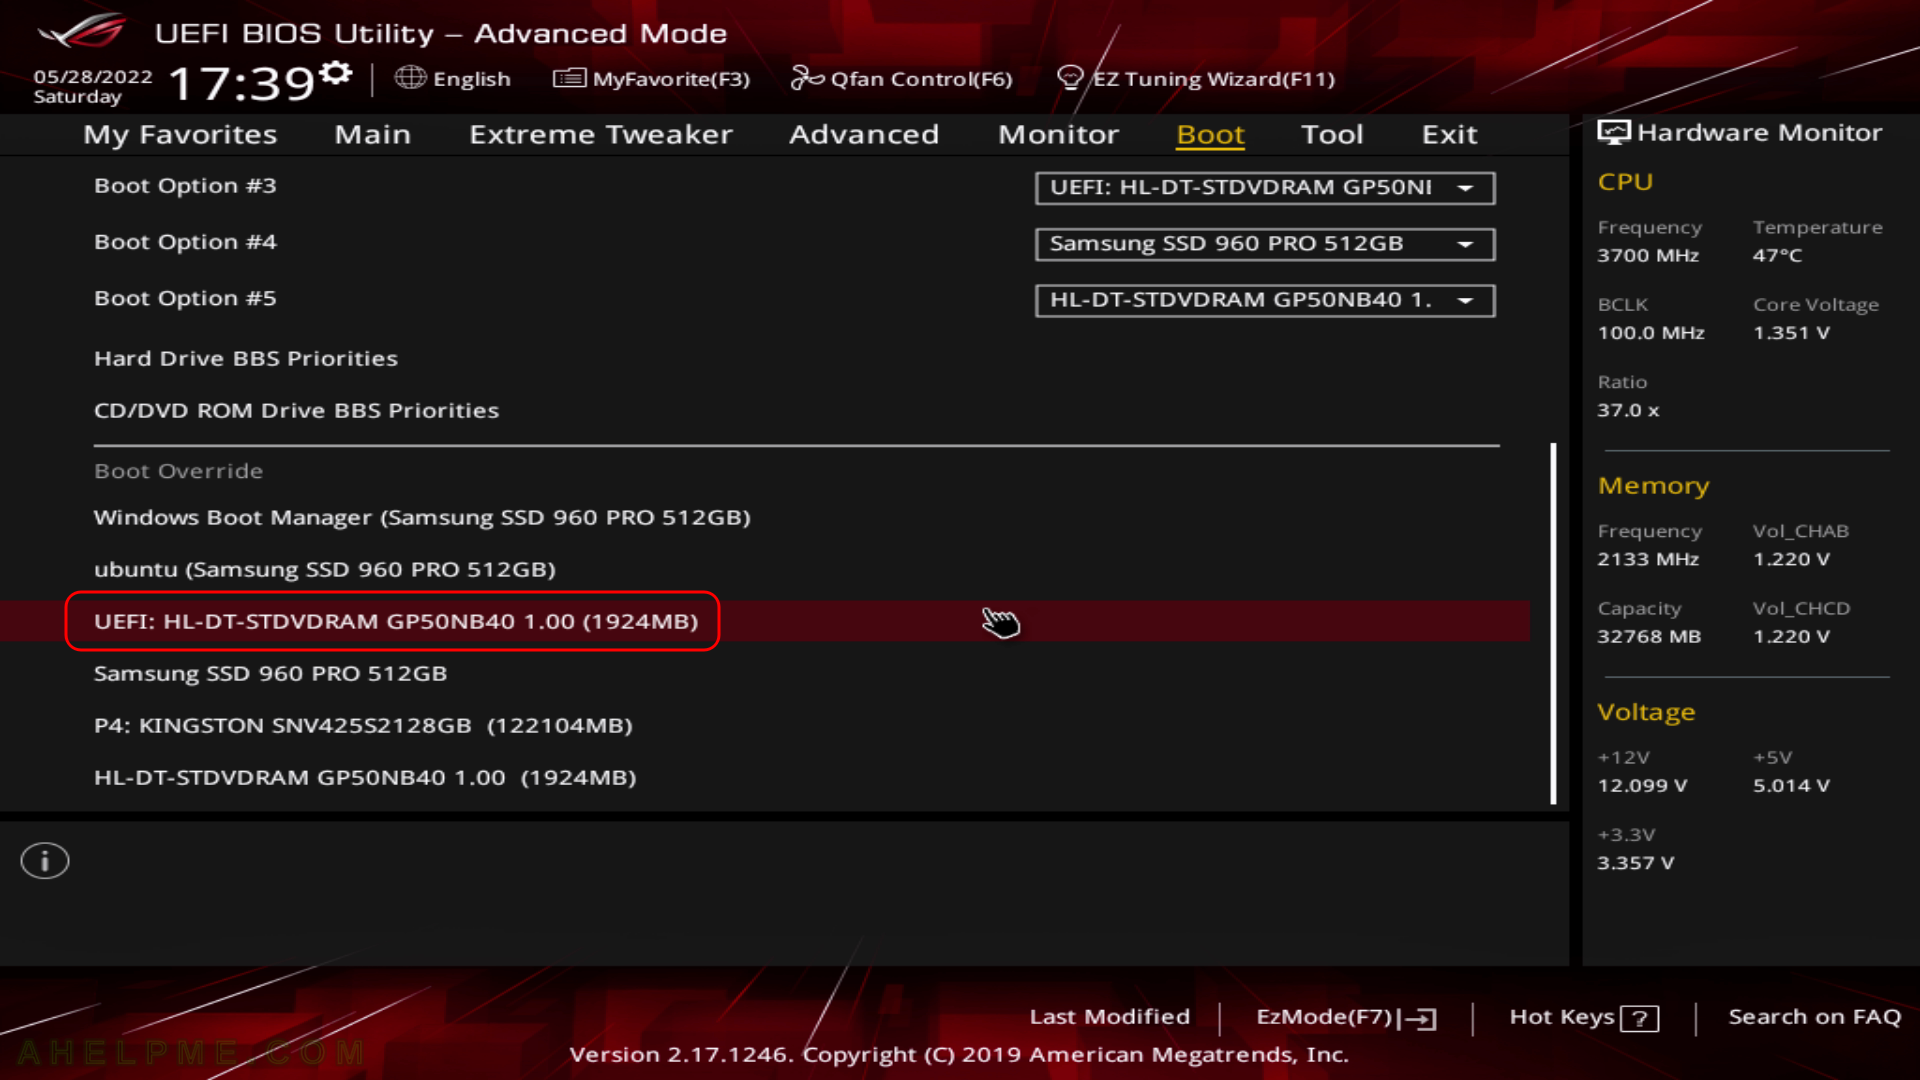
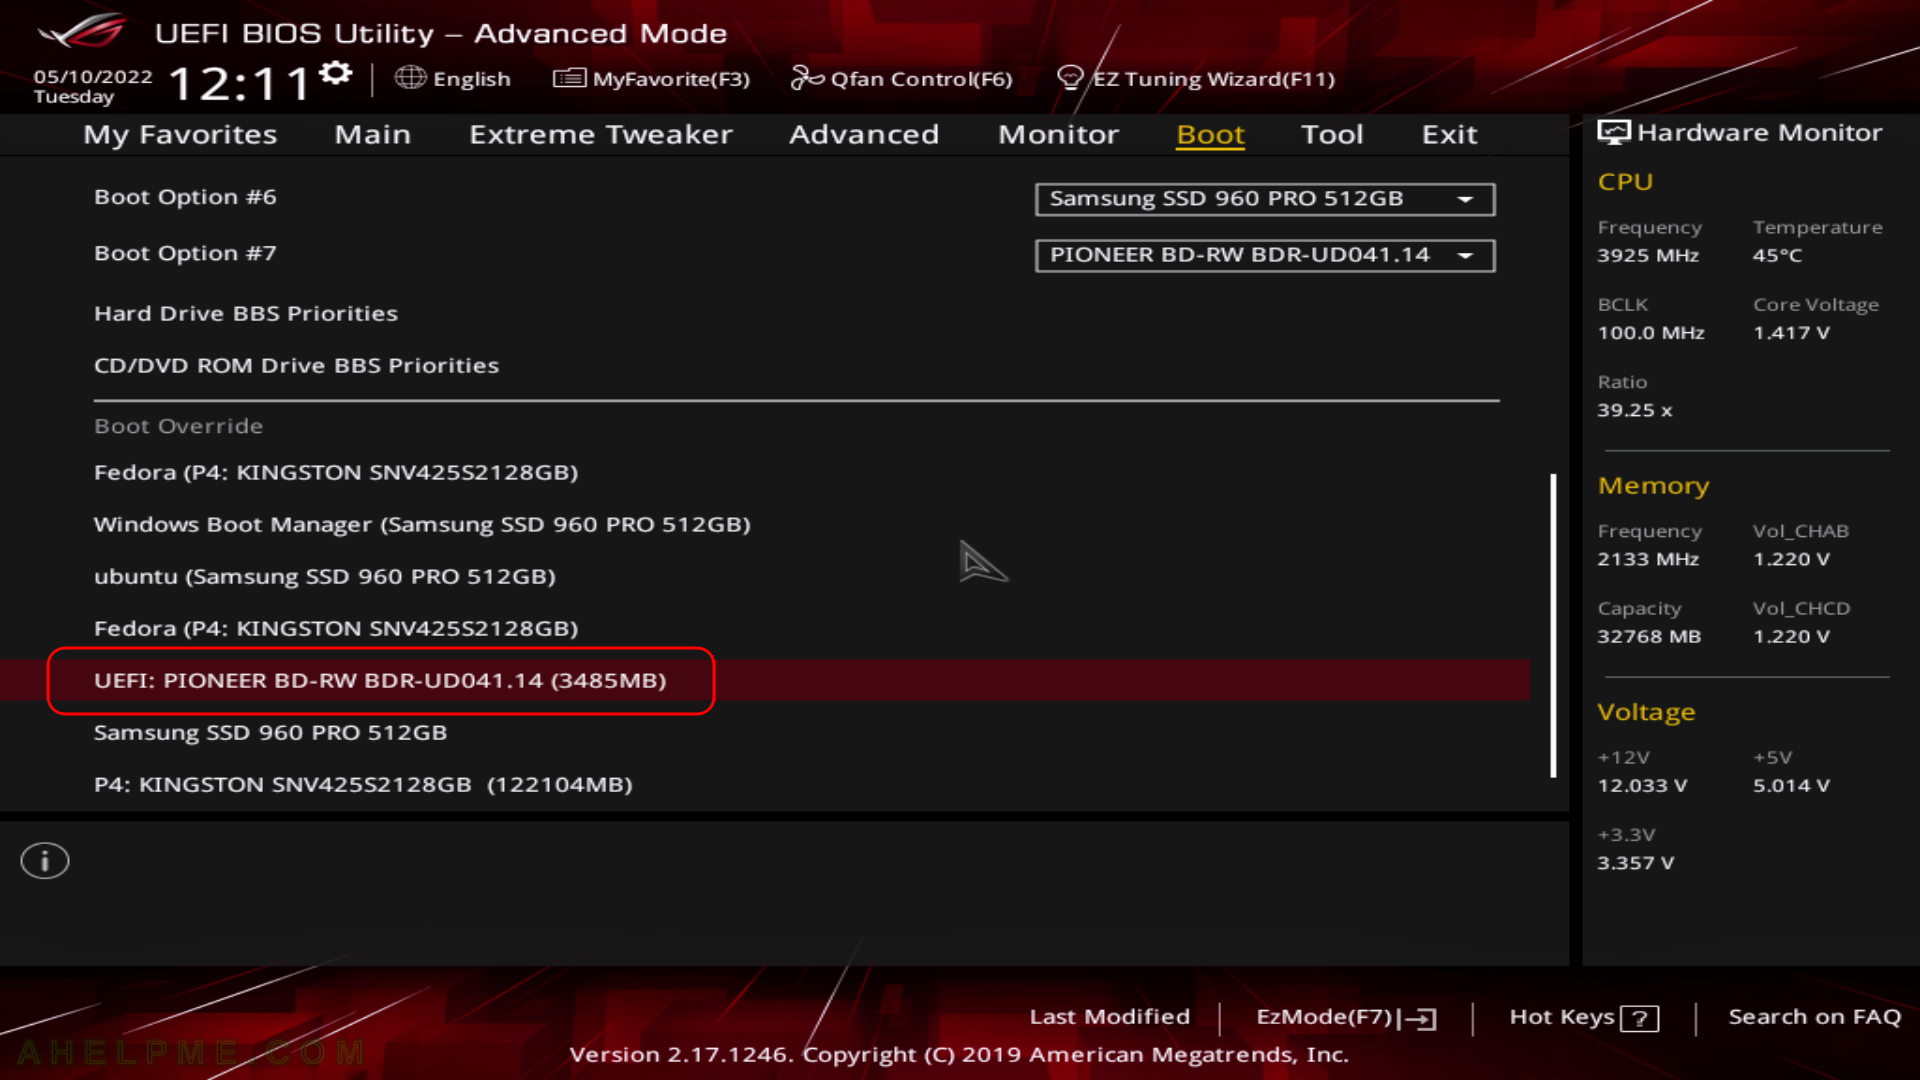
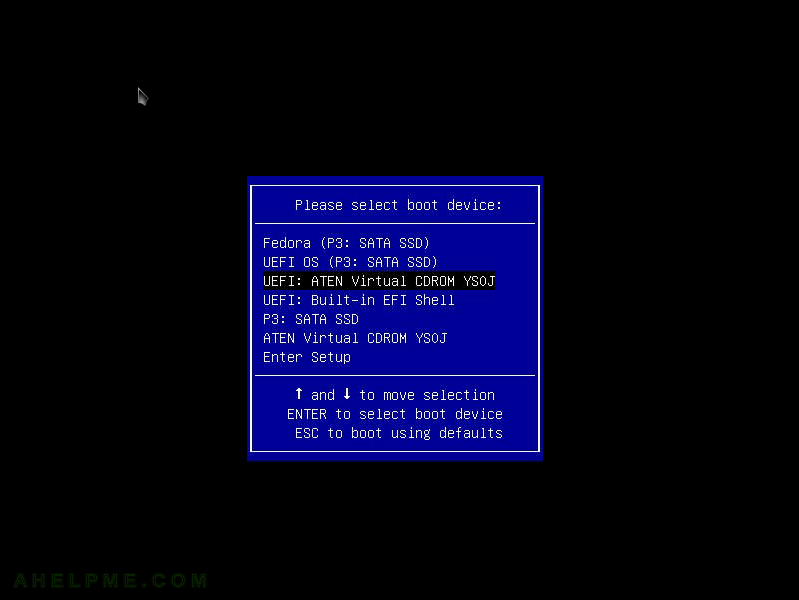
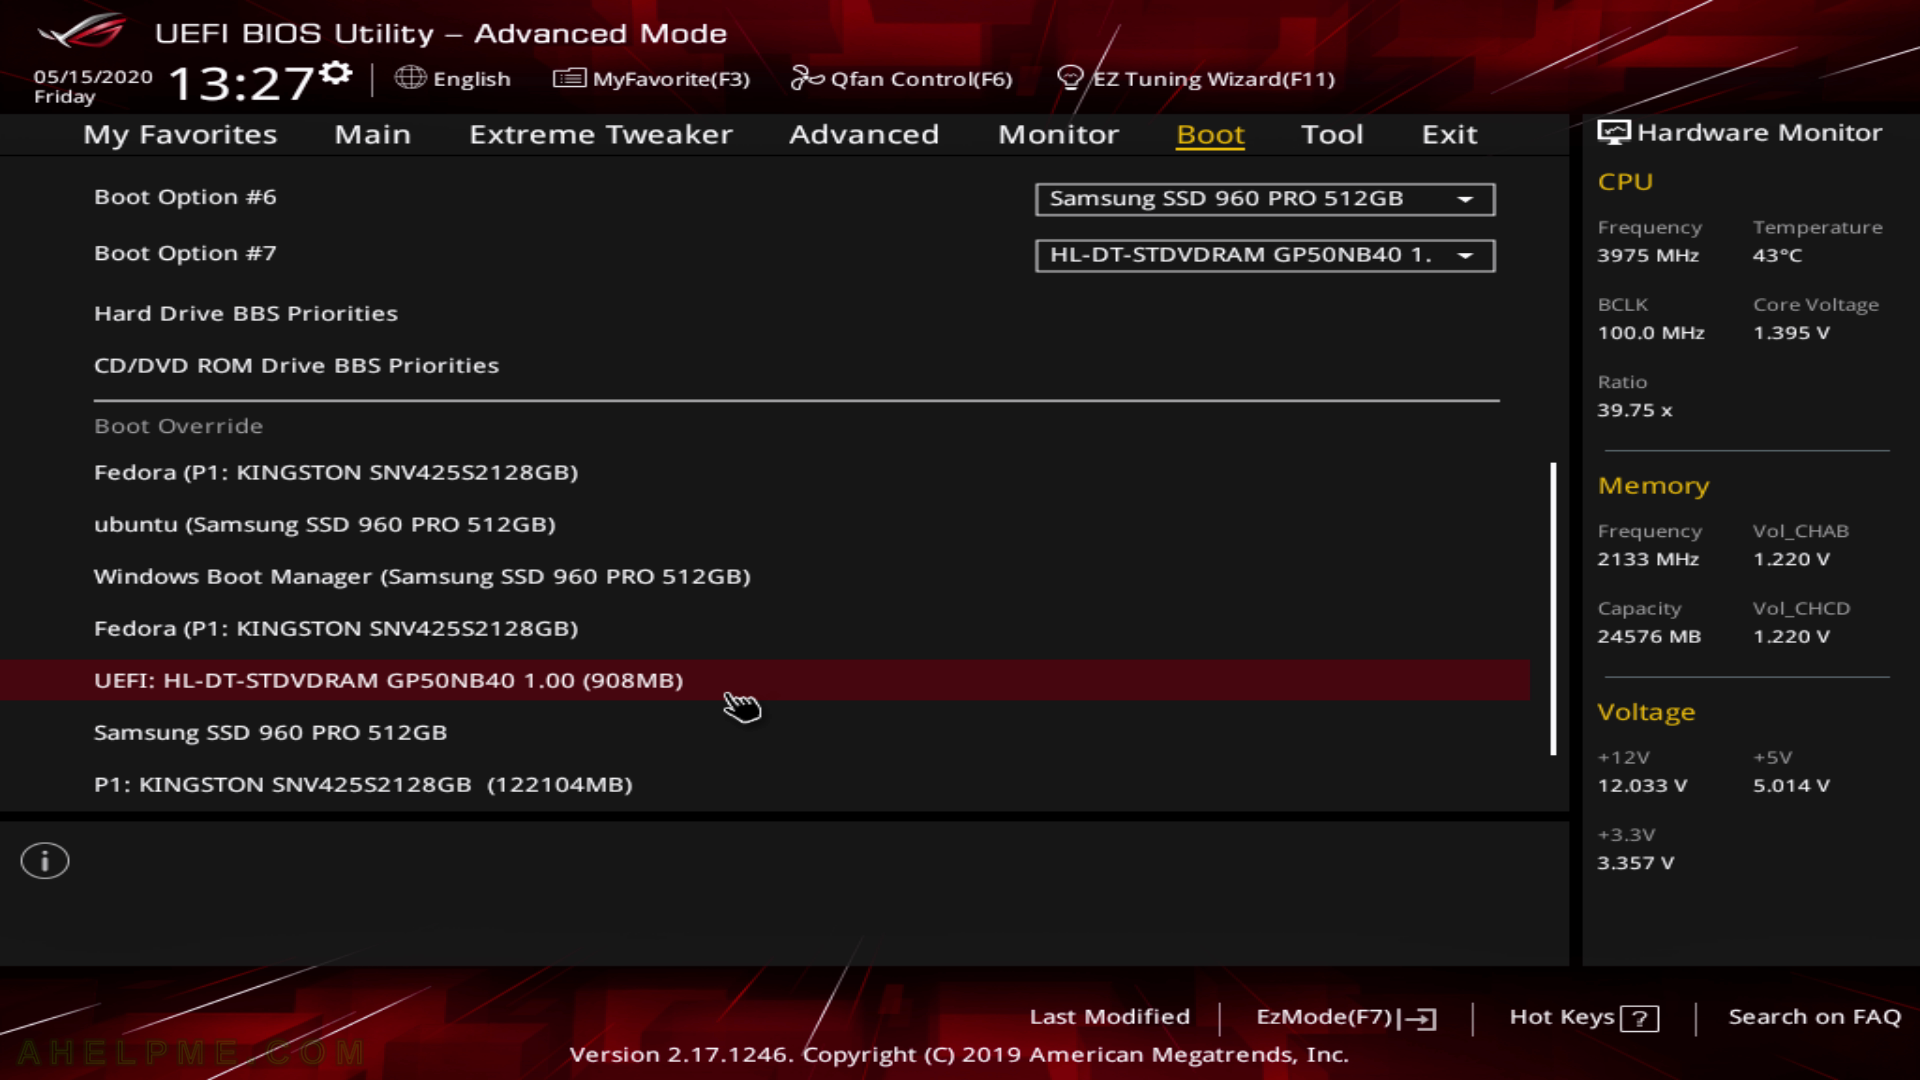
SCREENSHOT 1) Boot from the UEFI DVD-ROM device.

It is the same with the USB bootable removable drive. Choose the UEFI USB drive and boot the installation live drive.

main menu
UEFI BIOS DVD-ROM boot

Keep on reading!

Network installation of CentOS Stream 9 (20220606.0) – minimal server installation

Minimal net install is useful when a dedicated server is installed from a IPMI KVM or Dell iDRAC, HP iLO, IBM IMM or where the initial client side download of files need to be minimal.
CentOS Stream 9 is receives the updates before Red Hat Enterprise Linux (RHEL) and there is no versioning except the major release, which is 9. So the CentOS Stream 9 receives the updates for Red Hat Enterprise Linux (RHEL) 9. On monthly or less basis CentOS community releases a stable ISO with a temporary time version like this one CentOS Stream 9 (20220606.0).

Continuously delivered distro that tracks just ahead of Red Hat Enterprise Linux (RHEL) development

Here are some useful URLs:

For amd64 the net of CentOS Stream 9 install bootable media is located here (now the current latest release is 20220606.0, but you may check the last release. for the time you follow this howto):

http://mirror.stream.centos.org/9-stream/BaseOS/x86_64/iso/CentOS-Stream-9-latest-x86_64-boot.iso

Note there is no minimal CD for offline installation. Boot CD is to just boot and make “network installation” installation and there is a big fat DVD of 8.1 Gbytes to install offline.

Software details of CentOS Stream 9 minimal install could be found here – coming soon. Technical details of a default CentOS Stream 9 (20220606.0) minimal installation
There is a previous major release installation article – How to do a network installation of CentOS 8 (8.0.1950) – minimal server installation

Download it and put it on a CD or USB, the boot from it and follow the steps bellow:

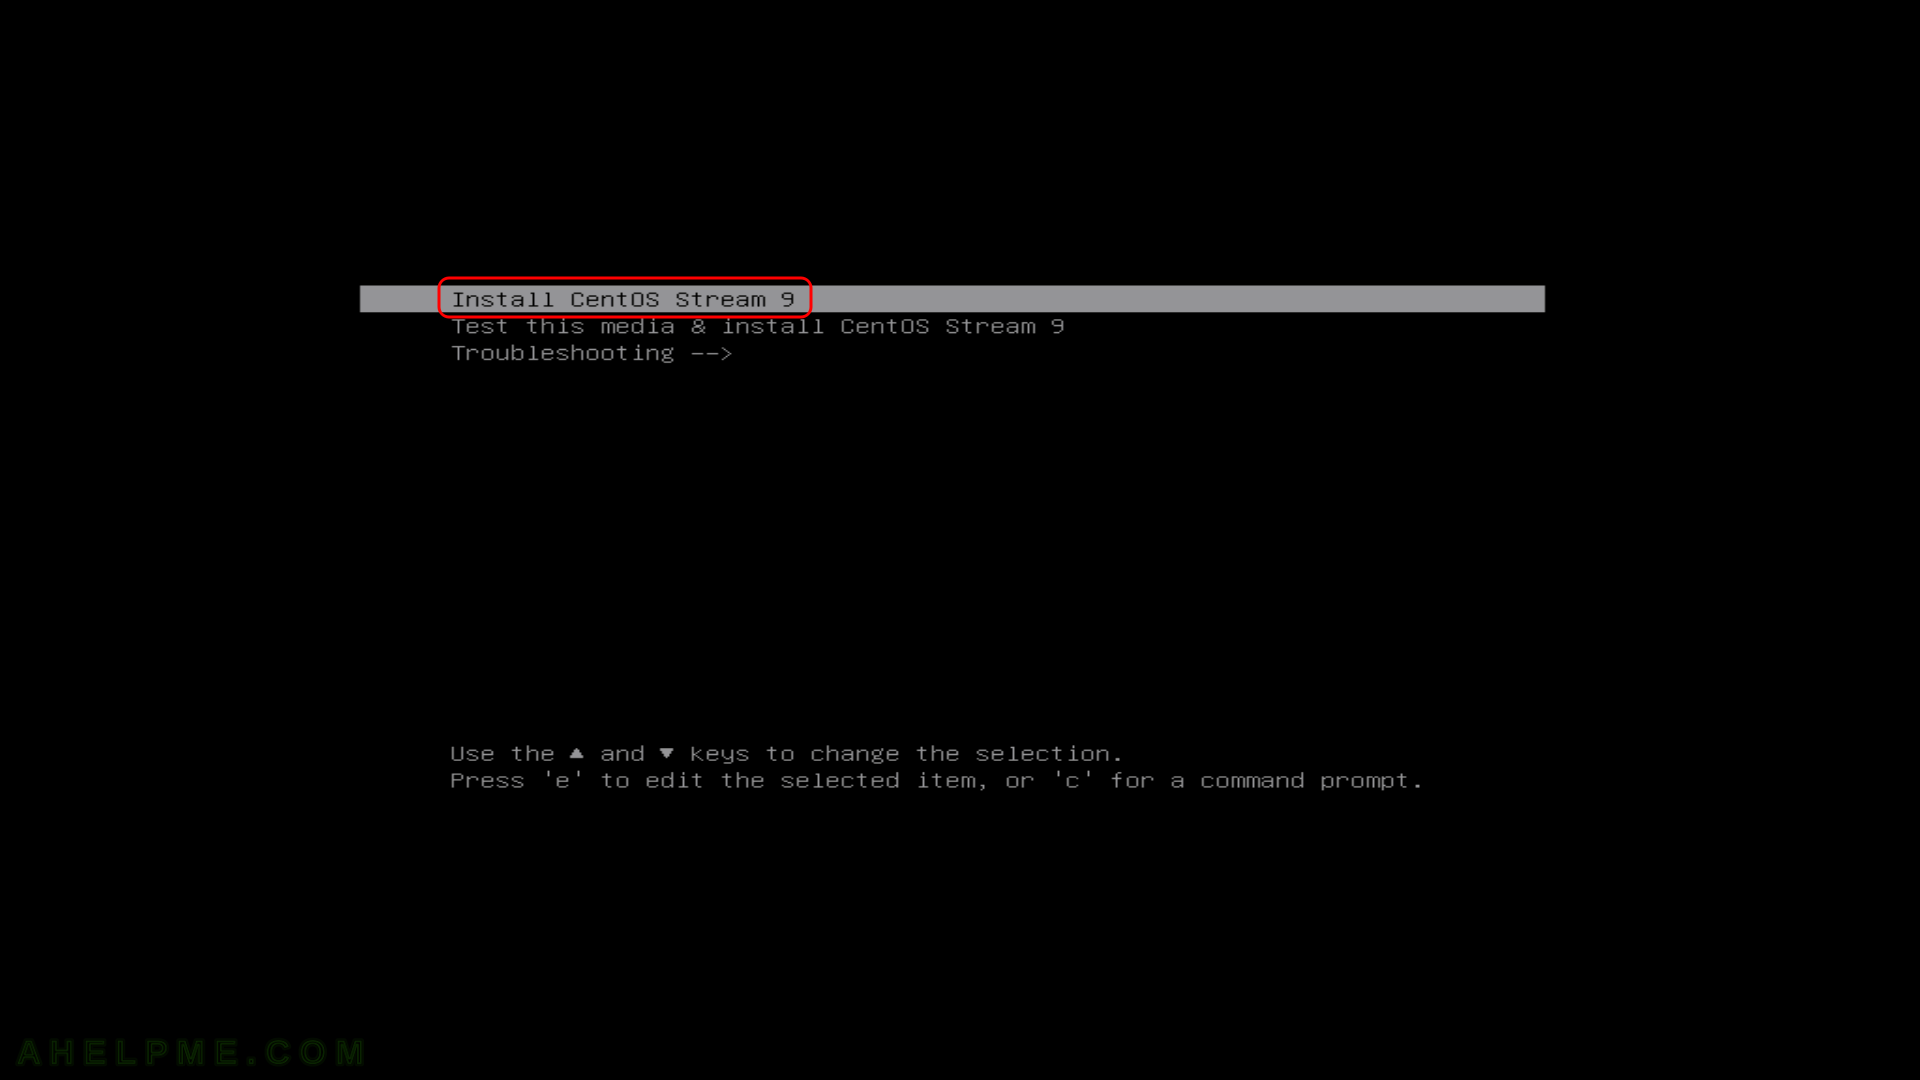
SCREENSHOT 1) If you booted from the DVD you would get this first screen – select “Install CentOS Stream 9” and hit Enter

main menu
Start installation

Keep on reading!

Install Fedora 36 KDE Plasma Desktop (KDE GUI)

This article will show the simple steps of installing a modern Linux Distribution like Fedora 36 KDE Plasma with KDE for the user graphical interface. First, it is offered the basic steps for installing the Operating system and then there are some screenshots of the installed system and the look and feel of it. Here is another article available with more screenshots of the installed and working Fedora 36 KDE PlasmaReview of freshly installed Fedora 36 KDE Plasma Desktop (KDE GUI). If the user is interested in Gnome as graphical interface there are two article how to install Fedora 36 Workstation Edition, which comes with GNOME and the look and feel of the GNOME – Install Fedora Workstation 36 (Gnome GUI) and Review of freshly installed Fedora 36 Workstation (Gnome GUI)
This is the simplest set up. One hard disk device in the system is installed, which is detected as sda and the entire disk will be used for the installation of Fedora 36 KDE Plasma. All disk information in sda disk device will be permanently deleted by the installation wizard!

The Fedora 36 KDE Plasma Desktop comes with

  • Xorg X server – 1.20.14 XWayland is used by default
  • linux kernel – 5.17.5
  • KDE Plasma version: 5.24.3
  • KDE Frameworks version: 5.91.0
  • QT version: 5.15.3

For more packages versions information check out the Fedora 36 server articles – Software and technical details of Fedora Server 36 including cockpit screenshots and Software comparison Ubuntu server 22.04 LTS vs Fedora 36 server edition – head-to-head.

We used the following ISO for the installation process:

https://download.fedoraproject.org/pub/fedora/linux/releases/36/Spins/x86_64/iso/Fedora-KDE-Live-x86_64-36-1.5.iso

It is a LIVE image so you can try it before installing it. The easiest way is just to download the image and burn it to a DVD disk and then follow the installation below:

SCREENSHOT 1) Boot from the UEFI DVD-ROM device.

It is the same with the USB bootable removable drive. Choose the UEFI USB drive and boot the installation live drive.

main menu
UEFI BIOS DVD-ROM boot

Keep on reading!

Install Fedora Workstation 36 (Gnome GUI)

This article will show the simple steps of installing a modern Linux Distribution like Fedora 36 Workstation Edition with Gnome for the user graphical interface. First, it is offered the basic steps for installing the Operating system and then there are some screenshots of the installed system and the look and feel of it. It is coming soon another article showing more screenshots of the installed and working Fedora 36 (Gnome and KDE plasma) – so the user may decide which of them to try first.
This is the simplest set up. One hard disk device in the system is installed, which is detected as sda and the entire disk will be used for the installation of Fedora Workstation 36. All disk information in sda disk device will be permanently deleted by the installation wizard!

The Fedora 32 Workstation comes with

  • Xorg X server – 1.20.14 XWayland (22.1.2) is used by default
  • GNOME (the GUI) – 42.0
  • linux kernel – 5.17.5

Check out our article about what software is included in [coming soon].

There are previous installations howto articles for the older Fedora 31Install Fedora Workstation 31 (Gnome GUI) and Install Fedora Workstation 30 (Gnome GUI).

The following ISO is used for the installation process: https://download.fedoraproject.org/pub/fedora/linux/releases/36/Workstation/x86_64/iso/Fedora-Workstation-Live-x86_64-36-1.5.iso
It is a LIVE image so you can try it before installing. The easiest way is just to download the image and burn it to a DVD disk (or make a bootable USB flash drive) and then follow the installation below:

SCREENSHOT 1) Boot from the UEFI DVD-ROM device.

It is the same with the USB bootable removable drive. Choose the UEFI USB drive and boot the installation live drive.

main menu
UEFI BIOS DVD-ROM boot

Keep on reading!

Install Ubuntu Desktop 22.04 LTS on a PC with existing windows 10 – dual boot

This tutorial will show the simple steps of installing the latest version of UbuntuUbuntu Desktop 22.04 LTS. Here we present the more advanced setup installation when you have already had installed operating systems, so this installation will add Ubuntu 22.04 LTS to one existing operating system – Microsoft Windows 10 Professional. So there we have 2 hard disks in the system – one is NVME, the other one is an SSD. The installation uses the first disk – “sda” in this case. The SSD has two partitions, which are going to be removed, and a new disk layout will be used for the Ubuntu installation with three partitions – efi, swap and root parititions.
Ubuntu Desktop 22.04 LTS comes with the following software:

  • Xorg X server – 1.22.1.1
  • GNOME (the GUI) – 42.0
  • linux kernel – 5.15.0
  • linux-firmware – 20220329.git681281e4
  • QT – 5.13.3 and 6.2.4
  • libc – 2.35
  • gnu gcc – 9.4.0, 10.3.0, 11.2.0 and 12-20220302
  • coreutils – 8.32
  • python2.7 (possible to install) – 2.7.18
  • python3 (default) – 3.10.4
  • perl – 5.34.0
  • apt – 2.4.5
  • cups – 2.4.1

We used the following ISO for the installation process – Ubuntu 22.04 LTS (Jammy Jellyfish):

https://releases.ubuntu.com/22.04/ubuntu-22.04-desktop-amd64.iso

It is a LIVE image so you can try it before installing it. The easiest way is just to download the image and burn it to a DVD disk and then follow the installation below:

SCREENSHOT 1) Boot from the DVD or USB flash drive to install the Ubuntu 22.04 LTS.

main menu
UEFI DVD boot install

Keep on reading!

Installation of base Ubuntu server 22.04 LTS

This tutorial will show you the simple steps of installing a modern Linux DistributionUbuntu server 22.04 LTS edition. Following most of the default options during the setup configuration for simplicity. The installation wizard is very much the same as the Ubuntu server 20.04 LTS – Minimal installation of Ubuntu server 20.04 LTS

Here are some basic data from the default installation setup settings:

  1. Installed packages – ~617 occupying 2.3G of space.
  2. 3 partitions when using automatic patition layout – boot efi, boot and root.
  3. ext4 used for the root parition.

The Ubuntu Server 22.04 LTS comes and updates to the following Linux packages:

  • Linux kernel : 5.15.
  • Python : 3.10.4
  • GLibc : 2.35
  • OpenSSL : 3.0.2
  • systemd : 249.11

The most interesting is the version of OpenSSL 3.x in an LTS (Long Term Support) release, which should be pretty stable to be included. Here is more detailed overview of the installed software – Software and technical overview of Ubuntu server 22.04 LTS

We used the following ISO for the installation process – Ubuntu 22.04 LTS (jammy jellyfish):

http://releases.ubuntu.com/jammy/ubuntu-22.04-live-server-amd64.iso

SCREENSHOT 1) Boot from the disk or USB – whatever you made after downloading the ISO file from Ubuntu’s official source.

On the image here the DVD is used to boot in UEFI mode installation.

main menu
boot uefi dvd

Keep on reading!

Installing conda command line in various systems with miniconda and create a simple python environment

Conda is yet another package, dependency and environment management for multiple languages like Python, C/C++, JavaScript, Java, Scala and many more
For example, with Conda the user could create python environment with the exact versions he needs! And it could be used under any Linux distribution or even Windows.

This article is to show how to install the command-line version of the Conda, which is part of the bigger platform Anaconda. The command-line version is distributed with the name Miniconda. In fact, Miniconda is a free installer for Conda, which includes only the basic set to run conda and conda install to install more than 8000 packages from the Anaconda repositories.

The Anaconda repositories could be found here: https://anaconda.org/anaconda/repo

Advantages of Miniconda:

  1. Minimal installation. 400 Mbytes, not 3G for the Anaconda platform.
  2. simple command-line interface. Couple of simple commands and their instructions are enough to bring up a complex environment for scientific or development purposes.
  3. The creating of a specific environment could be automated.
  4. No strange or not friendly GUI.
  5. Easy installation under most of the Linux distribution and Windows.
  6. The whole installation could occur only under a user’s home directory. No files require to be installed by the administrator or under global administrative path.

Keep on reading!

Easy install the latest docker-compose with pip3 under Ubuntu

At present, the latest docker-compose version, which could be installed under Ubuntu 18, 20, and 21 is the 1.25 and 1.27 versions. There may be significant changes included in the latest versions and if one wants to install it there are two options:

For example, depends_on.service.condition: service_healthy is added with version 1.28. Using this new feature it is fairly easy to implement waiting for a docker container (service) before starting another docker.

Here is how easy it is to install and to have the latest stable docker-compose version, which is 1.29.2 at the writing of this article:

STEP 1) Update and upgrade.

Do this step always before installing new software.

sudo apt update
sudo apt upgrade -y

STEP 2) Install pip3 and docker.

pip 3 is the package installer for Python 3. When using docker-compose it is supposed to have the very Docker software, too.

apt install python3-pip docker
systemctl start docker

STEP 3) Install docker-compose using pip3.

pip3 install docker-compose

And here is what a version command prints:

root@srv:~# docker-compose version
docker-compose version 1.29.2, build unknown
docker-py version: 5.0.2
CPython version: 3.8.10
OpenSSL version: OpenSSL 1.1.1f  31 Mar 2020

Just to note, installing packages using other programs other than apt may lead to future conflicts!

The whole console output of the pip3 installing docker-compose

root@srv:~# apt update
Get:1 http://archive.ubuntu.com/ubuntu focal InRelease [265 kB]
Get:2 http://archive.ubuntu.com/ubuntu focal-updates InRelease [114 kB]              
Get:3 http://archive.ubuntu.com/ubuntu focal-backports InRelease [101 kB]
Get:4 http://security.ubuntu.com/ubuntu focal-security InRelease [114 kB]
Get:5 http://archive.ubuntu.com/ubuntu focal/multiverse amd64 Packages [177 kB]
Get:6 http://archive.ubuntu.com/ubuntu focal/restricted amd64 Packages [33.4 kB]
Get:7 http://archive.ubuntu.com/ubuntu focal/universe amd64 Packages [11.3 MB]
Get:8 http://archive.ubuntu.com/ubuntu focal/main amd64 Packages [1275 kB]                  
Get:9 http://archive.ubuntu.com/ubuntu focal-updates/main amd64 Packages [1514 kB]        
Get:10 http://archive.ubuntu.com/ubuntu focal-updates/multiverse amd64 Packages [33.3 kB]
Get:11 http://archive.ubuntu.com/ubuntu focal-updates/universe amd64 Packages [1069 kB]
Get:12 http://archive.ubuntu.com/ubuntu focal-updates/restricted amd64 Packages [575 kB]
Get:13 http://archive.ubuntu.com/ubuntu focal-backports/universe amd64 Packages [6324 B]
Get:14 http://archive.ubuntu.com/ubuntu focal-backports/main amd64 Packages [2668 B]
Get:15 http://security.ubuntu.com/ubuntu focal-security/main amd64 Packages [1070 kB]
Get:16 http://security.ubuntu.com/ubuntu focal-security/universe amd64 Packages [790 kB]
Get:17 http://security.ubuntu.com/ubuntu focal-security/multiverse amd64 Packages [30.1 kB]
Get:18 http://security.ubuntu.com/ubuntu focal-security/restricted amd64 Packages [525 kB]
Fetched 19.0 MB in 1s (16.7 MB/s)                          
Reading package lists... Done
Building dependency tree       
Reading state information... Done
All packages are up to date.
root@srv:~# apt upgrade -y
Reading package lists... Done
Building dependency tree       
Reading state information... Done
Calculating upgrade... Done
0 upgraded, 0 newly installed, 0 to remove and 0 not upgraded.
root@srv:~# apt install -y python3-pip docker
Reading package lists... Done
Building dependency tree       
Reading state information... Done
The following additional packages will be installed:
  binutils binutils-common binutils-x86-64-linux-gnu build-essential ca-certificates cpp cpp-9 dirmngr dpkg-dev fakeroot file g++ g++-9 gcc gcc-9 gcc-9-base gnupg gnupg-l10n gnupg-utils
  gpg gpg-agent gpg-wks-client gpg-wks-server gpgconf gpgsm libalgorithm-diff-perl libalgorithm-diff-xs-perl libalgorithm-merge-perl libasan5 libasn1-8-heimdal libassuan0 libatomic1
  libbinutils libbsd0 libc-dev-bin libc6-dev libcc1-0 libcrypt-dev libctf-nobfd0 libctf0 libdpkg-perl libexpat1 libexpat1-dev libfakeroot libfile-fcntllock-perl libgcc-9-dev
  libgdbm-compat4 libgdbm6 libglib2.0-0 libglib2.0-data libgomp1 libgssapi3-heimdal libhcrypto4-heimdal libheimbase1-heimdal libheimntlm0-heimdal libhx509-5-heimdal libicu66 libisl22
  libitm1 libkrb5-26-heimdal libksba8 libldap-2.4-2 libldap-common liblocale-gettext-perl liblsan0 libmagic-mgc libmagic1 libmpc3 libmpdec2 libmpfr6 libnpth0 libperl5.30 libpython3-dev
  libpython3-stdlib libpython3.8 libpython3.8-dev libpython3.8-minimal libpython3.8-stdlib libquadmath0 libreadline8 libroken18-heimdal libsasl2-2 libsasl2-modules libsasl2-modules-db
  libsqlite3-0 libssl1.1 libstdc++-9-dev libtsan0 libubsan1 libwind0-heimdal libx11-6 libx11-data libxau6 libxcb1 libxdmcp6 libxml2 linux-libc-dev make manpages manpages-dev mime-support
  netbase openssl patch perl perl-modules-5.30 pinentry-curses python-pip-whl python3 python3-dev python3-distutils python3-lib2to3 python3-minimal python3-pkg-resources
  python3-setuptools python3-wheel python3.8 python3.8-dev python3.8-minimal readline-common shared-mime-info tzdata wmdocker xdg-user-dirs xz-utils zlib1g-dev
Suggested packages:
  binutils-doc cpp-doc gcc-9-locales dbus-user-session libpam-systemd pinentry-gnome3 tor debian-keyring g++-multilib g++-9-multilib gcc-9-doc gcc-multilib autoconf automake libtool flex
  bison gdb gcc-doc gcc-9-multilib parcimonie xloadimage scdaemon glibc-doc git bzr gdbm-l10n libsasl2-modules-gssapi-mit | libsasl2-modules-gssapi-heimdal libsasl2-modules-ldap
  libsasl2-modules-otp libsasl2-modules-sql libstdc++-9-doc make-doc man-browser ed diffutils-doc perl-doc libterm-readline-gnu-perl | libterm-readline-perl-perl libb-debug-perl
  liblocale-codes-perl pinentry-doc python3-doc python3-tk python3-venv python-setuptools-doc python3.8-venv python3.8-doc binfmt-support readline-doc
The following NEW packages will be installed:
  binutils binutils-common binutils-x86-64-linux-gnu build-essential ca-certificates cpp cpp-9 dirmngr docker dpkg-dev fakeroot file g++ g++-9 gcc gcc-9 gcc-9-base gnupg gnupg-l10n
  gnupg-utils gpg gpg-agent gpg-wks-client gpg-wks-server gpgconf gpgsm libalgorithm-diff-perl libalgorithm-diff-xs-perl libalgorithm-merge-perl libasan5 libasn1-8-heimdal libassuan0
  libatomic1 libbinutils libbsd0 libc-dev-bin libc6-dev libcc1-0 libcrypt-dev libctf-nobfd0 libctf0 libdpkg-perl libexpat1 libexpat1-dev libfakeroot libfile-fcntllock-perl libgcc-9-dev
  libgdbm-compat4 libgdbm6 libglib2.0-0 libglib2.0-data libgomp1 libgssapi3-heimdal libhcrypto4-heimdal libheimbase1-heimdal libheimntlm0-heimdal libhx509-5-heimdal libicu66 libisl22
  libitm1 libkrb5-26-heimdal libksba8 libldap-2.4-2 libldap-common liblocale-gettext-perl liblsan0 libmagic-mgc libmagic1 libmpc3 libmpdec2 libmpfr6 libnpth0 libperl5.30 libpython3-dev
  libpython3-stdlib libpython3.8 libpython3.8-dev libpython3.8-minimal libpython3.8-stdlib libquadmath0 libreadline8 libroken18-heimdal libsasl2-2 libsasl2-modules libsasl2-modules-db
  libsqlite3-0 libssl1.1 libstdc++-9-dev libtsan0 libubsan1 libwind0-heimdal libx11-6 libx11-data libxau6 libxcb1 libxdmcp6 libxml2 linux-libc-dev make manpages manpages-dev mime-support
  netbase openssl patch perl perl-modules-5.30 pinentry-curses python-pip-whl python3 python3-dev python3-distutils python3-lib2to3 python3-minimal python3-pip python3-pkg-resources
  python3-setuptools python3-wheel python3.8 python3.8-dev python3.8-minimal readline-common shared-mime-info tzdata wmdocker xdg-user-dirs xz-utils zlib1g-dev
.....
.....
0 upgraded, 128 newly installed, 0 to remove and 0 not upgraded.
Need to get 84.6 MB of archives.
After this operation, 370 MB of additional disk space will be used.
Processing triggers for ca-certificates (20210119~20.04.1) ...
Updating certificates in /etc/ssl/certs...
0 added, 0 removed; done.
Running hooks in /etc/ca-certificates/update.d...
done.
root@srv:~# pip3 install docker-compose
Collecting docker-compose
  Downloading docker_compose-1.29.2-py2.py3-none-any.whl (114 kB)
     |████████████████████████████████| 114 kB 12.4 MB/s 
Collecting requests<3,>=2.20.0
  Downloading requests-2.26.0-py2.py3-none-any.whl (62 kB)
     |████████████████████████████████| 62 kB 355 kB/s 
Collecting jsonschema<4,>=2.5.1
  Downloading jsonschema-3.2.0-py2.py3-none-any.whl (56 kB)
     |████████████████████████████████| 56 kB 3.4 MB/s 
Collecting websocket-client<1,>=0.32.0
  Downloading websocket_client-0.59.0-py2.py3-none-any.whl (67 kB)
     |████████████████████████████████| 67 kB 3.3 MB/s 
Collecting texttable<2,>=0.9.0
  Downloading texttable-1.6.4-py2.py3-none-any.whl (10 kB)
Collecting PyYAML<6,>=3.10
  Downloading PyYAML-5.4.1-cp38-cp38-manylinux1_x86_64.whl (662 kB)
     |████████████████████████████████| 662 kB 76.9 MB/s 
Collecting dockerpty<1,>=0.4.1
  Downloading dockerpty-0.4.1.tar.gz (13 kB)
Collecting docker[ssh]>=5
  Downloading docker-5.0.2-py2.py3-none-any.whl (145 kB)
     |████████████████████████████████| 145 kB 119.5 MB/s 
Collecting distro<2,>=1.5.0
  Downloading distro-1.6.0-py2.py3-none-any.whl (19 kB)
Collecting docopt<1,>=0.6.1
  Downloading docopt-0.6.2.tar.gz (25 kB)
Collecting python-dotenv<1,>=0.13.0
  Downloading python_dotenv-0.19.0-py2.py3-none-any.whl (17 kB)
Collecting urllib3<1.27,>=1.21.1
  Downloading urllib3-1.26.6-py2.py3-none-any.whl (138 kB)
     |████████████████████████████████| 138 kB 141.1 MB/s 
Collecting charset-normalizer~=2.0.0; python_version >= "3"
  Downloading charset_normalizer-2.0.4-py3-none-any.whl (36 kB)
Collecting certifi>=2017.4.17
  Downloading certifi-2021.5.30-py2.py3-none-any.whl (145 kB)
     |████████████████████████████████| 145 kB 133.3 MB/s 
Collecting idna<4,>=2.5; python_version >= "3"
  Downloading idna-3.2-py3-none-any.whl (59 kB)
     |████████████████████████████████| 59 kB 1.6 MB/s 
Collecting pyrsistent>=0.14.0
  Downloading pyrsistent-0.18.0-cp38-cp38-manylinux1_x86_64.whl (118 kB)
     |████████████████████████████████| 118 kB 131.3 MB/s 
Requirement already satisfied: setuptools in /usr/lib/python3/dist-packages (from jsonschema<4,>=2.5.1->docker-compose) (45.2.0)
Collecting six>=1.11.0
  Downloading six-1.16.0-py2.py3-none-any.whl (11 kB)
Collecting attrs>=17.4.0
  Downloading attrs-21.2.0-py2.py3-none-any.whl (53 kB)
     |████████████████████████████████| 53 kB 899 kB/s 
Collecting paramiko>=2.4.2; extra == "ssh"
  Downloading paramiko-2.7.2-py2.py3-none-any.whl (206 kB)
     |████████████████████████████████| 206 kB 147.7 MB/s 
Collecting cryptography>=2.5
  Downloading cryptography-3.4.8-cp36-abi3-manylinux_2_17_x86_64.manylinux2014_x86_64.whl (3.2 MB)
     |████████████████████████████████| 3.2 MB 147.4 MB/s 
Collecting bcrypt>=3.1.3
  Downloading bcrypt-3.2.0-cp36-abi3-manylinux2010_x86_64.whl (63 kB)
     |████████████████████████████████| 63 kB 1.4 MB/s 
Collecting pynacl>=1.0.1
  Downloading PyNaCl-1.4.0-cp35-abi3-manylinux1_x86_64.whl (961 kB)
     |████████████████████████████████| 961 kB 139.4 MB/s 
Collecting cffi>=1.12
  Downloading cffi-1.14.6-cp38-cp38-manylinux1_x86_64.whl (411 kB)
     |████████████████████████████████| 411 kB 84.0 MB/s 
Collecting pycparser
  Downloading pycparser-2.20-py2.py3-none-any.whl (112 kB)
     |████████████████████████████████| 112 kB 140.9 MB/s 
Building wheels for collected packages: dockerpty, docopt
  Building wheel for dockerpty (setup.py) ... done
  Created wheel for dockerpty: filename=dockerpty-0.4.1-py3-none-any.whl size=16604 sha256=d6f2d3d74bad523b1a308a952176a1db84cb604611235c1a5ae1c936cefe7889
  Stored in directory: /root/.cache/pip/wheels/1a/58/0d/9916bf3c72e224e038beb88f669f68b61d2f274df498ff87c6
  Building wheel for docopt (setup.py) ... done
  Created wheel for docopt: filename=docopt-0.6.2-py2.py3-none-any.whl size=13704 sha256=f8c389703e63ff7ec3734b240ba8d62c8f8bd99f3b05ccdcb0de1397aa523655
  Stored in directory: /root/.cache/pip/wheels/56/ea/58/ead137b087d9e326852a851351d1debf4ada529b6ac0ec4e8c
Successfully built dockerpty docopt
Installing collected packages: urllib3, charset-normalizer, certifi, idna, requests, pyrsistent, six, attrs, jsonschema, websocket-client, texttable, PyYAML, dockerpty, pycparser, cffi, cryptography, bcrypt, pynacl, paramiko, docker, distro, docopt, python-dotenv, docker-compose
Successfully installed PyYAML-5.4.1 attrs-21.2.0 bcrypt-3.2.0 certifi-2021.5.30 cffi-1.14.6 charset-normalizer-2.0.4 cryptography-3.4.8 distro-1.6.0 docker-5.0.2 docker-compose-1.29.2 dockerpty-0.4.1 docopt-0.6.2 idna-3.2 jsonschema-3.2.0 paramiko-2.7.2 pycparser-2.20 pynacl-1.4.0 pyrsistent-0.18.0 python-dotenv-0.19.0 requests-2.26.0 six-1.16.0 texttable-1.6.4 urllib3-1.26.6 websocket-client-0.59.0
Minimal installation of Ubuntu server 20.04 LTS

This tutorial will show you the simple steps of installing a modern Linux Distribution – Ubuntu server 20.04 LTS edition. Following most of the default options during the setup configuration for simplicity.

Here are some basic data from the default installation setup settings:

  1. Installed packages – ~582 occupying 11G of space.
  2. 3 partitions when using automatic patition layout – boot efi, swap and root.
  3. ext4 used for the root parition.

We used the following ISO for the installation process – Ubuntu 20.04 LTS (Focal Fossa):

http://releases.ubuntu.com/focal/ubuntu-20.04-live-server-amd64.iso

It is a LIVE image so you can try it before installing it. The easiest way is just to download the image and burn it to a DVD disk and then follow the installation below:

SCREENSHOT 1) Boot from the disk or USB – whatever you made after downloading the ISO file from Ubuntu official source.

On the image here the DVD is used to boot in UEFI mode installation.

main menu
boot uefi dvd

Keep on reading!