SCREENSHOT 71) The “Text Editor” application with opened C++ file and highlights.
This is not gedit!
SCREENSHOT 72) text editor 43.1

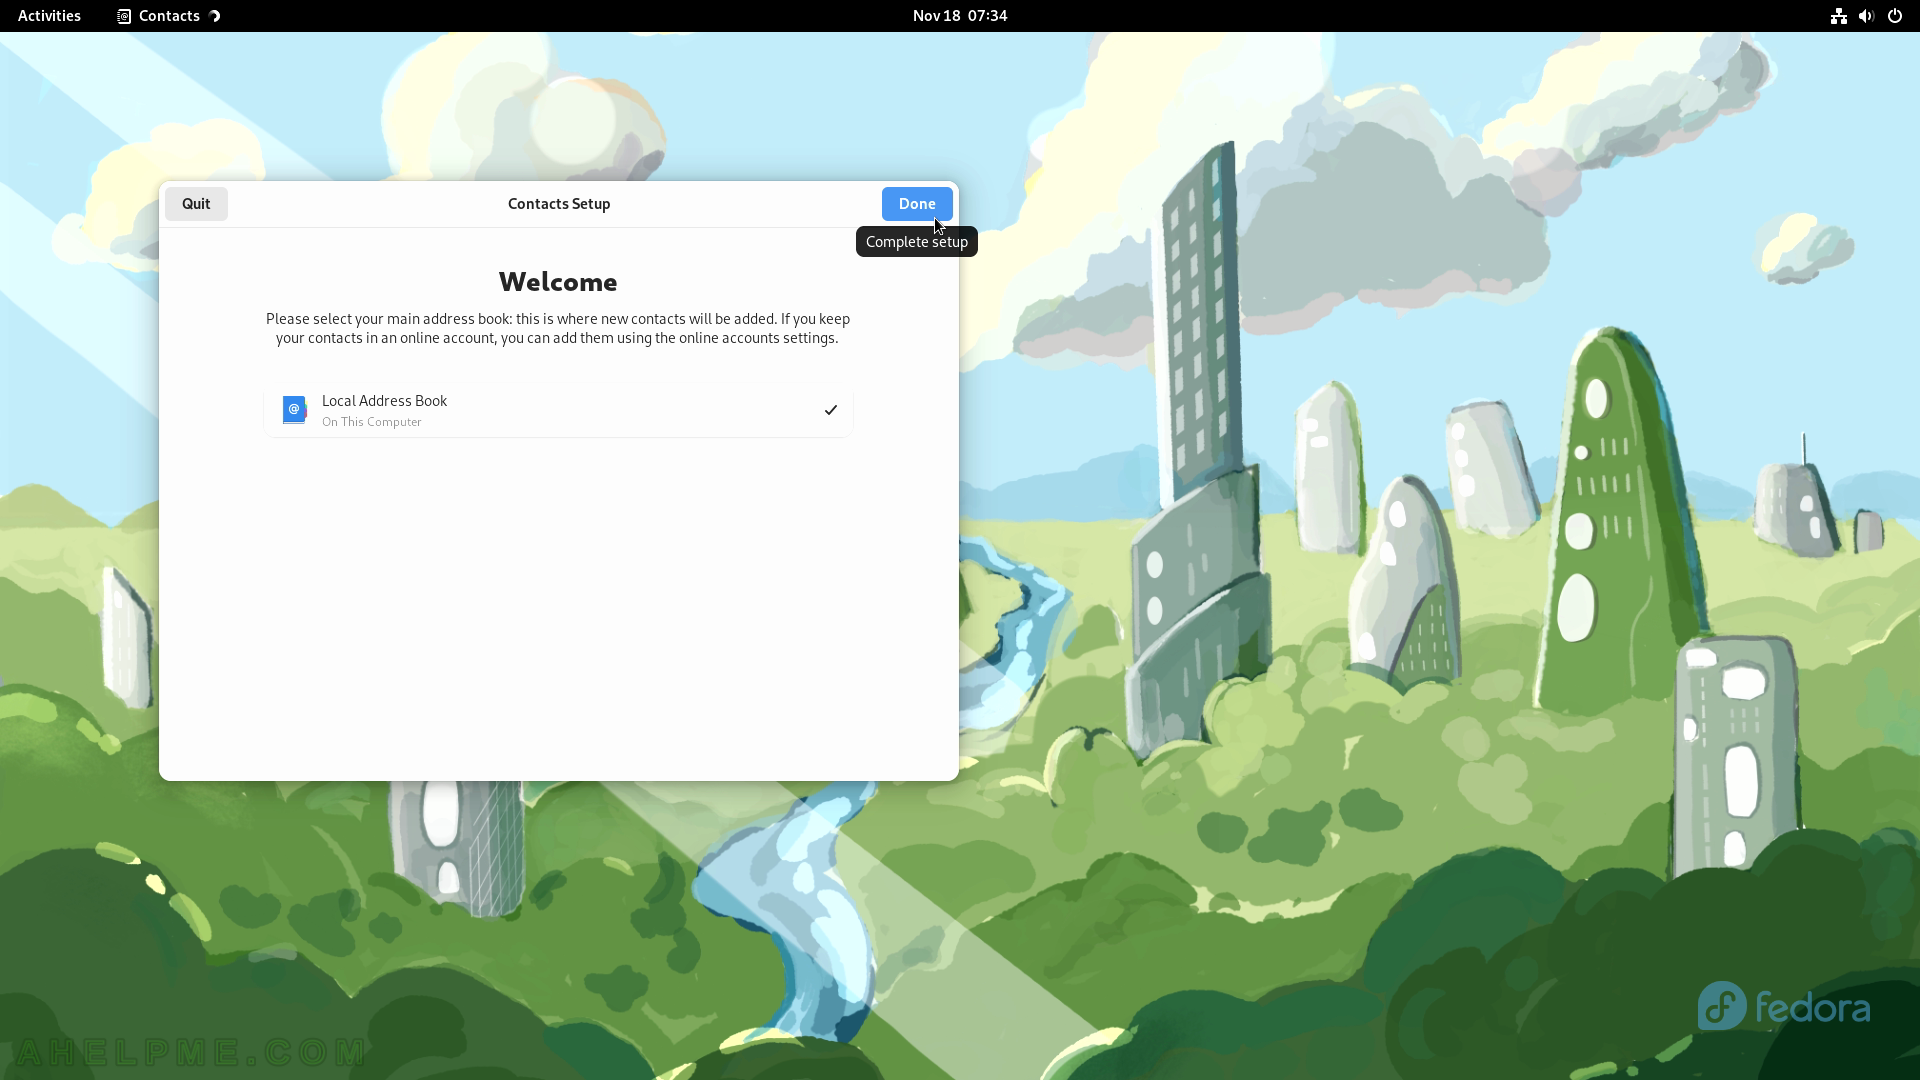
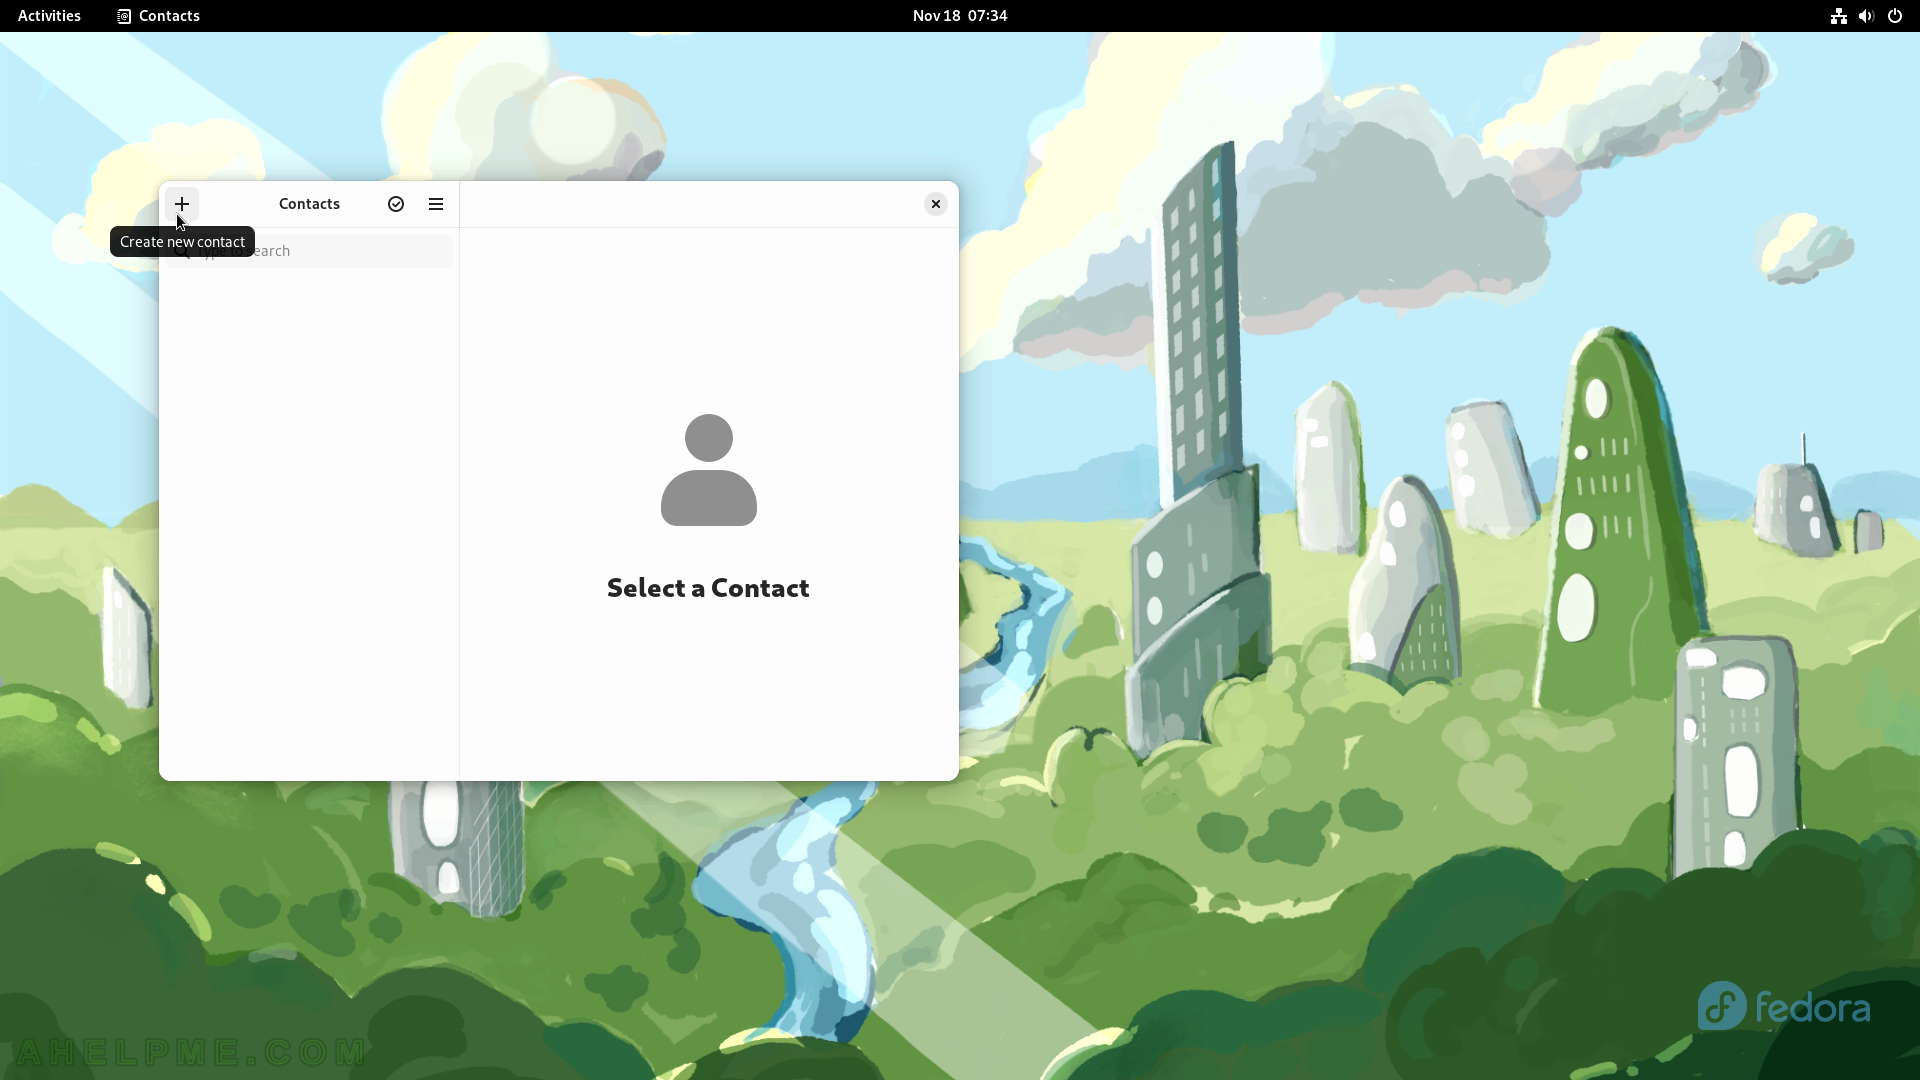
SCREENSHOT 73) Initial Welcome screen of Contacts.
Choose where to store the contacts.
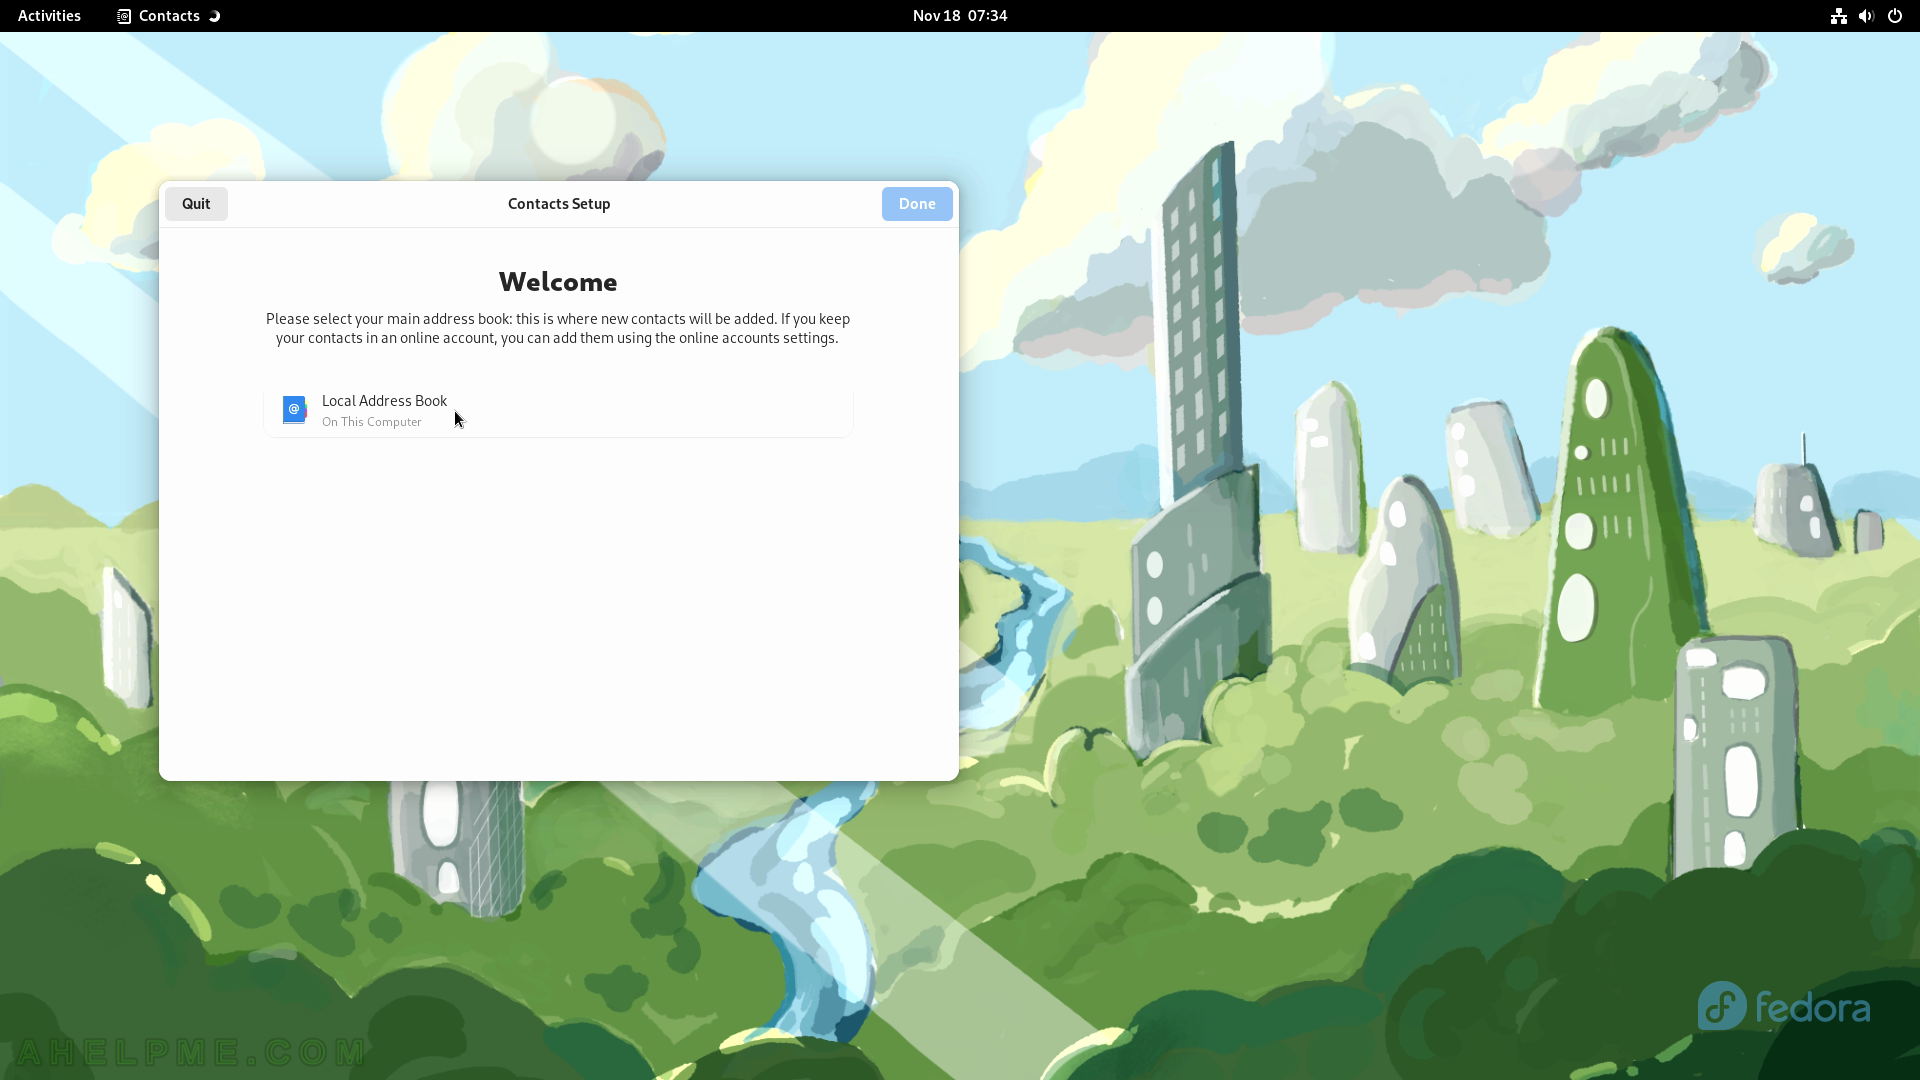
SCREENSHOT 74) Choose to store the contacts in the local address book on this computer.
SCREENSHOT 75) Click on the plus button to create a new contact.
SCREENSHOT 76) This is Add contact form. Show more fields for a contact.
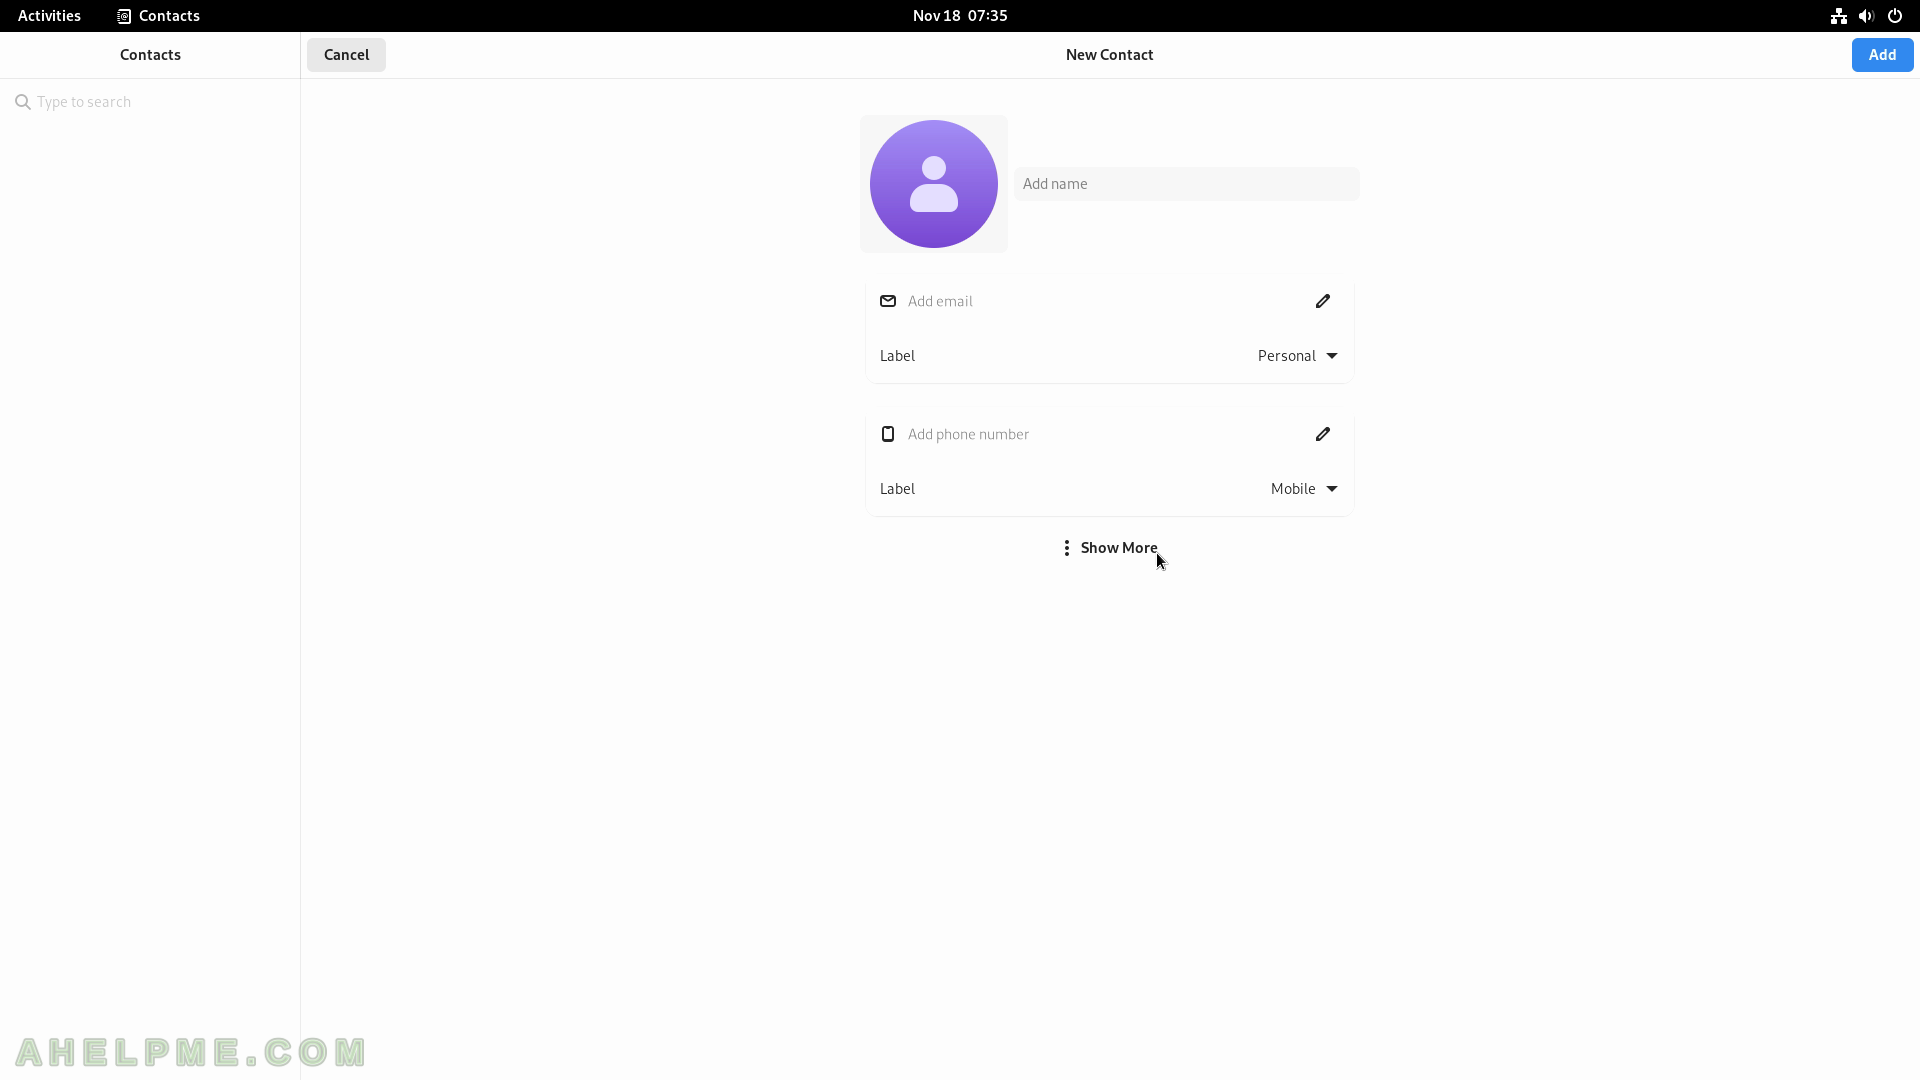
SCREENSHOT 77) Fill contact fields with information for the contact – email, type of contact, phone number, website, nickname, and more.
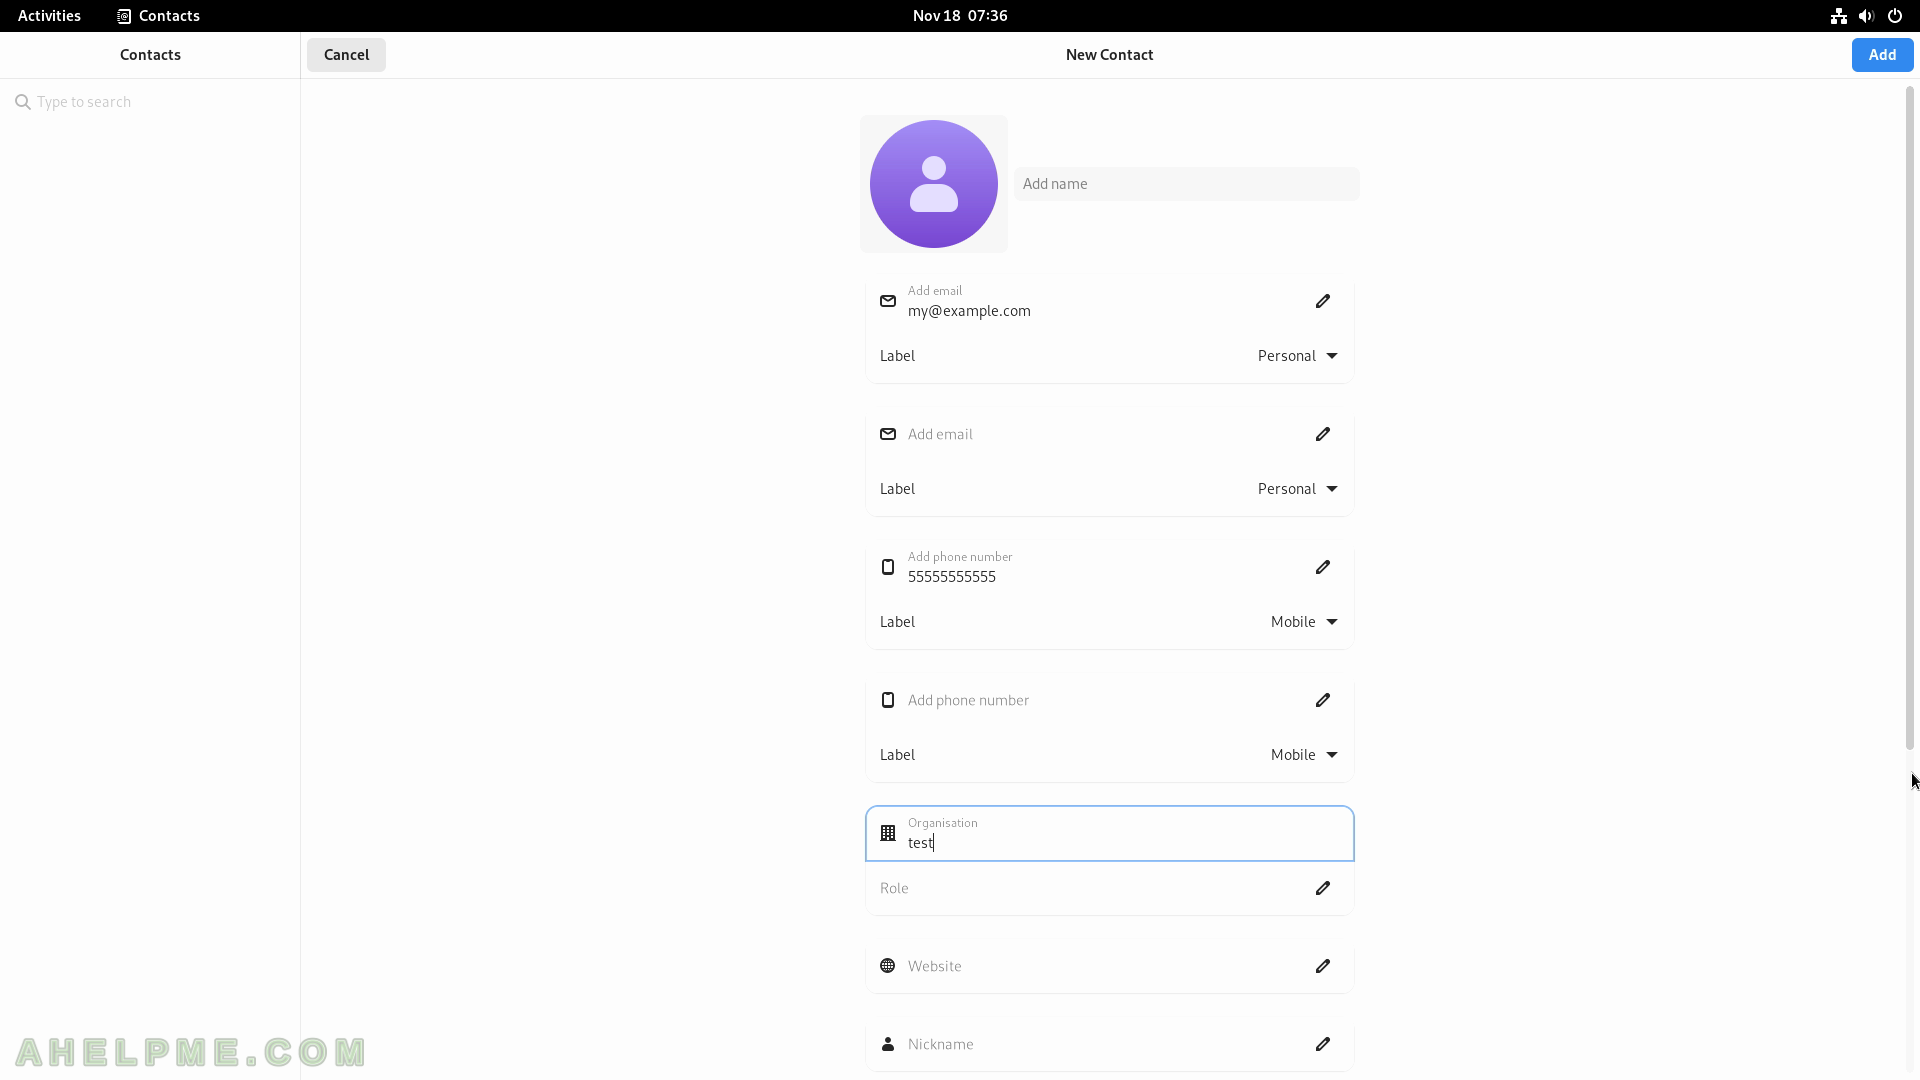
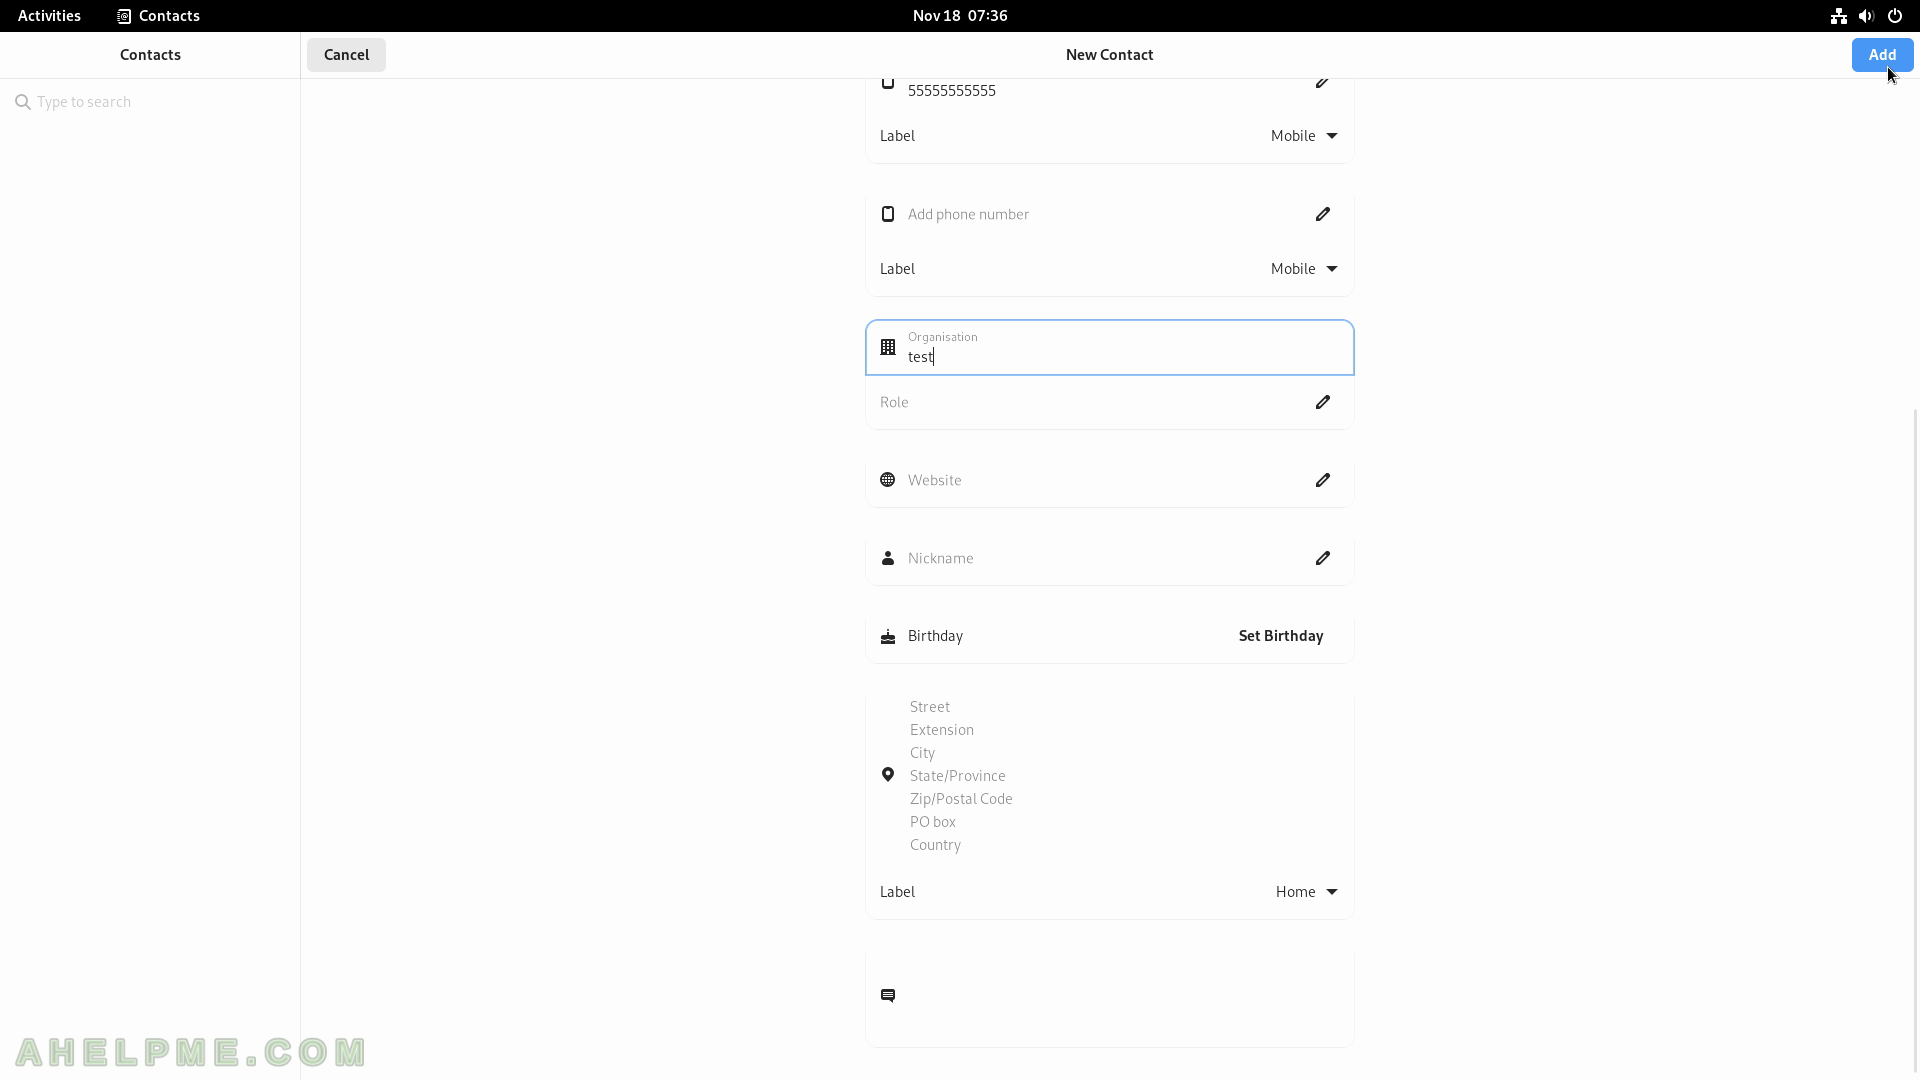
SCREENSHOT 78) More contact fields to fill such as Organization, role, addresses, birth date, and more.
Click on the “Add” button in the top right corner to add the contact.
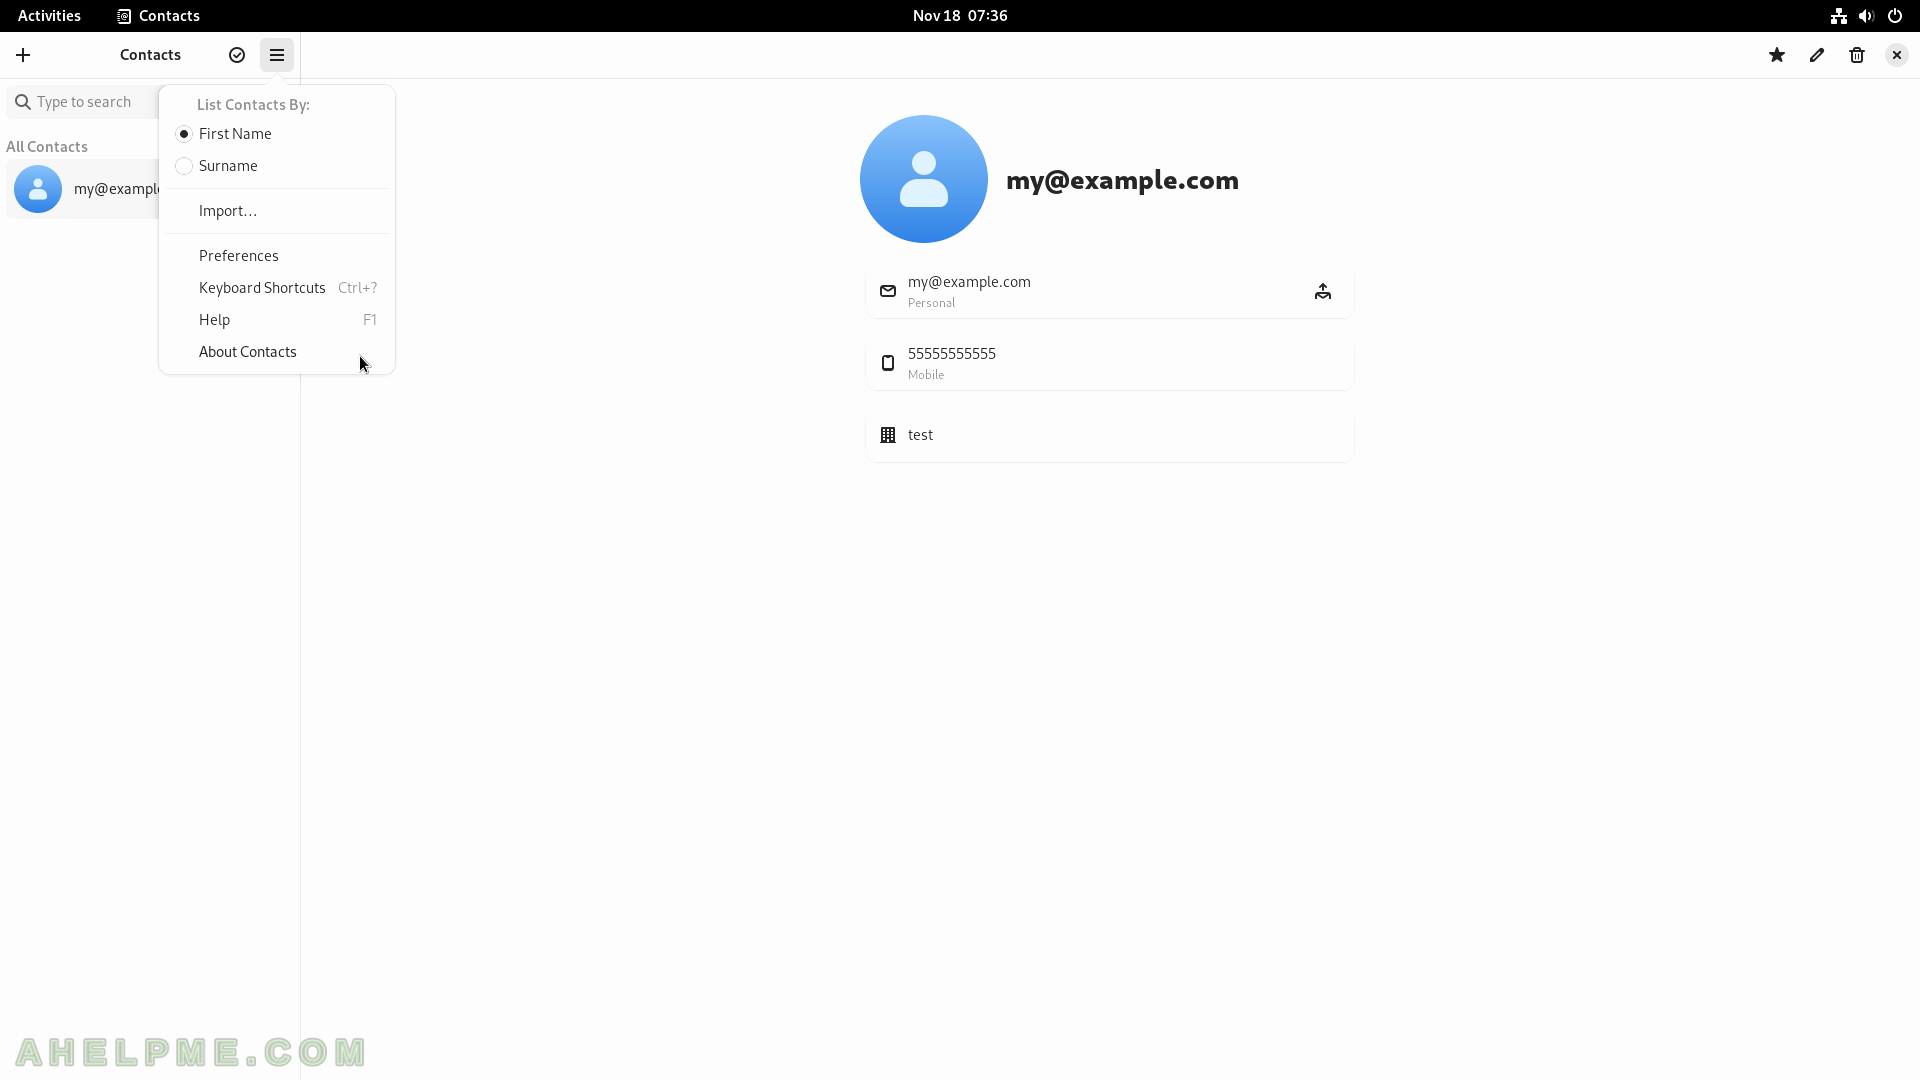
SCREENSHOT 79) List of contacts and menu options.
SCREENSHOT 80) Contacts 43.0 – a GNOME project.