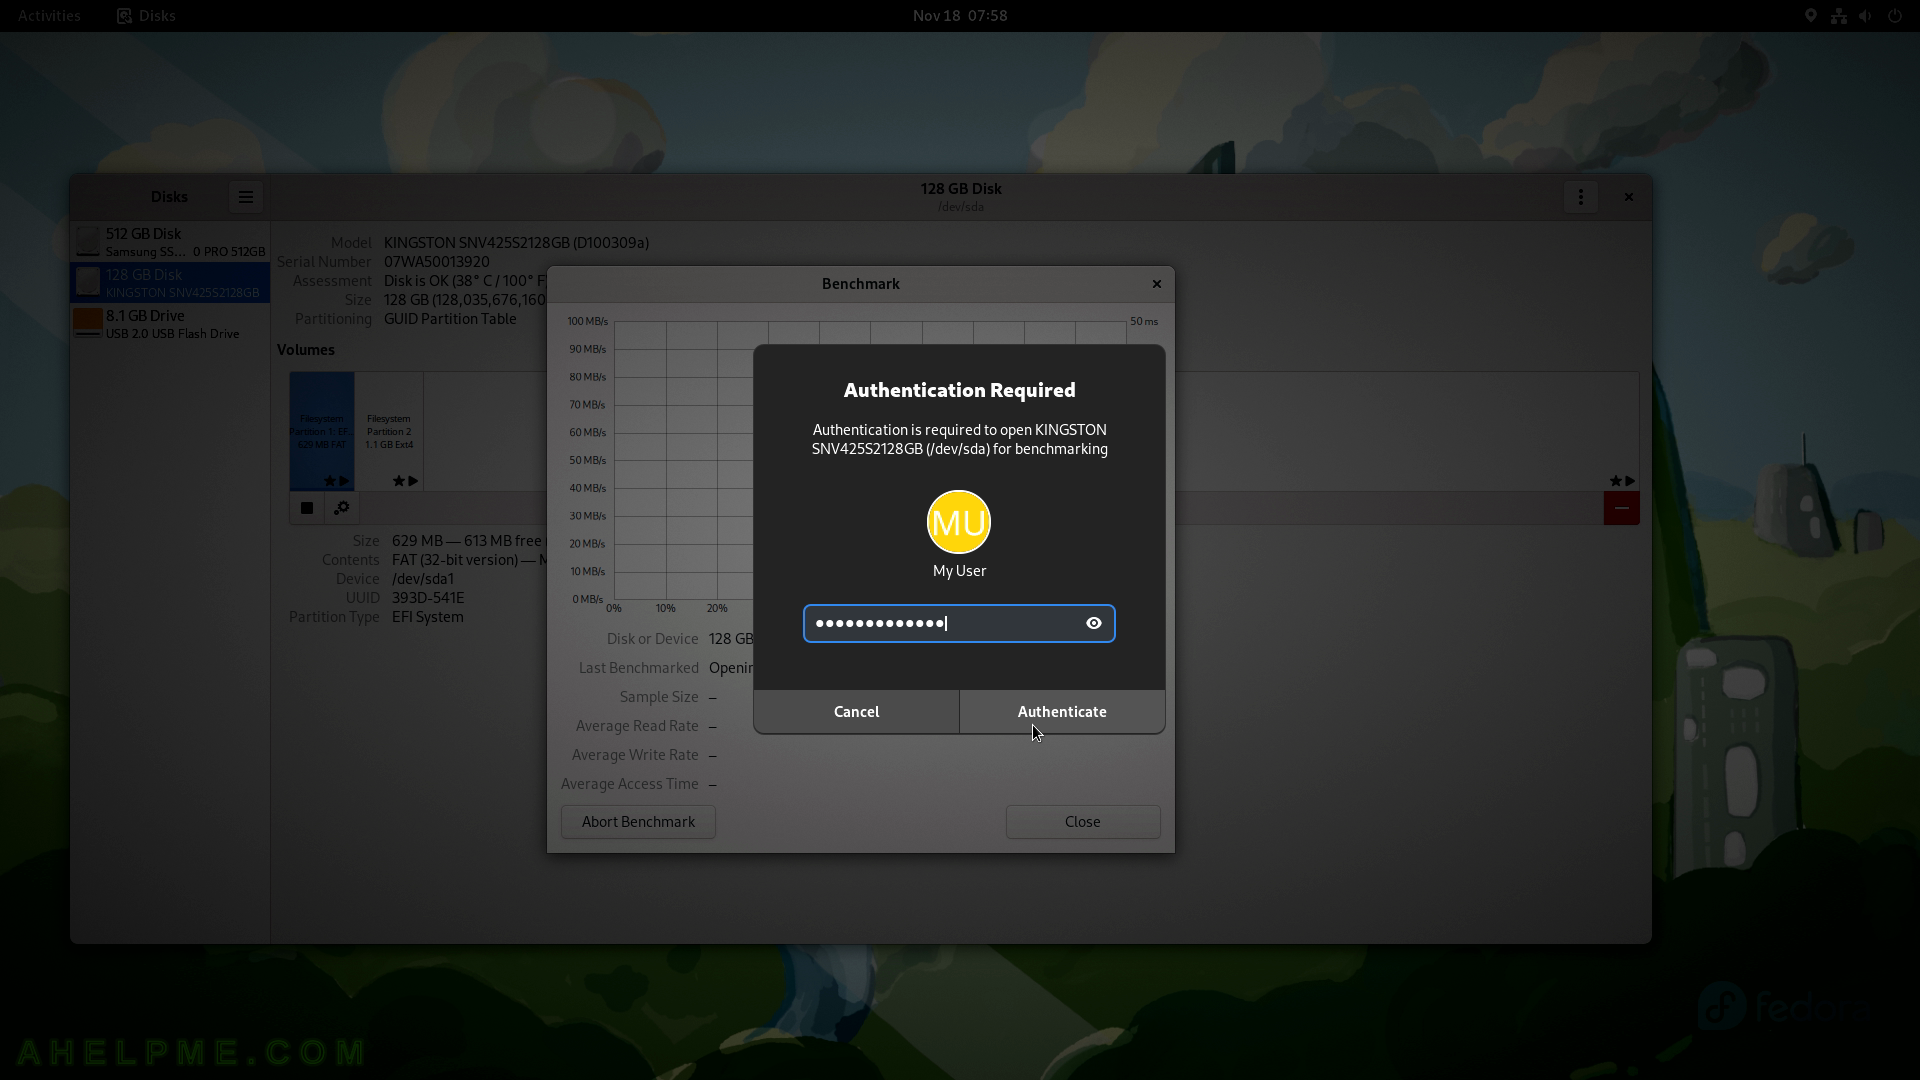
SCREENSHOT 111) Add a new connection – RDP (using Windows Remote Desktop protocol) or VNC (a protocol to connect to Linux boxes).
Click on the “Connect” button to add a username and password.
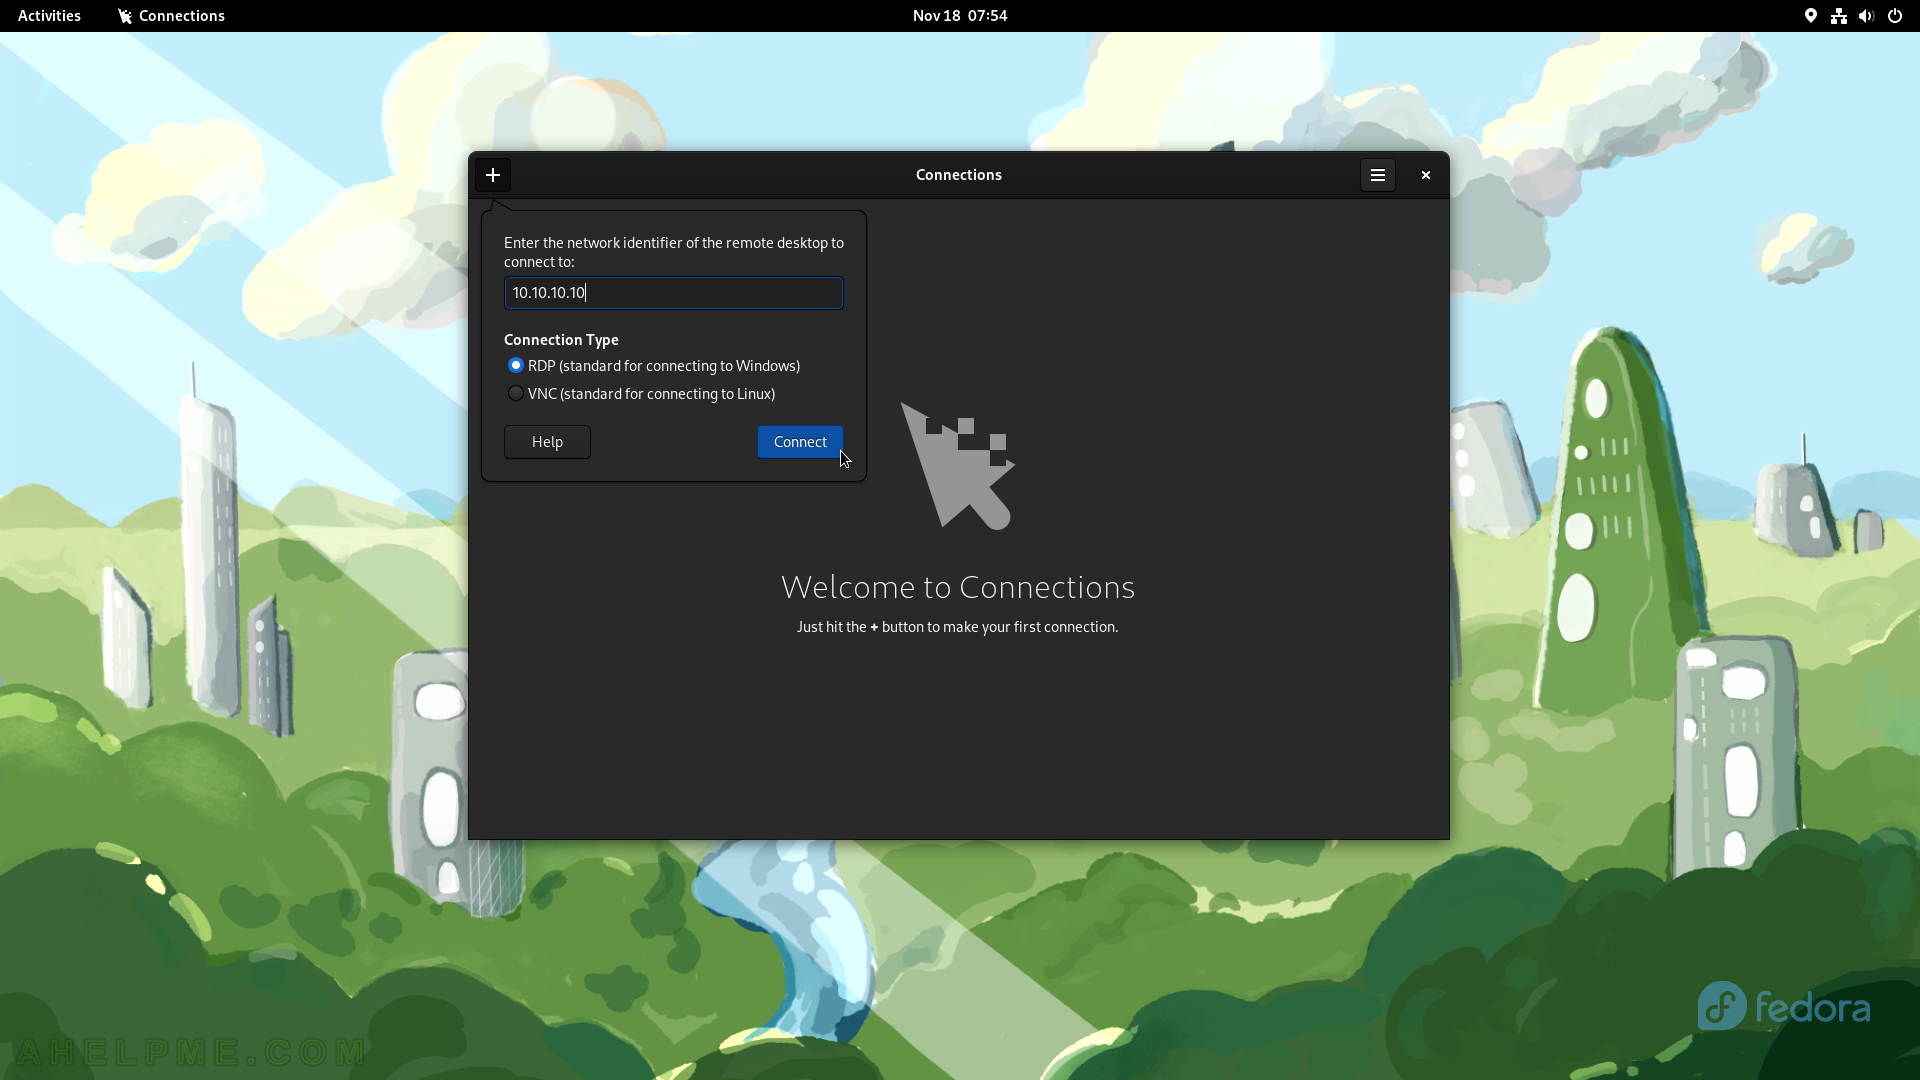
SCREENSHOT 112) Add the username and password to log in to the remote computer.
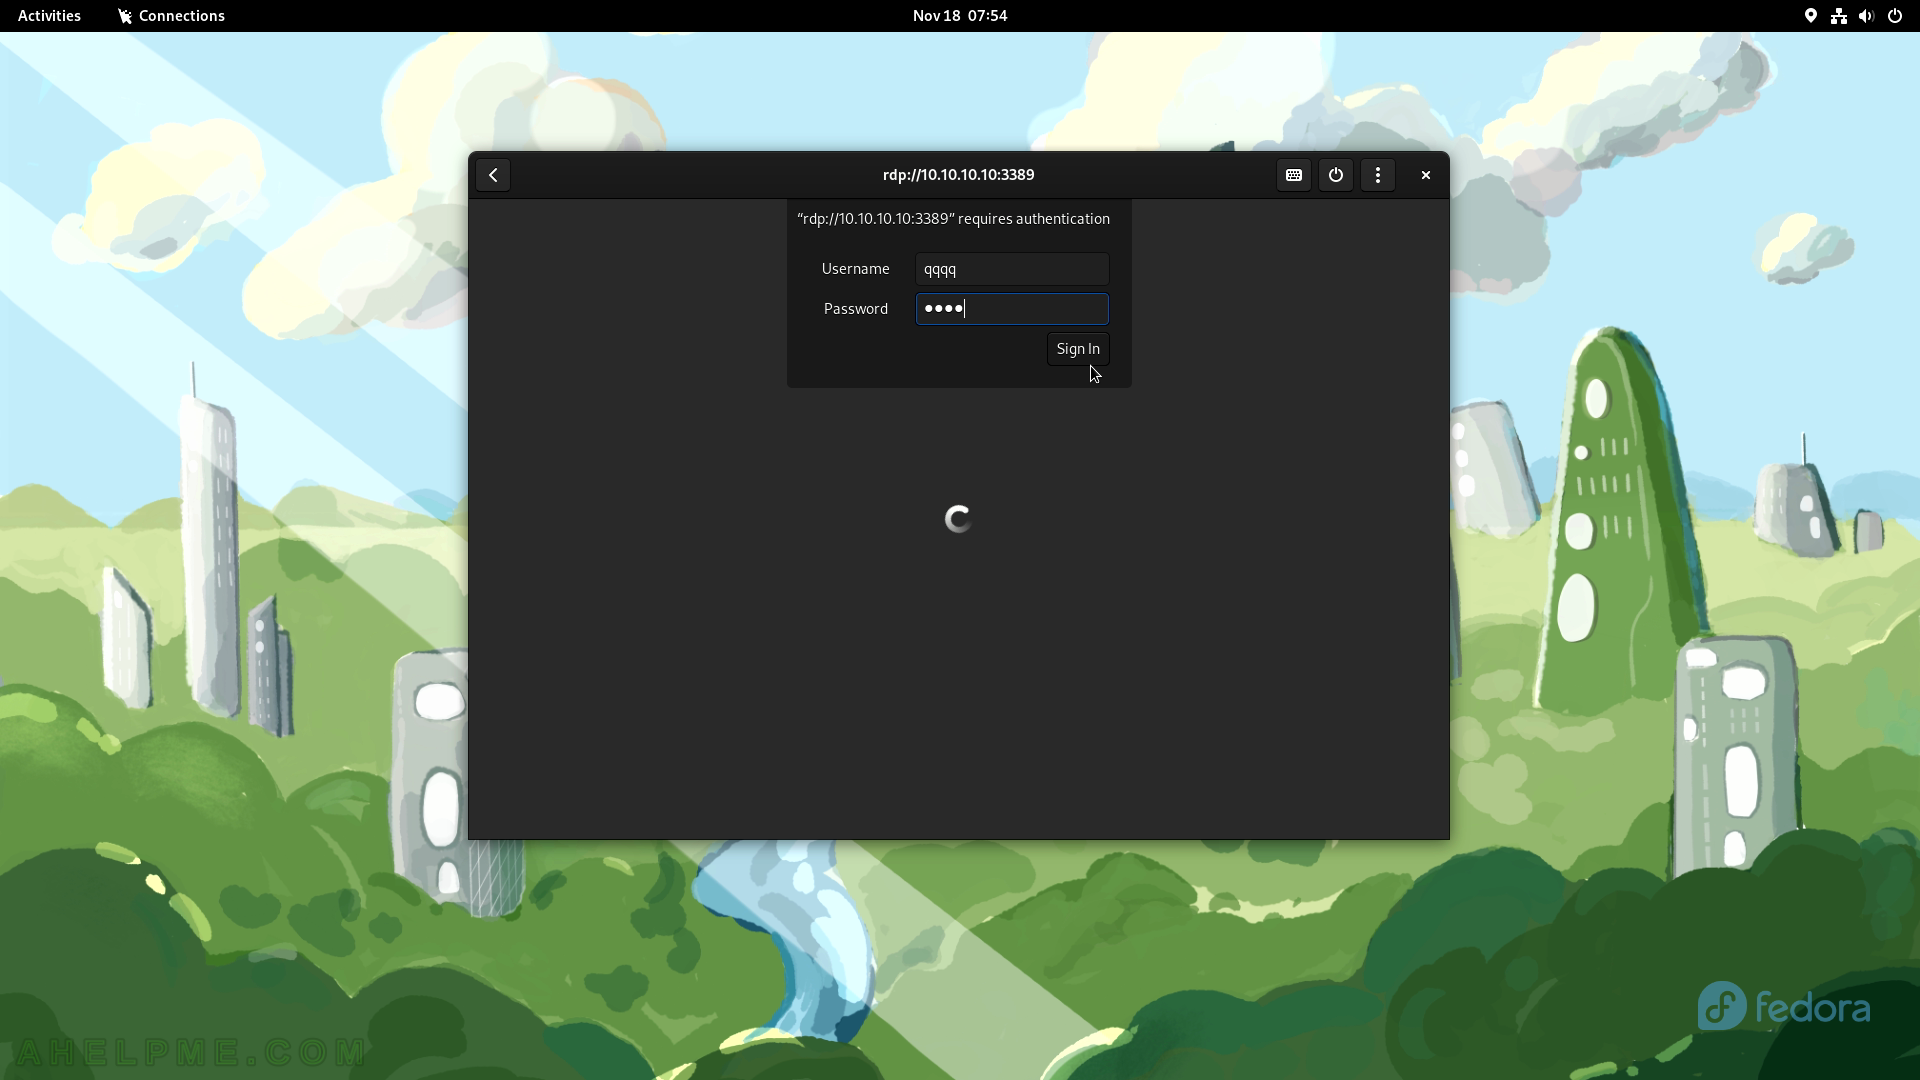
SCREENSHOT 113) Connections 43.0 with one connection saved.
SCREENSHOT 114) The additional partition options show what the user can do with the selected partition
The functionality includes Format Partition, Edit Partition, Edit Filesystem, Resize, Check Filesystem, Repair Filesystem, Edit Mount Options, Create Partition Image, Restore Partition Image, and Benchmark Partition.
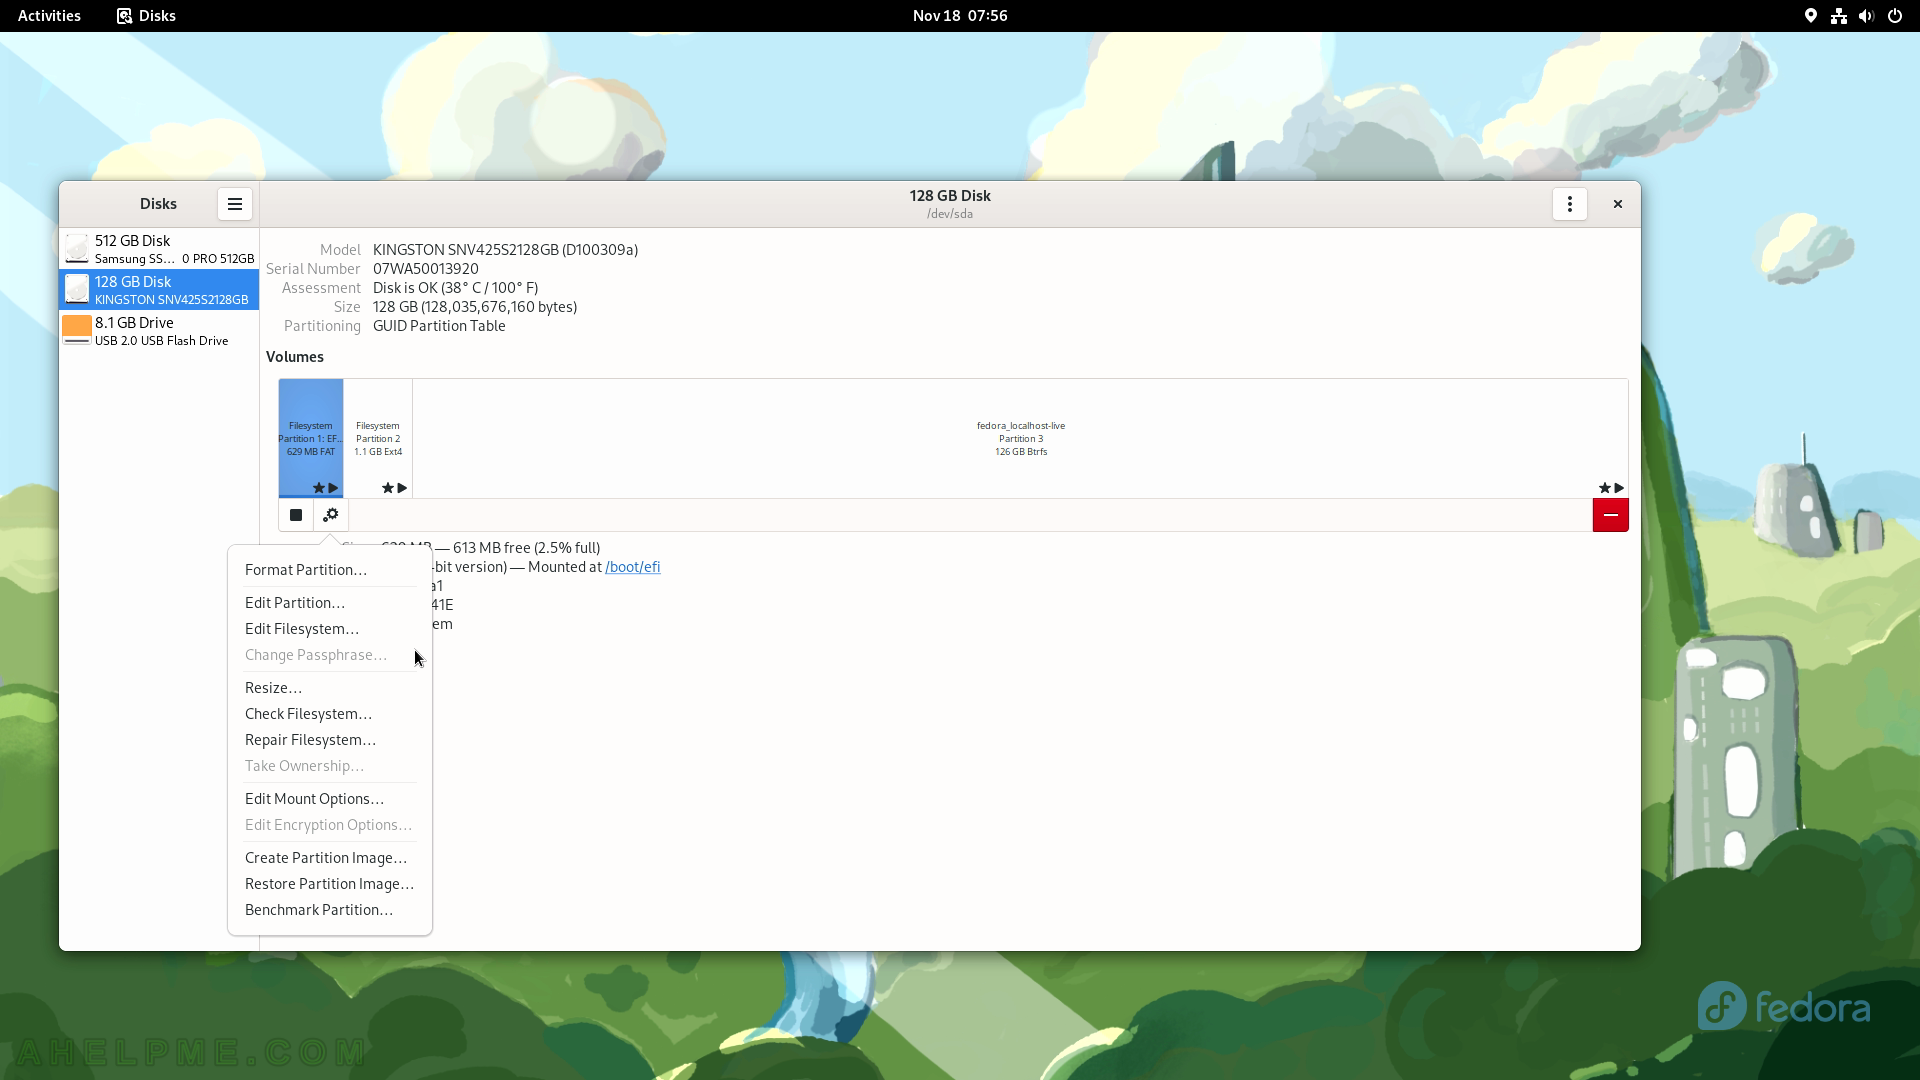
SCREENSHOT 115) The GNOME Disks application is built against the UDisks 2.9.4.
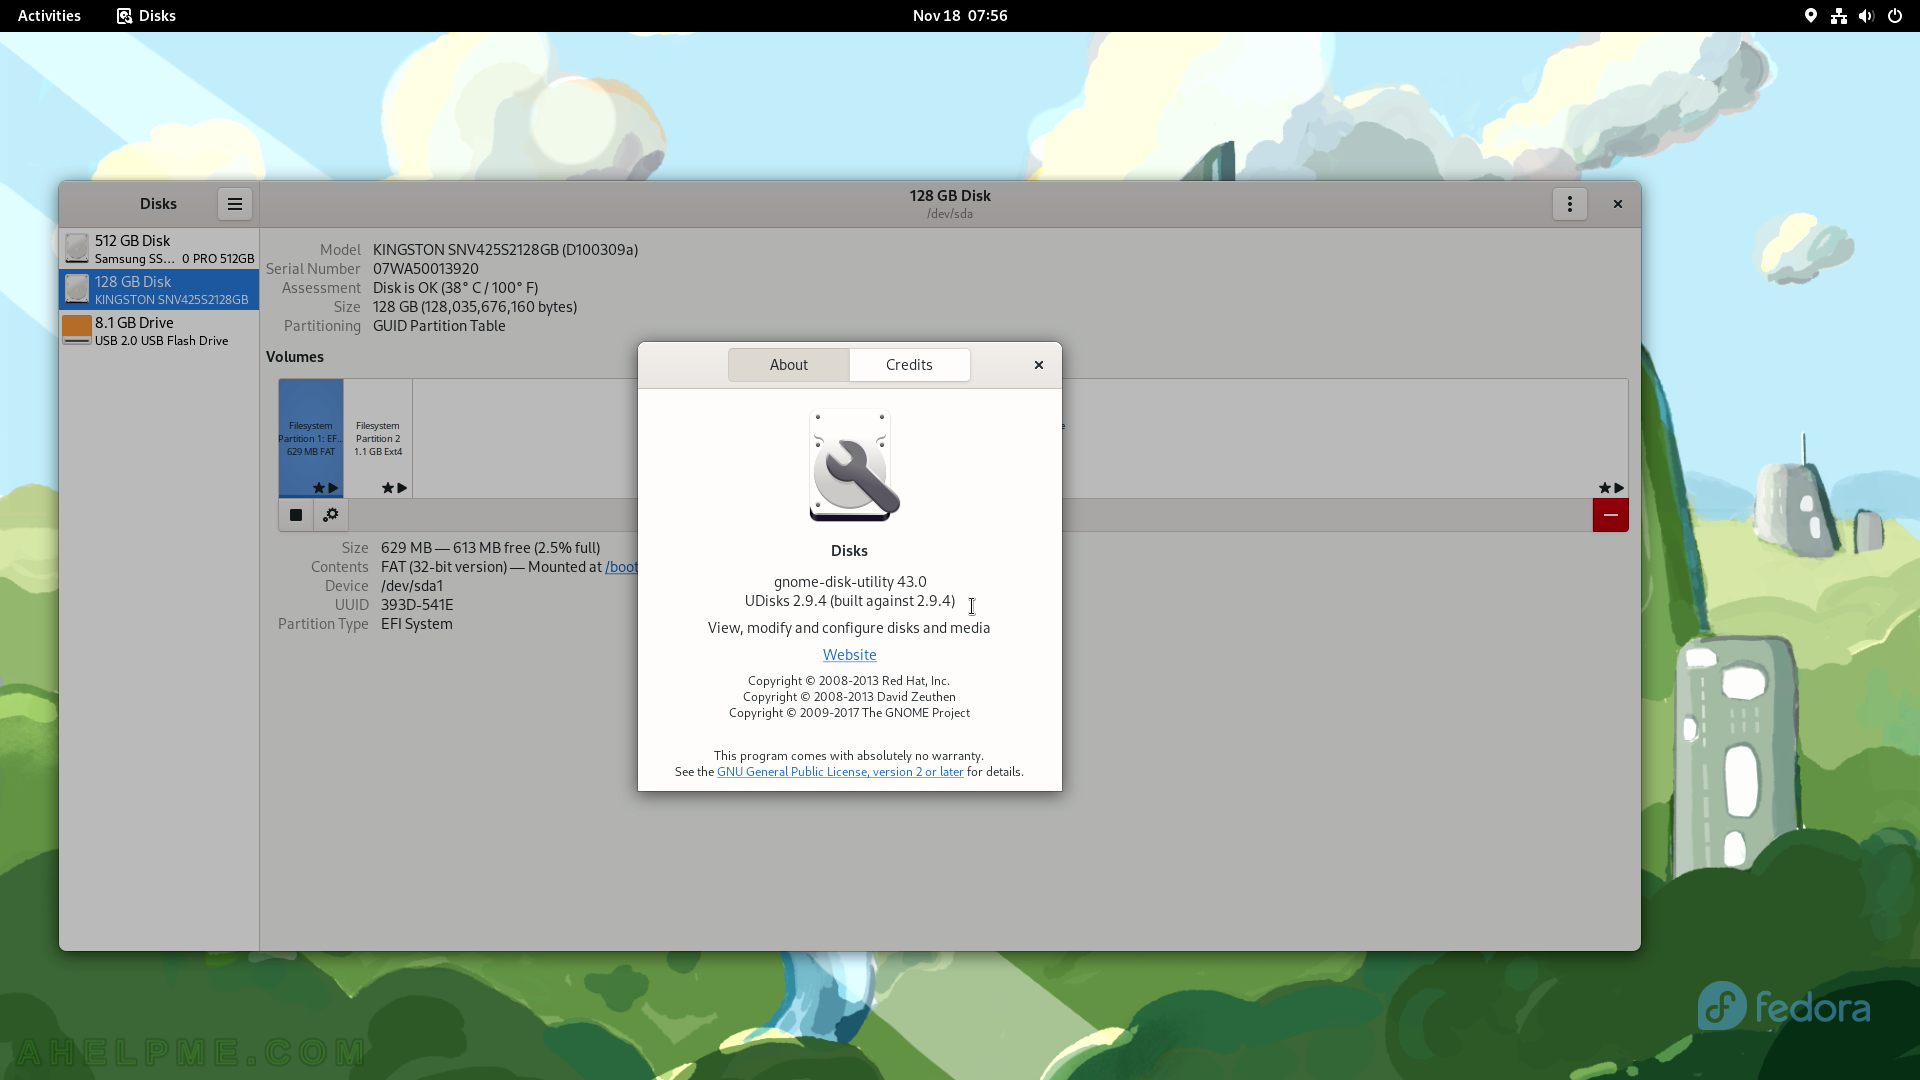
SCREENSHOT 116) The Disks application shows the SMART data of the disks.
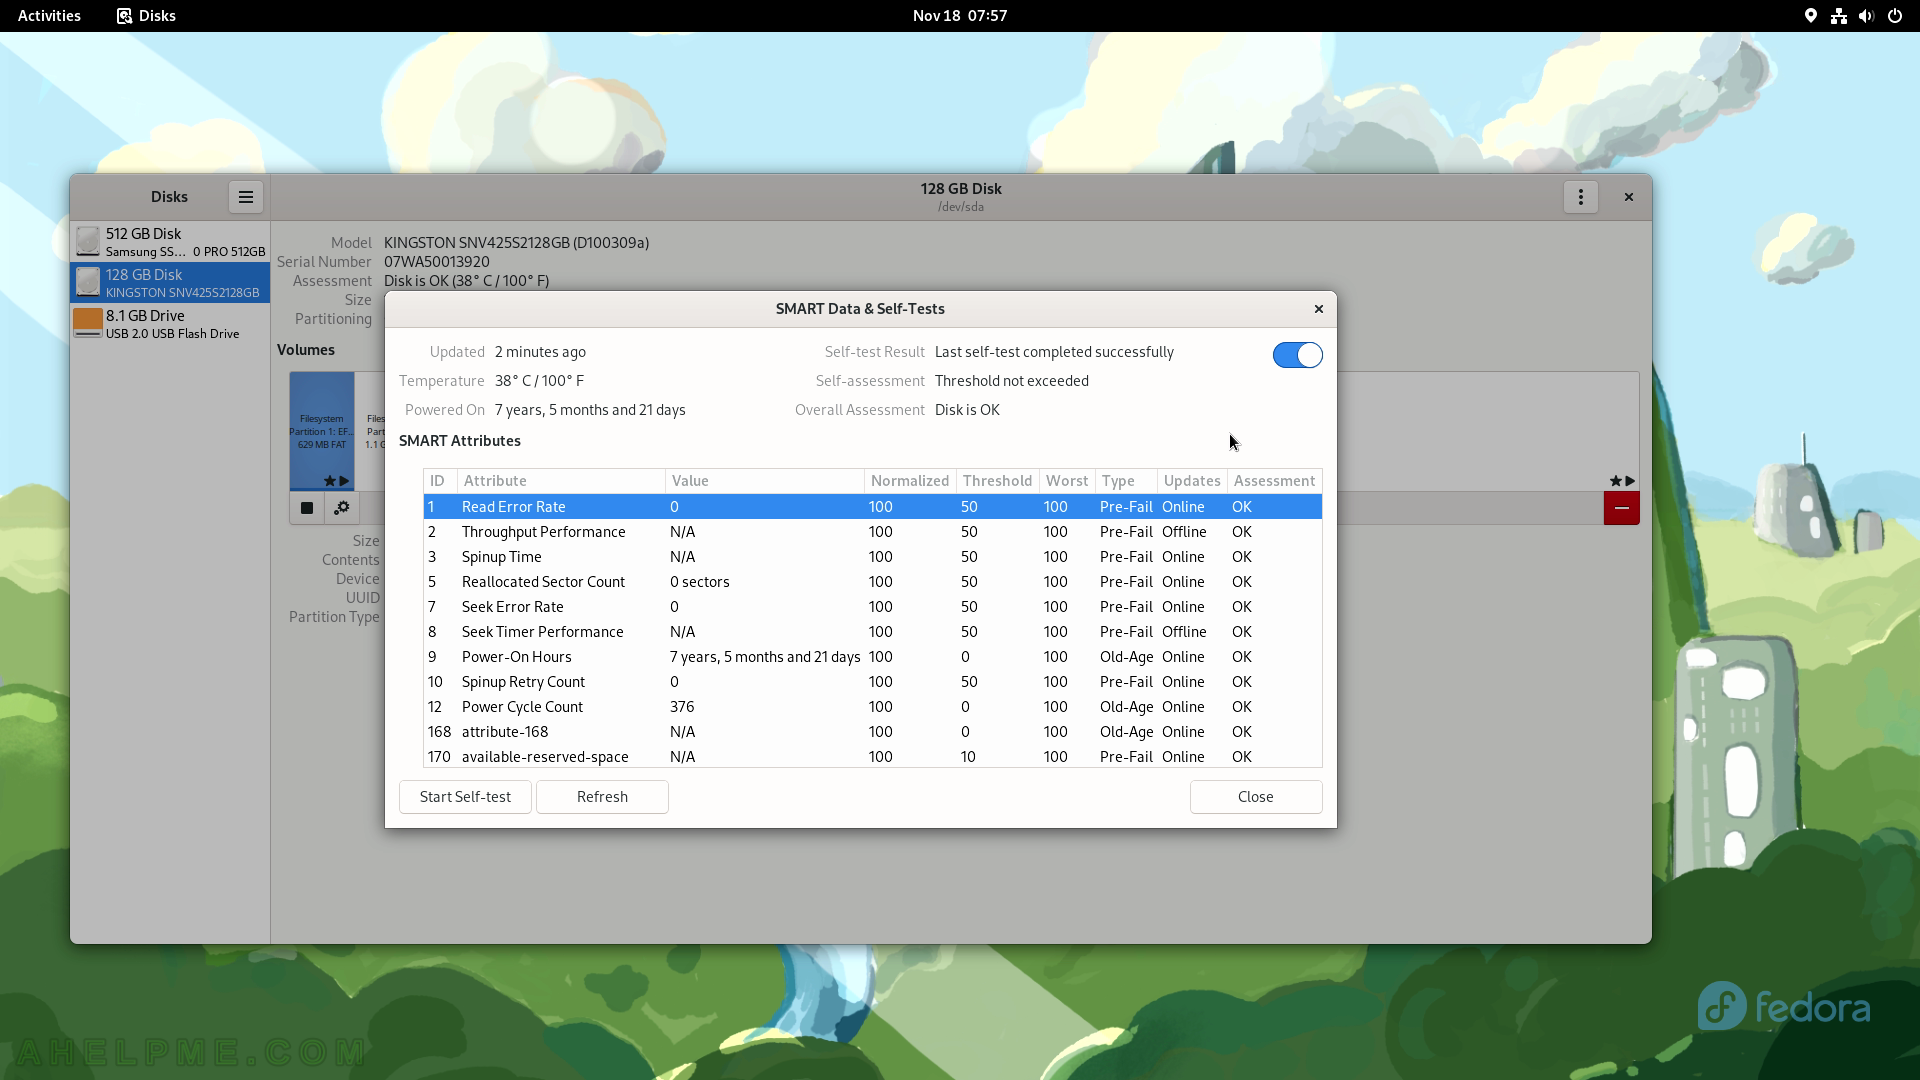
SCREENSHOT 117) To benchmark a disk use Disks, select the drive, and then click on the right top corner on the “Drive options” button.
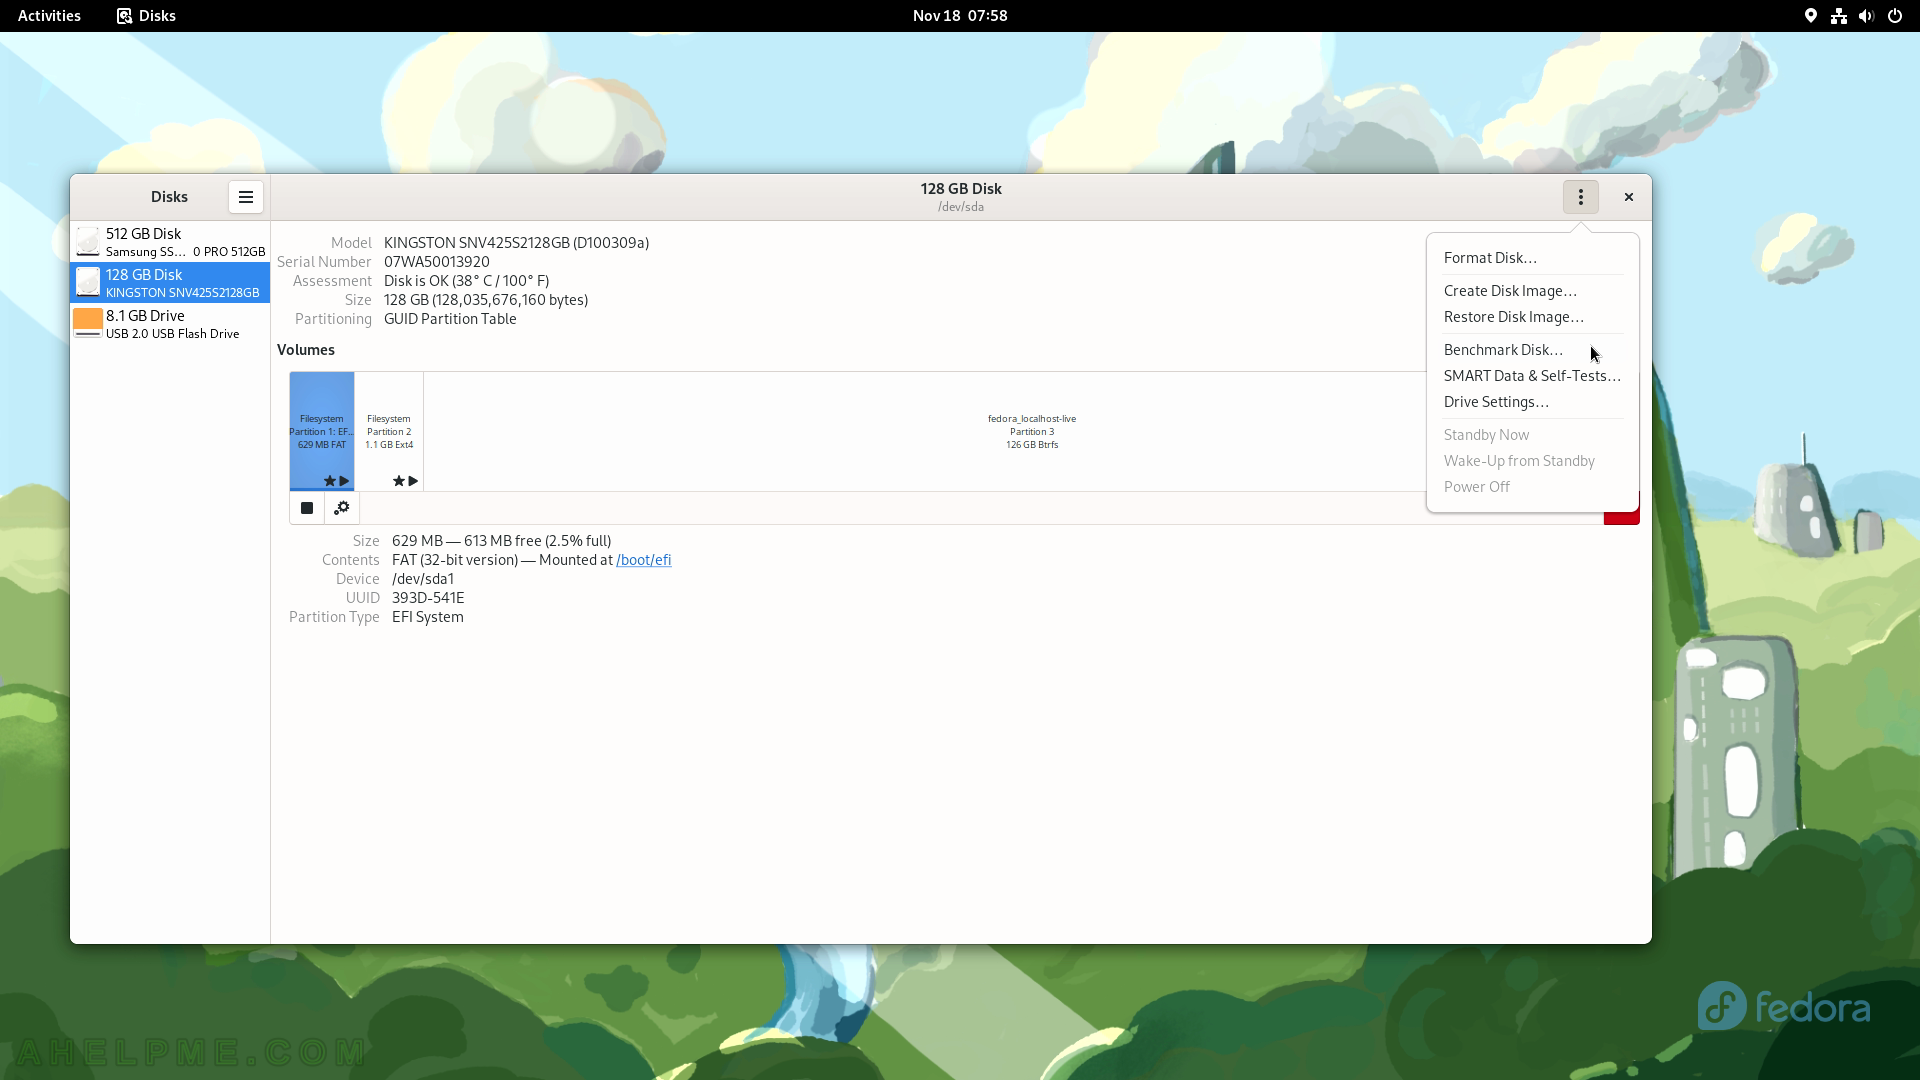
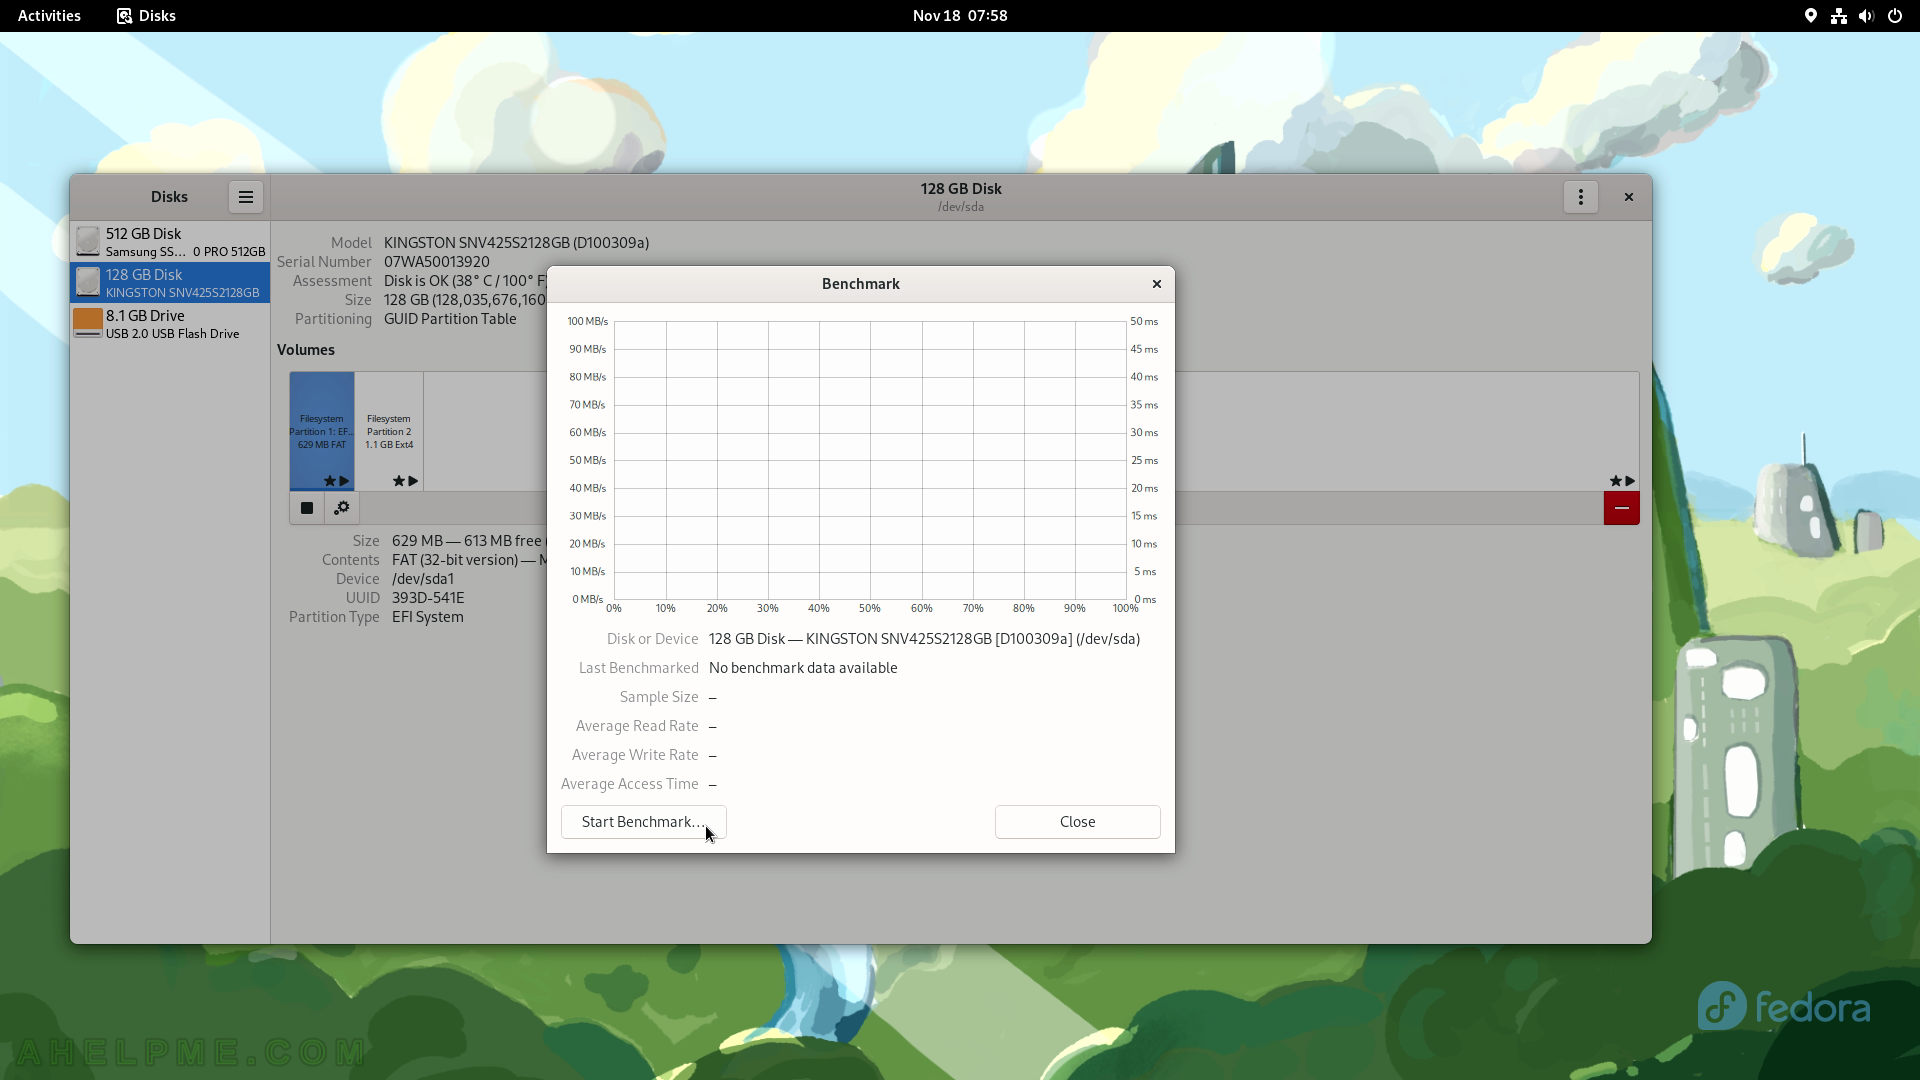
SCREENSHOT 118) To start the benchmark click on the “Start Benchmark” button and additional configuration will be asked for.
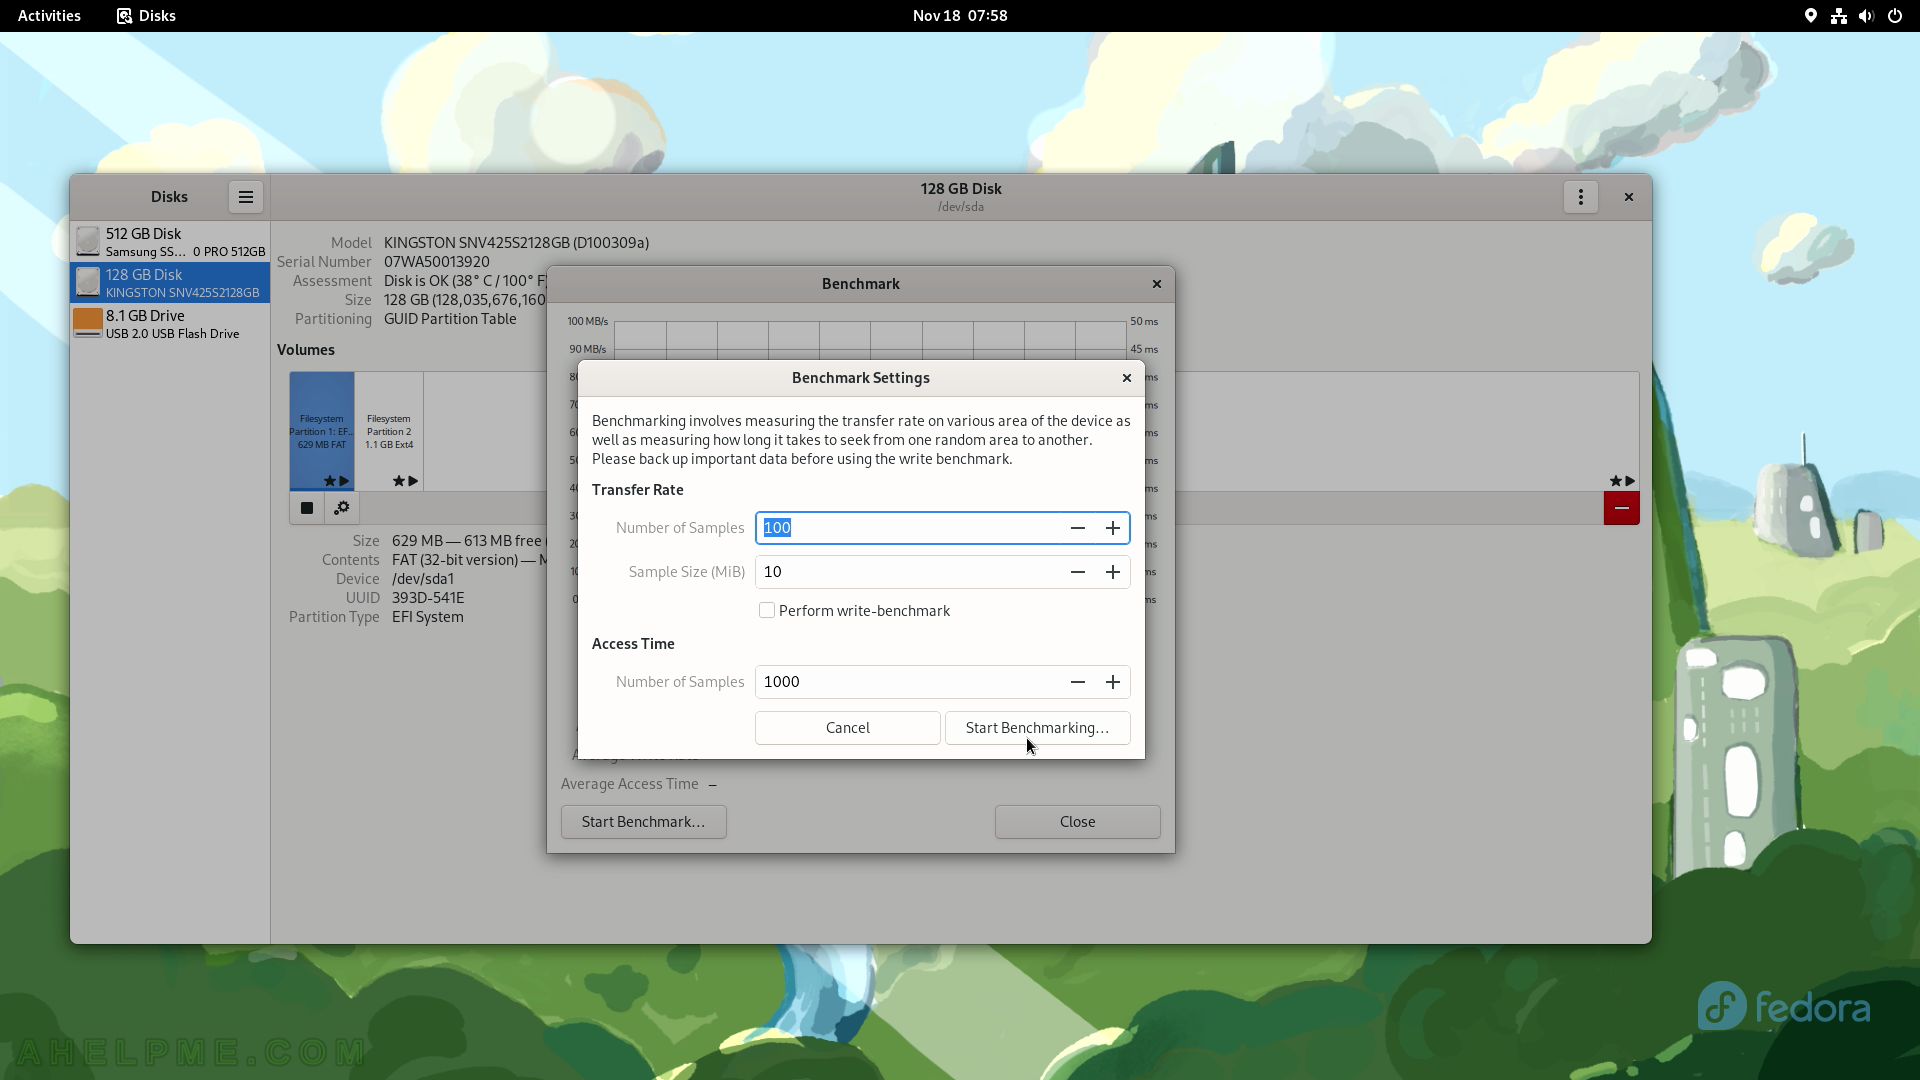
SCREENSHOT 119) Benchmark settings to tune the tests. By default, read-only tests are performed, but this can be changed if “Perform write-benchmark” is checked.
Click on “Start Benchmarking…” to start the tests.
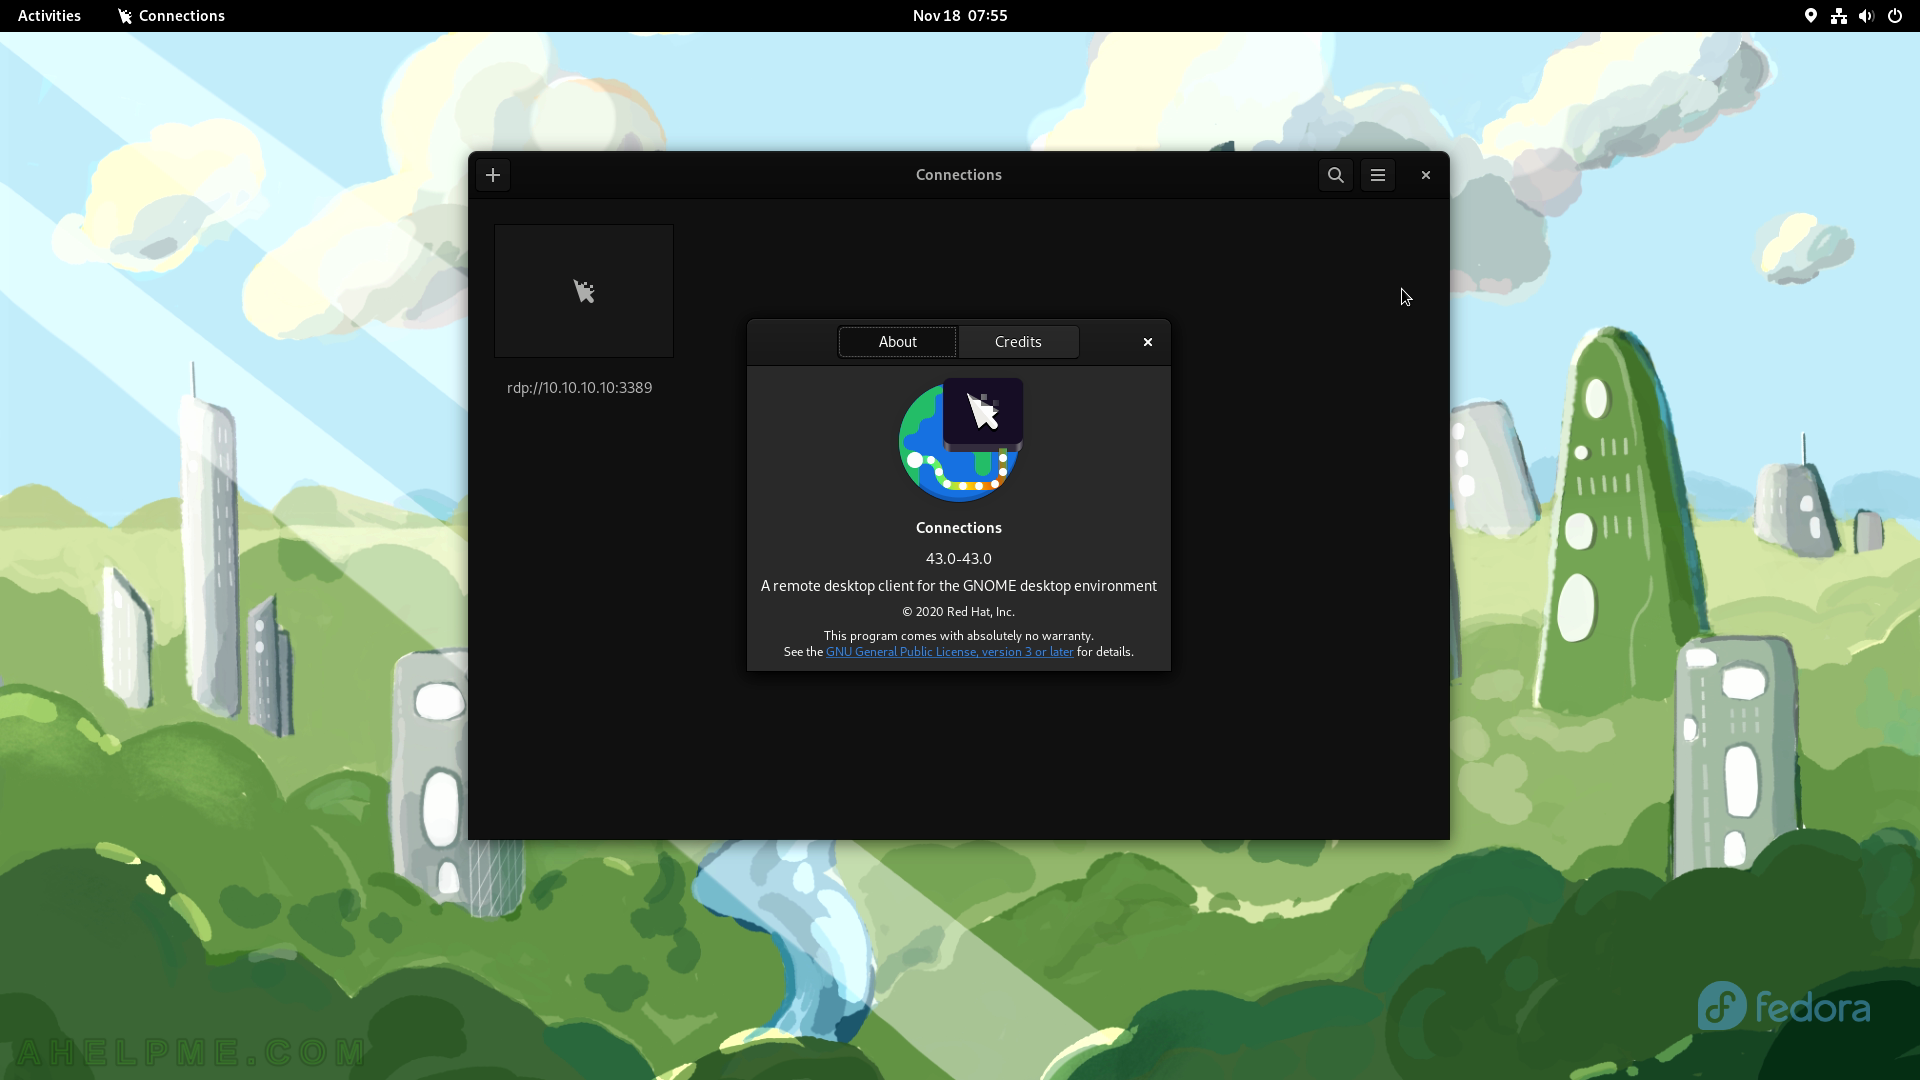
SCREENSHOT 120) Authentication is required by an administrative user to run a benchmark test.
Fill in the administrative credentials to continue.
