Booting the CentOS 8 failed with
dracut-initqueue timeout and could not boot – warning /dev/disk/by-id/md-uuid- does not exist
we have an article on the subject for CentOS 7 – CentOS 7 dracut-initqueue timeout and could not boot – warning /dev/disk/by-id/md-uuid- does not exist and we continue with another issue with the same error.
Most times when you get this error there is a mistake in some UUID for the file system or the RAID devices. But this time our software raid was autodetected with the right disks but it ended in INACTIVE STATE. Software raid in INACTIVE STATE cannot be used so we are in “Emergency mode”:
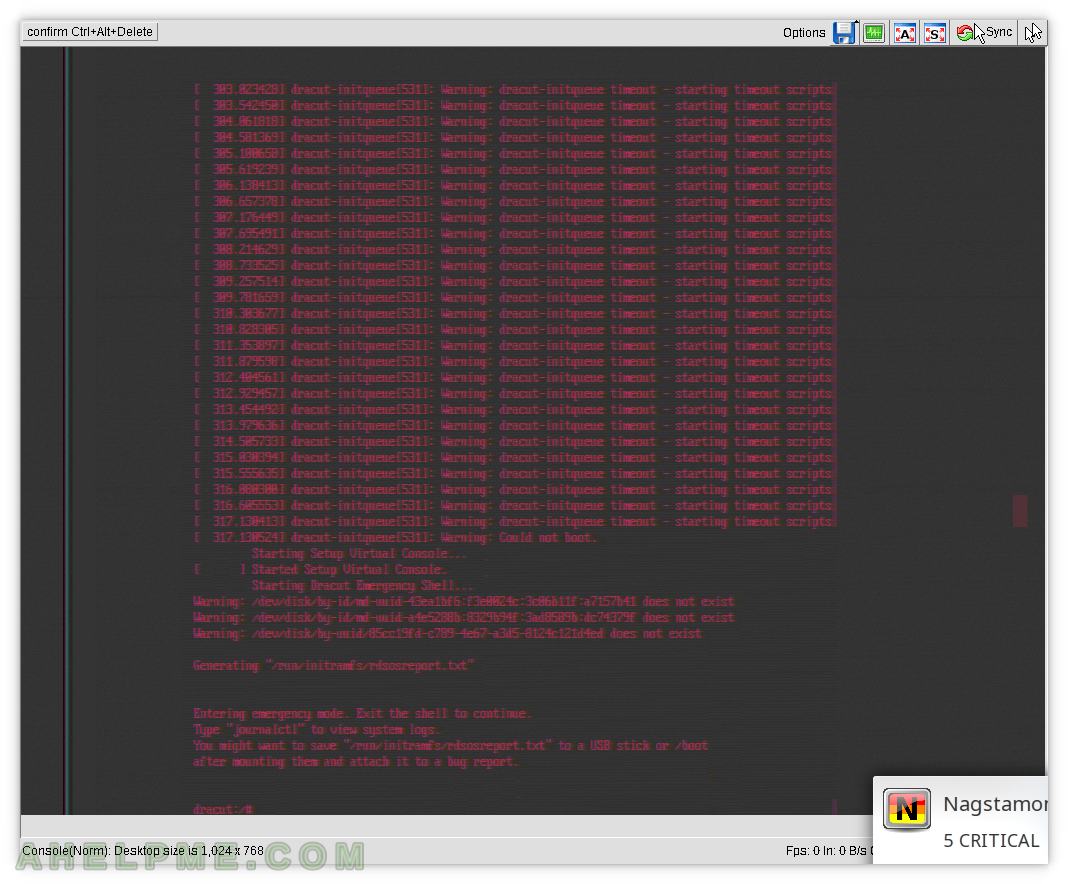
SCREENSHOT 1) Without root partition the boot process enters the dracut emergency mode.
SCREENSHOT 2) Software md raid device information – missing “Personalities” for the raid groups.
Loaded modules in the kernel and missing raid kernel modules.

To summarize it up:
- The disks are detected, so we drivers for SATA/SAS controller is loaded correctly.
- The software raid autodetected the MD devices, but they are in “INACTIVE STATE”. The RAID “Personalities” is missing.
But the second screenshot shows something strange, there is no RAID type!
Checking the what modules the kernel loaded shows no “raid1” or any raid kernel module and this is the problem. Initramd does not include kernel modules for software RAID devices. And the autodetect system and mdadm tool builds the software RAID groups, but without the RAID type and if you try to stop and assemble the RAIDs you will get the error:
personality for raid1 not loaded
The solution is to boot from a rescue CD (no this cannot be fixed from the dracut emergency console) and use dracut initram regeneration to include raid software kernel modules (in our case the raid1 kernel module):
dracut --regenerate-all --add-drivers raid1 --force
You may use any Linux rescue CD, but we used the Gentoo minimal install CD – http://mirror.leaseweb.com/gentoo/releases/amd64/autobuilds/current-install-amd64-minimal/. The ISO starting with “install-amd64-minimal”.
The full our log from the rescue CD
You can see under the rescue CD the raid groups are active and there is raid “personalities” – RAID1.
root@rescue ~ # cat /proc/mdstat
Personalities : [raid1]
md1 : active raid1 sda3[0] sdb3[1]
      33185792 blocks super 1.2 [2/2] [UU]

md0 : active raid1 sda2[0] sdb2[1]
      15611904 blocks super 1.2 [2/2] [UU]

unused devices: <none>
root@rescue ~ # mount /dev/md1 /mnt/
root@rescue ~ # mount -o bind /dev /mnt/dev
root@rescue ~ # mount -o bind /proc/ /mnt/proc/
root@rescue ~ # mount -o bind /sys /mnt/sys
root@rescue ~ # chroot /mnt/
root@rescue / # source /etc/profile
root@rescue / # cd
root@rescue ~ # dracut --regenerate-all --add-drivers raid1 --force
dracut: No '/dev/log' or 'logger' included for syslog logging
root@rescue ~ # ls -altr /boot/
total 112488
-rw-r--r--  1 root root      172 Sep 24 11:38 .vmlinuz-4.18.0-80.11.2.el8_0.x86_64.hmac
-rw-------  1 root root  3754058 Sep 24 11:40 System.map-4.18.0-80.11.2.el8_0.x86_64
-rw-r--r--  1 root root   180949 Sep 24 11:40 config-4.18.0-80.11.2.el8_0.x86_64
-rwxr-xr-x  1 root root  7876856 Sep 24 11:40 vmlinuz-4.18.0-80.11.2.el8_0.x86_64
drwx------  2 root root     4096 Oct 21 11:31 lost+found
drwxr-xr-x  3 root root     4096 Oct 21 11:34 efi
drwxr-xr-x  3 root root     4096 Oct 21 11:35 loader
-rwxr-xr-x  1 root root  7876856 Oct 21 11:36 vmlinuz-0-rescue-08cfb085013d499ea540d6b71bf281ed
-rw-------  1 root root 57858847 Oct 21 11:37 initramfs-0-rescue-08cfb085013d499ea540d6b71bf281ed.img
dr-xr-xr-x  6 root root     4096 Oct 21 12:17 .
-rw-------  1 root root 15265476 Oct 21 12:17 initramfs-4.18.0-80.11.2.el8_0.x86_64kdump.img
dr-xr-xr-x 19 root root     4096 Oct 23 04:17 ..
drwx------  4 root root     4096 Oct 26 06:38 grub2
-rw-------  1 root root 22331106 Oct 26 14:42 initramfs-4.18.0-80.11.2.el8_0.x86_64.img
root@rescue ~ # exit
root@rescue ~ # umount /mnt/dev
root@rescue ~ # umount /mnt/sys
root@rescue ~ # umount /mnt/proc
root@rescue ~ # umount /mnt/
root@rescue ~ # reboot
Check if initramfs was just generated.
How do we get to this error? Most server providers on the Internet do not offer automated installation of CentOS 8 so we have a manual procedure to install CentOS 8. It decompresses a tar archive with the minimal CentOS 8 installation and configures the network and then fixes some permissions, which involves dracut regeneration of initram to include the kernel modules for the current server like the SATA controller and so on. And despite the original image including all needed kernel modules after dracut regeneration the RAID1 kernel module was not included! If you get in this situation to have a software raid and need to use dracut to regenerate the initram from a boot cd bare in mind you must include raid modules (like raid0, raid1 and so on) explicitly.
I got an error very similar to this but the root cause was that I was using unetbootin to create a bootable USB drive.
To resolve I used dd to create a bootable USB drive, by inserting the USB drive and running ‘df’ to locate the mounted volume.
$ df
Filesystem 1K-blocks Used Available Use% Mounted on
/dev/root 2451064 987064 1361600 43% /
none 253576 4 253572 1% /dev
/tmp 255684 604 255080 1% /tmp
/run 255684 3572 252112 2% /run
/dev/sds1 10150 9682 468 96% /volumeUSB1/usbshare1
Then unmount the USB drive (do not eject it), for example:
$ sudo umount /dev/sds1
Use dd to write the image to the device (note sds1 -> sds), command below:
$ sudo dd bs=4M if=CentOS-8.1.1911-x86_64-dvd1.iso of=/dev/sds
I stumbled over this problem in CENTOS while trying to install 8 Stream on a fresh Thinkpad T14 gen1.
Gave up on trying to understand what made it fail itself.
I googled and and found among others this explanation. Thanks for posting it – it might help a lot of people trying to give CentOS a chance 🙂
My solution was even simpler and quite swift:
Download Ubuntu 22.04 LTS (3.5G compared to the failing CentOS 8 11GB)
Write it to a USB stick (Rufus). Stick it in the [T14] laptop.
Boot.
Click yes a few times. Wait som 5 minutes. (Notice that it[Ubuntu] did in fact boot, CentOS developers?)
Boot into the new Ubuntu 22.04 LTS installation.
Enjoy Linux.
[ Optionally: Forget CentOS. ]
Have a nice day 😉