SCREENSHOT 31) Now the installation setup is configuring the system.
SCREENSHOT 32) Several more packages to install before the system is ready.

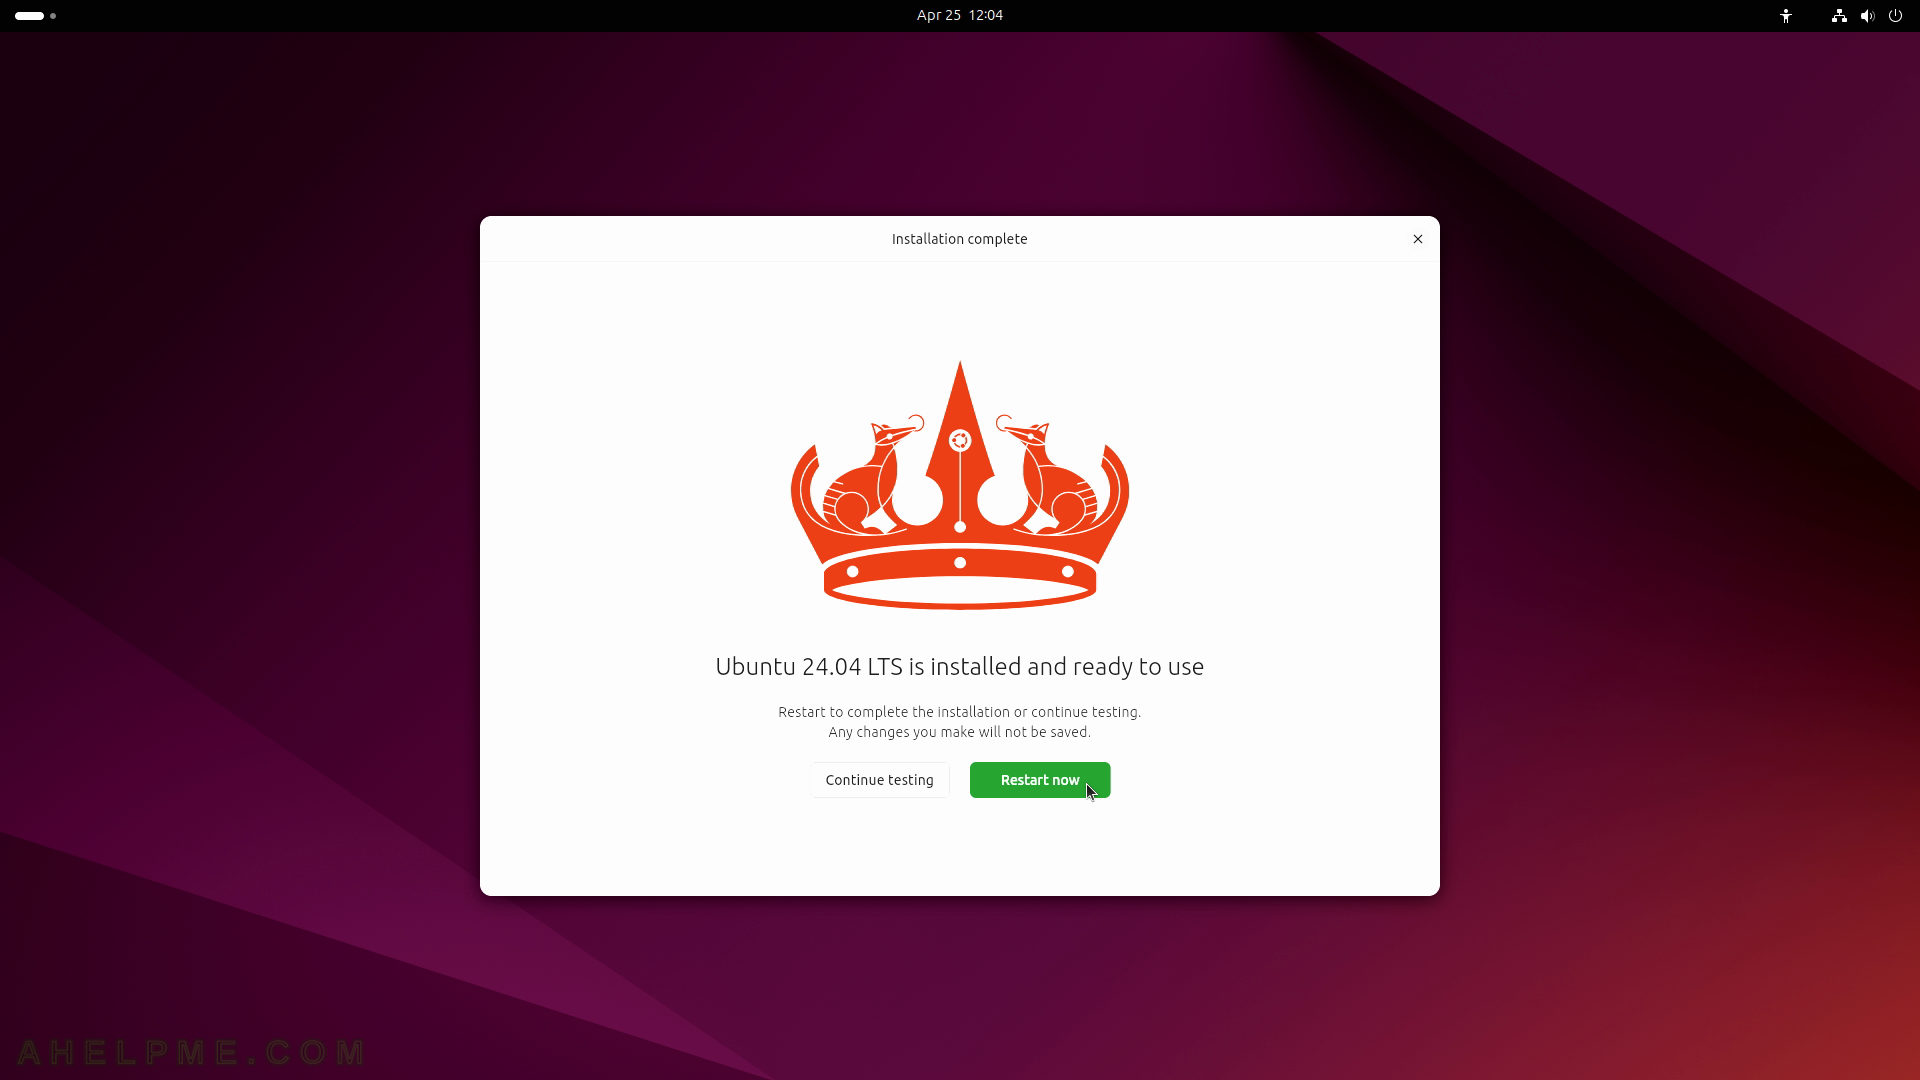
SCREENSHOT 33) The Ubuntu 24.04 LTS is installed and ready to use.
Just restart the system by clicking on “Restart Now” to boot in the newly installed Ubuntu.
SCREENSHOT 34) The Ubuntu installation setup is restarting.
It is the right time to remove the USB/DVD installation media.

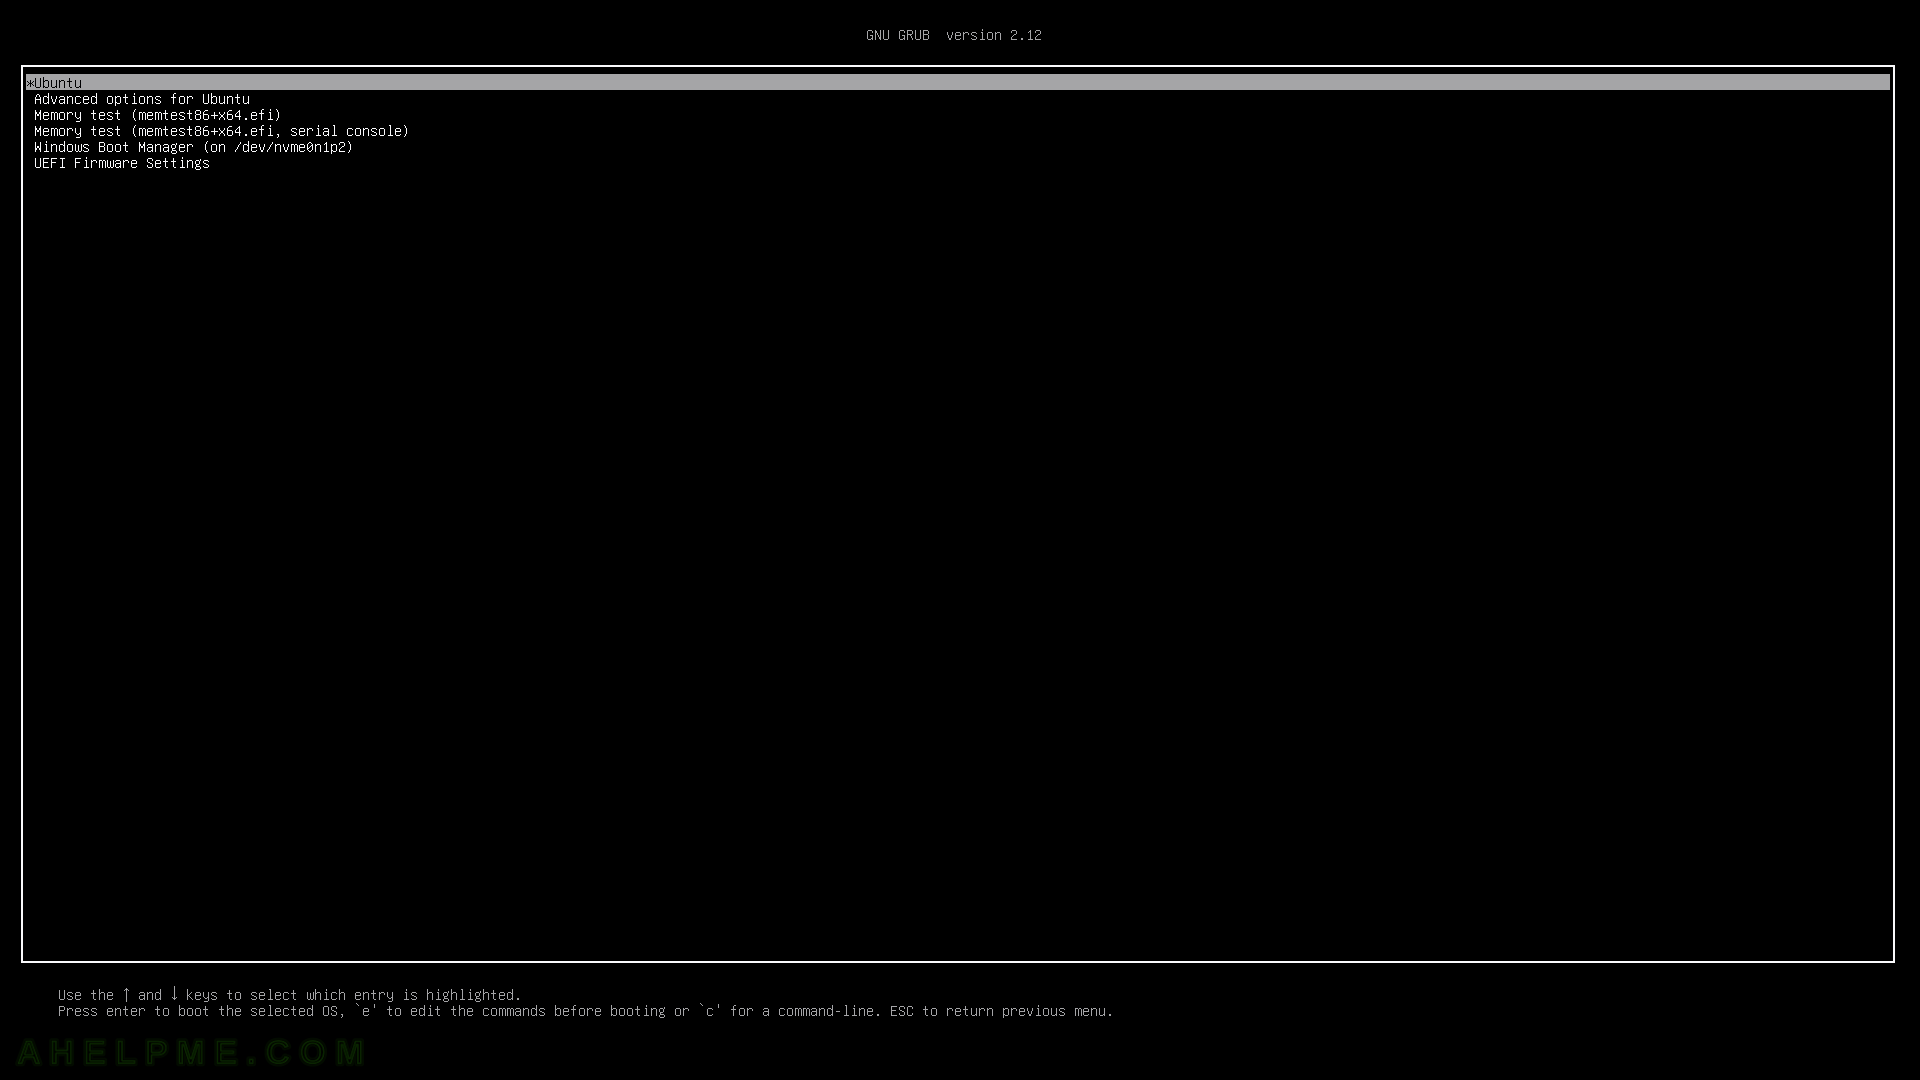
SCREENSHOT 35) The Grub 2.12 menu looks like this – Ubuntu Desktop 24.04 LTS is at first place and the default option.
Hit “Enter” or wait for 10 seconds to load. The fifth line is for Window boot.
SCREENSHOT 36) The Ubuntu Desktop 24.04 LTS is booting.

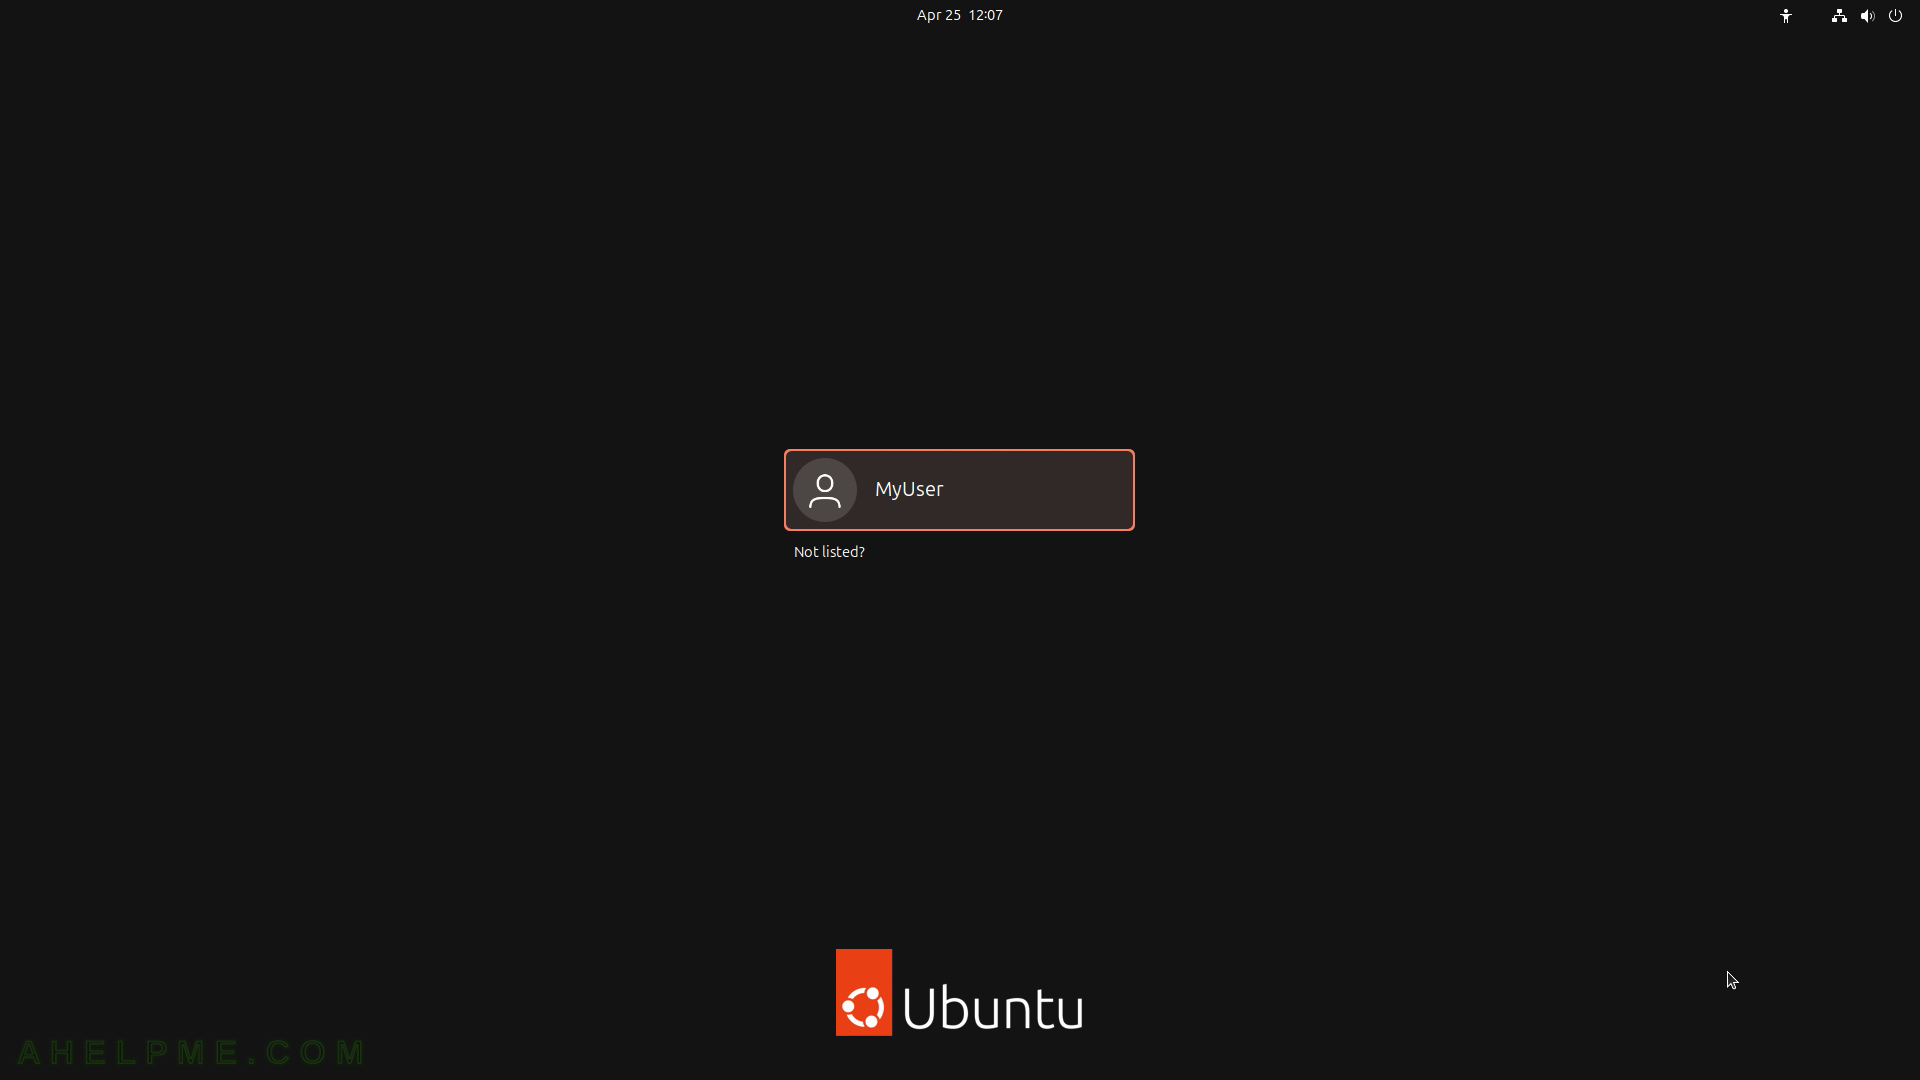
SCREENSHOT 37) The default login screen of Ubuntu 24.04 LTS, select the username.
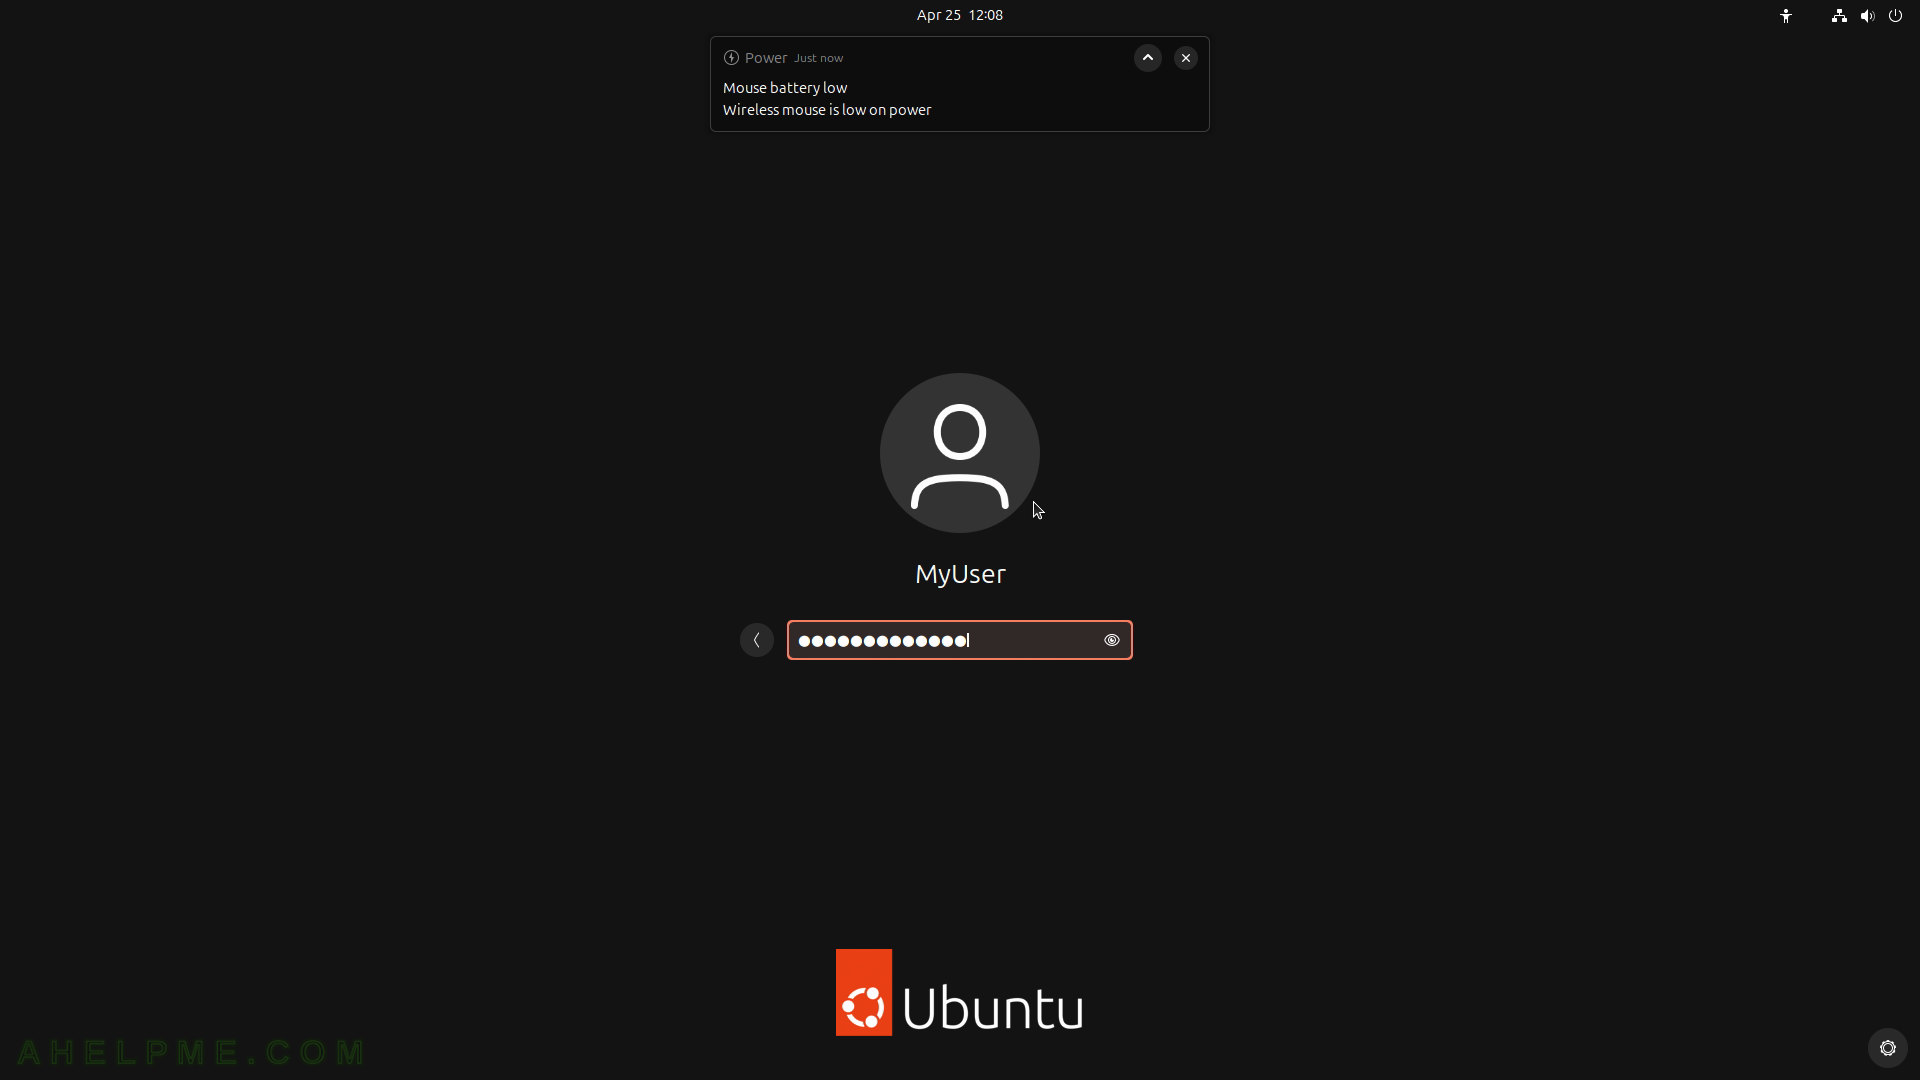
SCREENSHOT 38) Enter the password and then hit “Enter”.
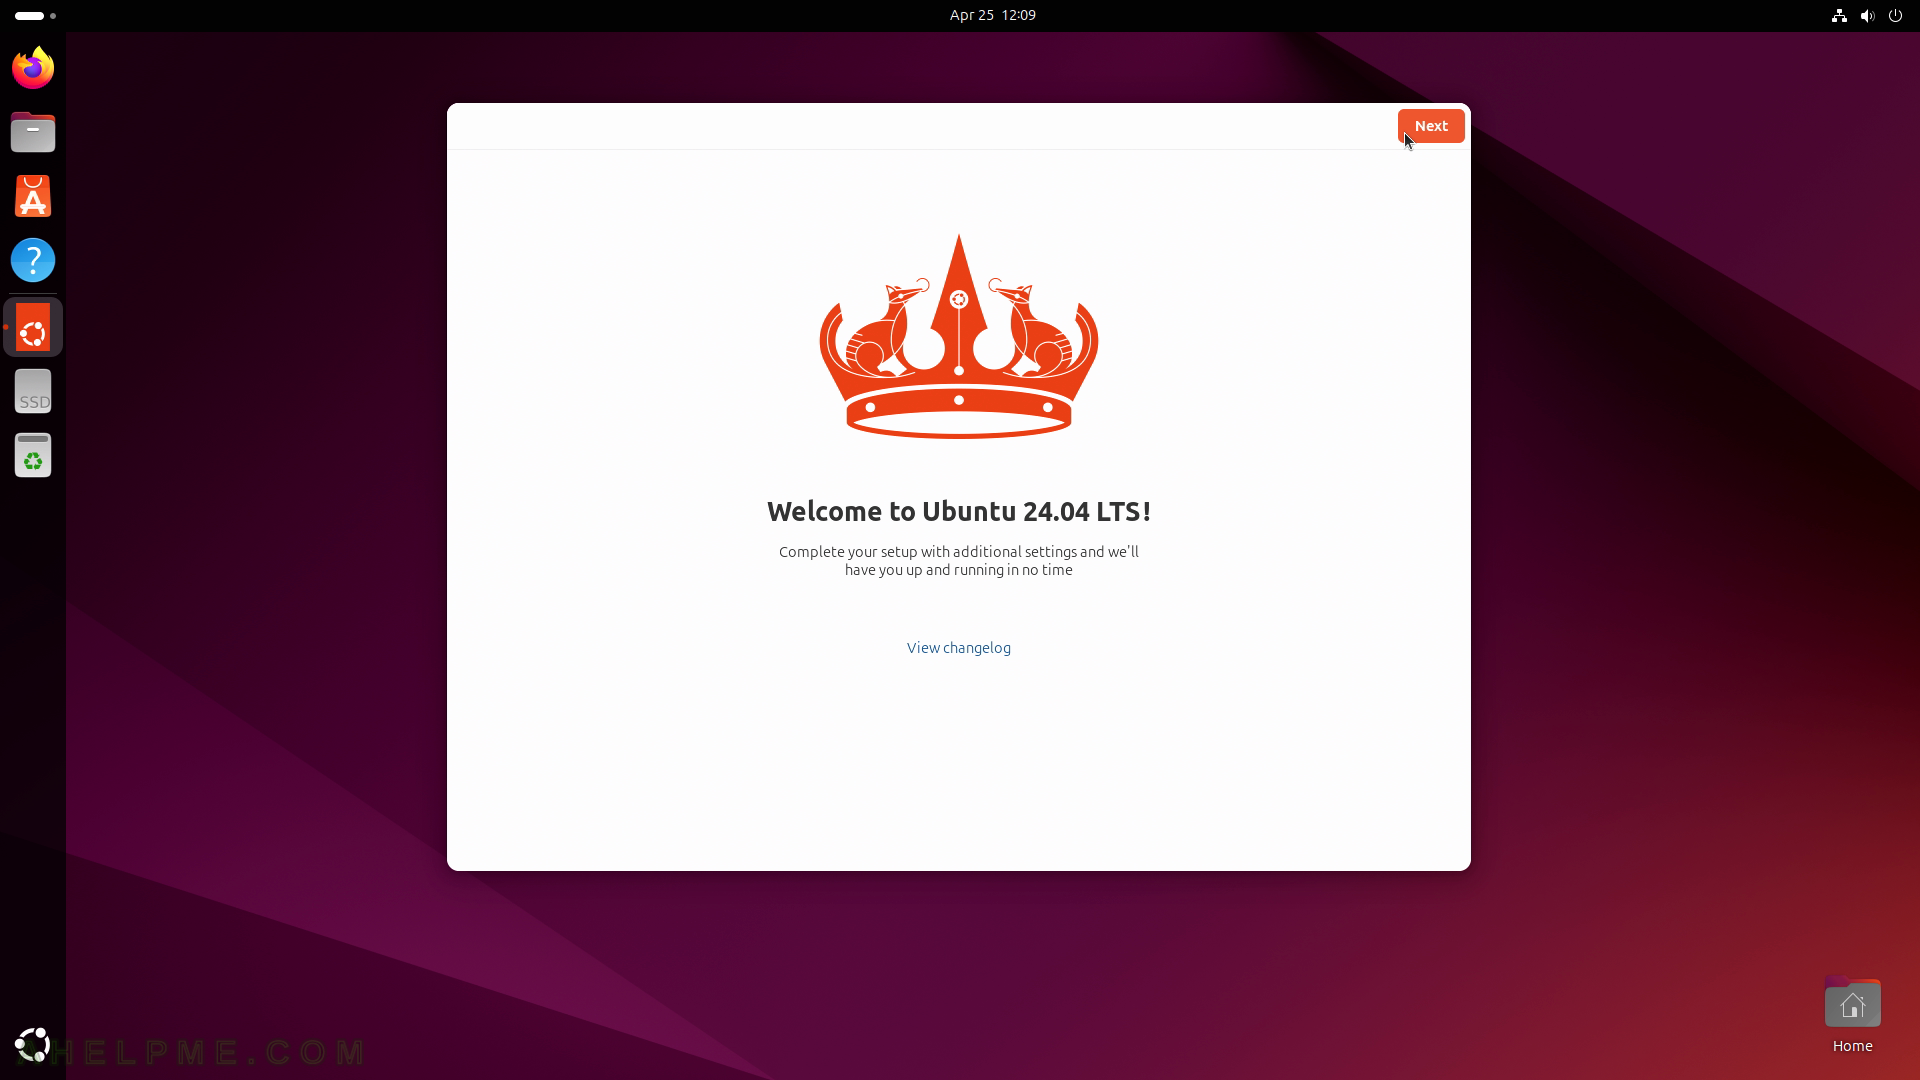
SCREENSHOT 39) The first login Welcome to Ubuntu 24.04 LTS screen.
There is an Internet link to the change log between the old Ubuntu 22.04 and 24.04. Click on the “Next”.
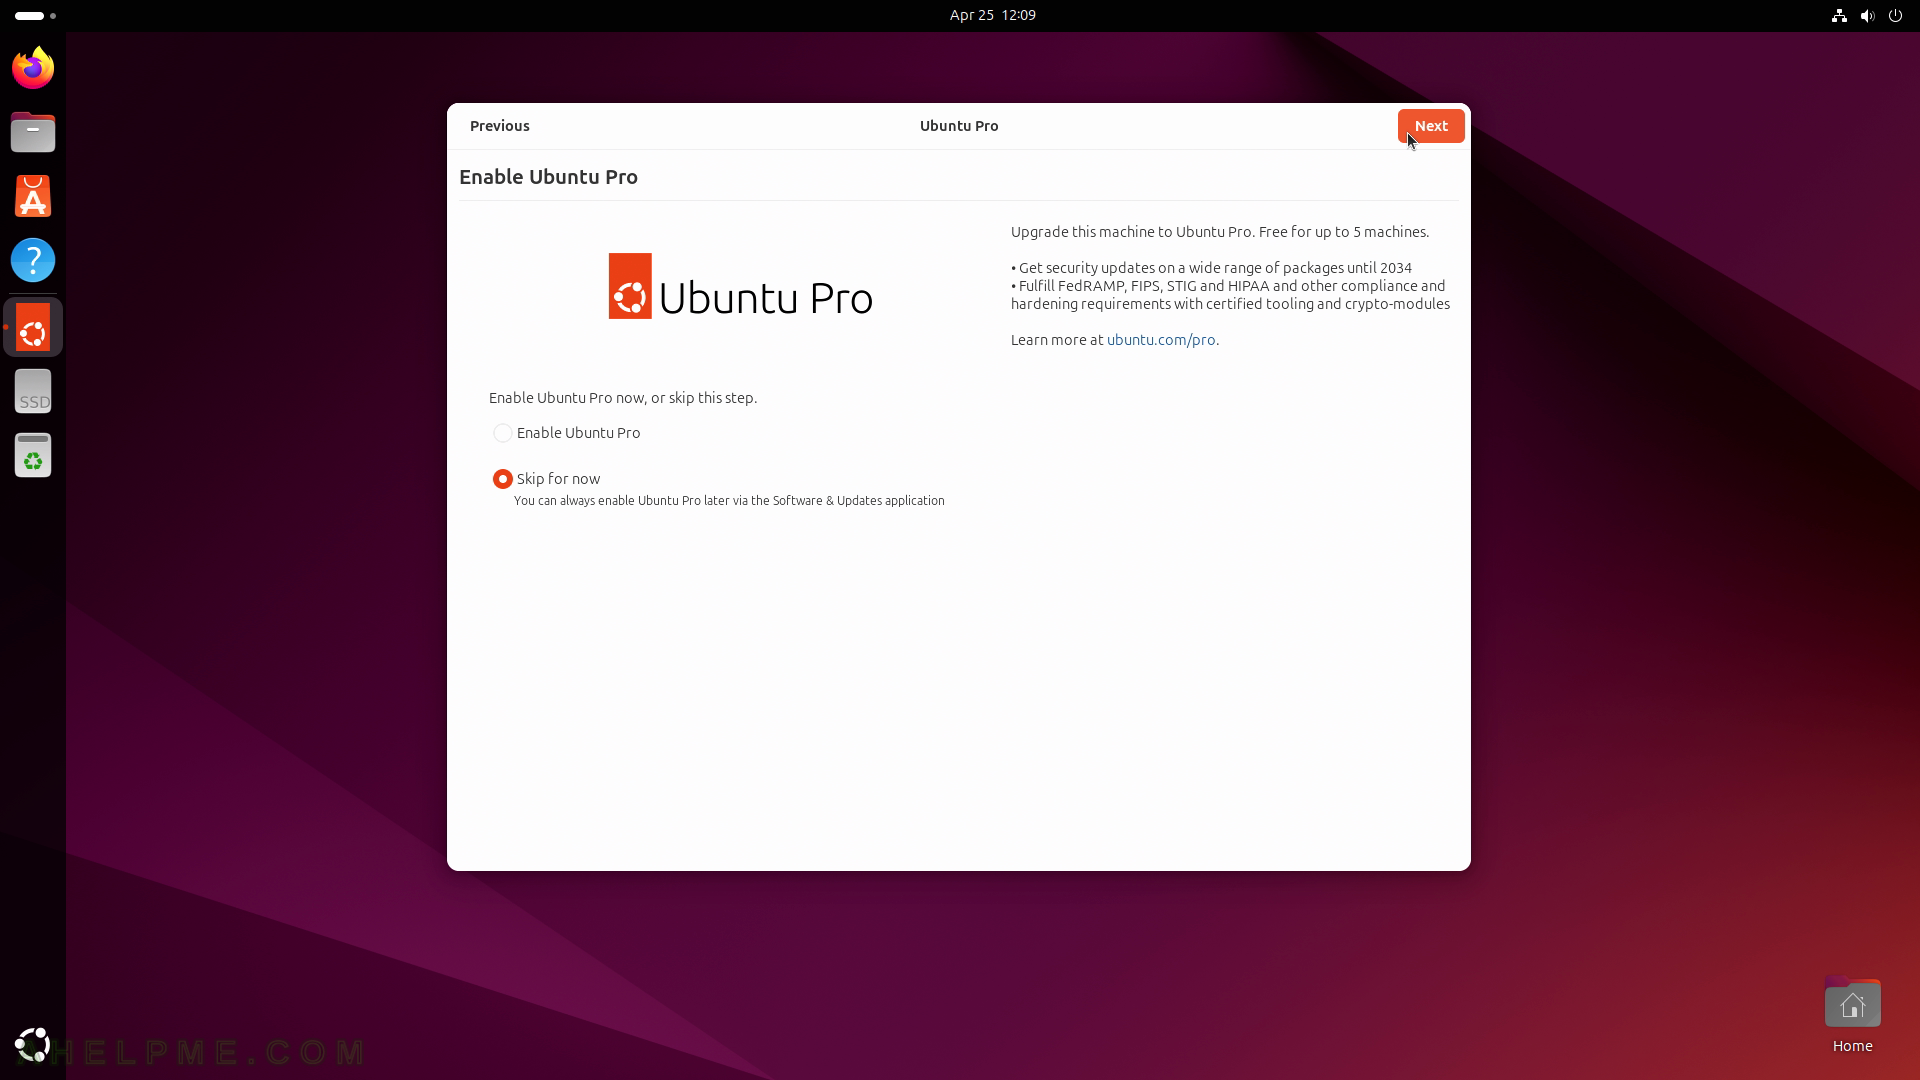
SCREENSHOT 40) Enable Ubuntu Pro for additional support till the year 2034.
Skip it. It can be enabled anytime from the settings.