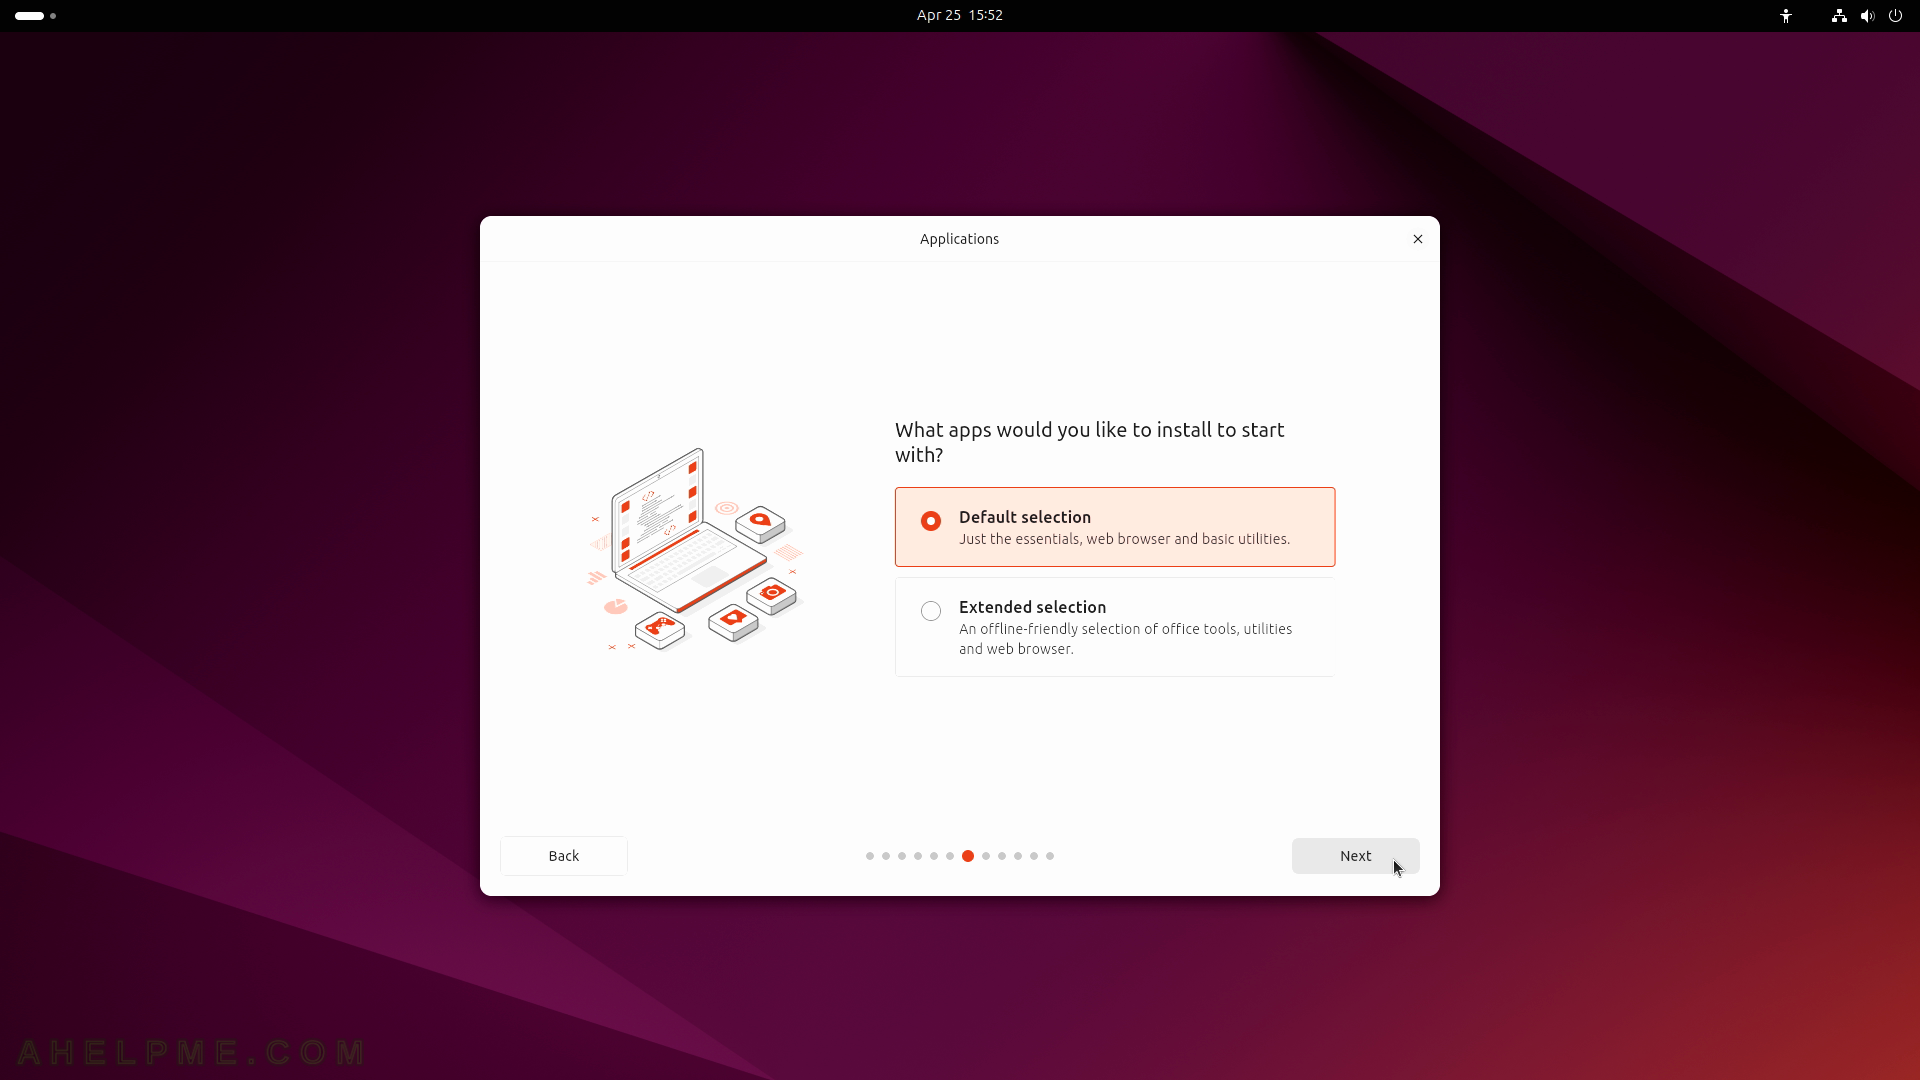
SCREENSHOT 11) What types of application to install the initial set-up?
The first and the default selection is to install only the minimal application without any Office and utility tools. The second will install Office software like LibreOffice and more utilities.
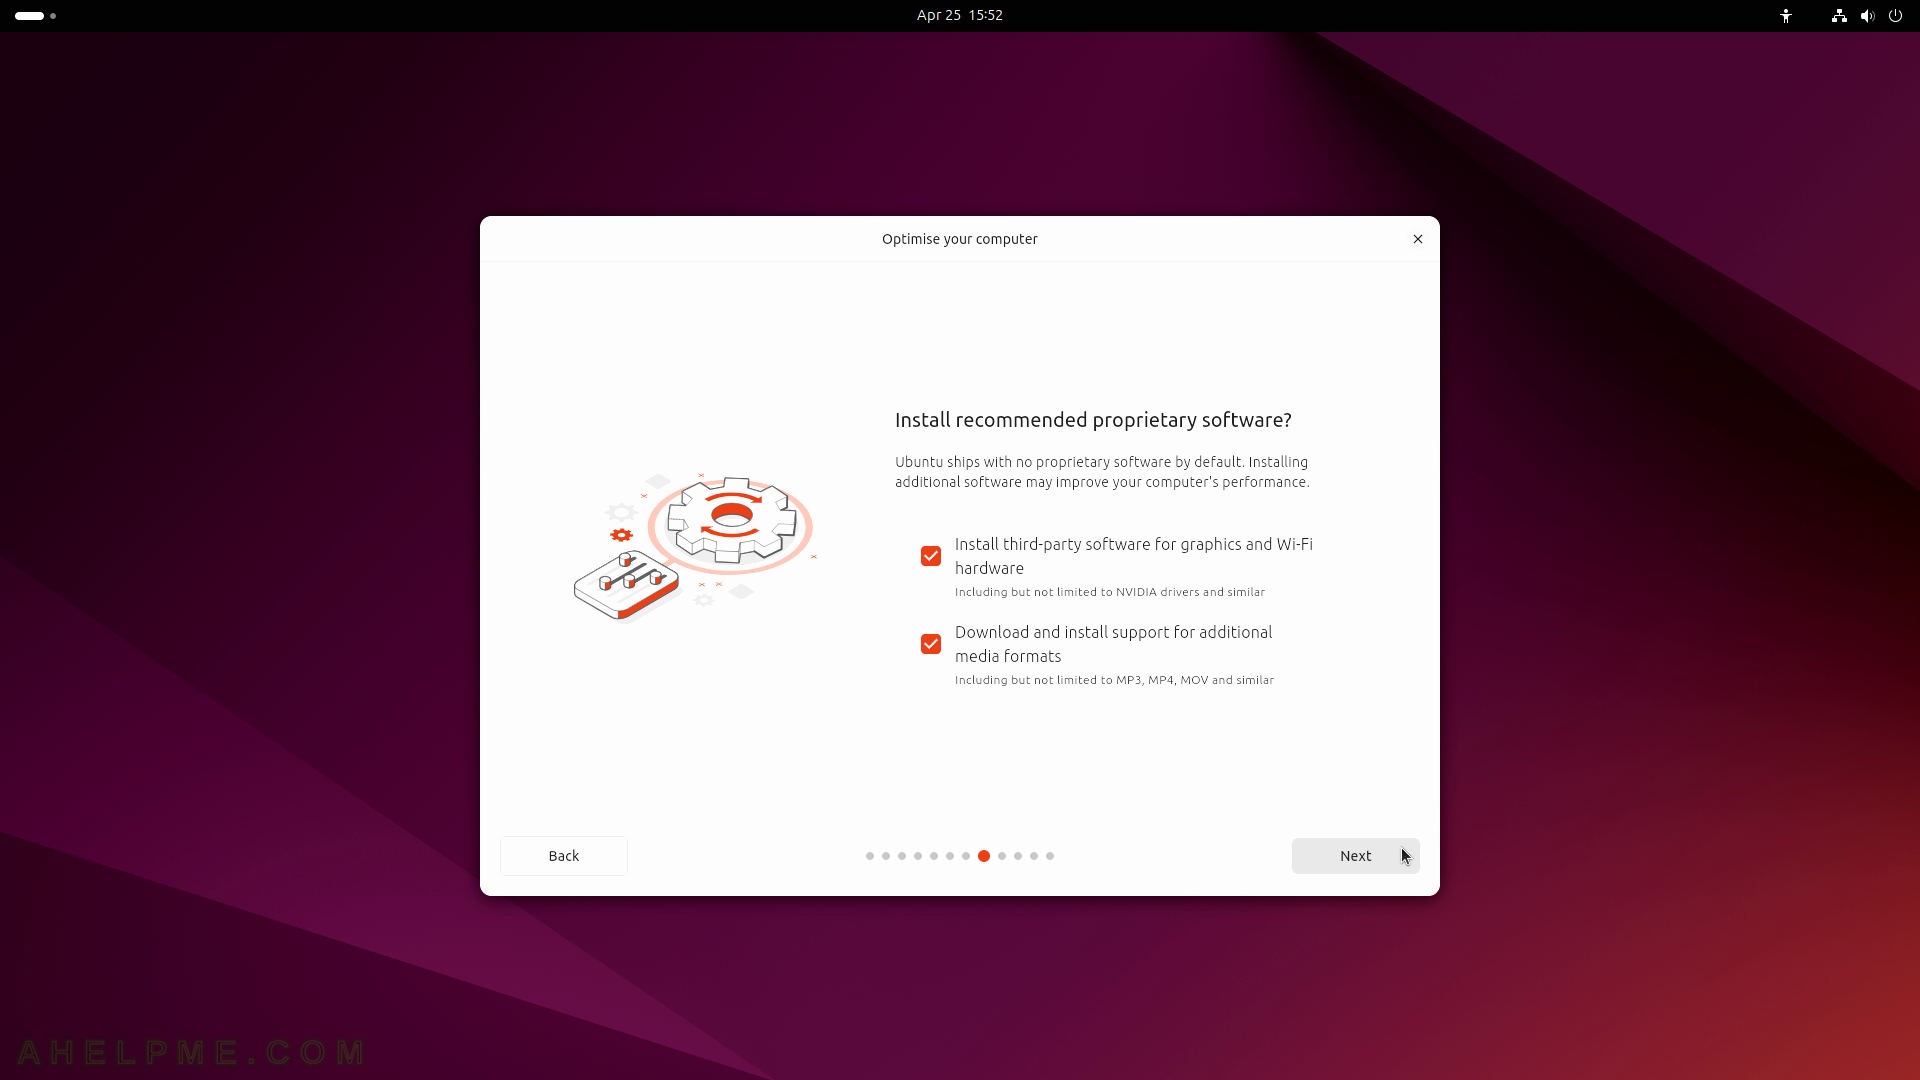
SCREENSHOT 12) Select the two options – Install third-party software for graphics and Wi-Fi hardware and additional media formats.
This is a Desktop computer, it should include all software, which simplify and is productive for the Desktop environment. The third-party software will install some proprietary software and you’ll have a better experience with the system.
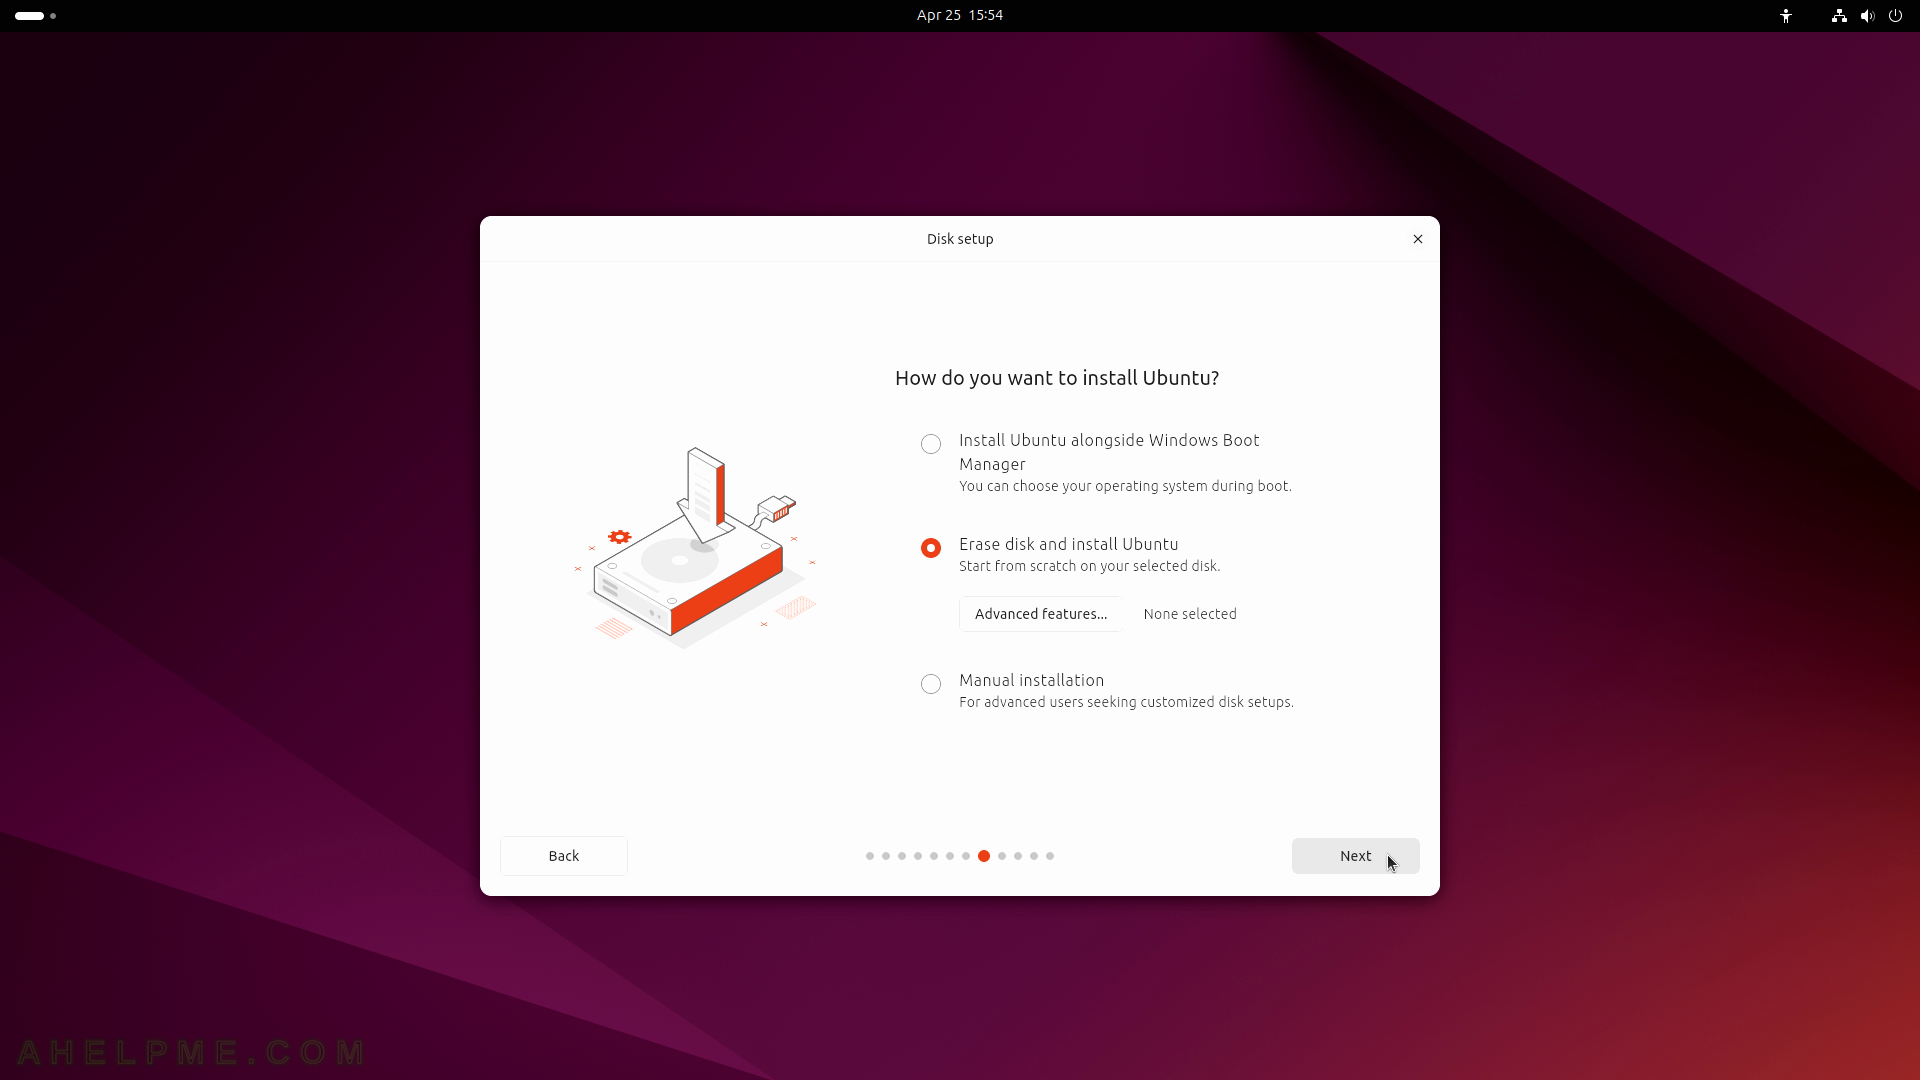
SCREENSHOT 13) Choose the second option – “Erase disk and install Ubuntu”.
As mentioned before this article is showing the dual boot option with Windows along side, so the right disk should be selected for the Ubuntu installation. There are several key options to consider when installing on a system, which has several drives and data to be preserved. This option could customize the hard disk layout and choose on which hardware device to install Ubuntu. Click on “Next”.
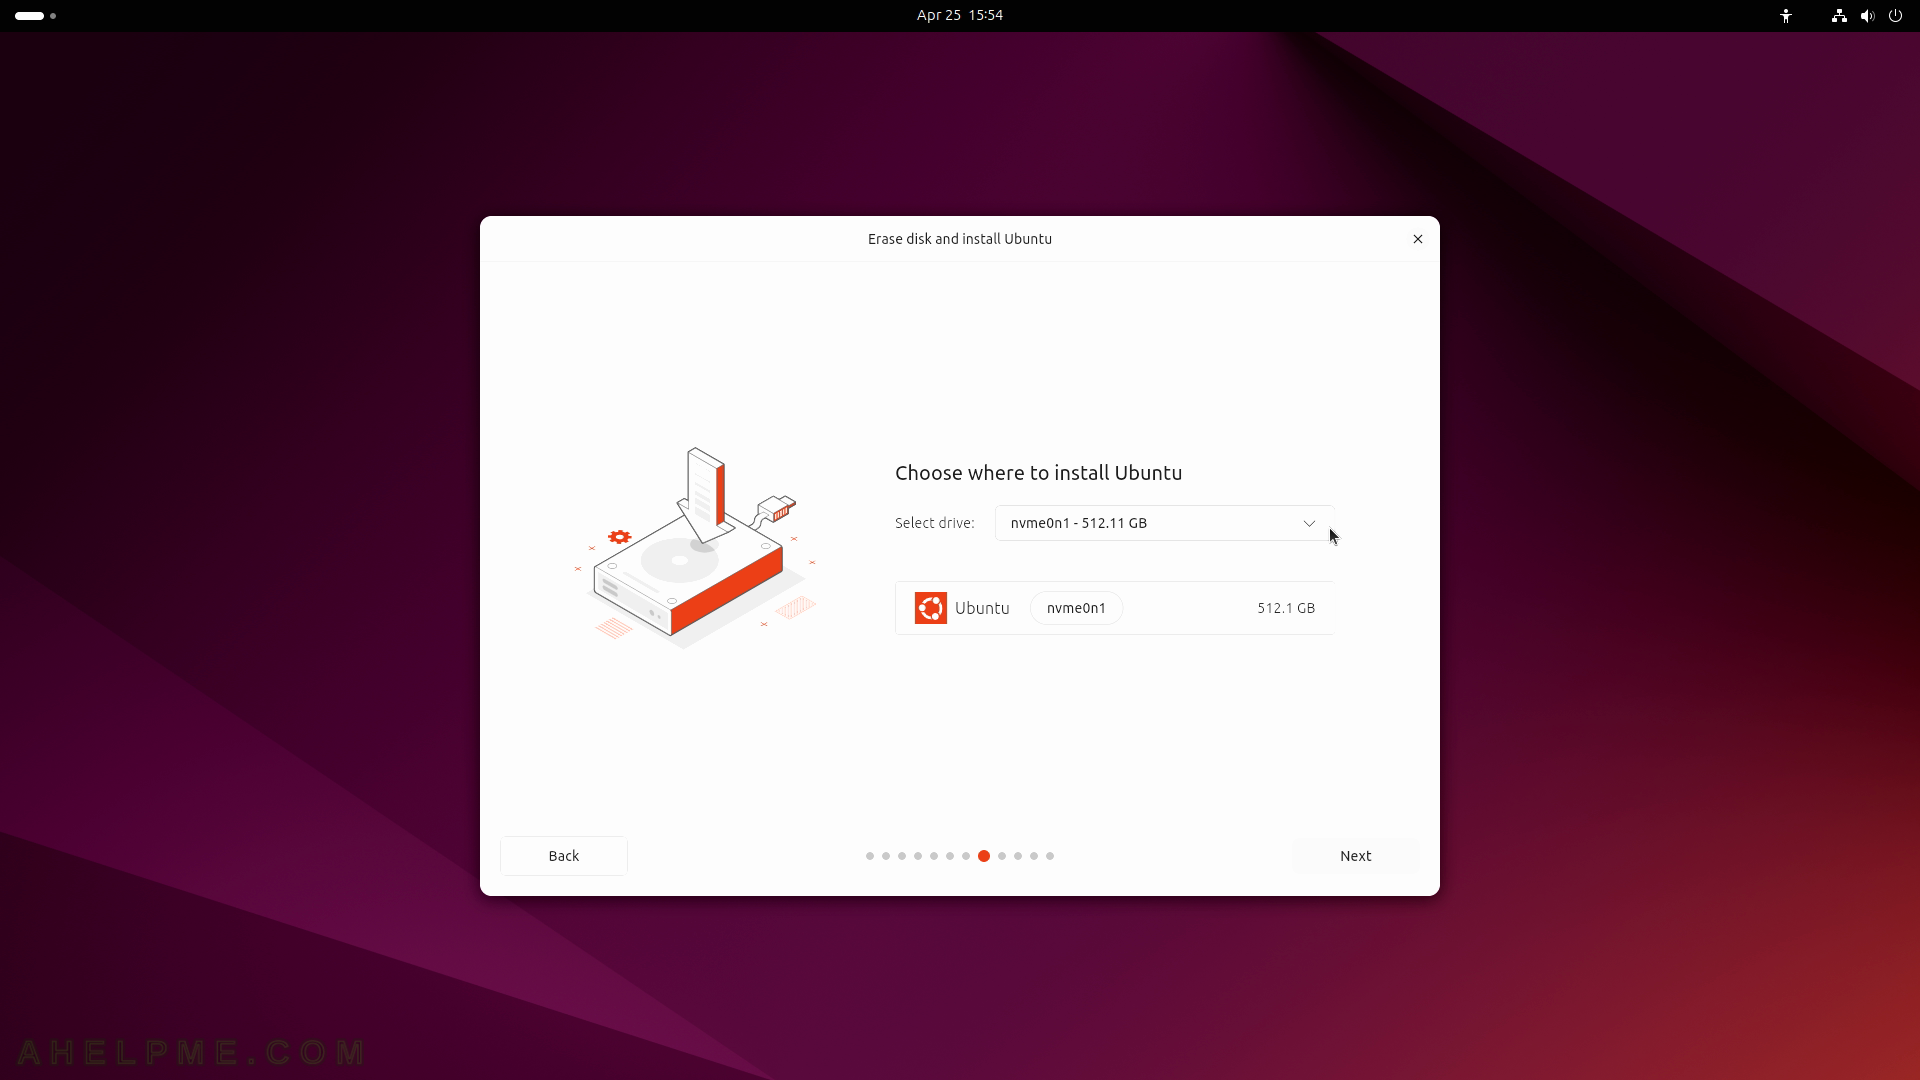
SCREENSHOT 14) Select the right disk by clicking on the drop-down list box.
By default, the NVME disk is selected, which is the Windows installation, so this must be changed or all data on the Windows disk will be lost! Be careful when choosing the right disk, on which the Ubuntu should be installed.
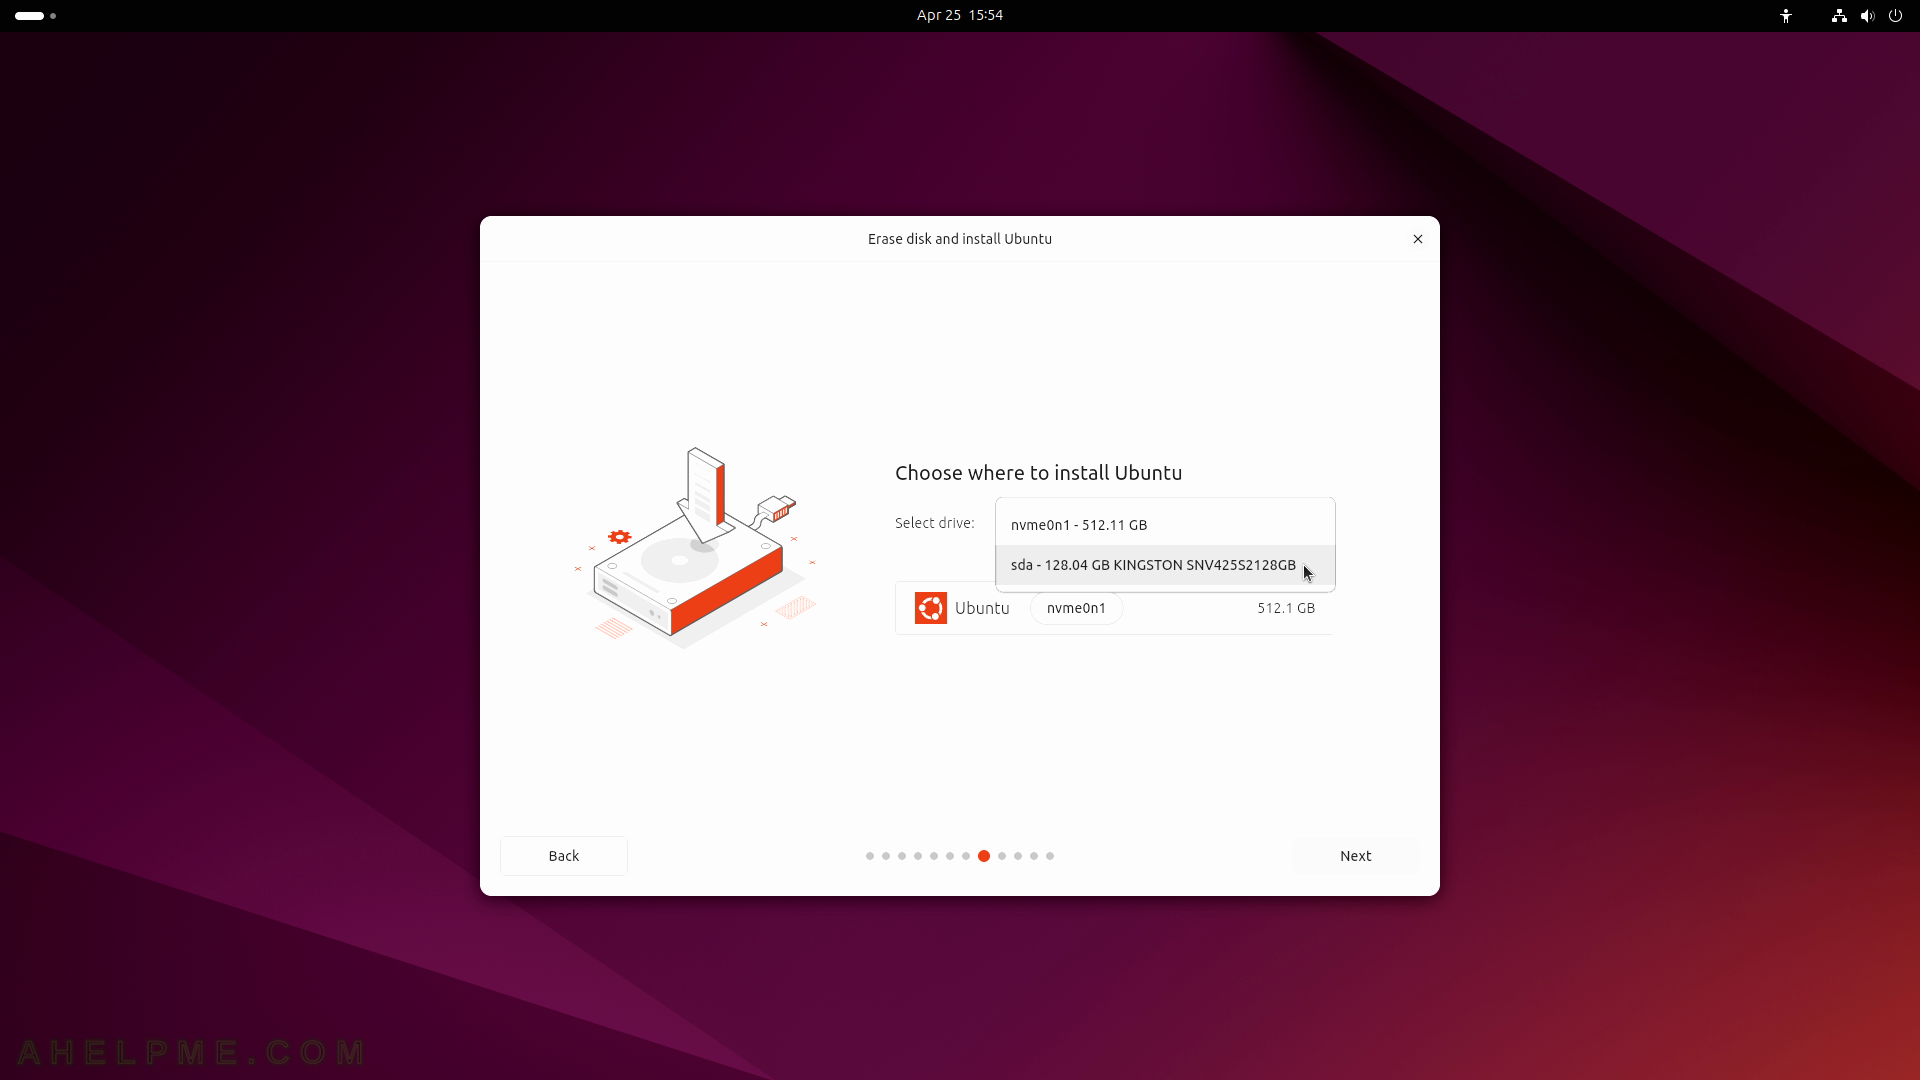
SCREENSHOT 15) Select the second disk – sda to install Ubuntu on it.
All disk on this hard disk will be removed and the Ubuntu installation setup will modify the disk layout and will install Ubuntu Desktop LTS 24.04 on it. All data will be deleted on this disk!
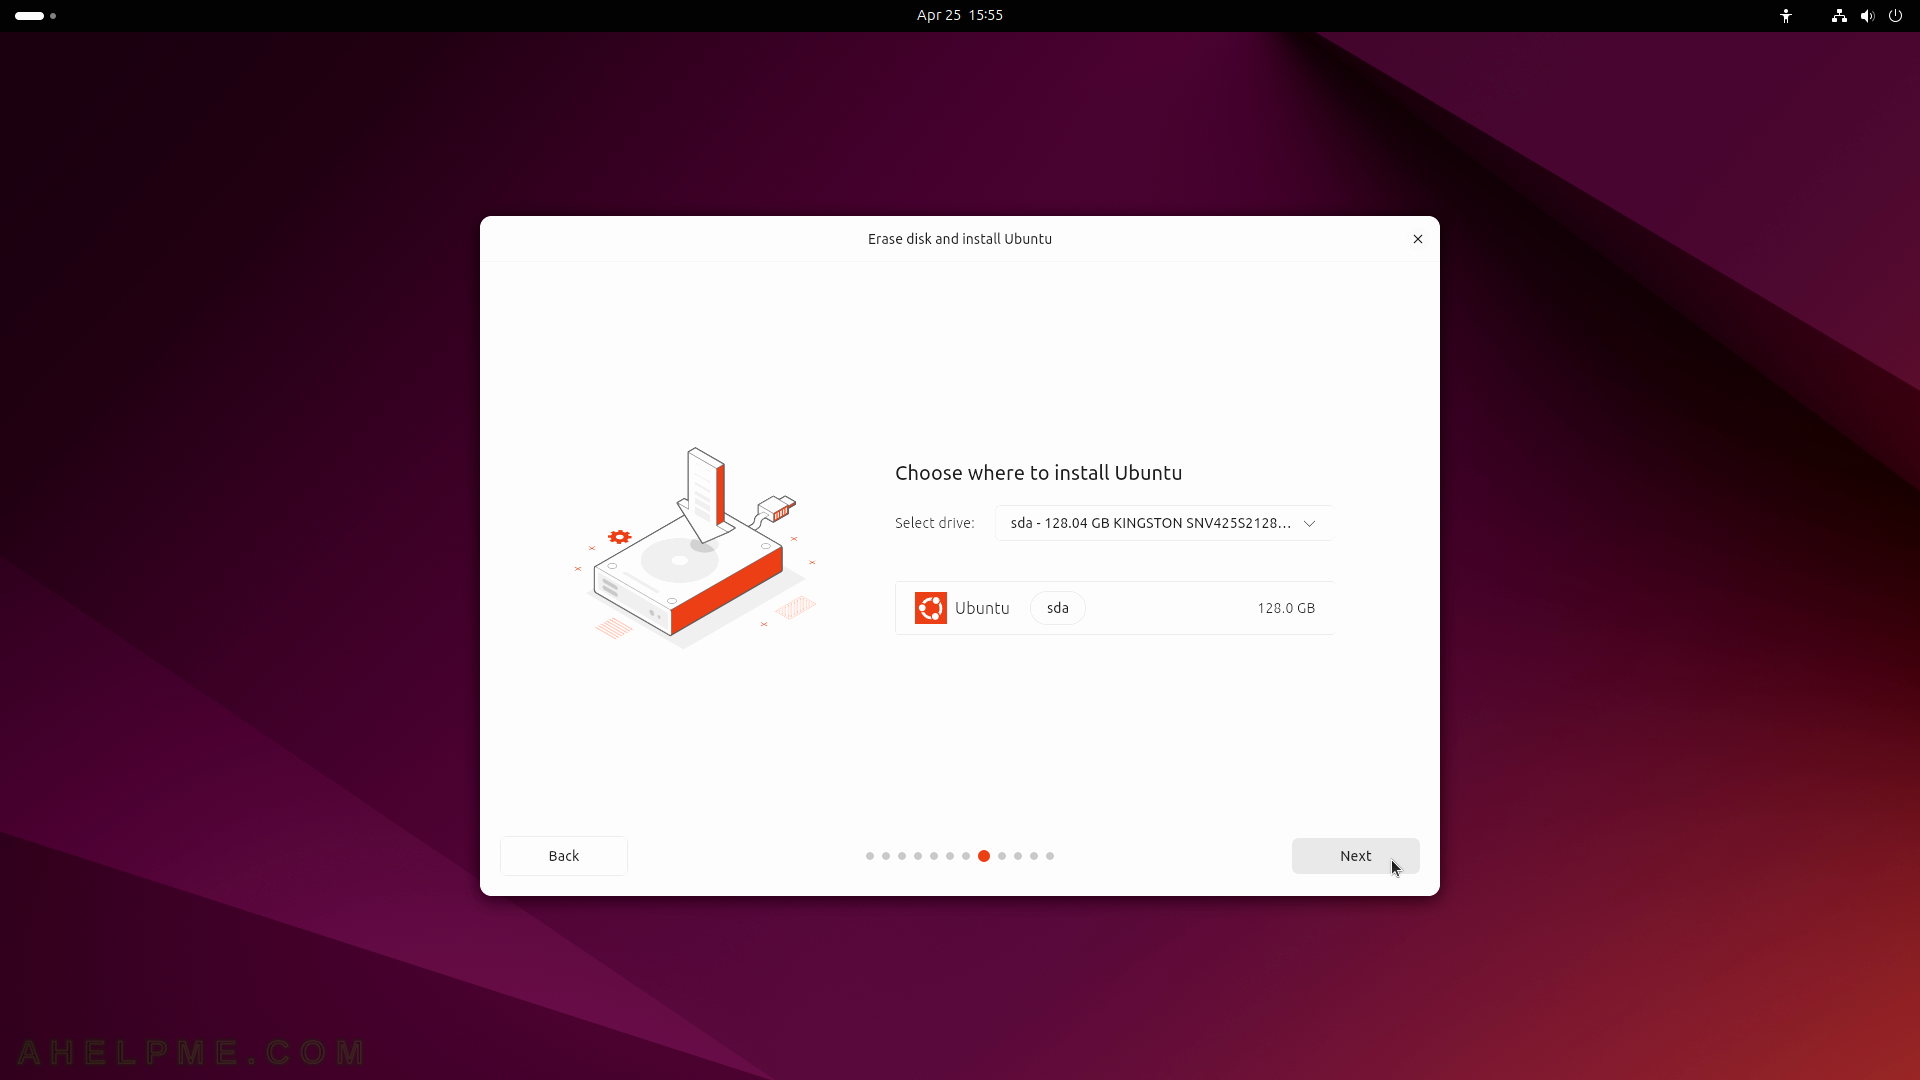
SCREENSHOT 16) Continue by clicking on “Next” when the right disk for Ubuntu is selected.
It is better to install the bootloader program on the same disk, in which the Ubuntu 24.04 LTS installation occurs. The installation wizard will leave untouched the current Windows (or other OS boot loader program) installed on other disks.
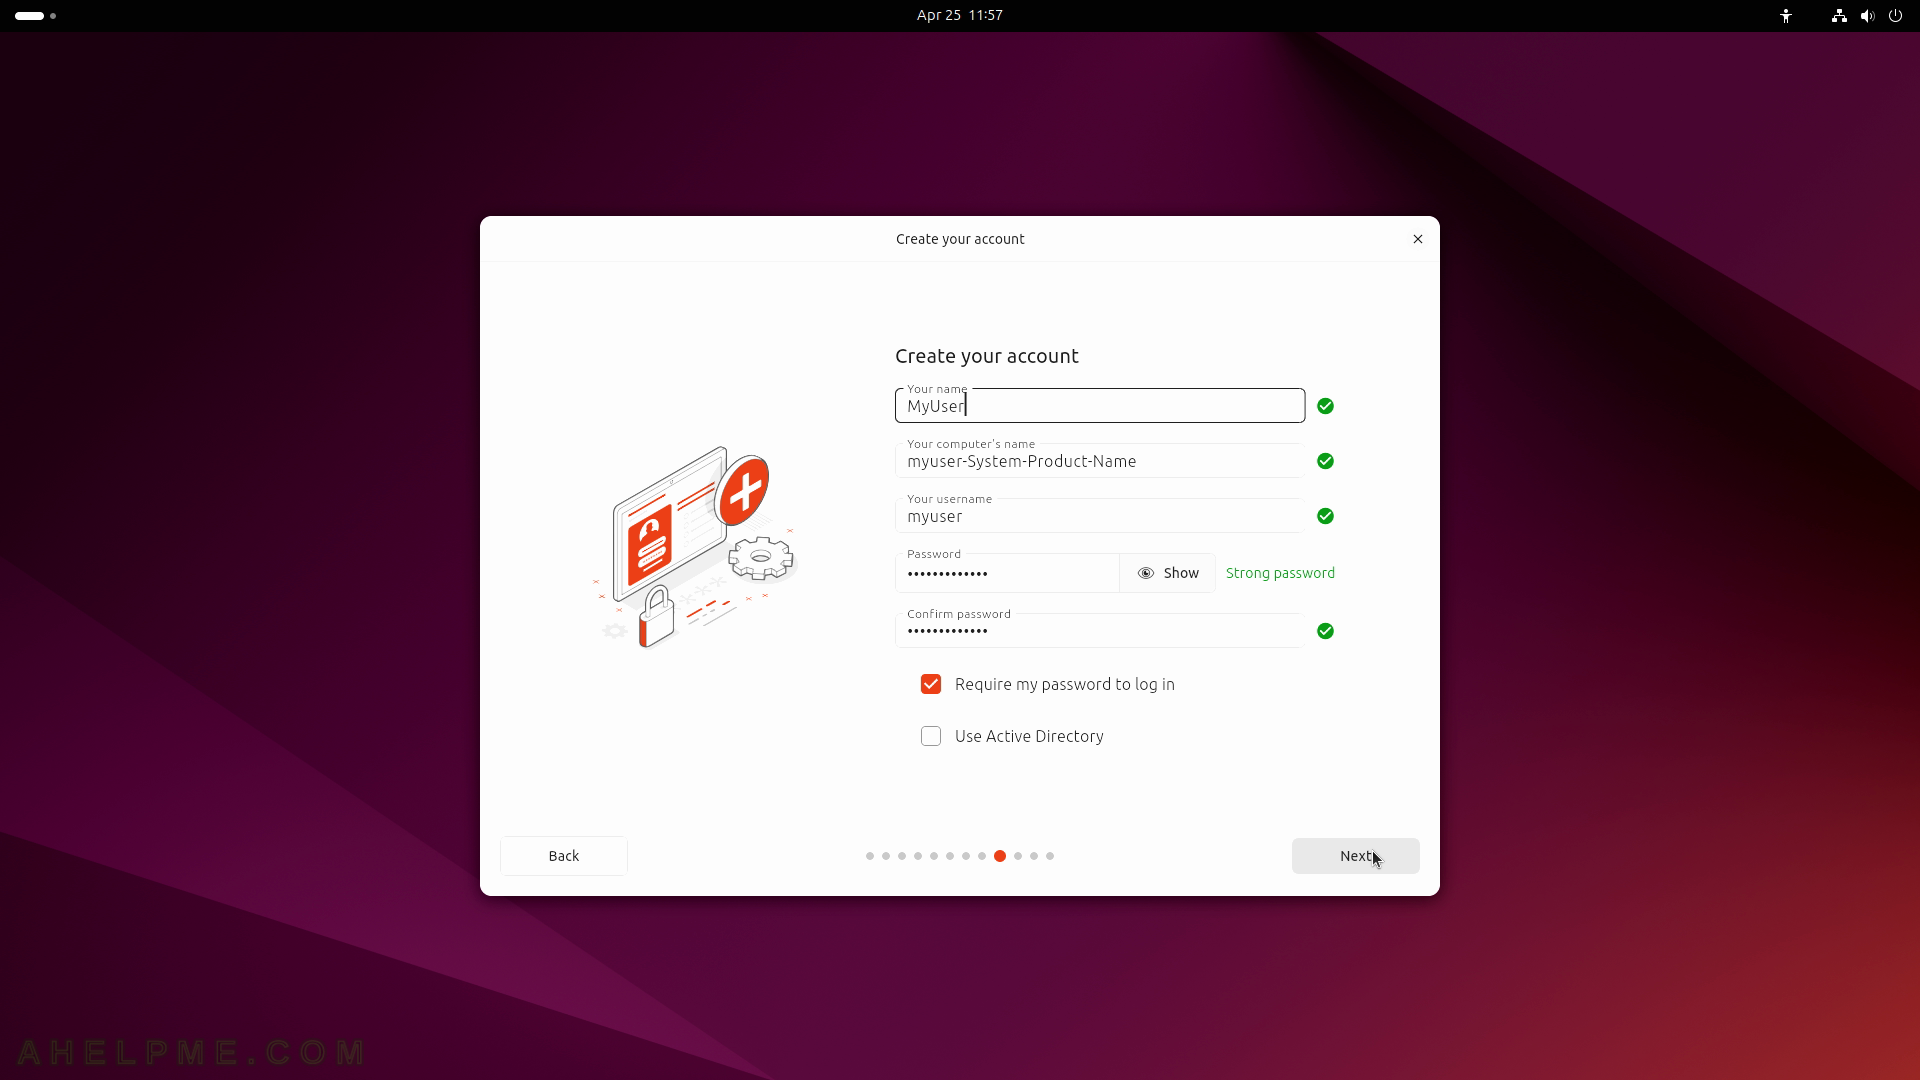
SCREENSHOT 17) Create the main user account, which has administrative privileges.
Set the computer’s name and a strong password.
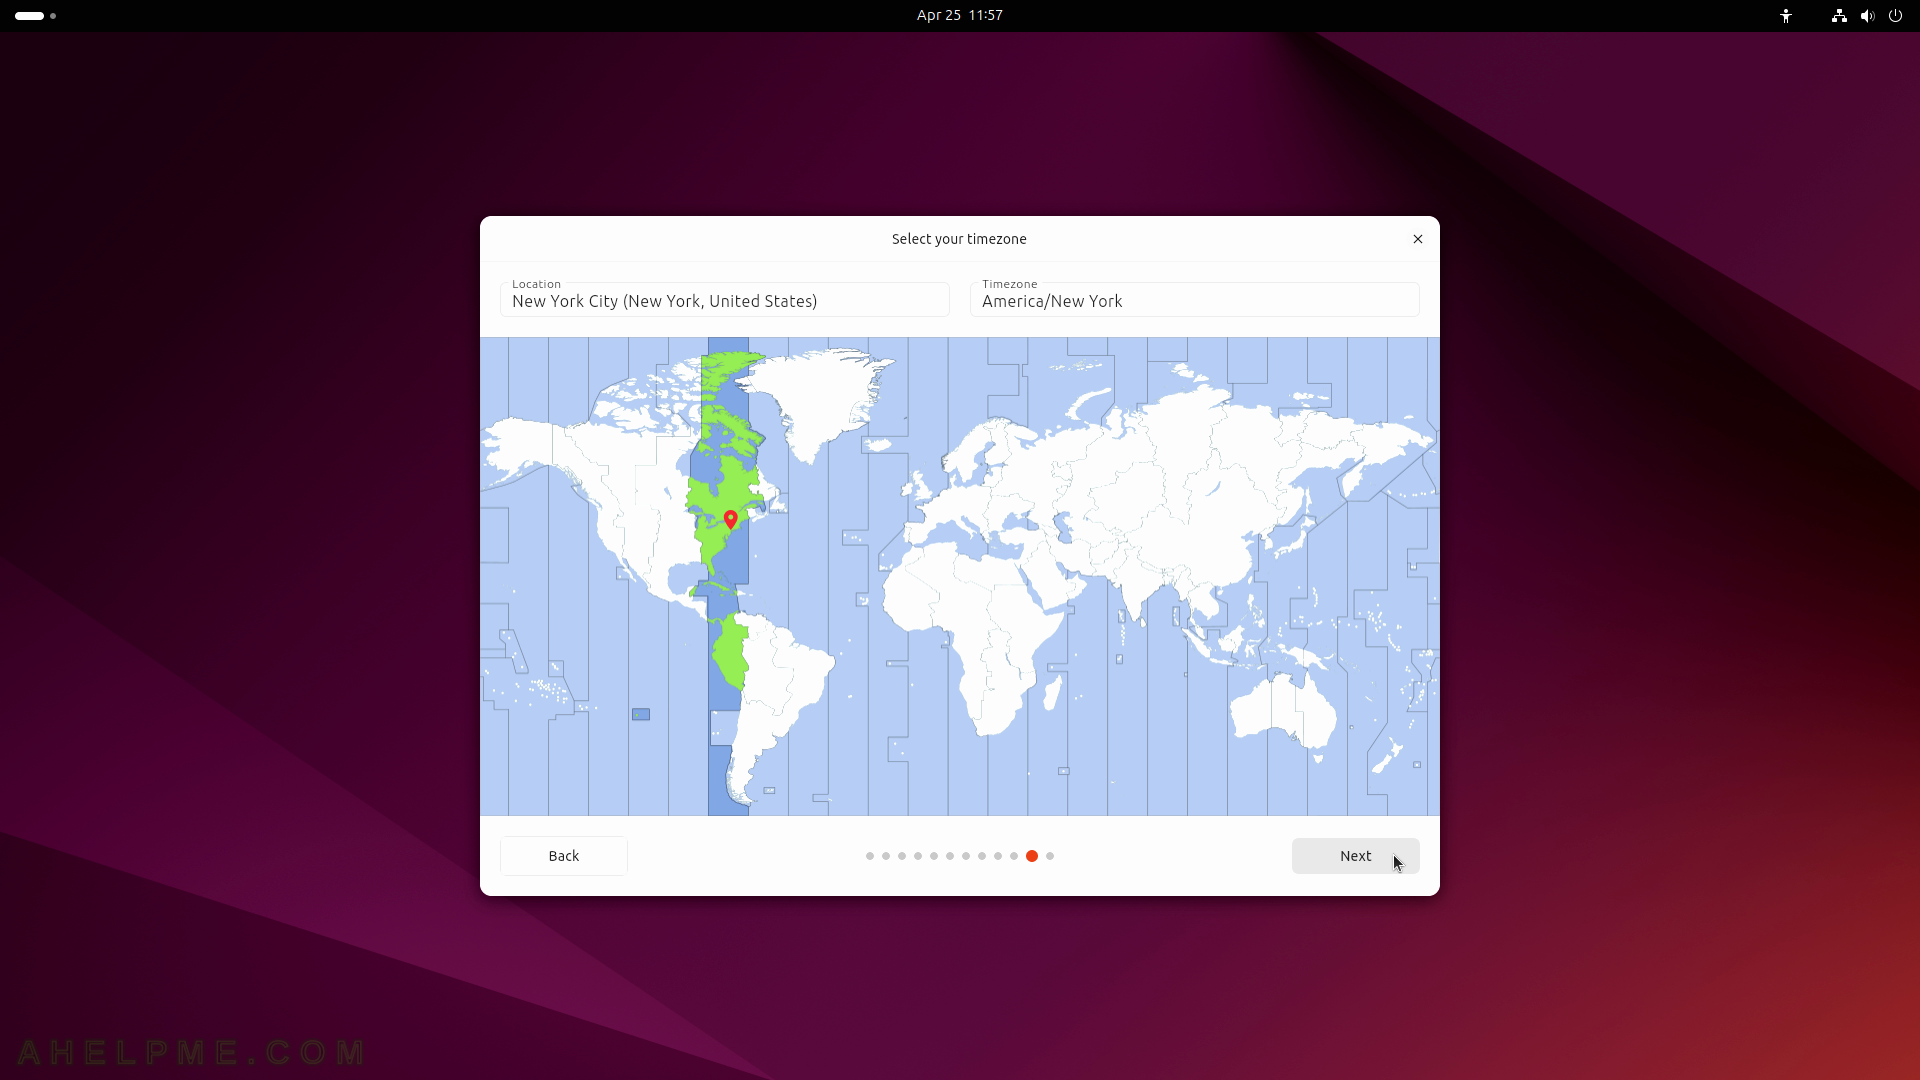
SCREENSHOT 18) Select your timezone to configure your clock.
Probably the default is ok, the setup tries to autodetect it. Click on “Next”.
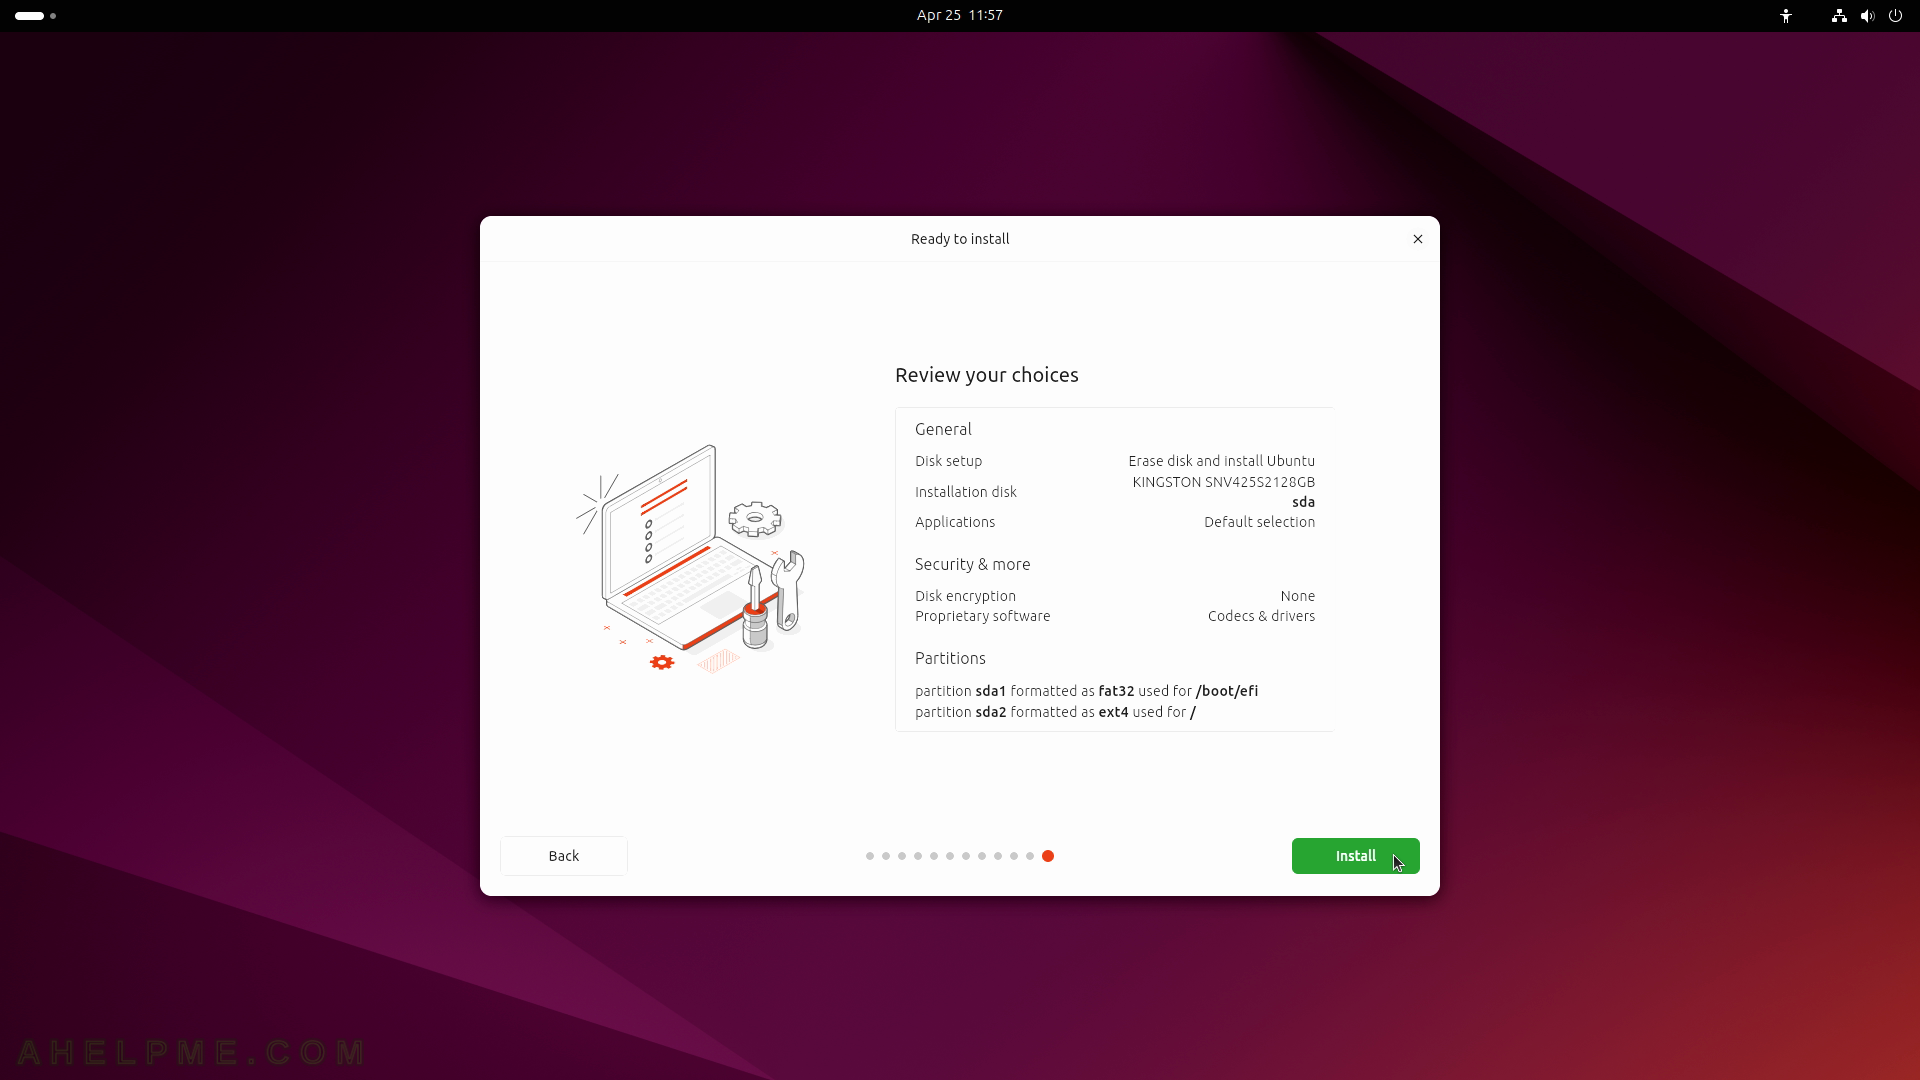
SCREENSHOT 19) By clicking on “Install”, the setup will begin installing Ubuntu.
The first step will be to erase the selected disk for installation and to create a new disk layout. This operation is destructive and irreversible, so be absolutely sure the sda disk is the right device for a whole disk installation and there is no valuable information on it. Click on “Install”.
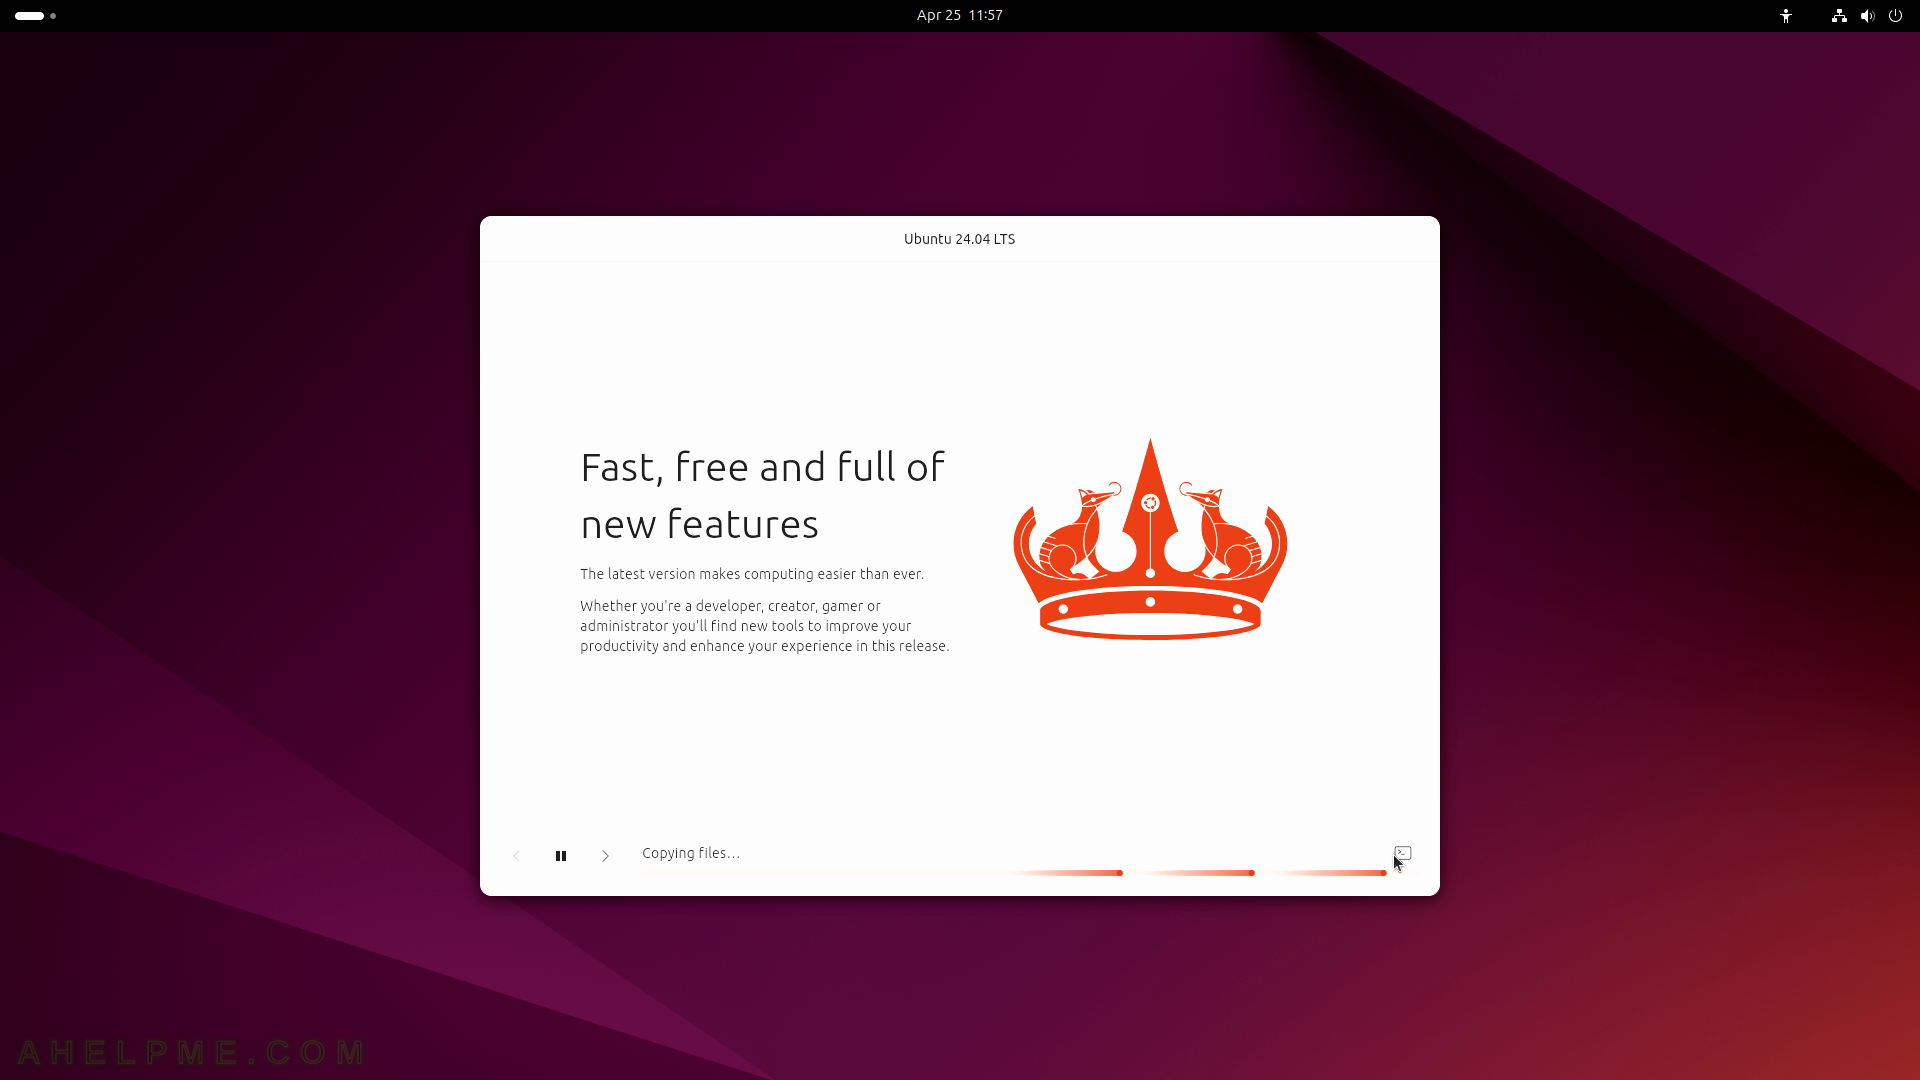
SCREENSHOT 20) There are several informative screens when Ubuntu installation wizard is working behind to install the new Ubuntu Desktop 24.04 LTS on the system.
There is a small terminal icon in the right bottom corner, which will show the installation setup output logs.