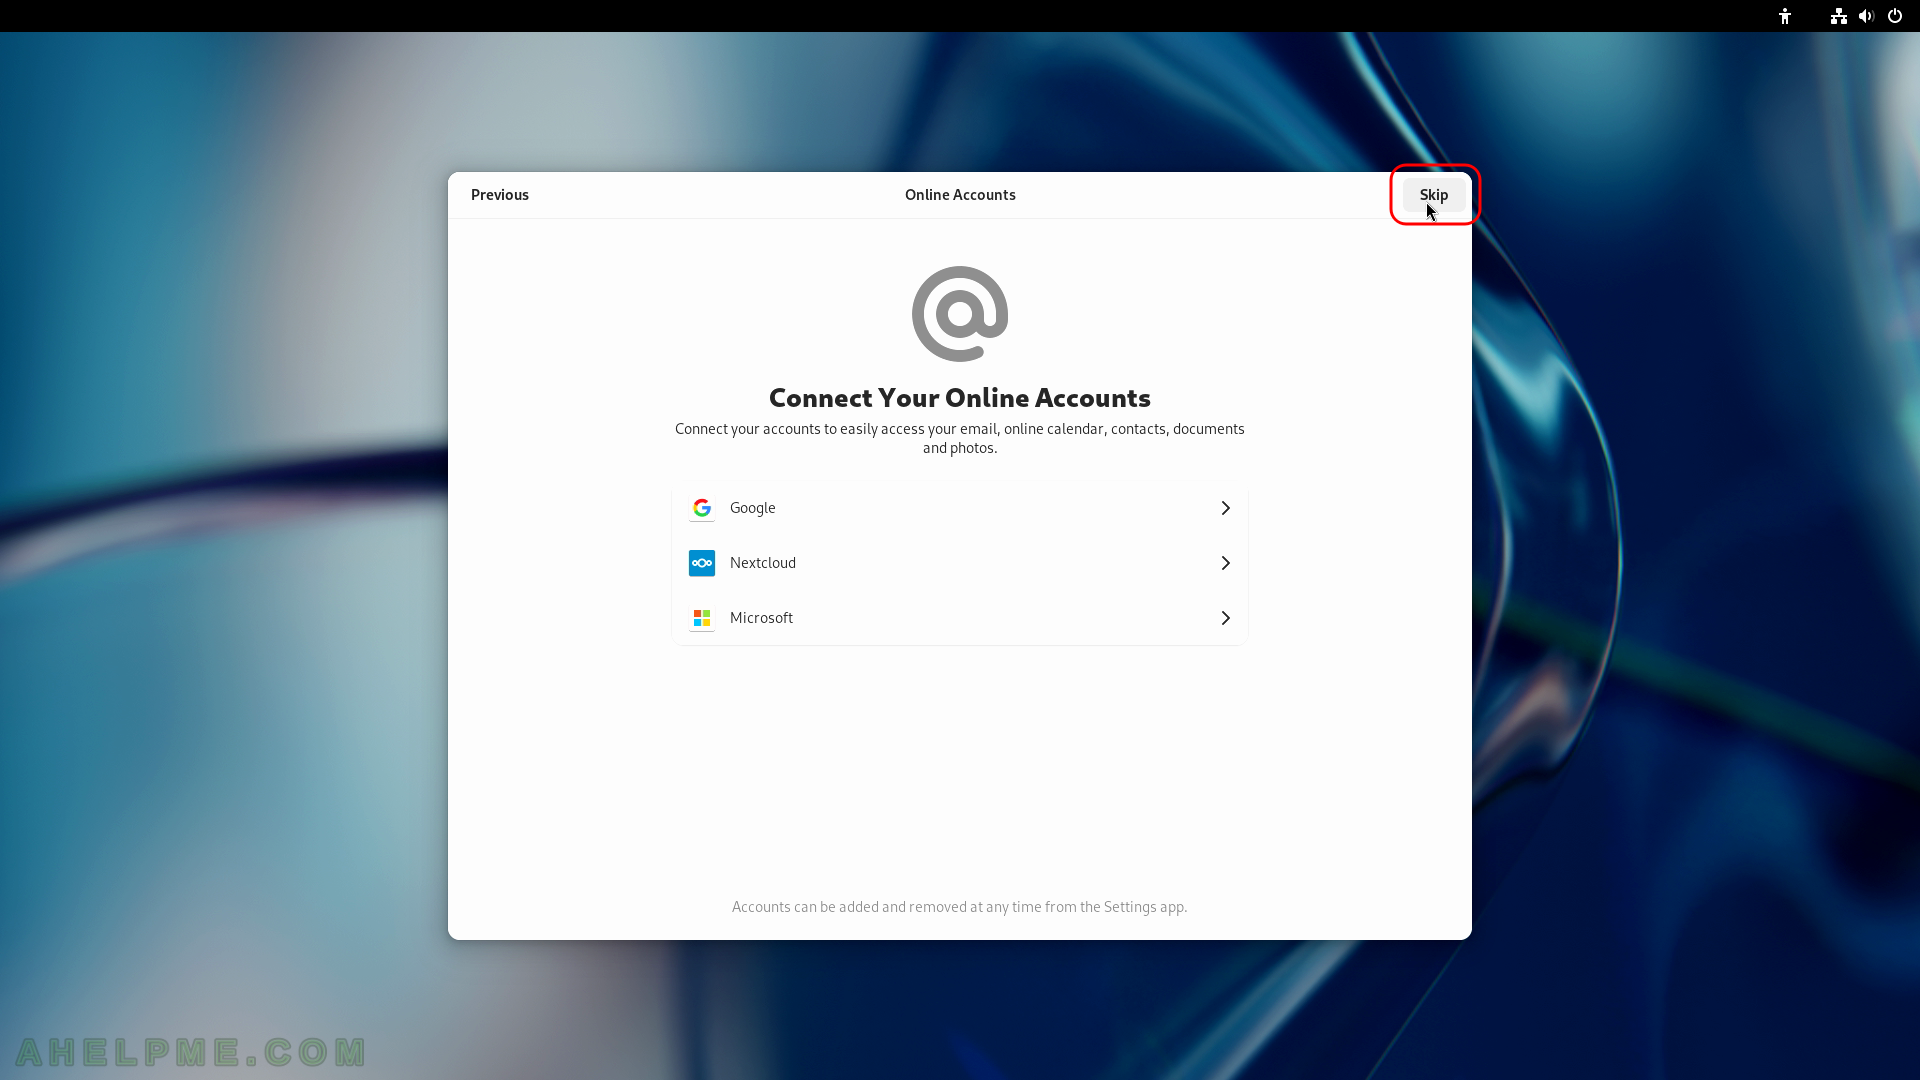
SCREENSHOT 31) Connect your online (cloud) accounts.
If the user has cloud accounts this is the moment to configure them, some of them offer shared folders to sync with the cloud. Click on “Skip” if do not have such accounts or you do not want to use them with this installation.
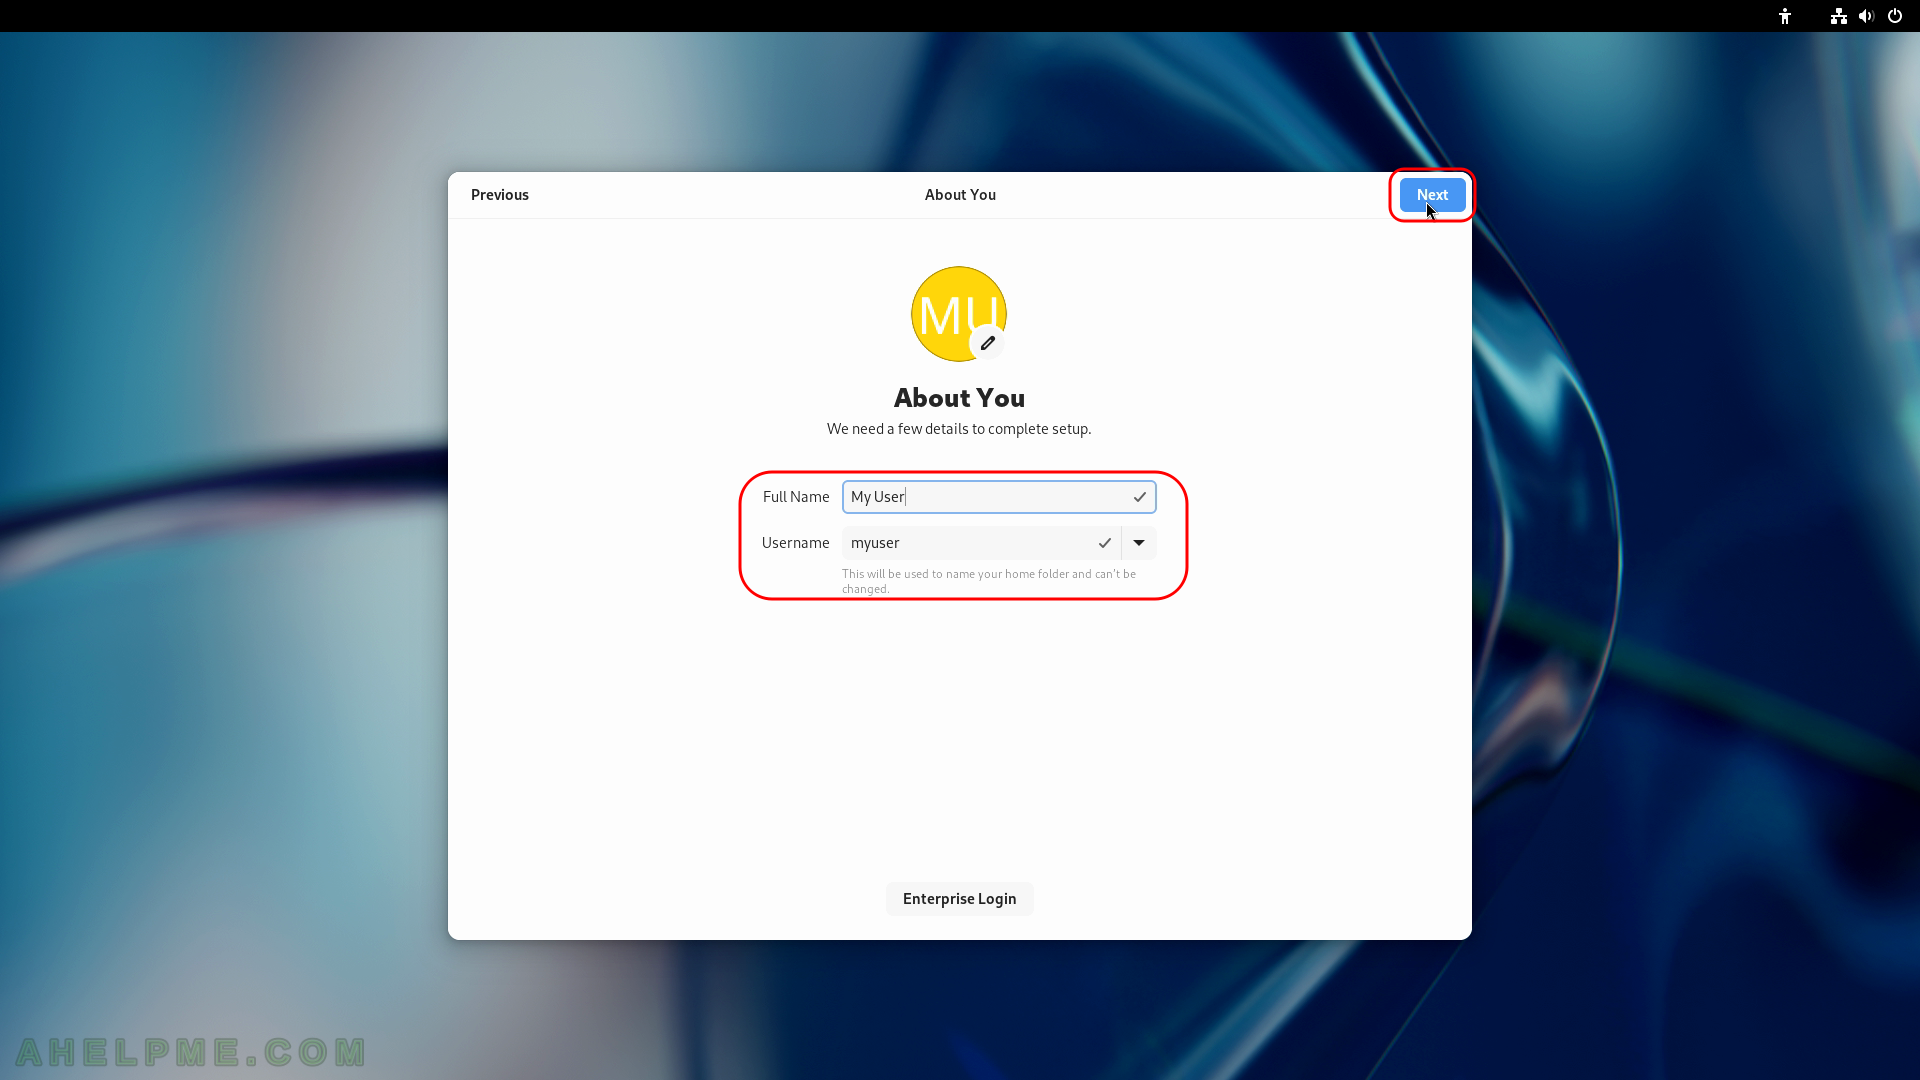
SCREENSHOT 32) Fill in your name and username to login in.
This user will have administrative privileges. It can escalate to root with sudo. Click on “Next”.
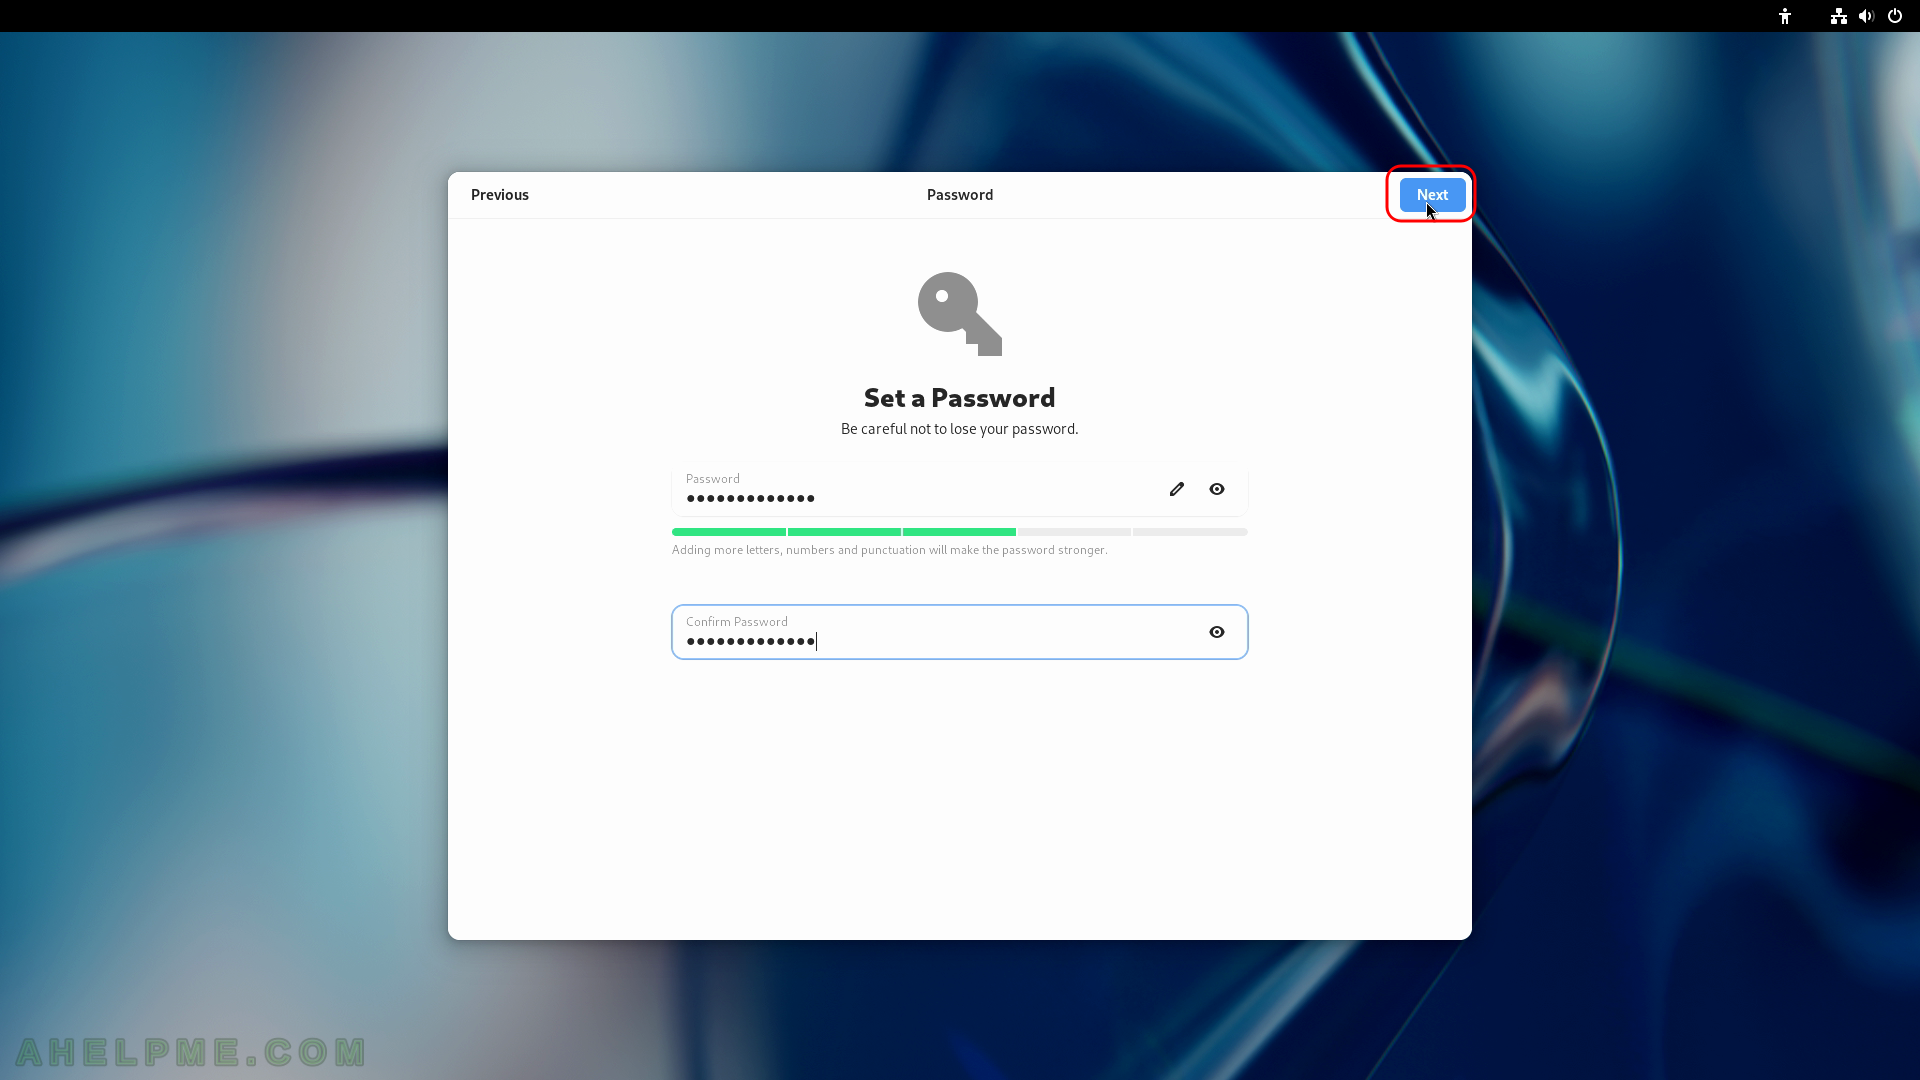
SCREENSHOT 33) Fill in your password for the newly created user.
Click on “Next”.
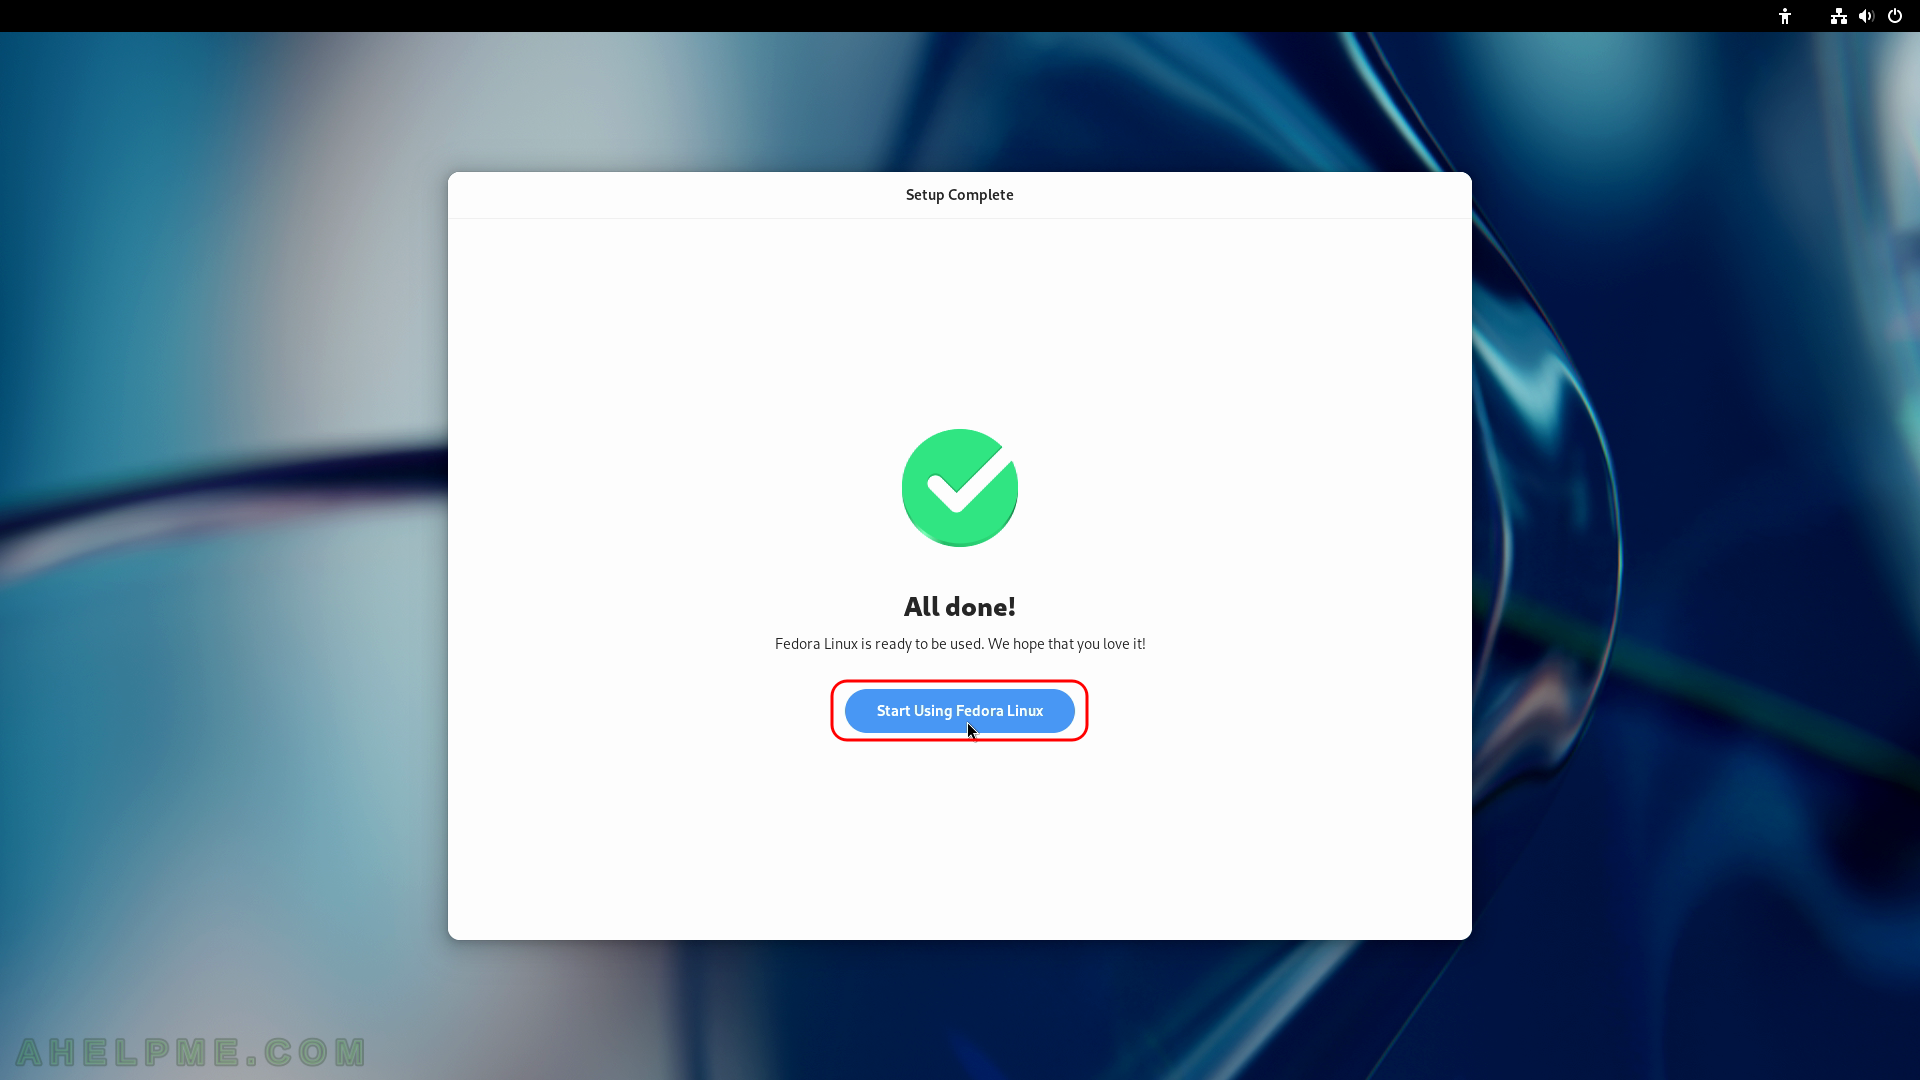
SCREENSHOT 34) Click on “Start Using Fedora Linux” and the user will be logged in.
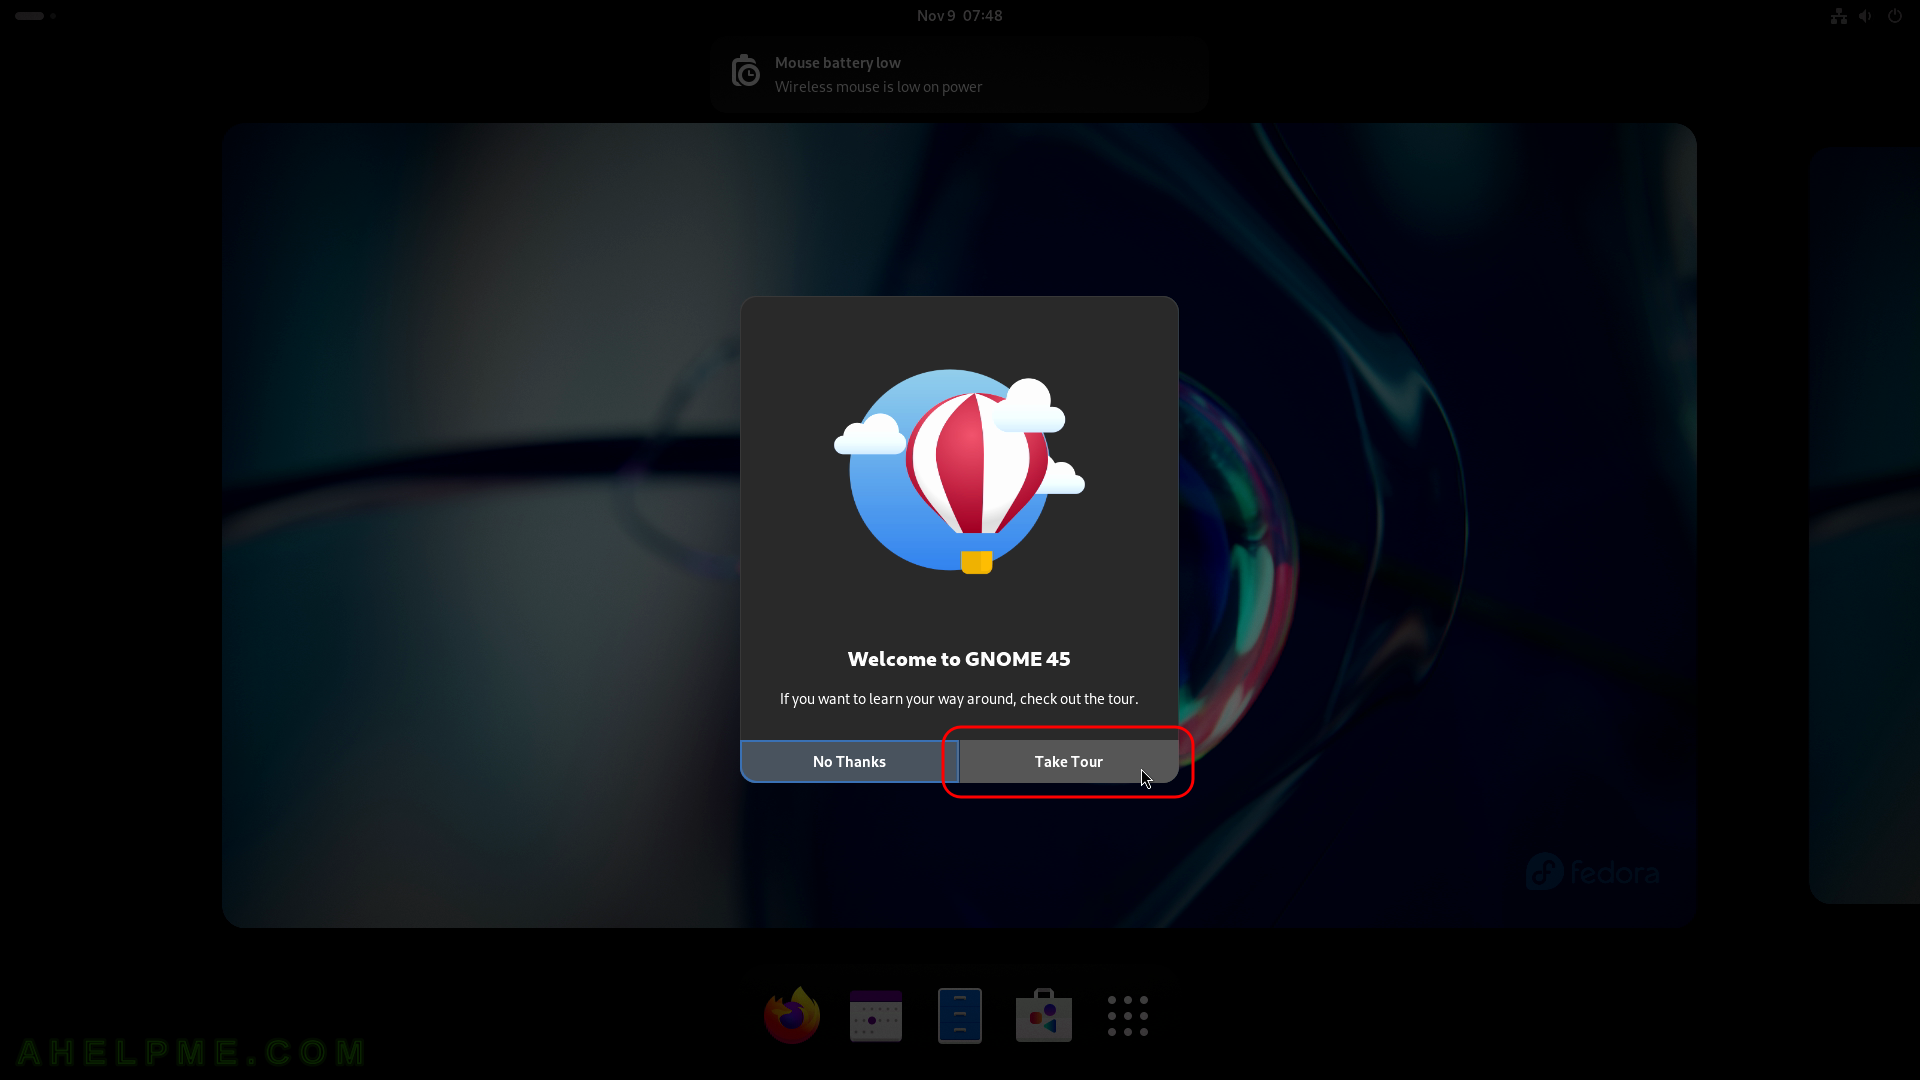
SCREENSHOT 35) A brief tour of Fedora Workstation 39 with Gnome 45.
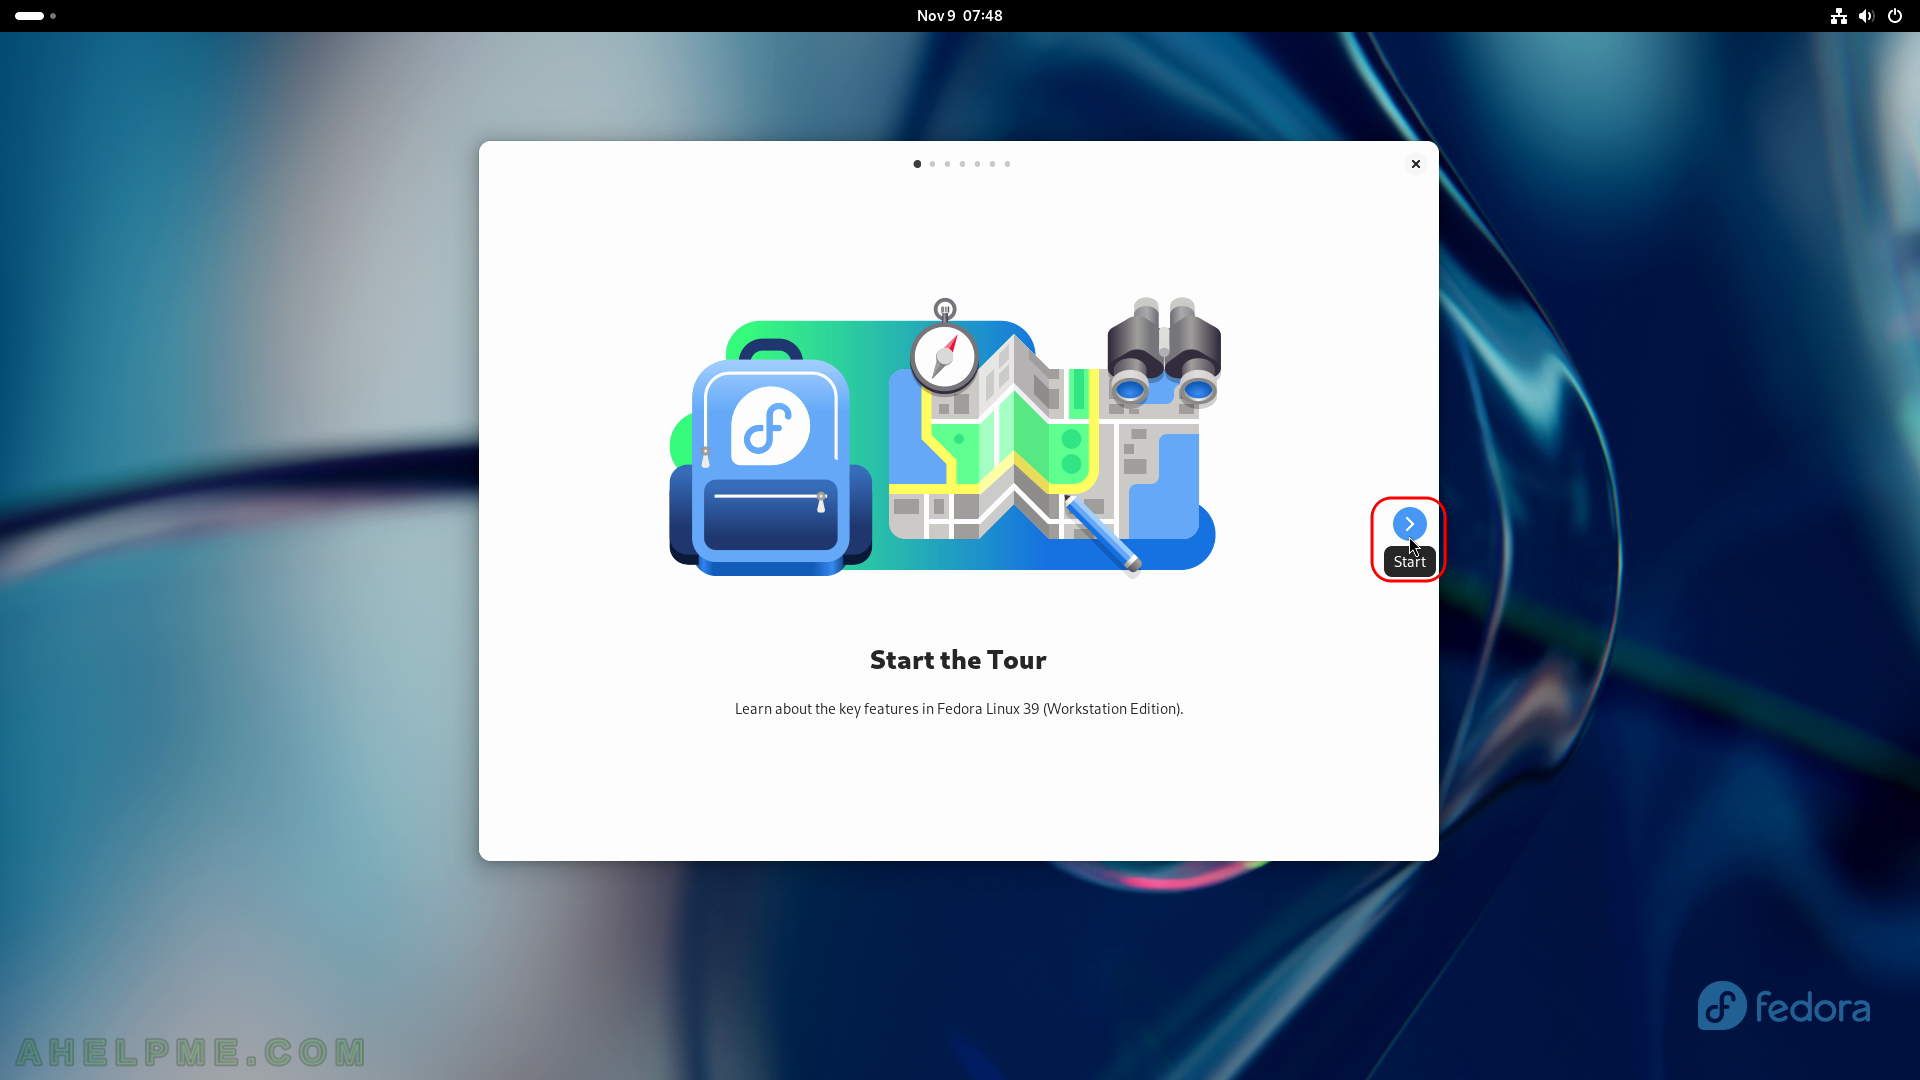
SCREENSHOT 36) Start the tour – Learn about key features in Fedora Linux 39 (Workstation Edition).
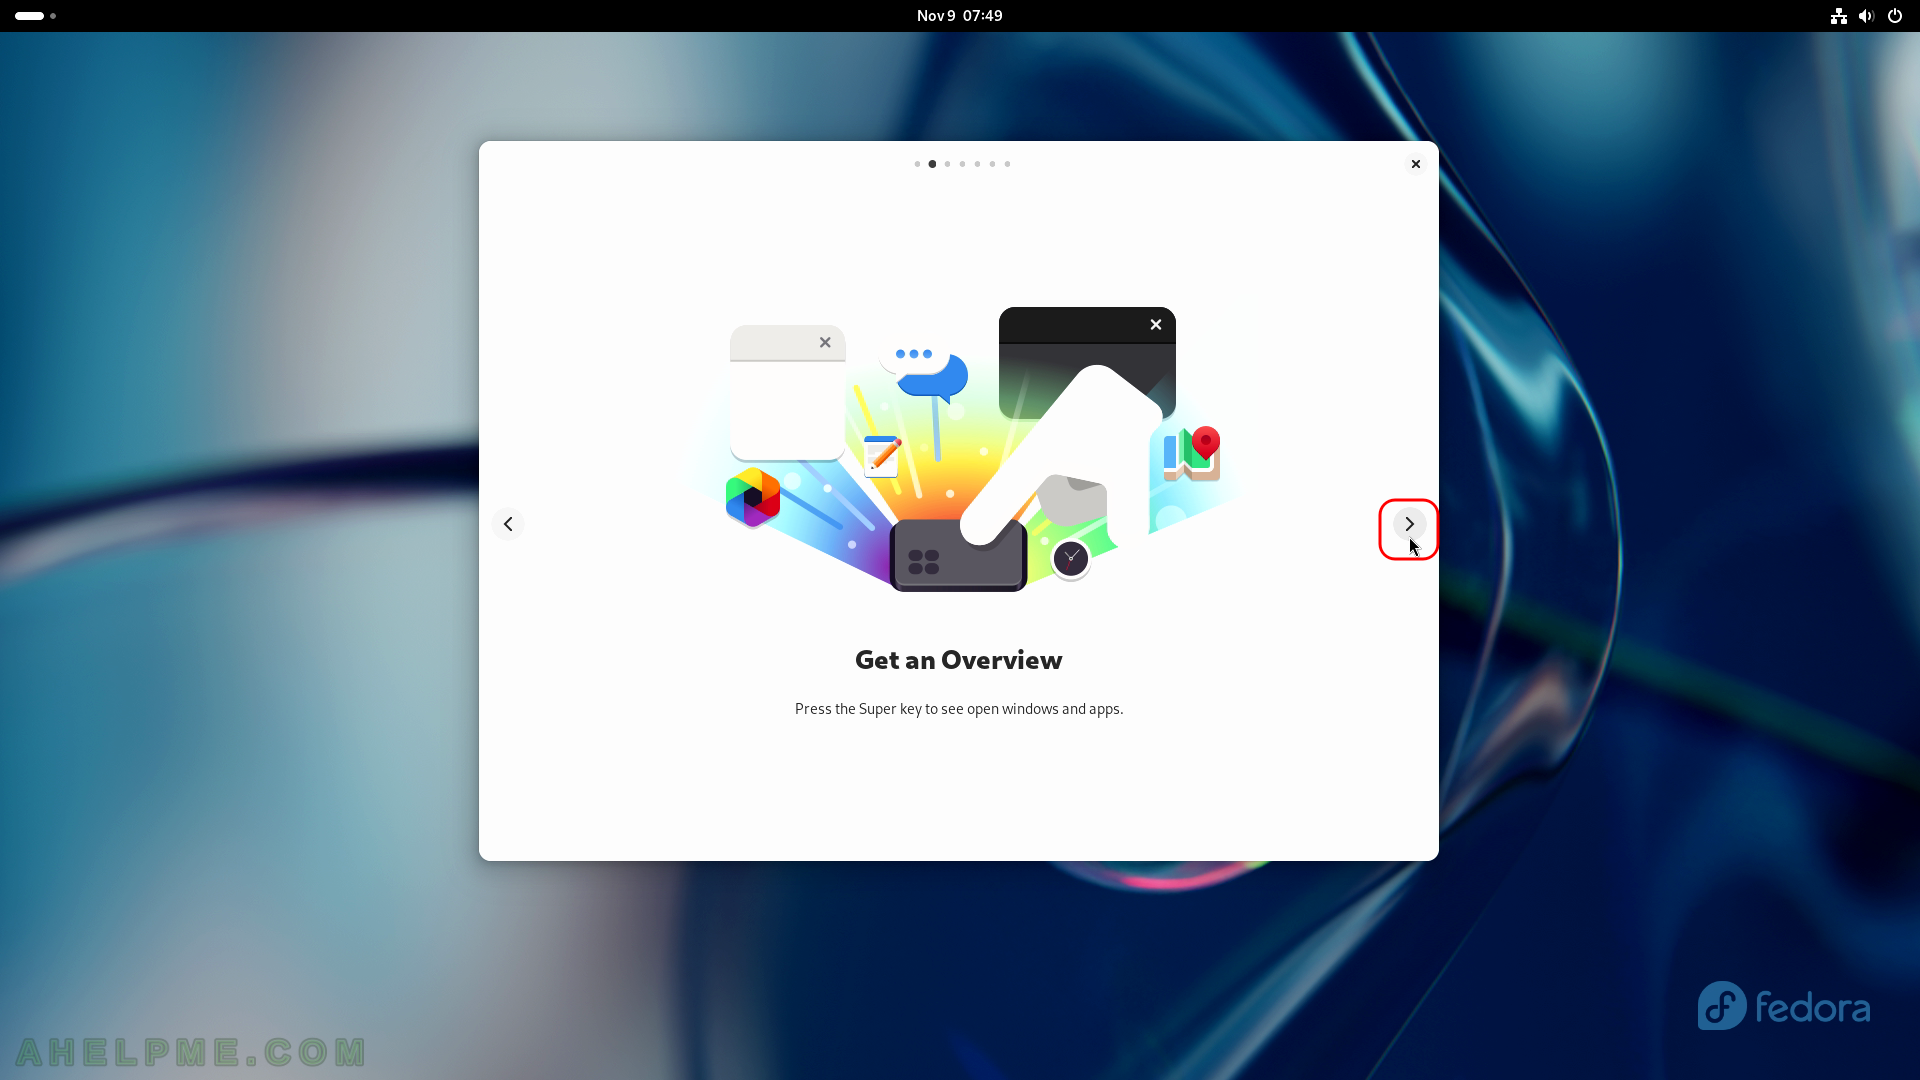
SCREENSHOT 37) To get an Overview press the Super key (Windows key) to see the open windows and applications.
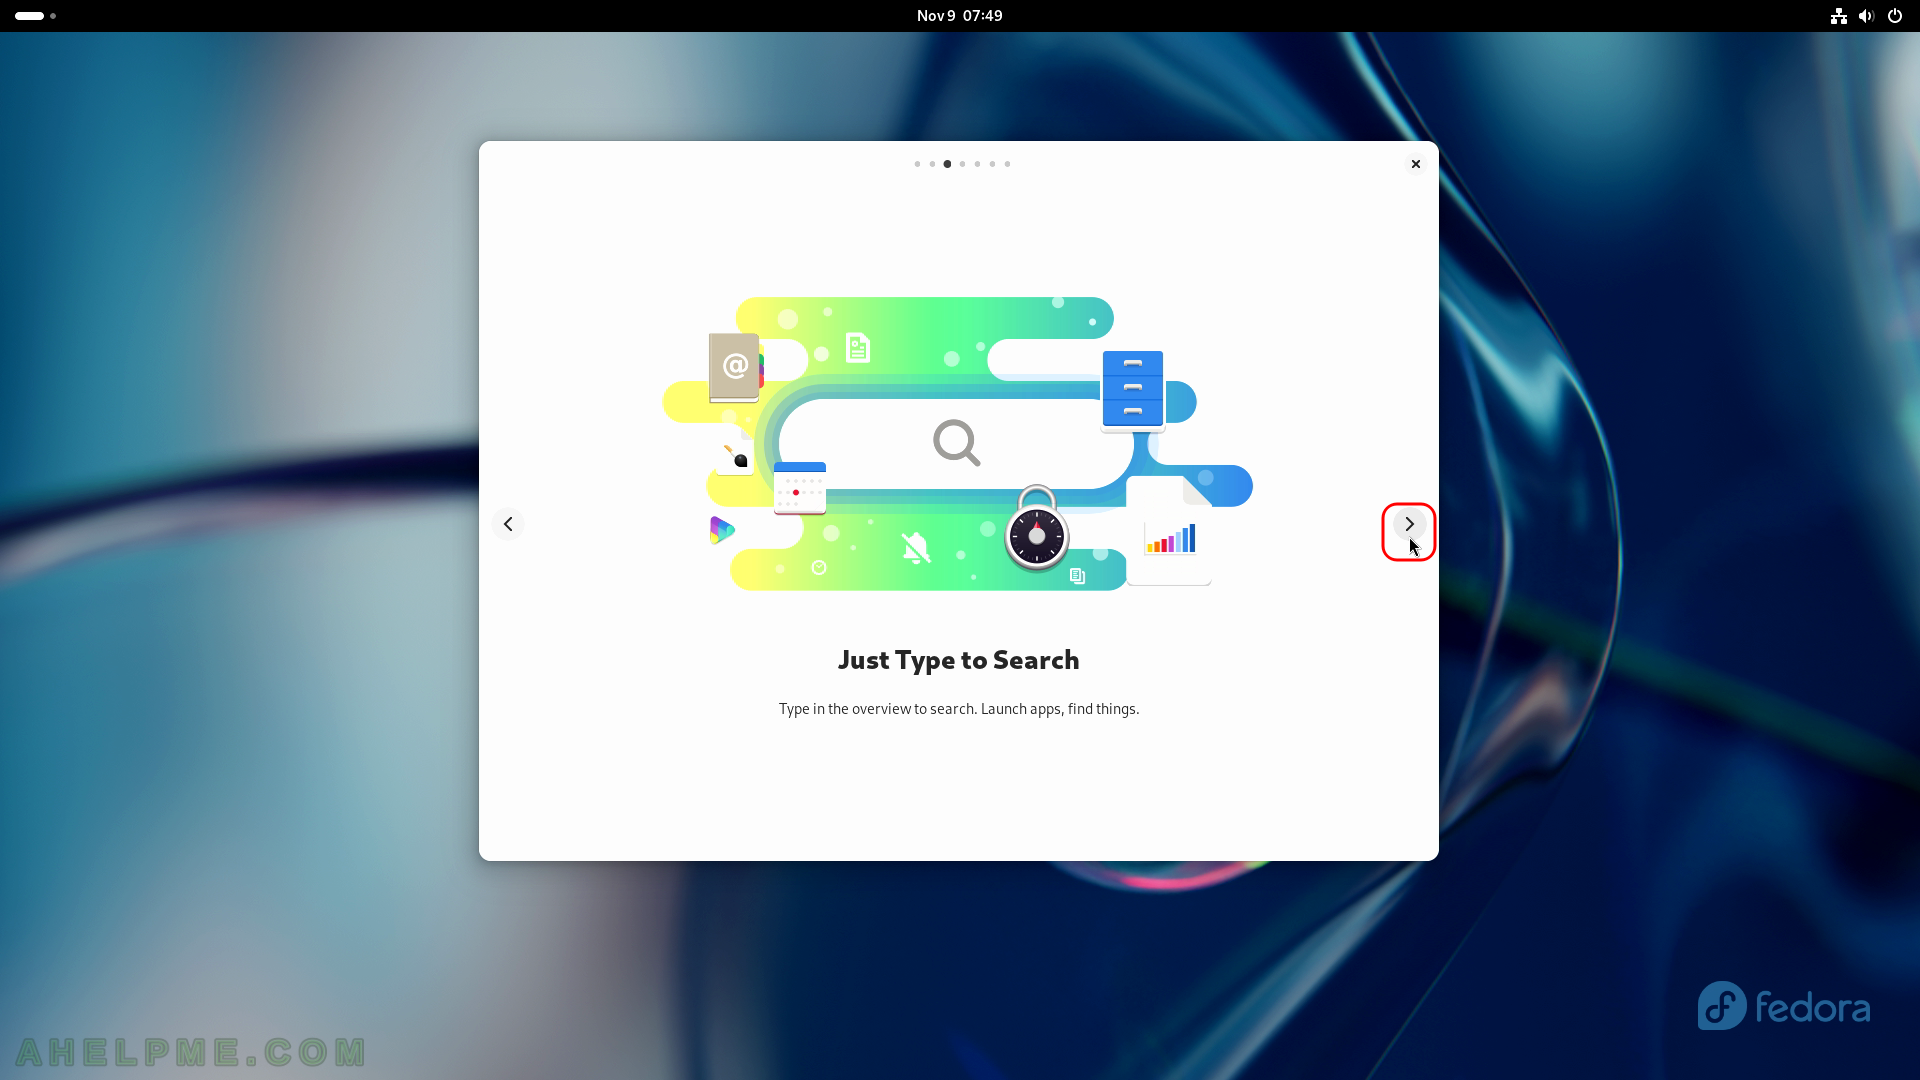
SCREENSHOT 38) Type in the overview to search.
Launch apps, find things.
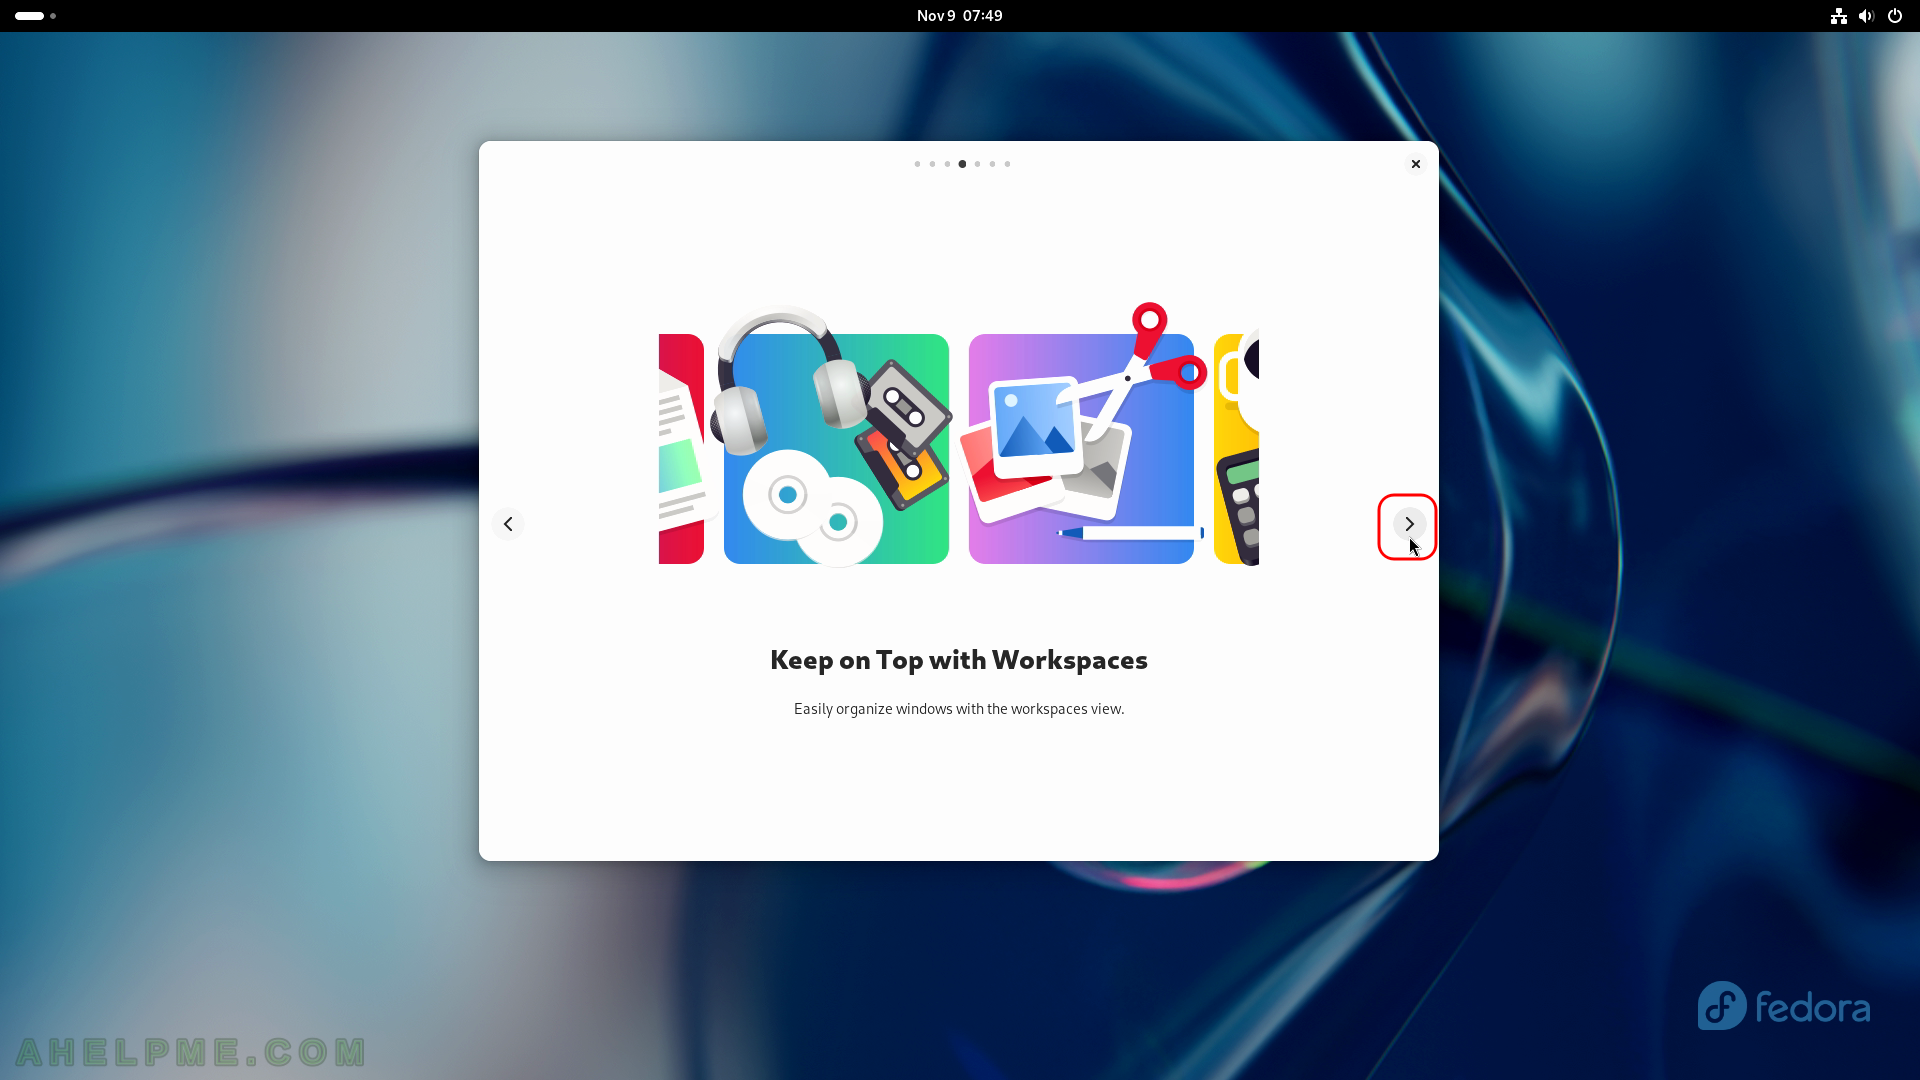
SCREENSHOT 39) Keep on top with workspaces.
Easy organize windows with the workspaces view.
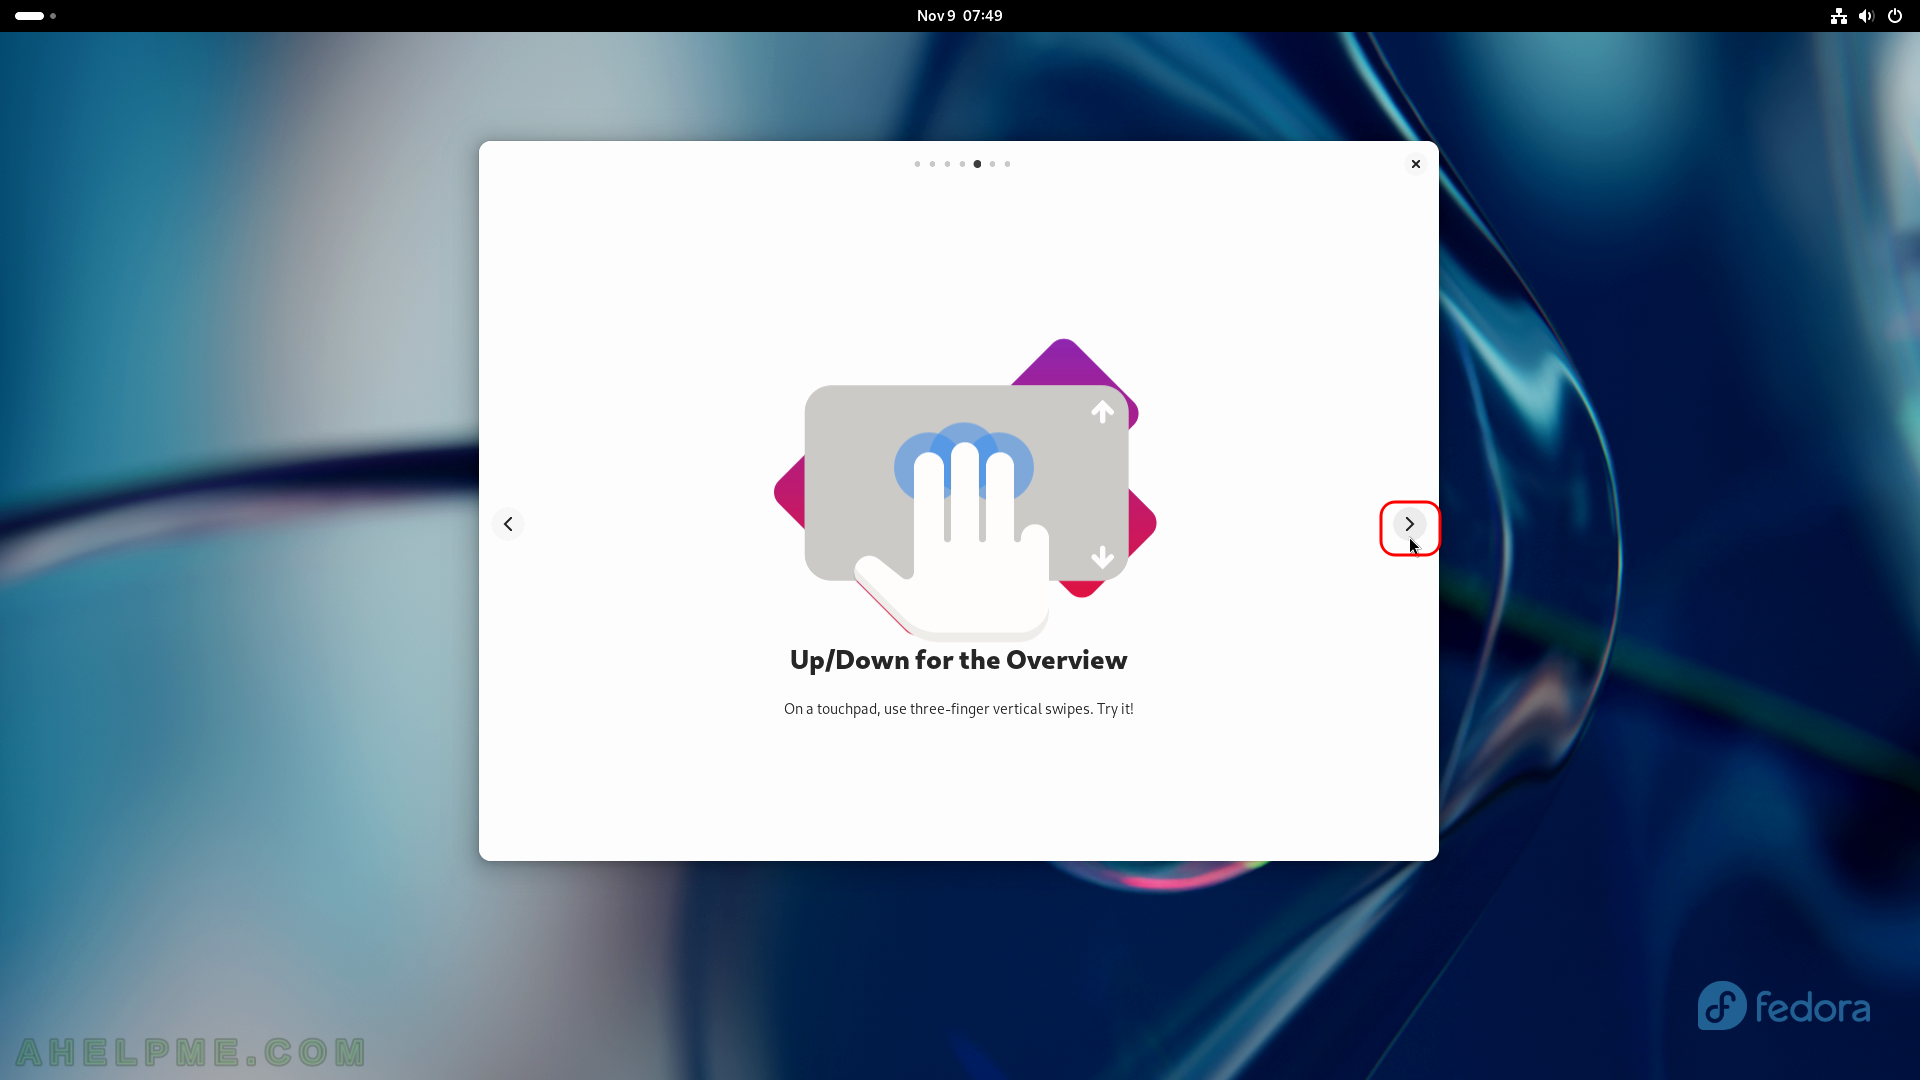
SCREENSHOT 40) Up/Down over the touchpad with three fingers for the Overview of the windows and the applications.