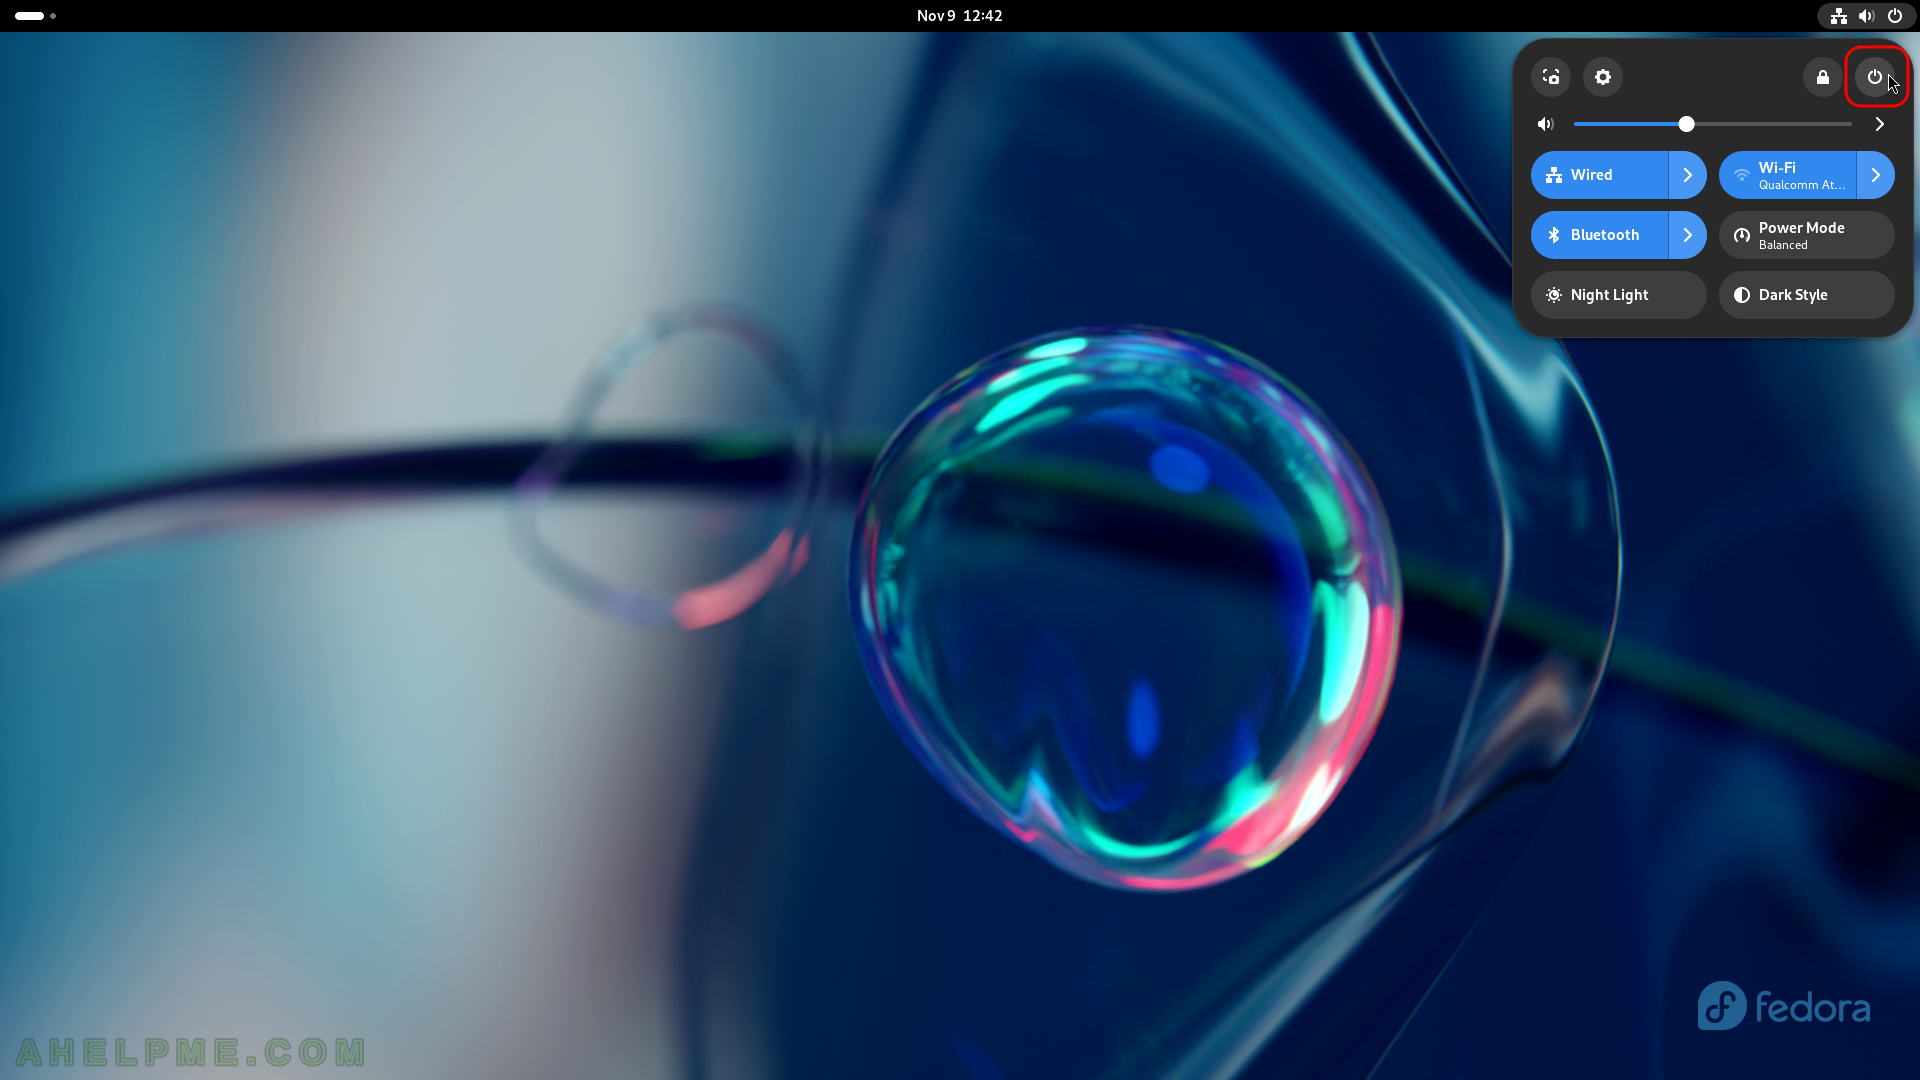
SCREENSHOT 21) The user is still in the Live image, so click on the top right corner and then click on the power button as shown.
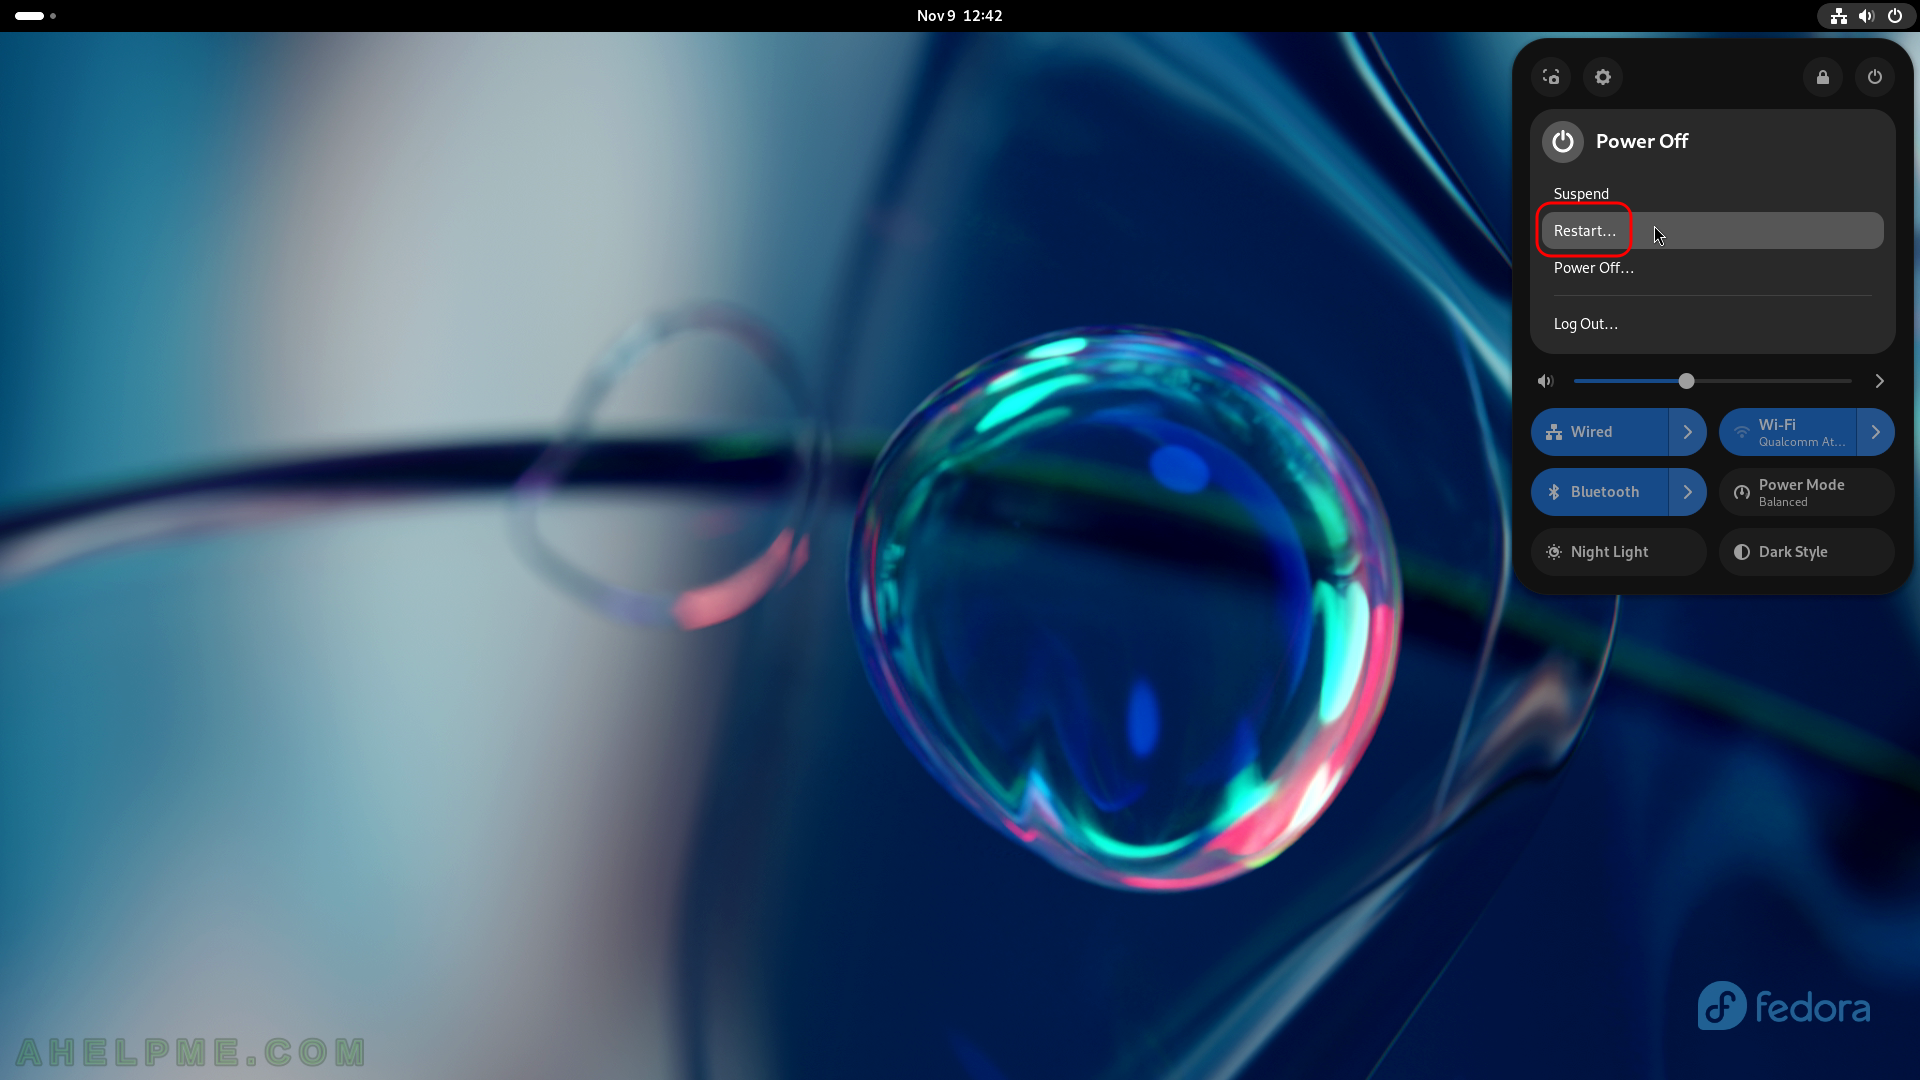
SCREENSHOT 22) Click on the “Restart…” button to restart the machine.
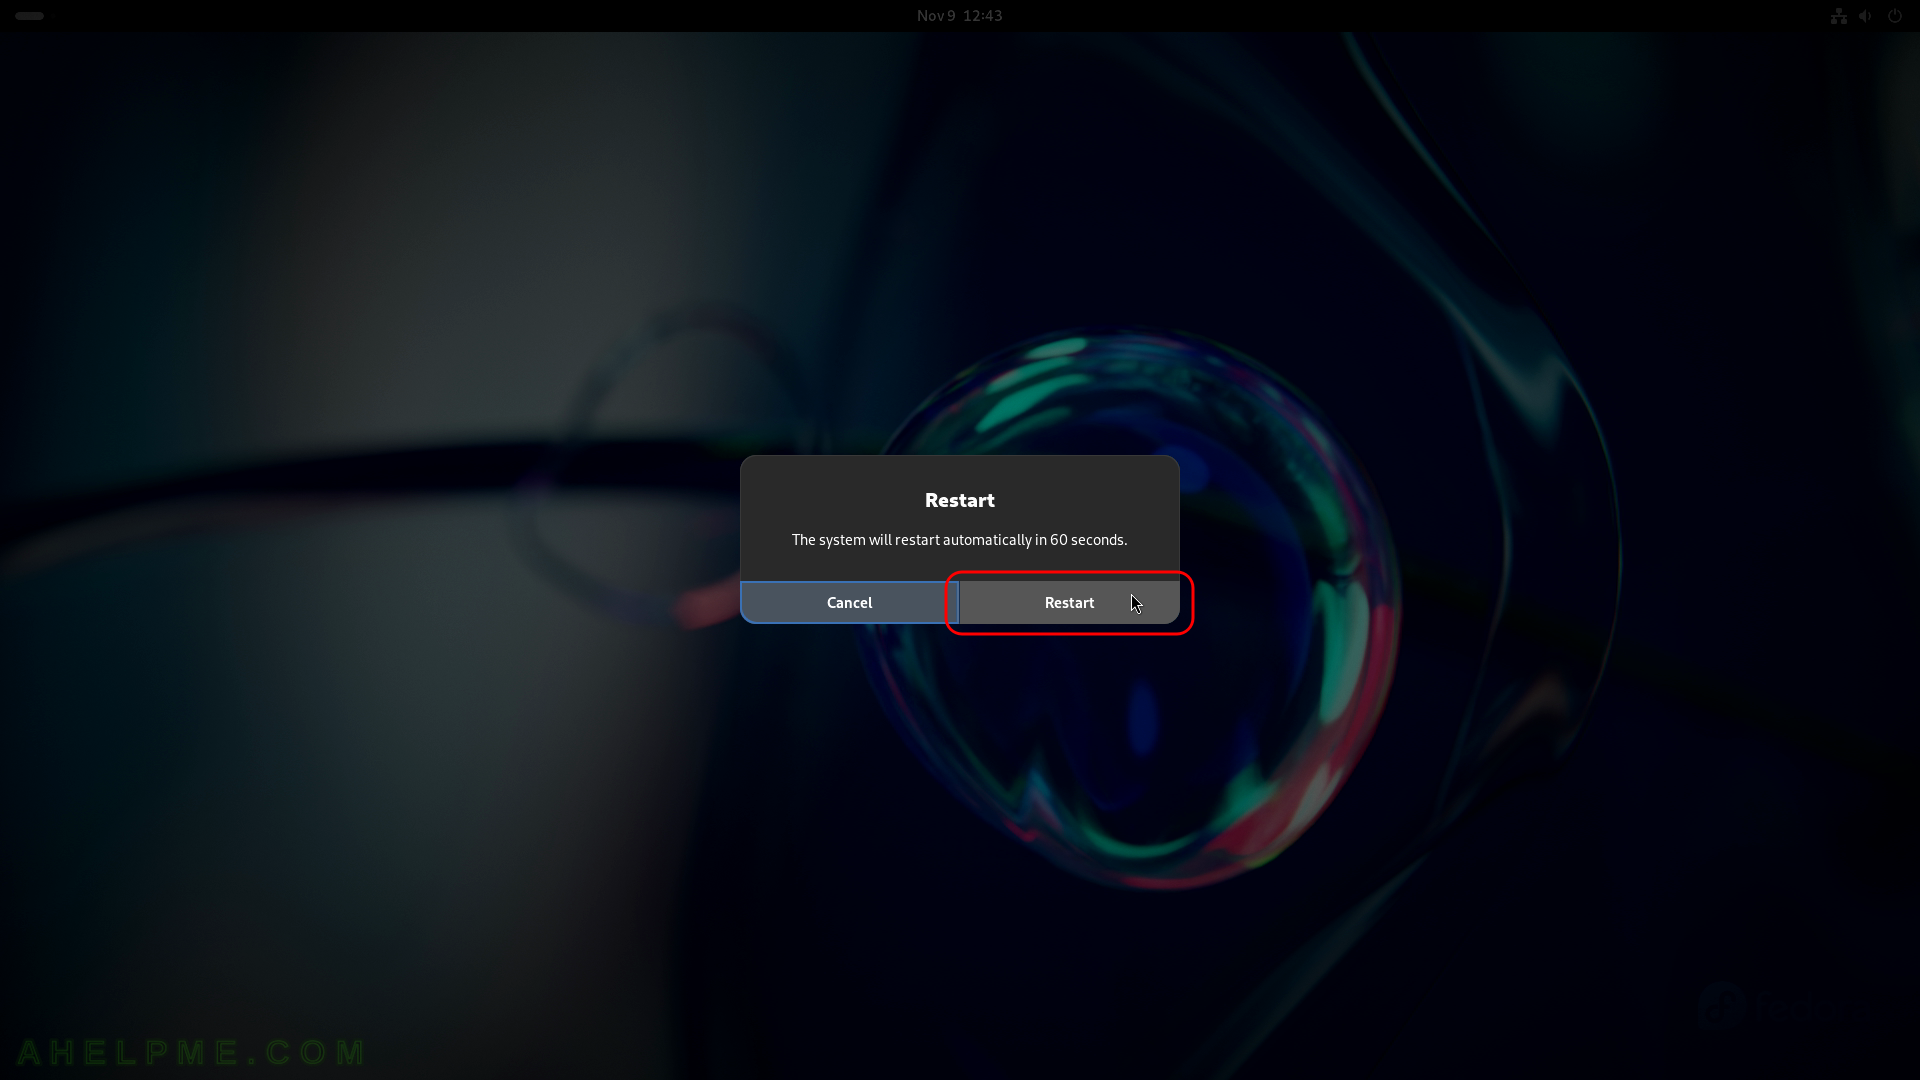
SCREENSHOT 23) A request to the user is issued to confirm the restart of the computer.
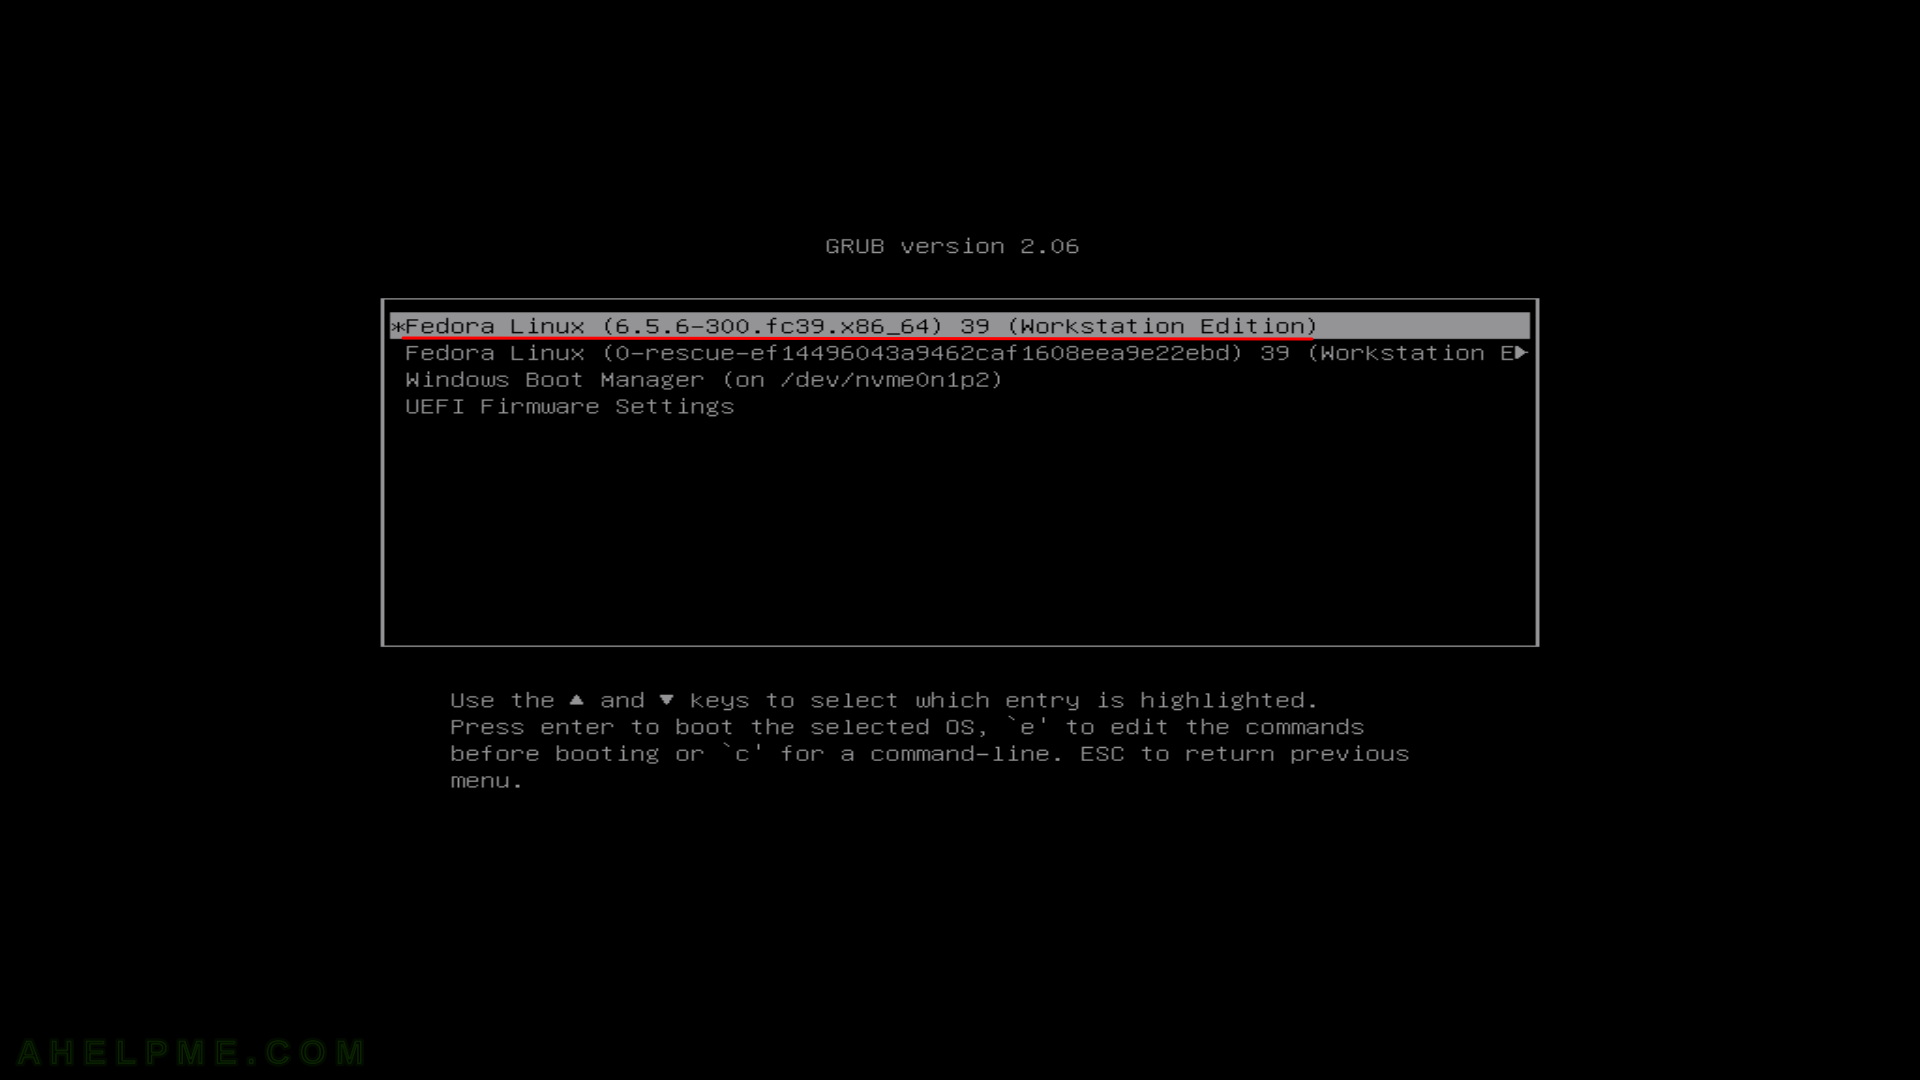
SCREENSHOT 24) Freshly installed Fedora Workstation 39 is the default boot option in the booting program (grub2).
As you can see we have one more Operating system – Windows 10. The setup found these options and added them to the boot menu. The kernel version is shown – 6.5.6-300.
SCREENSHOT 25) The Fedora Workstation 39 is loading…

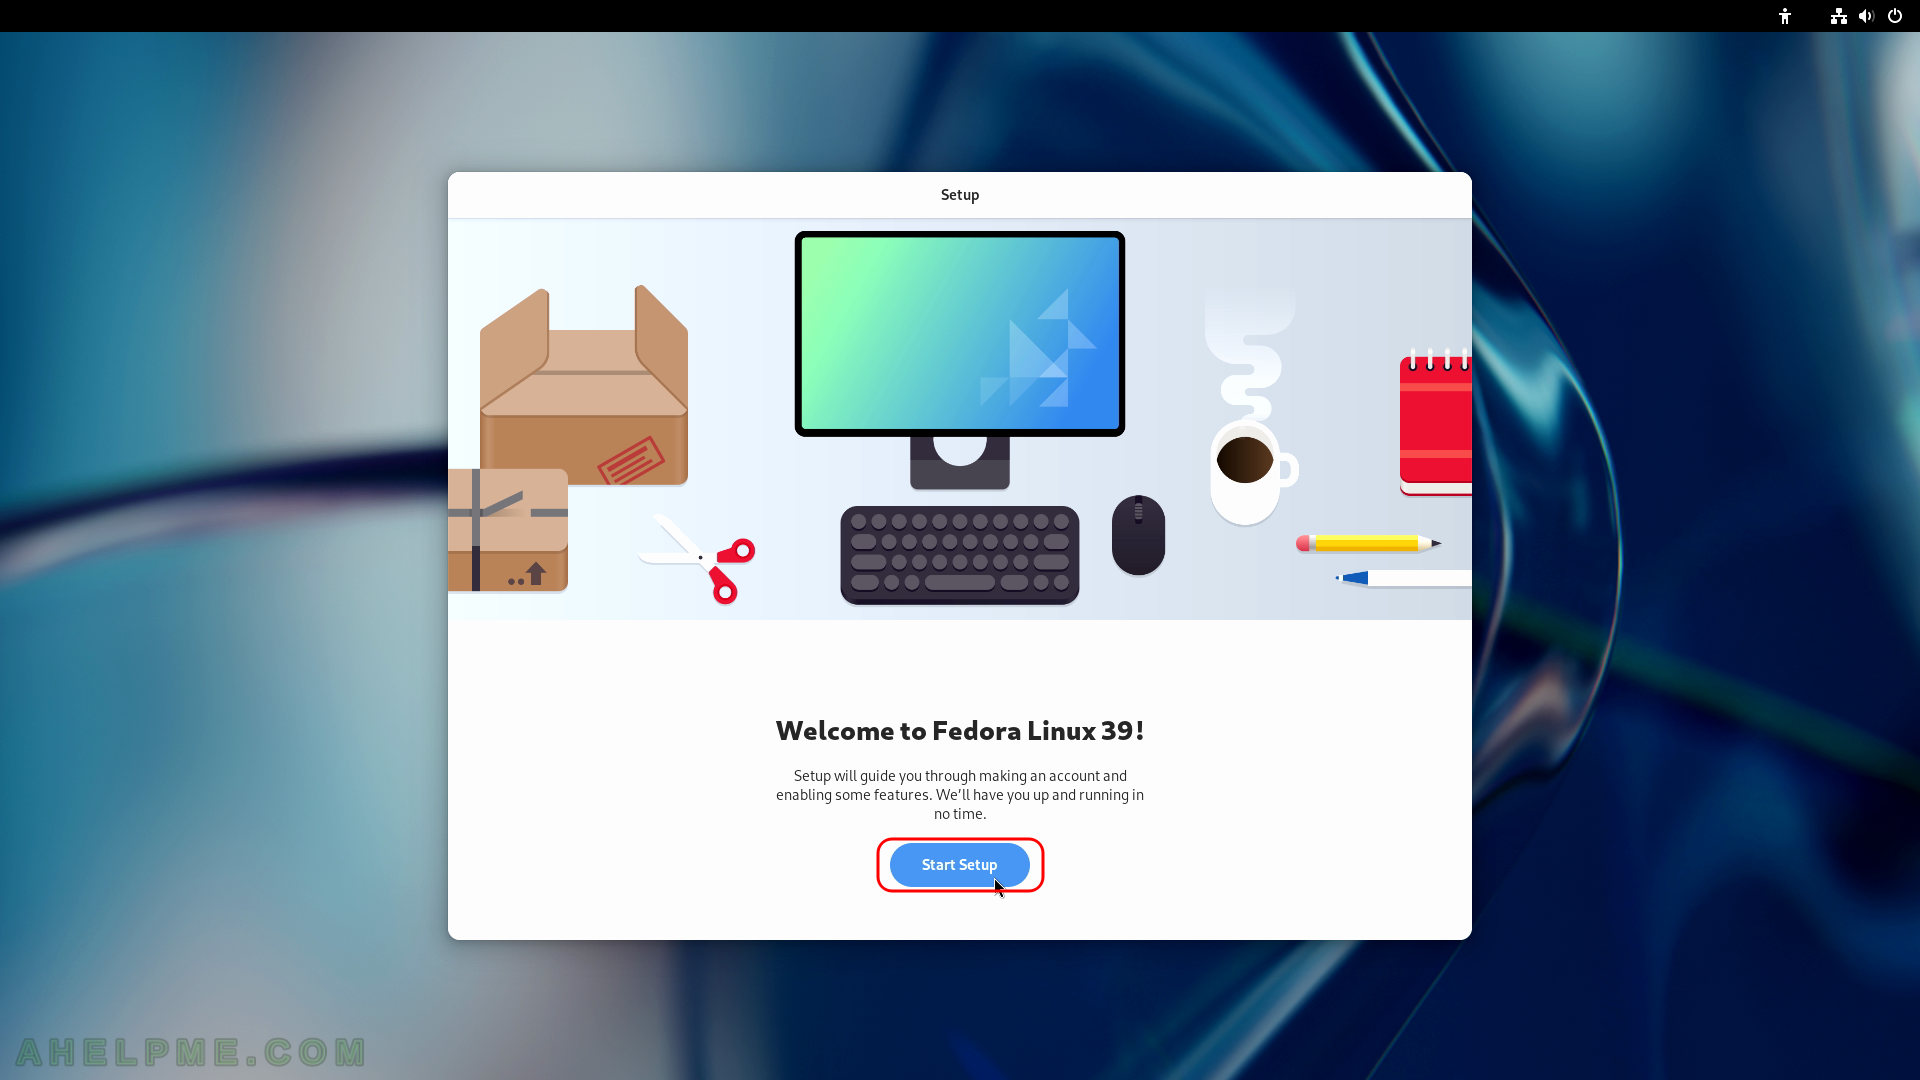
SCREENSHOT 26) The Fedora 39 setup is started on the first start.
Configure the user part of the installation. Welcome screen of the last step of the setup. Click on the “Start Setup” button.
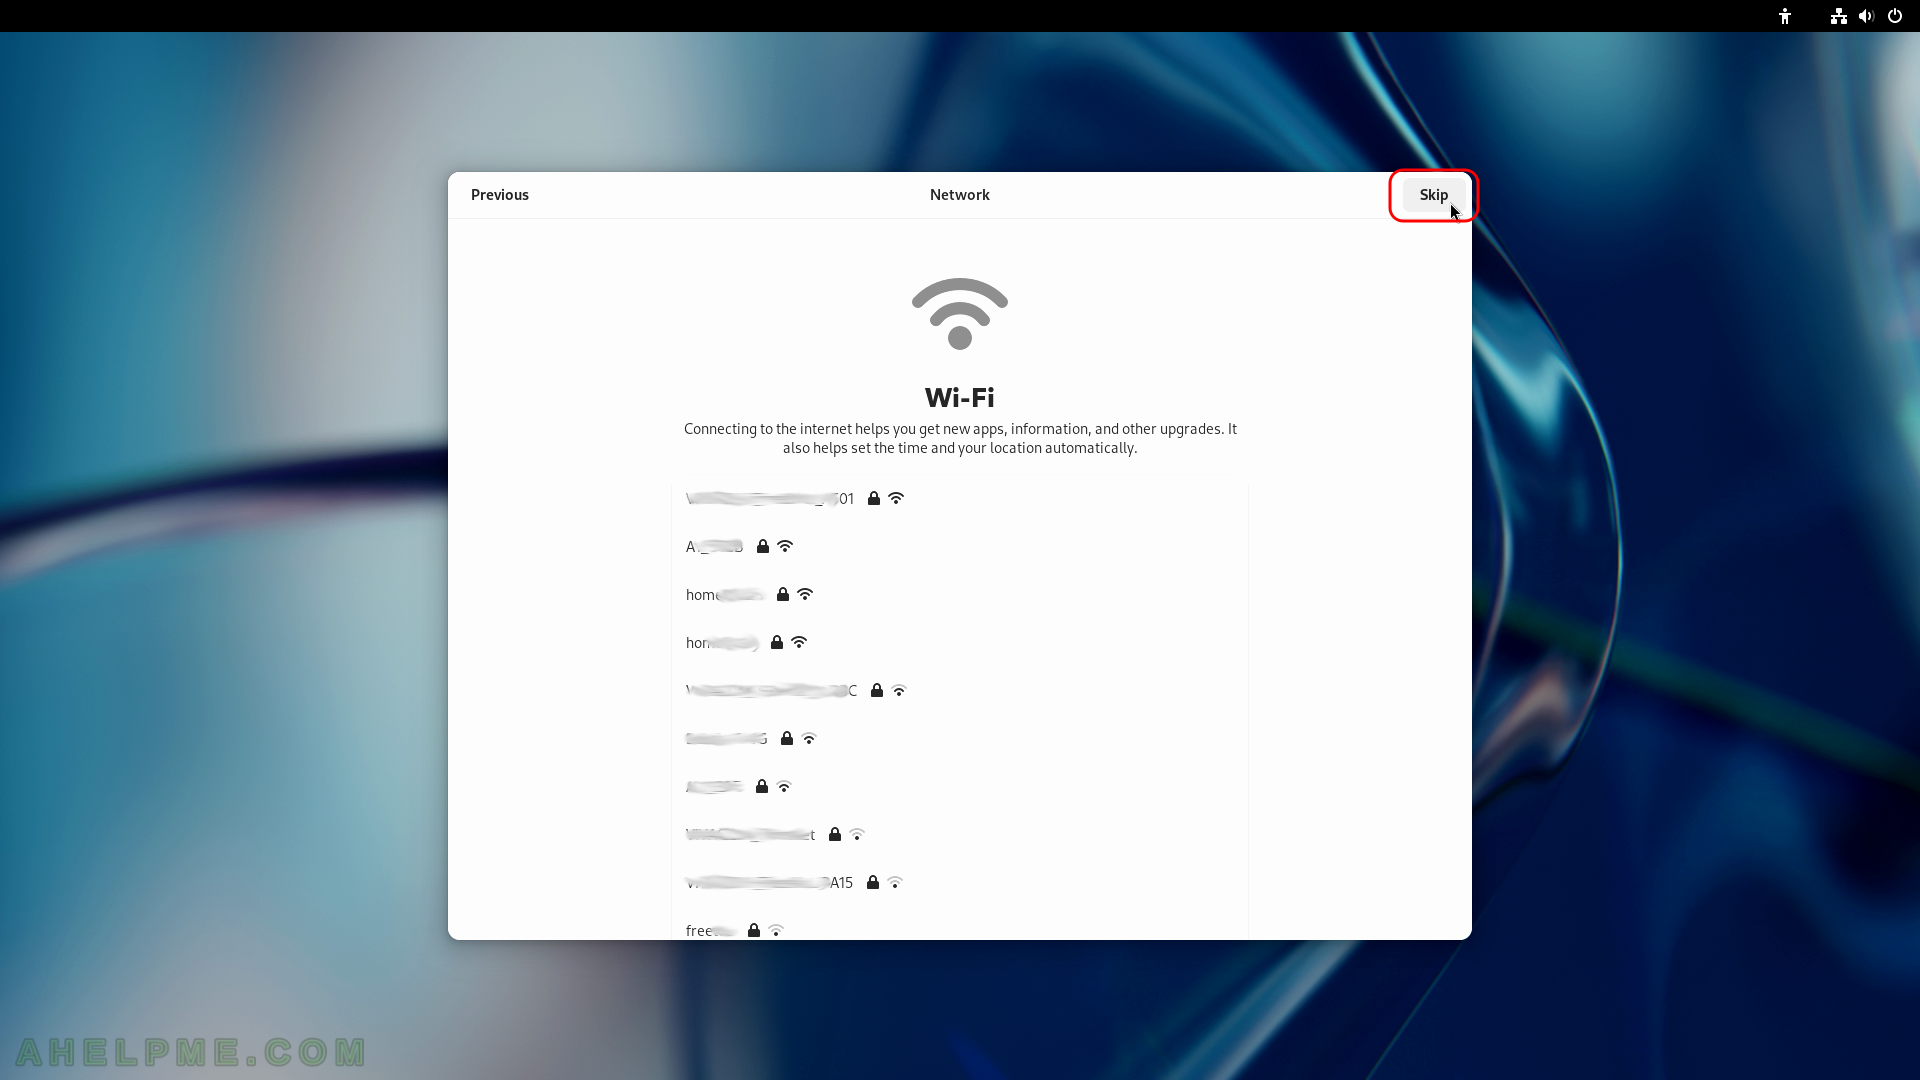
SCREENSHOT 27) Choose your Wi-Fi spot or skip it, because the current computer uses a wired network.
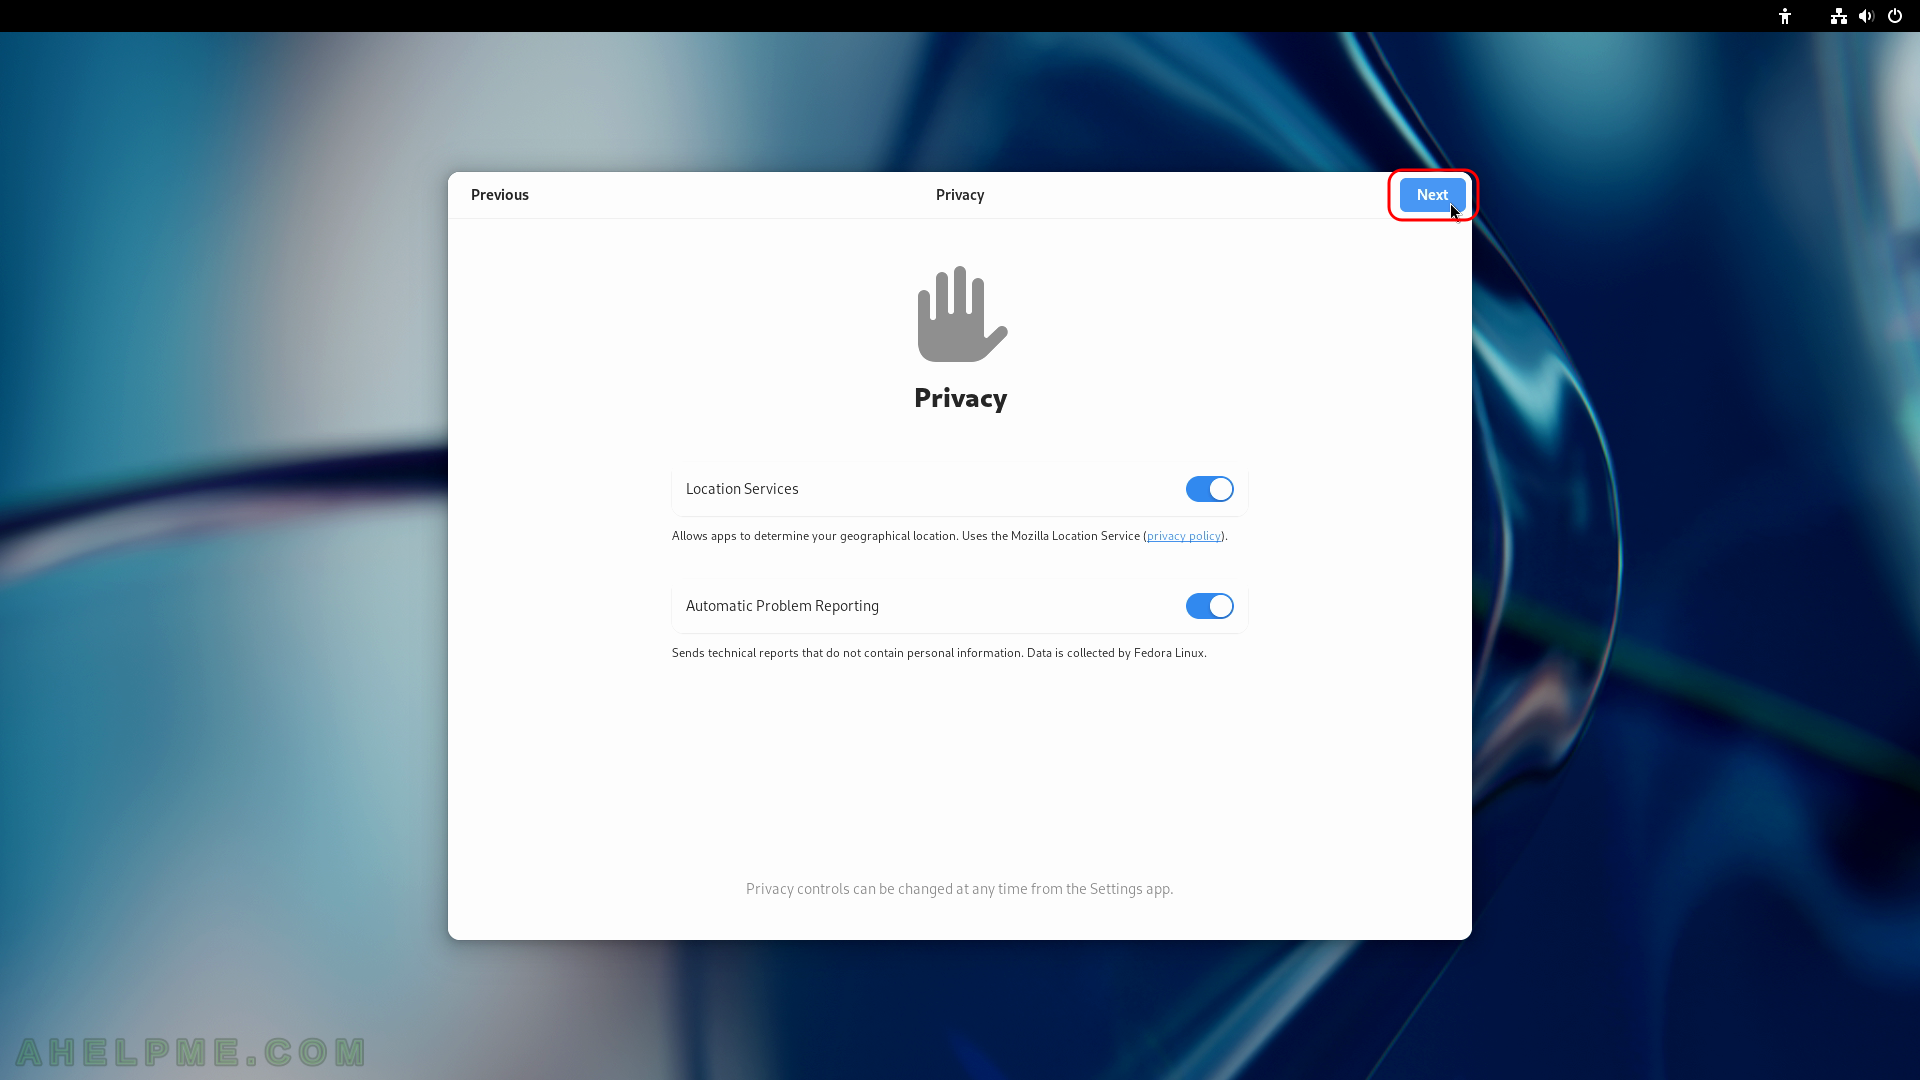
SCREENSHOT 28) Tune the user and computer privacy settings, these are defaults on the screen.
Locations and Automatic Problem Reporting is ready. It is good to report problems and bugs. Click on “Next”.
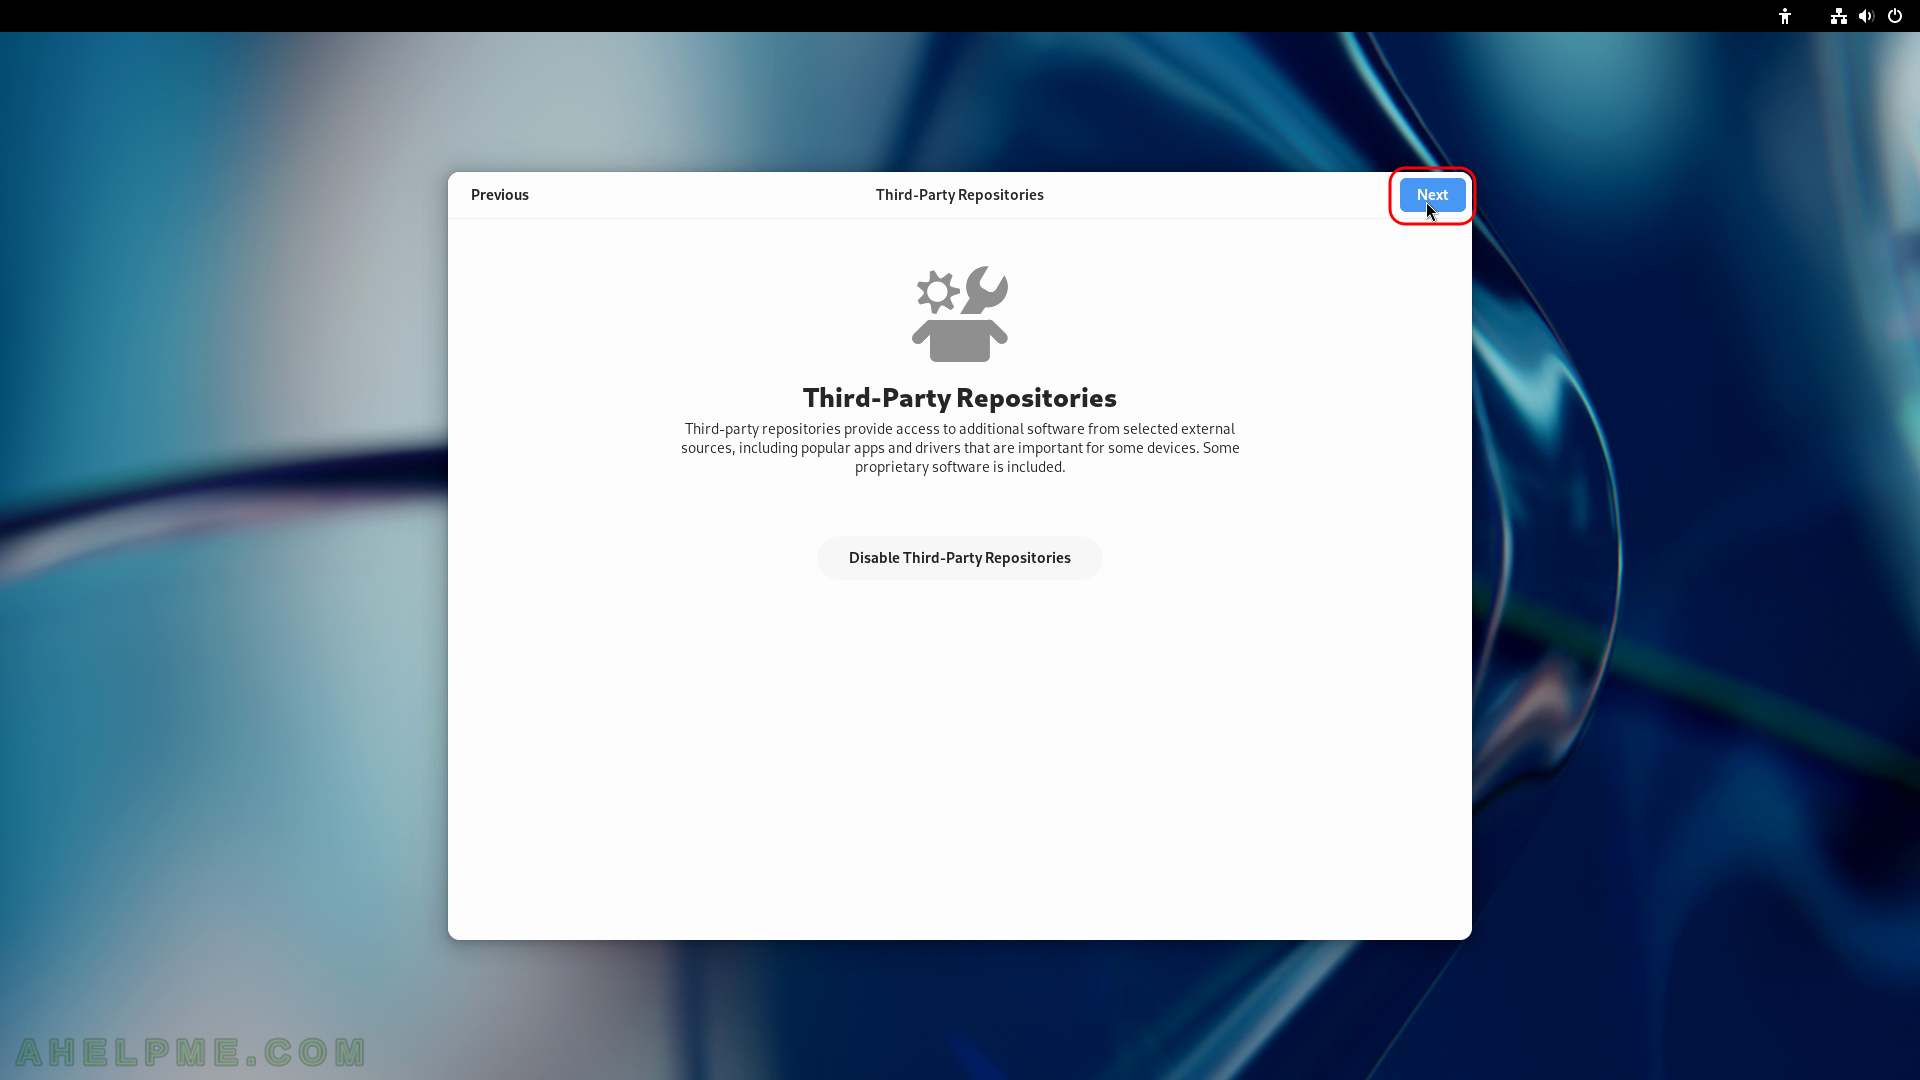
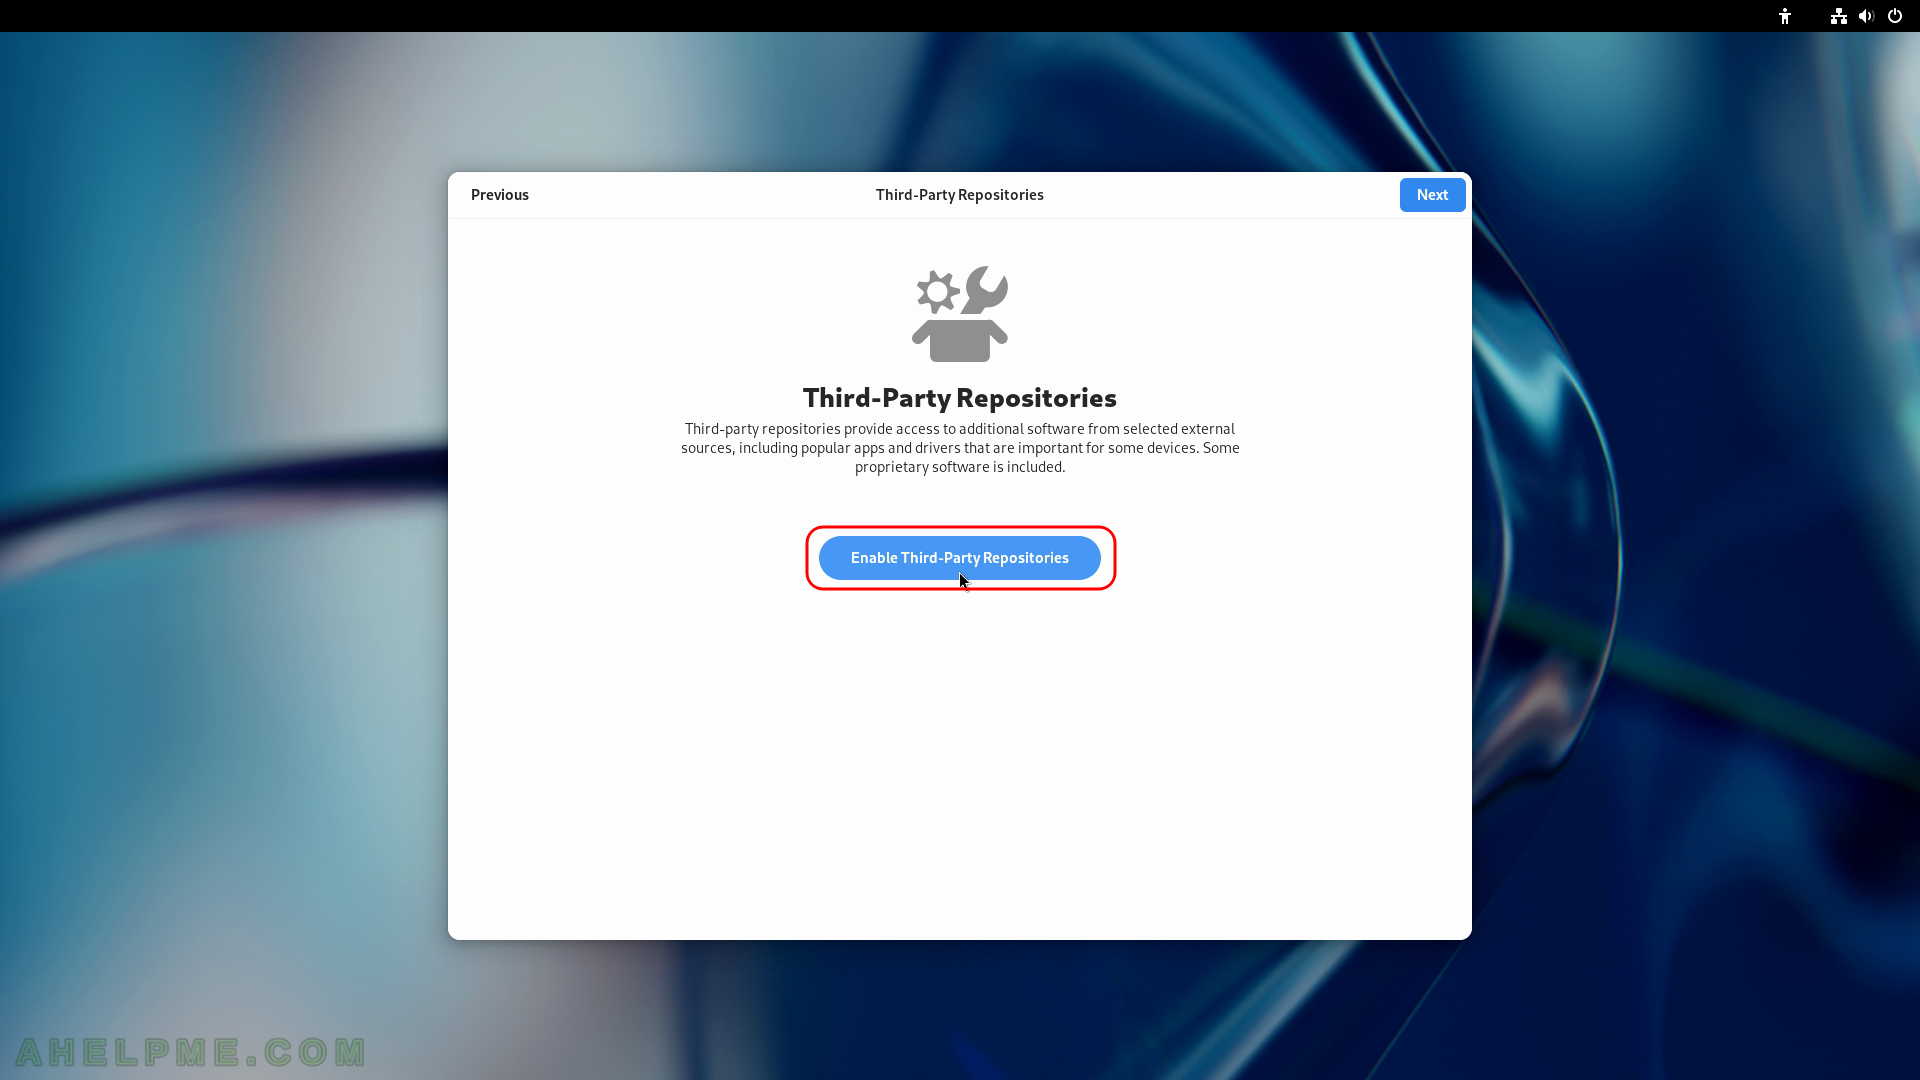
SCREENSHOT 29) Enable 3rd party repositories from the start.
For example, NVIDIA proprietary driver is installed from such a repository. By default, they all are disabled. Skip or enable them. In Fedora Settings, they could be enabled, too.
SCREENSHOT 30) The third-party repositories are enabled.
Click next to continue.