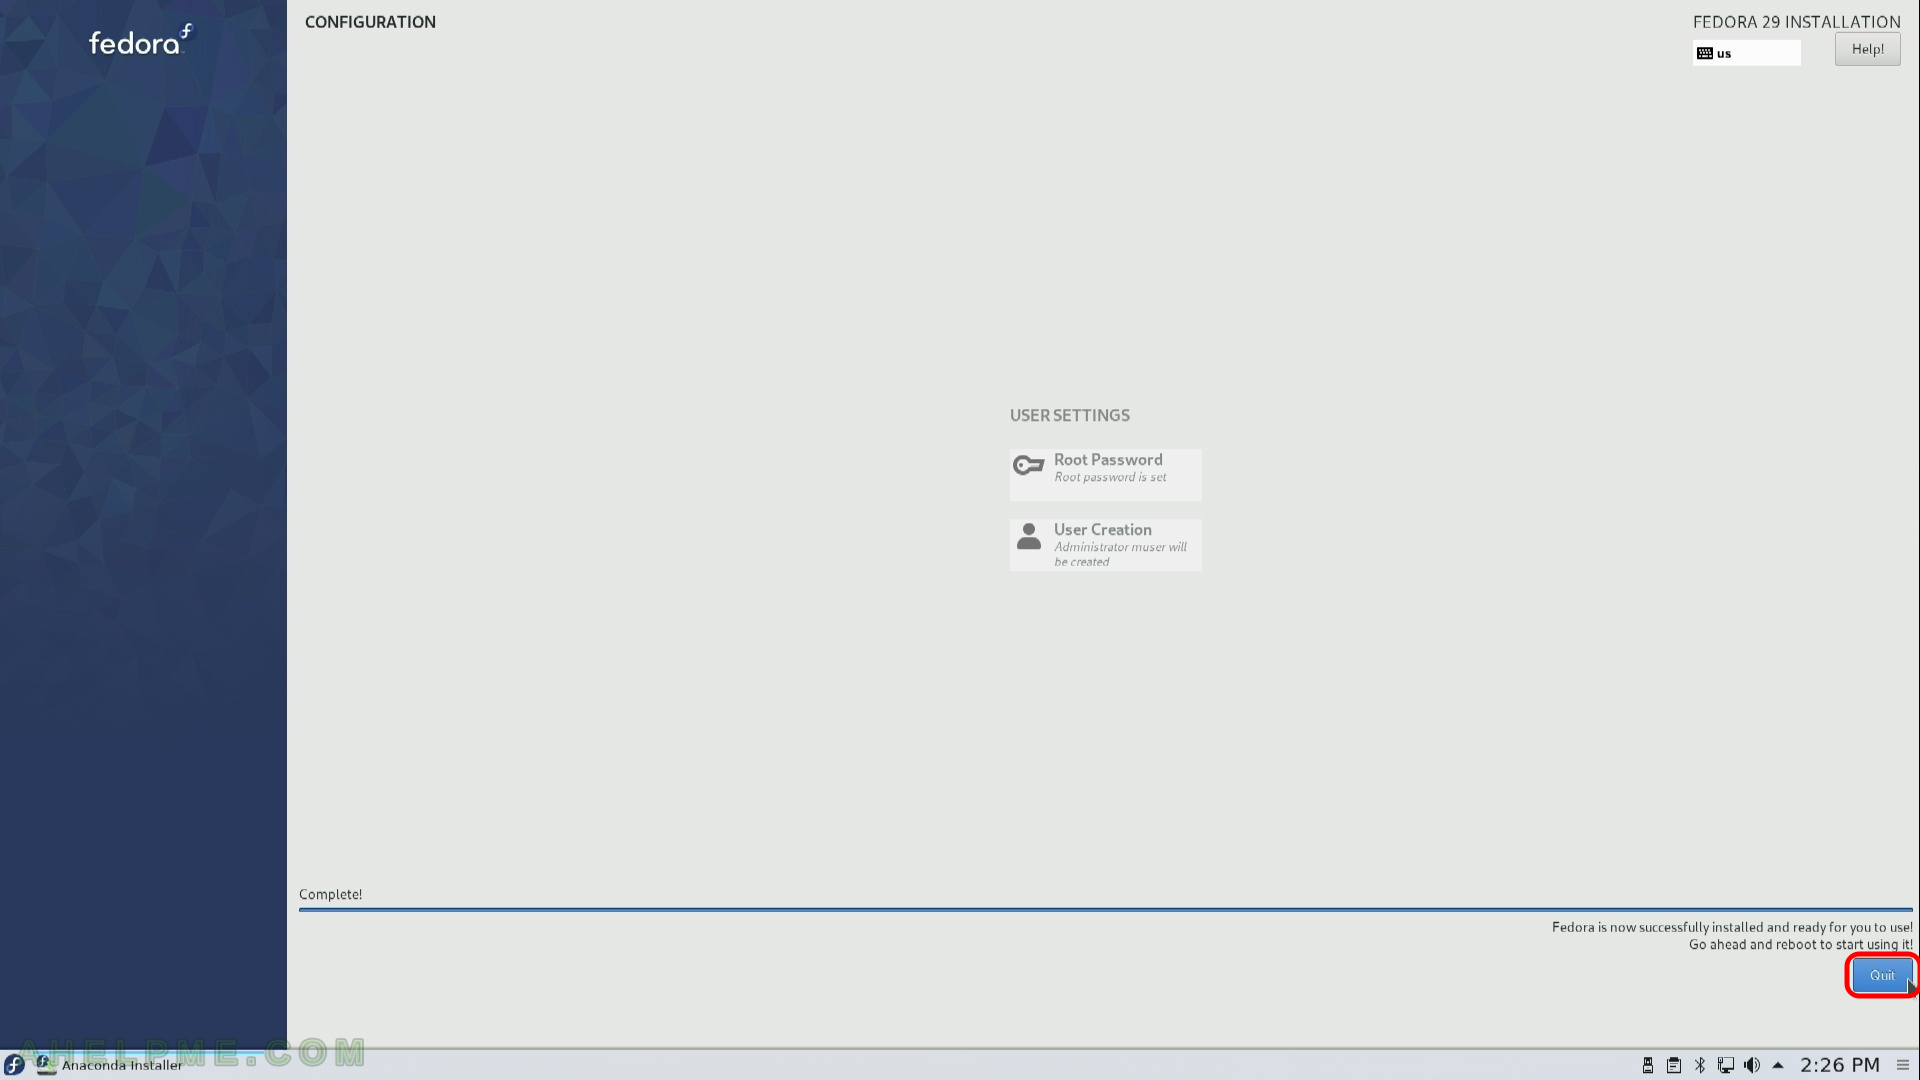
SCREENSHOT 21) The installation has finished. You should quit the installation program. Click on “Quit”.
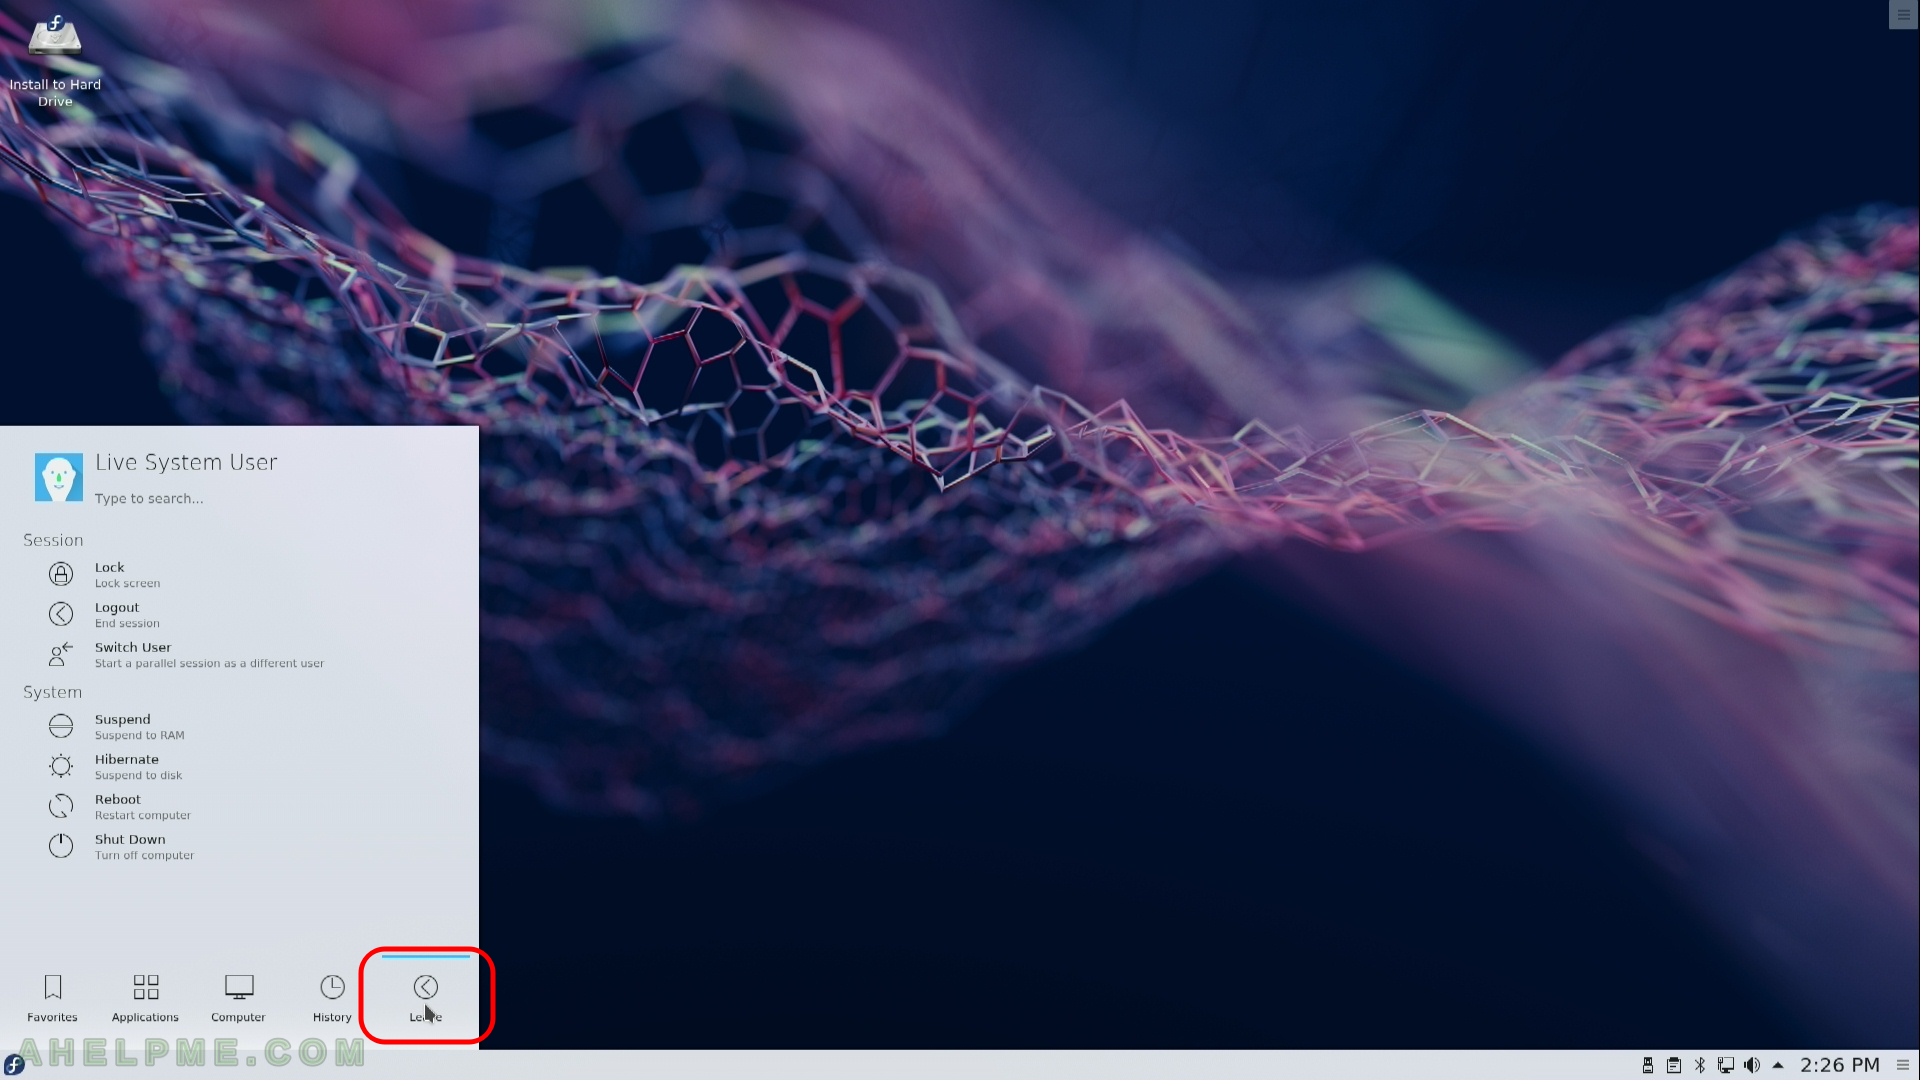
SCREENSHOT 22) You are still in the Live image, so click on the top right corner, click on the “Leave” sub-menu.
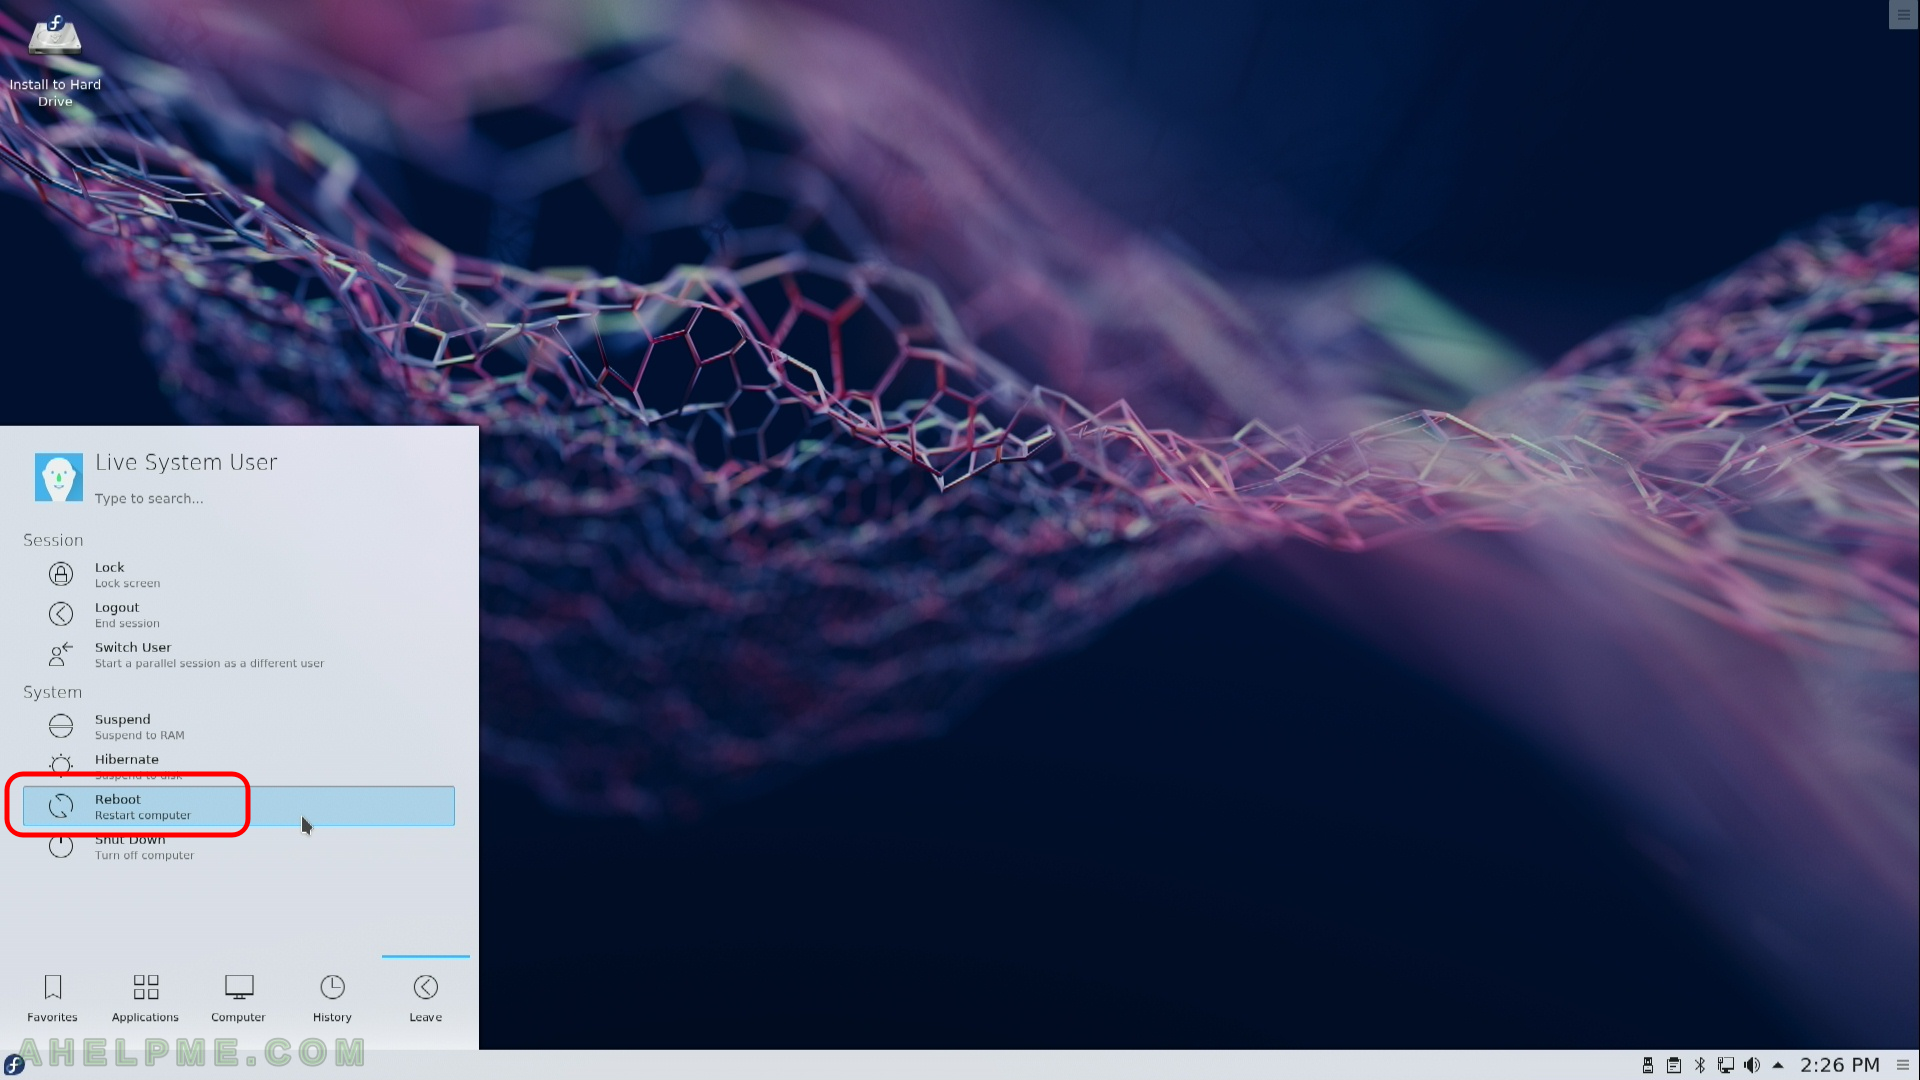
SCREENSHOT 23) Click on “Reboot” to restart the system.
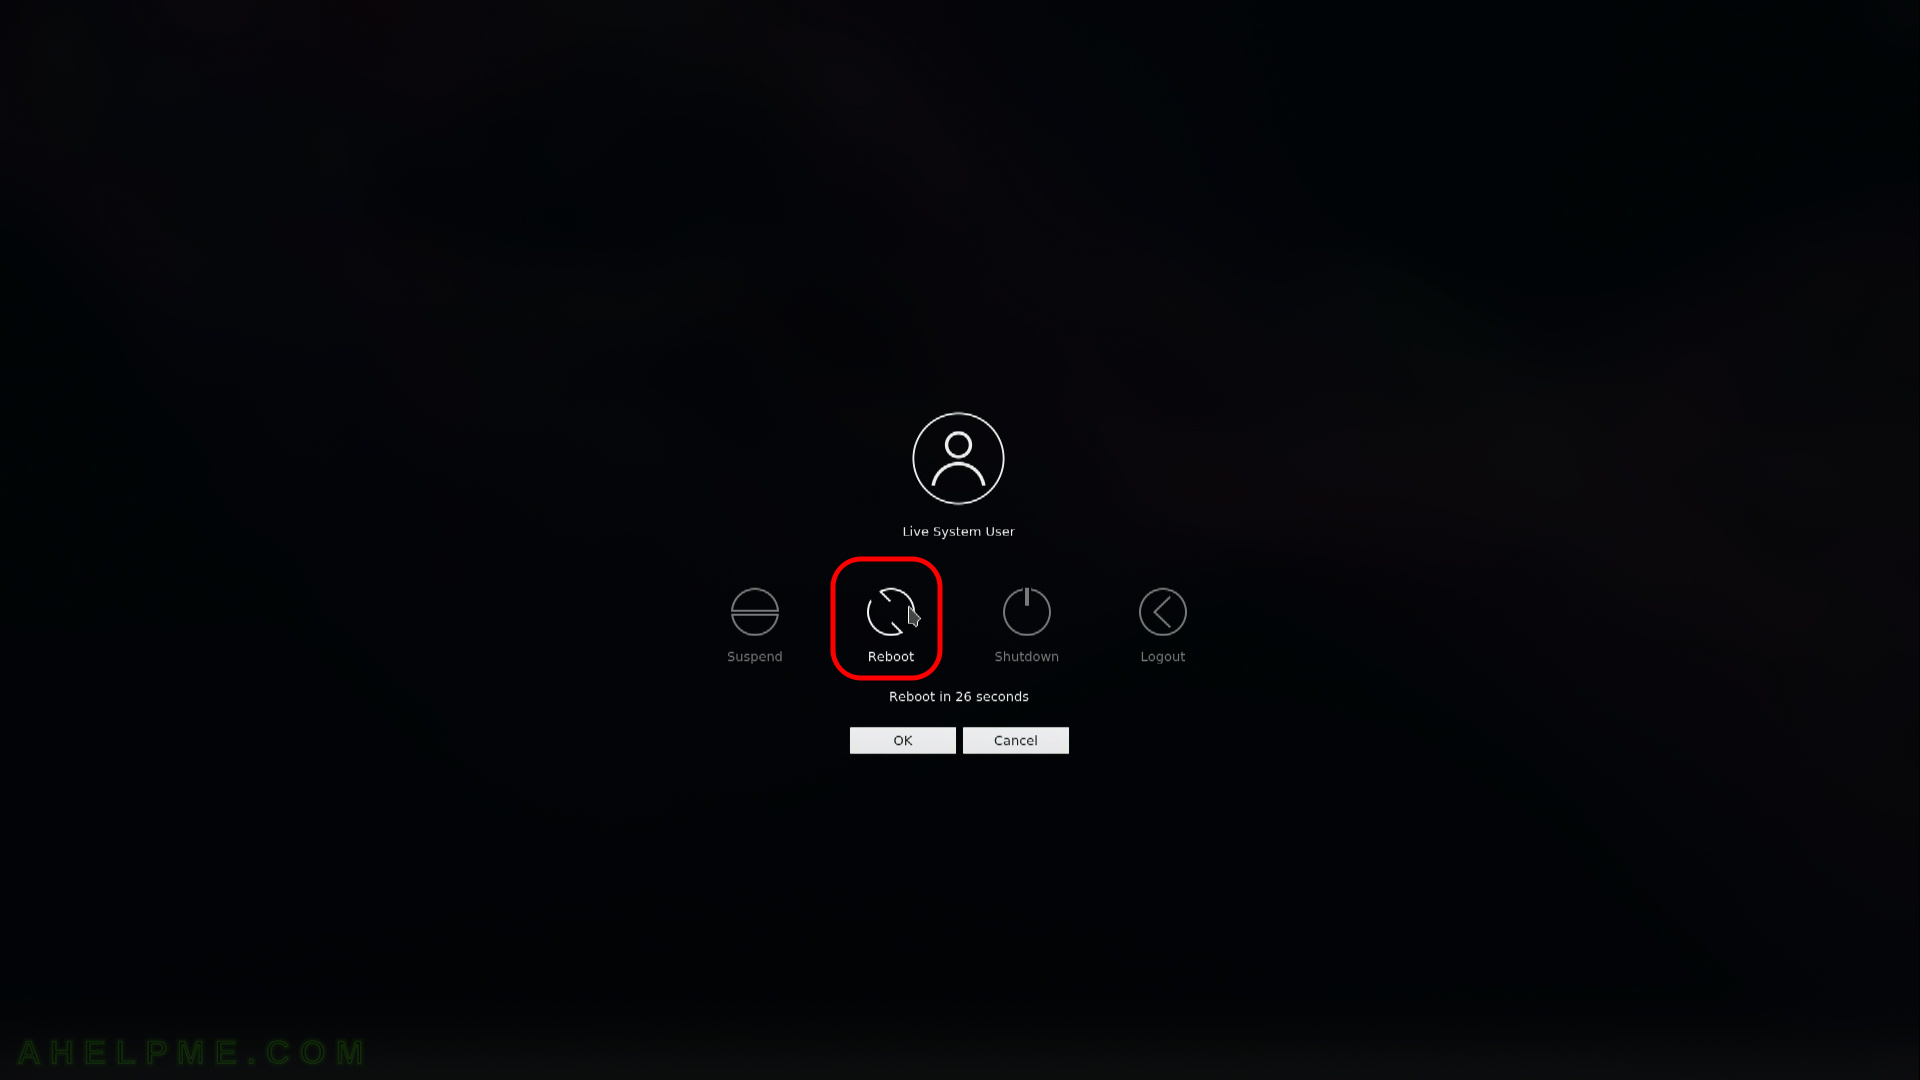
SCREENSHOT 24) Confirm the restart of your machine and eject the installation media DVD or USB (unplug the USB flash drive)
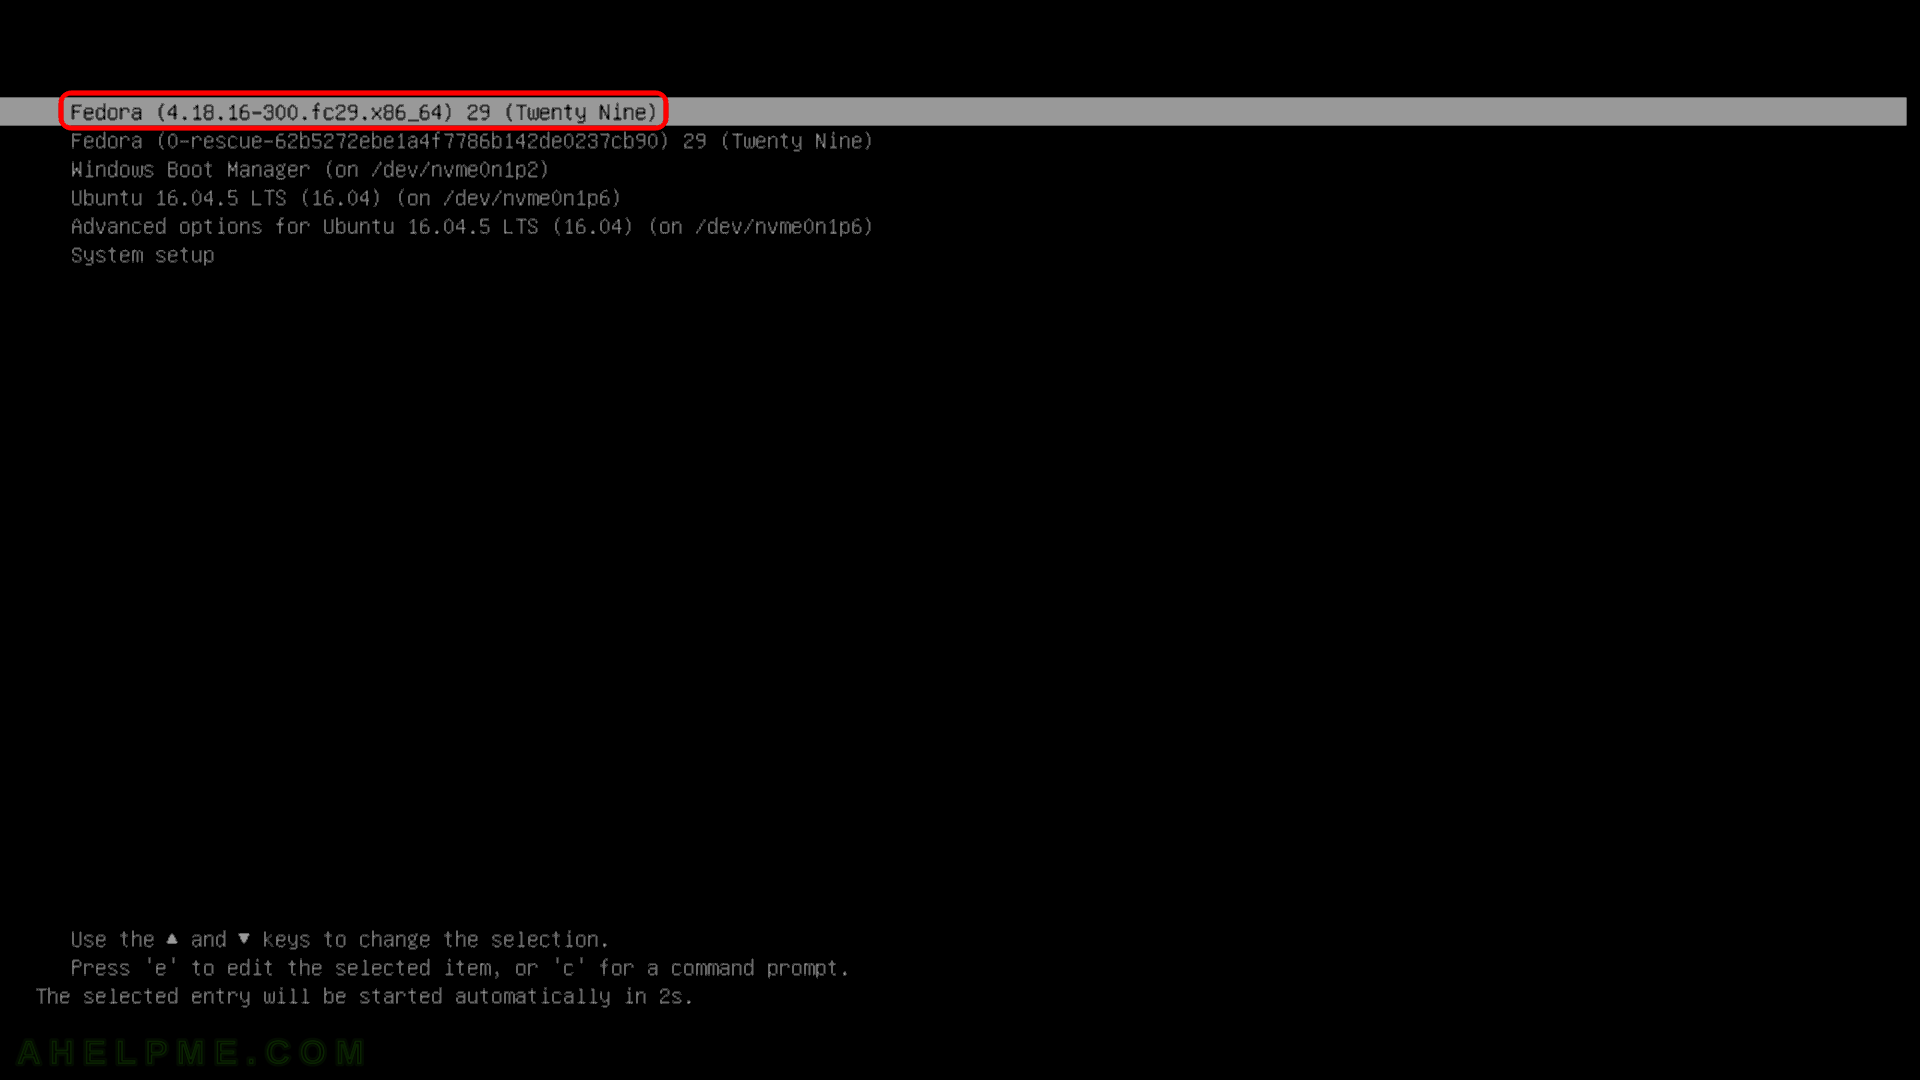
SCREENSHOT 25) Your freshly installed Fedora 29 KDE Plasma Desktop is the default boot option in the booting program (grub2).
As you can see we have two more Operating systems – Windows 10 and Ubuntu 16.04.5 LTS. The setup found these options and added to the boot menu.
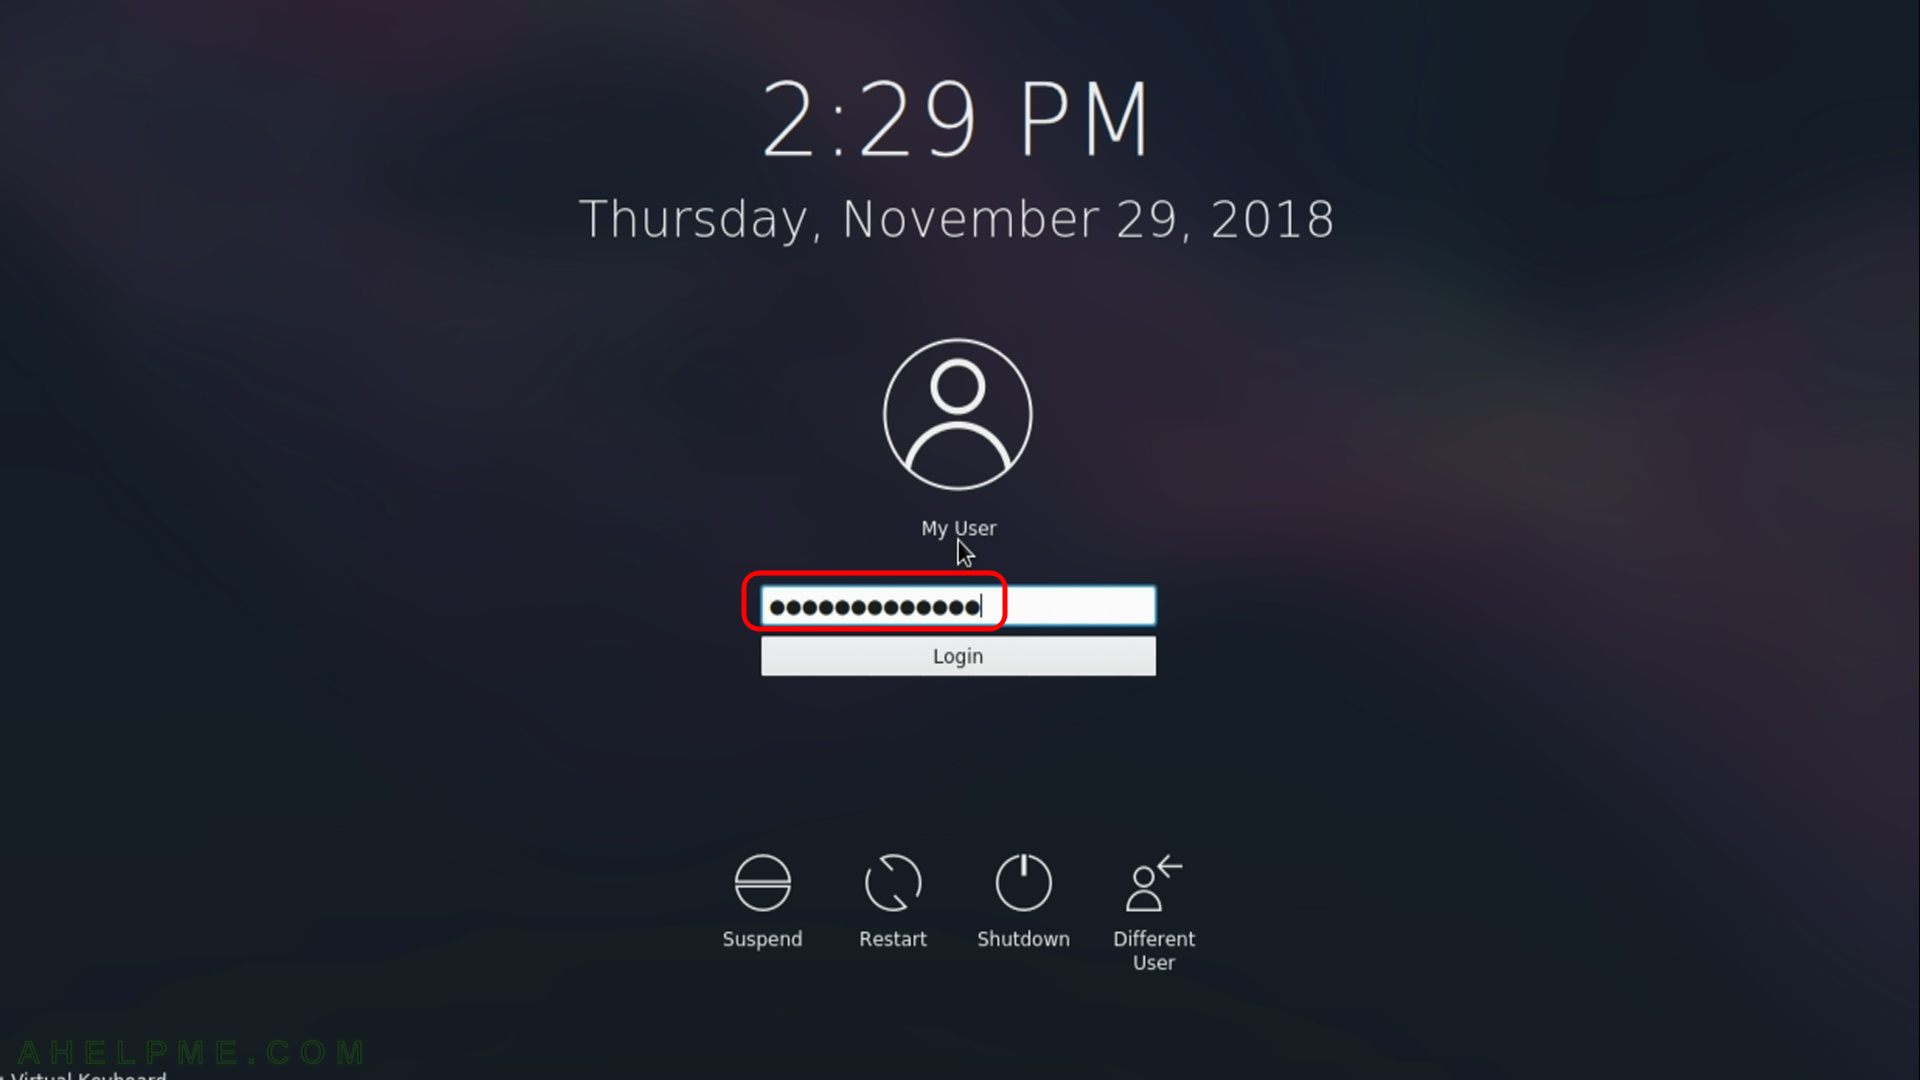
SCREENSHOT 26) Select the user (in our case the default user is our only user “My user”, which we created during the installation) and type your password, then hit “Enter”.
SCREENSHOT 27) The Fedora 29 KDE Plasma Desktop is starting…
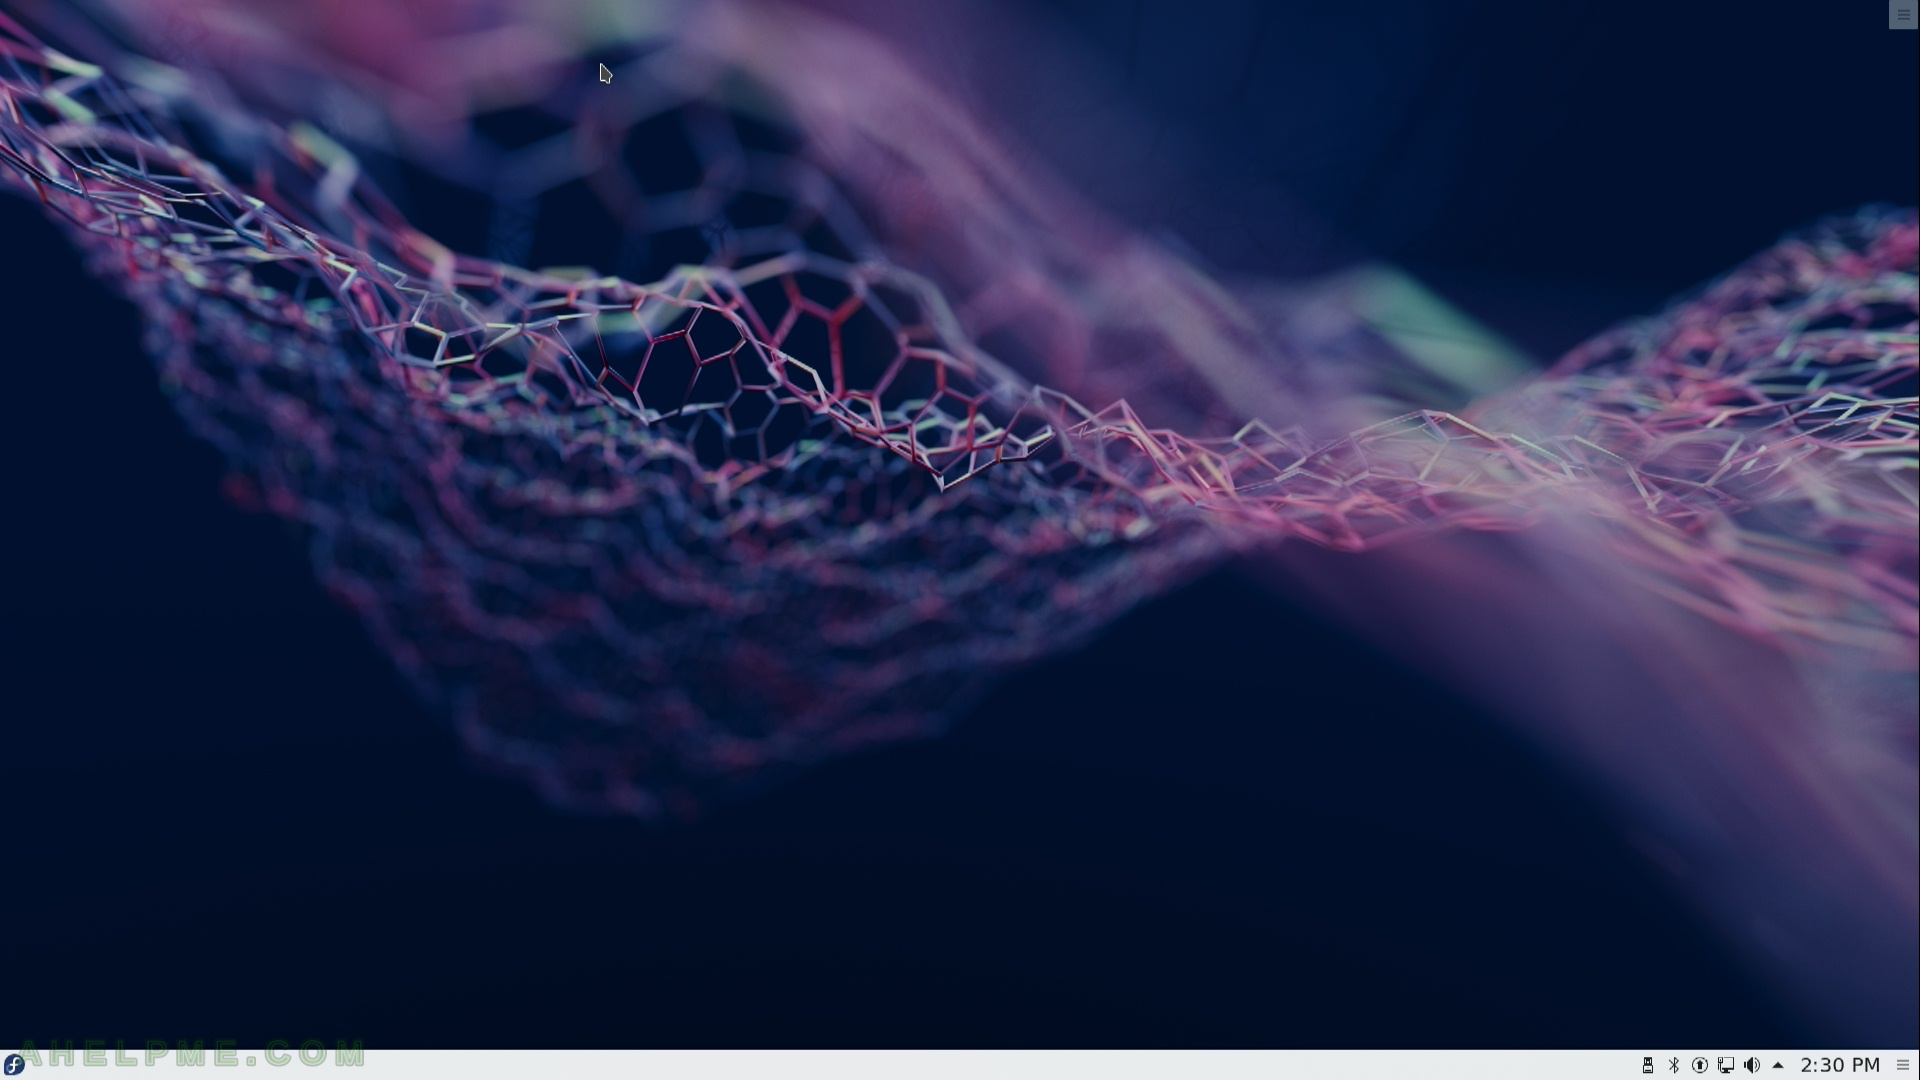
SCREENSHOT 28) This is the default view of Fedora 29 KDE Plasma Desktop.
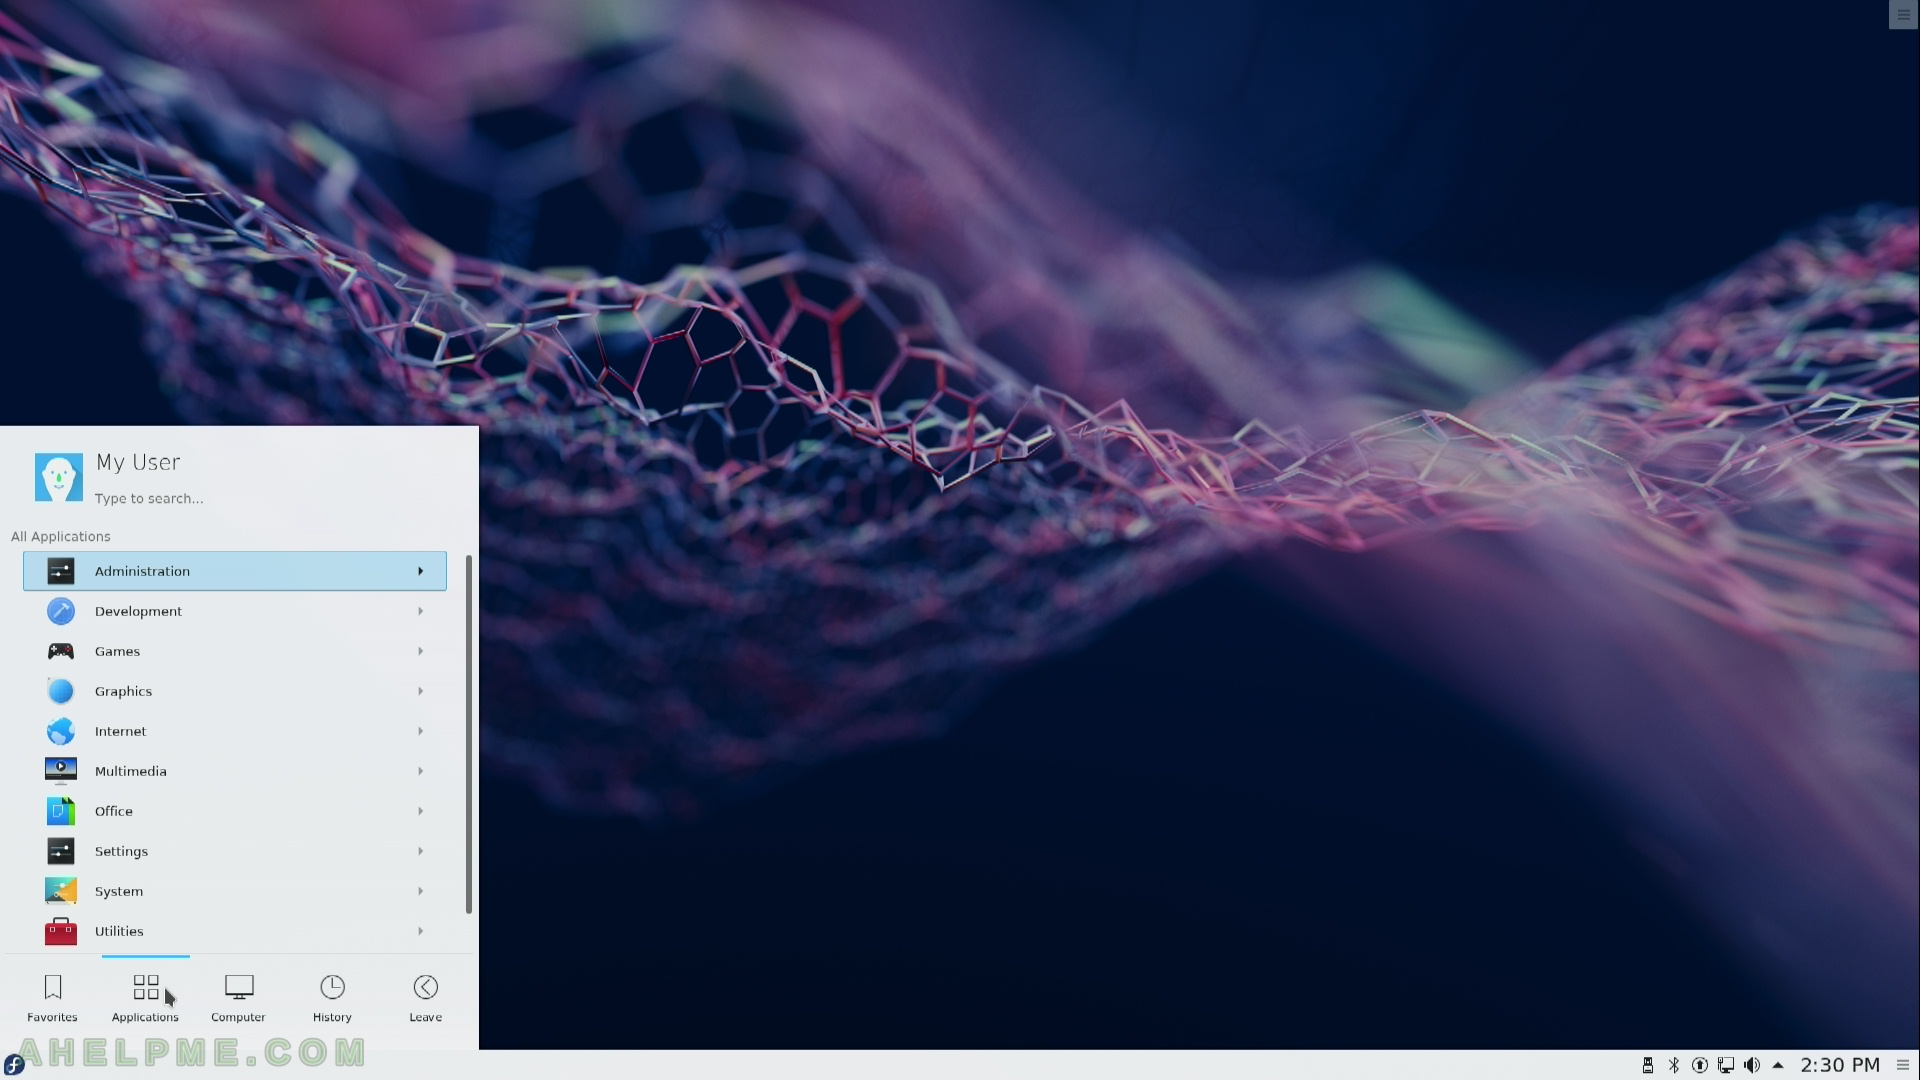
SCREENSHOT 29) Lists the default installed applications ordered in sub-menus.
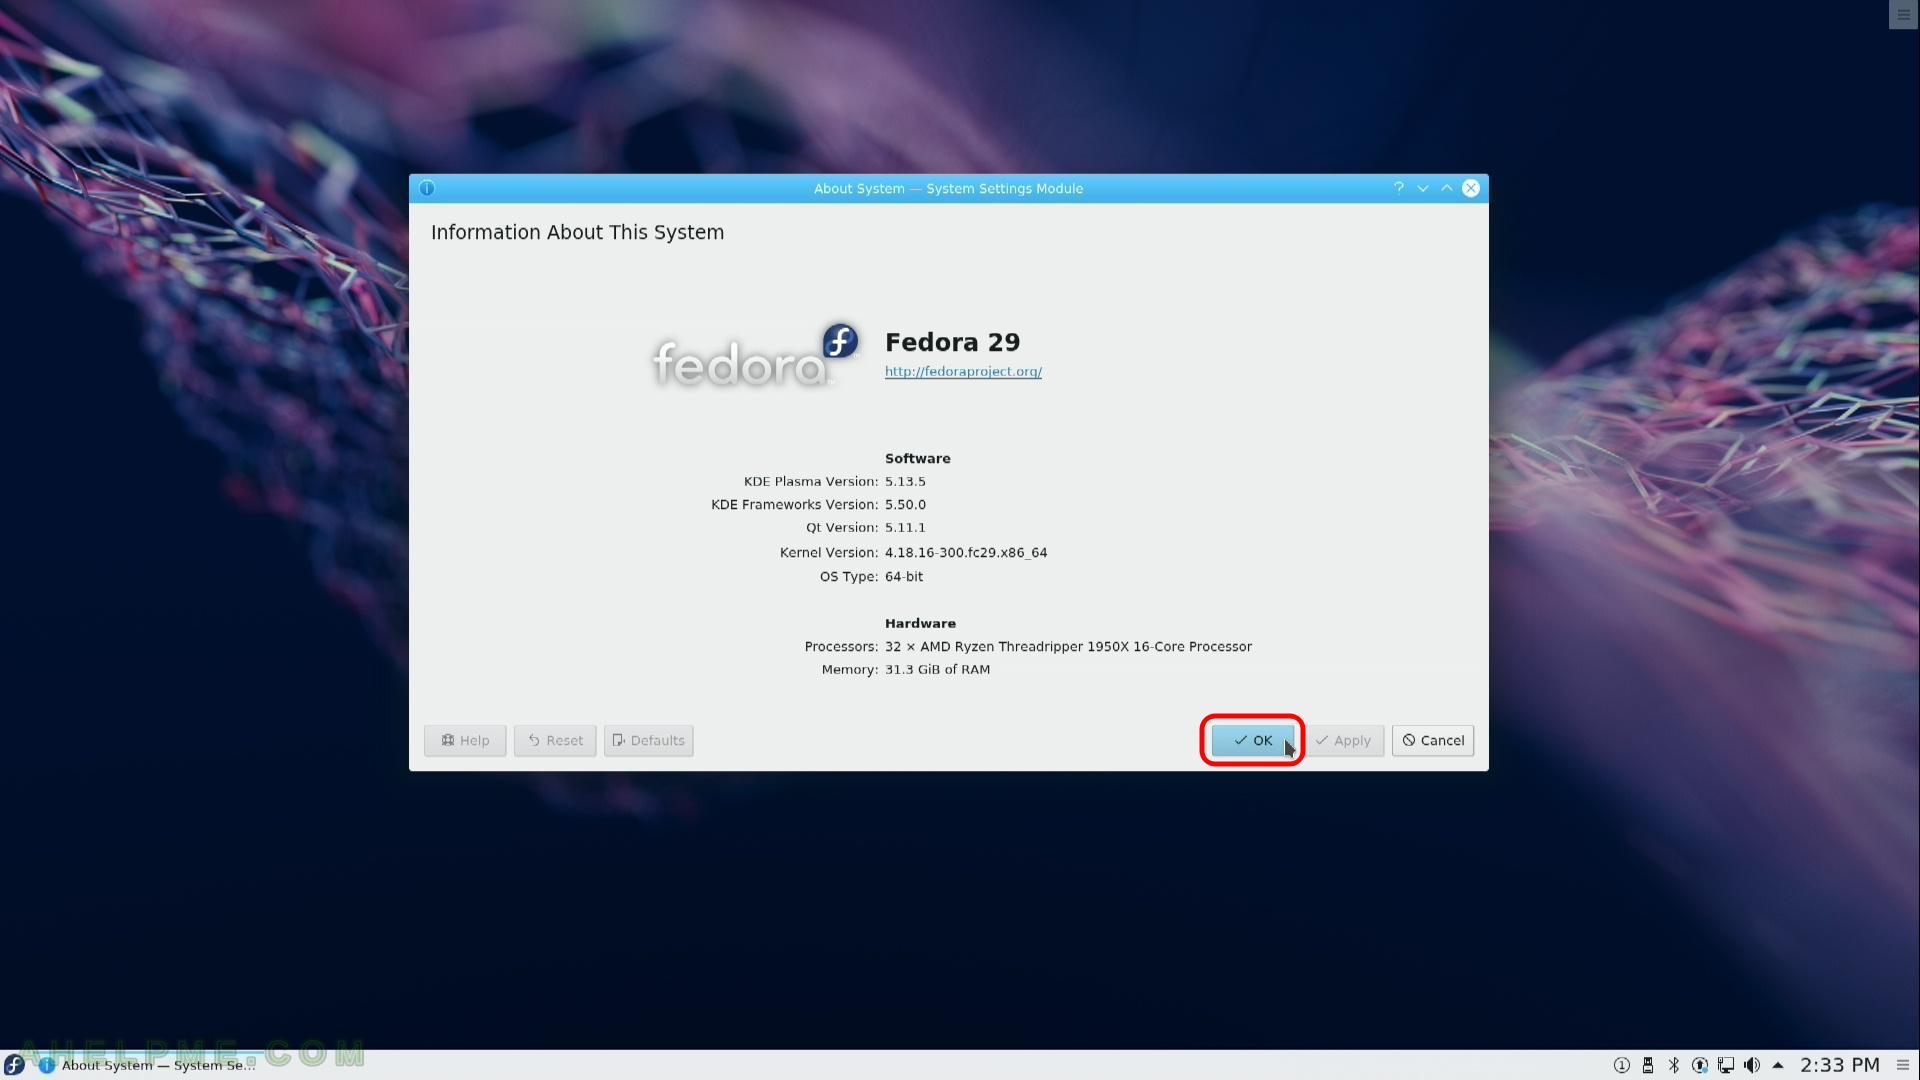
SCREENSHOT 30) About our machine and Fedora 29 software information
KDE Plasma Desktop version installed from the installation disk is: KDE Plasma version: 5.13.5, KDE Frameworks version: 5.50.0 and QT version: 5.11.1 (no updates applied). The system is AMD Ryzen Threadripper 1950X with 32G and Graphics is NVIDIA GPU hardware. By default it uses the open source GPU driver nouveau.
One thought on “Install Fedora 29 KDE Plasma Desktop (KDE GUI)”