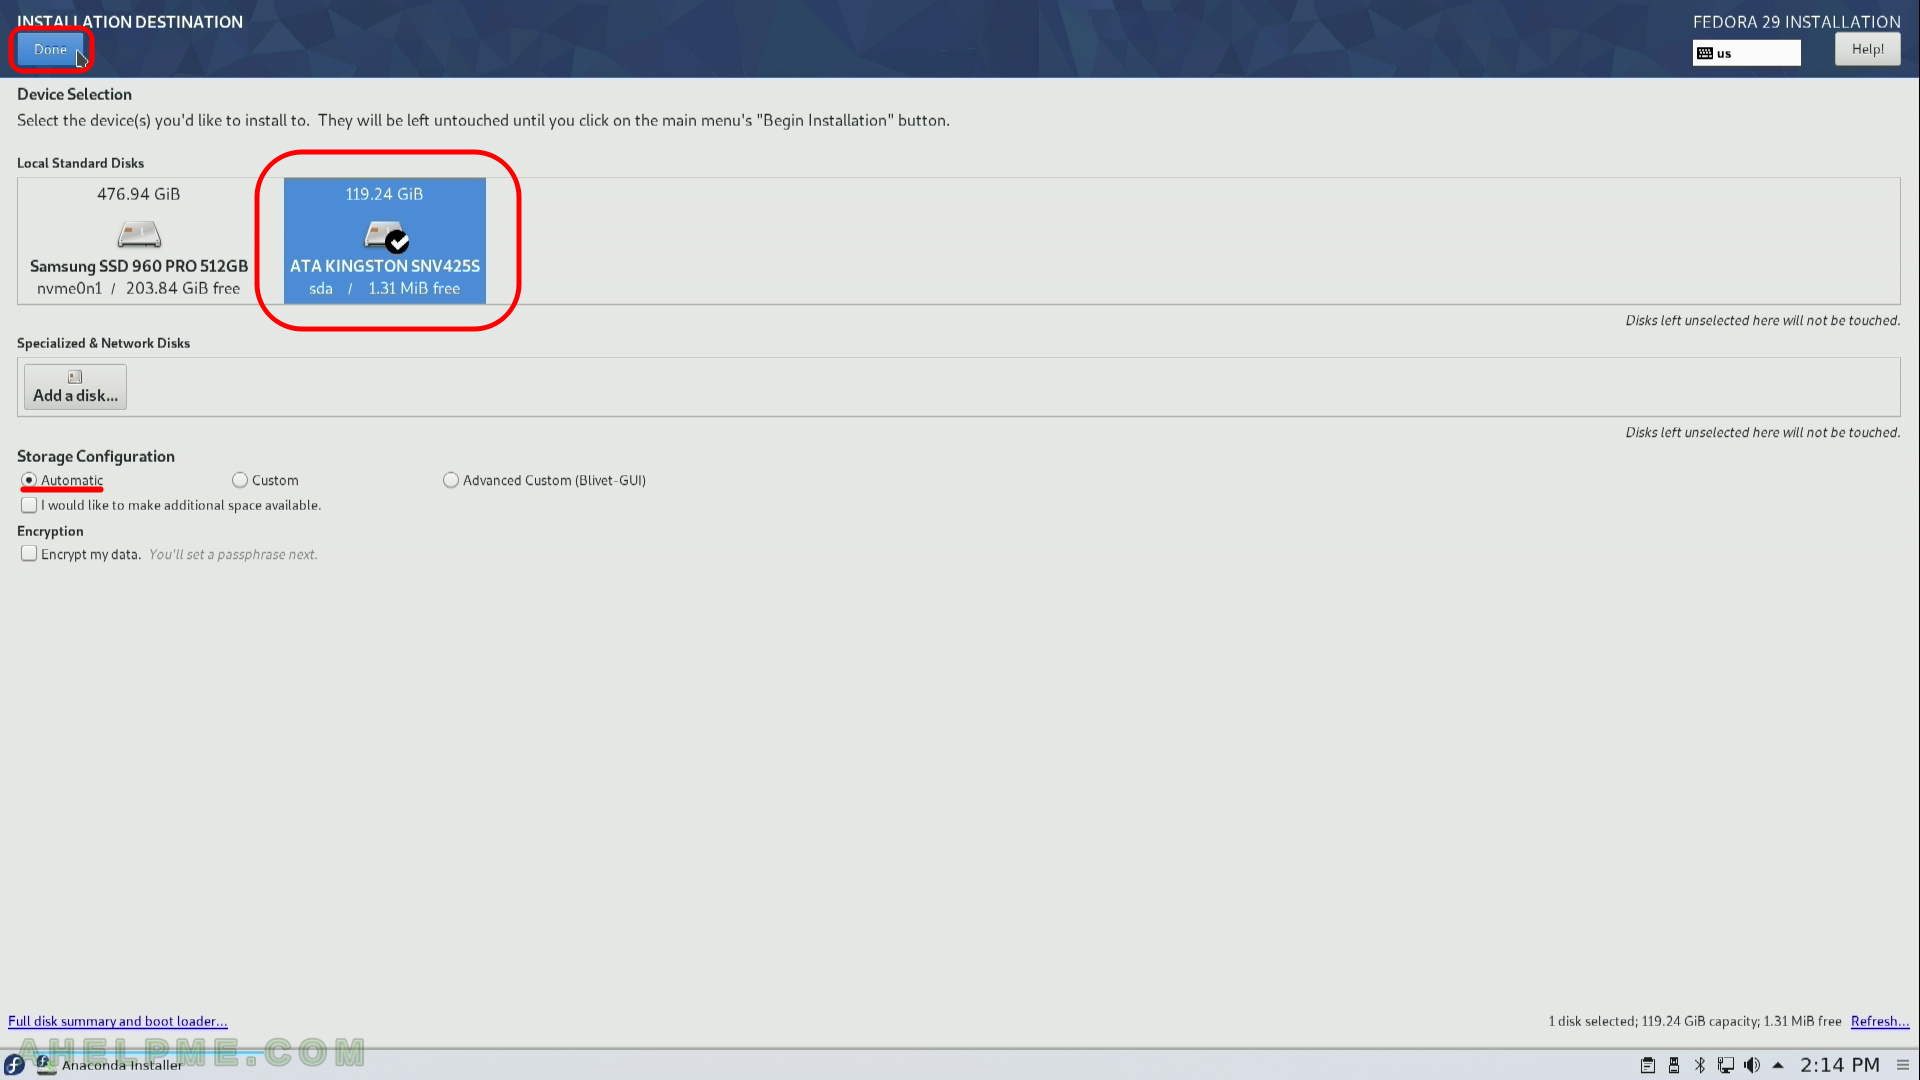
SCREENSHOT 11) Installation destination – choose your disk to install Fedora 29.
Ensure the automatic storage configuration is selected. This will erace all of the data on the disk and will install a clean copy with default disk layout (if you have more than 20G free storage the setup will try to reuse your current layout if possible. Here we do not have free space!). If you want a specific installation you should choose “Custom” or “Advanced Custom(Blivet-GUI)” (these options are beyond the scope of this article). Click on “Done” – no confirmation will be asked.
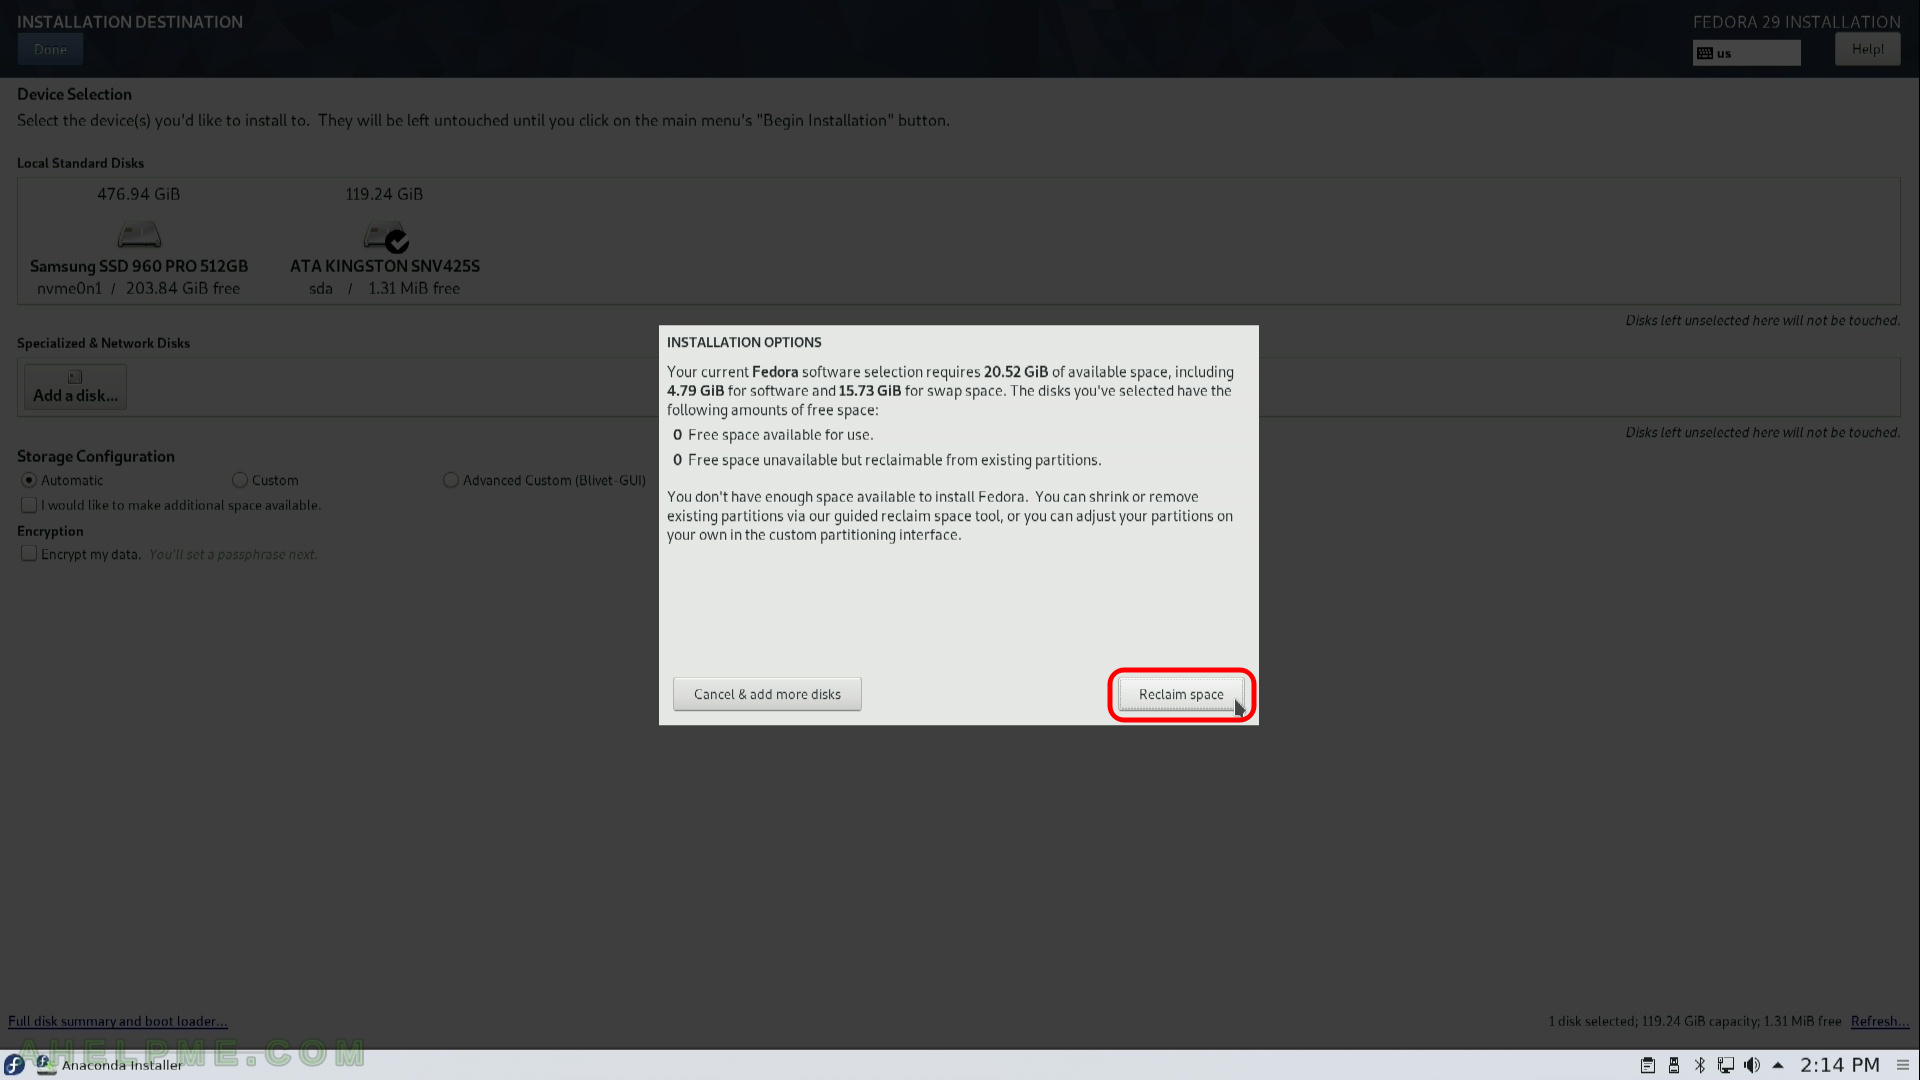
SCREENSHOT 12) If your disk has some data (partitions) you must go through additional steps asking you if you want to Reclaim the disk space of the disk.
If your disk does not have any partitions and all the space is unallocated you would not be asked any questions. Click on “Reclaim space” – all your data on this drive will be erased!!!
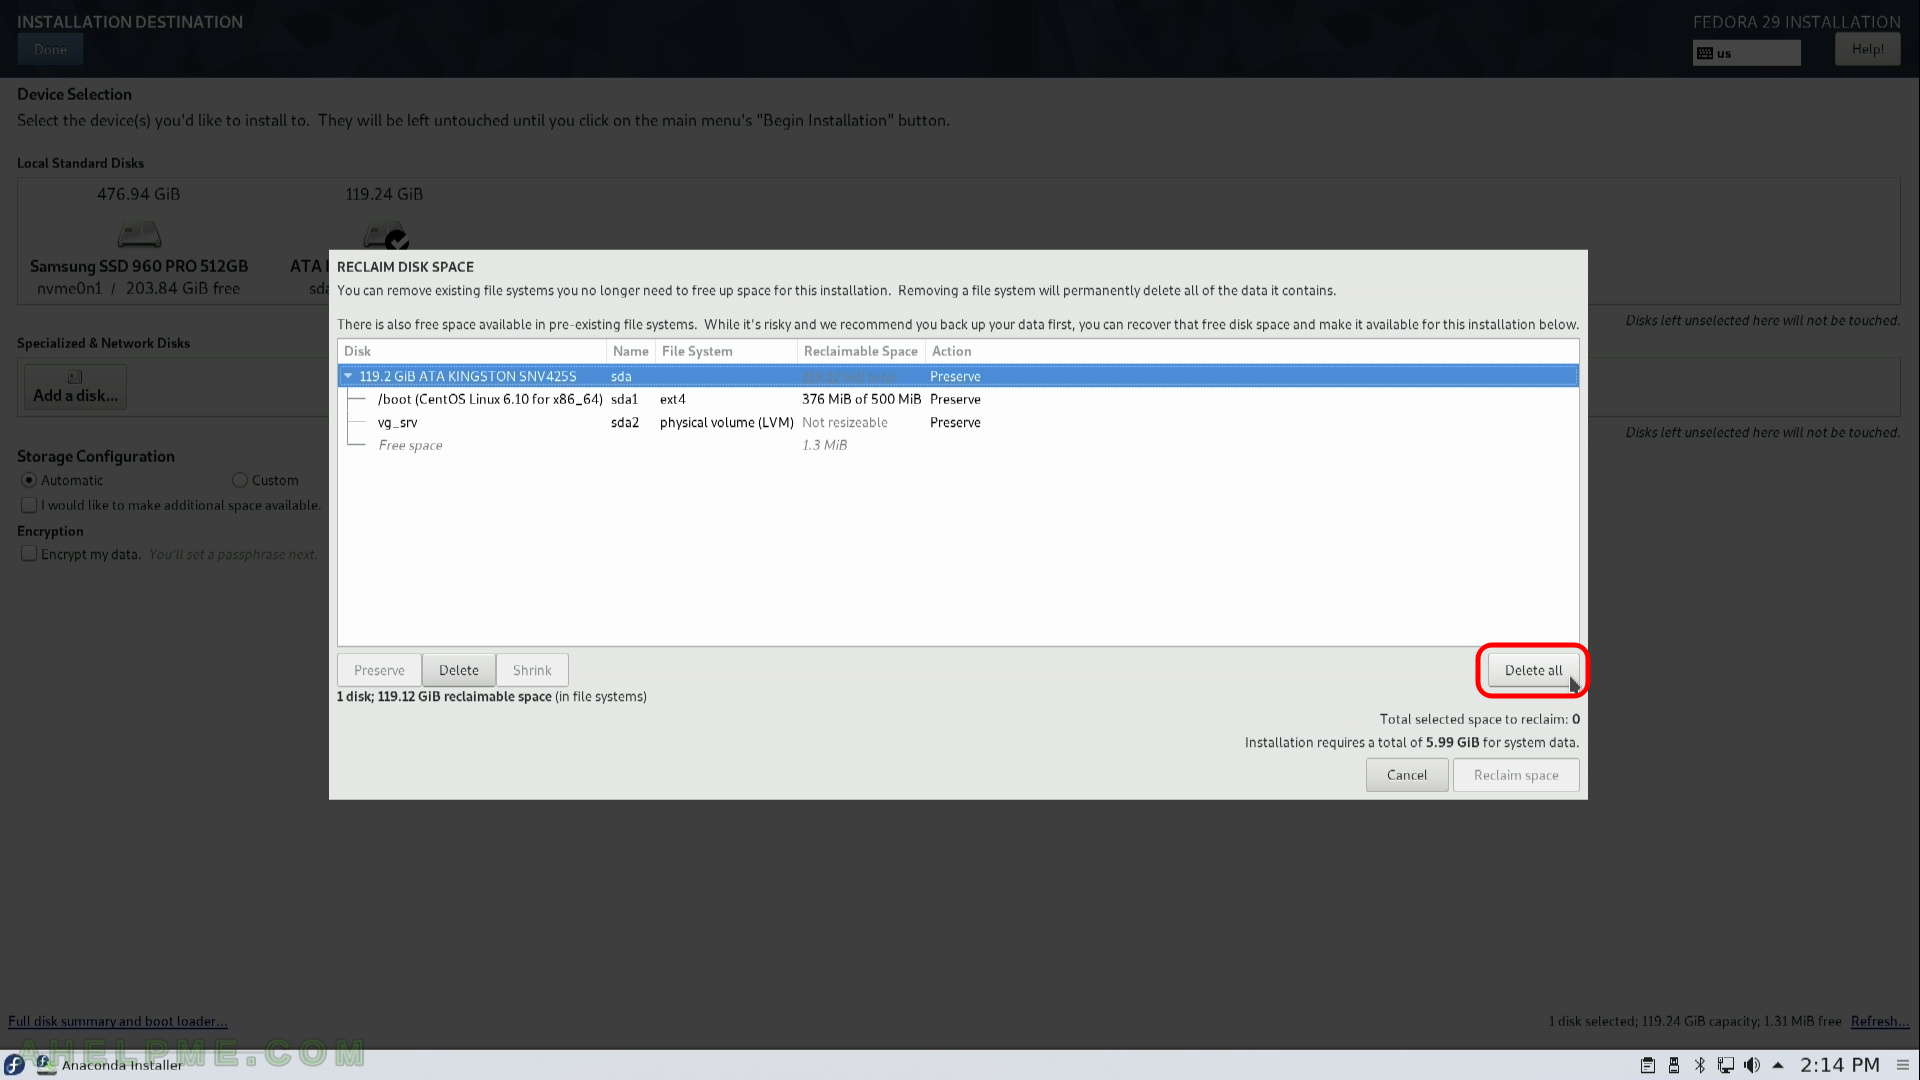
SCREENSHOT 13) This steps shows you what is the current layout of the selected disk for installation. We do not need any data there SO select “Delete All”
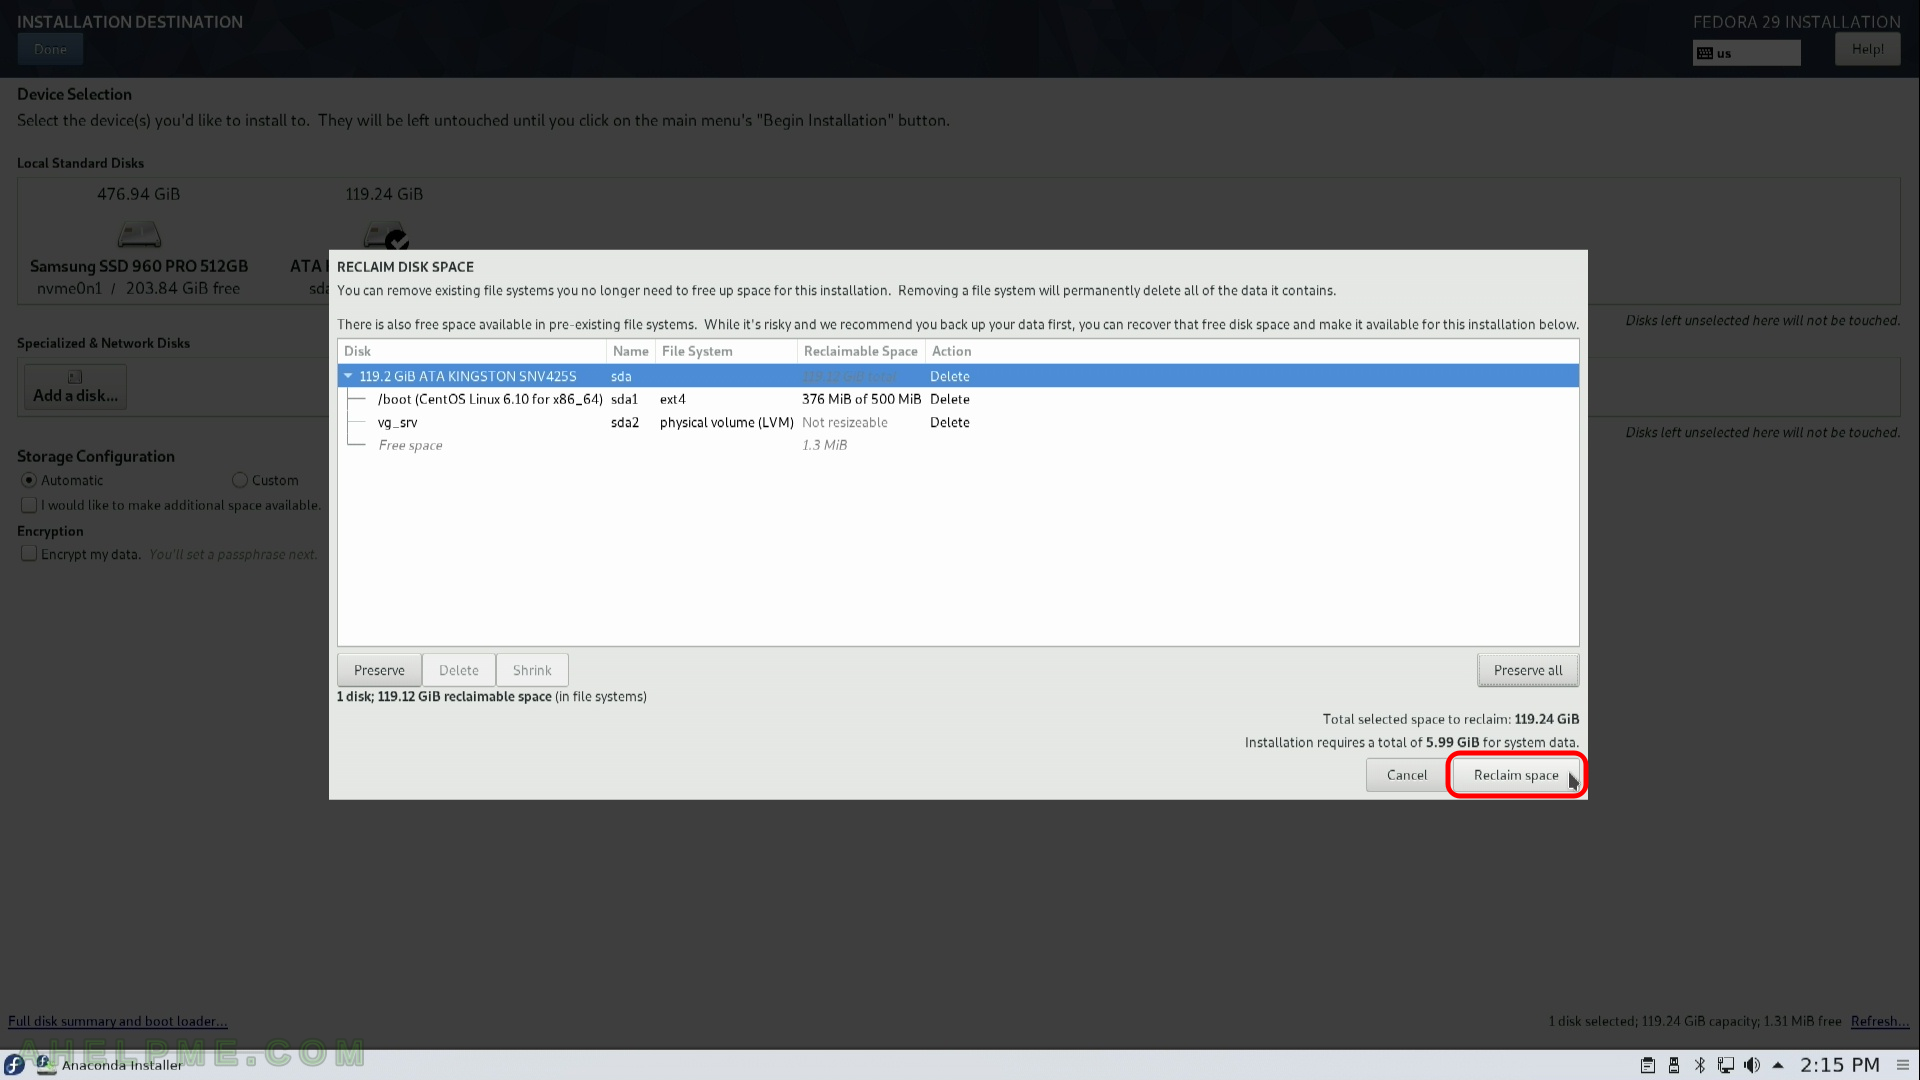
SCREENSHOT 14) Accept all changes with the layout of the installation disk by clicking “Reclaim space”
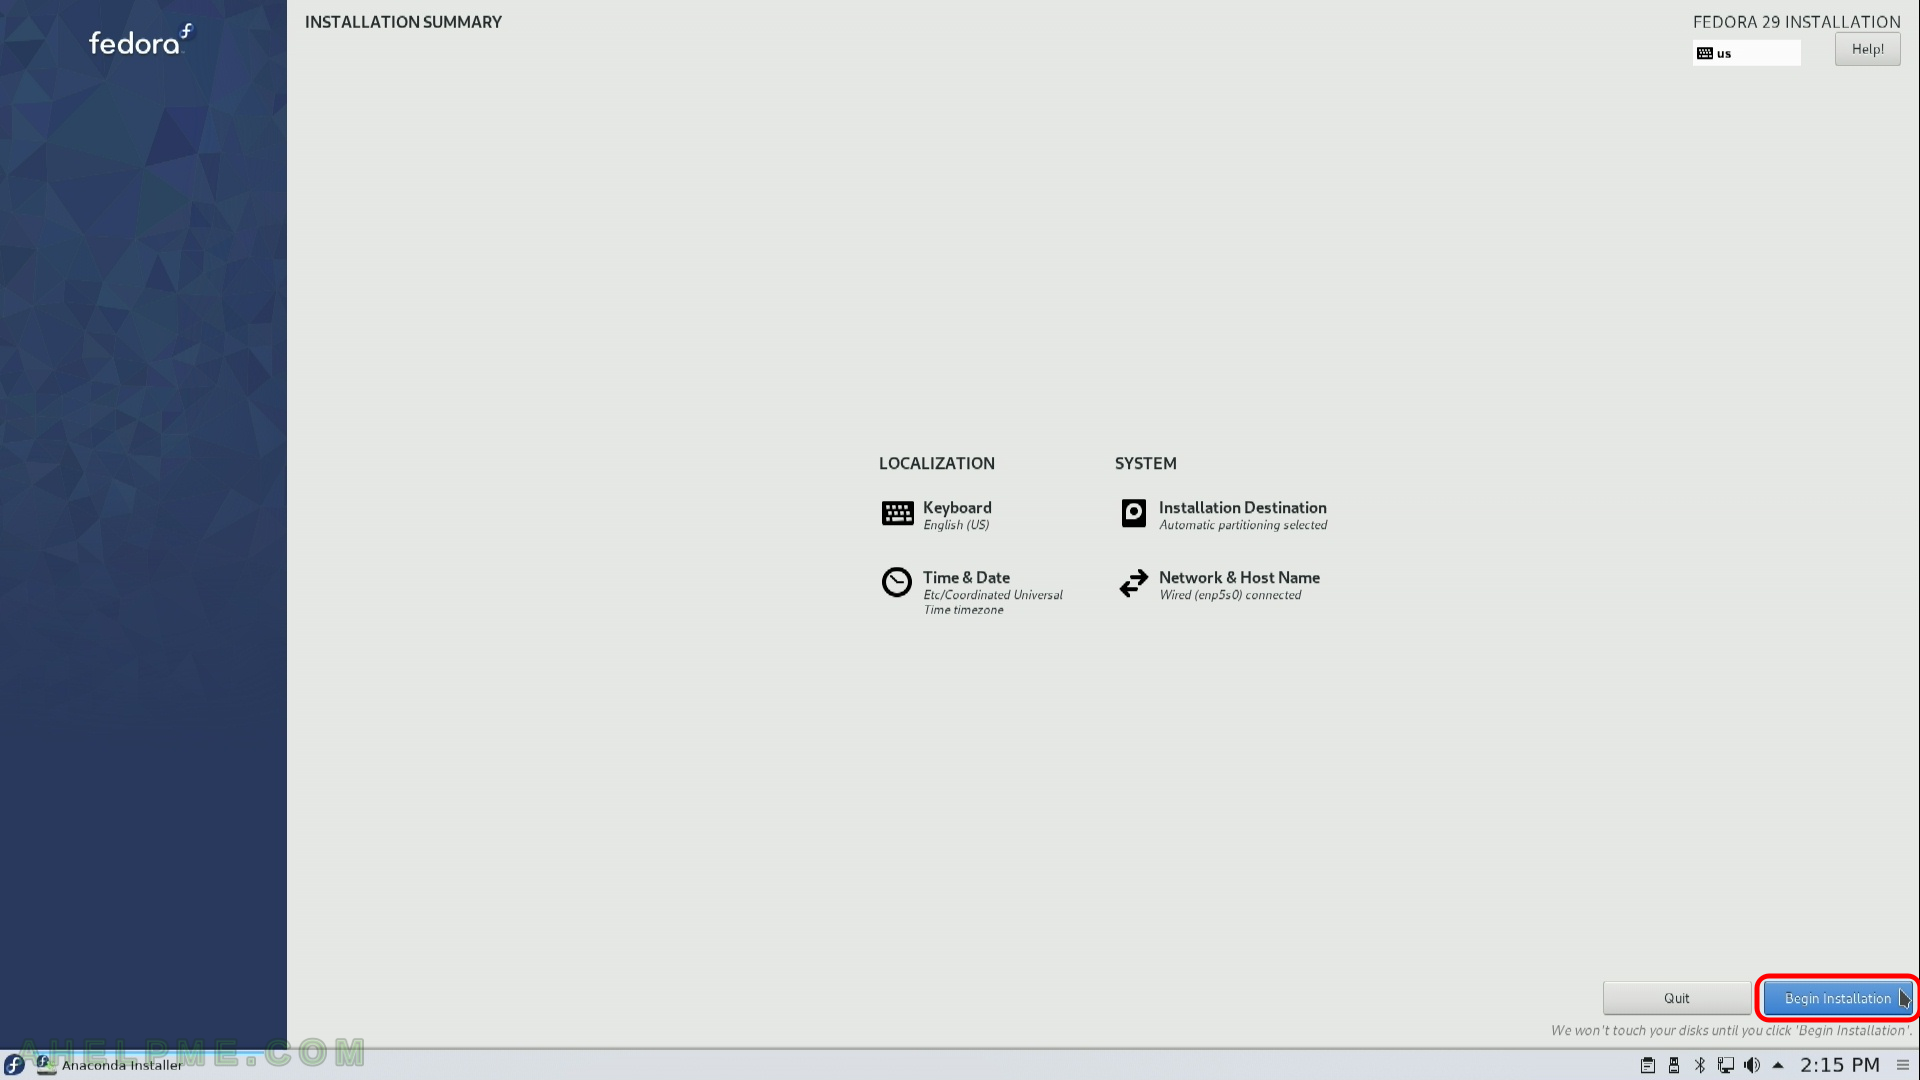
SCREENSHOT 15) Now the installation setup is configured and by clicking on “Begin Installation” the actual installation on your selected hard drive begins.
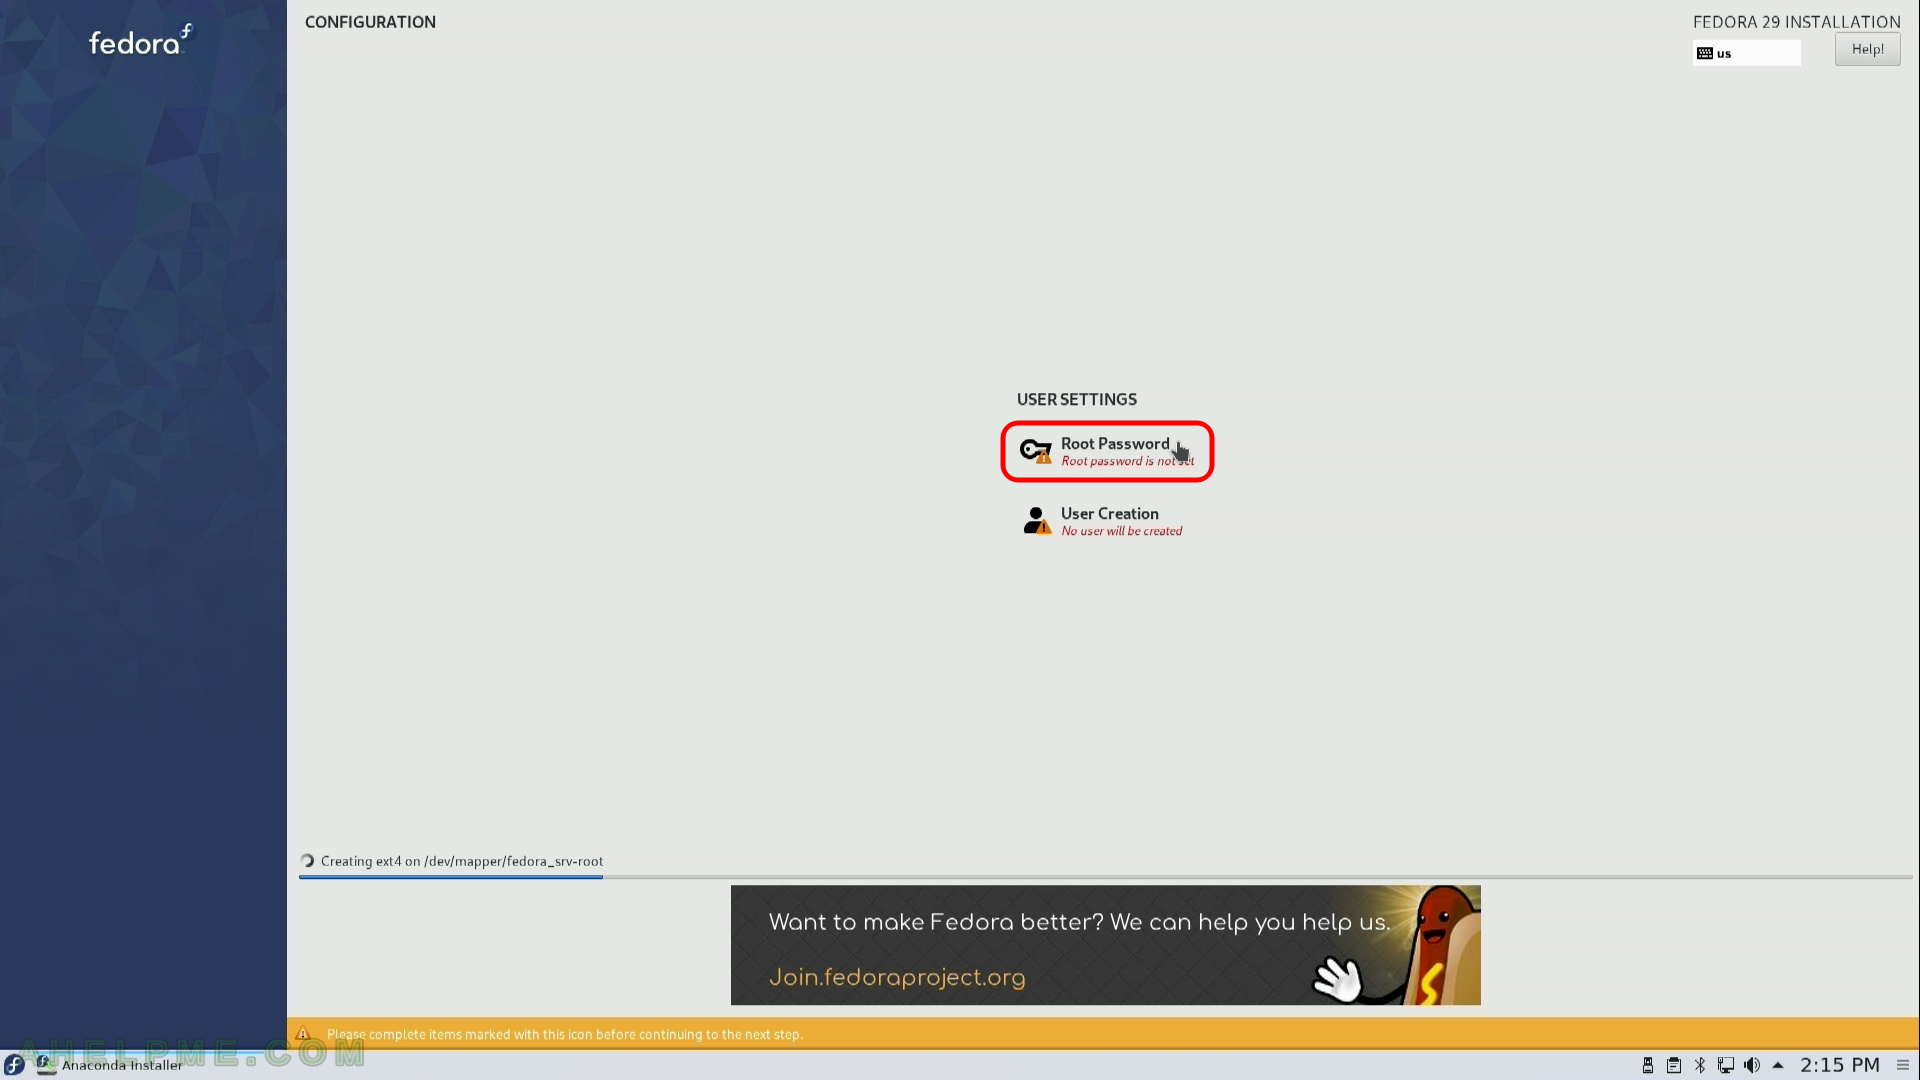
SCREENSHOT 16) Click on “Root Password” to set the root password.
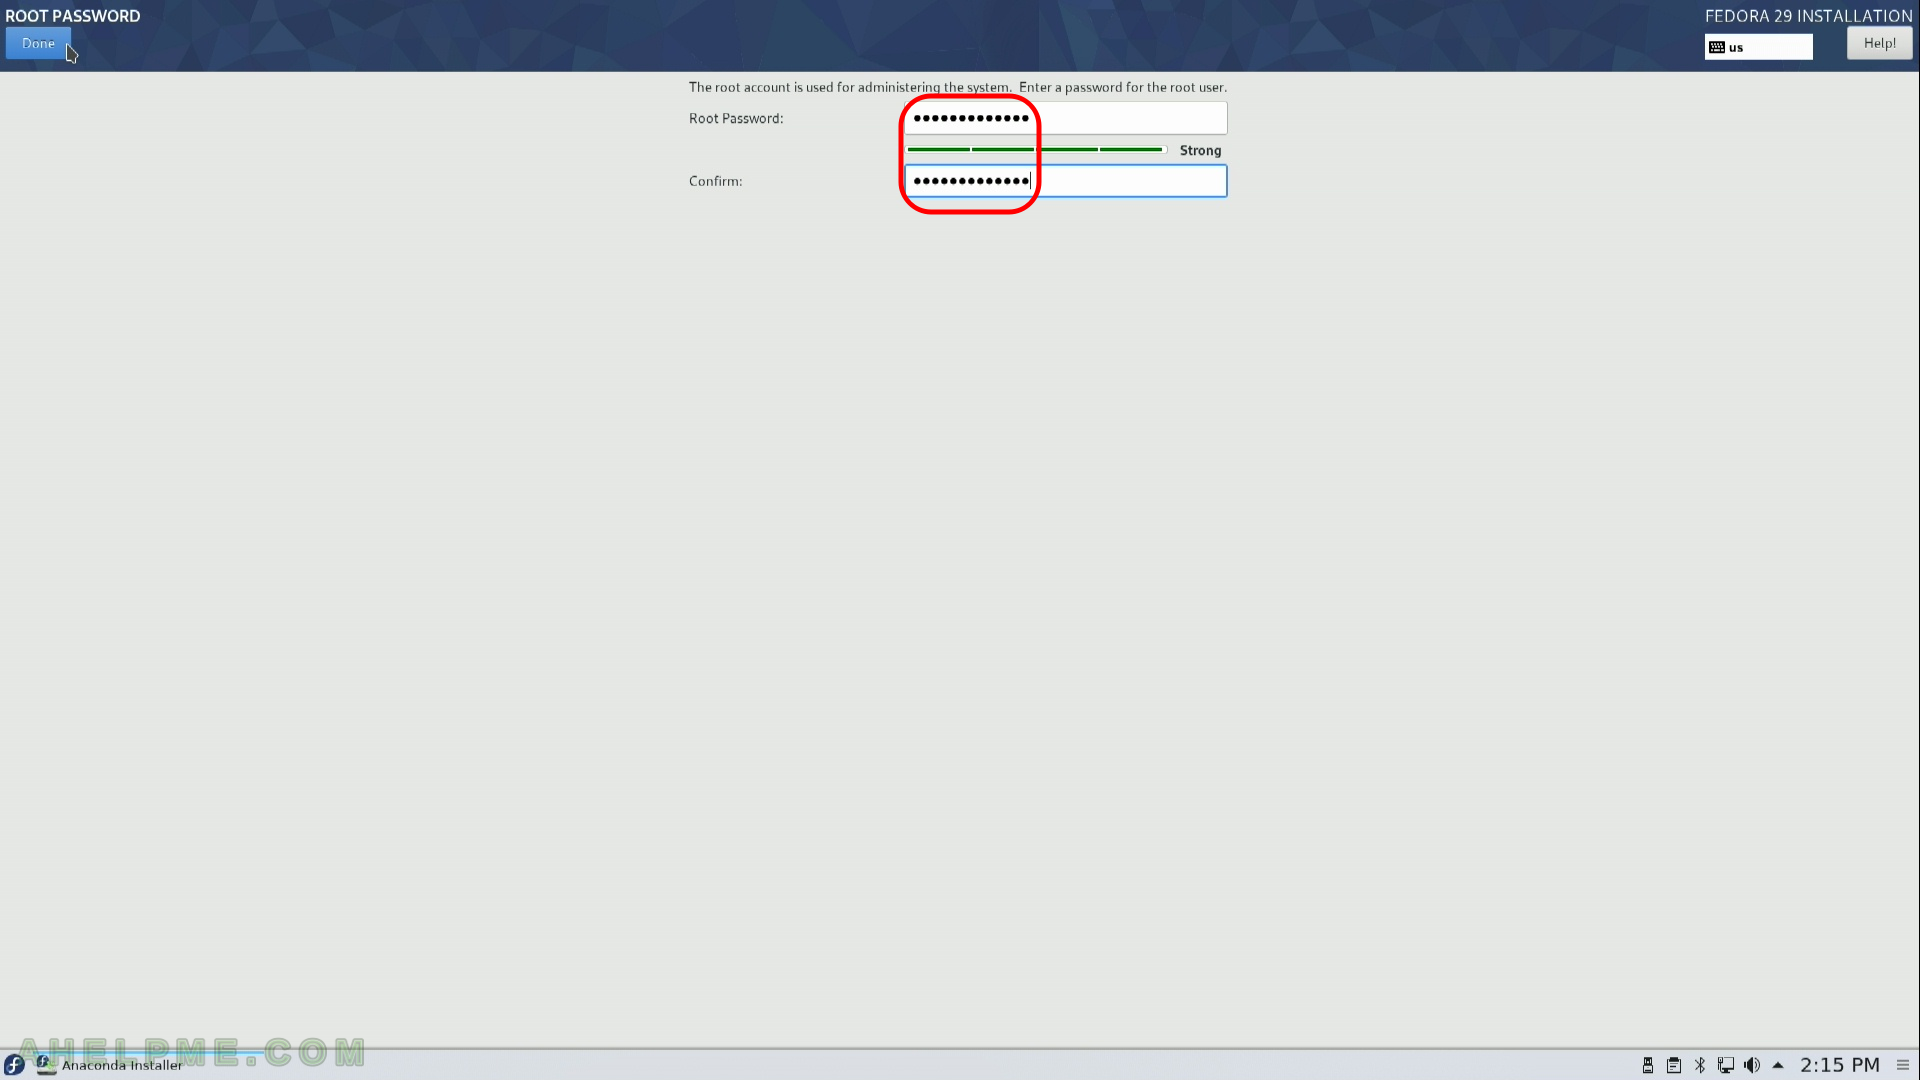
SCREENSHOT 17) Set the password and confirm it. The setup shows you how strong is your password. Click “Done” to set the root password of your install.
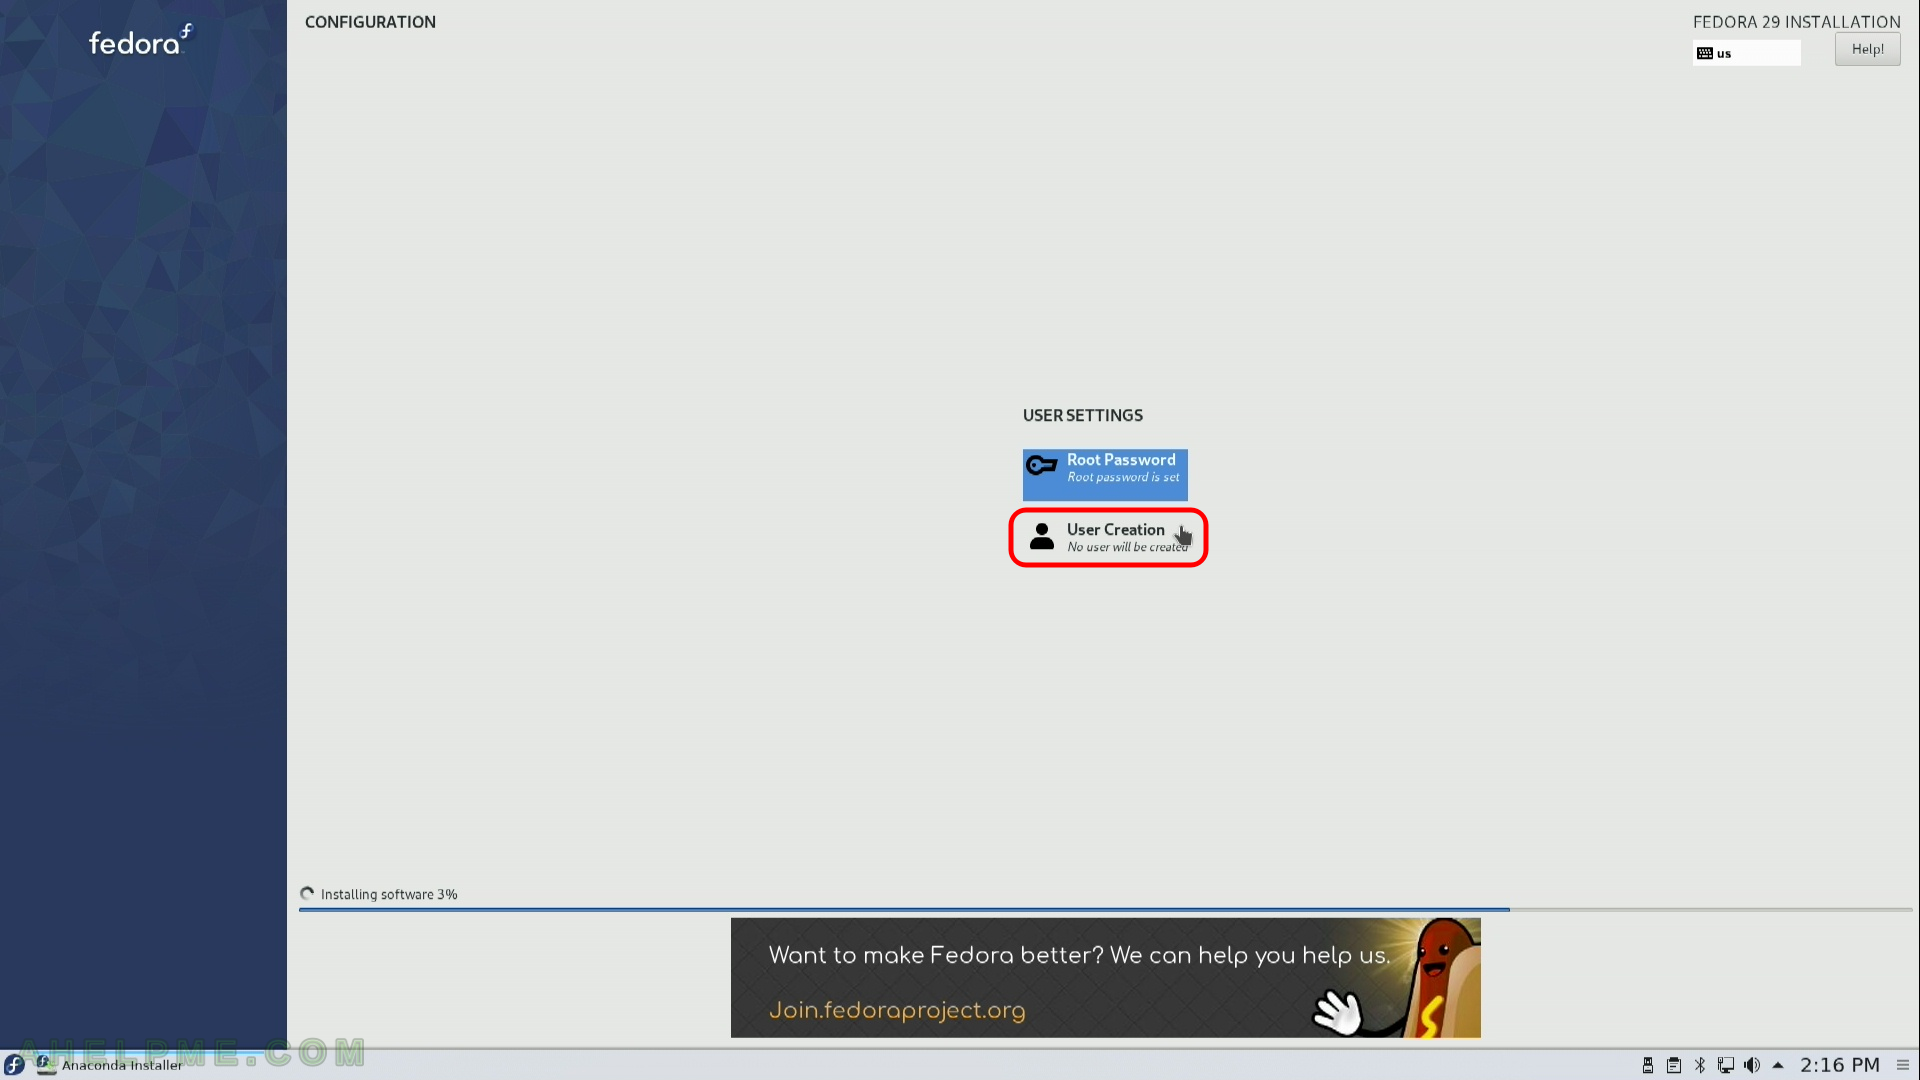
SCREENSHOT 18) Click on “User Creation” to create an ordinary user, which will use the system.
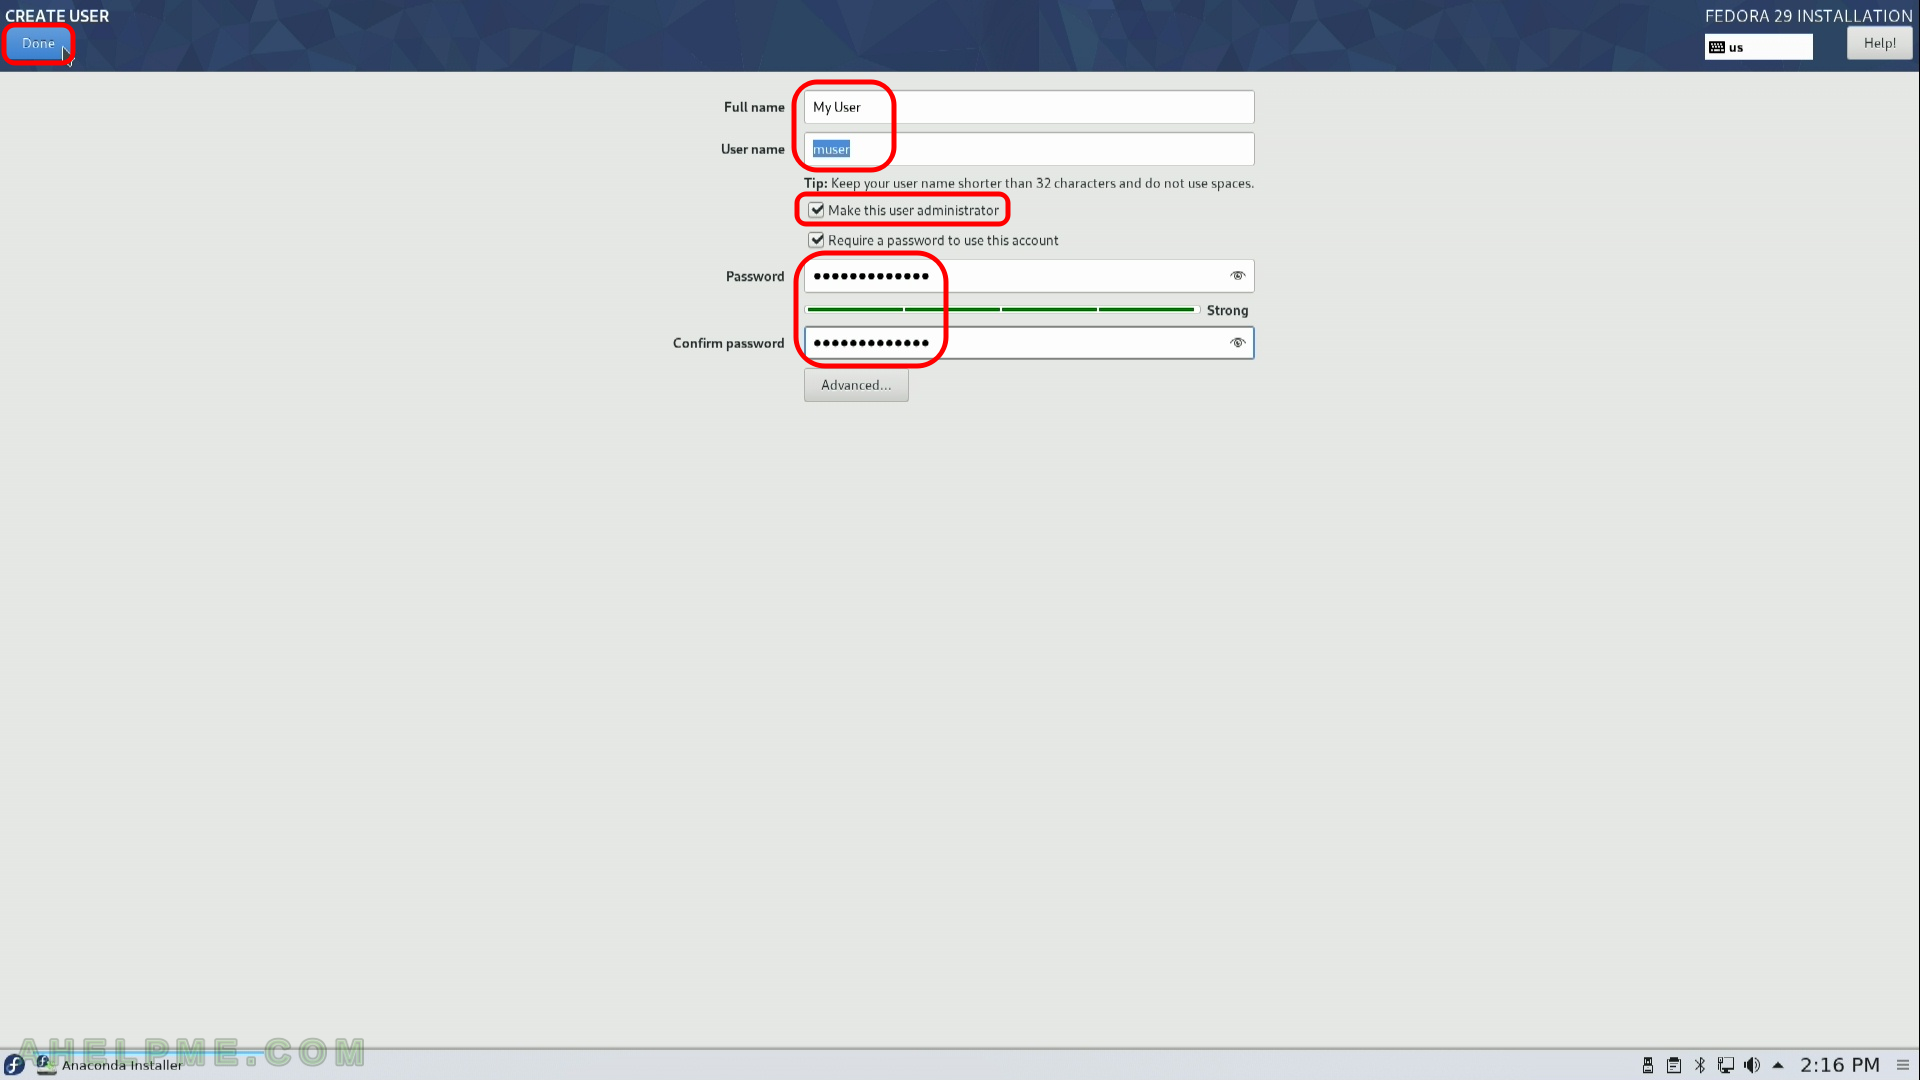
SCREENSHOT 19) Set the name and username of the user, then ensure you check “Make this user administrator” (not checked by default) and set a password.
This user will have administrative rights and it could become root with sudo. You will need such an user to install software and tuning your system settings.
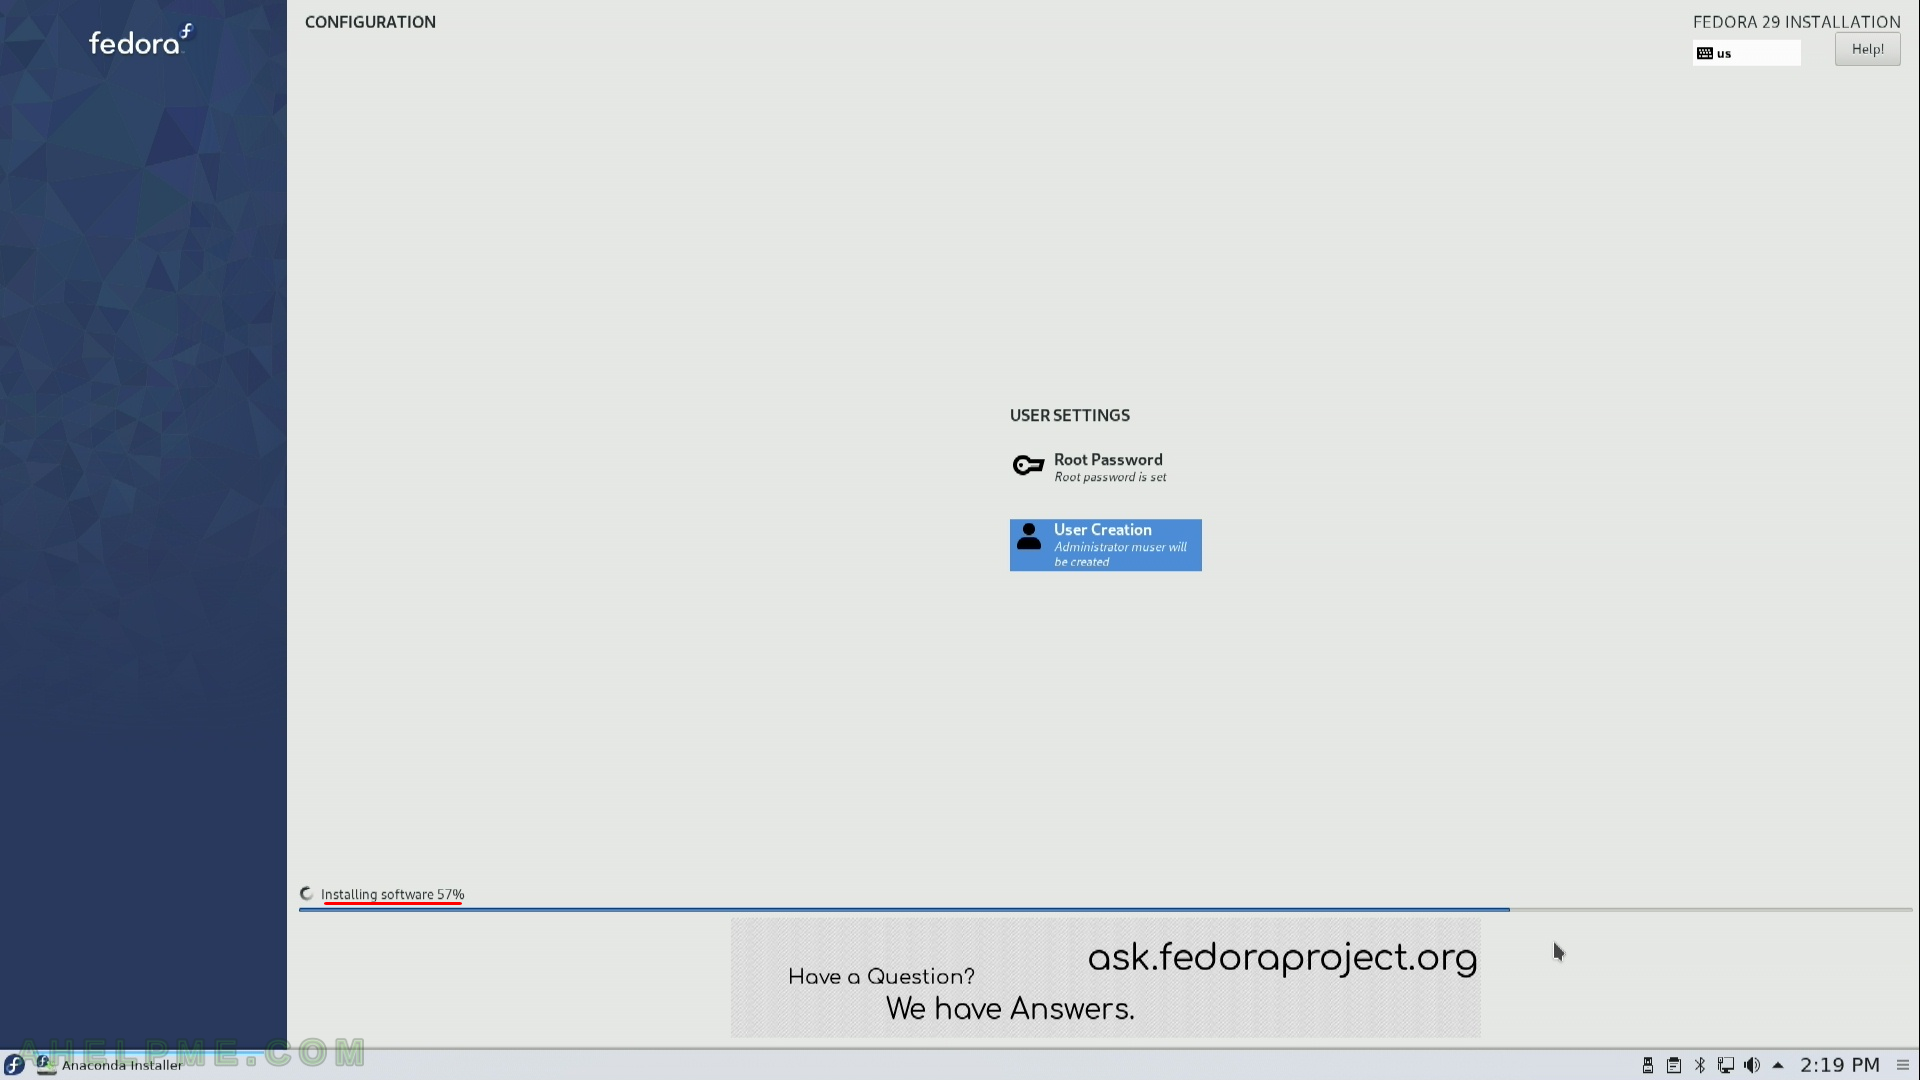
SCREENSHOT 20) The setup is still working… Installation progress is at 57%.
One thought on “Install Fedora 29 KDE Plasma Desktop (KDE GUI)”