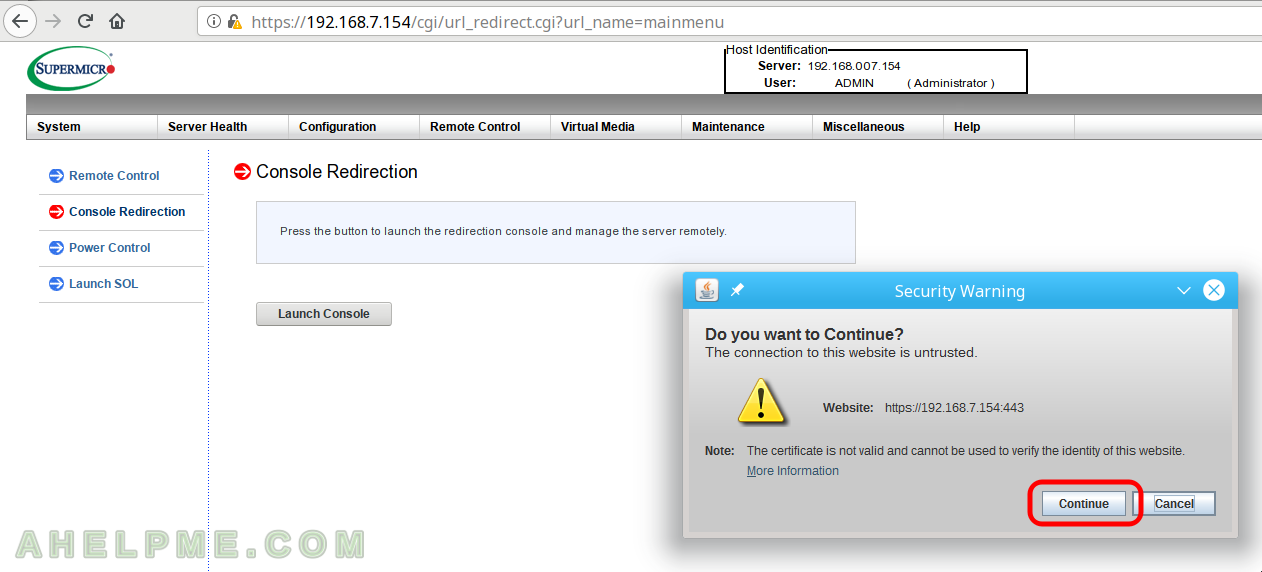
STEP 11) Because the certificate is self singed there is a warning, just accept it if the certificate is the one you signed.
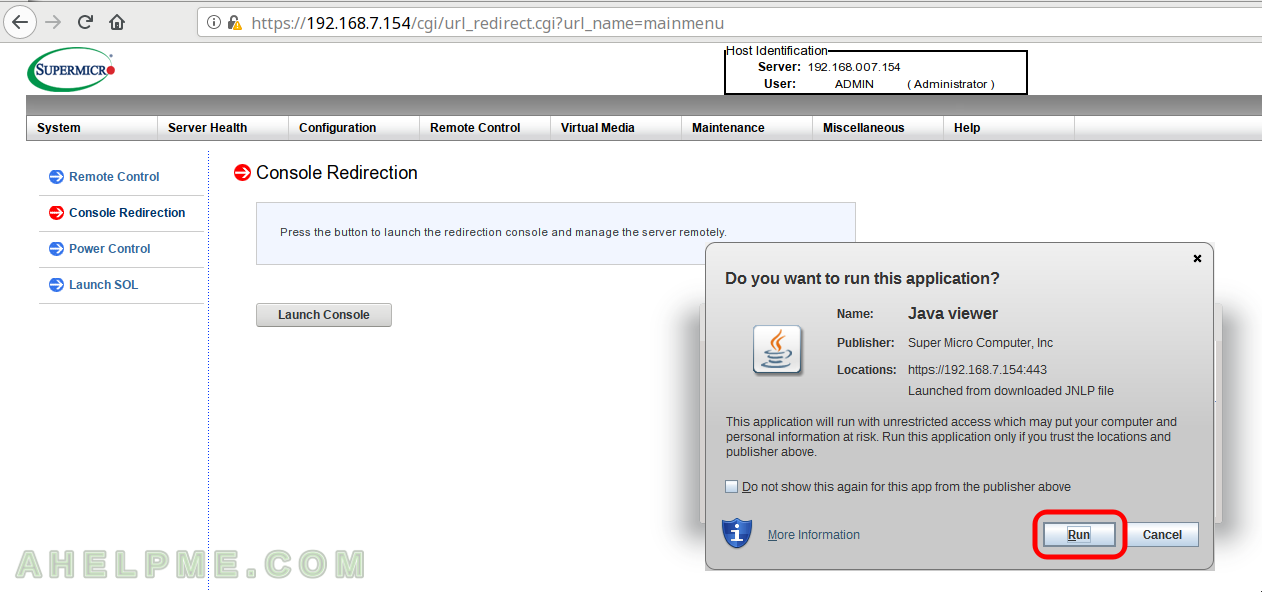
STEP 12) Java warns you once more and asks again for confirmation.
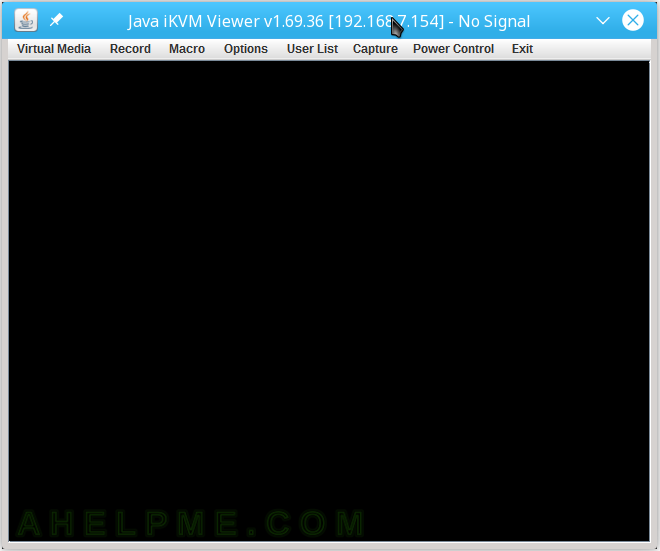
STEP 13) The Viewer, which redirects our Keyboard and Mouse to the server and shows us the Video as if we were on the monitor connected to the server.
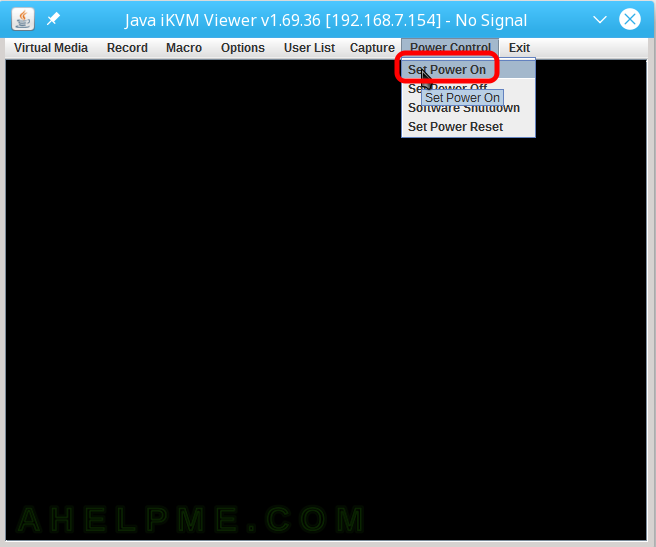
STEP 14) Power on the server from “Power Control -> Set Power On”
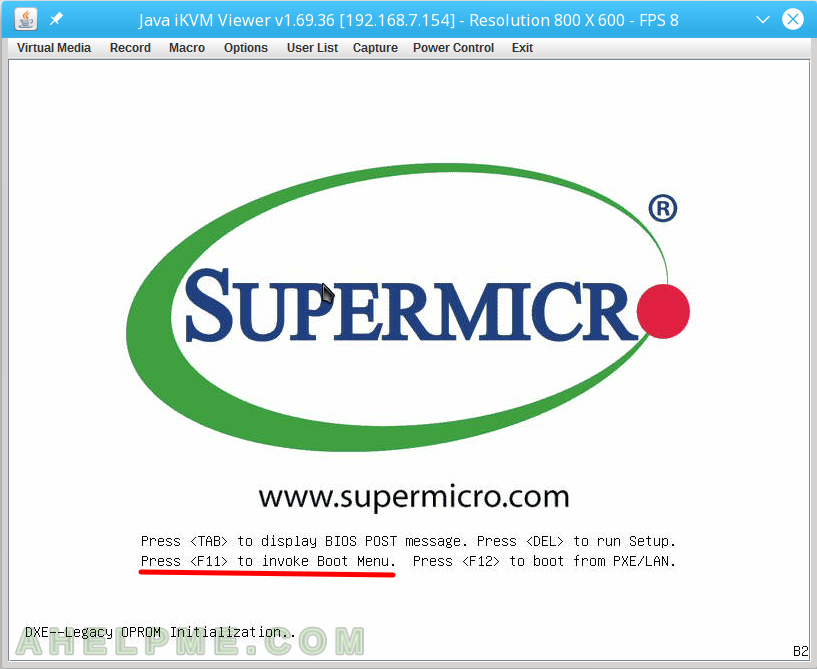
STEP 15) Press F11 to load the “Boot Menu” from where you can choose the boot device of your choice.
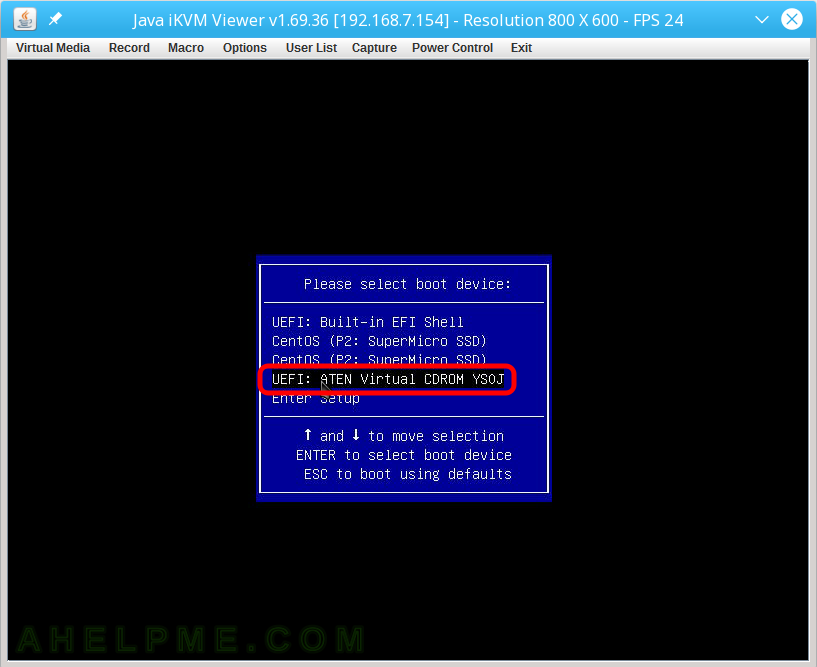
STEP 16) Select the “UEFI: ATEN Virtual CDROM YS0J” this is how the server sees the virtual CD/DVD-ROM.
Here we enabled UEFI mode, but you can start in BIOS legacy, too. After selection you must hit “Enter” to boot from the ISO you mounted above.
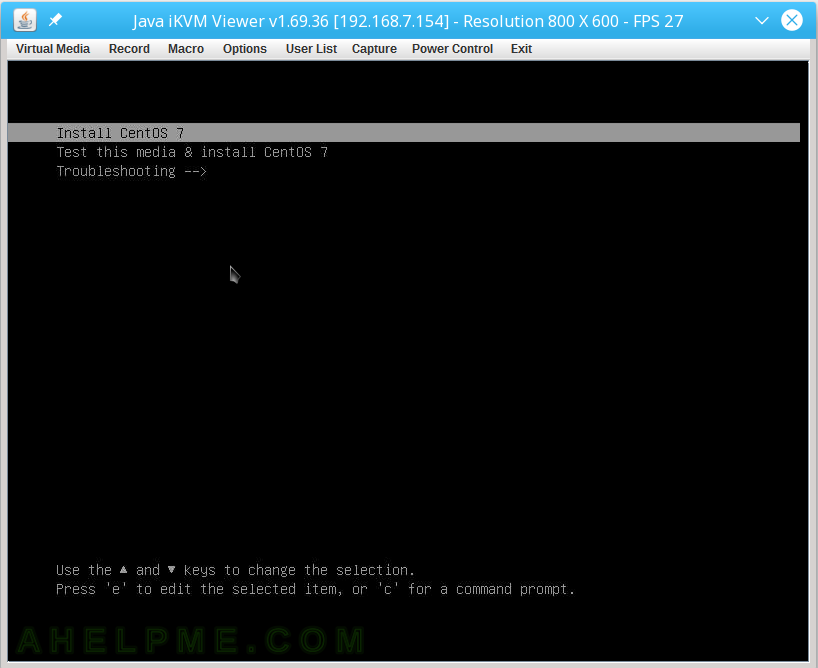
STEP 17) The installation disk loaded the grub and you have 3 options, now it is a lot faster to install the CentOS 7 system.
* Troubleshooting
If you click on button “Save” and just nothing happen – no dialog for successful saving and no dialog at all, probably there is a Javascript error, try to open the web interface from a different browser with clean history or click ctrl+F5 when loading the Virtual Media page! More in Cannot save and mount a Supermicro IPMI Virtual media mount – javascript error?
Pages: 1 2
One thought on “Mount and boot ISO file from windows share in Supermicro IPMI Virtual media (CD-ROM)”