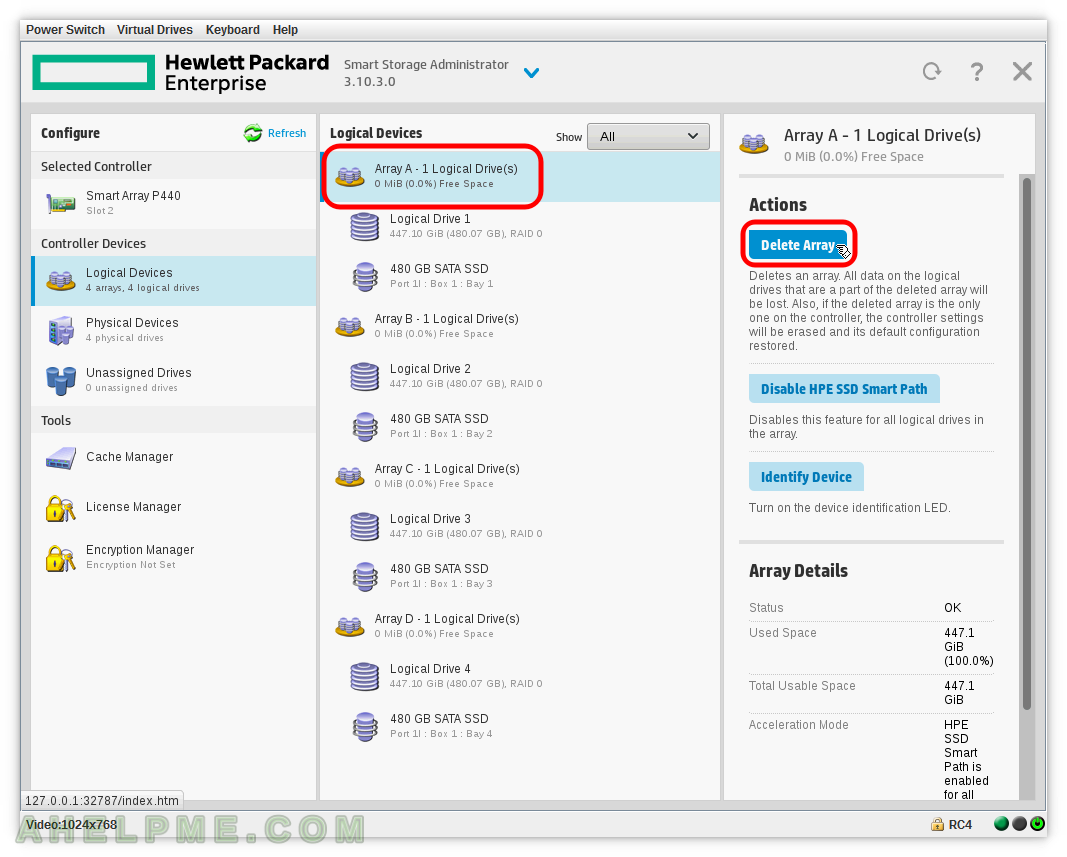
STEP 11) To delete an array and its logical drive you should select the array and click on “Delete Array”.
The array group and the logical drive in it will be permanently deleted. All data in the logical drive will be lost. Here we delete Array A with Logical drive 1.
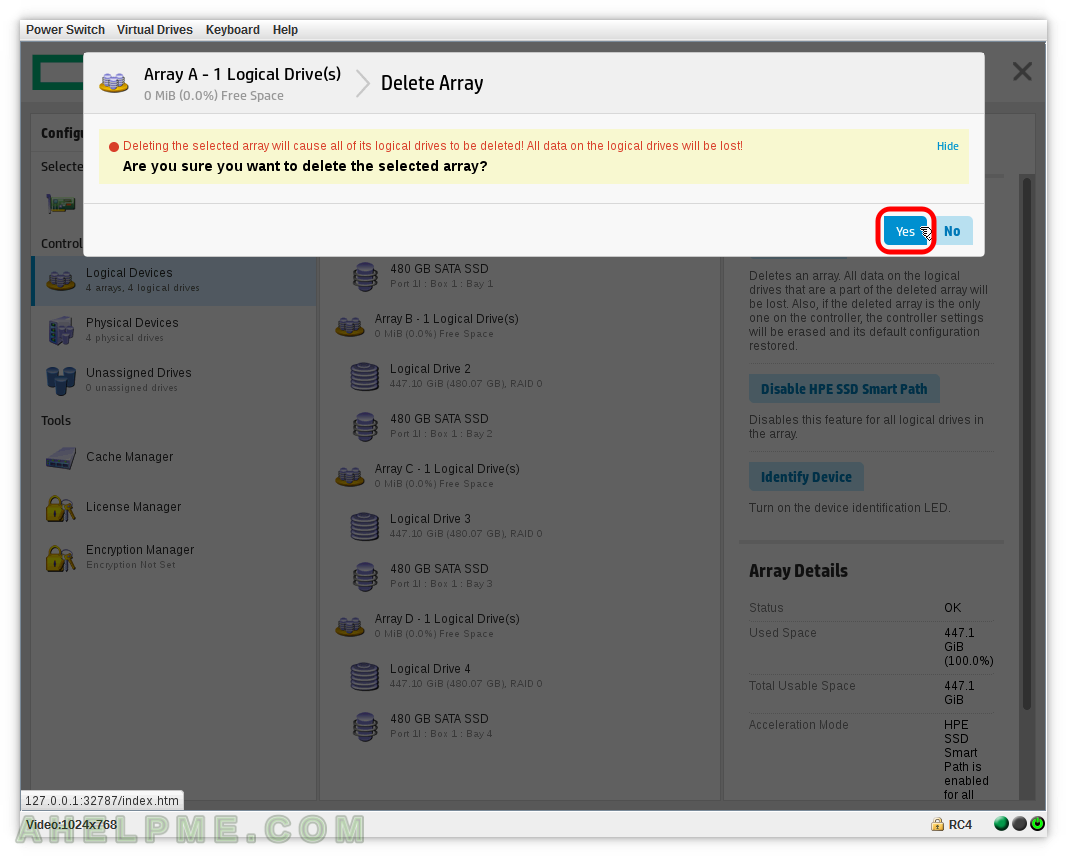
STEP 12) Confirm to delete the Array A with Logical drive 1 by clicking on “Yes”.
You’ve been warned all the data on the device will be lost!
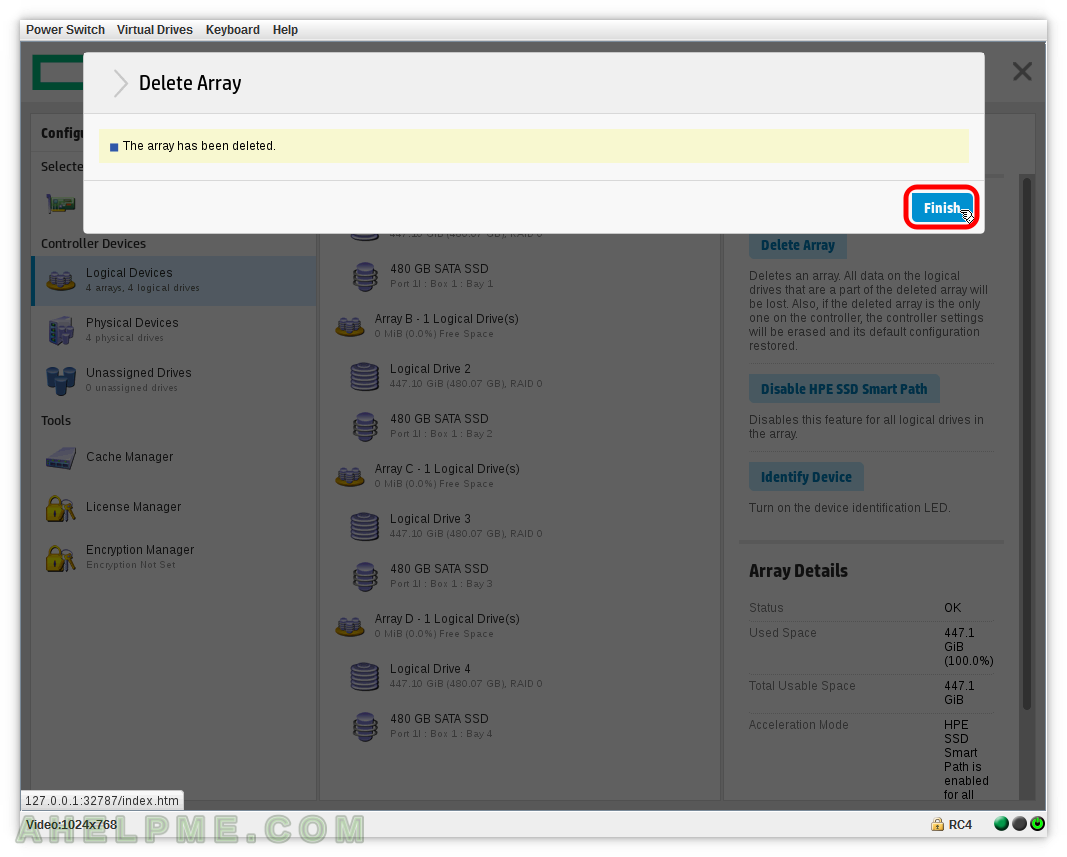
STEP 13) The array has been deleted.
Array A with Logical drive 1 has been deleted successfully.
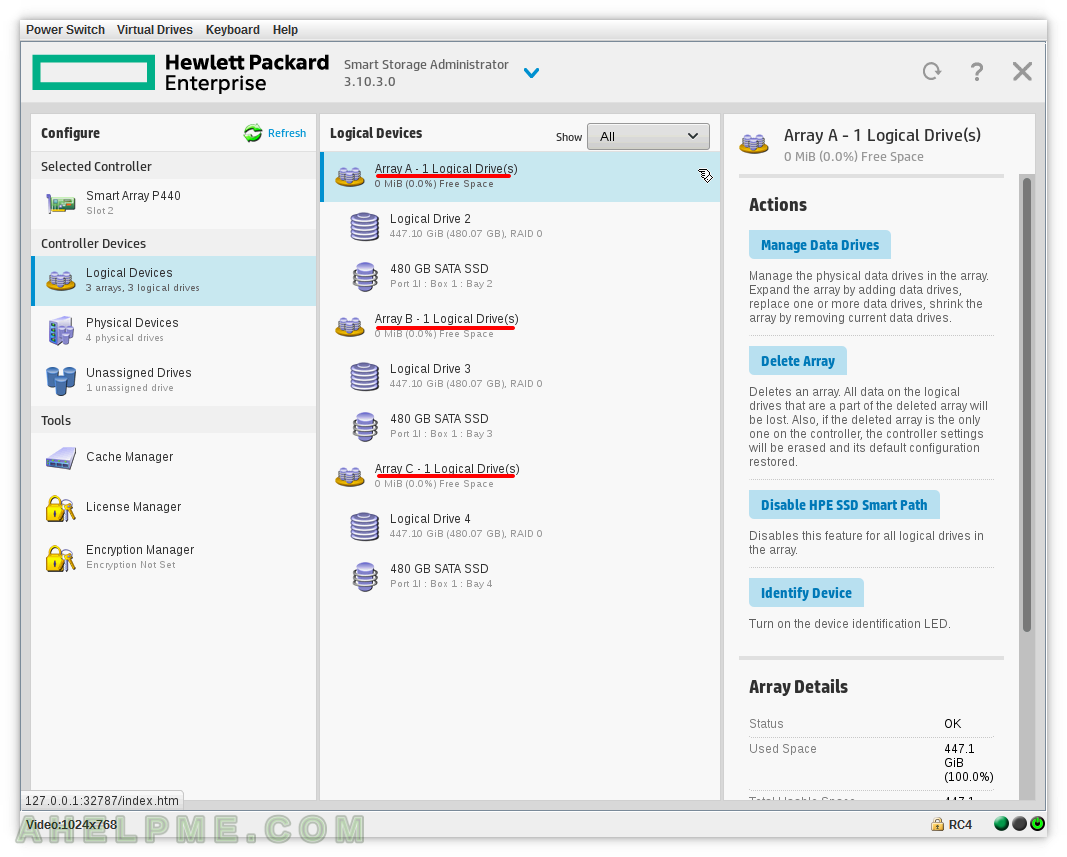
STEP 14) Here is the overview of the Logical Drives after deleting the “Array A with Logical drive 1”.
It is important to notice there is “Array A with Logical drive 2” and the missing “Array D”! The arrays group names are changed but not the logical drives’ names. So if you delete an array all arrays’ names could change, but the Logical drive names never change. In our case we have “Array A has Logical Drive 1, Array B has Logical Drive 2, Array C has Logical Drive 3, Array D has Logical Drive 4” and we deleted “Array A has Logical Drive 1” and in result we have “Array A has Logical Drive 2, Array B has Logical Drive 3, Array C has Logical Drive 4”. All arrays’ names are “rearranged” by shifting with one letter after removing array A, no Logical drive’s name was changed.