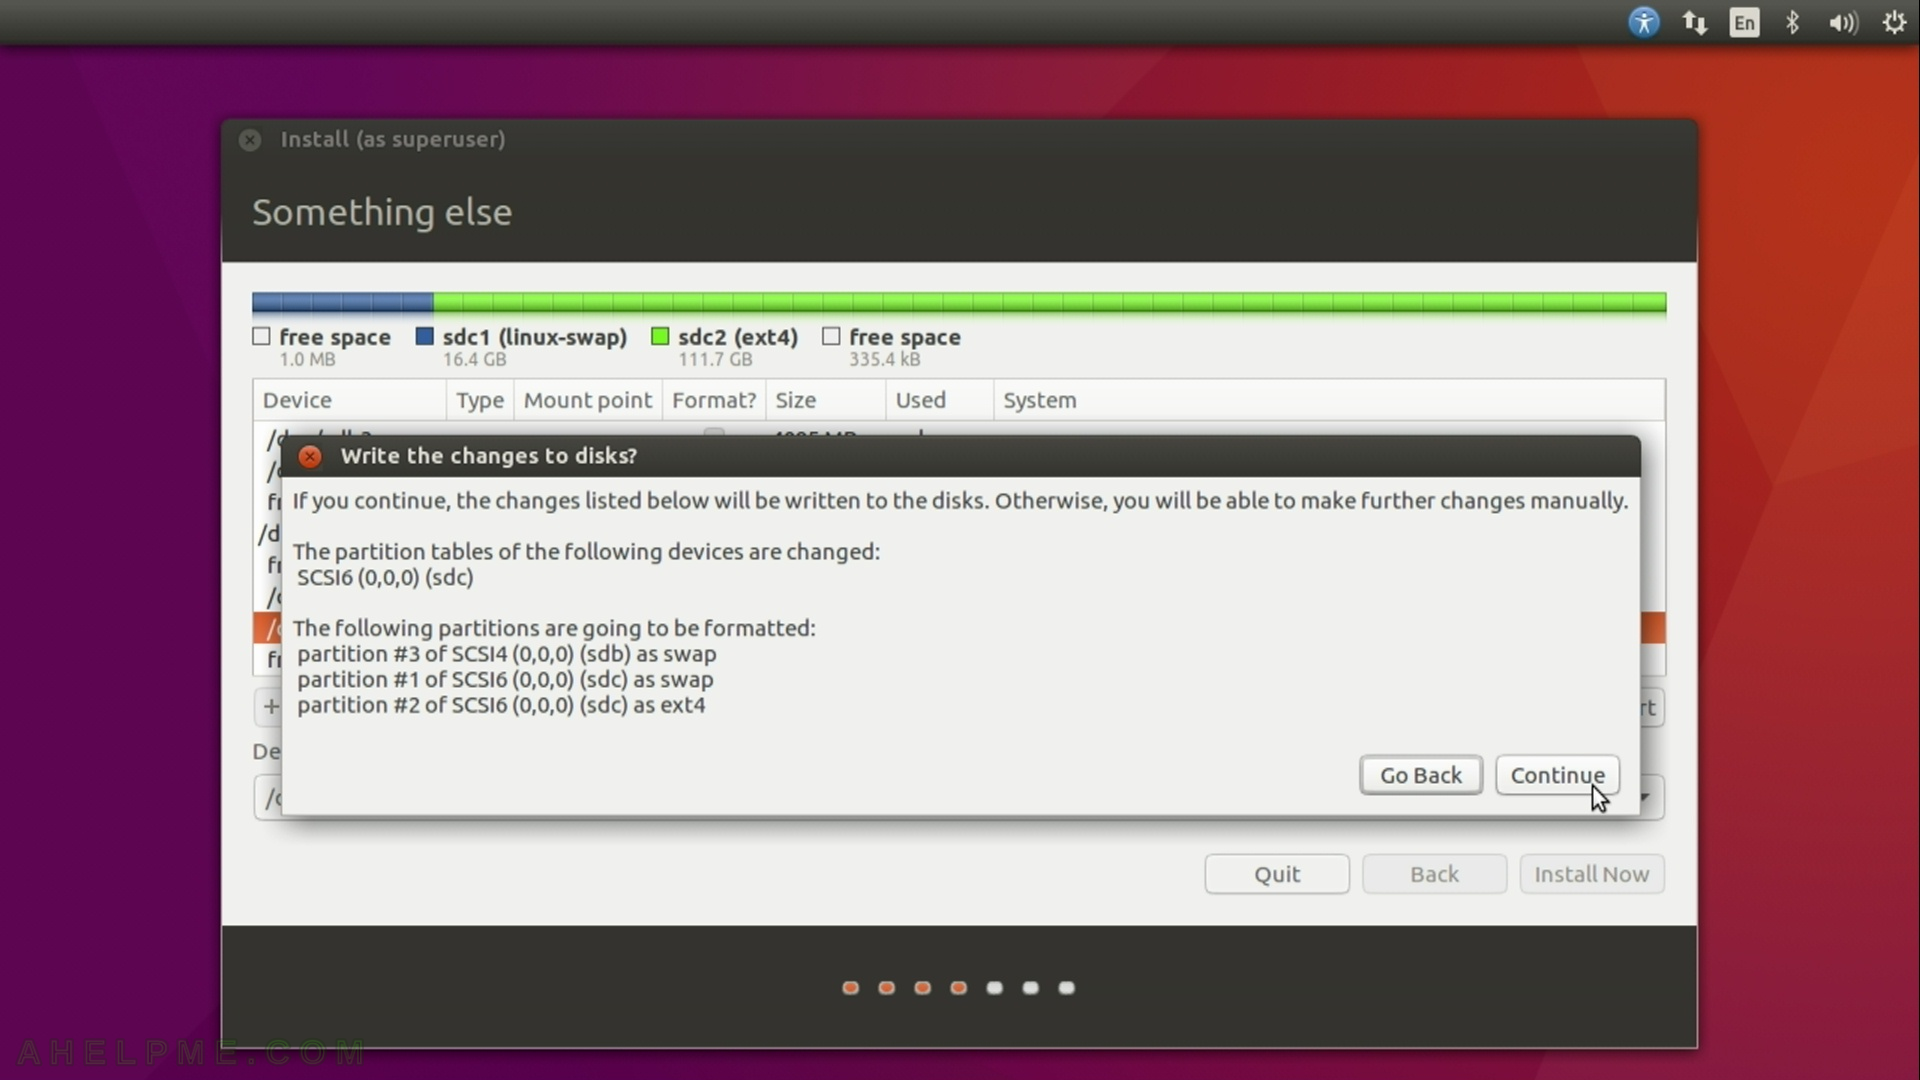
STEP 11) The setup needs a confirmation of what you’ve done with the disk layout (disk partitions). Press “Continue”.
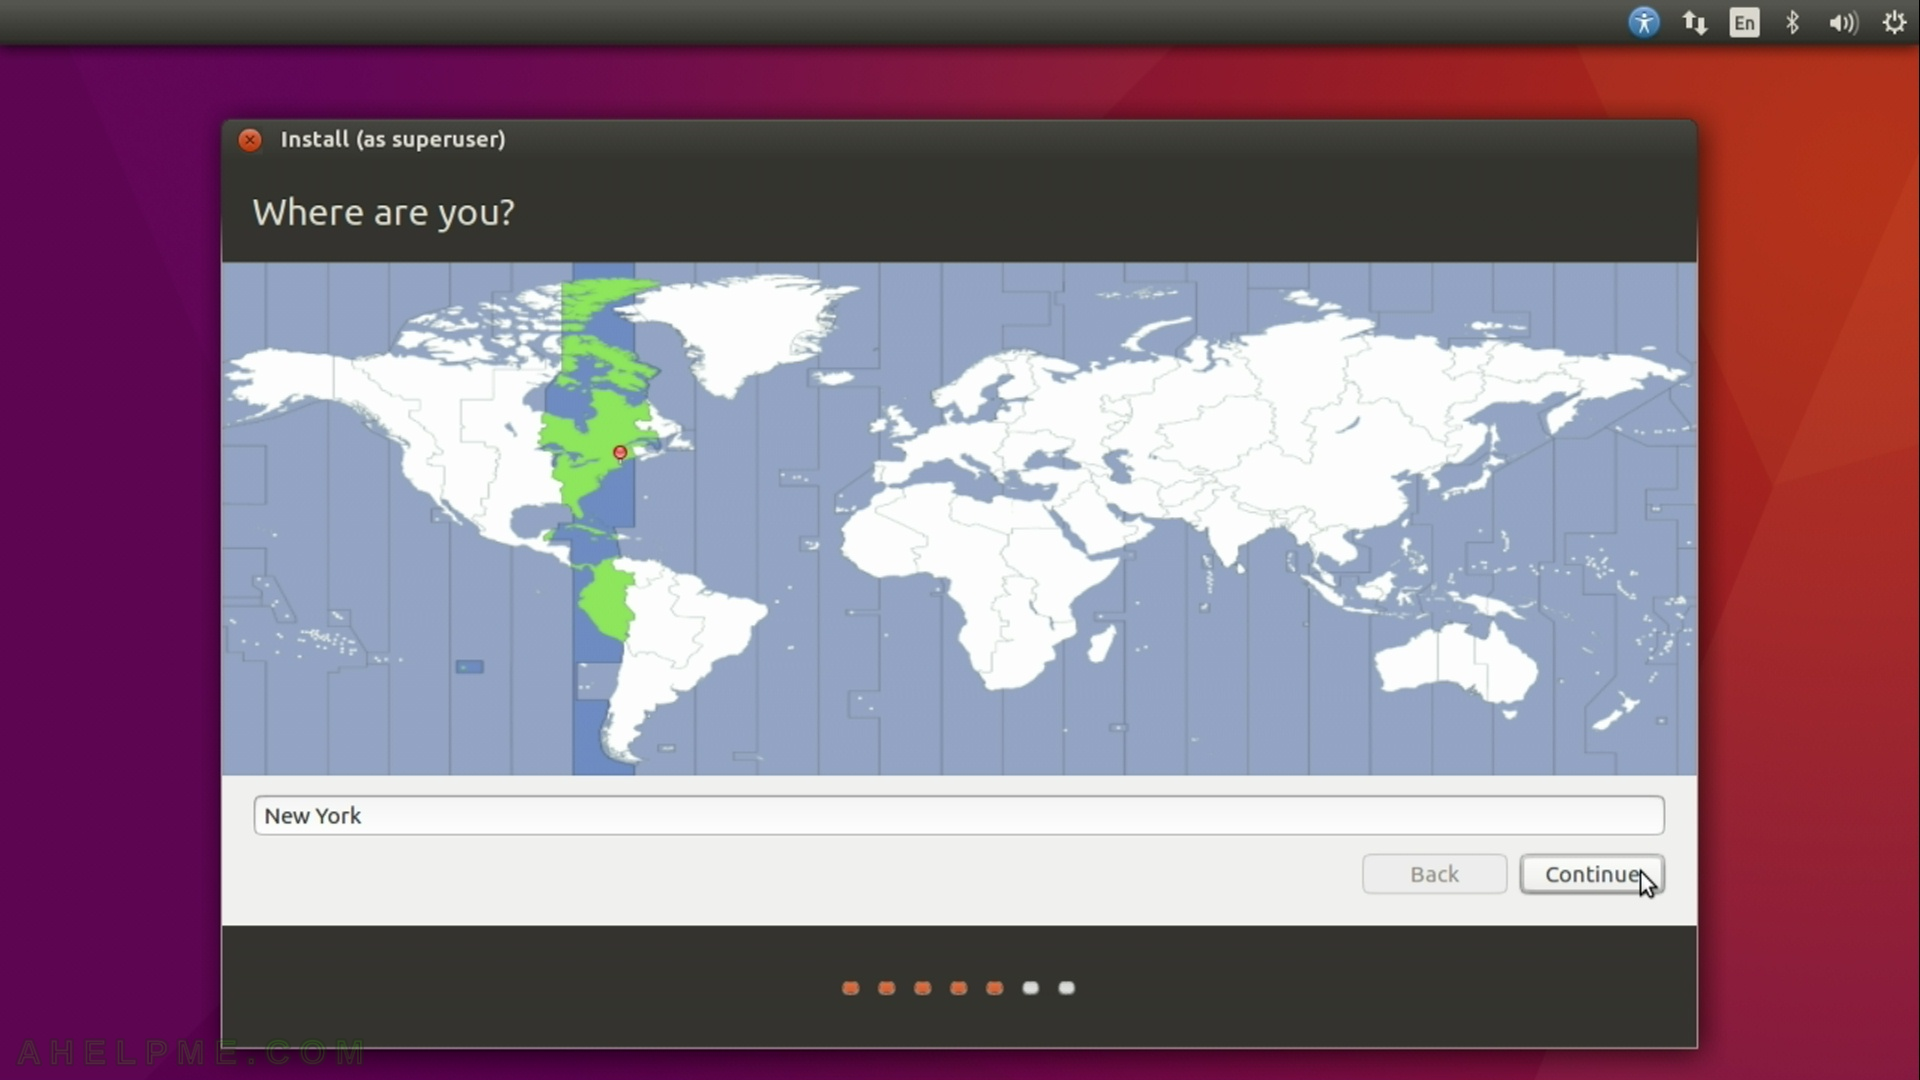
STEP 12) Select your timezone to configure your clock.
Probably the default is ok, the setup tries to autodetect it.
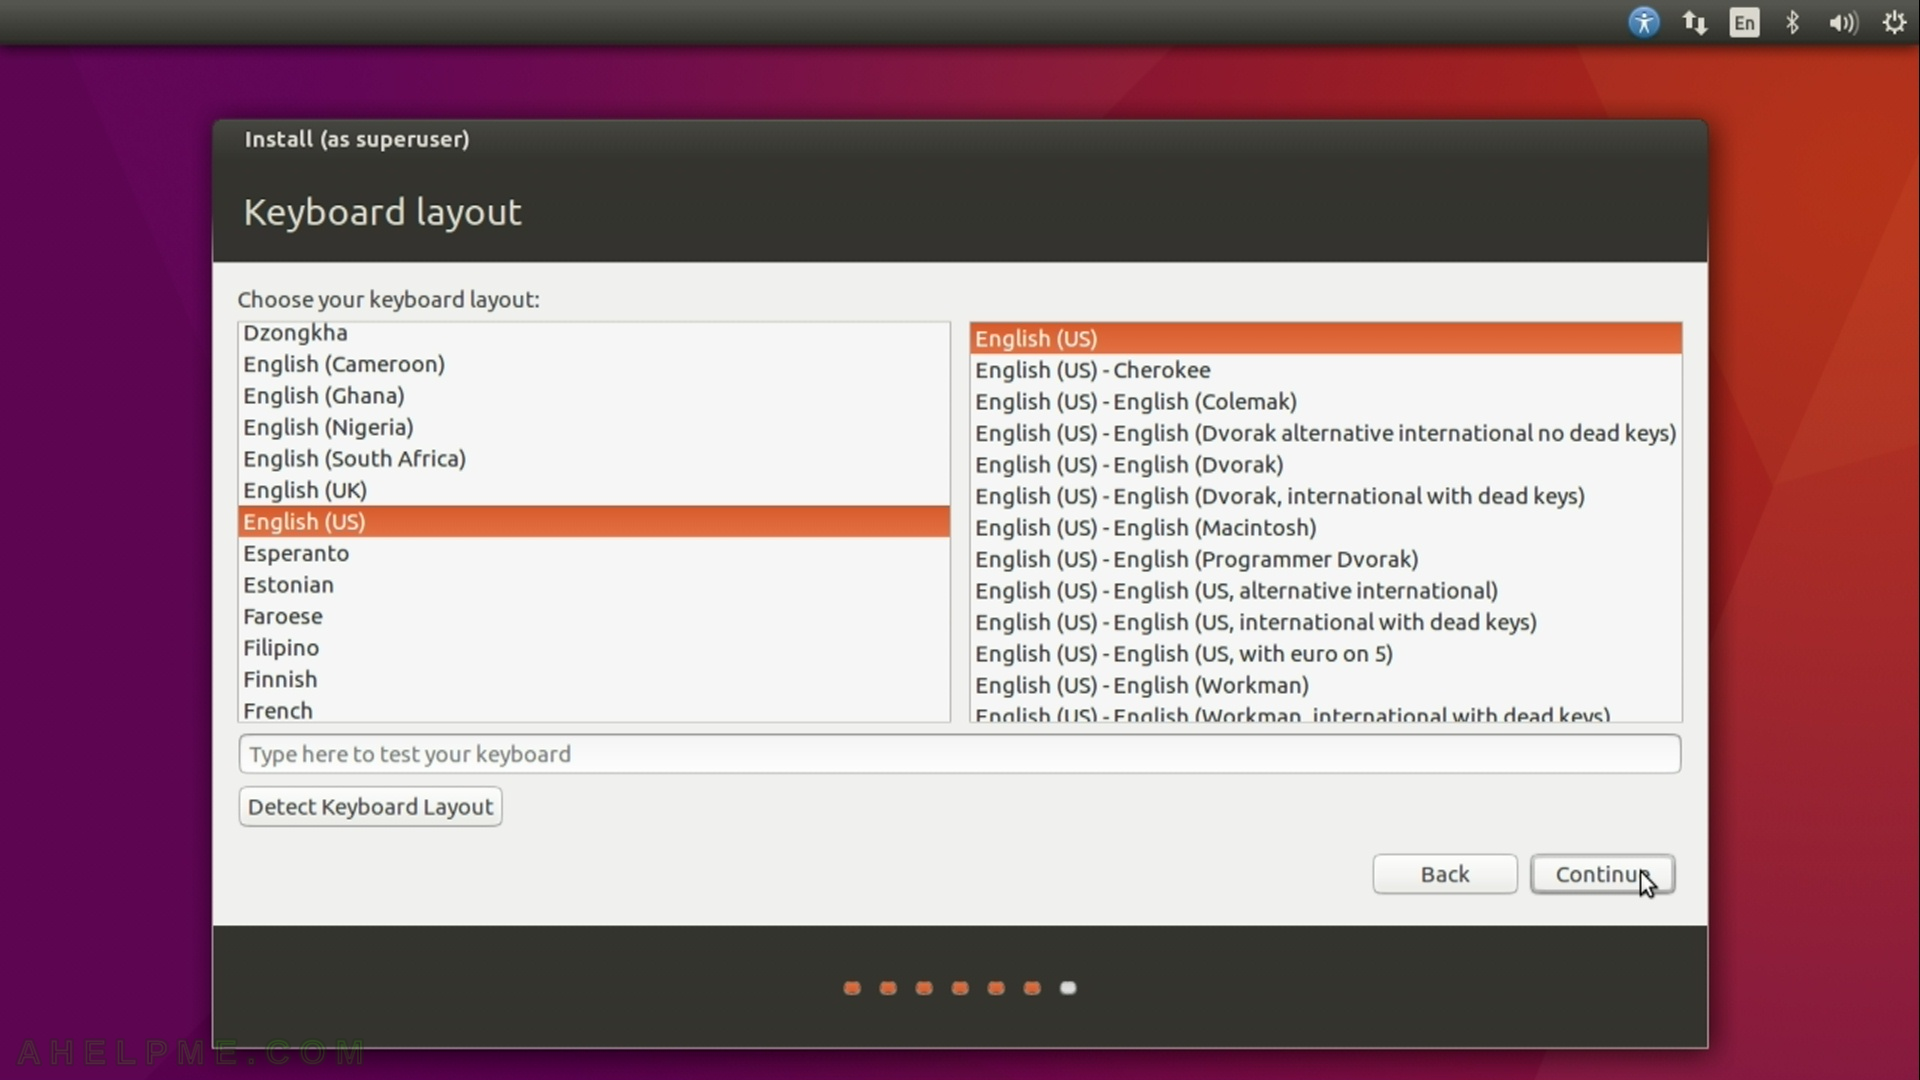
STEP 13) Select your keyboard layout.
Probably the default is OK, the setup tries to autodetect it.
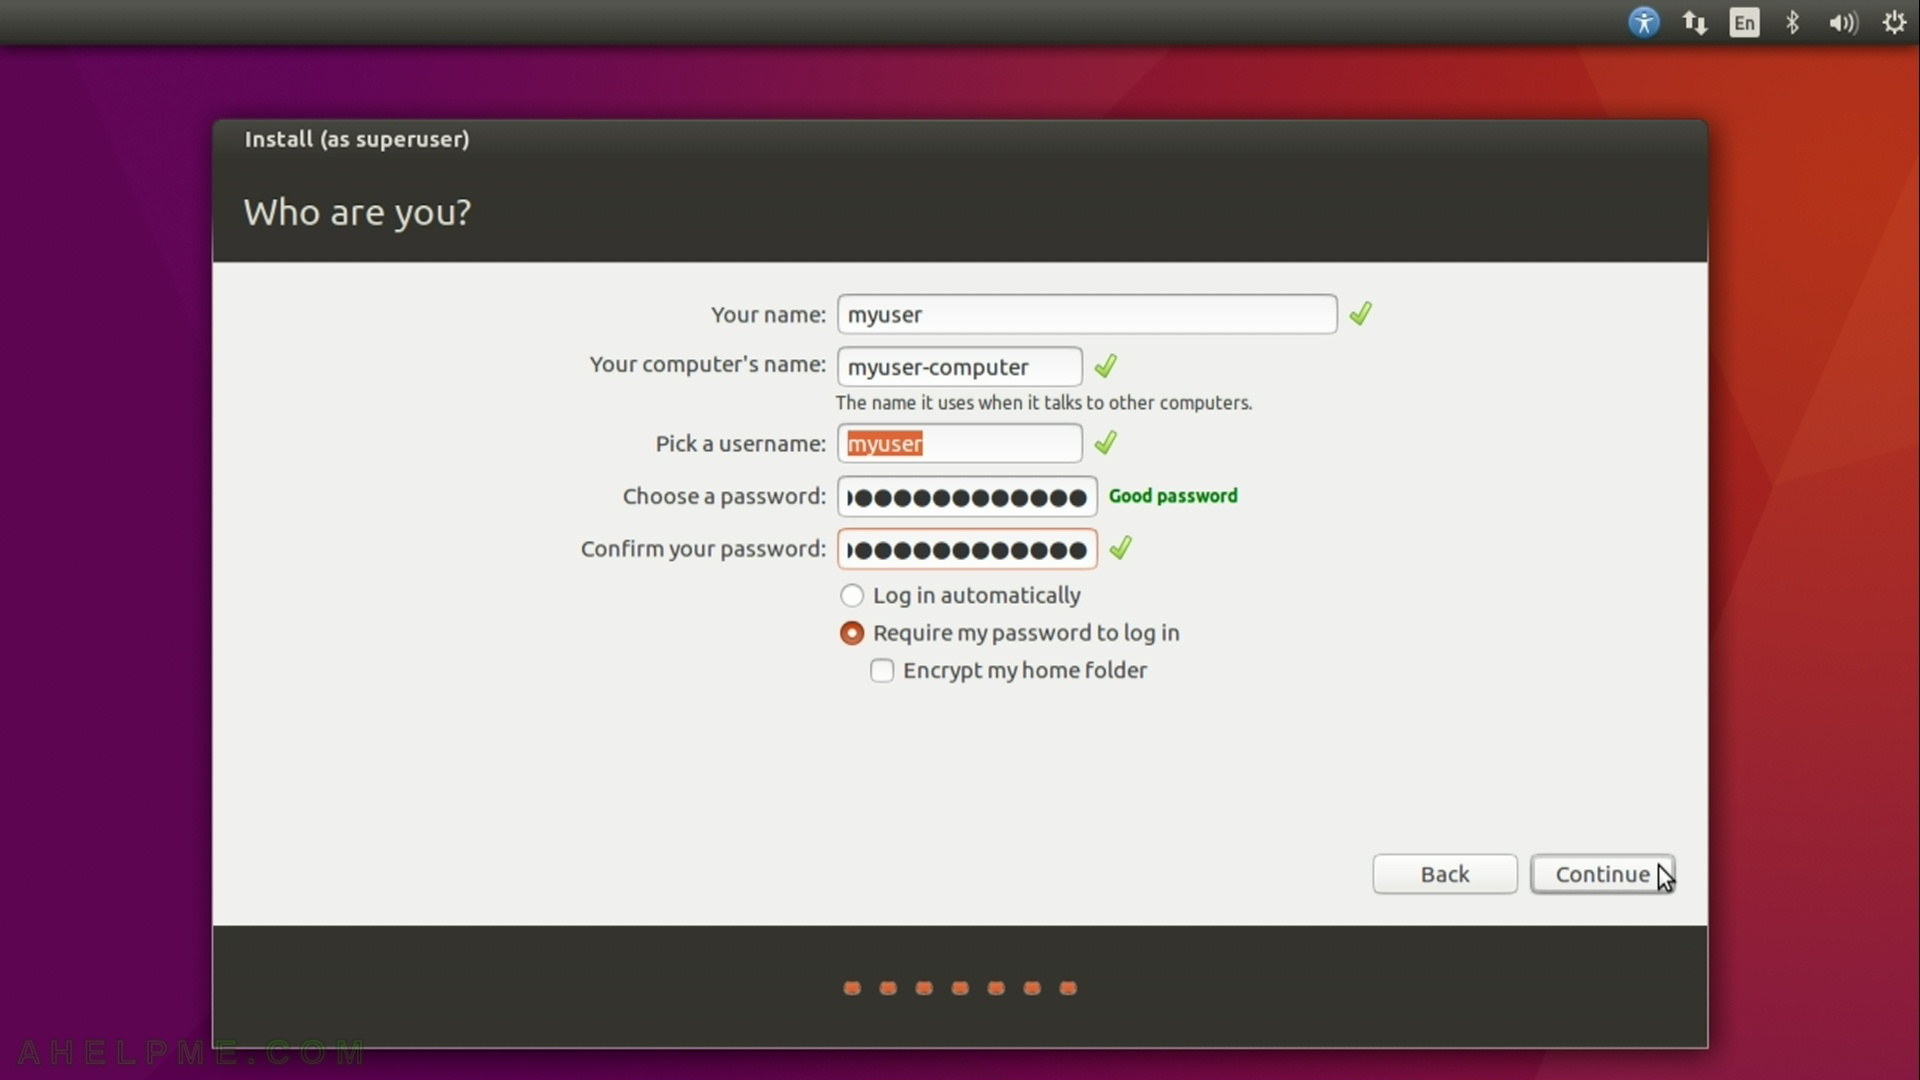
STEP 14) Create your user to login in the system. This user will have administrative privileges with sudo. Press “Continue”.
STEP 15) Now the setup is copying all needed files…

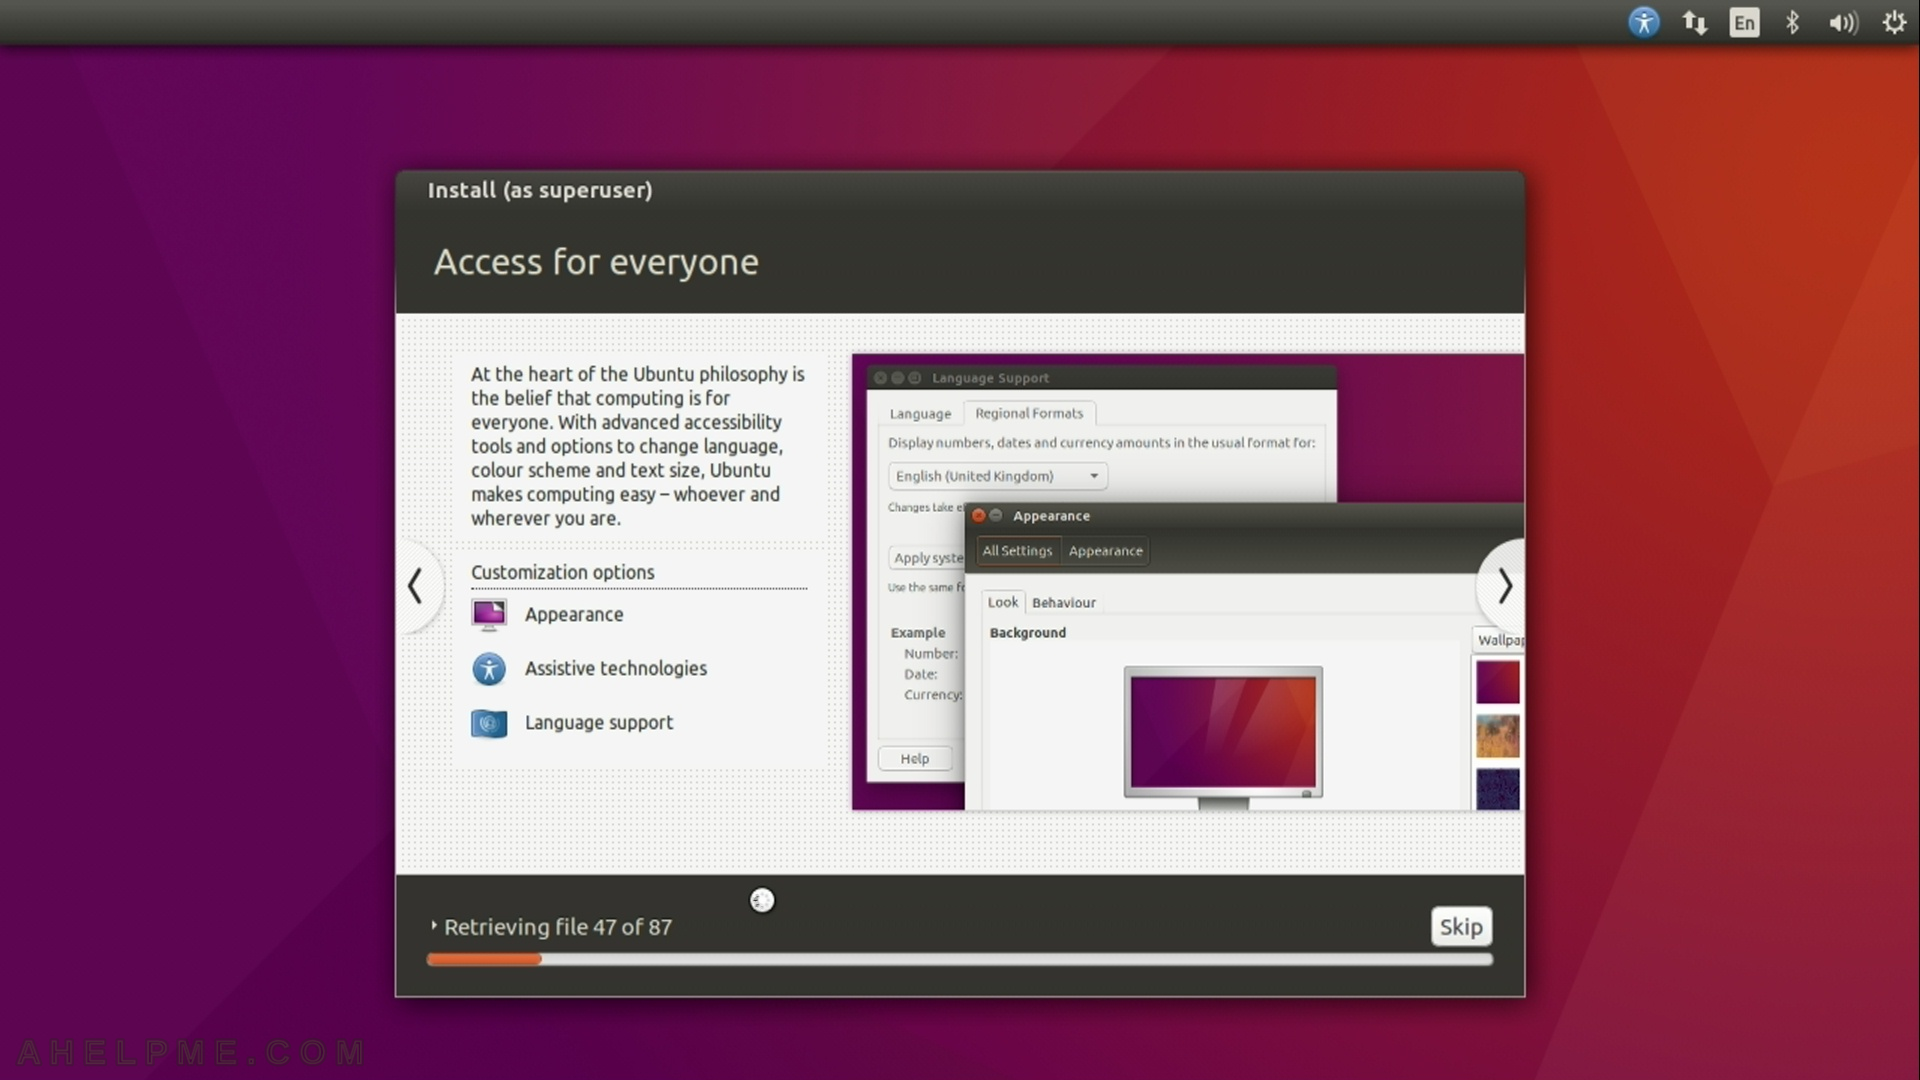
STEP 16) The updates are downloading during the installation as you checked above.
As you can see there is a progress bar and you can track progress of the installation.
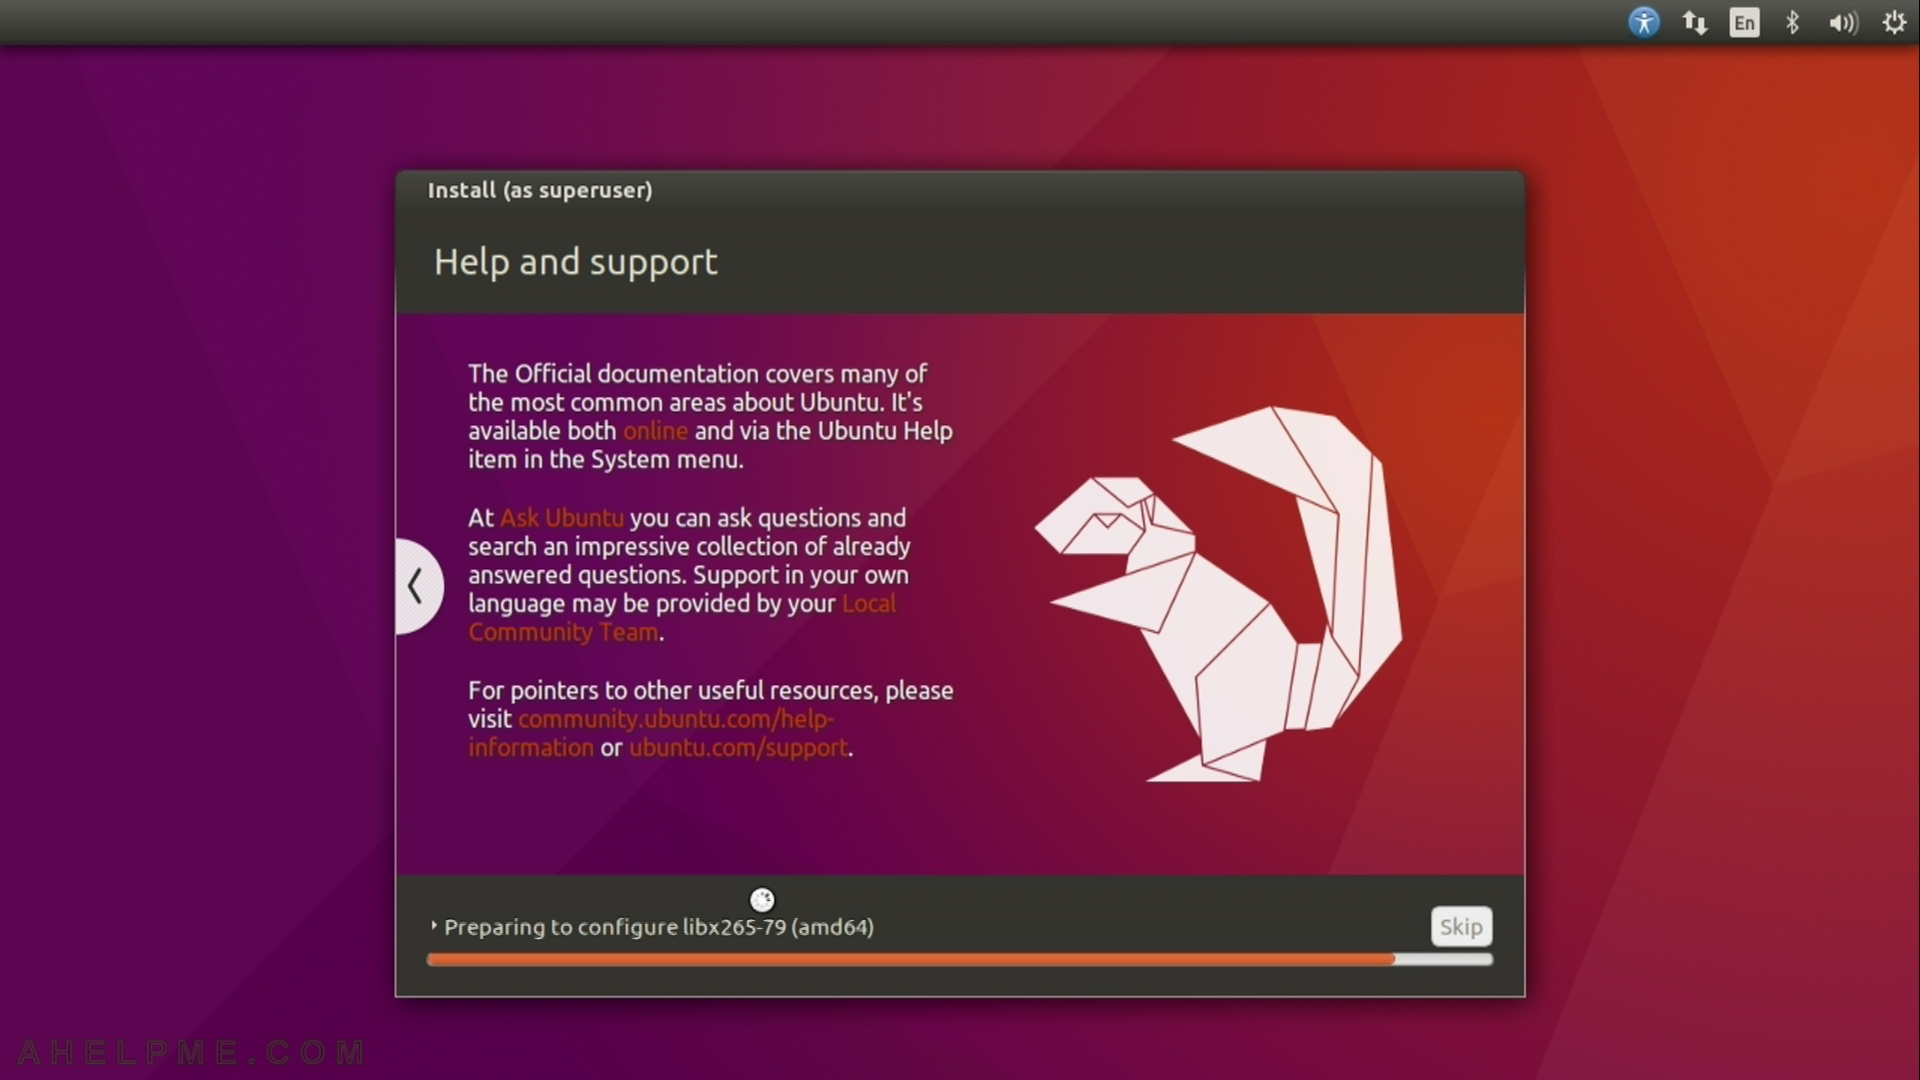
STEP 17) The setup shows which files it installs.
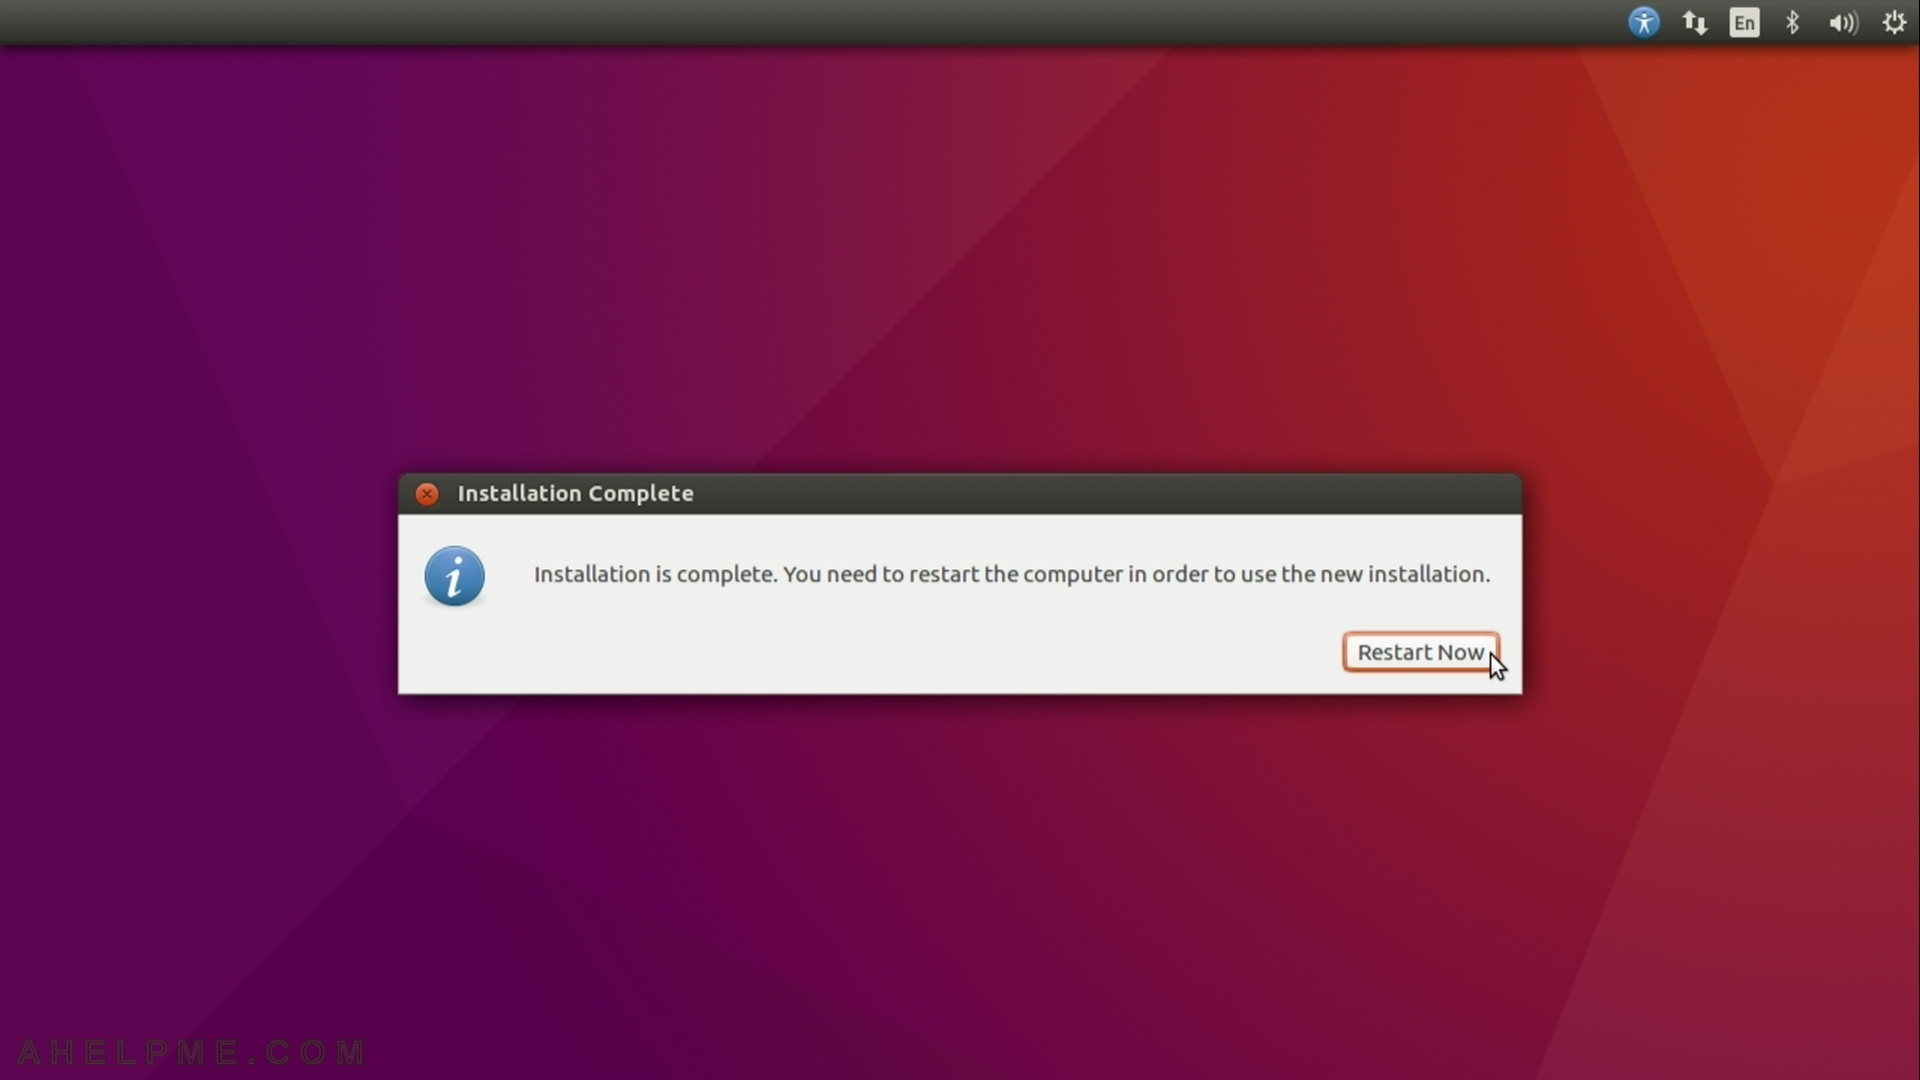
STEP 18) When the installation is over, you should restart by hitting “Restart Now” button and eject the installation media (DVD or USB).
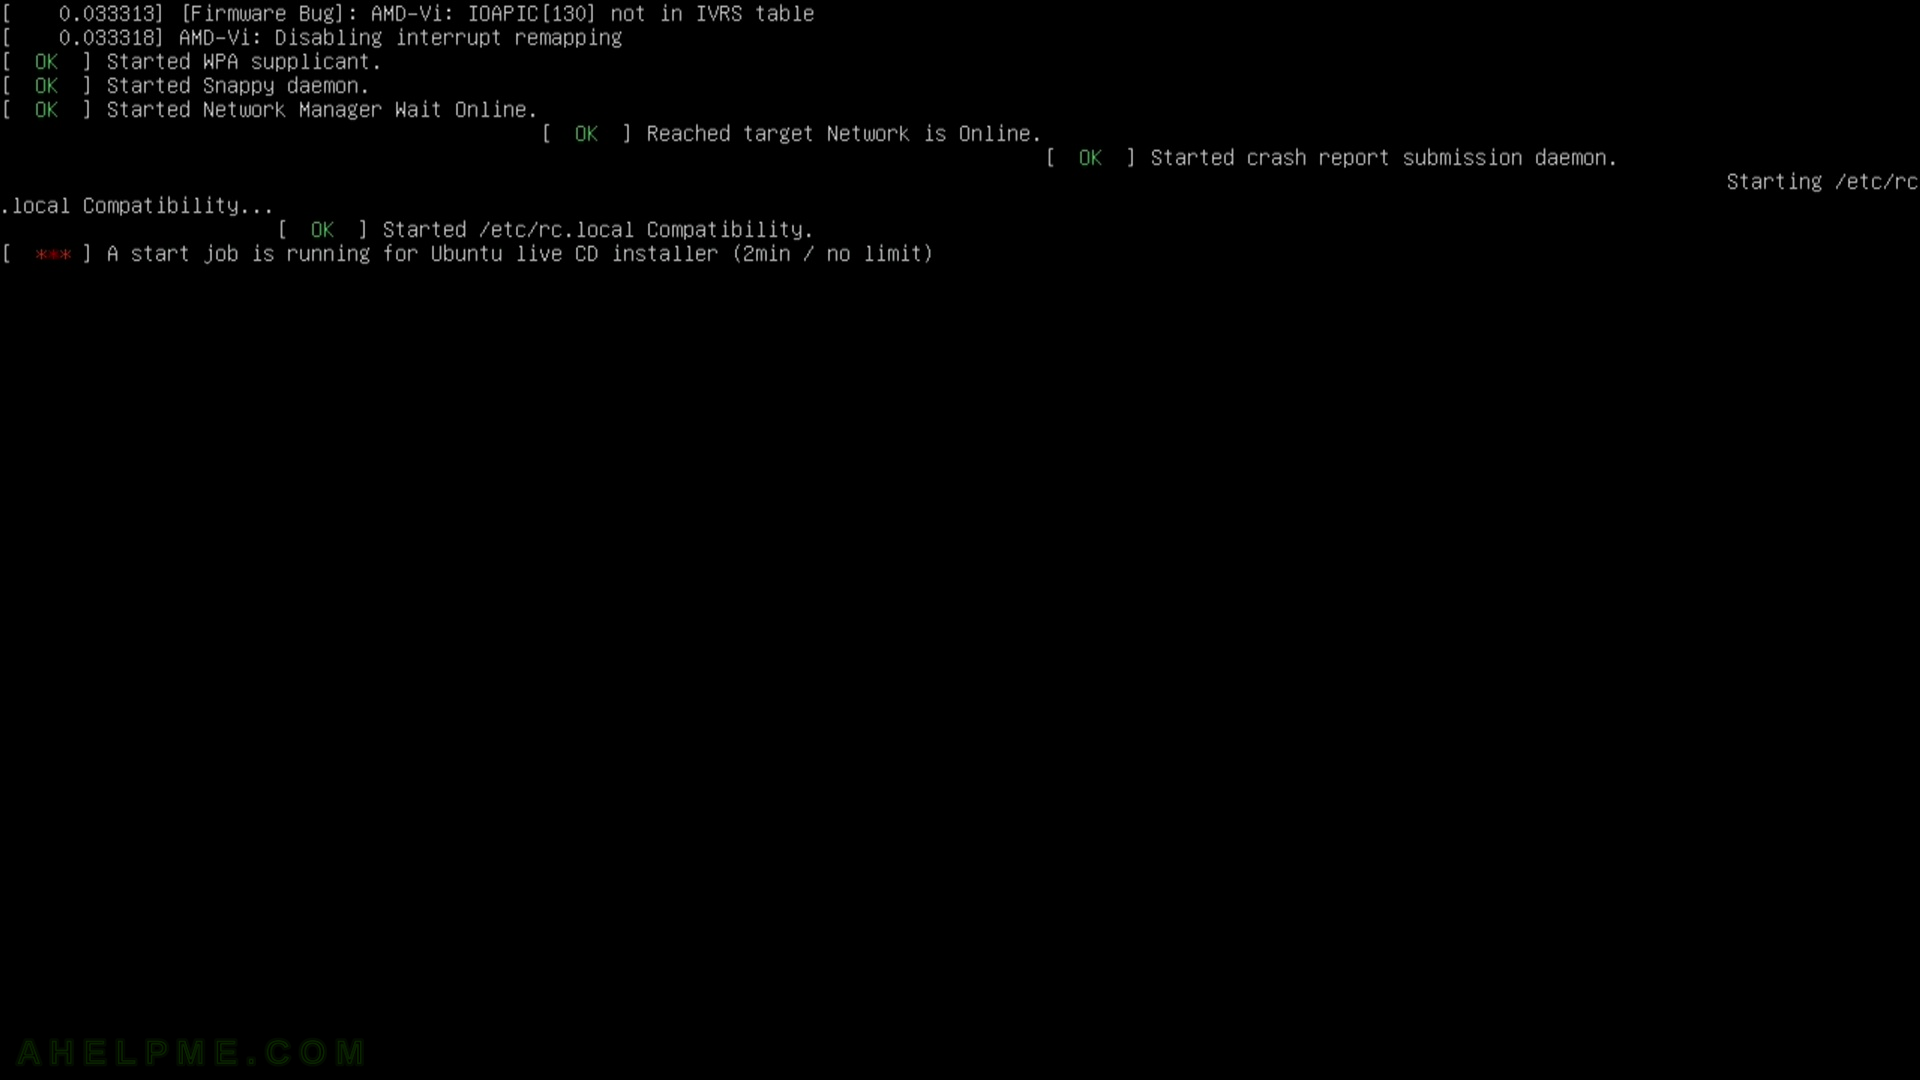
STEP 19) Waiting for the media to be ejected.
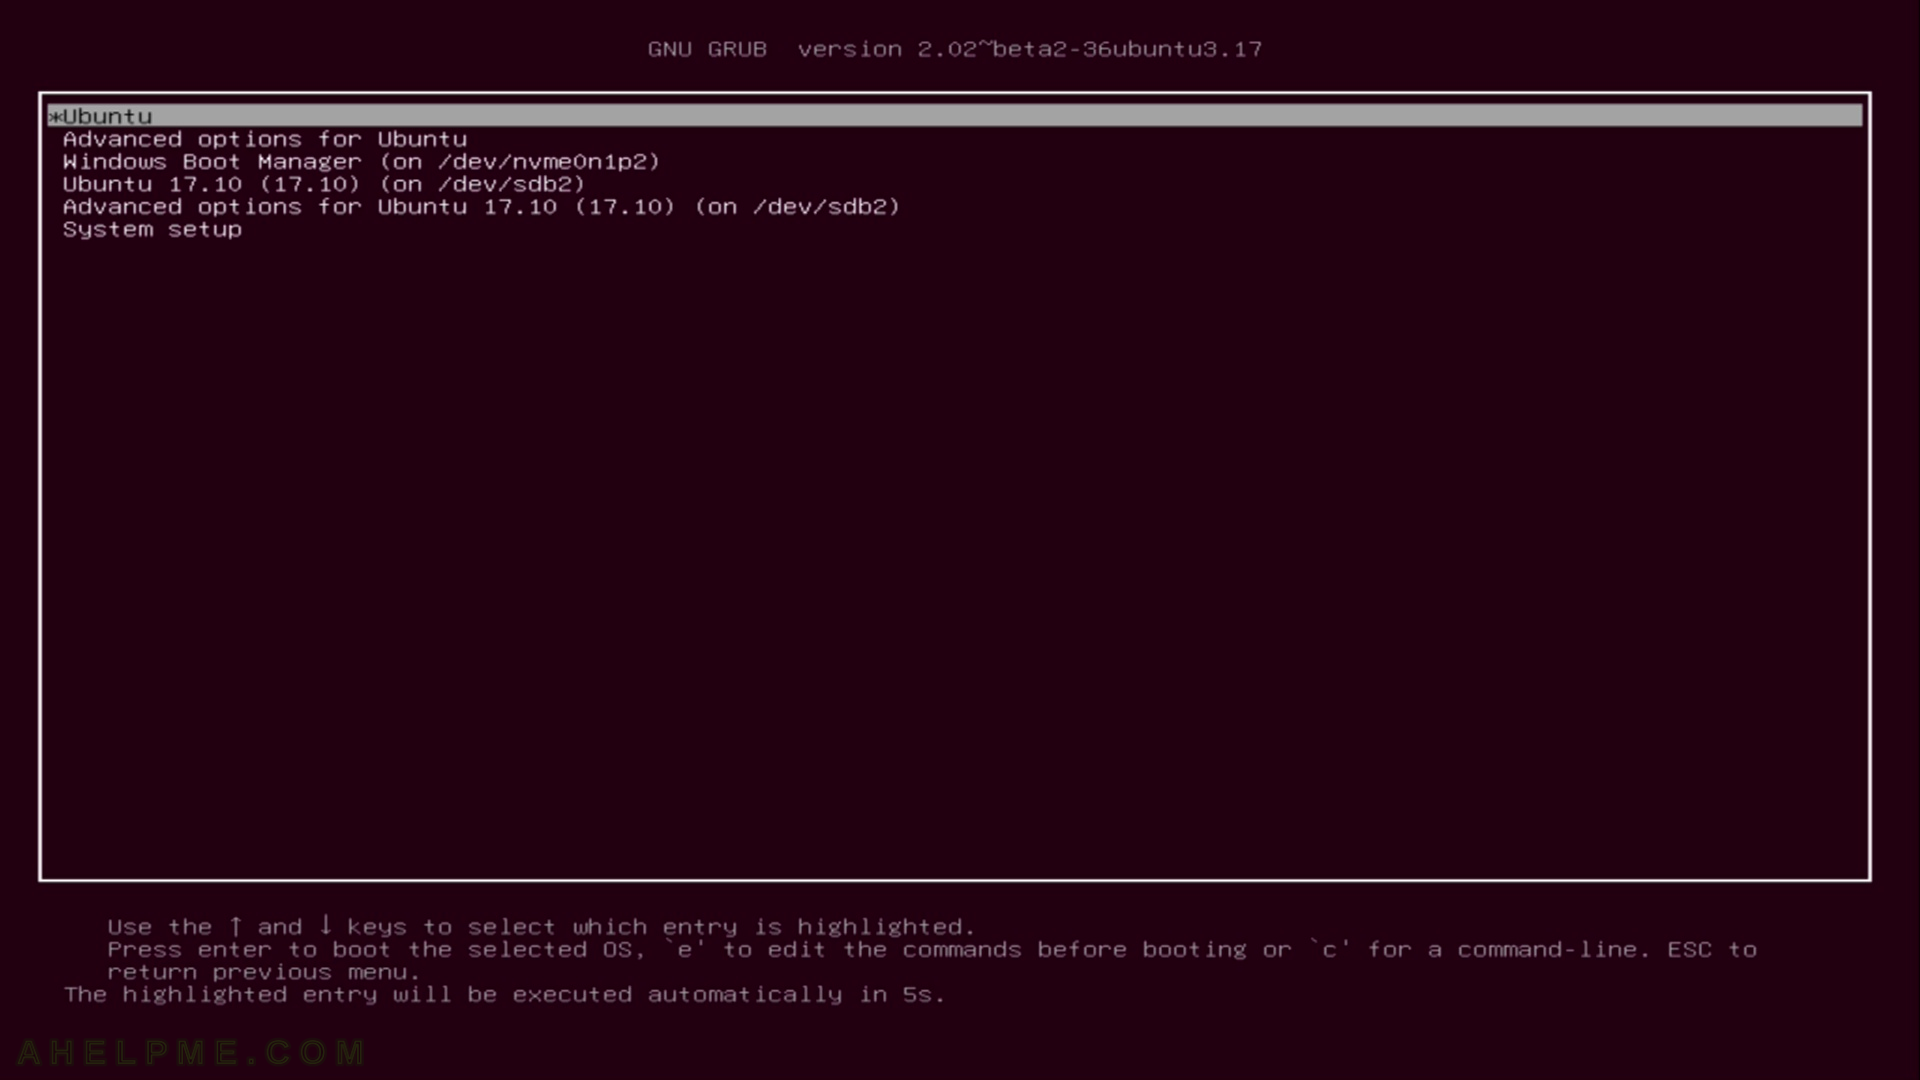
STEP 20) The Grub 2 menu looks like this – your Ubuntu 16.04 is first and the default option. Hit enter or wait for 5 seconds to load.