SCREENSHOT 11) Set the connectivity of your server.
Because this is a network installation you cannot proceed with the installation without a working network.
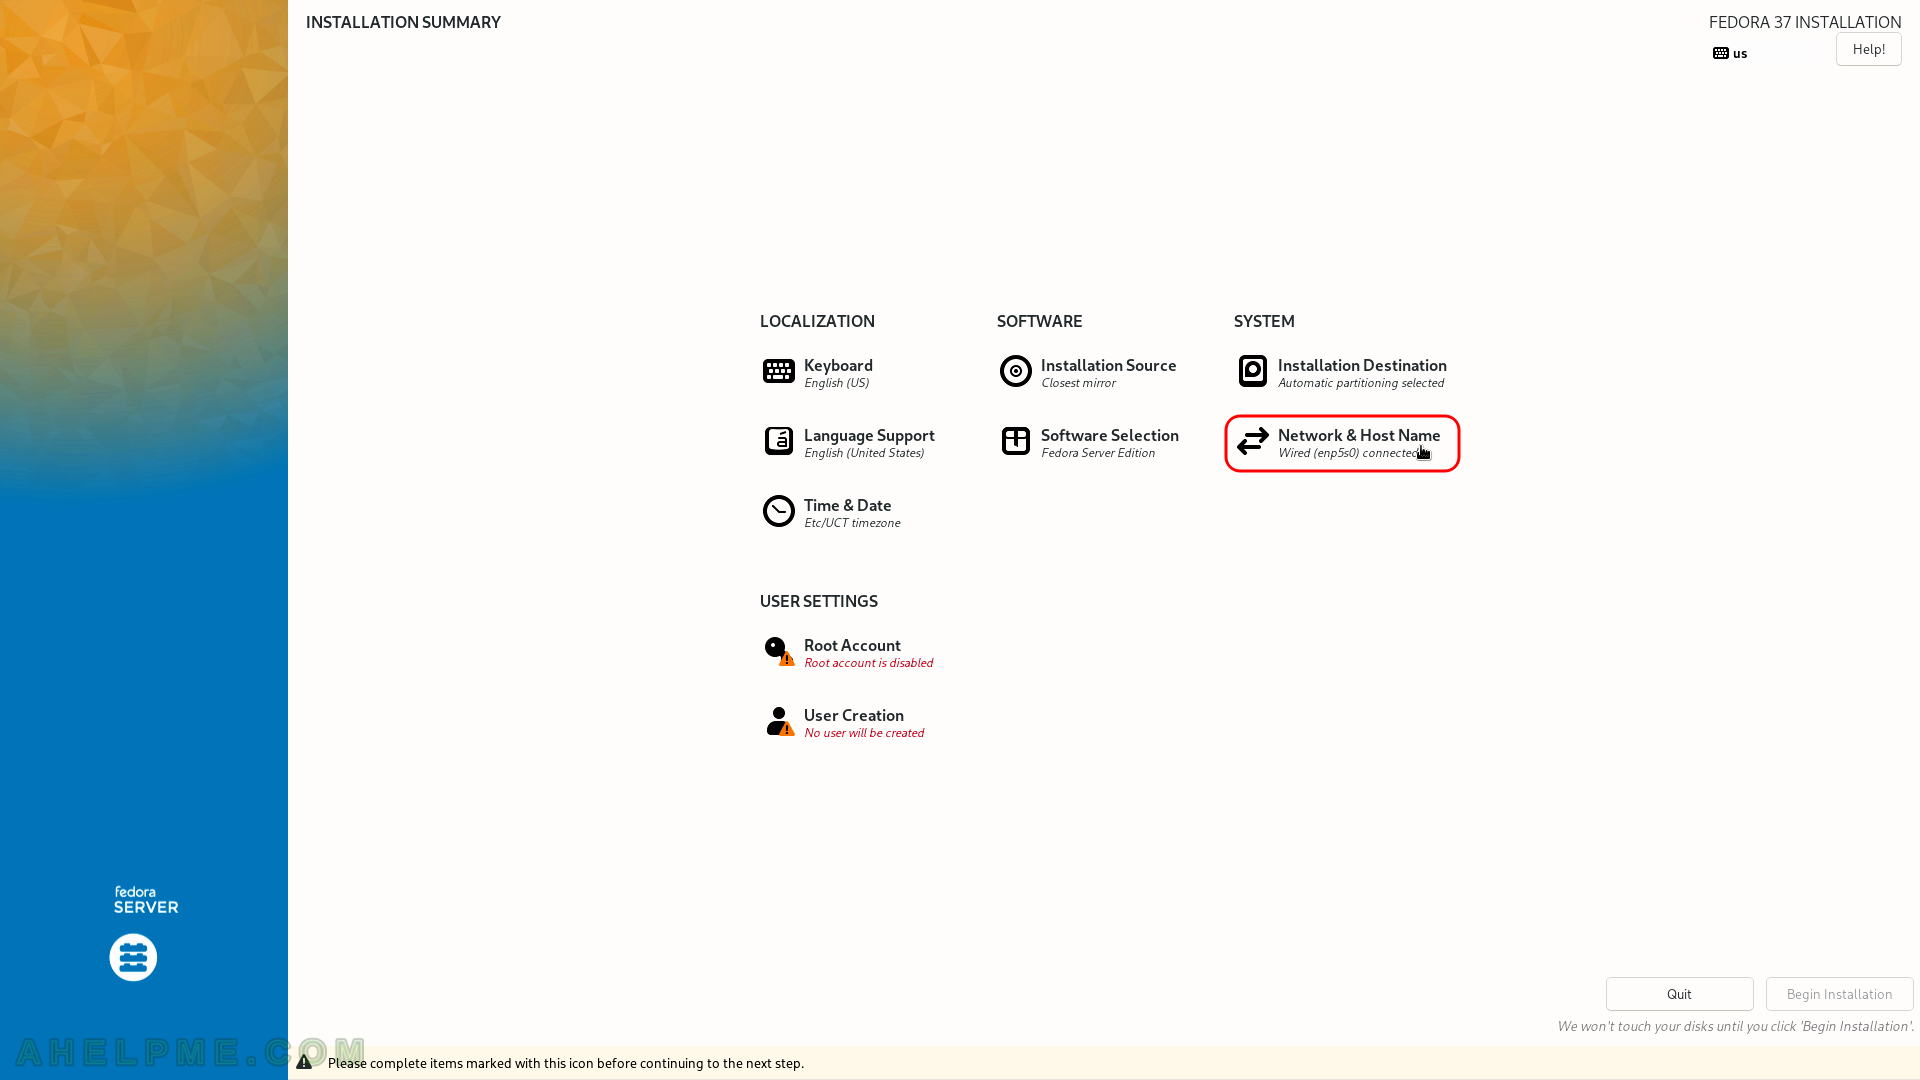
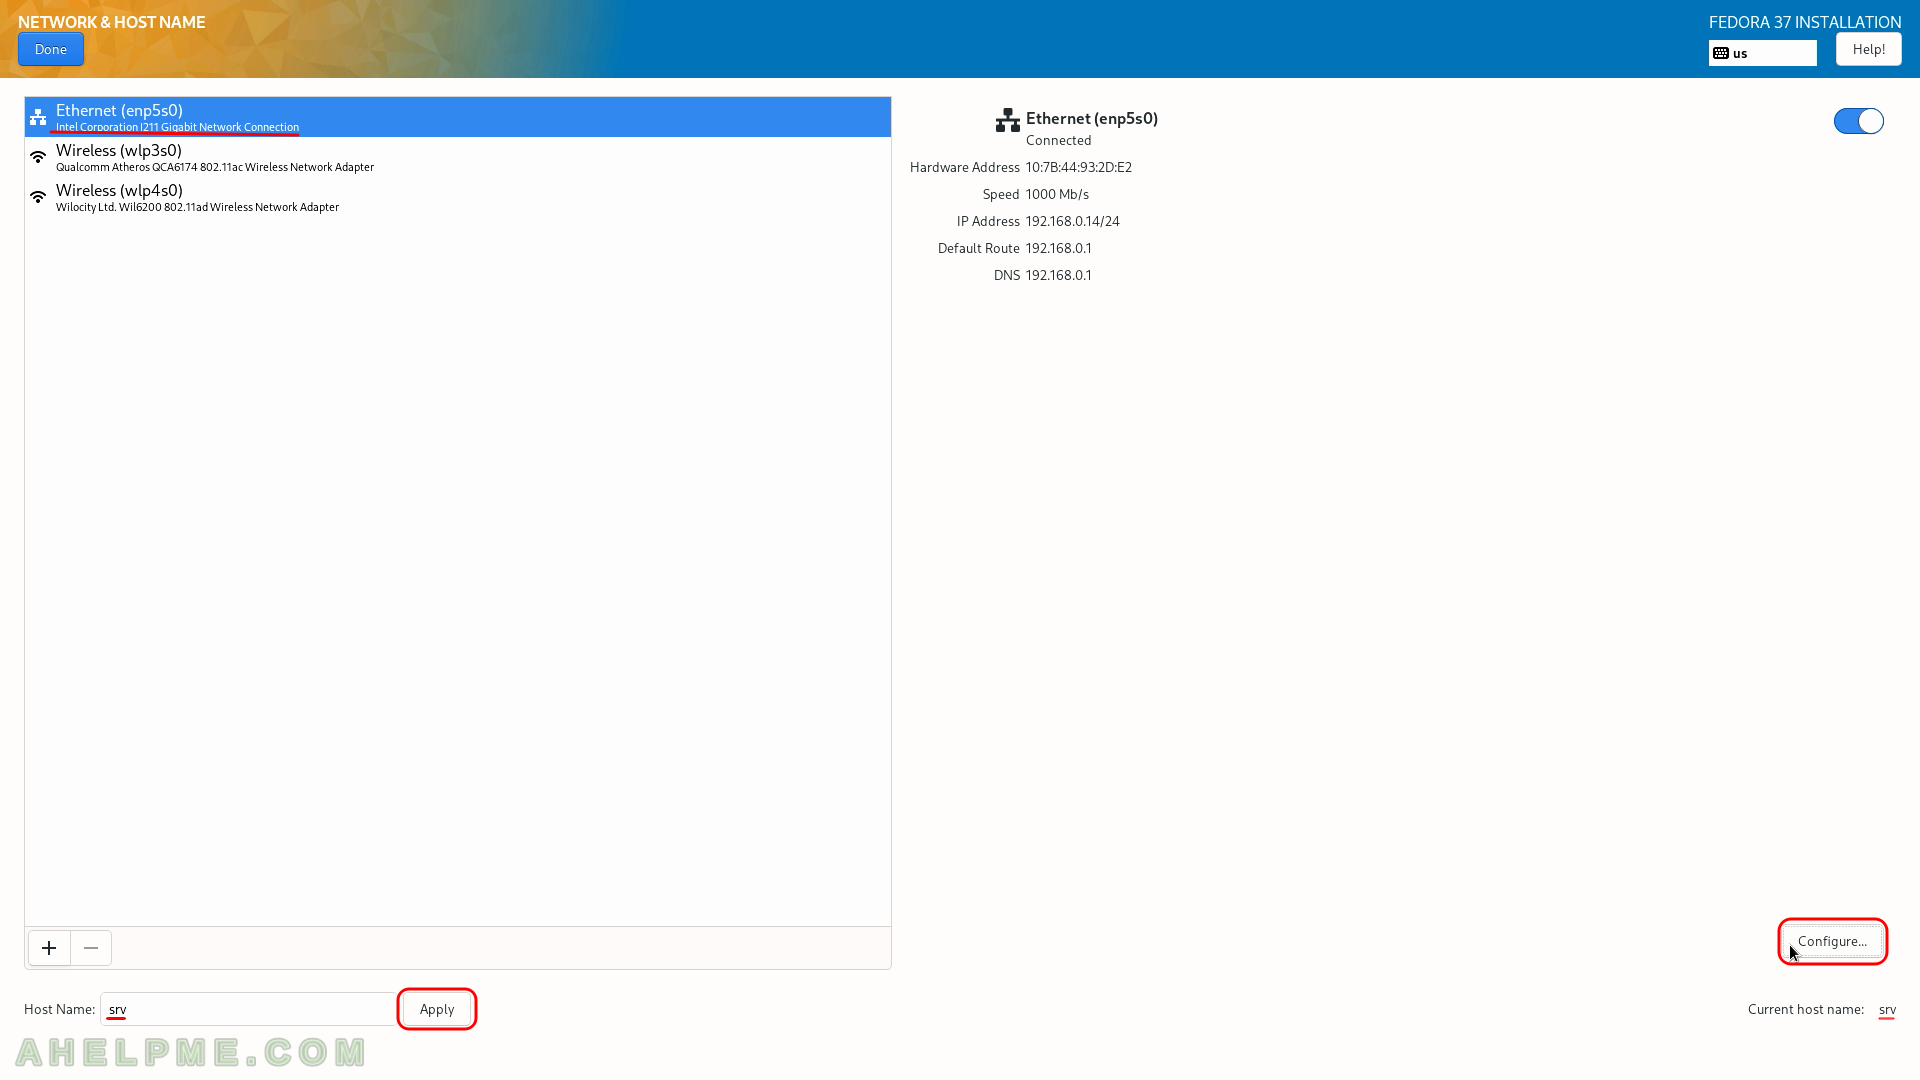
SCREENSHOT 12) Click on the network adapter you are going to use for the Internet to select it and then click on the “Configure…” button bottom right.
Set the hostname of your machine in the left bottom text box and click on “Apply”.
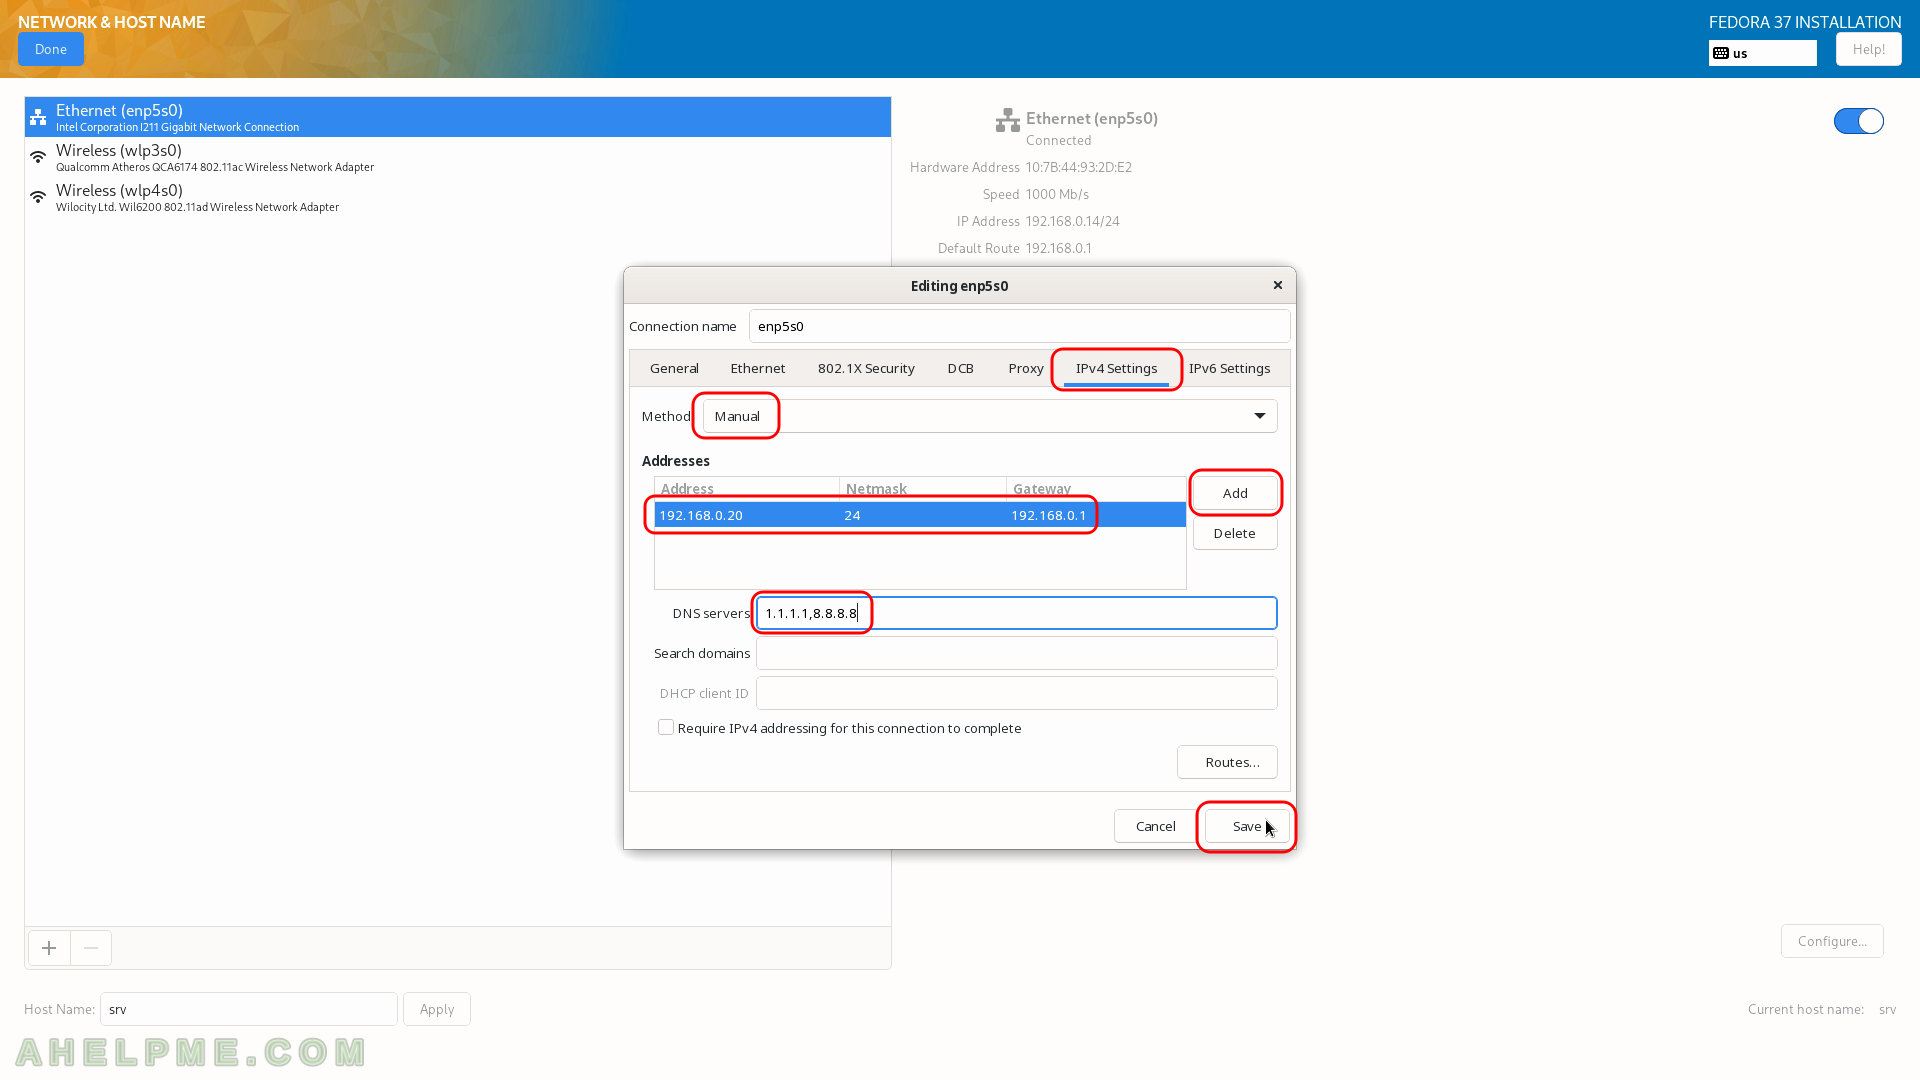
SCREENSHOT 13) Set the IP of the server
First, click on “IPv4 Settings” and set it to “Manual” from the dropdown menu “Method”, then click on “Add” and in each of the three text boxes fill the network settings of your choice. We have filled the text fields with local IP and settings. Add DNS servers separating them with commas and click on the “General” tab.
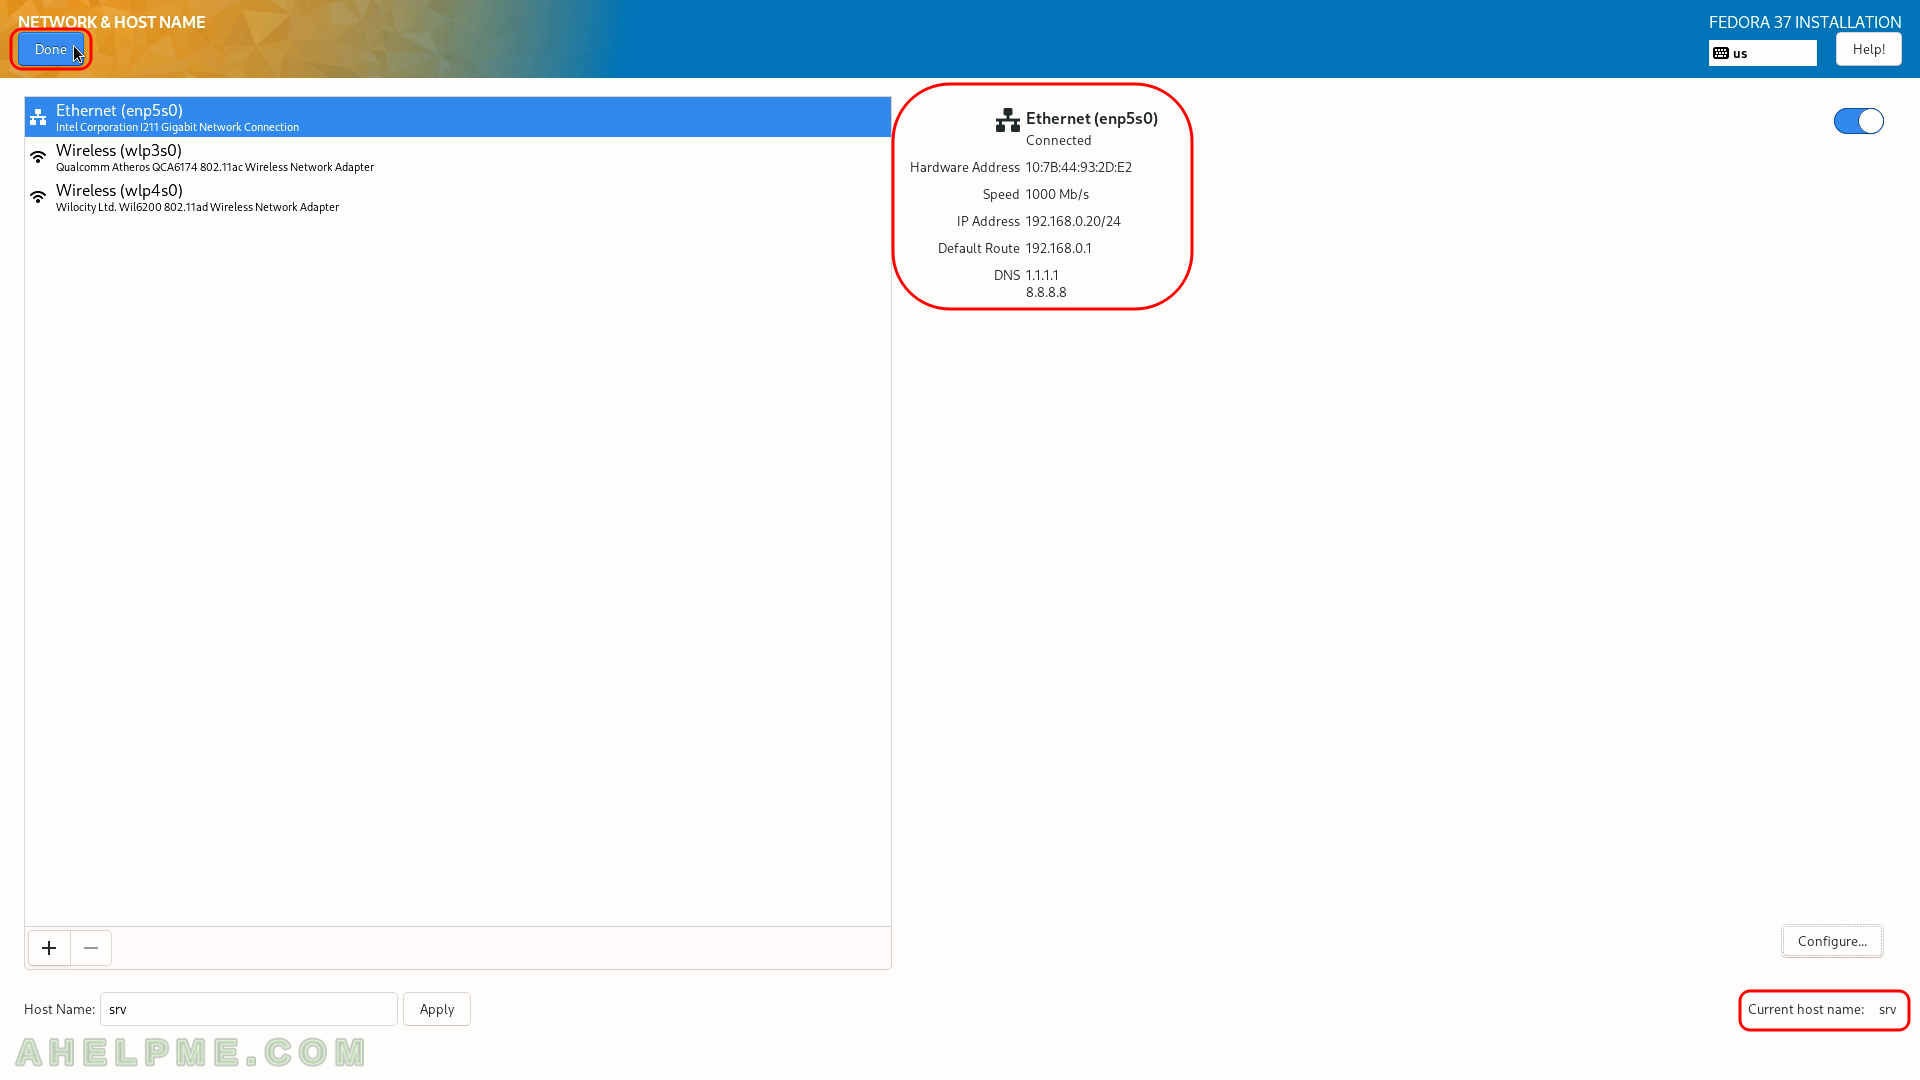
SCREENSHOT 14) Click on “Done” if you are ready.
You can see our ethernet adapter enp5s0 is configured successfully it has IP and the link is up (connected to the 1000 Mb/s network).
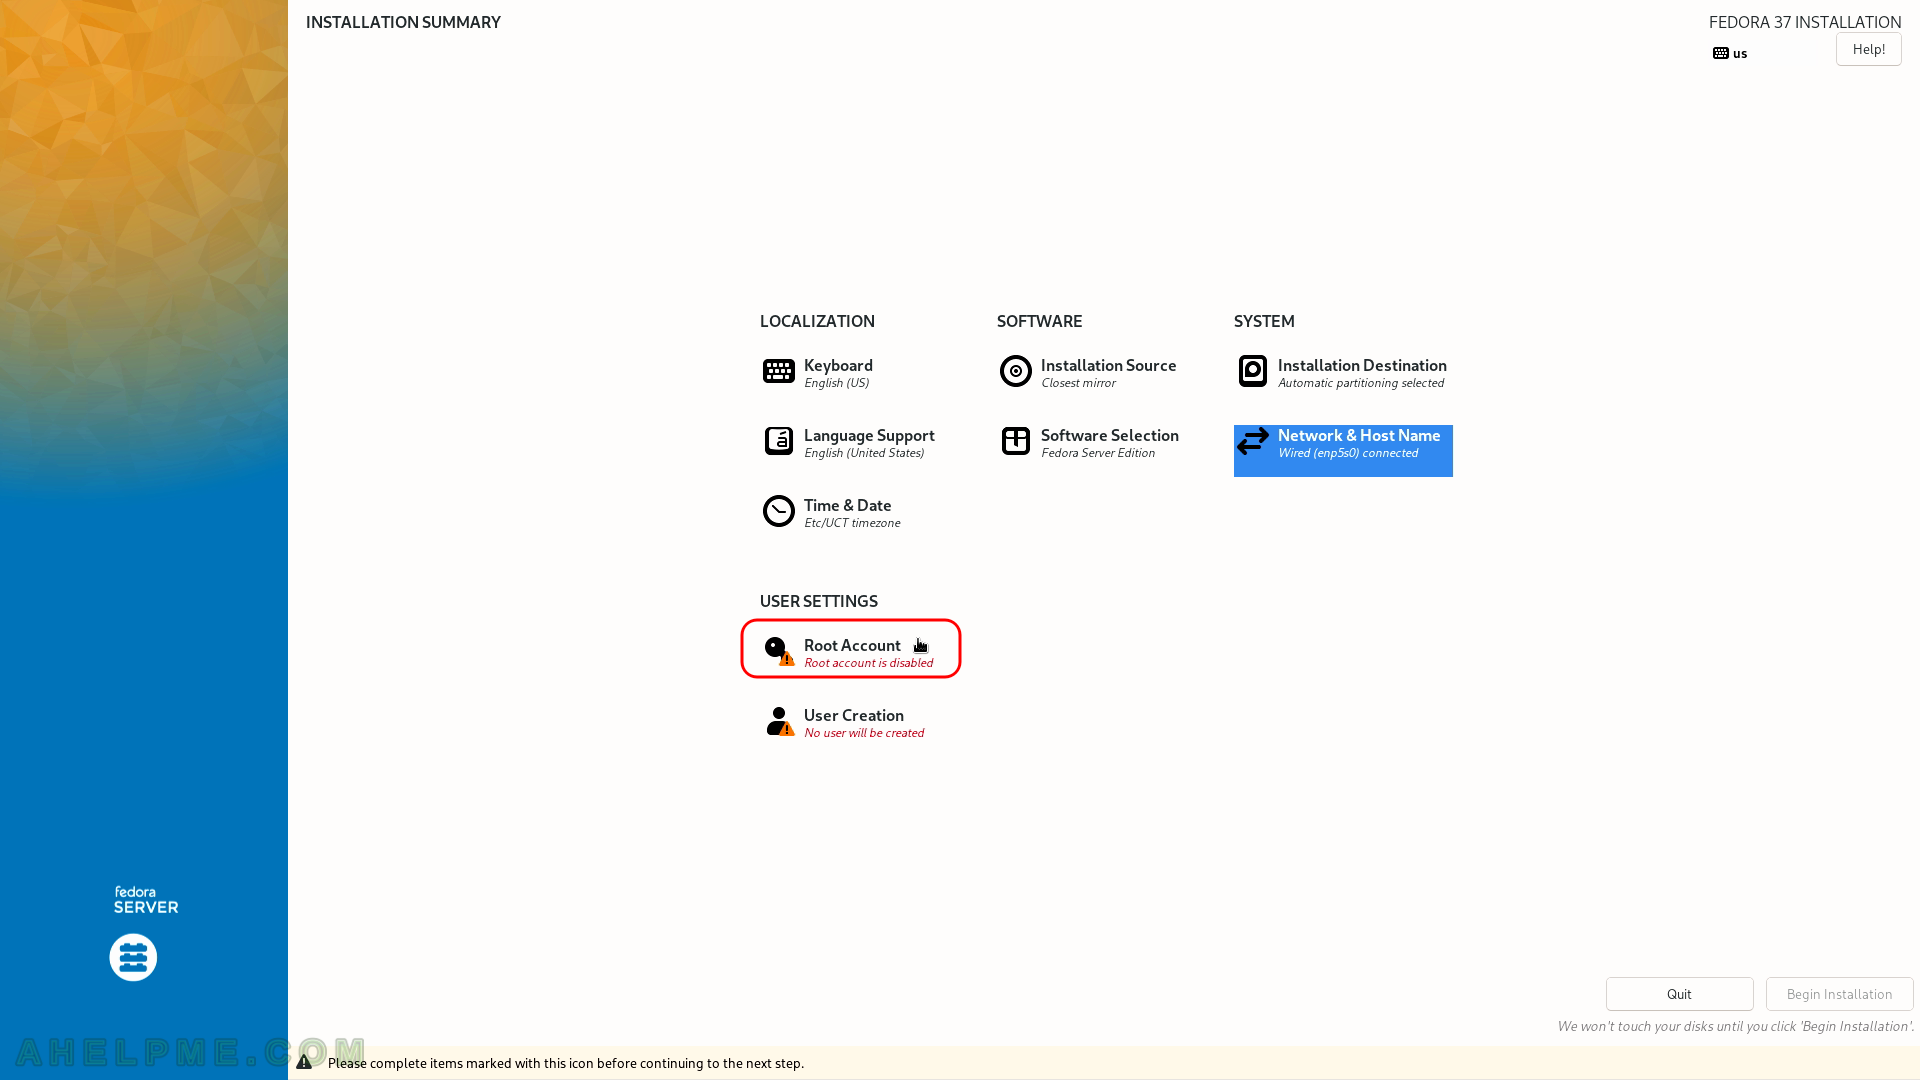
SCREENSHOT 15) Click on “Root Account” to set the password for the root user.
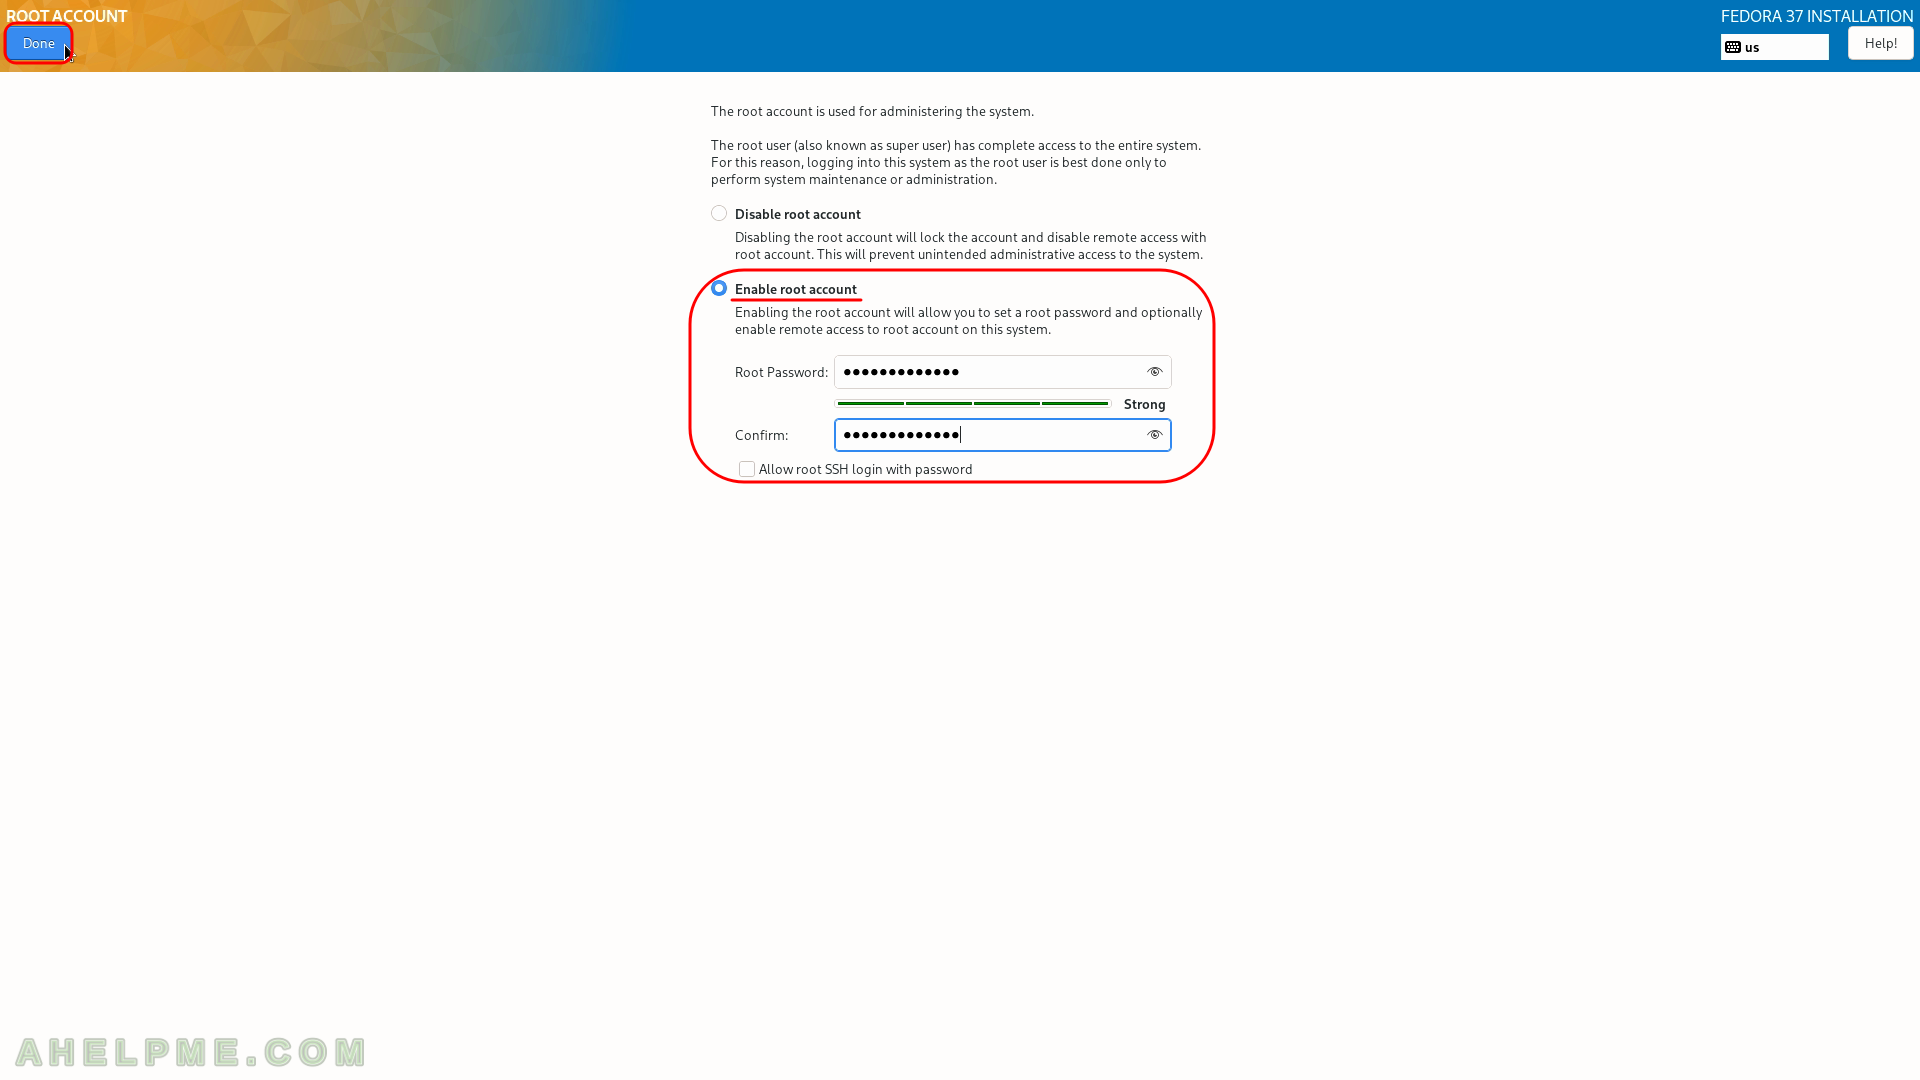
SCREENSHOT 16) Click on “Enable root account” to use the root account.
Set the password and then click on “Done”. “Allow root SSH login with password” – it would enable the root user to log in using SSH remotely to the server. By default, root SSH login has not been permitted for several years. Use a user with administrative privileges instead of the root user!
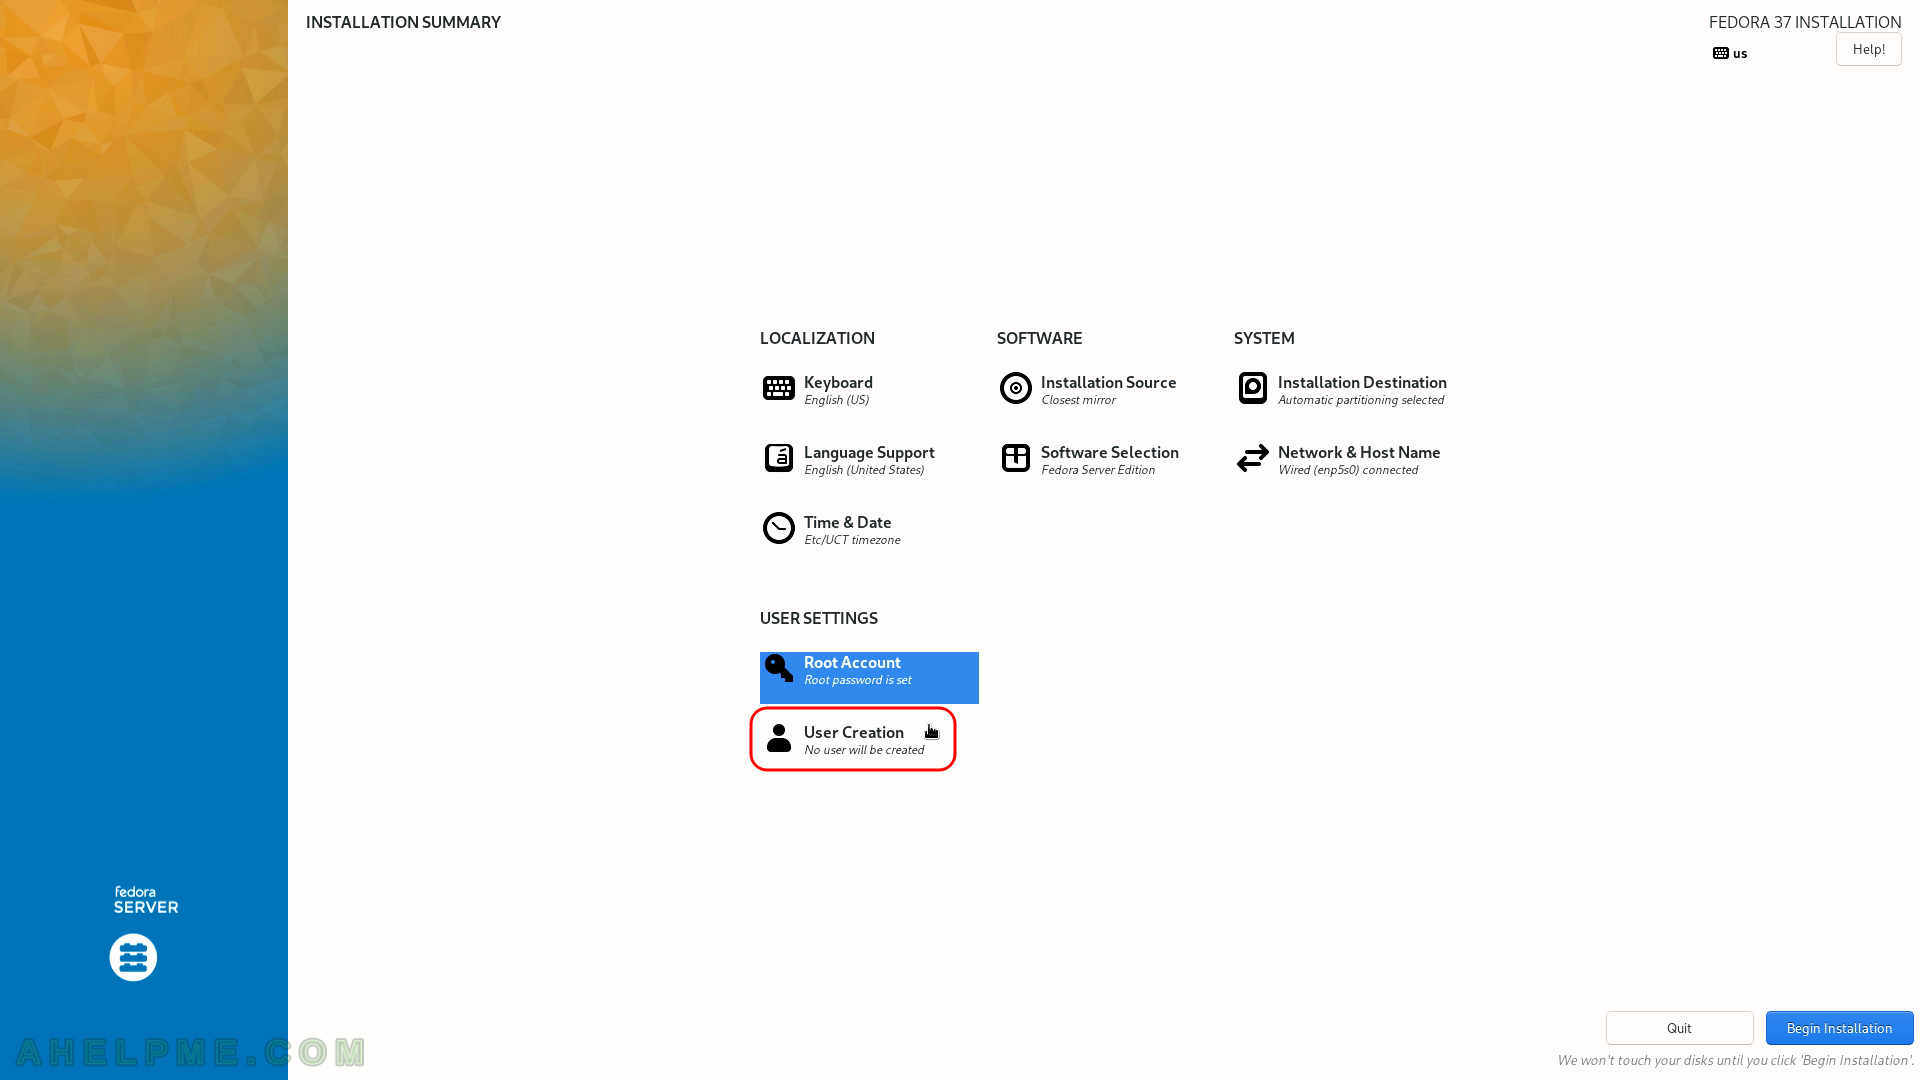
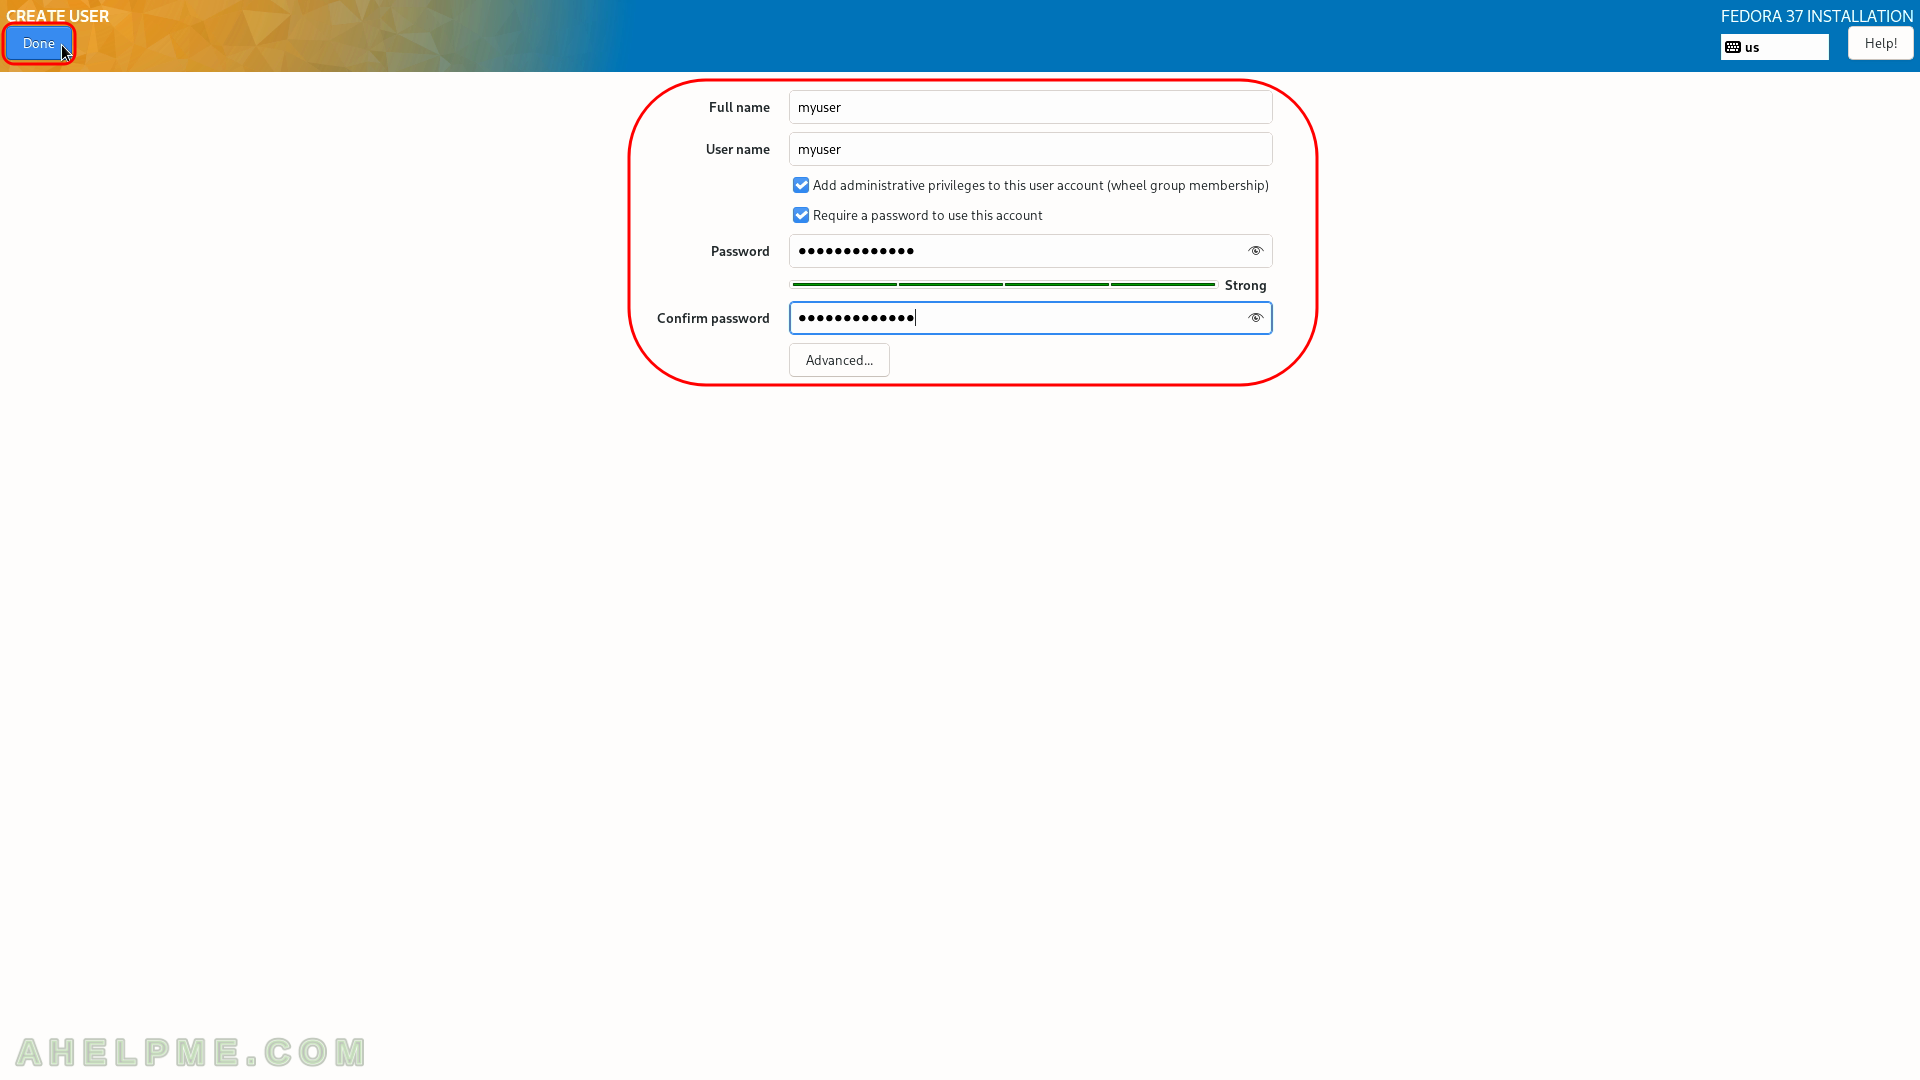
SCREENSHOT 17) Create at least one user with administrative privileges.
Click on “User Creation”.
SCREENSHOT 18) Fill in the text box – the full name, the user name, and the password and check “Add administrative privileges to this user account (wheel group membership)” to allow user-right escalations for administrative purposes.
Click on “Done” when ready.
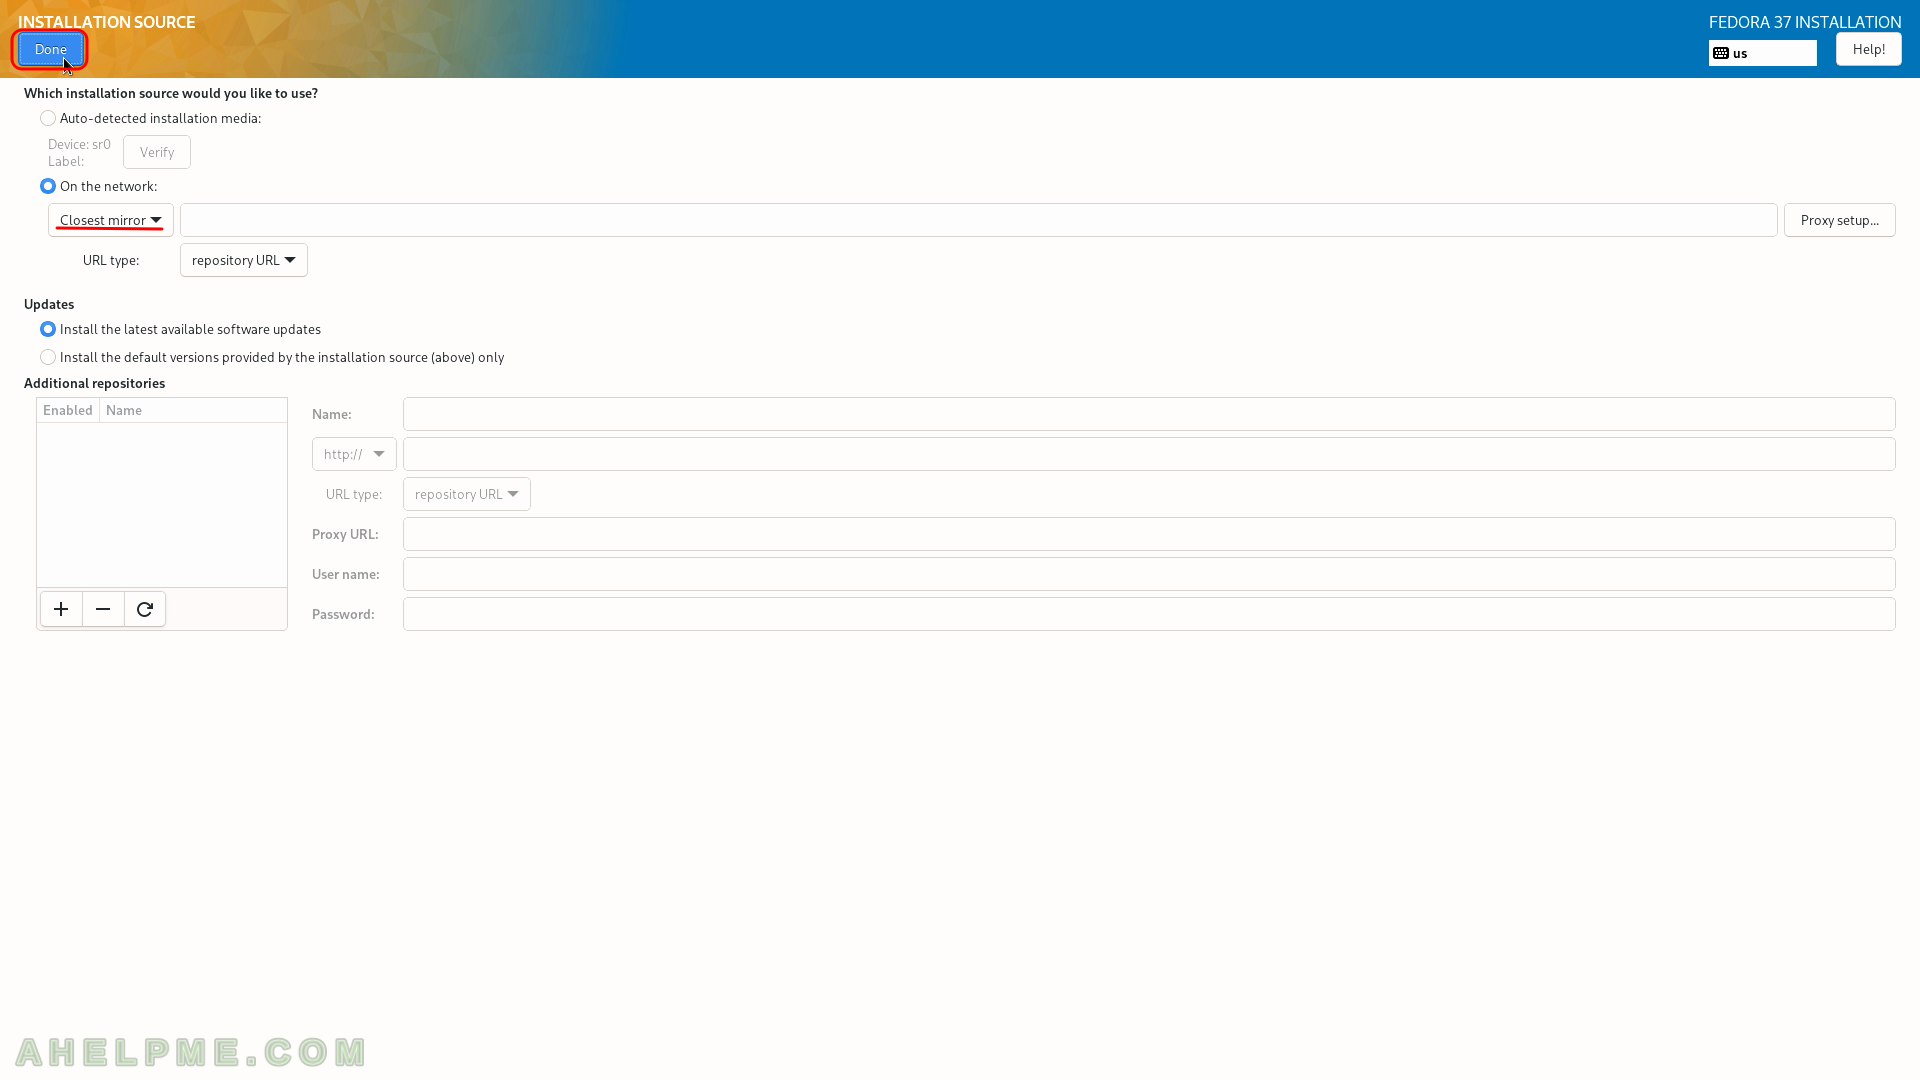
SCREENSHOT 19) Click on “Installation Source” to instruct the setup from where to download the packages.
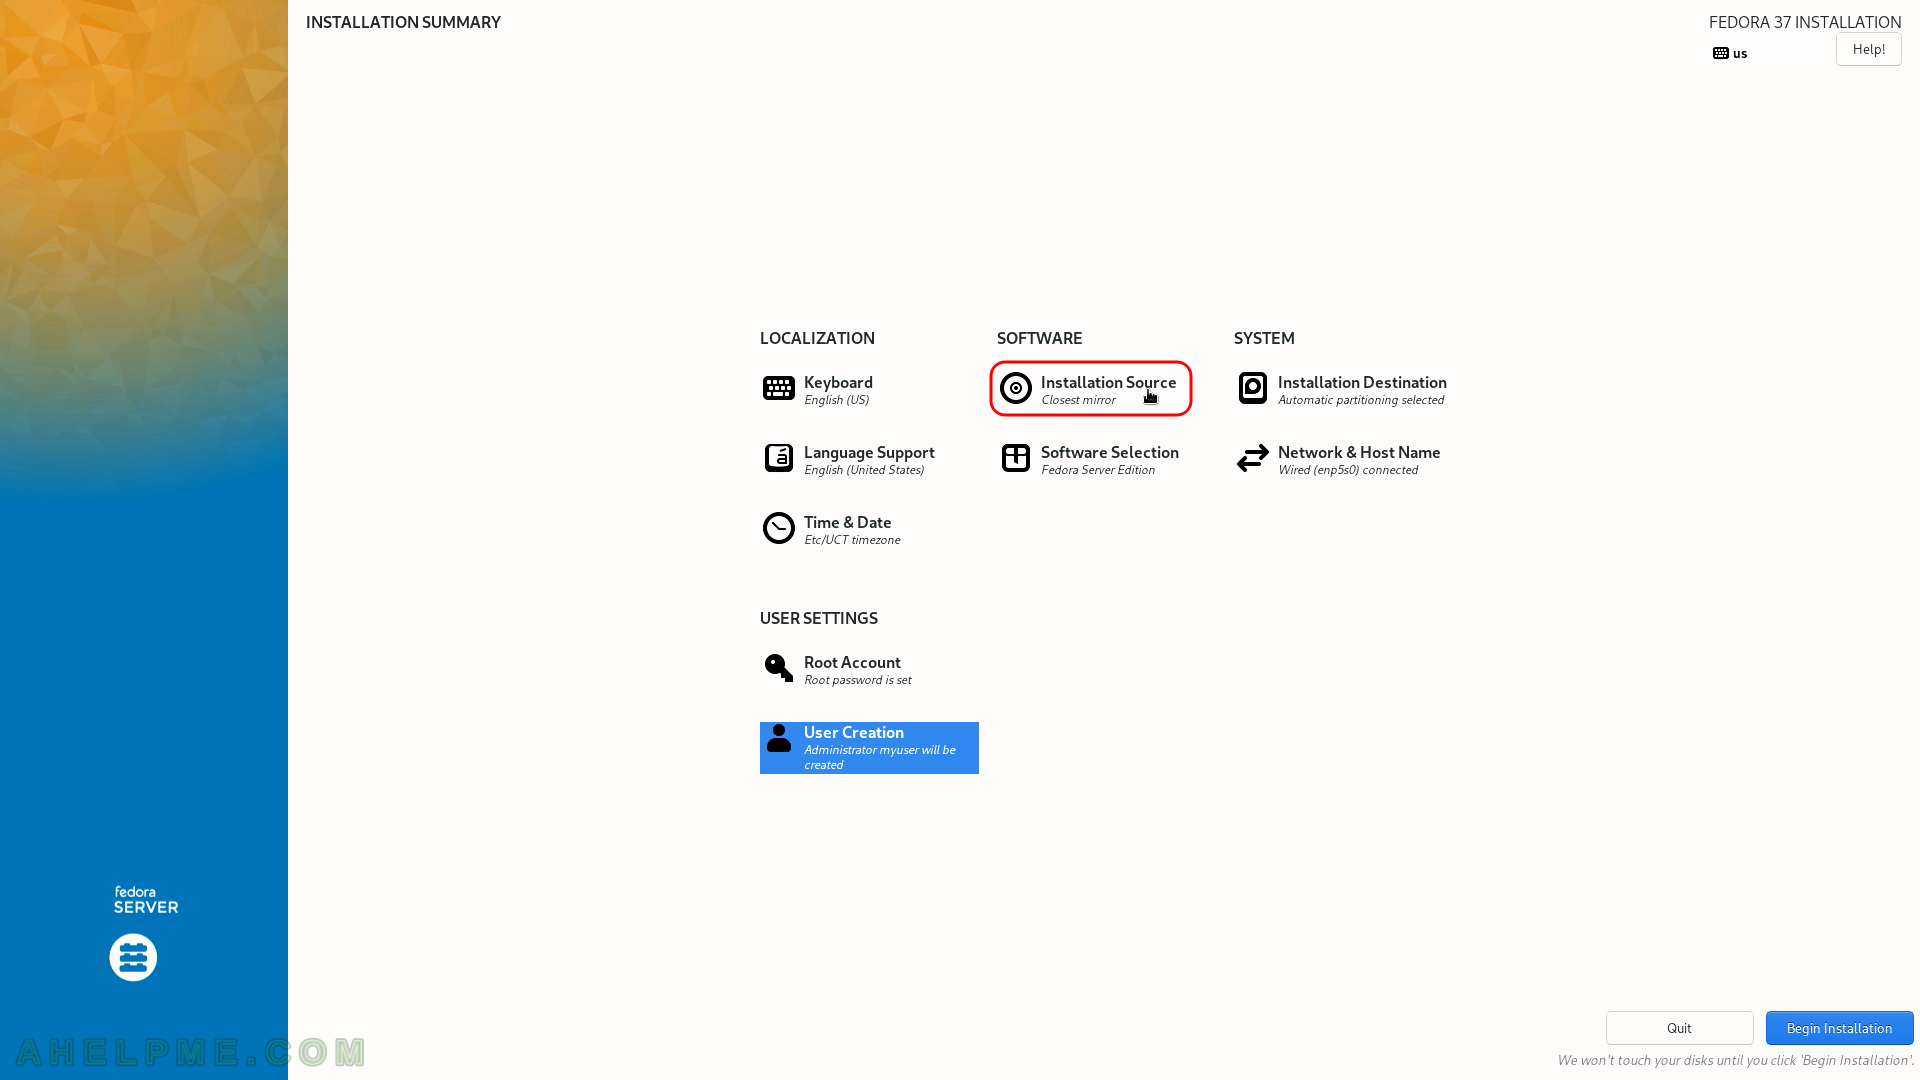
SCREENSHOT 20) Leaving “Closest mirror” as is, the setup will download from the Internet a list with mirrors and it will choose the closest one to download packages.
If the user wants to specify a URL, the dropdown box of “Closest mirror” offers HTTP or HTTPS options to set the URL.