This article will show the simple steps of installing a modern Linux Distribution like Fedora 37 Workstation Edition with Gnome for the graphical user interface. First, it is offered the basic steps for installing the Operating system and then there are some screenshots of the installed system and its look and feel. Soon another article will show more screenshots of the installed and working Fedora 37 (Gnome and KDE plasma) – so the user may decide which of them to try first.
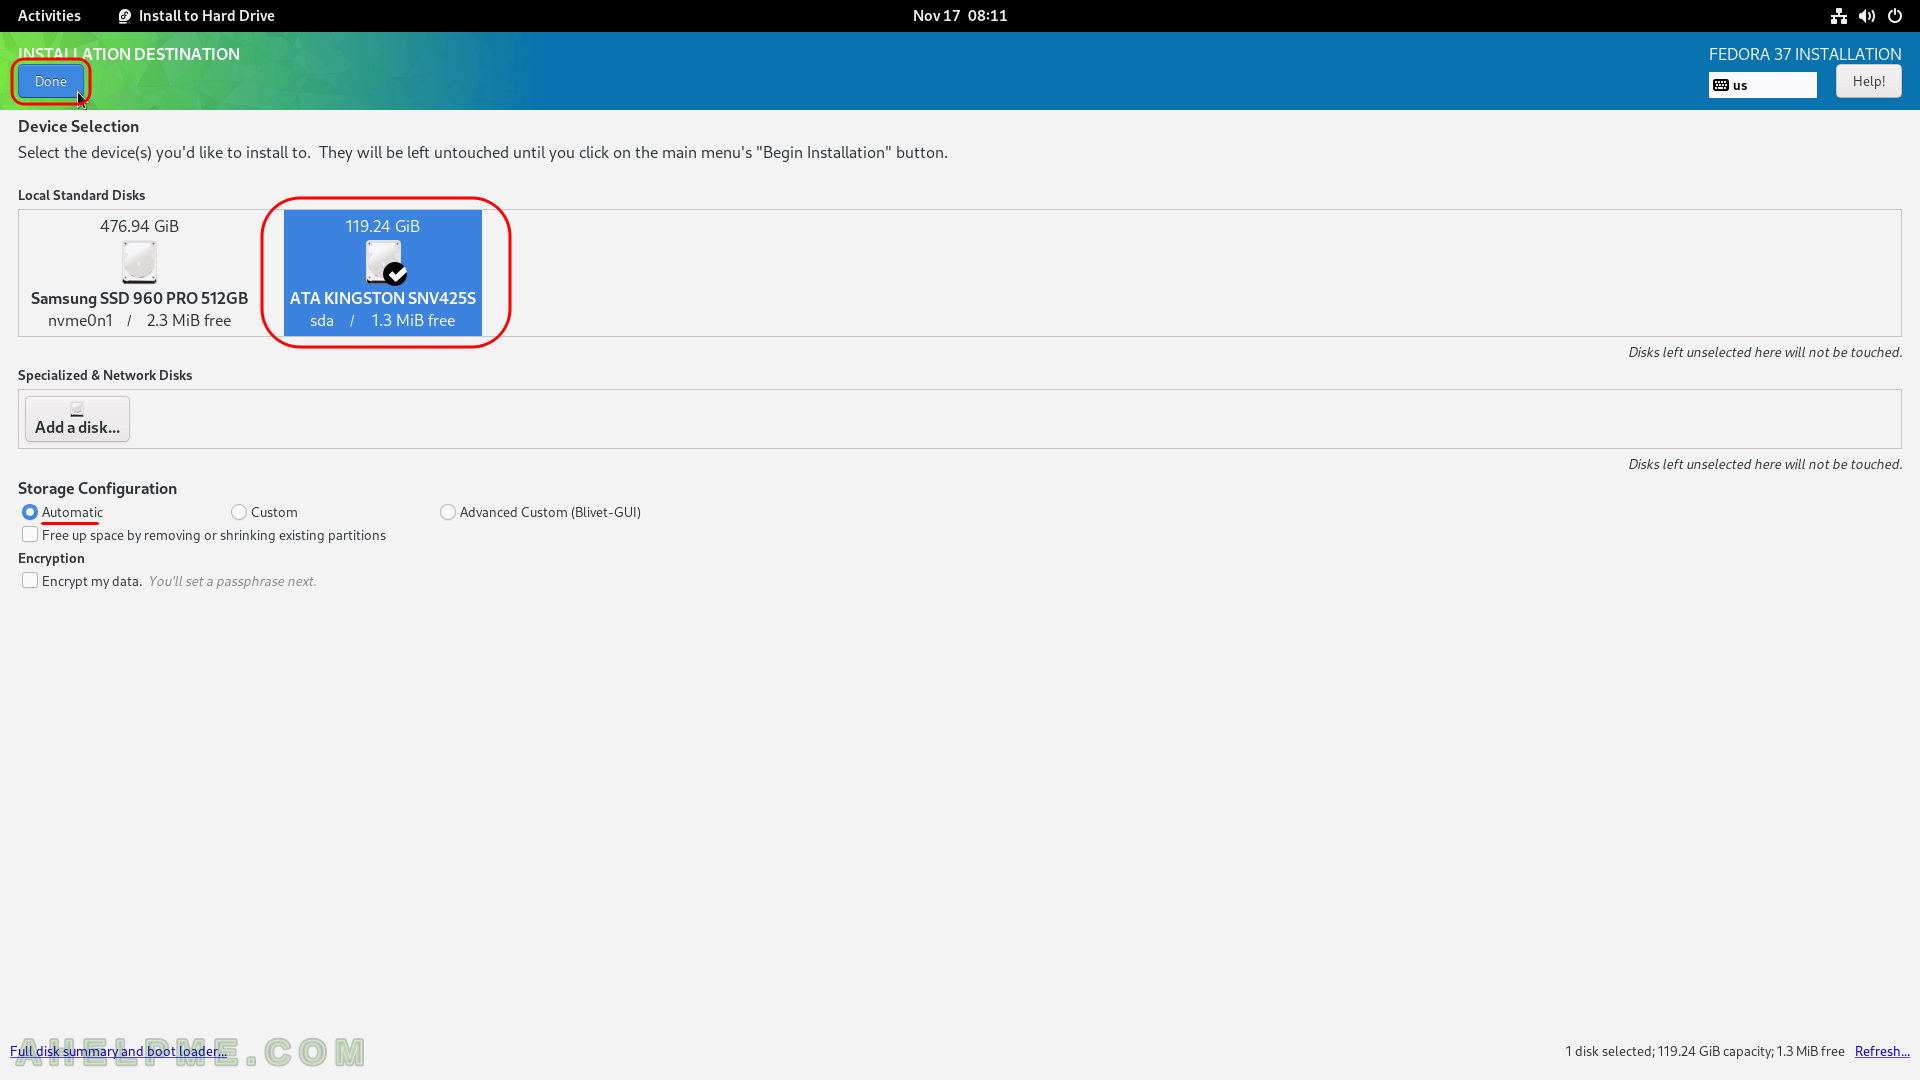
This is the most straightforward setup. One hard disk device in the system is installed, which is detected as sda and the entire disk will be used for the installation of Fedora Workstation 37. All disk information in sda disk device will be permanently deleted by the installation wizard!
The Fedora 37 Workstation comes with
- Xorg X11 server – 1.20.14 and Xorg X11 server XWayland 22.1.5 is used by default
- GNOME (the GUI) – 43.0
- linux kernel – 6.0.7
Check out our article about what software is included in Review of freshly installed Fedora 37 Workstation (Gnome GUI).
There are previous installations howto articles for the older Fedora 36 – Review of freshly installed Fedora 36 Workstation (Gnome GUI), Install Fedora Workstation 31 (Gnome GUI), Install Fedora Workstation 30 (Gnome GUI).
The following ISO is used for the installation process: https://download.fedoraproject.org/pub/fedora/linux/releases/37/Workstation/x86_64/iso/Fedora-Workstation-Live-x86_64-37-1.7.iso
It is a LIVE image so you can try it before installing. The easiest way is just to download the image and burn it to a DVD disk (or make a bootable USB flash drive) and then follow the installation below:
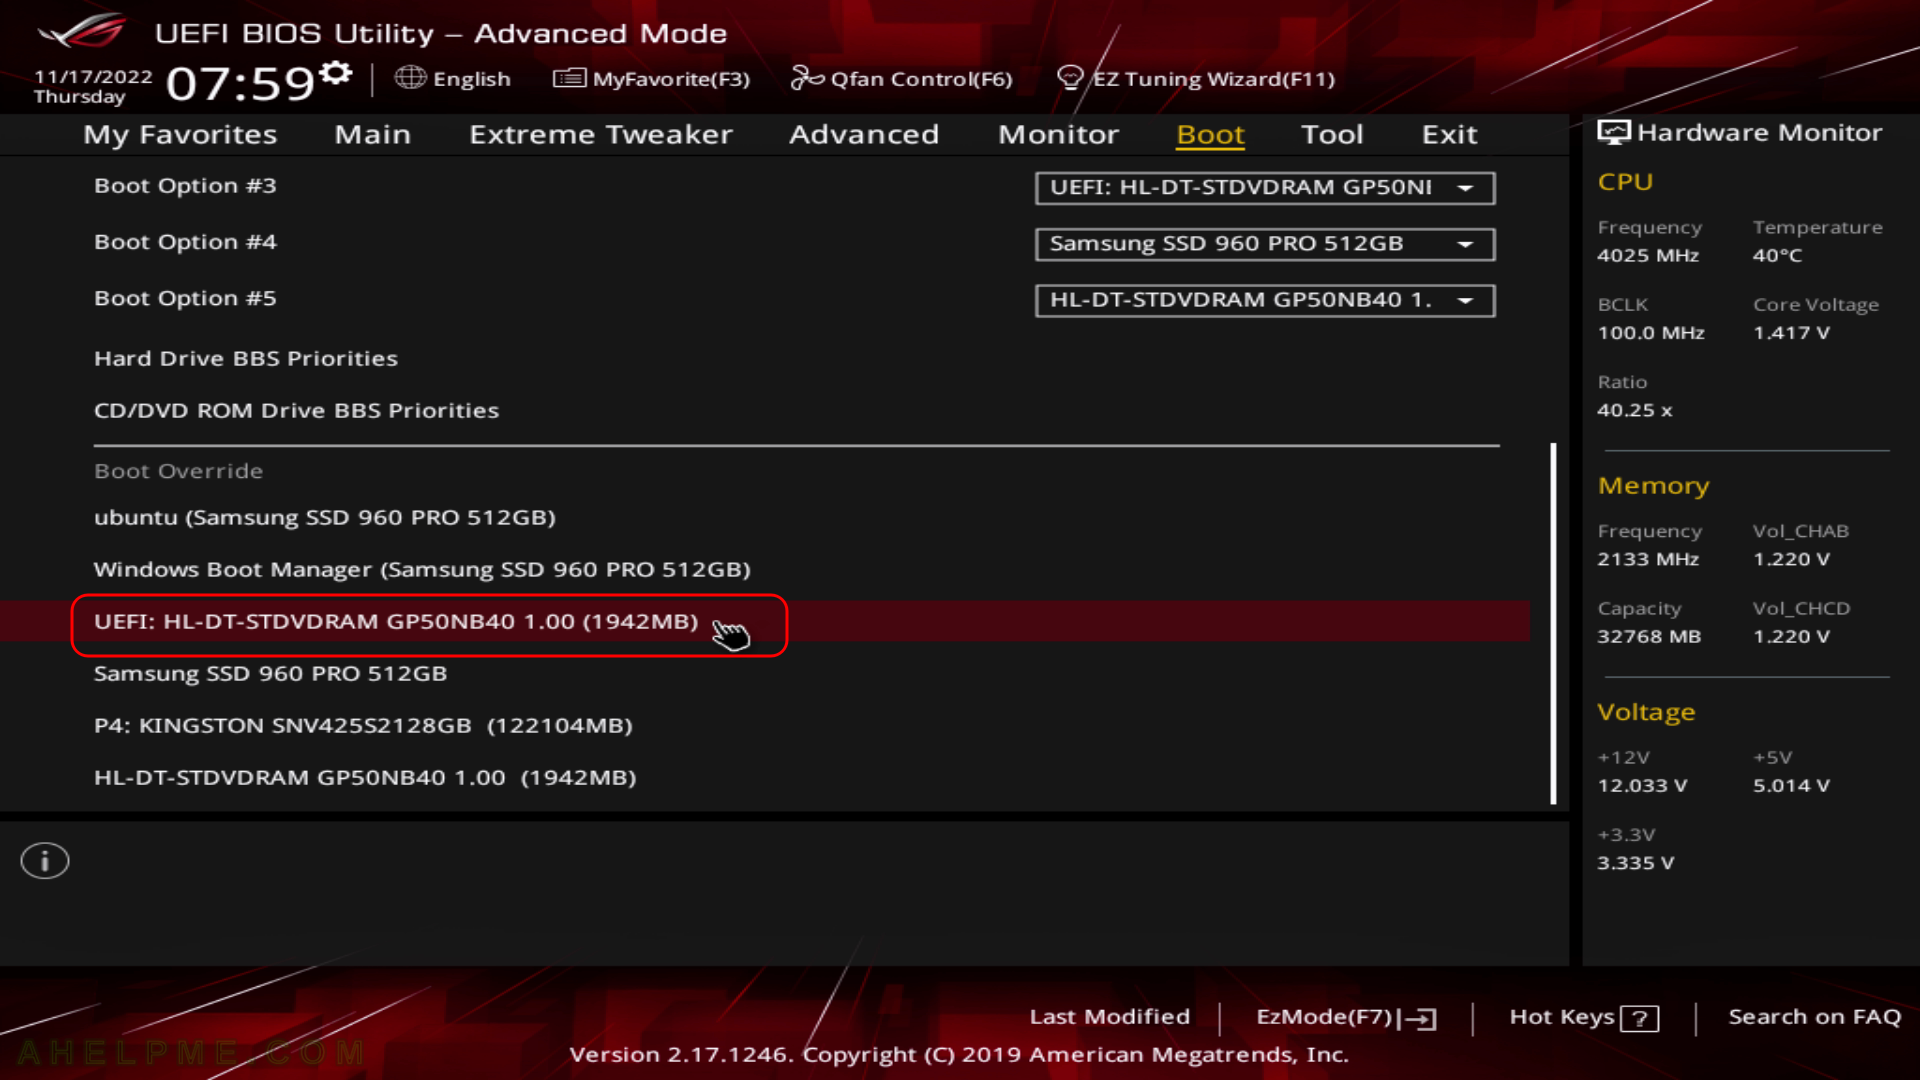
SCREENSHOT 1) Boot from the UEFI DVD-ROM device.
It is the same with the USB bootable removable drive. Choose the UEFI USB drive and boot the installation live drive.
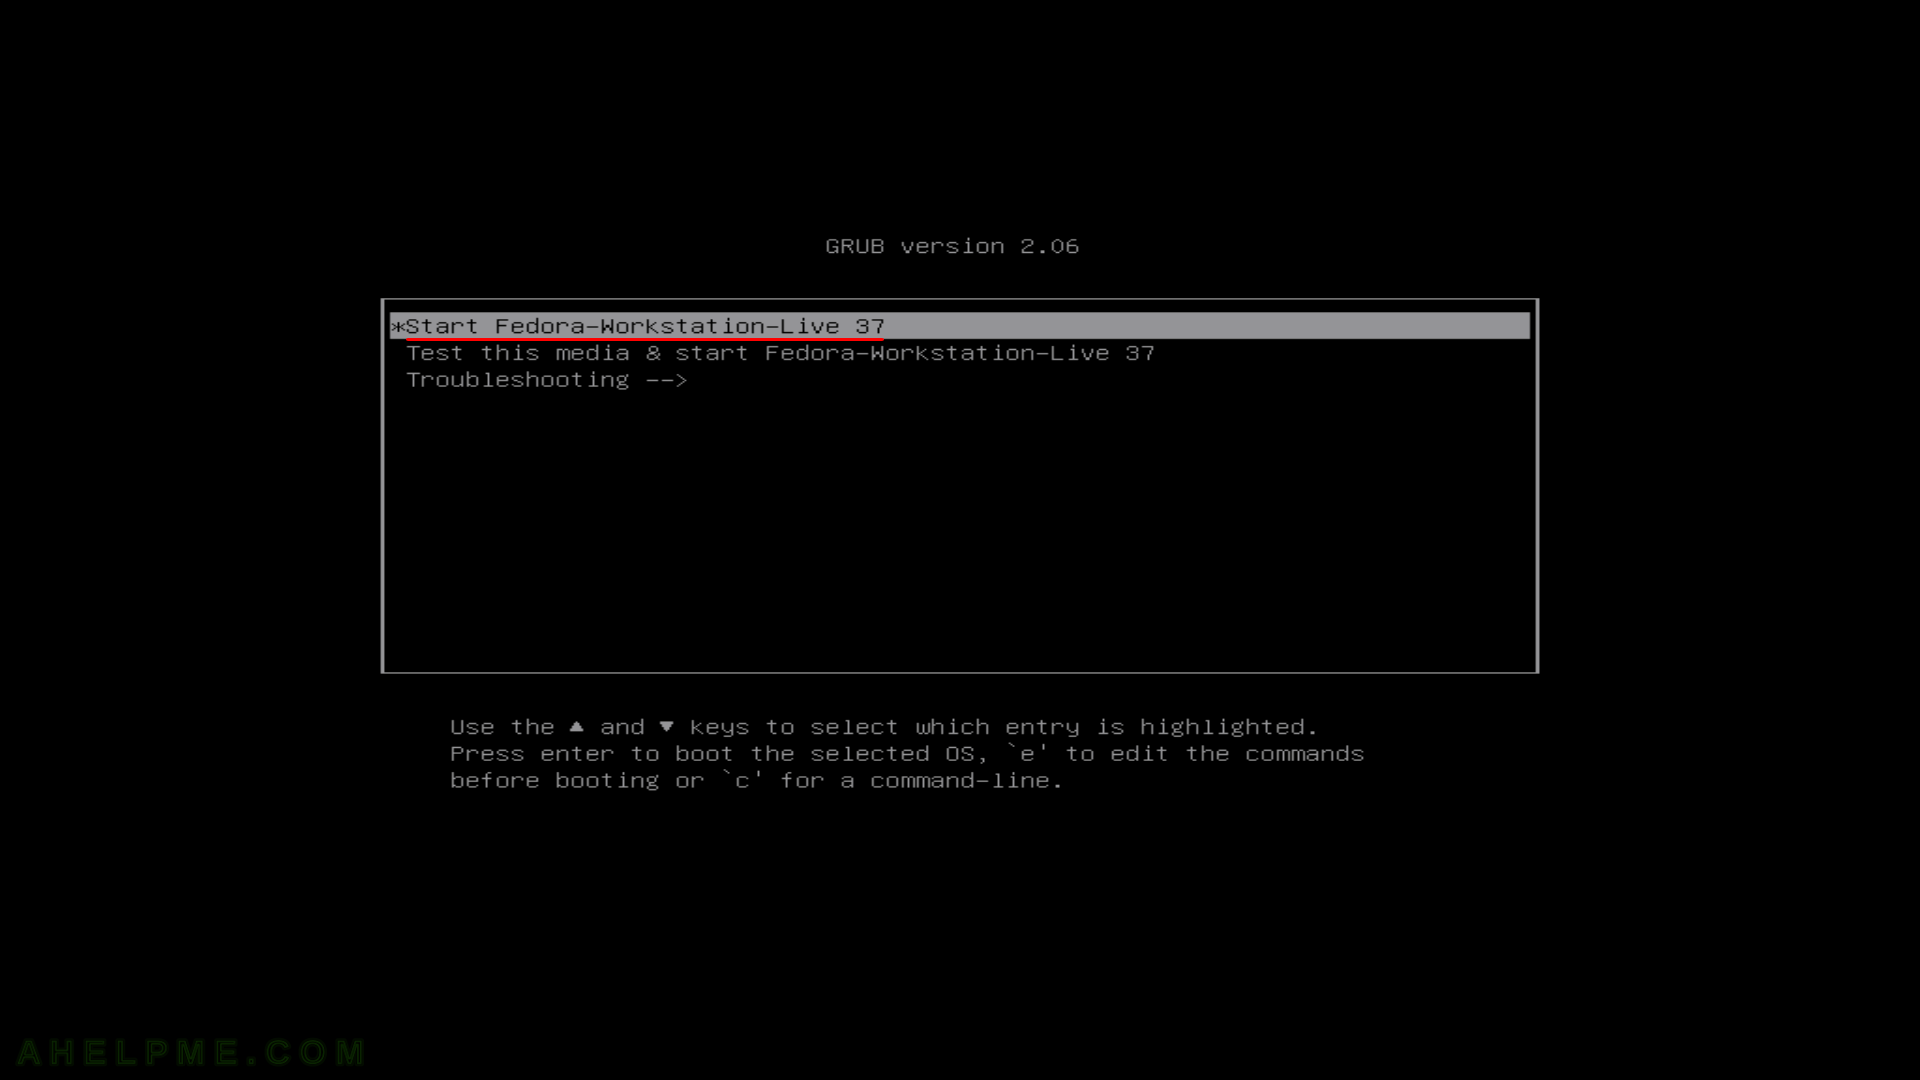
SCREENSHOT 2) Select to “Start Fedora-Workstation-Live 37” and hit enter.
SCREENSHOT 3) The loading screen of Fedora-Workstation-Live 37.
SCREENSHOT 4) Auto-logged in the Gnome shell of Fedora-Workstation-Live 37.
Click on “install to Hard Drive” to install Fedora Workstation 37.
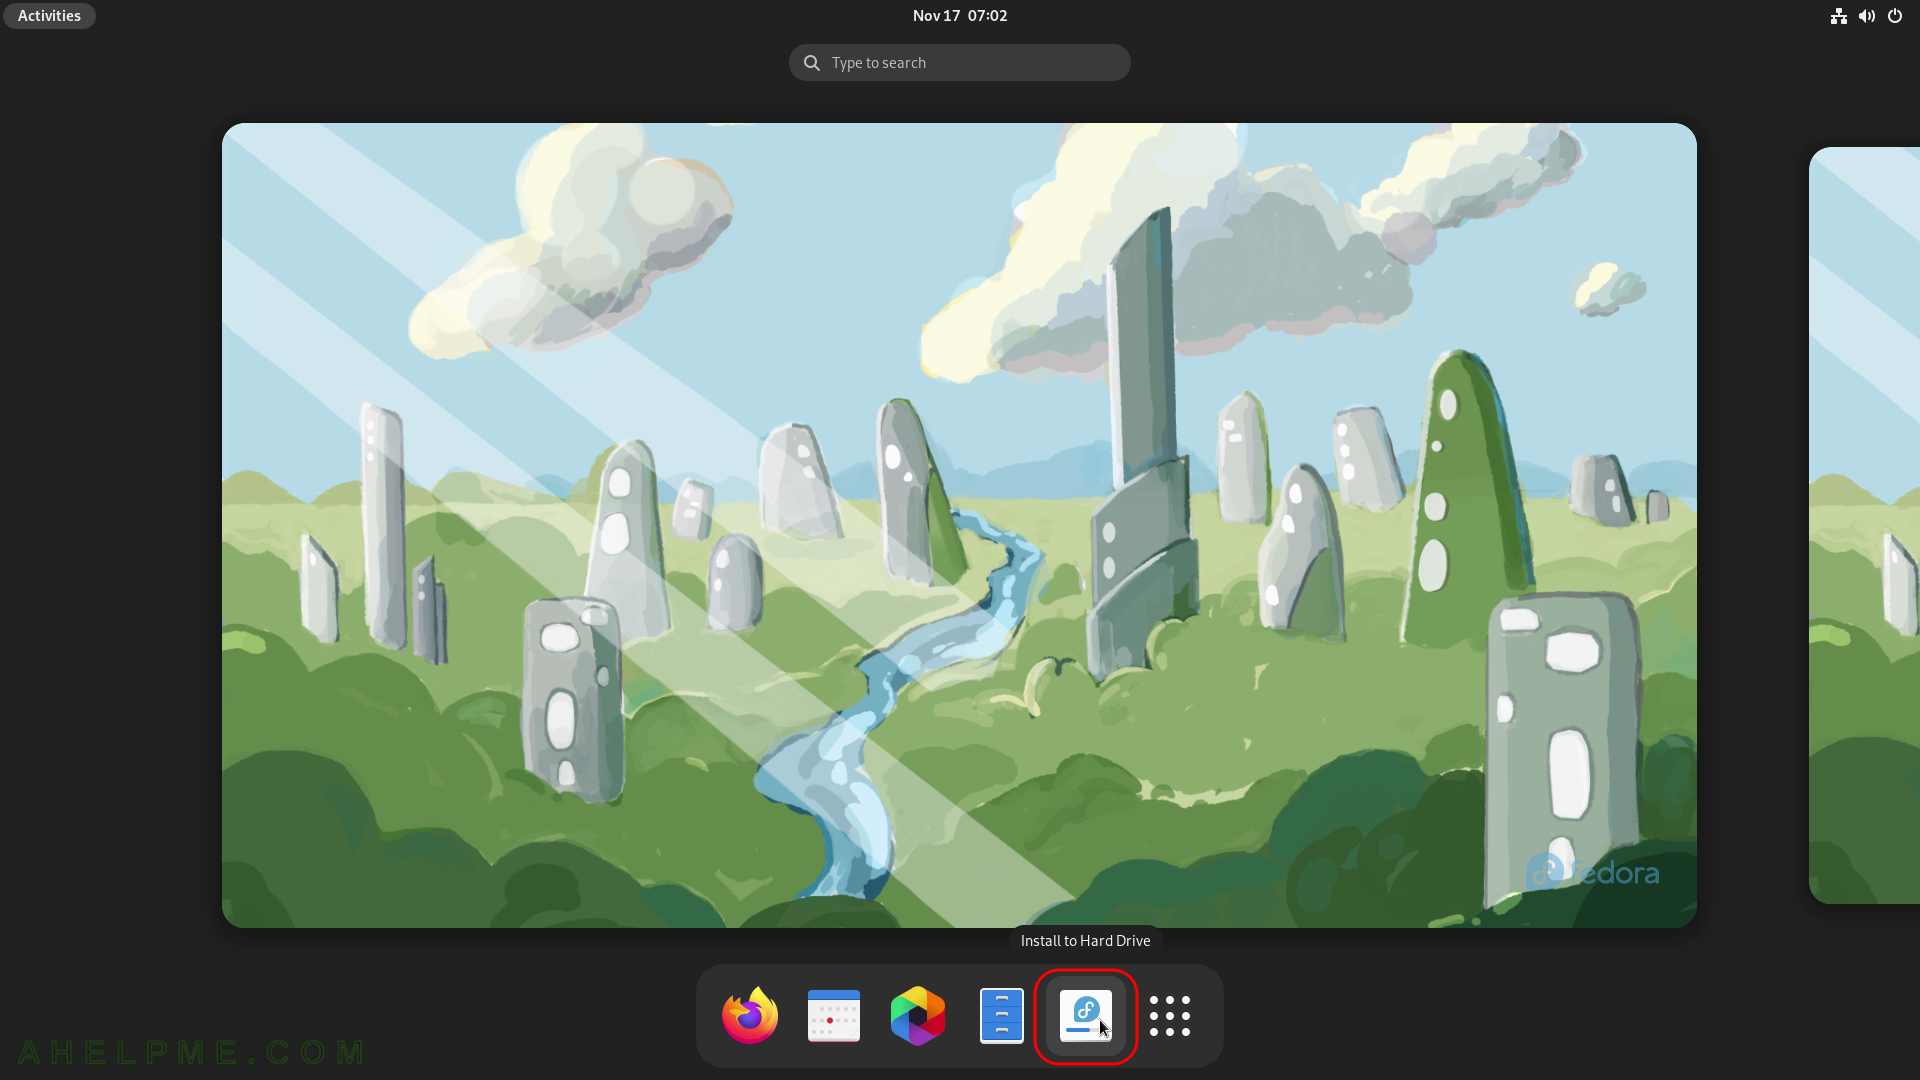
SCREENSHOT 5) Click on “Install to Hard Drive” to initiate the installation process of Fedora Workstation 37 (gnome).
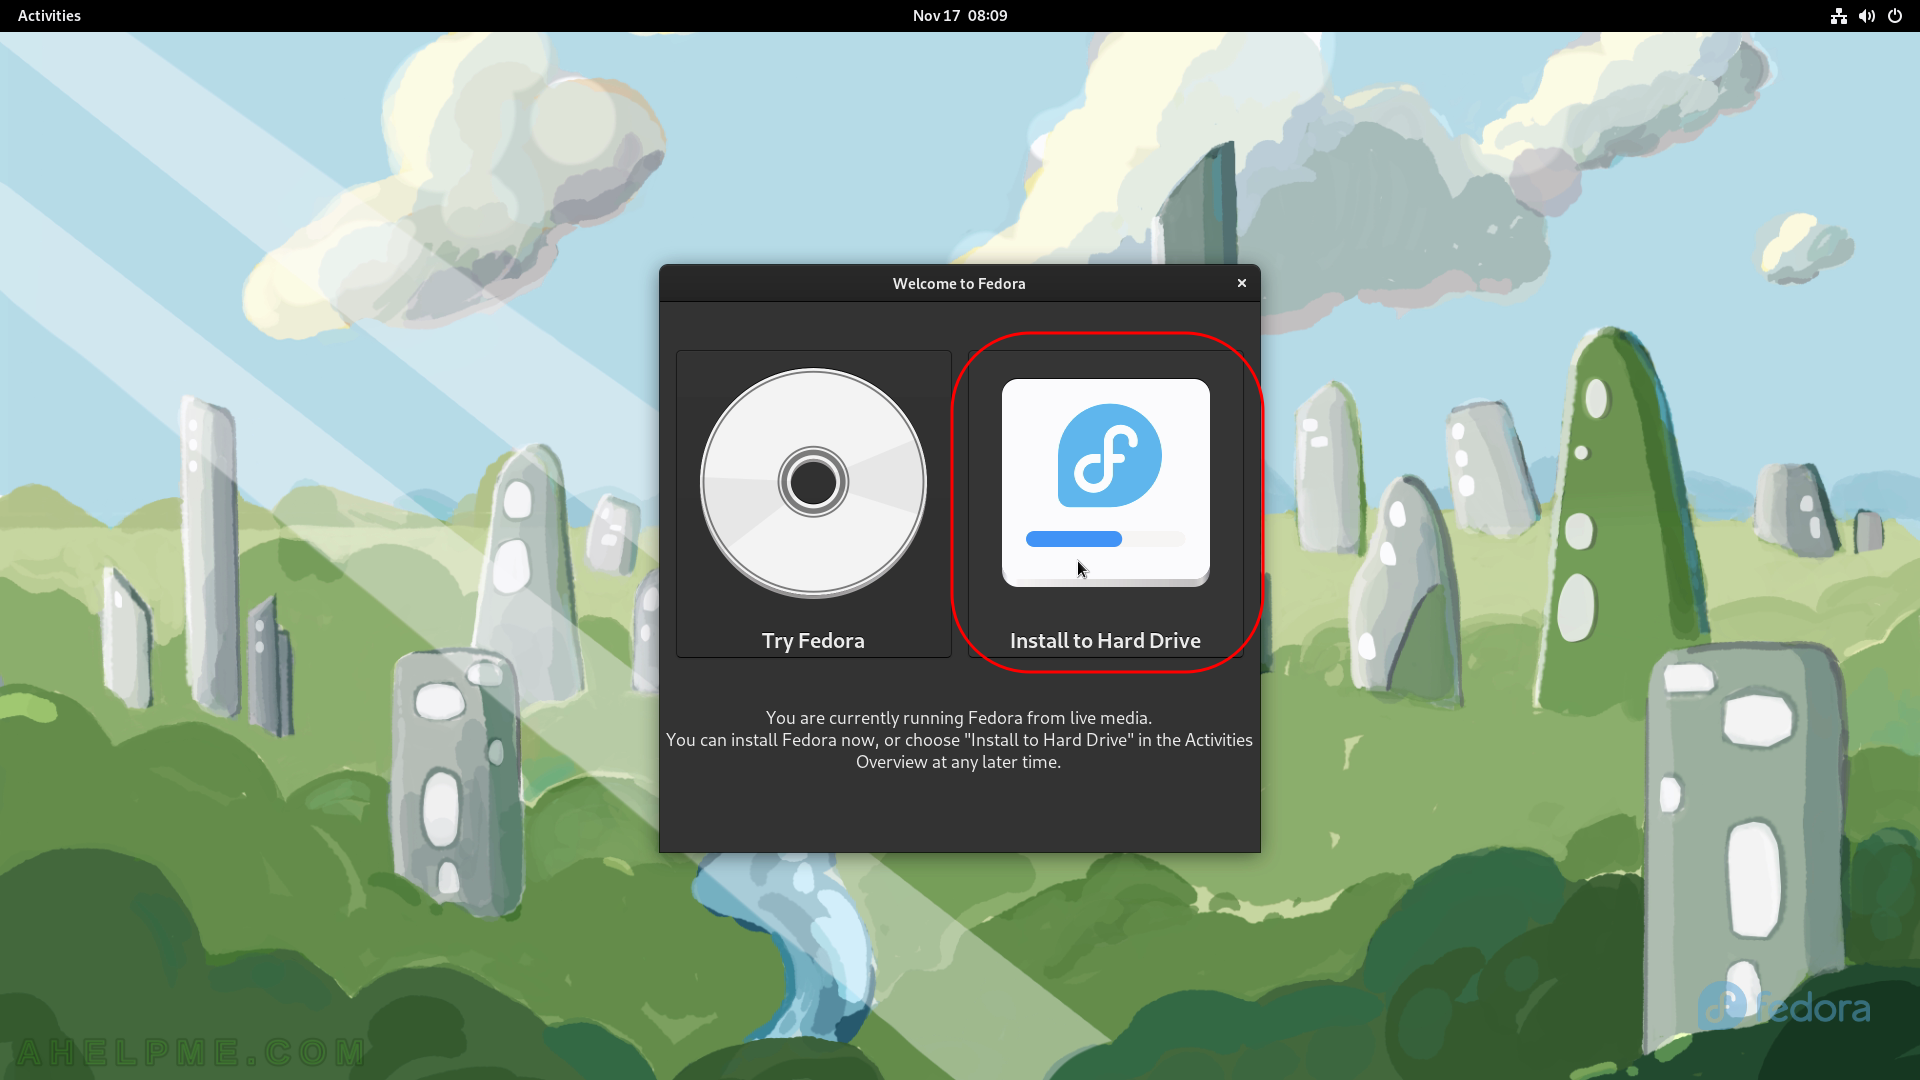
SCREENSHOT 6) Choose the Language during the installation process and by default on first login after the installation.
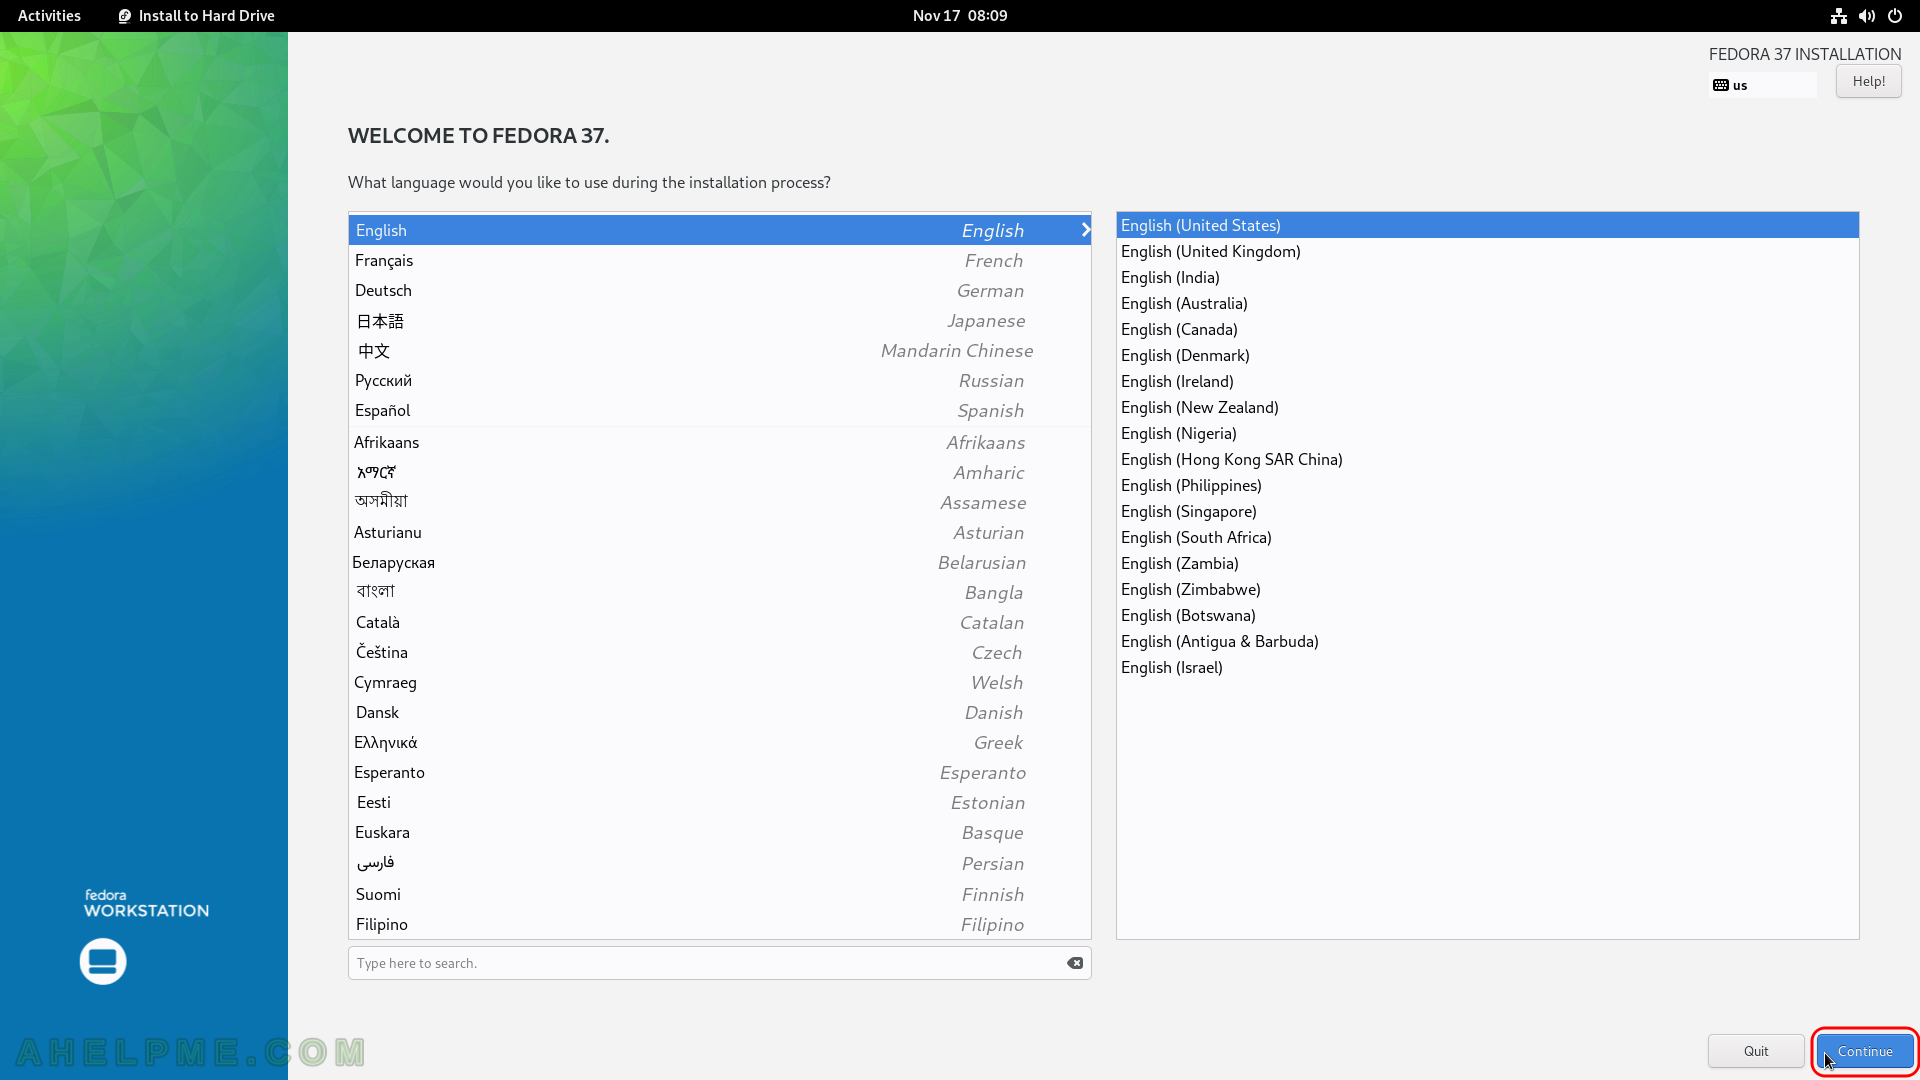
SCREENSHOT 7) Click on “Time & Date” to choose the right time zone for this computer.
SCREENSHOT 8) Select your timezone to configure your clock.
Probably the default is ok, the setup tries to auto-detect it. The New York time is selected here. Click on “Continue”.
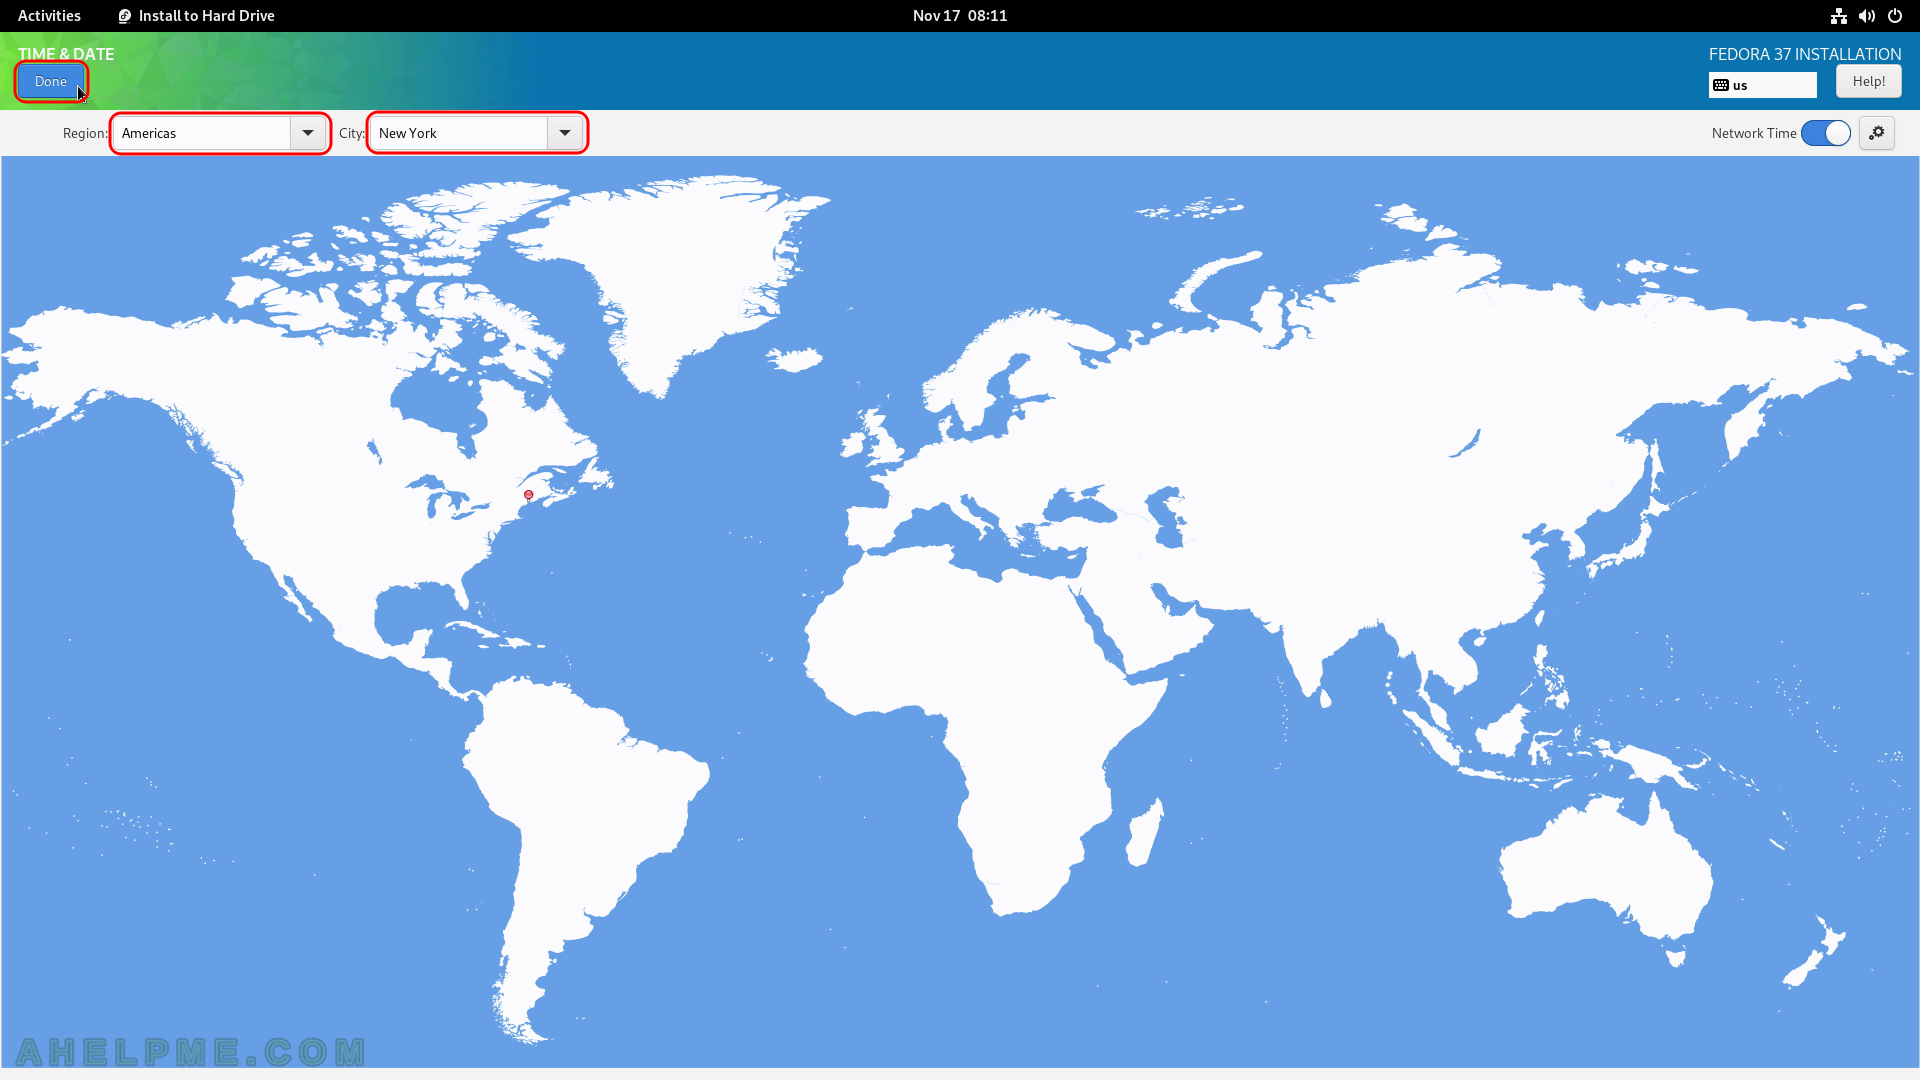
SCREENSHOT 9) A menu to select where to install Fedora Workstation 37.
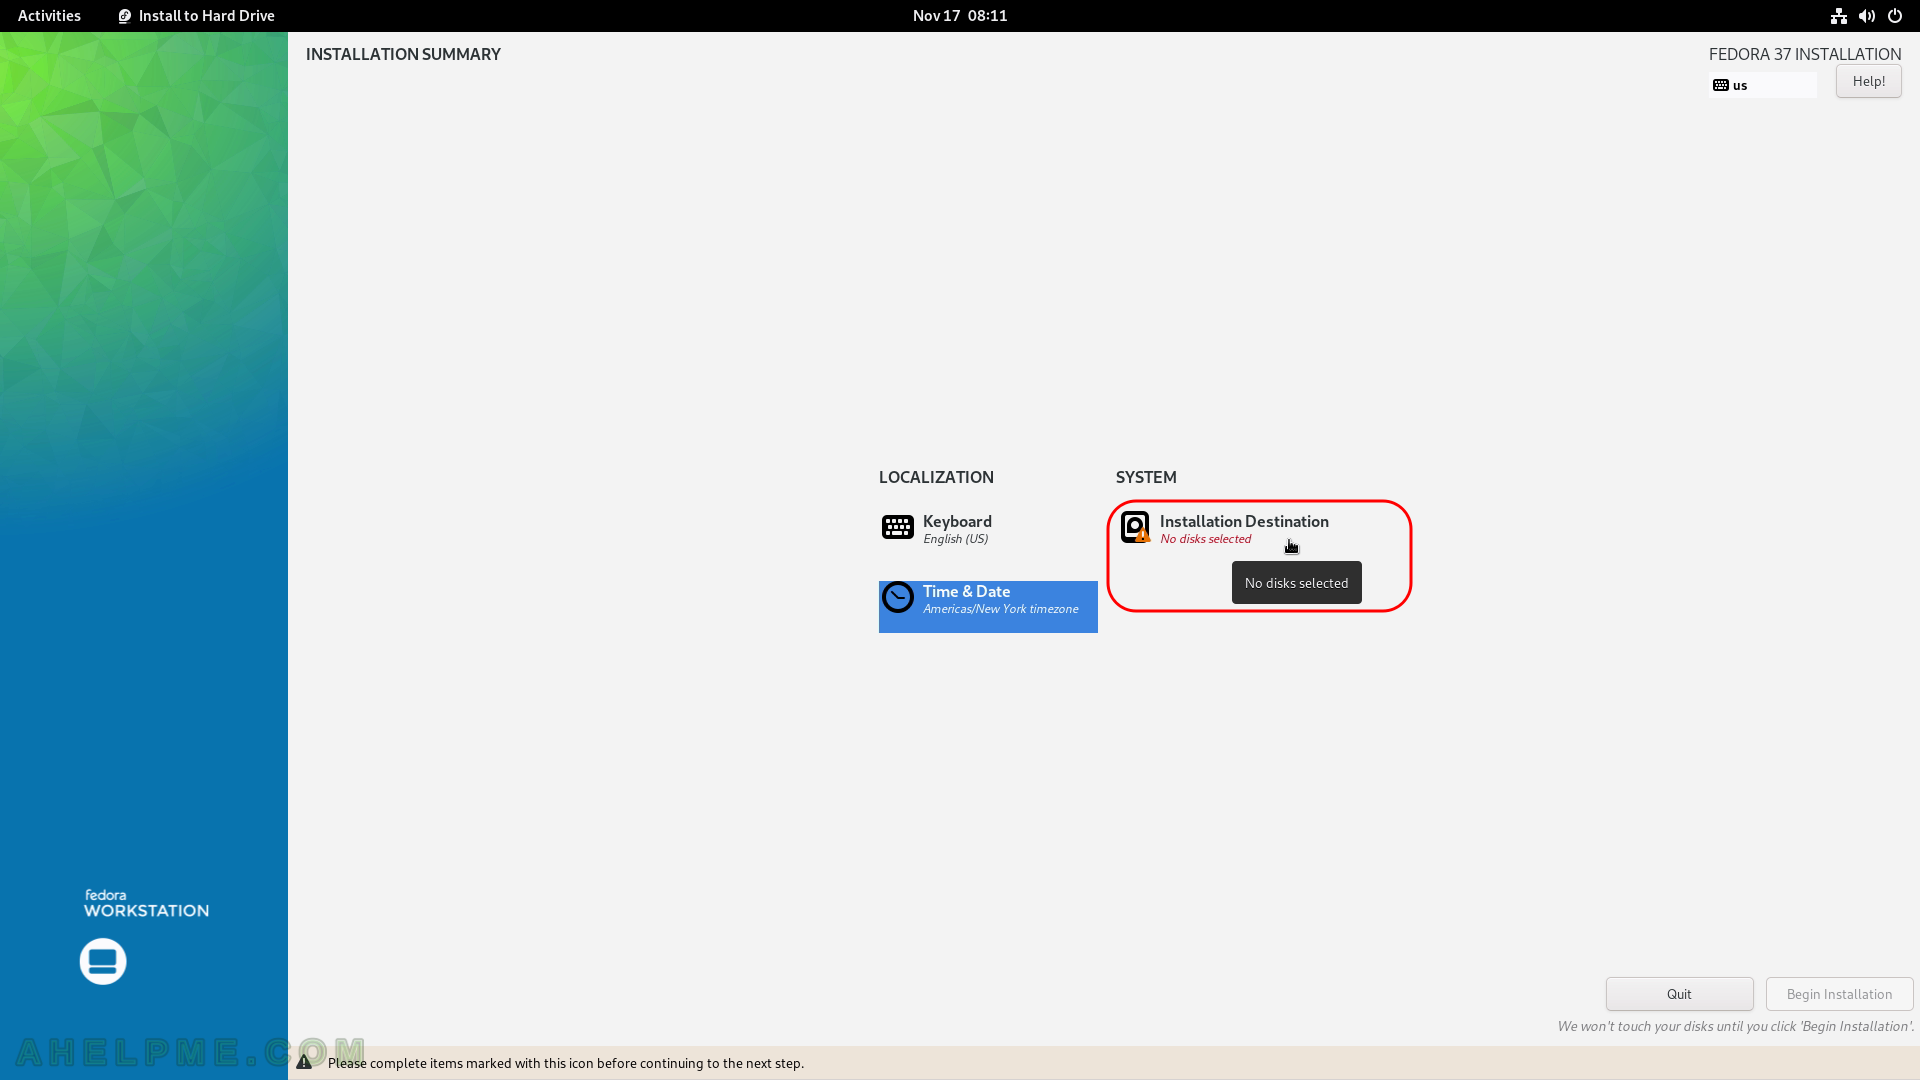
SCREENSHOT 10) As stated before, this article is to show the installation procedure, which installs Fedora Workstation 37 (gnome) on an entire disk, the option “Automatic” for the Storage setup means it will use the whole selected drive for the Fedora Workstation 37.
This way is the easiest one, but be sure the destination disk, where the Fedora will be installed, is going to be completely erased and all data lost! Proceed only if you are sure the disk does not have anything valuable for you. If there are multiple disks the user should select the proper device (SSD/harddisk – sdb, sdc or nvme).
