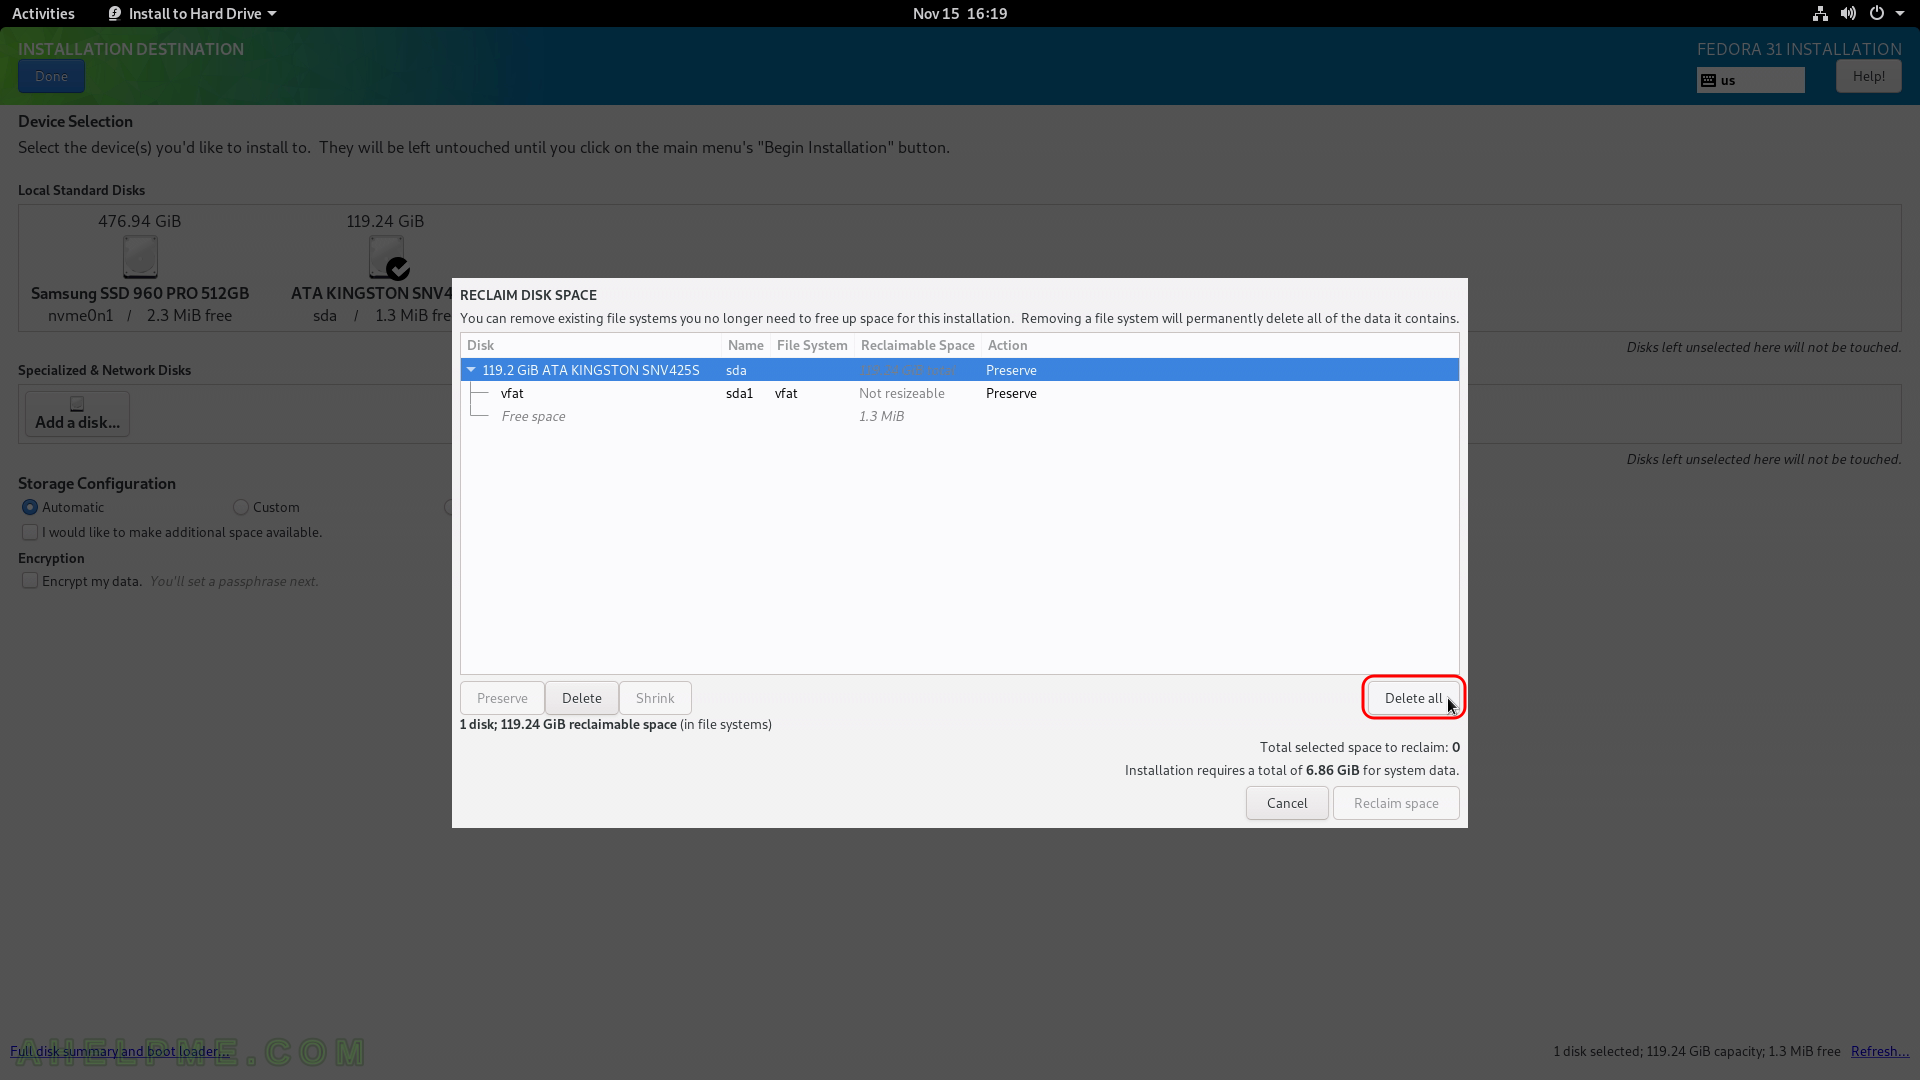
SCREENSHOT 11) Delete all of the data is the easiest way when you have unnecessary data in the disk and you decided to remove all the data from the disk.
Click on “Delete all” if this is the case. Be careful not to remove something you might need in the future! If you know what you are doing you can free some space (make it available i.e. enough unpartitioned space (~21 GiB at least), which is what the setup needs to proceed) by deleting or shrinking the existing partitions.
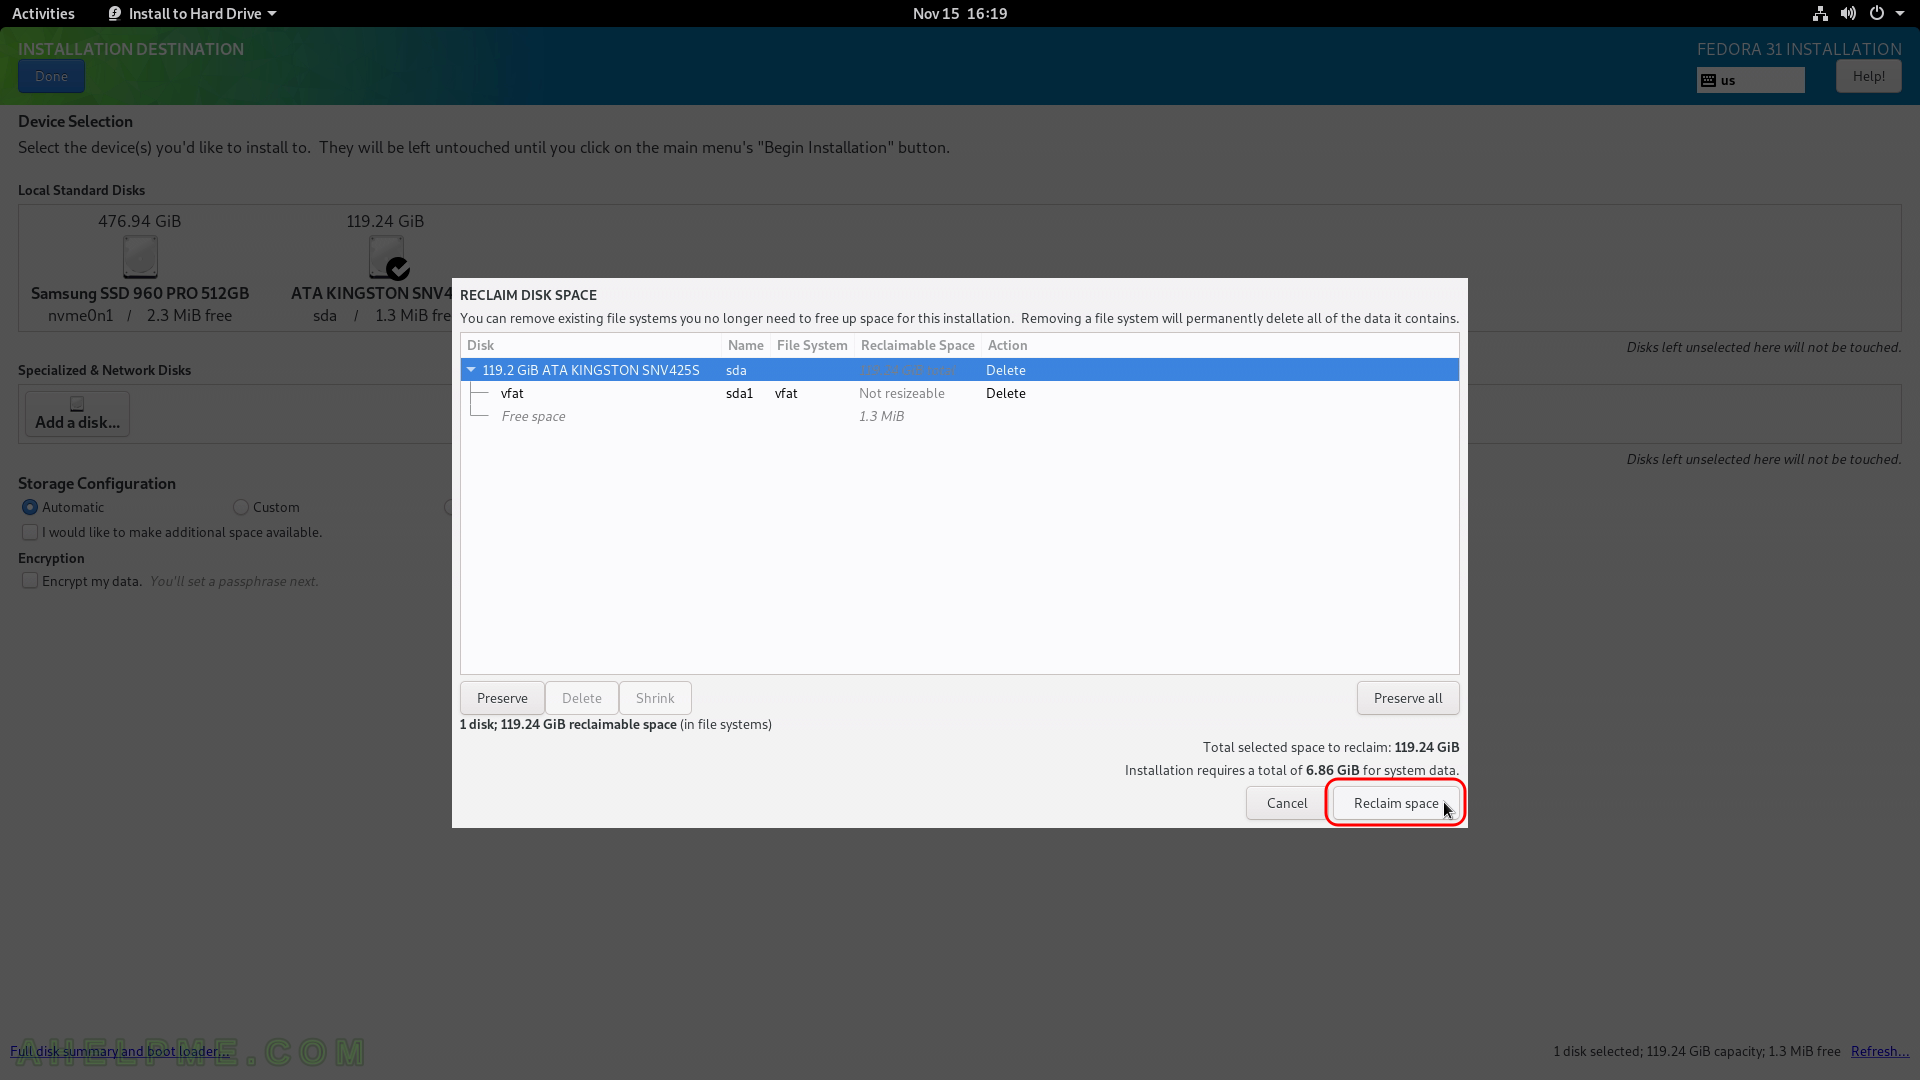
SCREENSHOT 12) Click on “Reclaim space” to confirm the operation in the previous step – deleting or shrinking of partitions.
You can see the operations the “Action” column, which will be performed on the selected disk after the installation setup begin its actual work. In our case we wanted to delete all data on the disk, so there are two Delete actions pending…
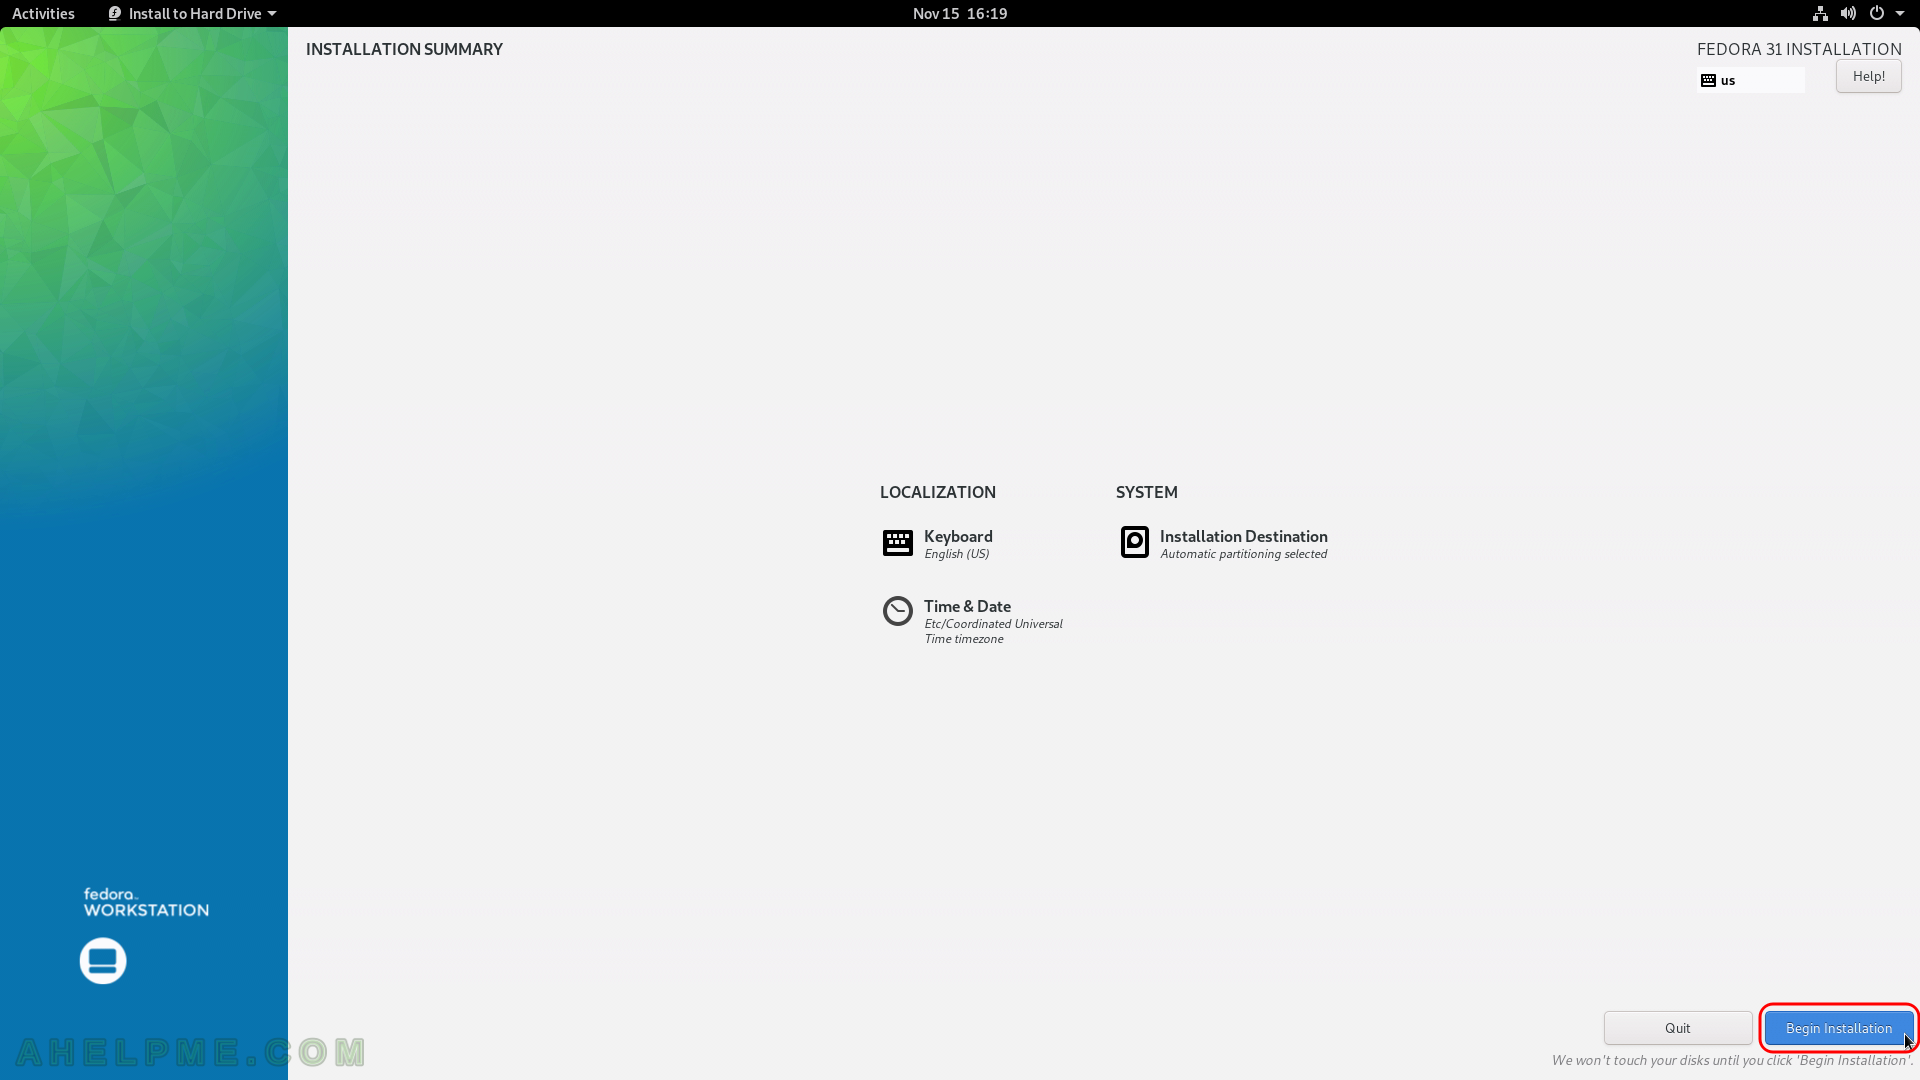
SCREENSHOT 13) Now the installation setup is configured and by clicking on “Begin Installation” the actual installation on your selected hard drive begins.
The actual installation begins and first the disk must be prepared, so after clicking the very button the disk layout will be changed according the last 3 steps.
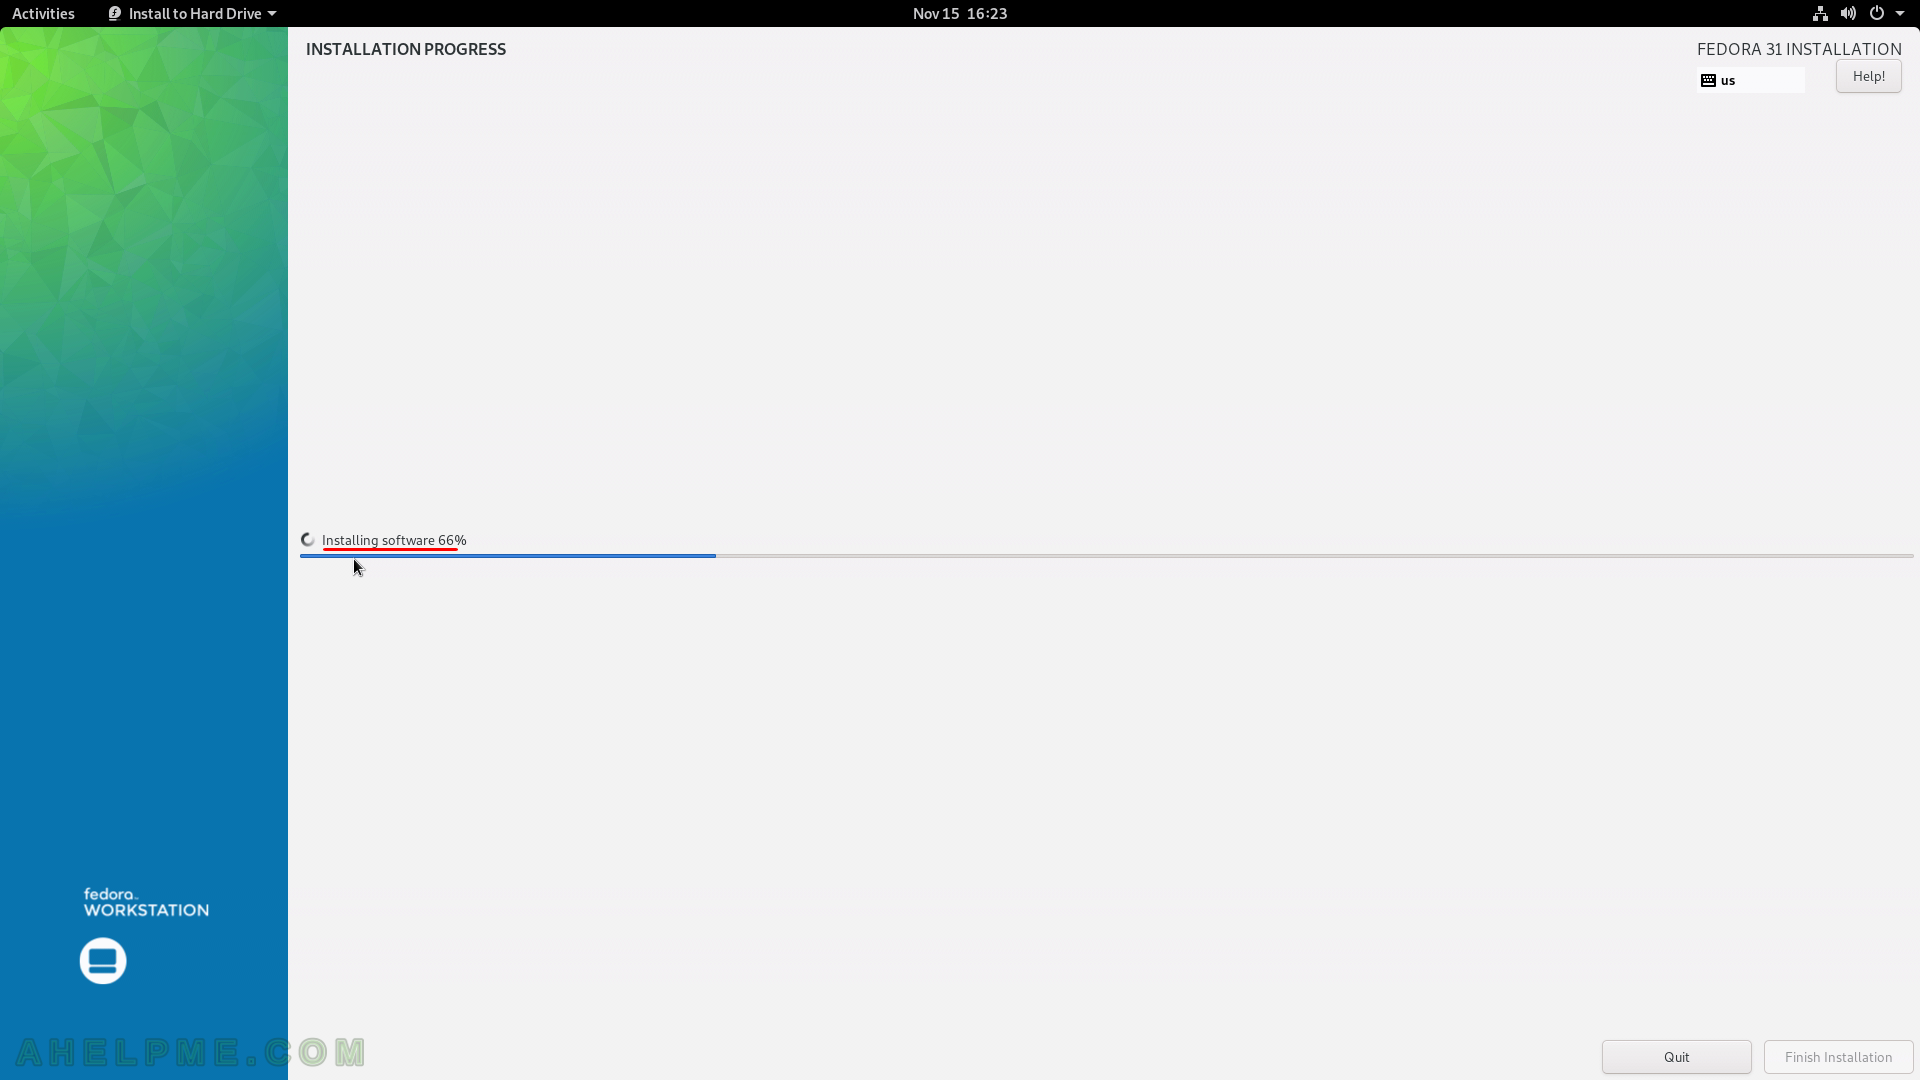
SCREENSHOT 14) The setup is still working… Installation progress is at 66%.
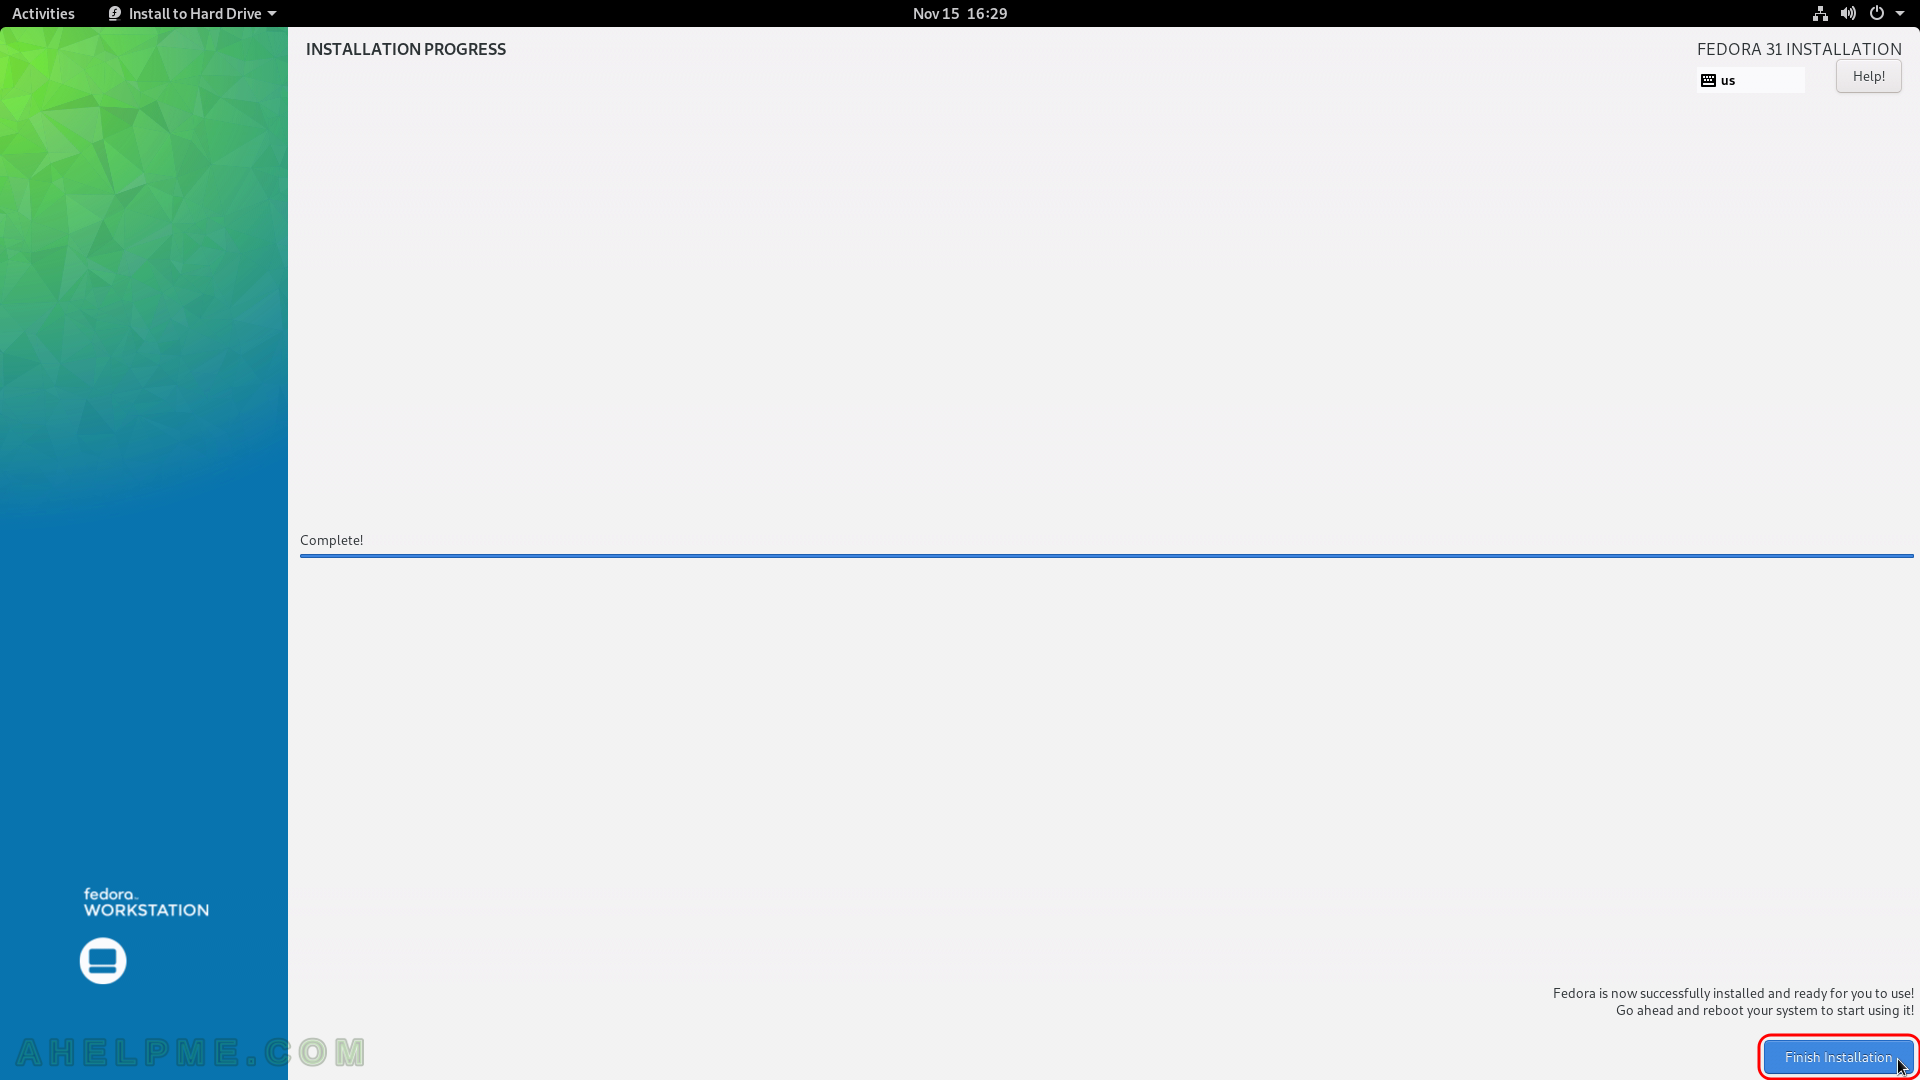
SCREENSHOT 15) The installation has finished. You should quit the installation program.
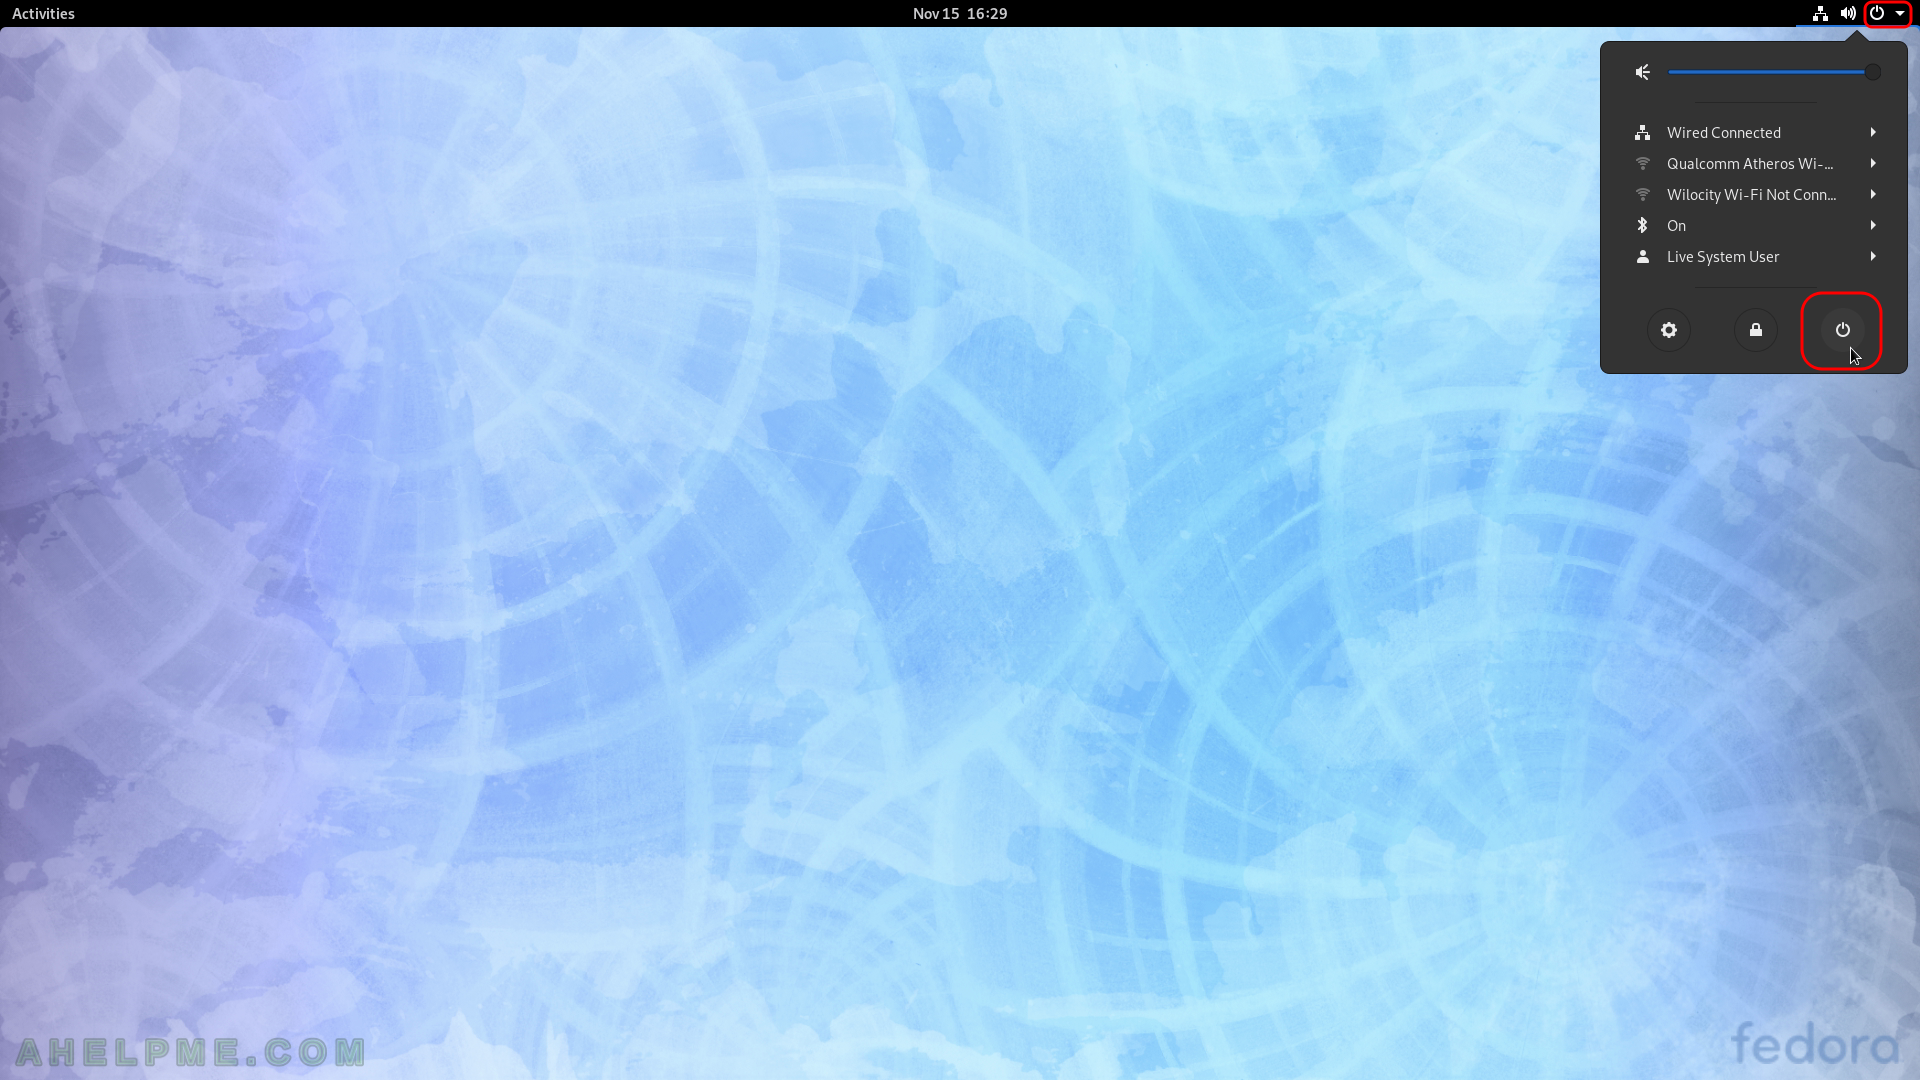
SCREENSHOT 16) You are still in the Live image, so click on the top right corner and then click on the power button as shown.
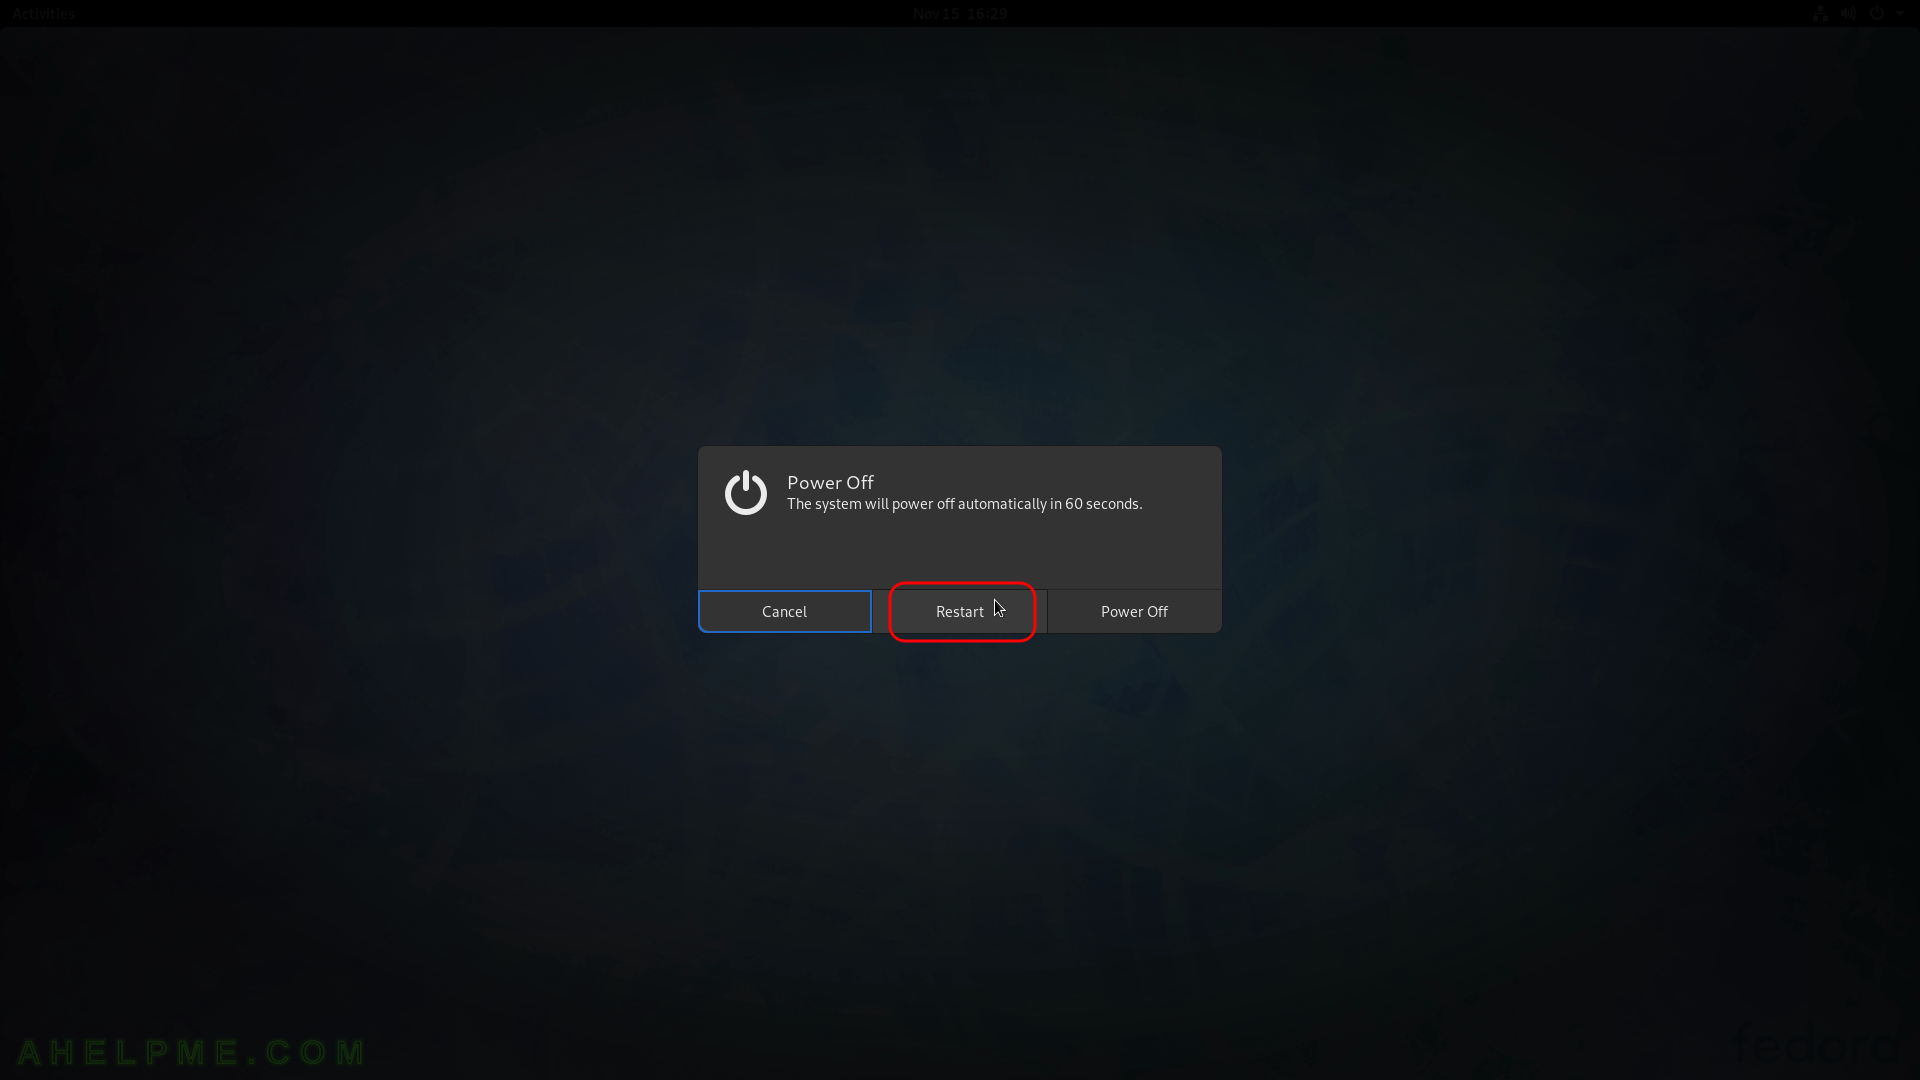
SCREENSHOT 17) Confirm the restart of your machine and eject the installation media DVD or USB (unplug the USB flash drive)
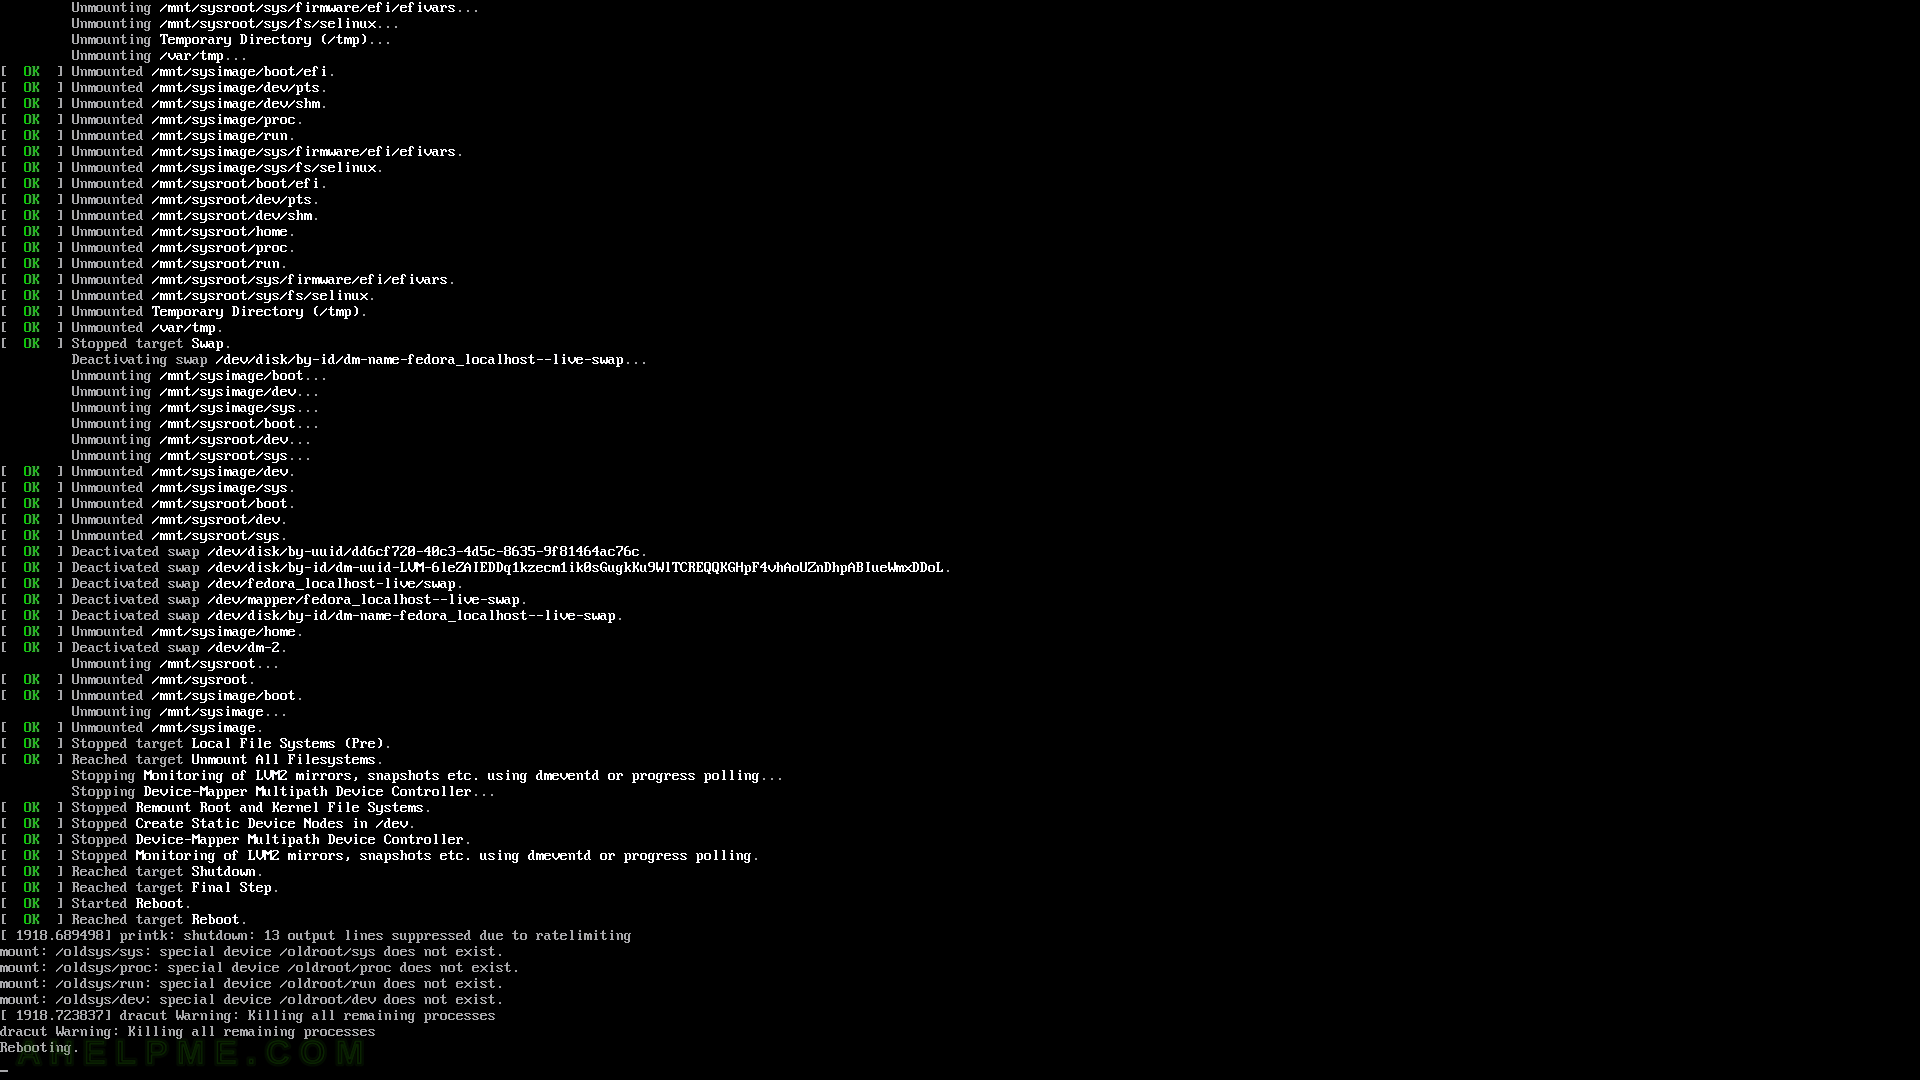
SCREENSHOT 18) Fedora 31 Live DVD is shuting down services to reboot.
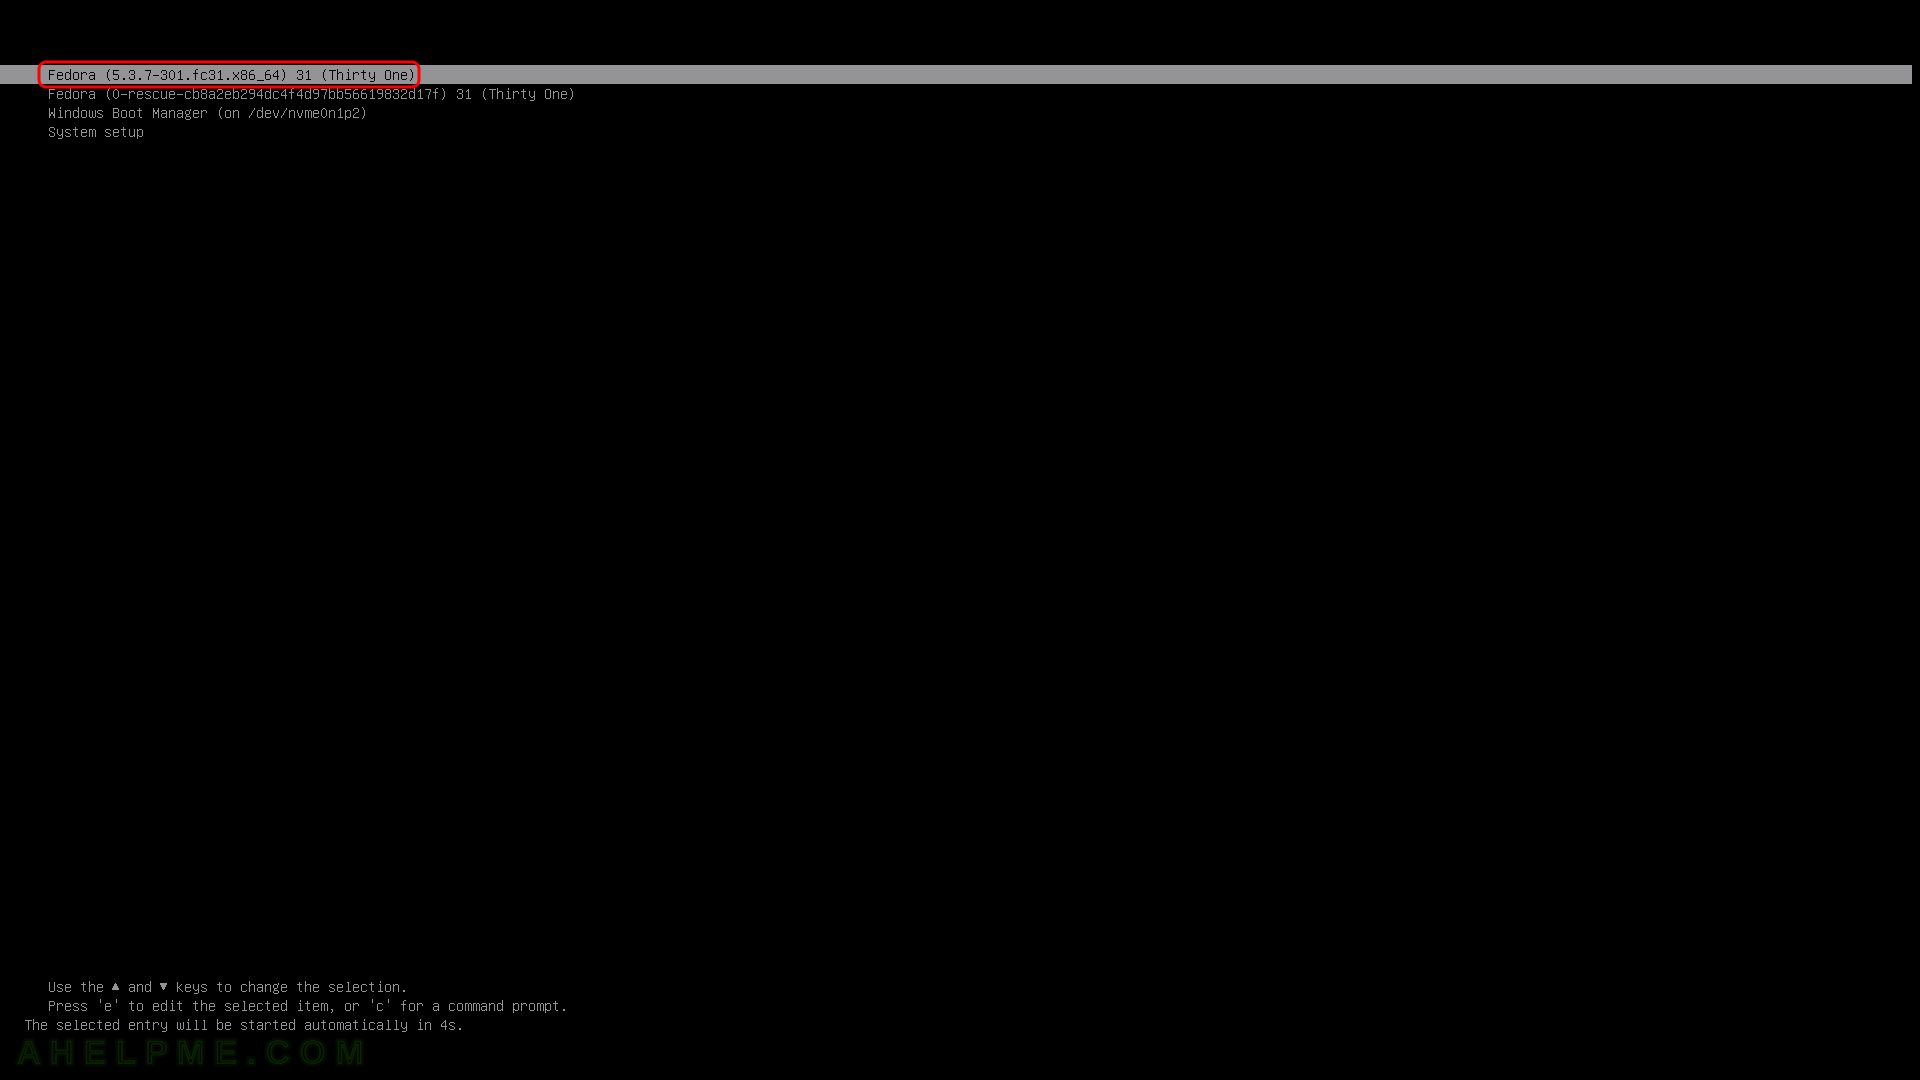
SCREENSHOT 19) Your freshly installed Fedora Workstation 31 is the default boot option in the booting program (grub2).
As you can see we have one more Operating systems – Windows 10. The setup found these options and added to the boot menu. The kernel version is shown – 5.3.7-301.
SCREENSHOT 20) The Fedora 31 Workstation is loading with the logo of the motherboard and the Fedora log.
