This tutorial will show you the simple steps of installing a modern Linux Distribution like Fedora 27 Workstation with Gnome for the user graphical interface. First we present the basic steps for installing the Operating system in addition to your present operating systems (here we have two: Windows 10 and Ubuntu 17) and then you can see some screenshots of the installed system and the look and feel of it. We have another tutorials showing more screenshots of the installed and working Fedora 27 (Gnome and KDE plasma) – so you can decide which of them to try first – coming soon.
We used the following ISO for the installation process:
https://download.fedoraproject.org/pub/fedora/linux/releases/27/Workstation/x86_64/iso/Fedora-Workstation-Live-x86_64-27-1.6.iso
It is a LIVE image so you can try it before installing. The easiest way is just to download the image and burn it to a DVD disk and then follow the installation below:
STEP 1) Boot your machine from the CD or USB (whatever you made for the installation device)
STEP 2) If you booted from the DVD you would get this first screen – select “Start Fedora-Workstation-Live 27” and hit Enter

STEP 3) The kernel and the live system are loading…
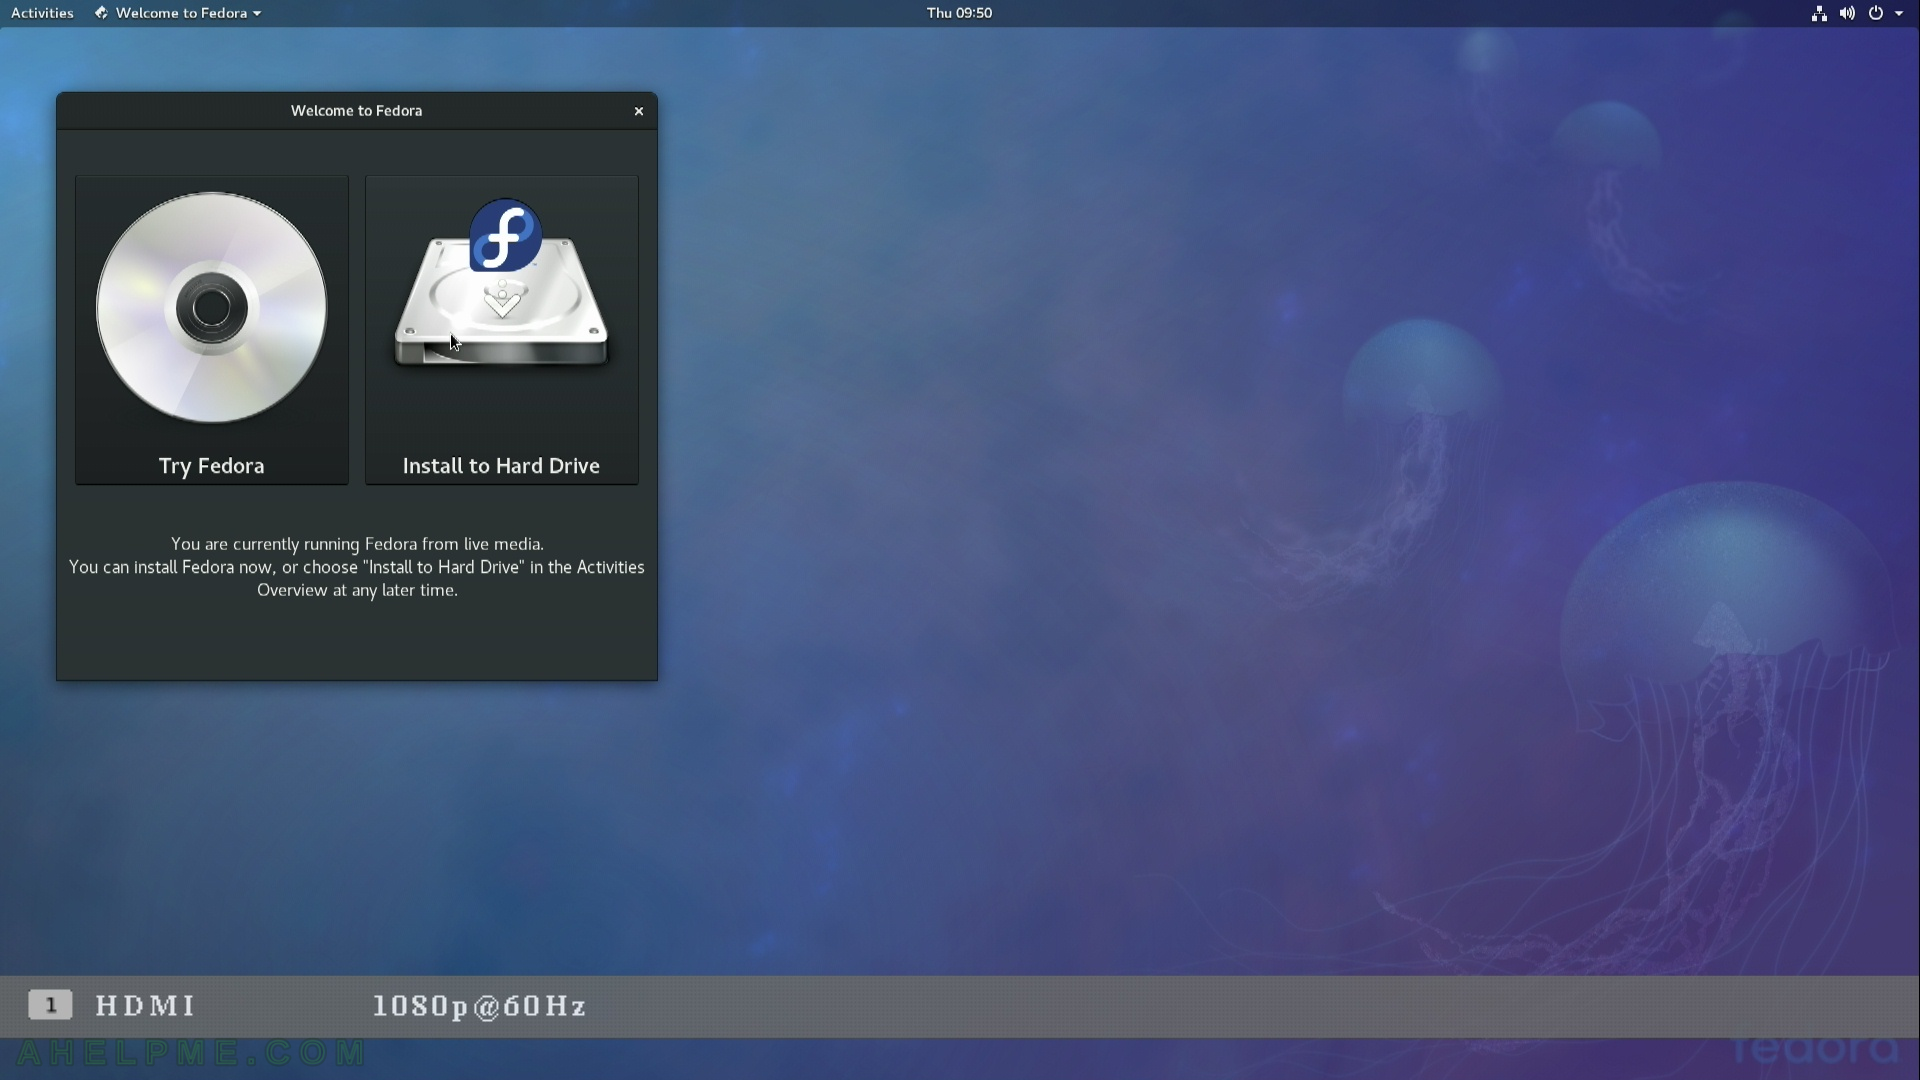
STEP 4) Two options – Install to your harddrive or just try the live image. Click on “Install to your Hard Drive” to install the Fedora 27.
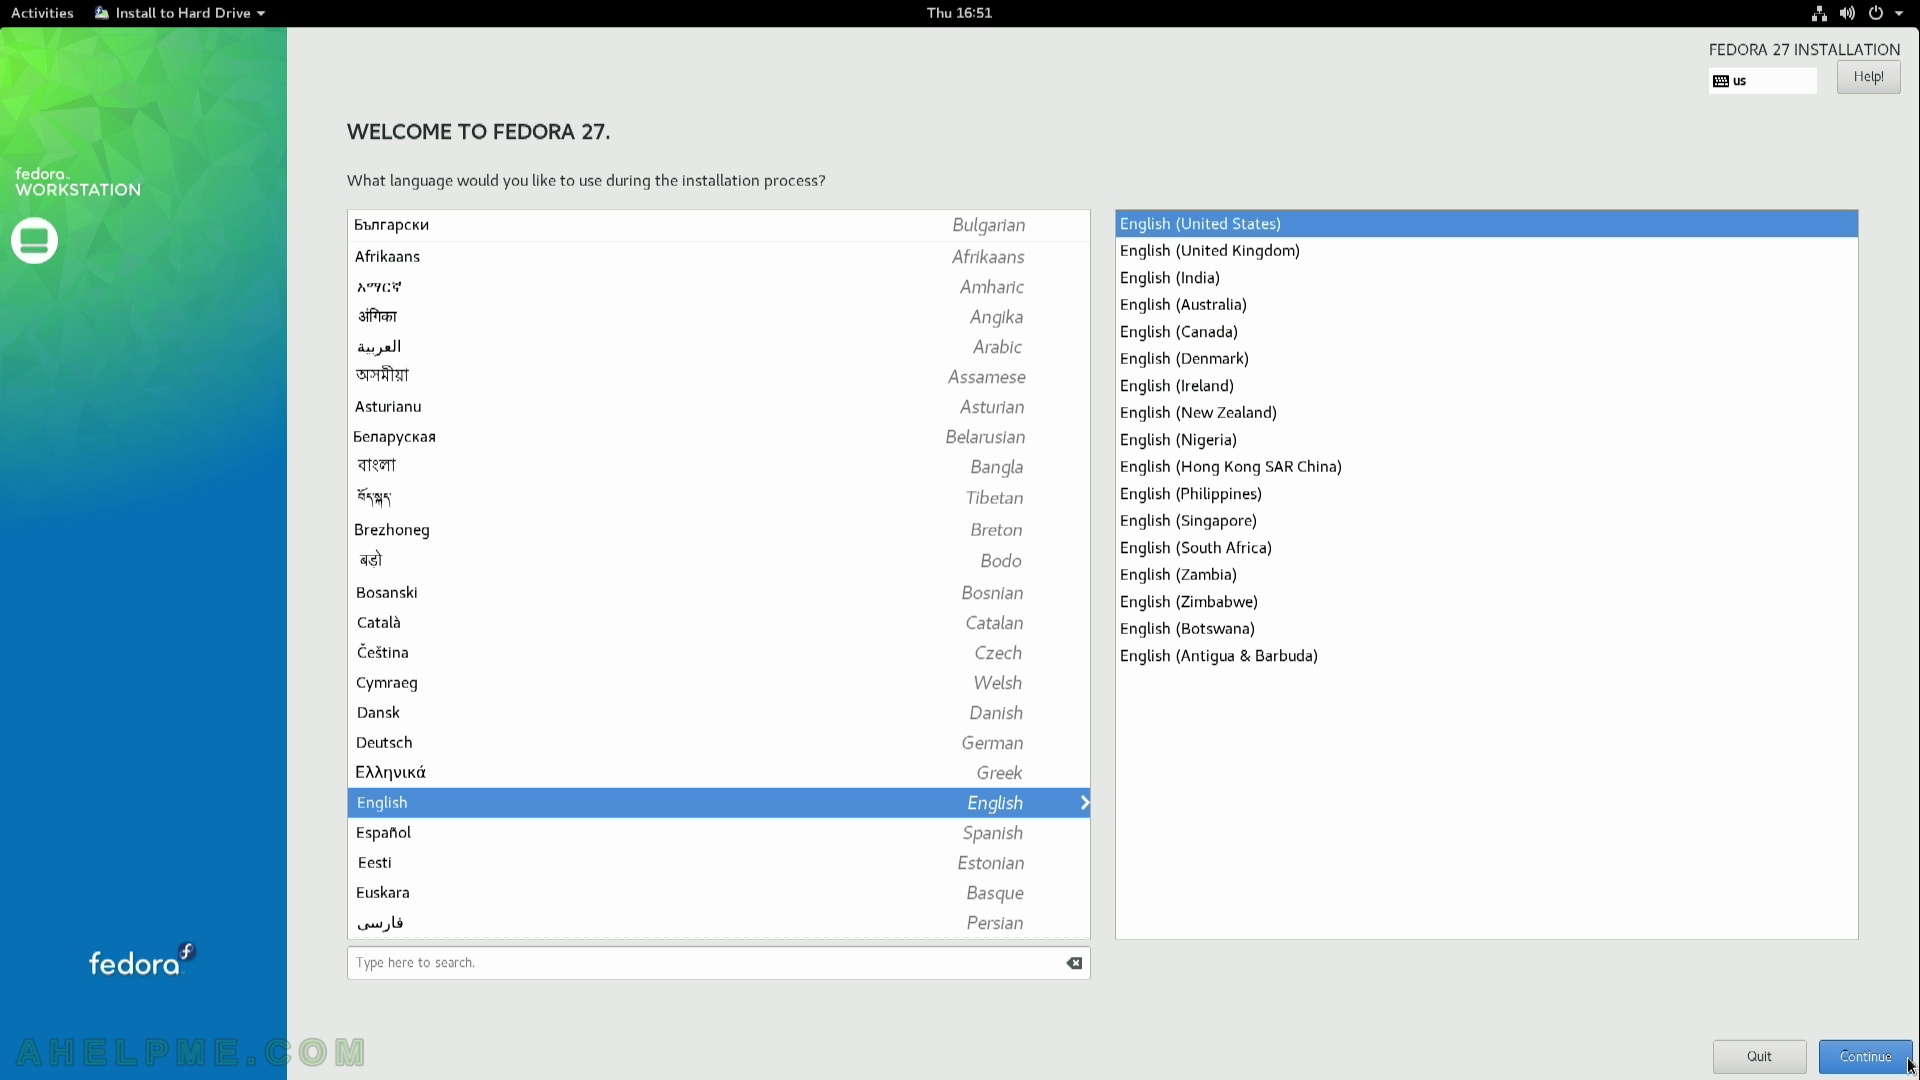
STEP 5) Choose your system language. Here we selected the English. The setup will guide you through the steps in the language you select here and the installed system will use the selected language as default.
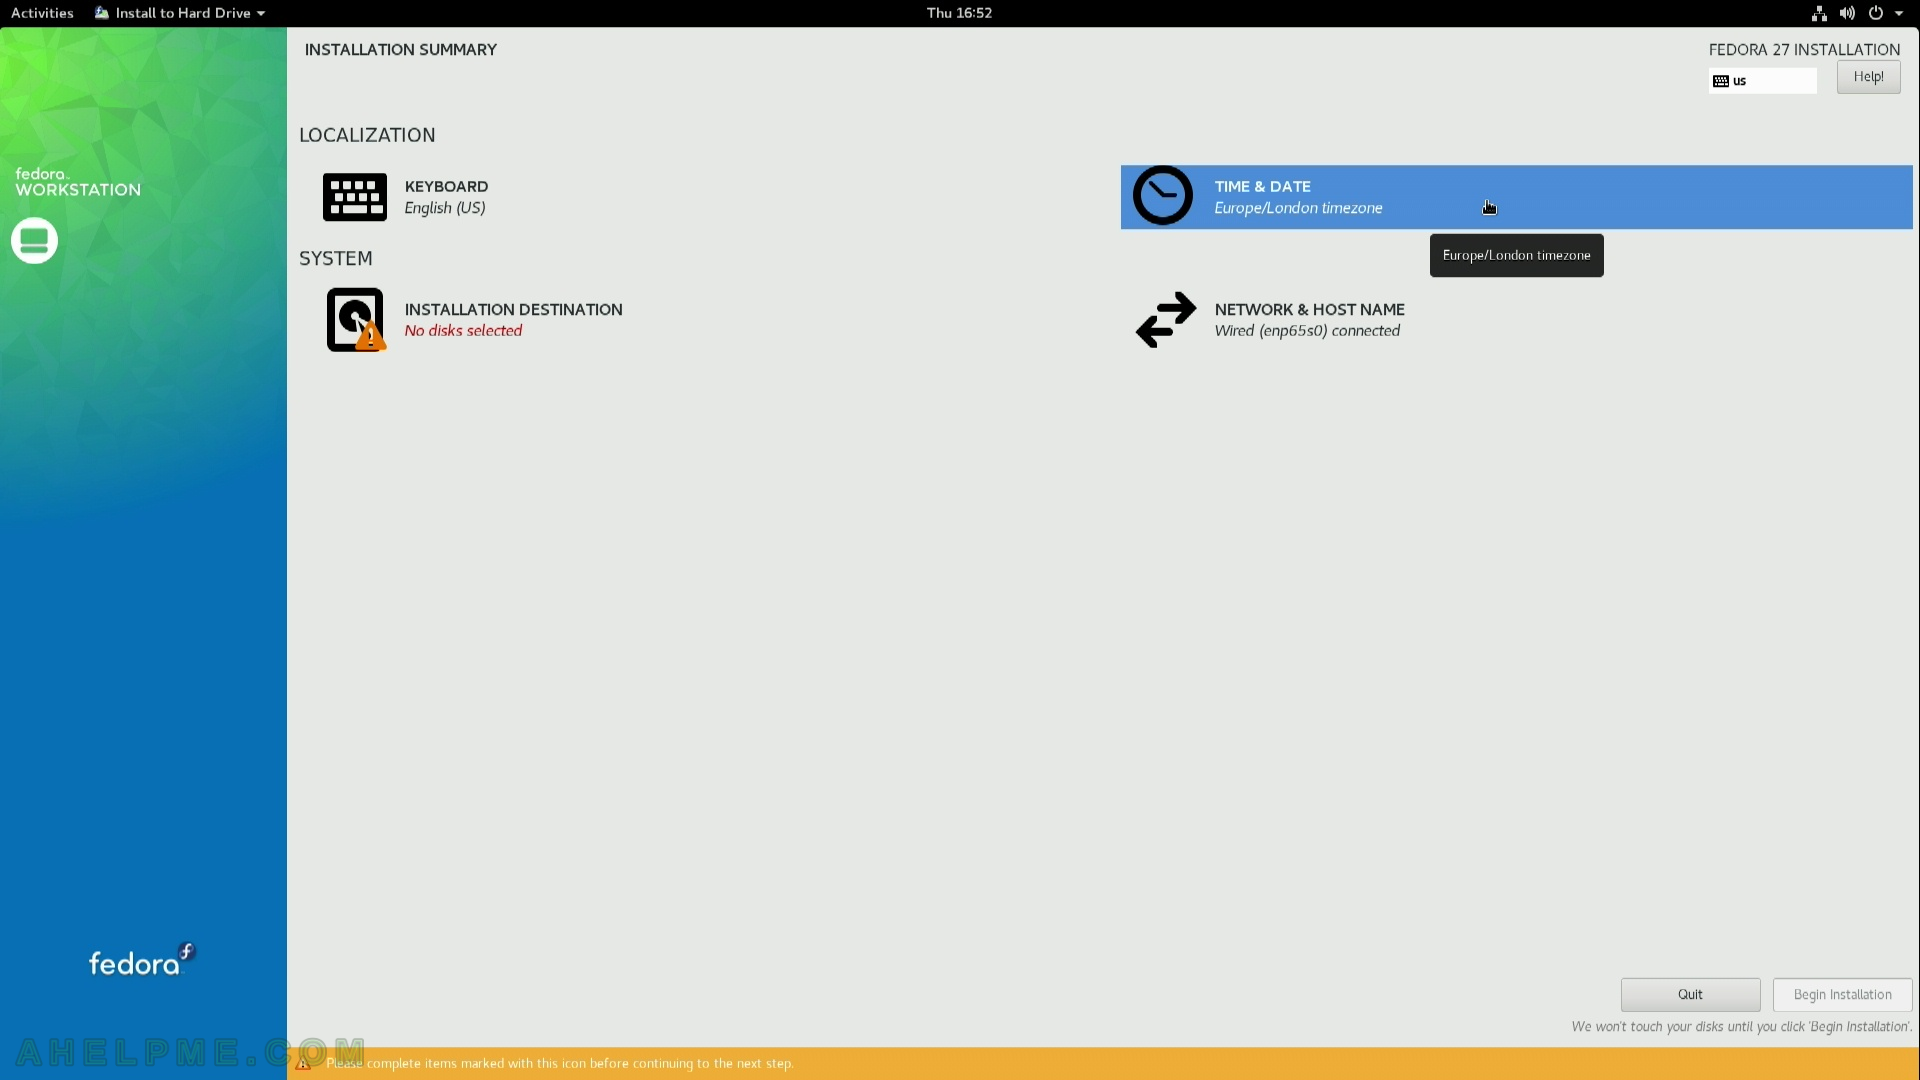
STEP 6) Select time zone menu
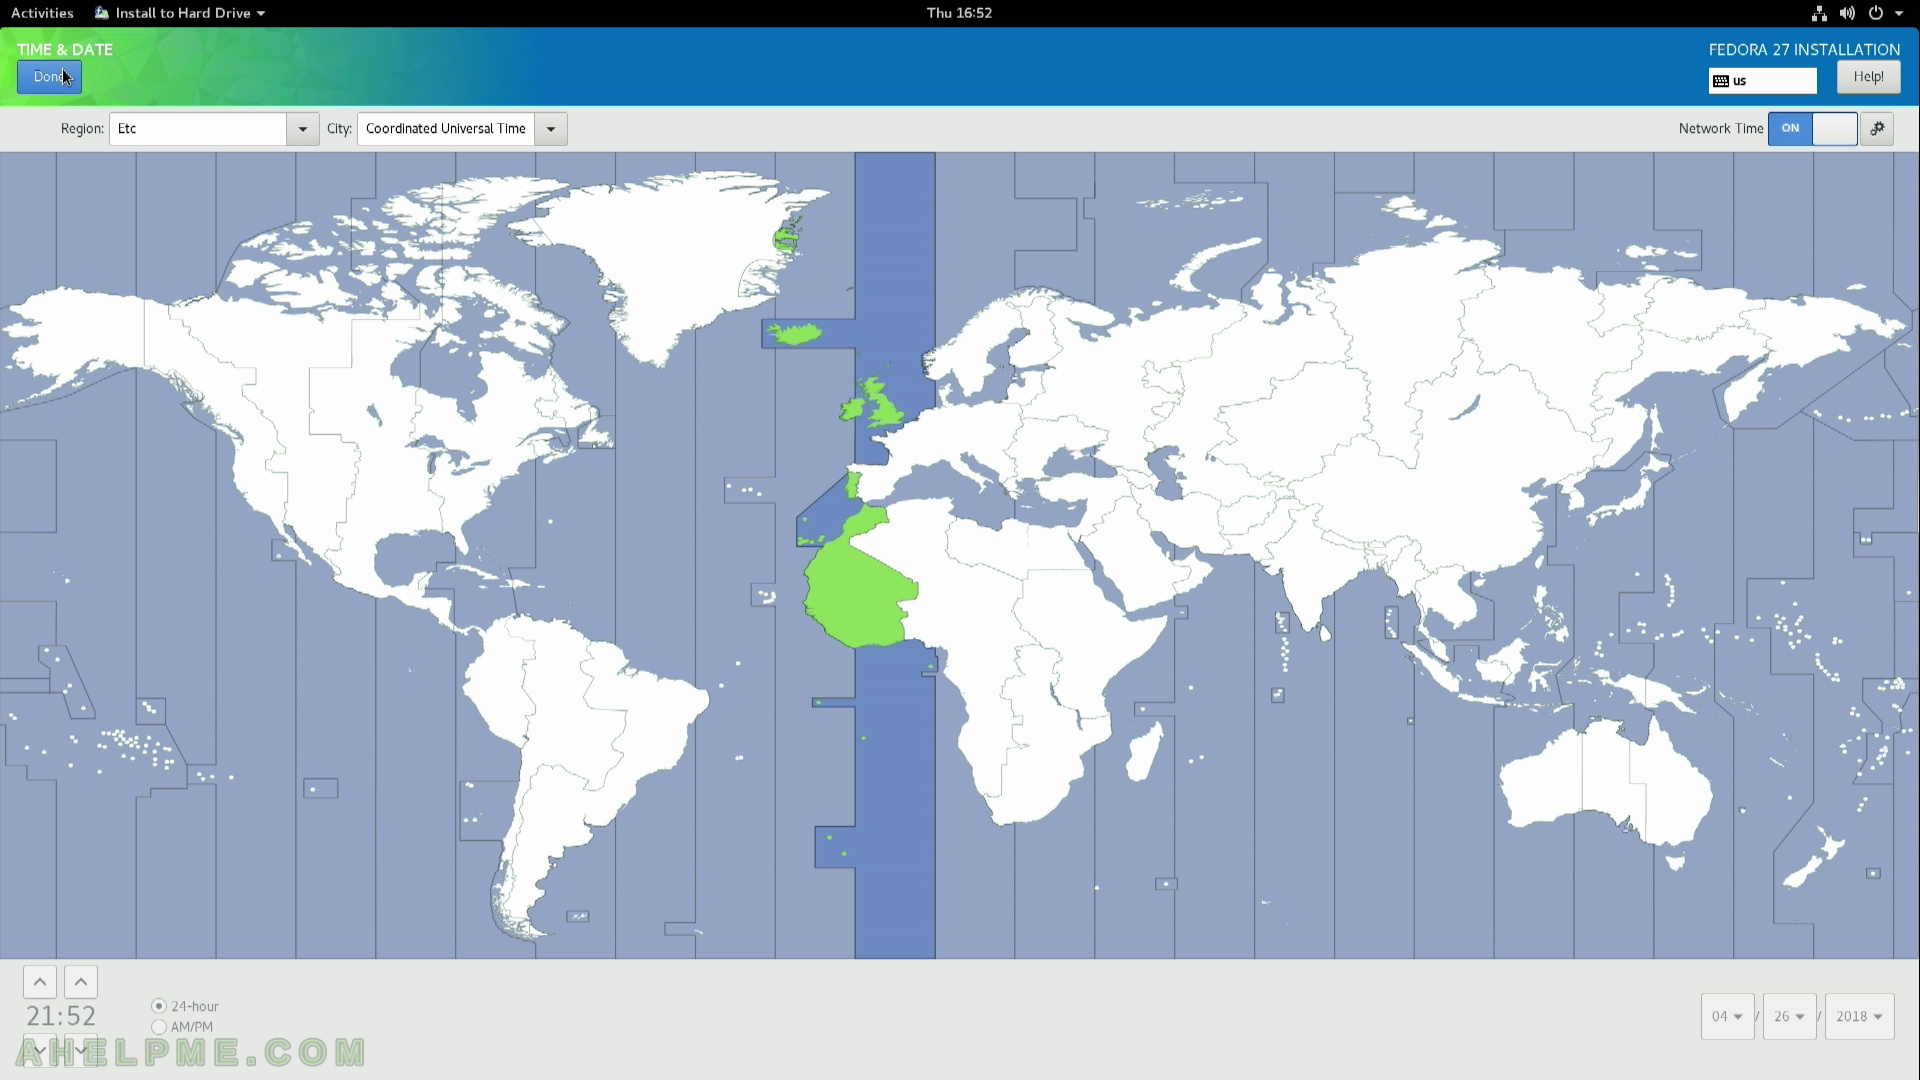
STEP 7) Select your time zone – here we selected UTC (Universal Coordinated Time), but you can choose your time zone.
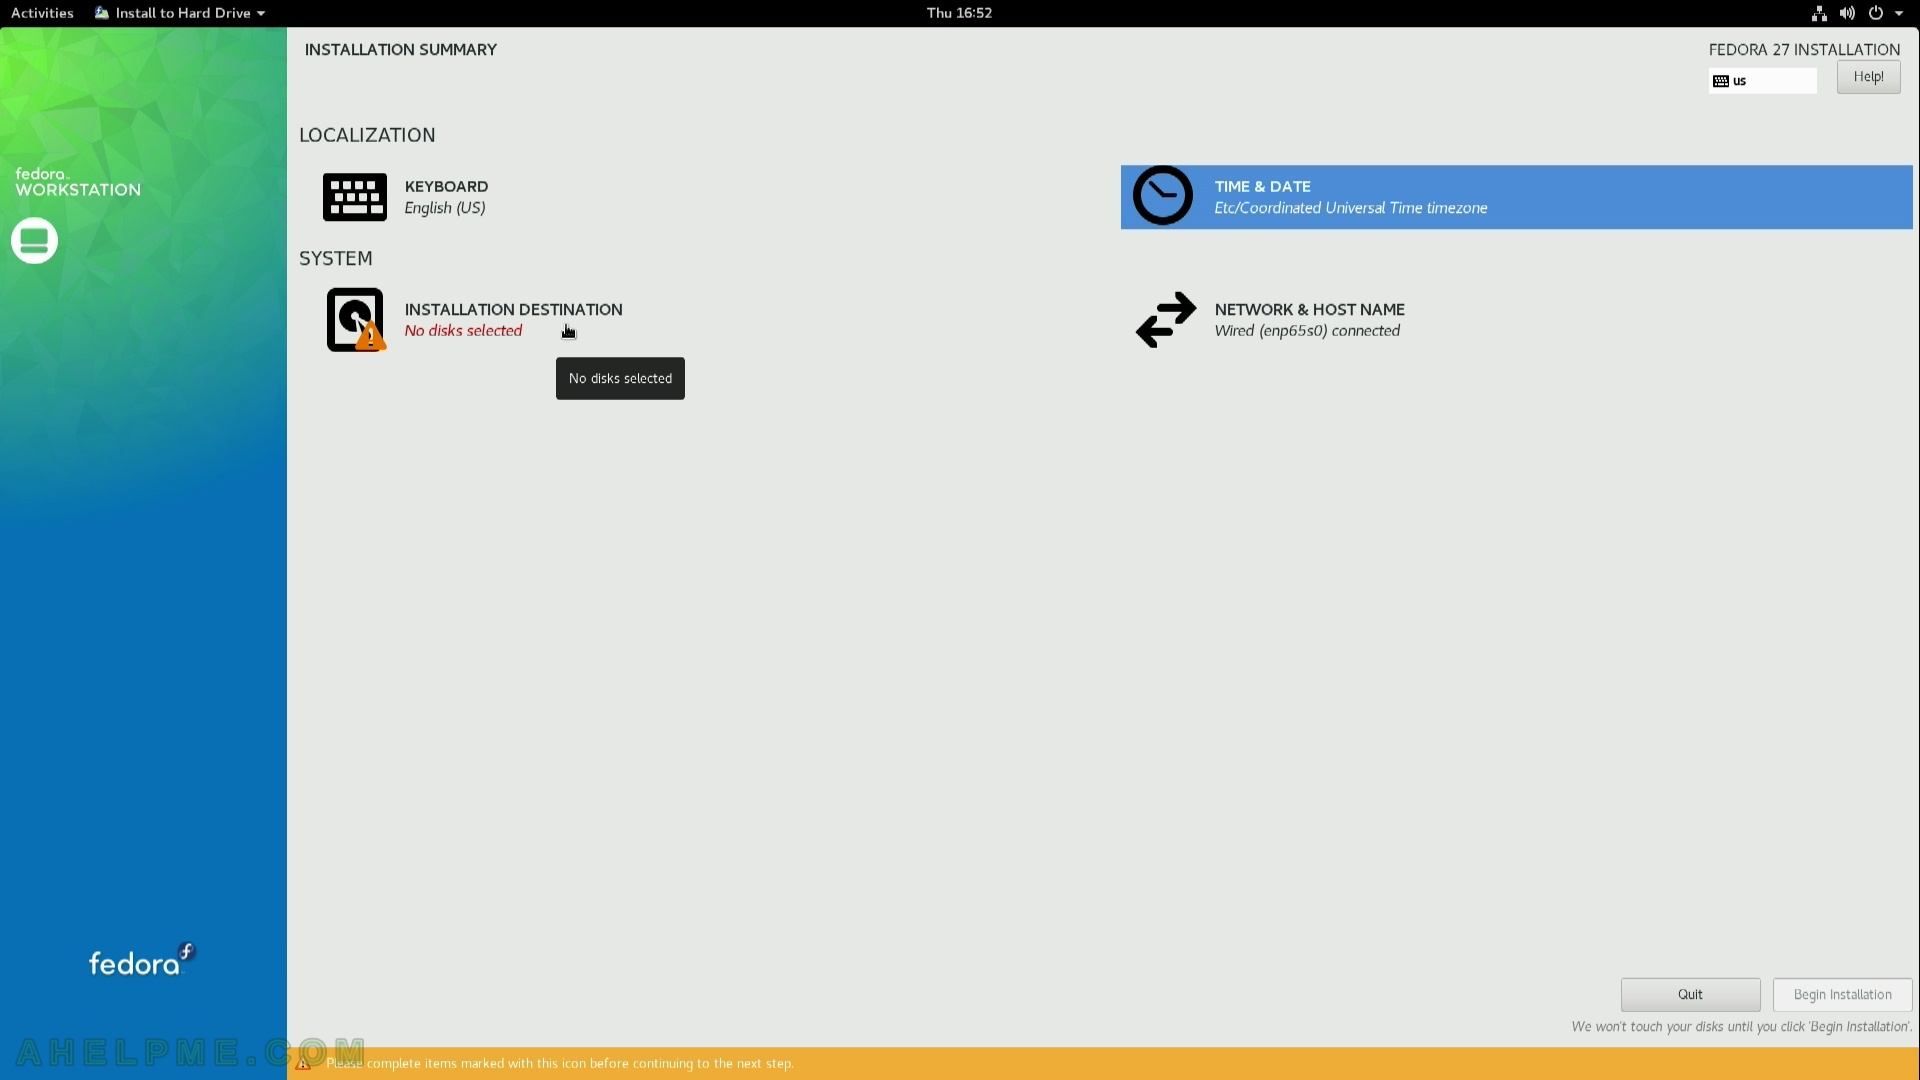
STEP 8) Installation destination – on which device you want to install the Fedora 27.
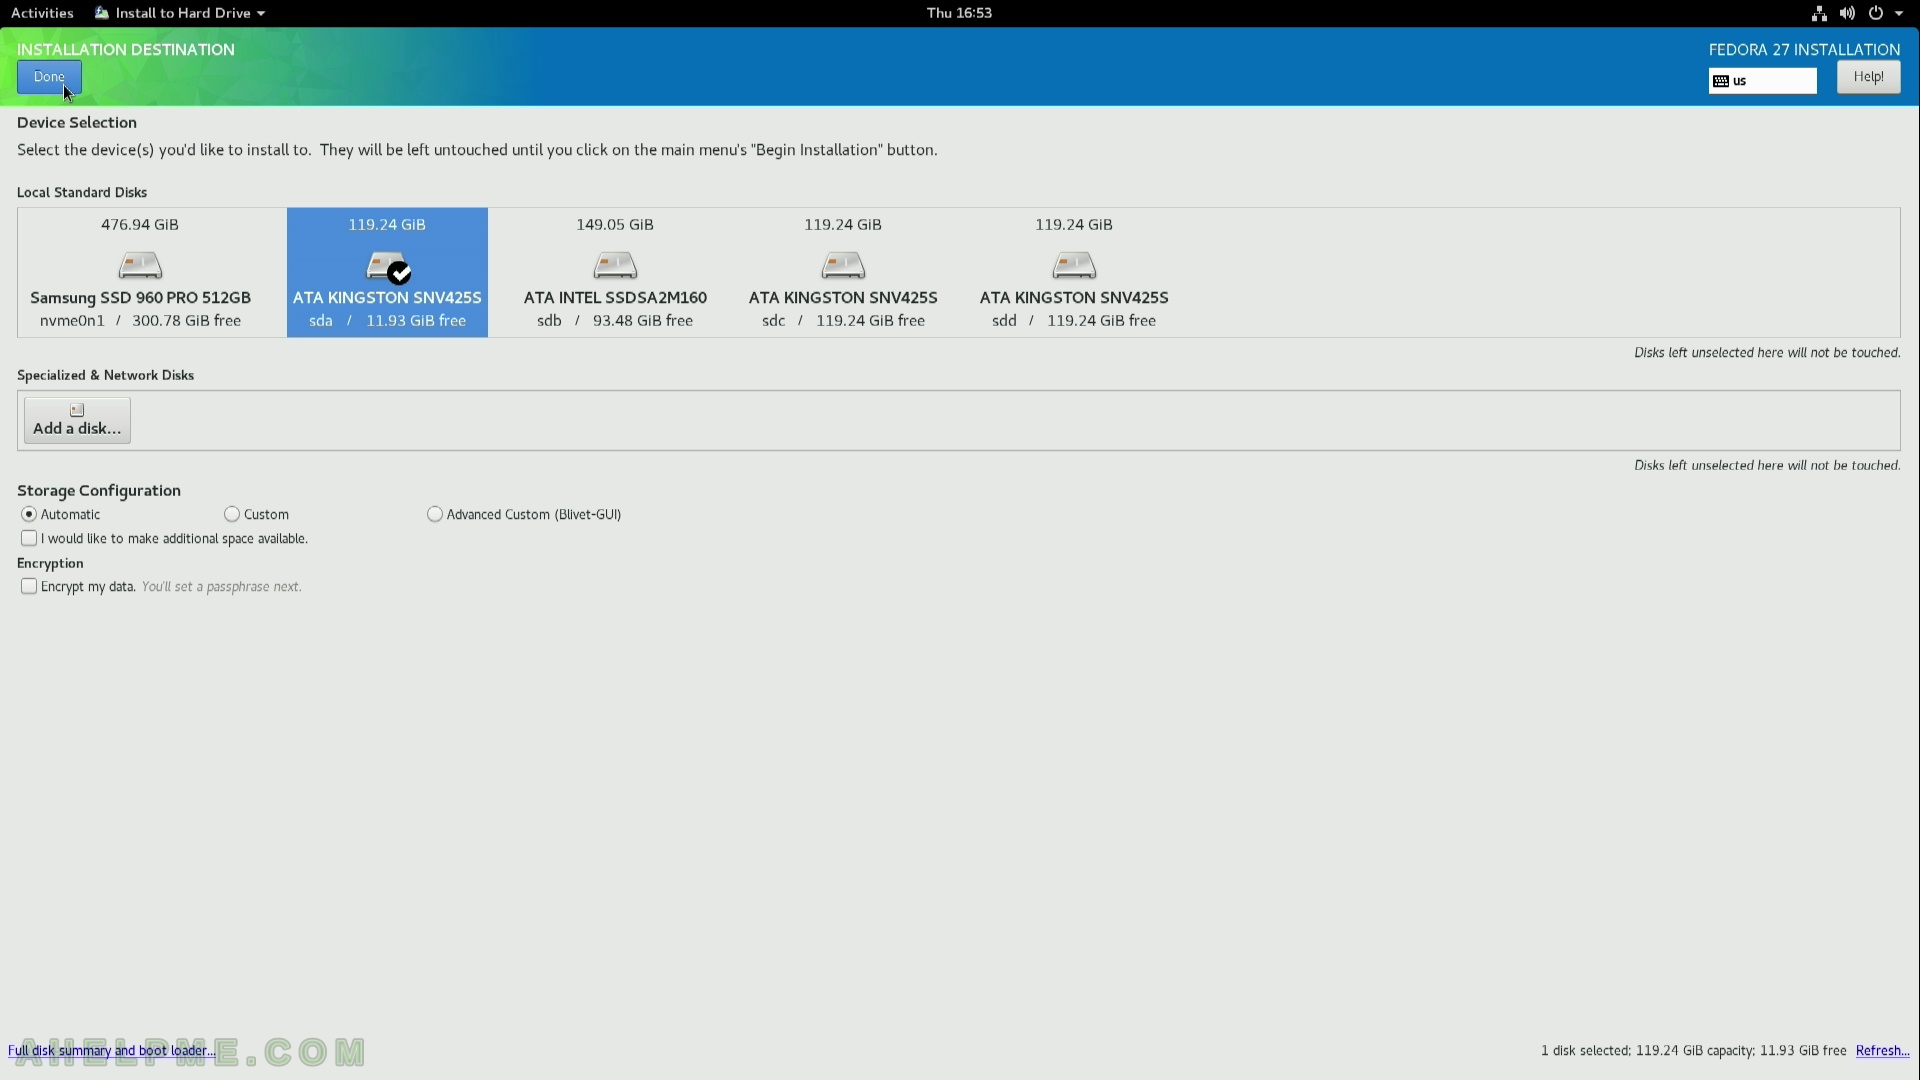
STEP 9) Installation destination – choose your disk to install Fedora 27.
We have couple of disks, we want to use the entire second device (sda), select it (make sure) there is a tick on it!) and leave everything with the default selection, especially Storage configuration – automatic. It will delete everything on your selected device and will make the proper layout for installation automatically.
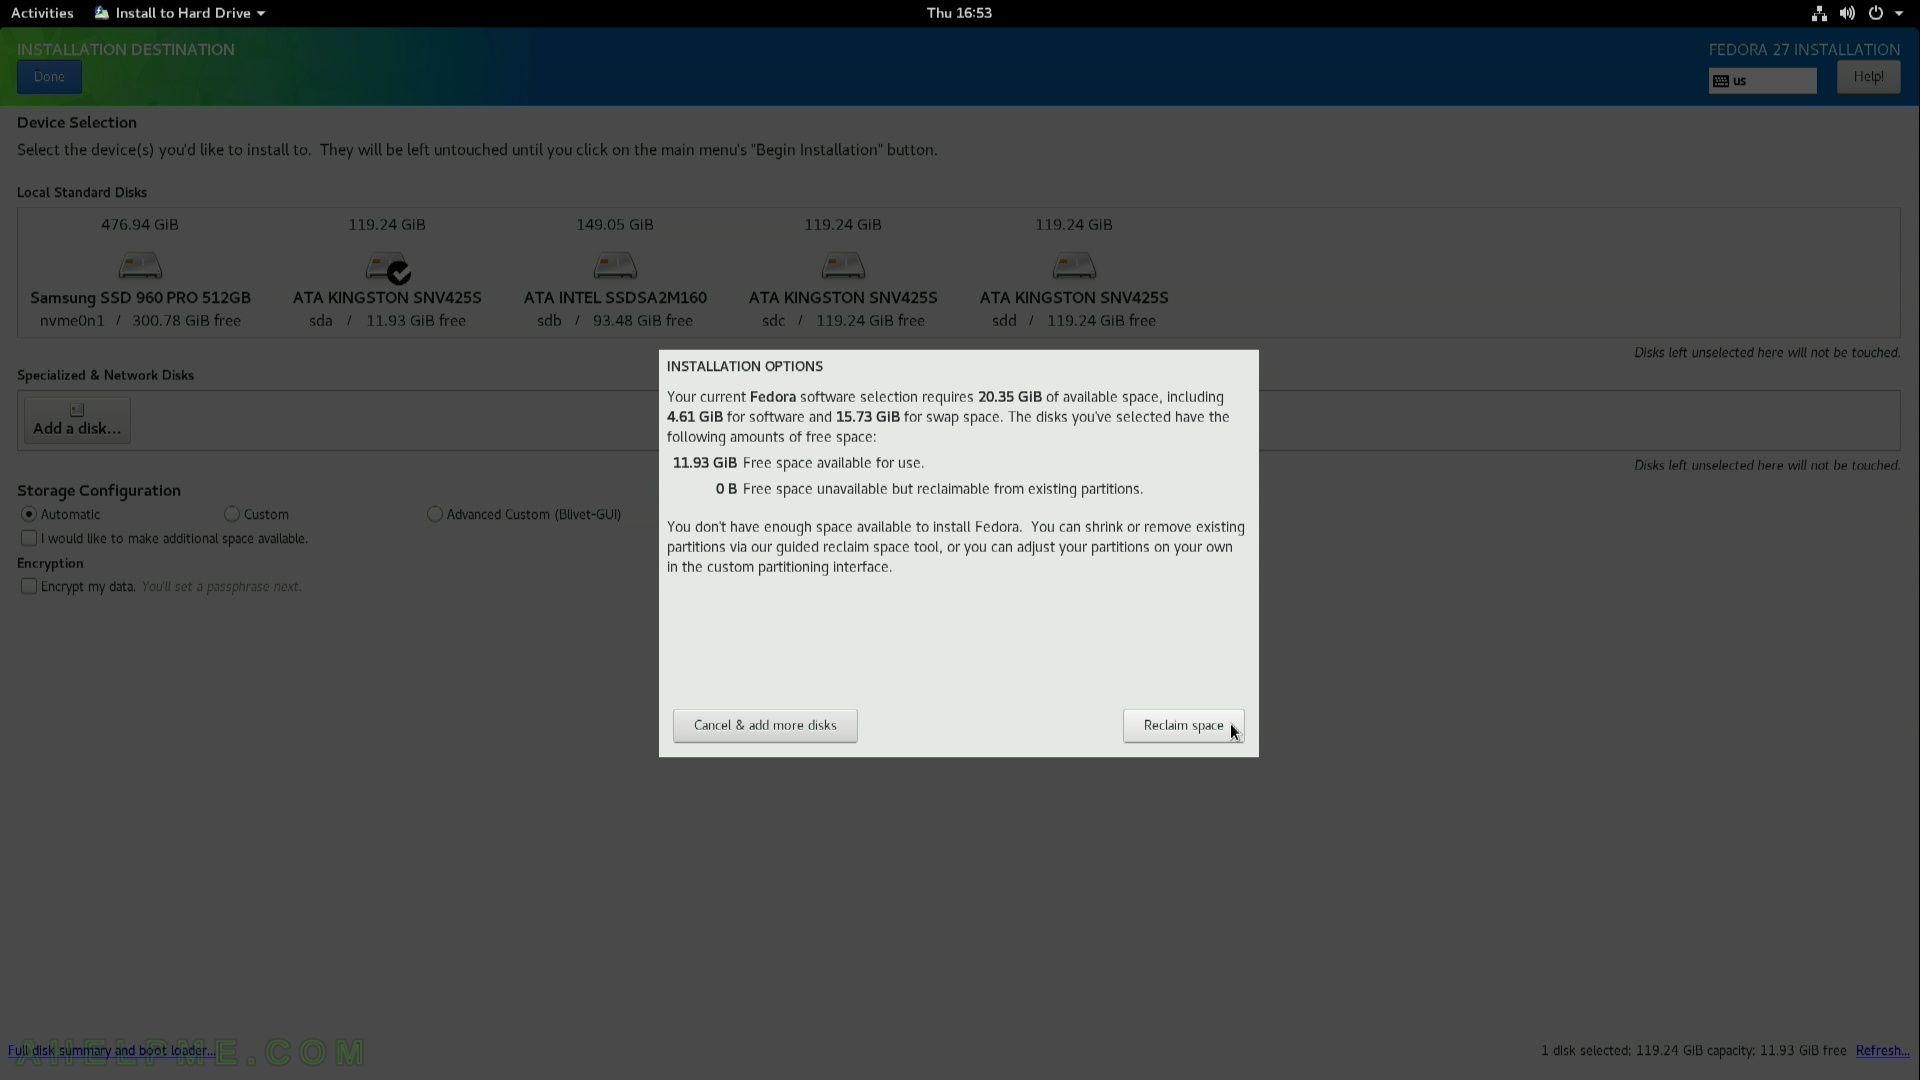
STEP 10) If your disk has some data (partitions) you must go through additional steps asking you if you want to Reclaim the disk space of the disk.
If your disk does not have any partitions and all the space is unallocated you would not be asked any questions.
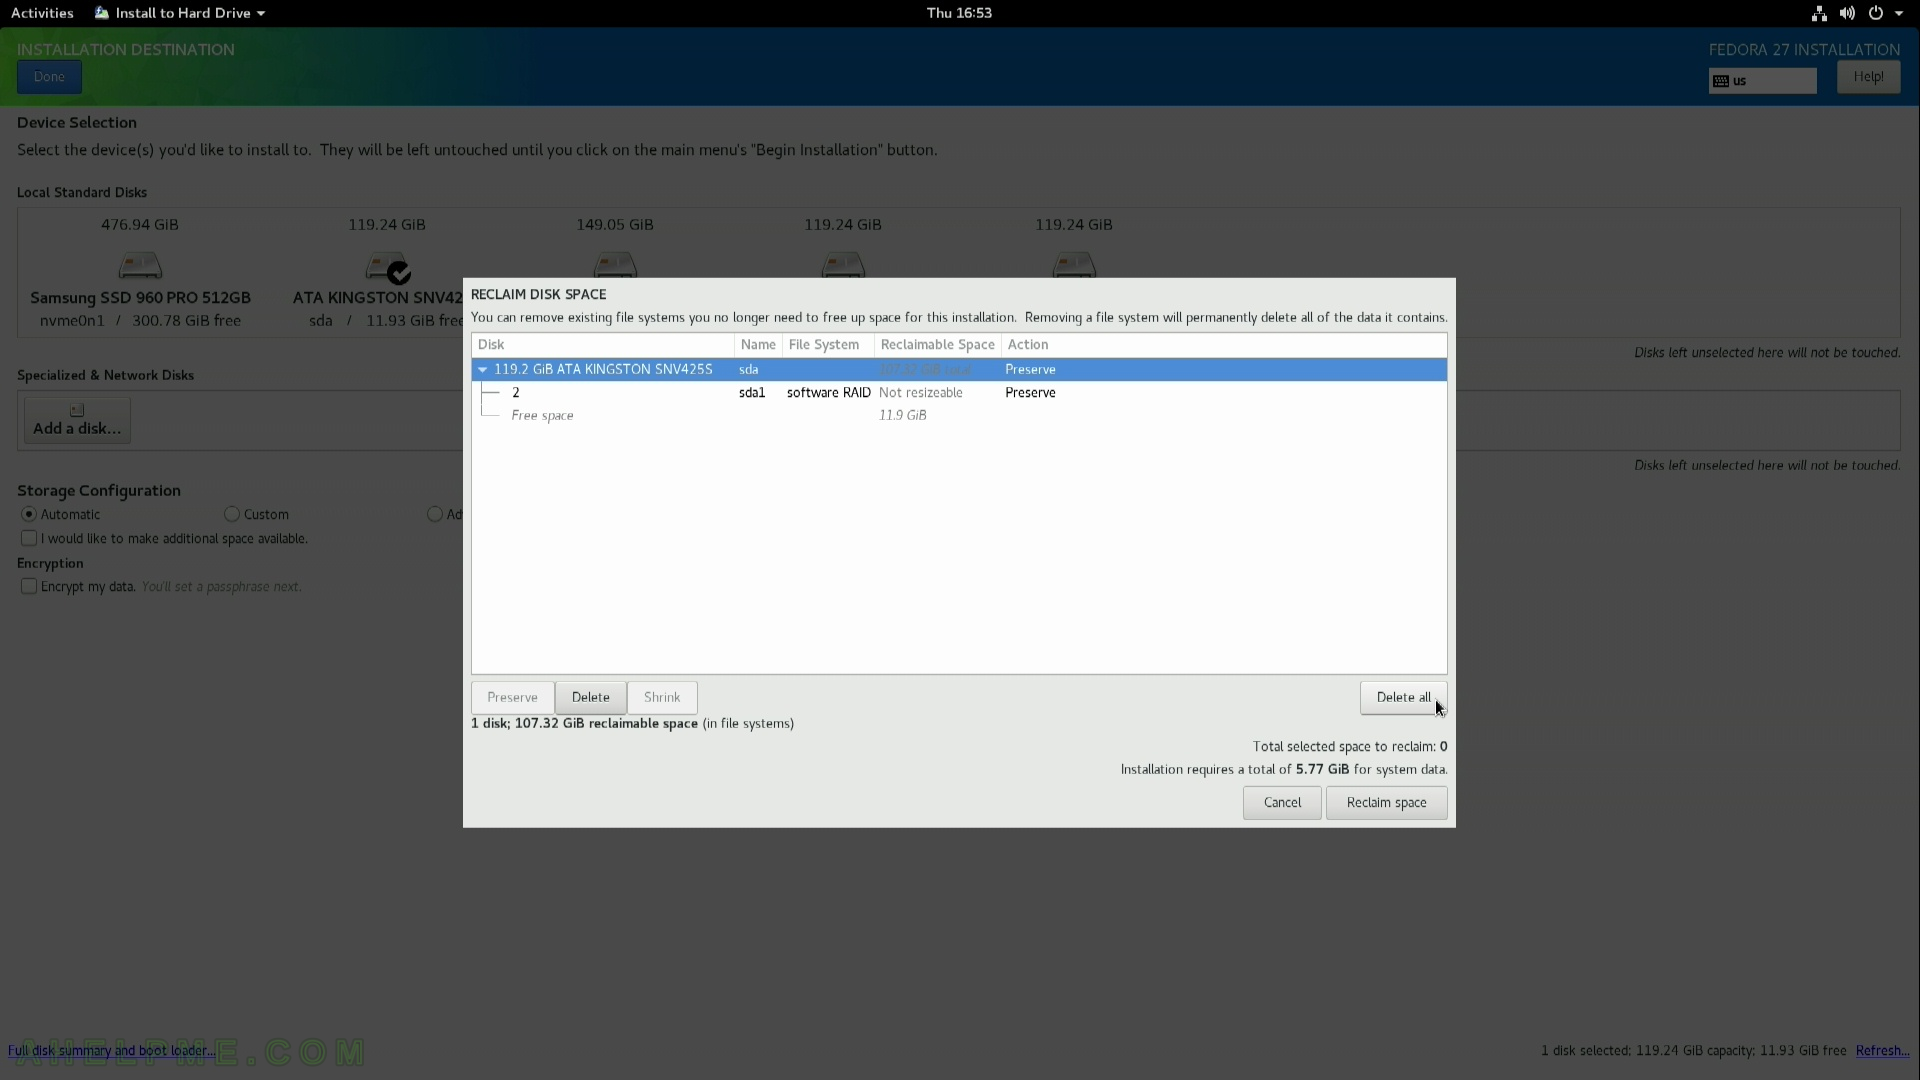
STEP 11) This steps shows you what is the current layout of the selected disk for installation. We do not need any data there SO select “Delete All”
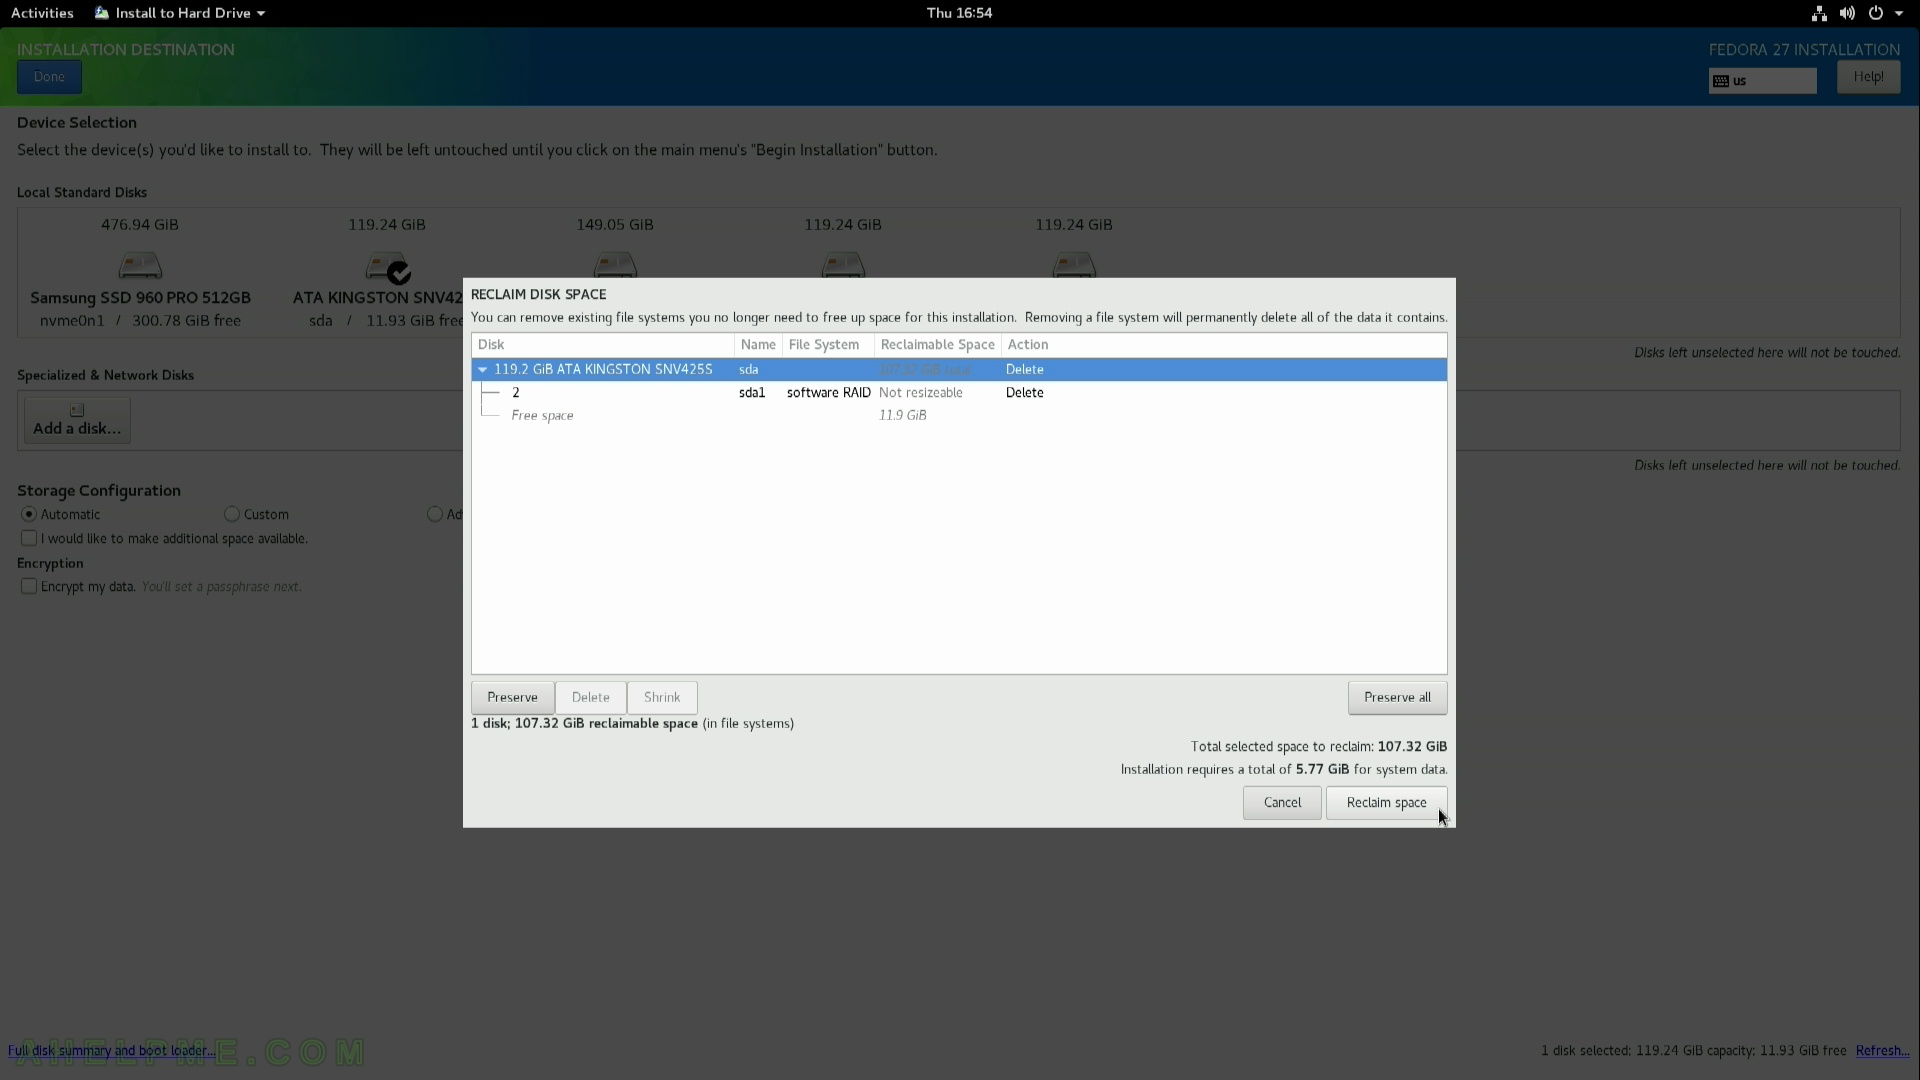
STEP 12) Accept all changes with the layout of the installation disk
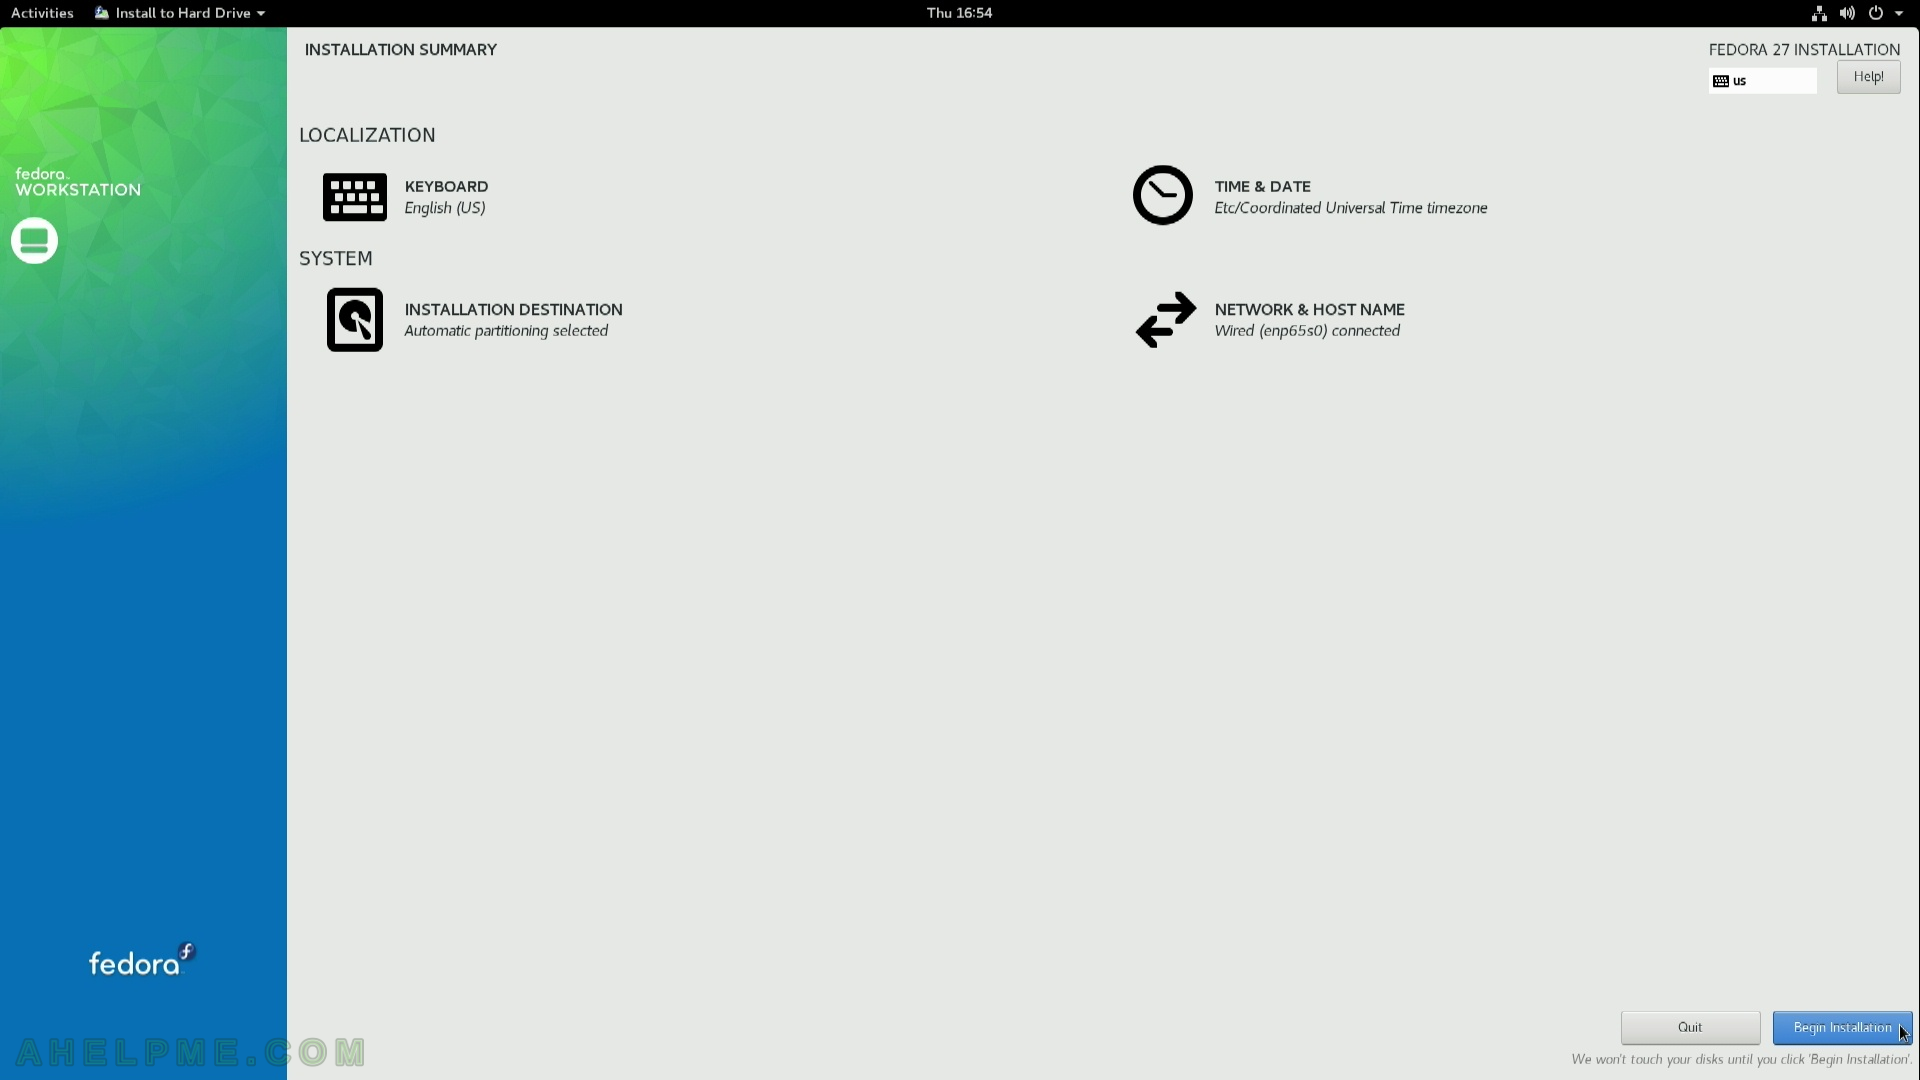
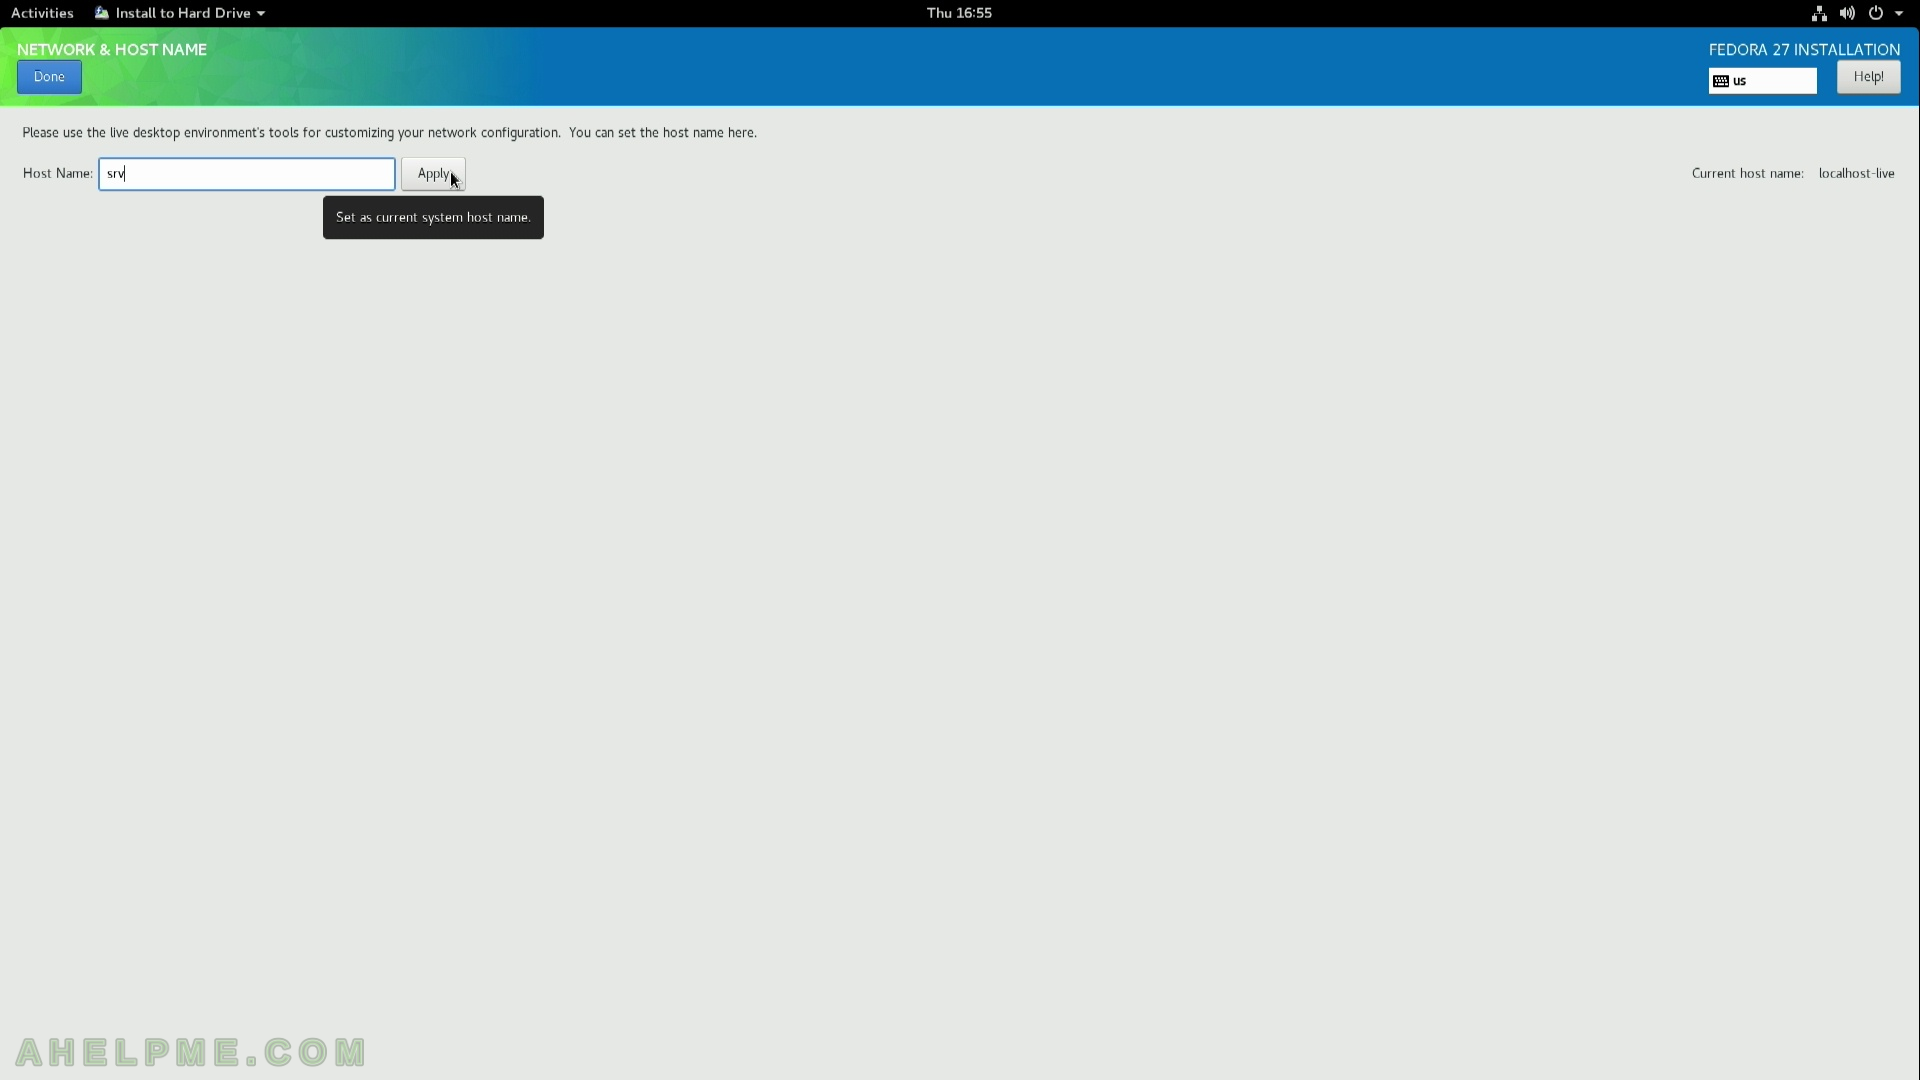
STEP 13) Select Network & Hostname to configure your network connectivity
STEP 14) Set hostname of your machine
STEP 15) Now the installation setup is configured and by clicking on “Begin Installation” the actual installation on your selected hard drive begins.

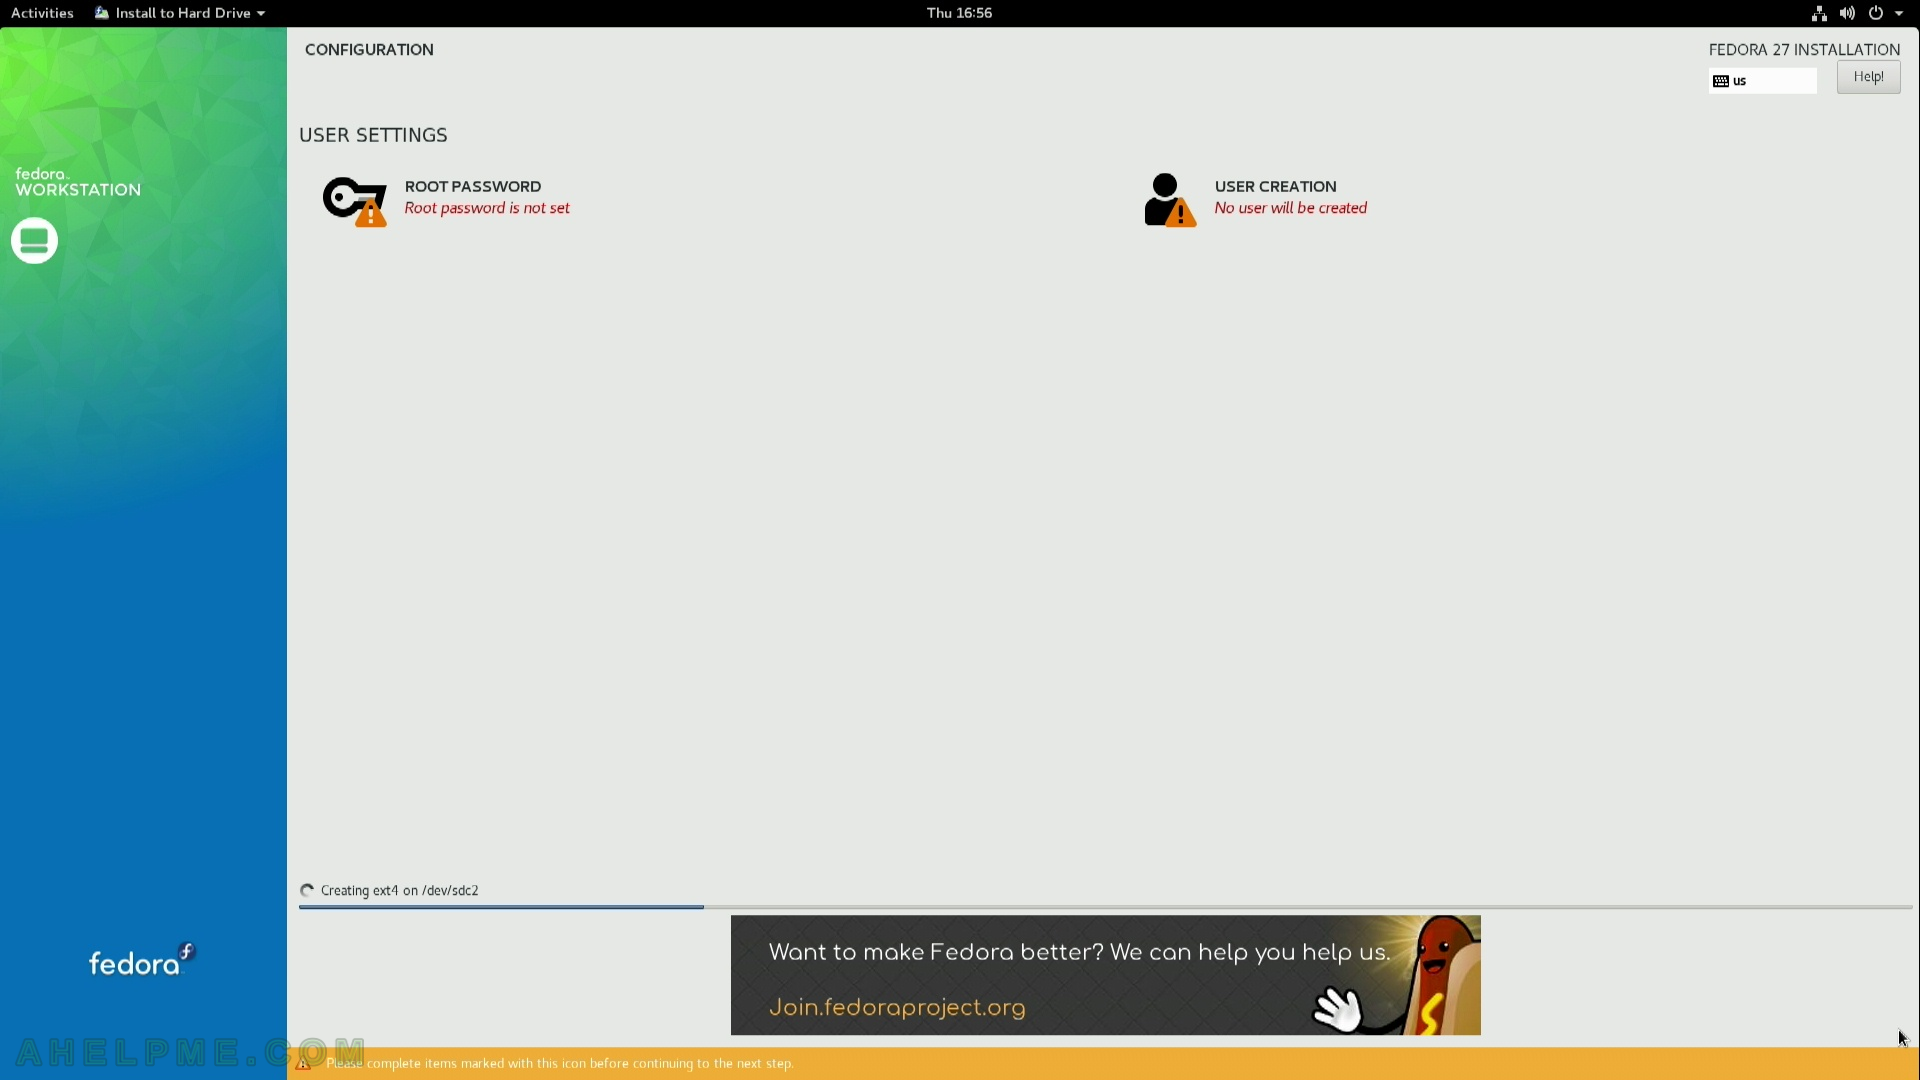
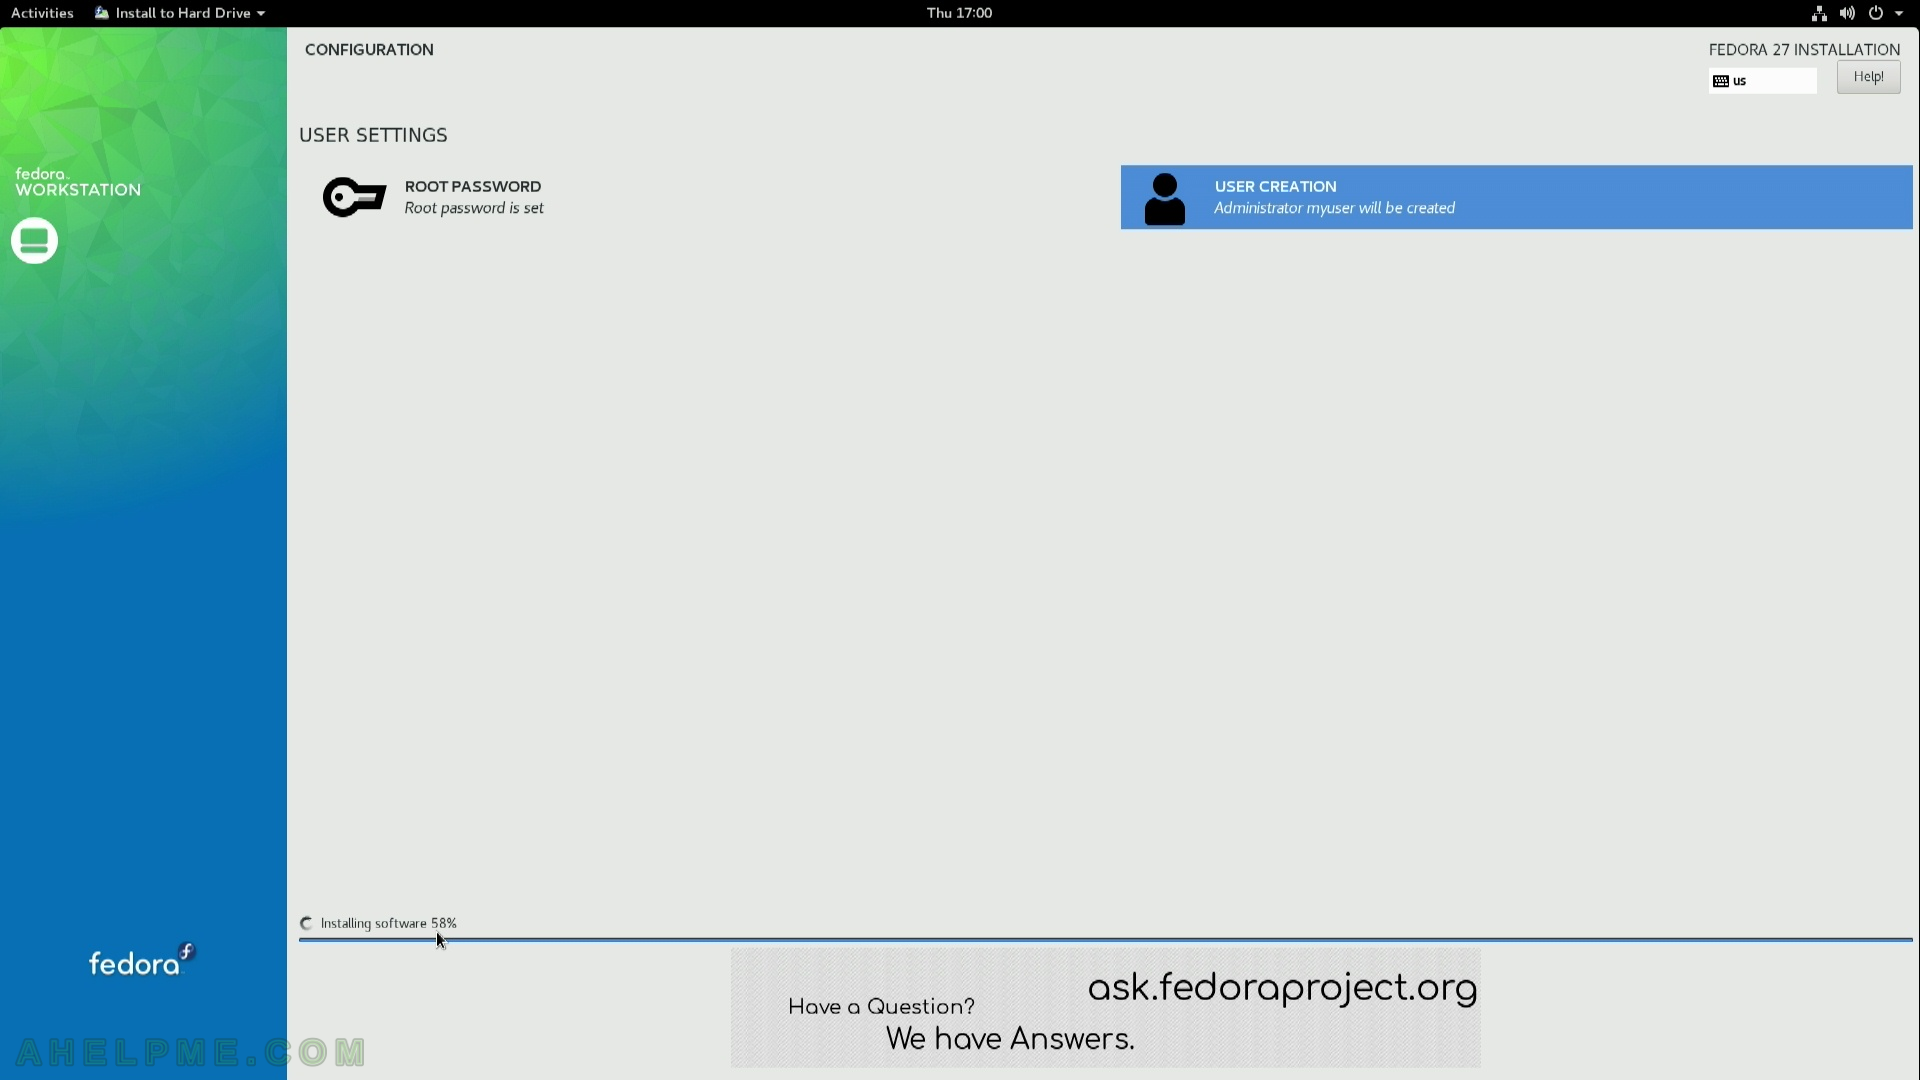
STEP 16) The installation processes is working… You can set your “User settings” – the root password and you can create an additional user (which could be with administrative privileges, too)
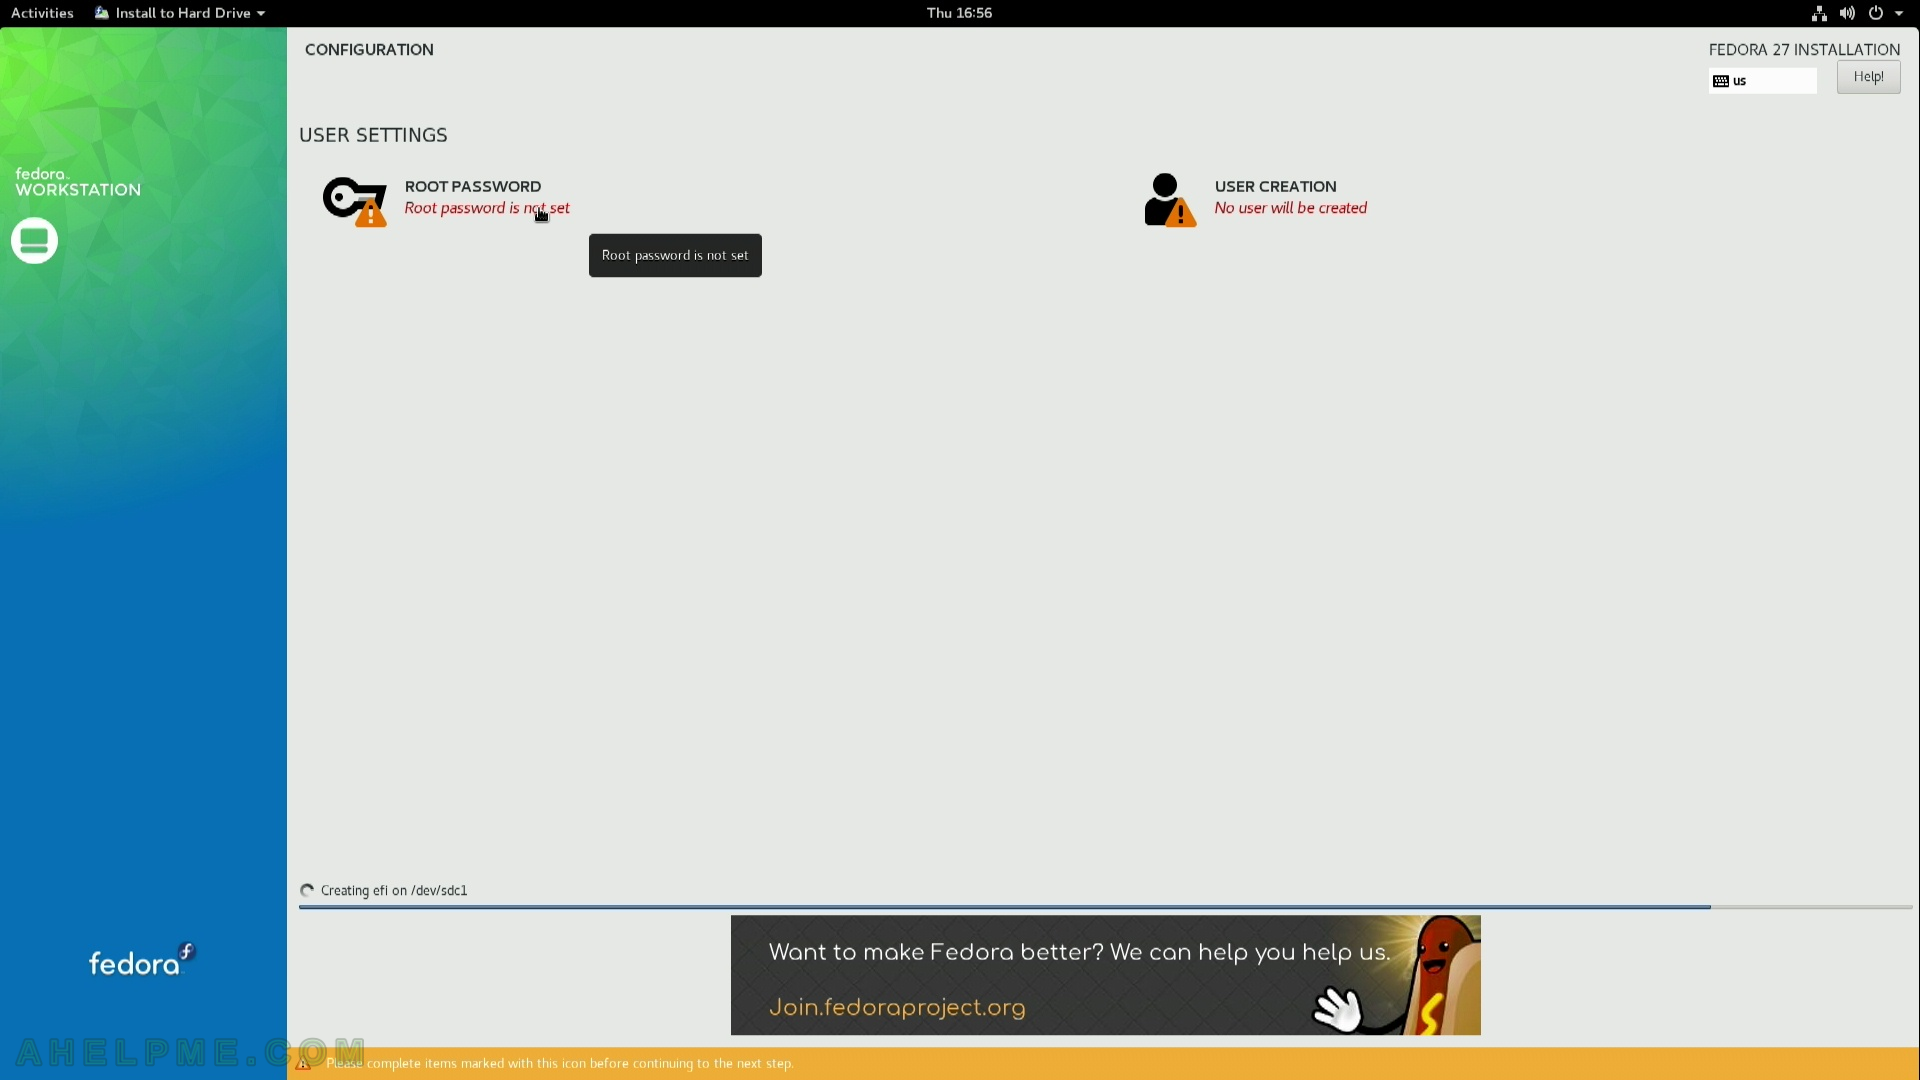
STEP 17) Click on “ROOT PASSWORD” to set the root password.
STEP 18) Enter the root password two times.

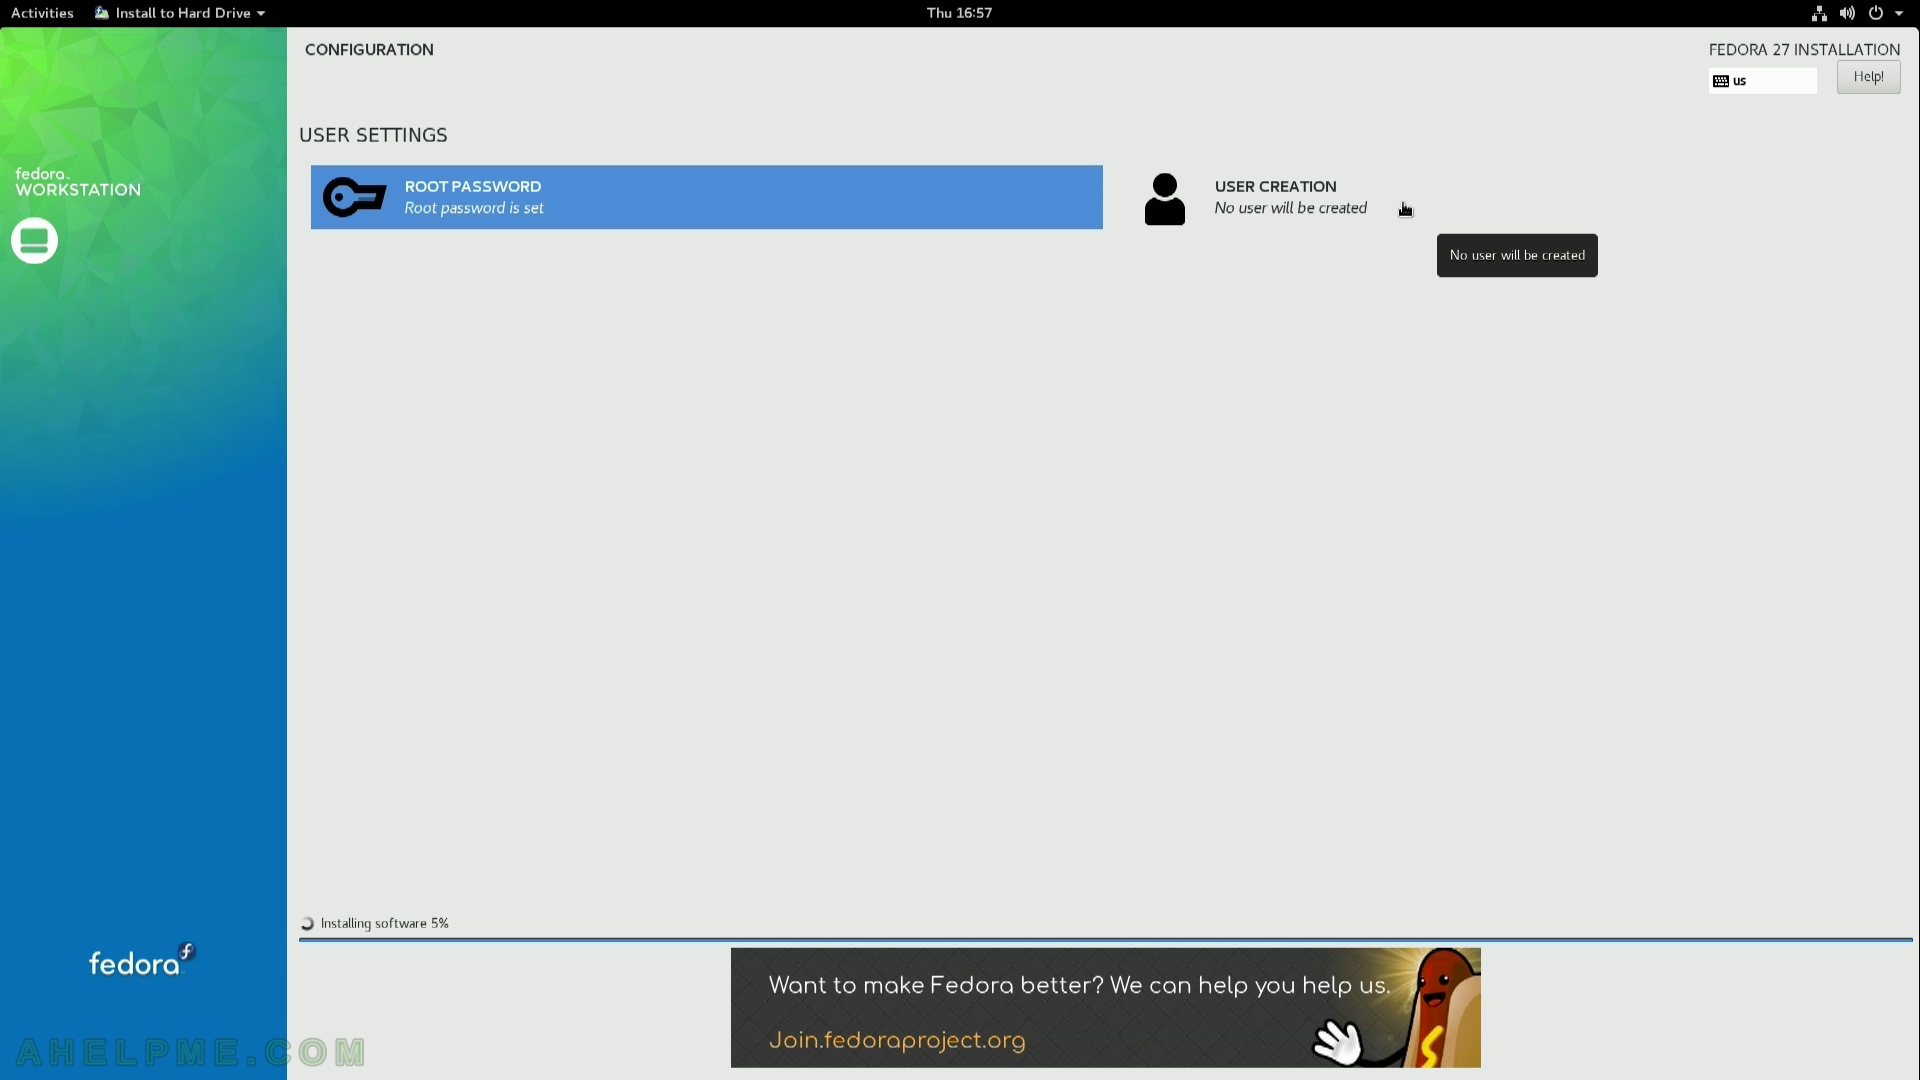
STEP 19) Create an additional user (click on “USER CREATION”), always use additional user (with administrative privileges) and not root.
STEP 20) Set the full name and the username (login name) and be sure to check “Make this user administrator”.
Use ordinary user for every day work and for administrator’s purposes authorize with password – this is possible only if your user has administrative privileges – they are used only after authorization not by default!

STEP 21) The setup is still working… The installation is near 58%. You can monitor the process.
STEP 22) Almost done, the installation is generating the initramfs (the additional modules to load during boot)

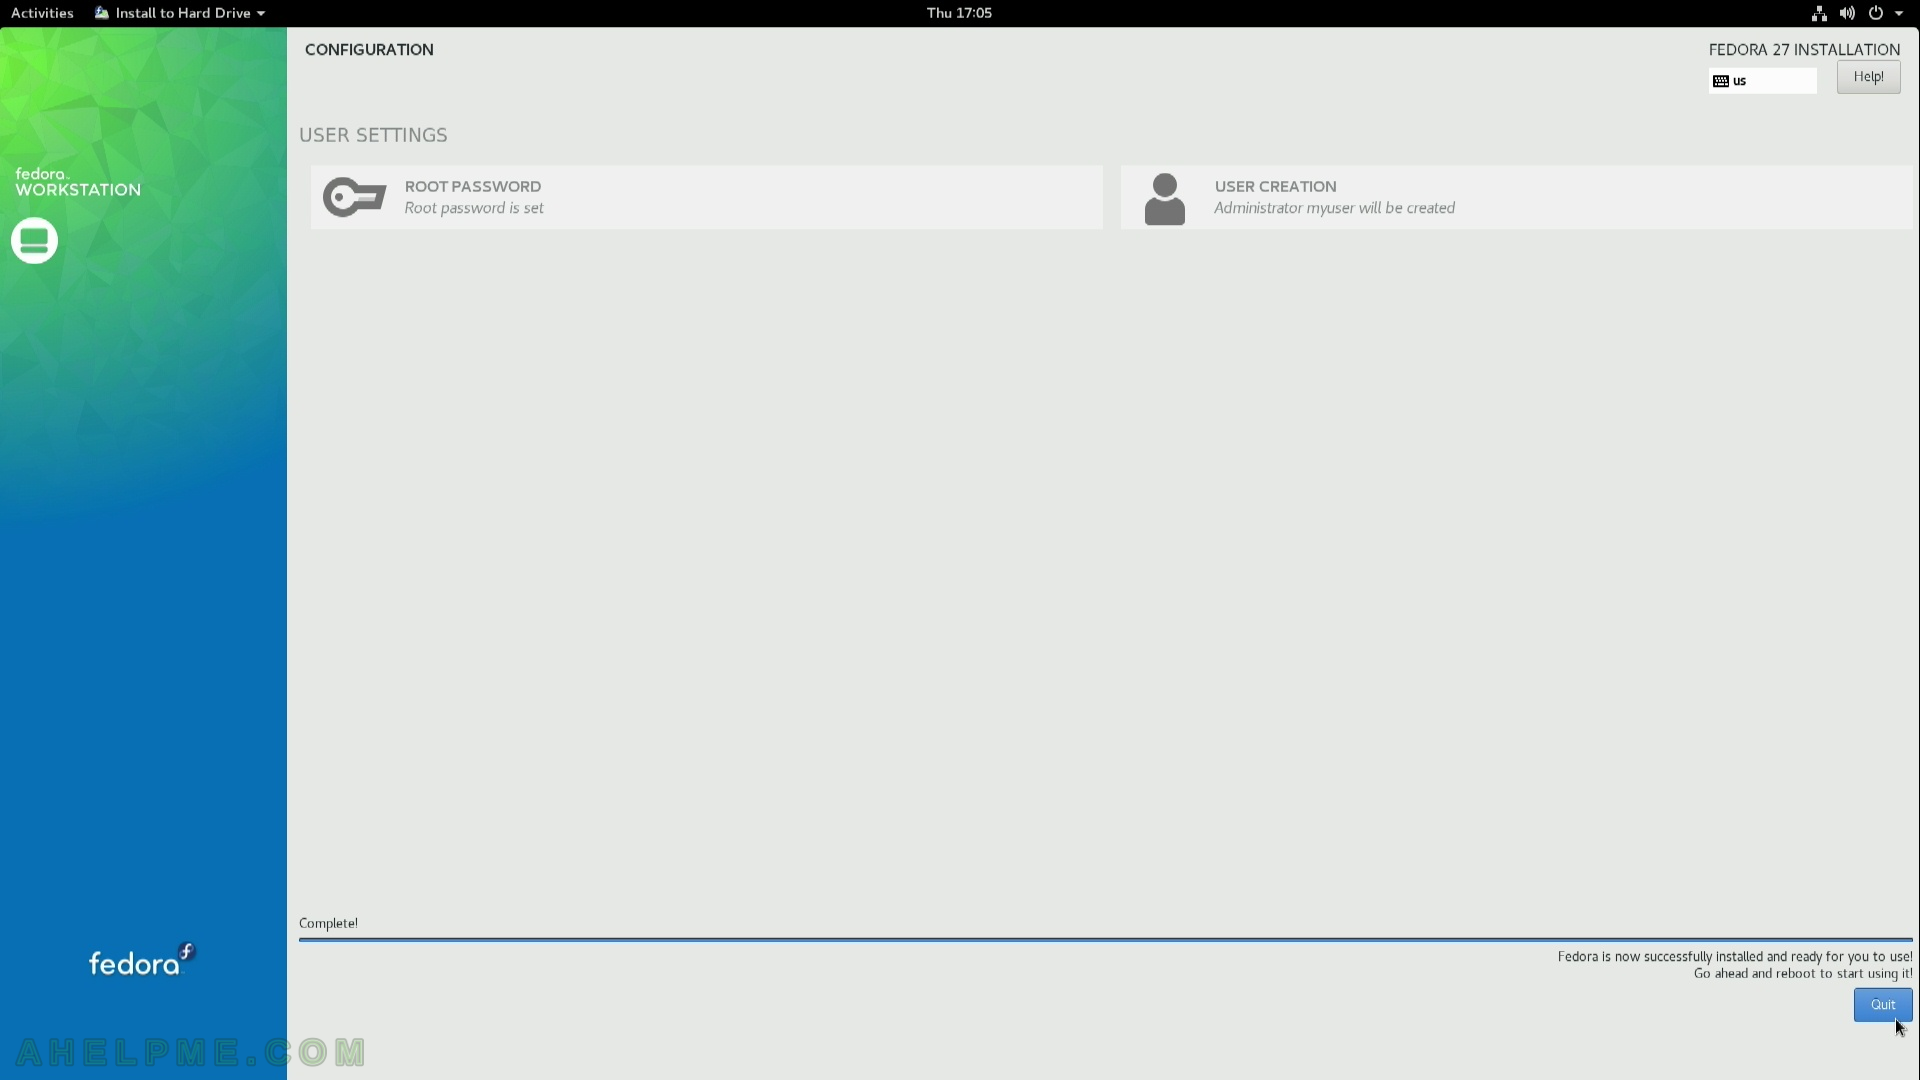
STEP 23) The installation has finished and then you should quit it.
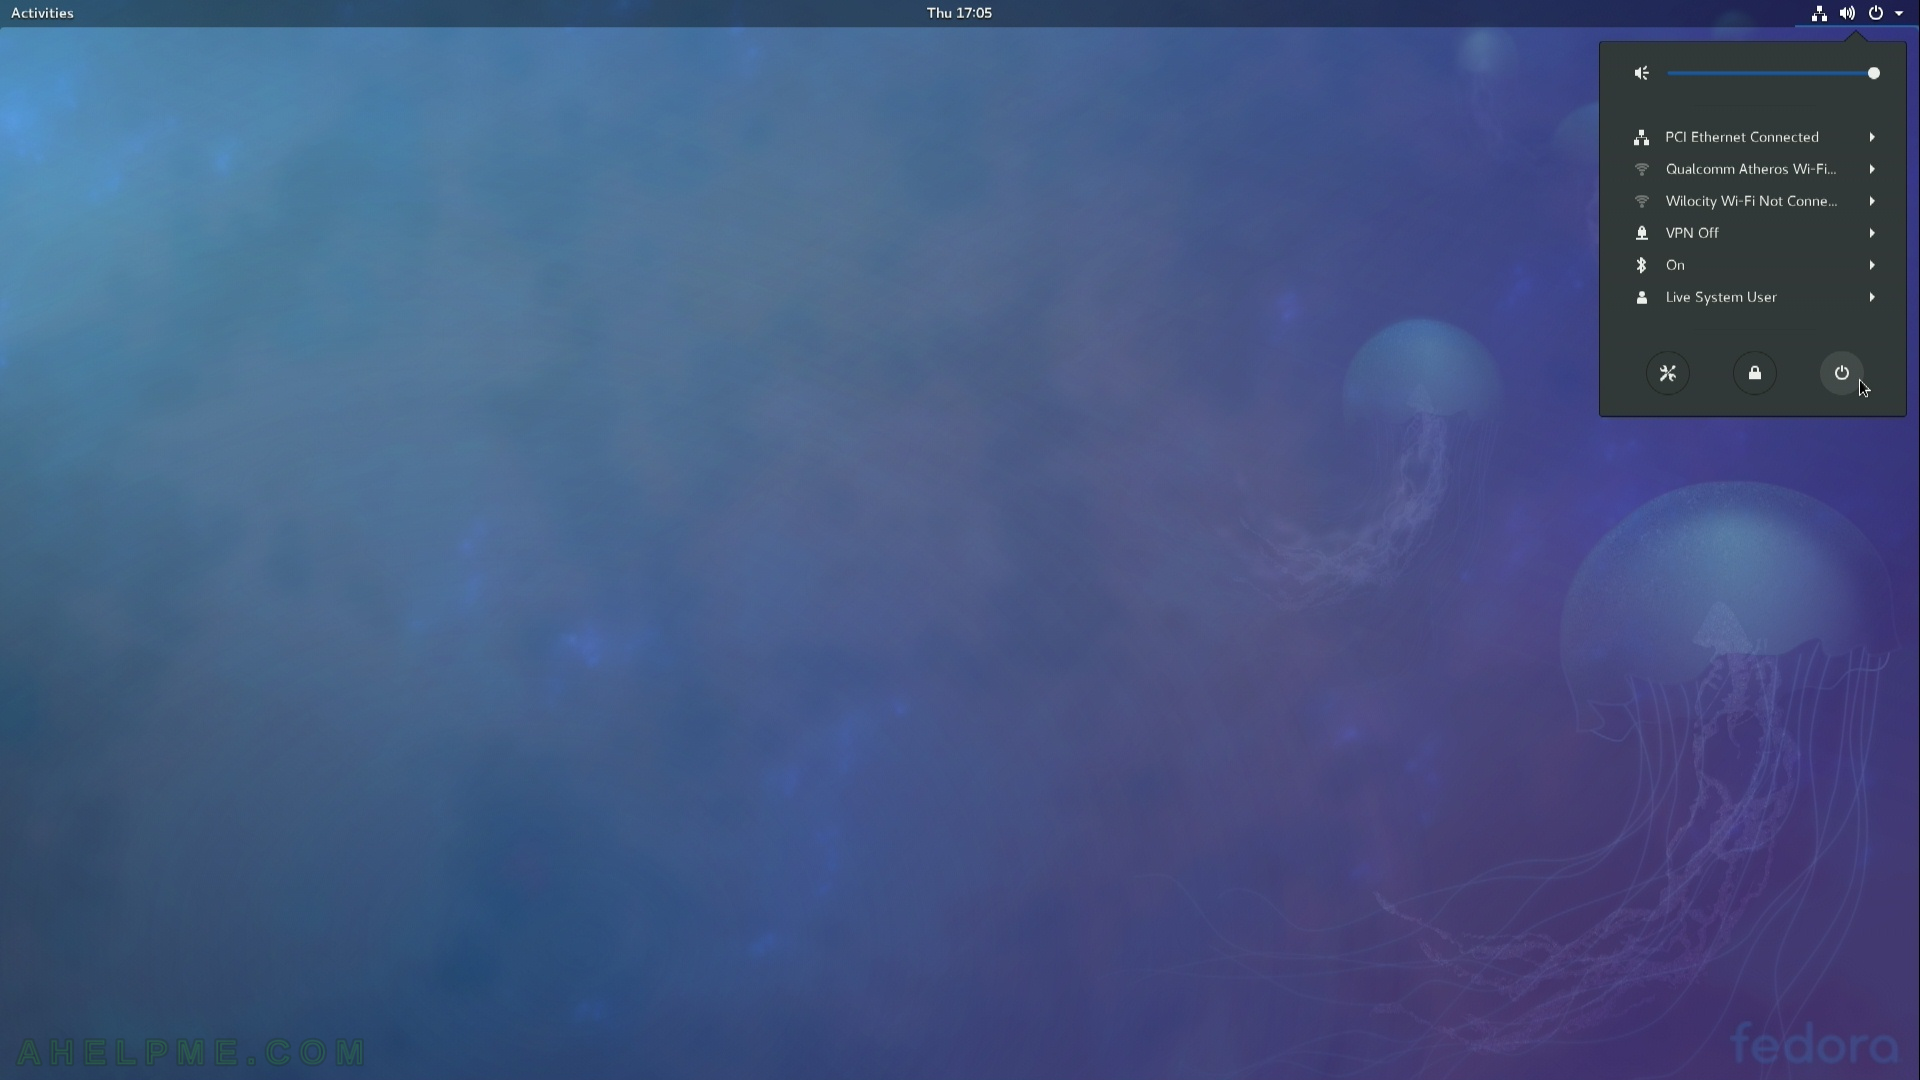
STEP 24) Reboot the machine.
You are still in the live image, so just select the power off option. Remove the installation DVD disk or you’ll boot again in the installation setup.
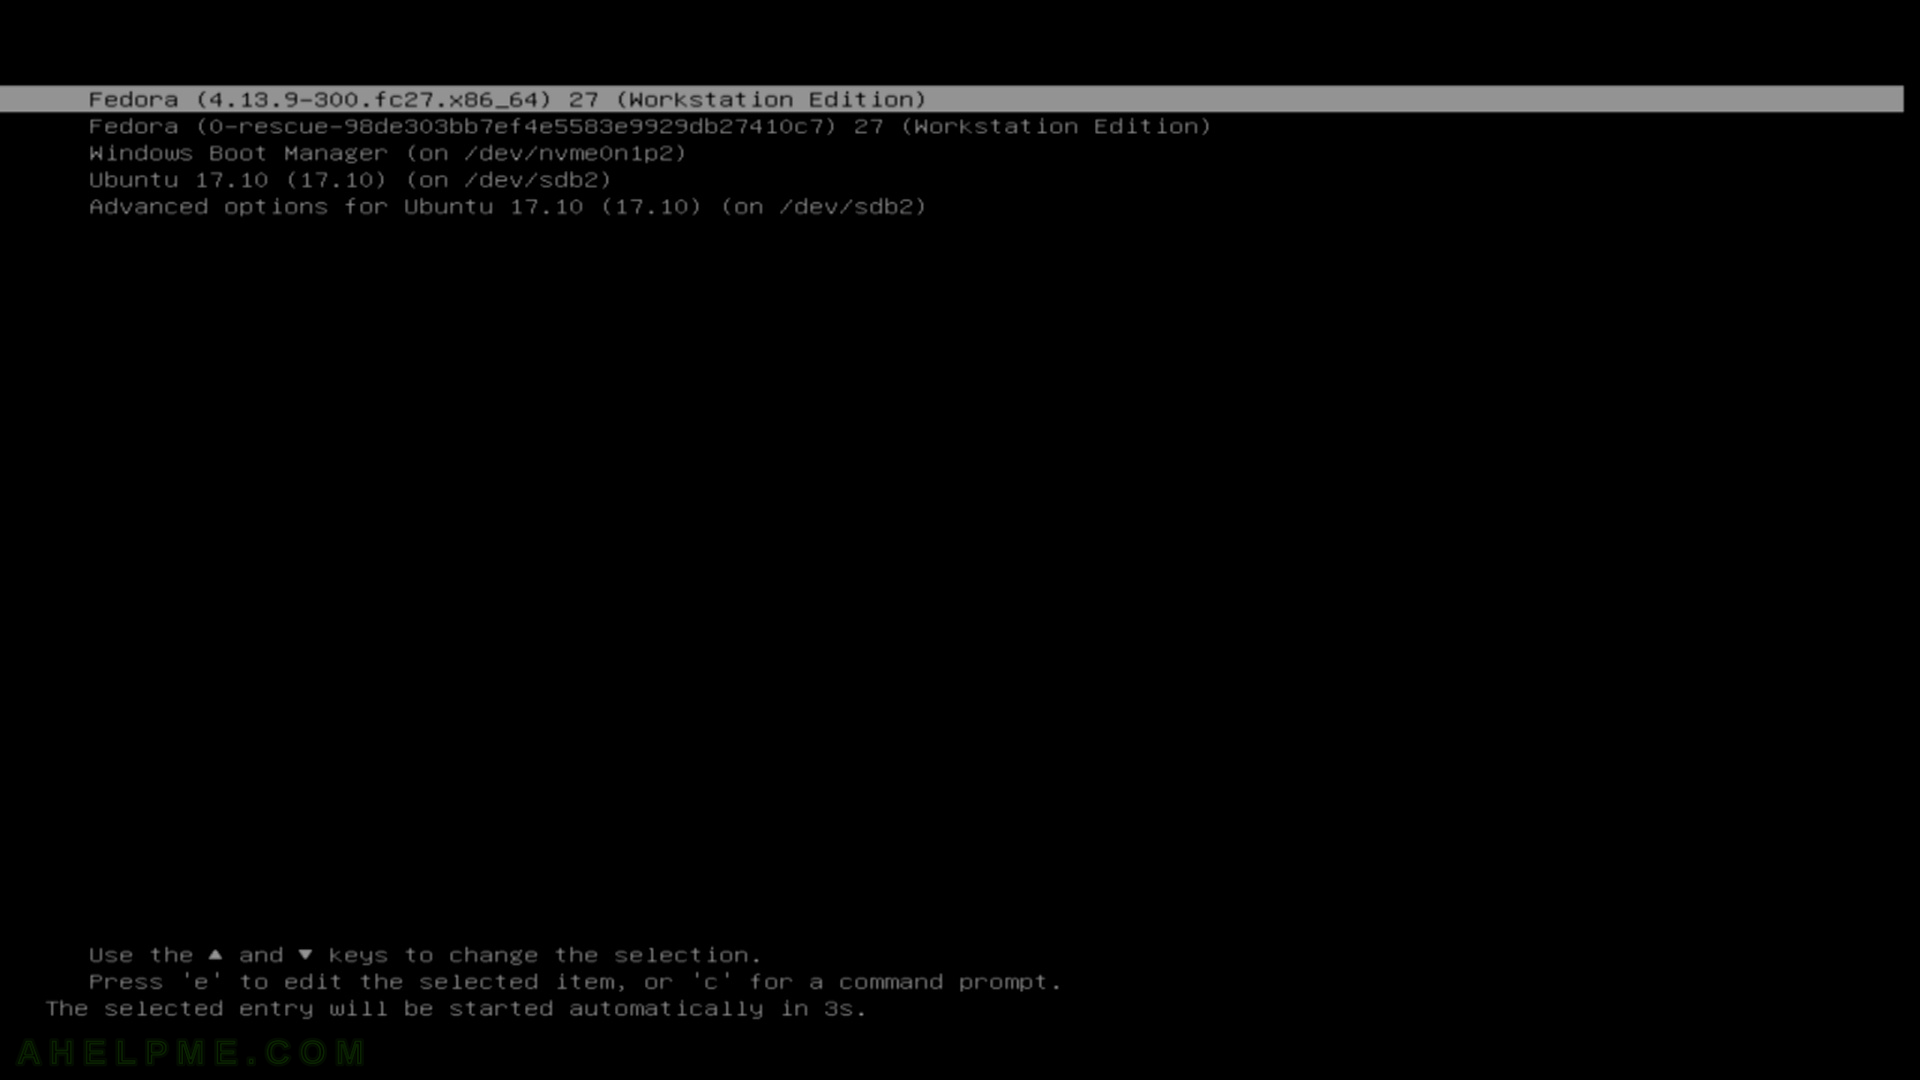
STEP 25) Your freshly installed Fedora 27 is the default boot option in the booting program (grub2).
As you can see we have two more Operating systems – Windows 10 and Ubuntu 17.10
STEP 26) Login screen for Fedora 27 (Gnome GUI)
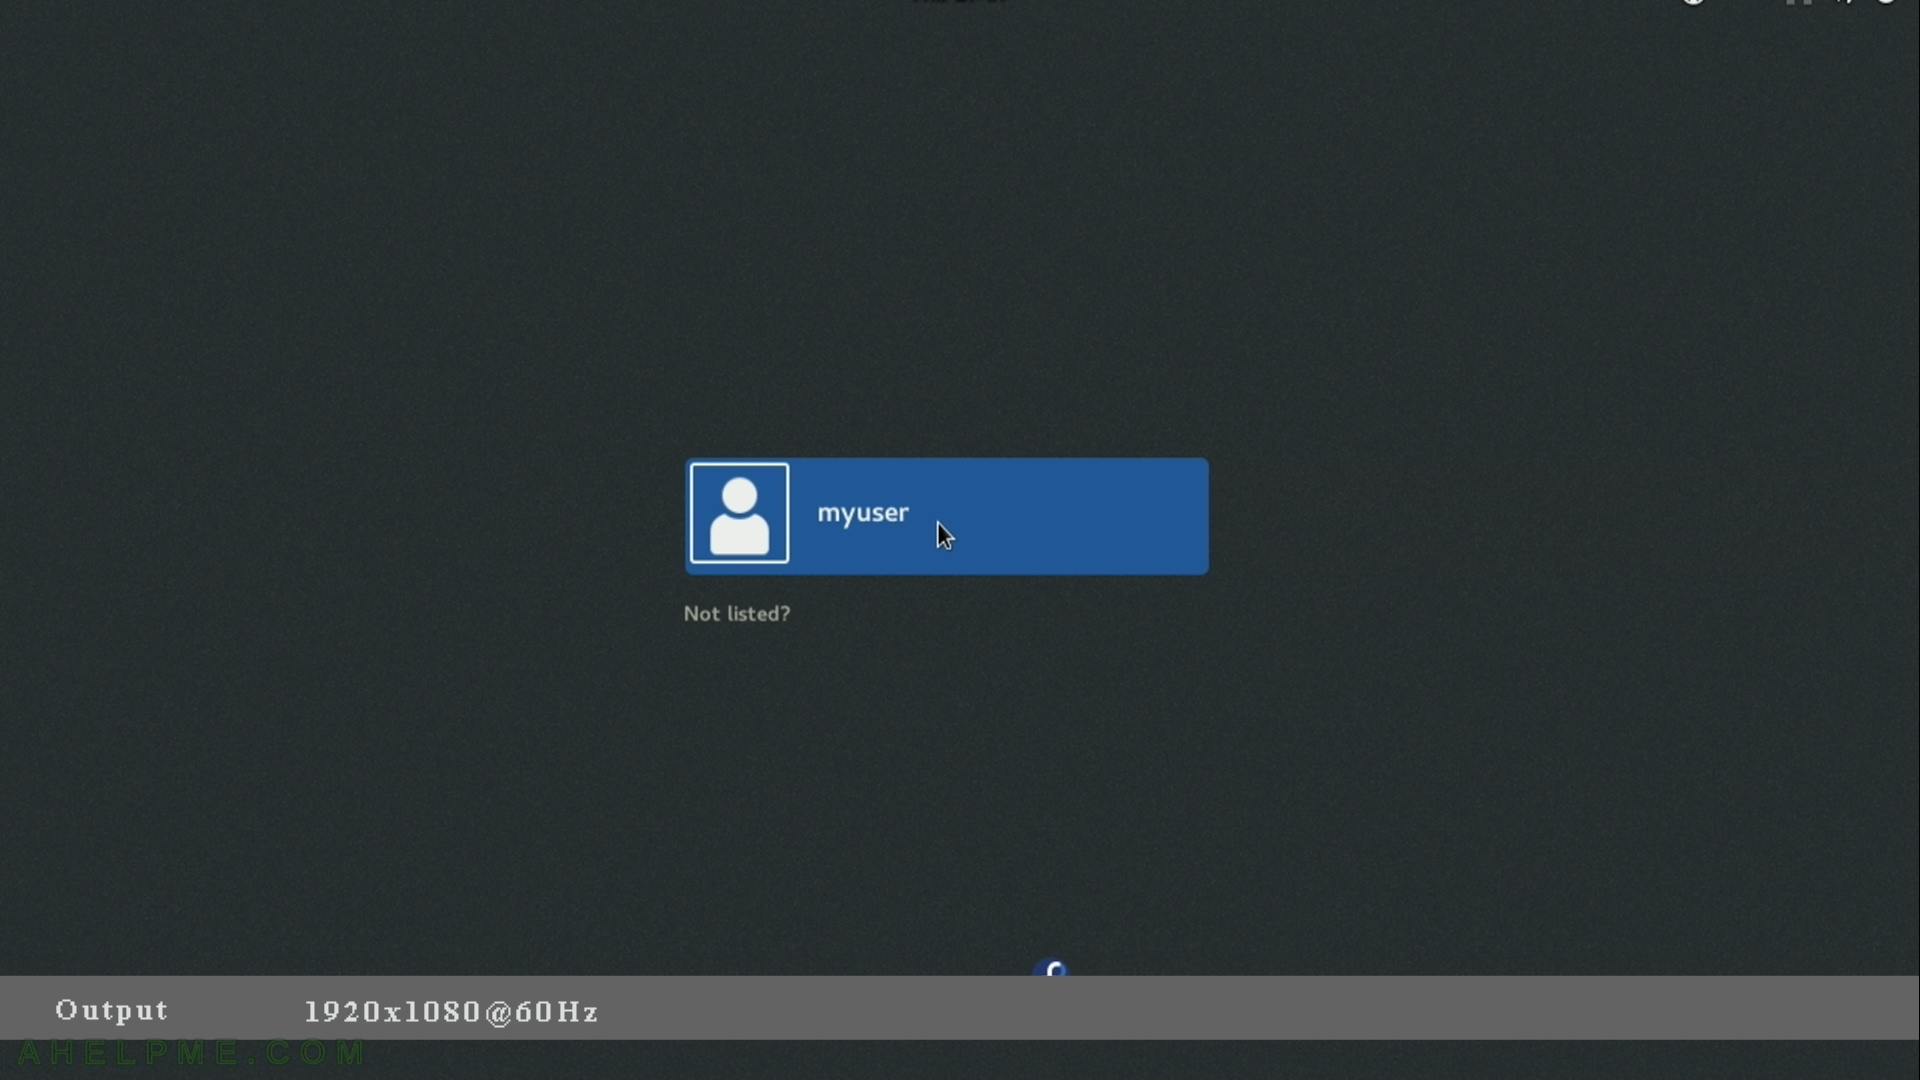
STEP 27) Login with myuser

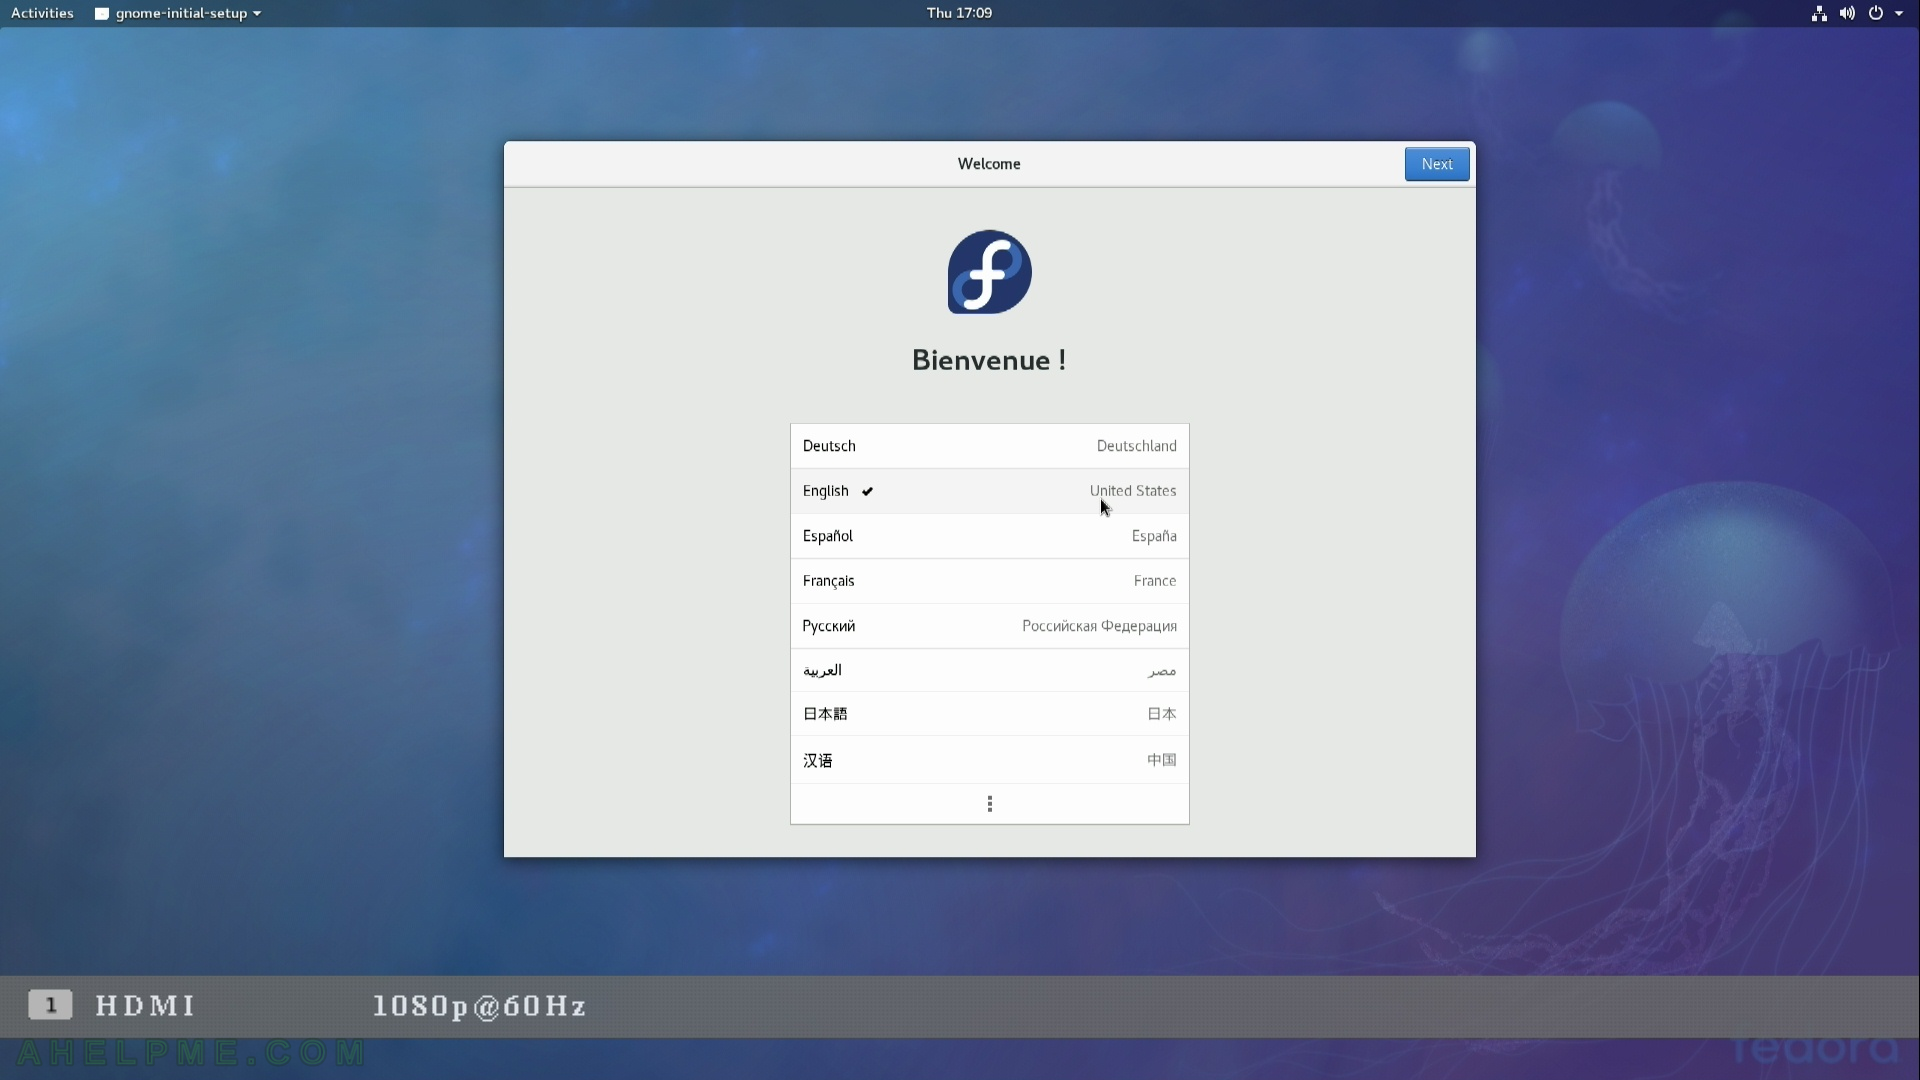
STEP 28) First login welcome screen
Select your default language.
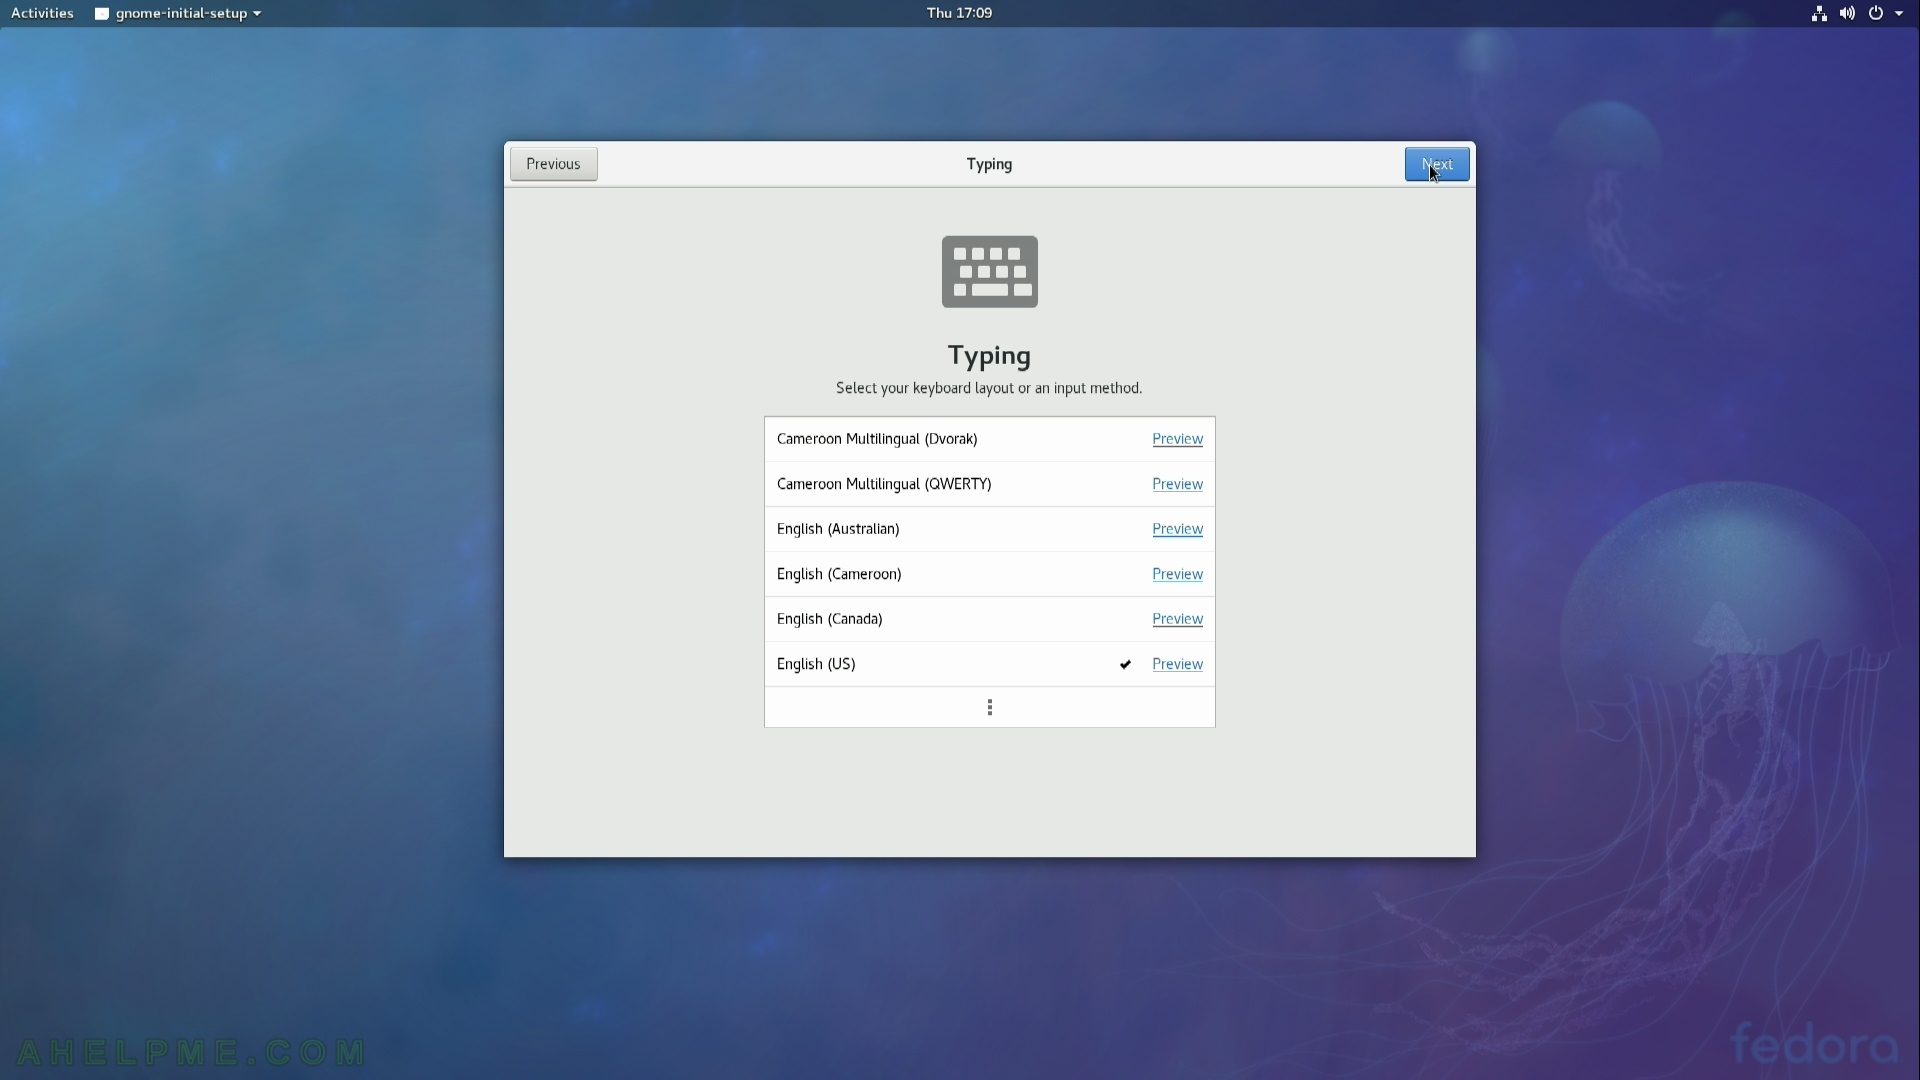
STEP 29) First login – your typing layout
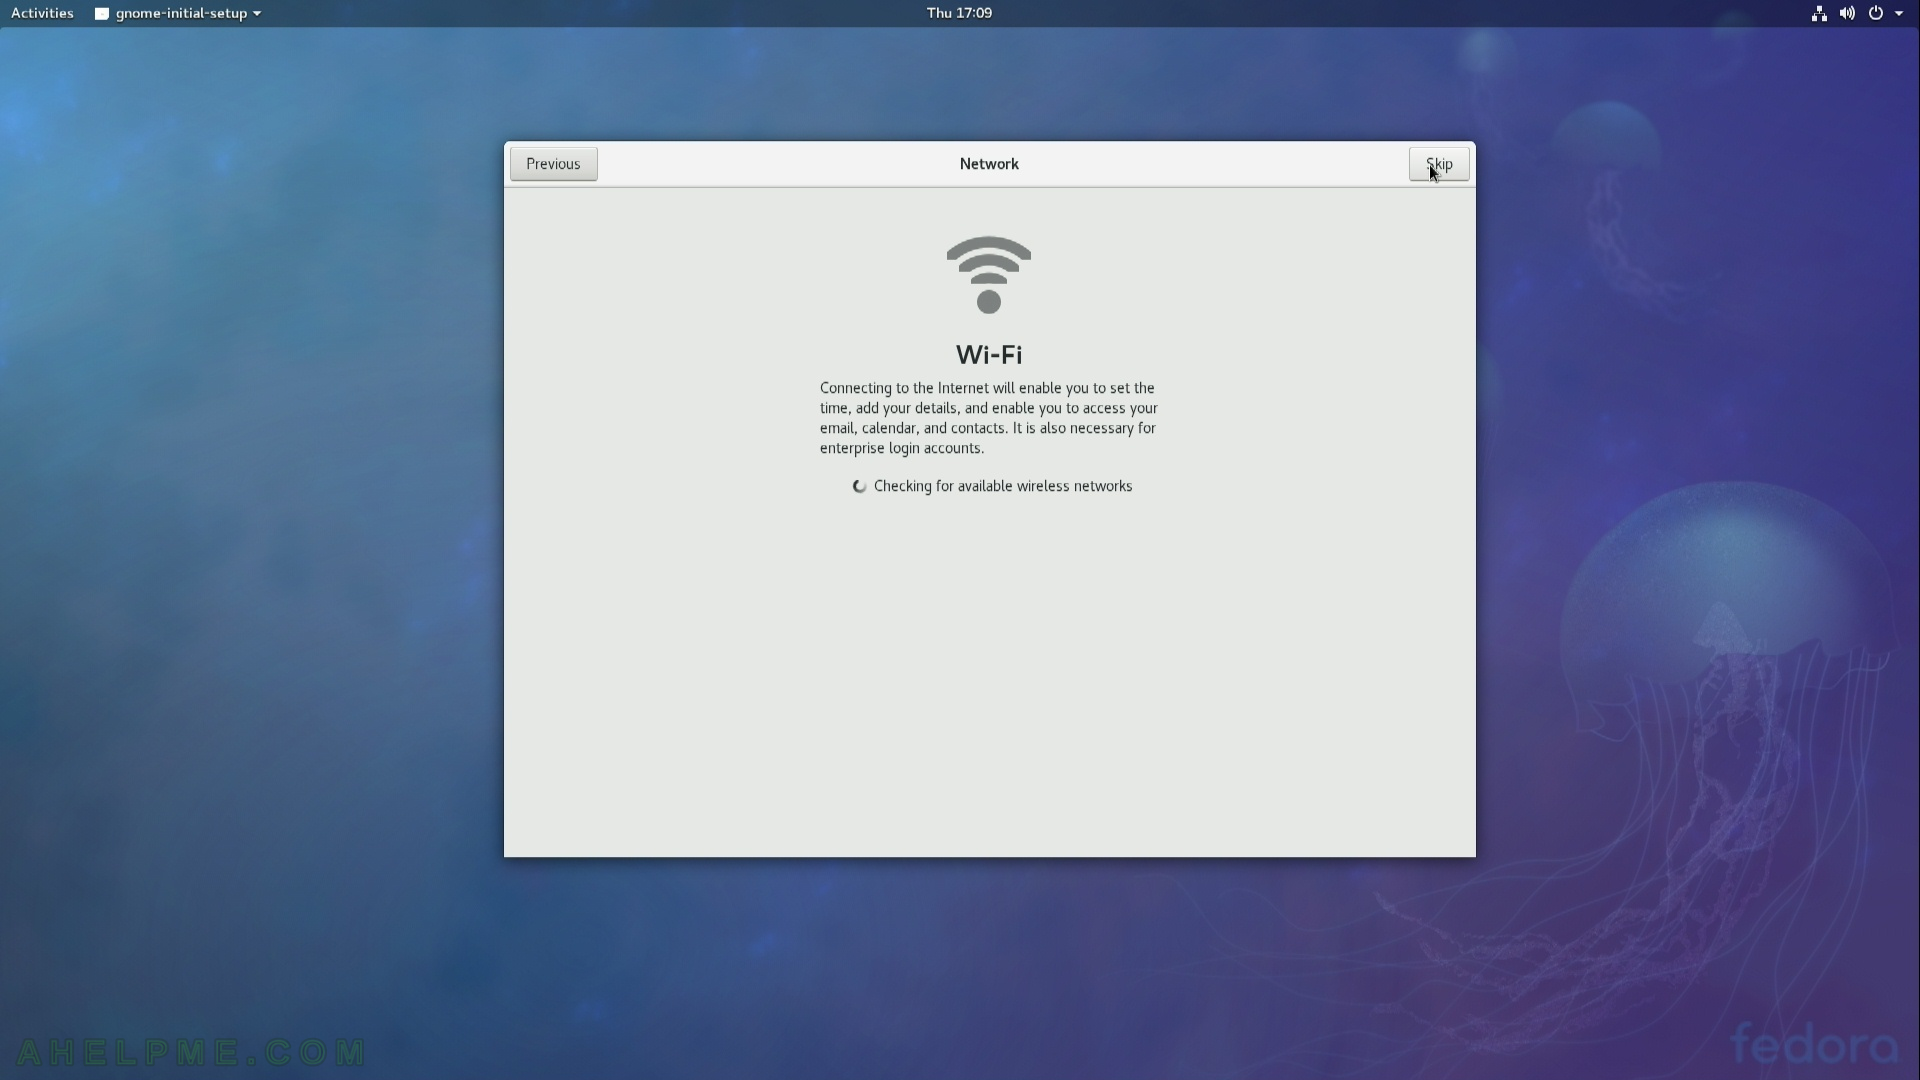
STEP 30) First login – set your wifi networking. Select network and enter password. We use wired connection, so we skip it here.
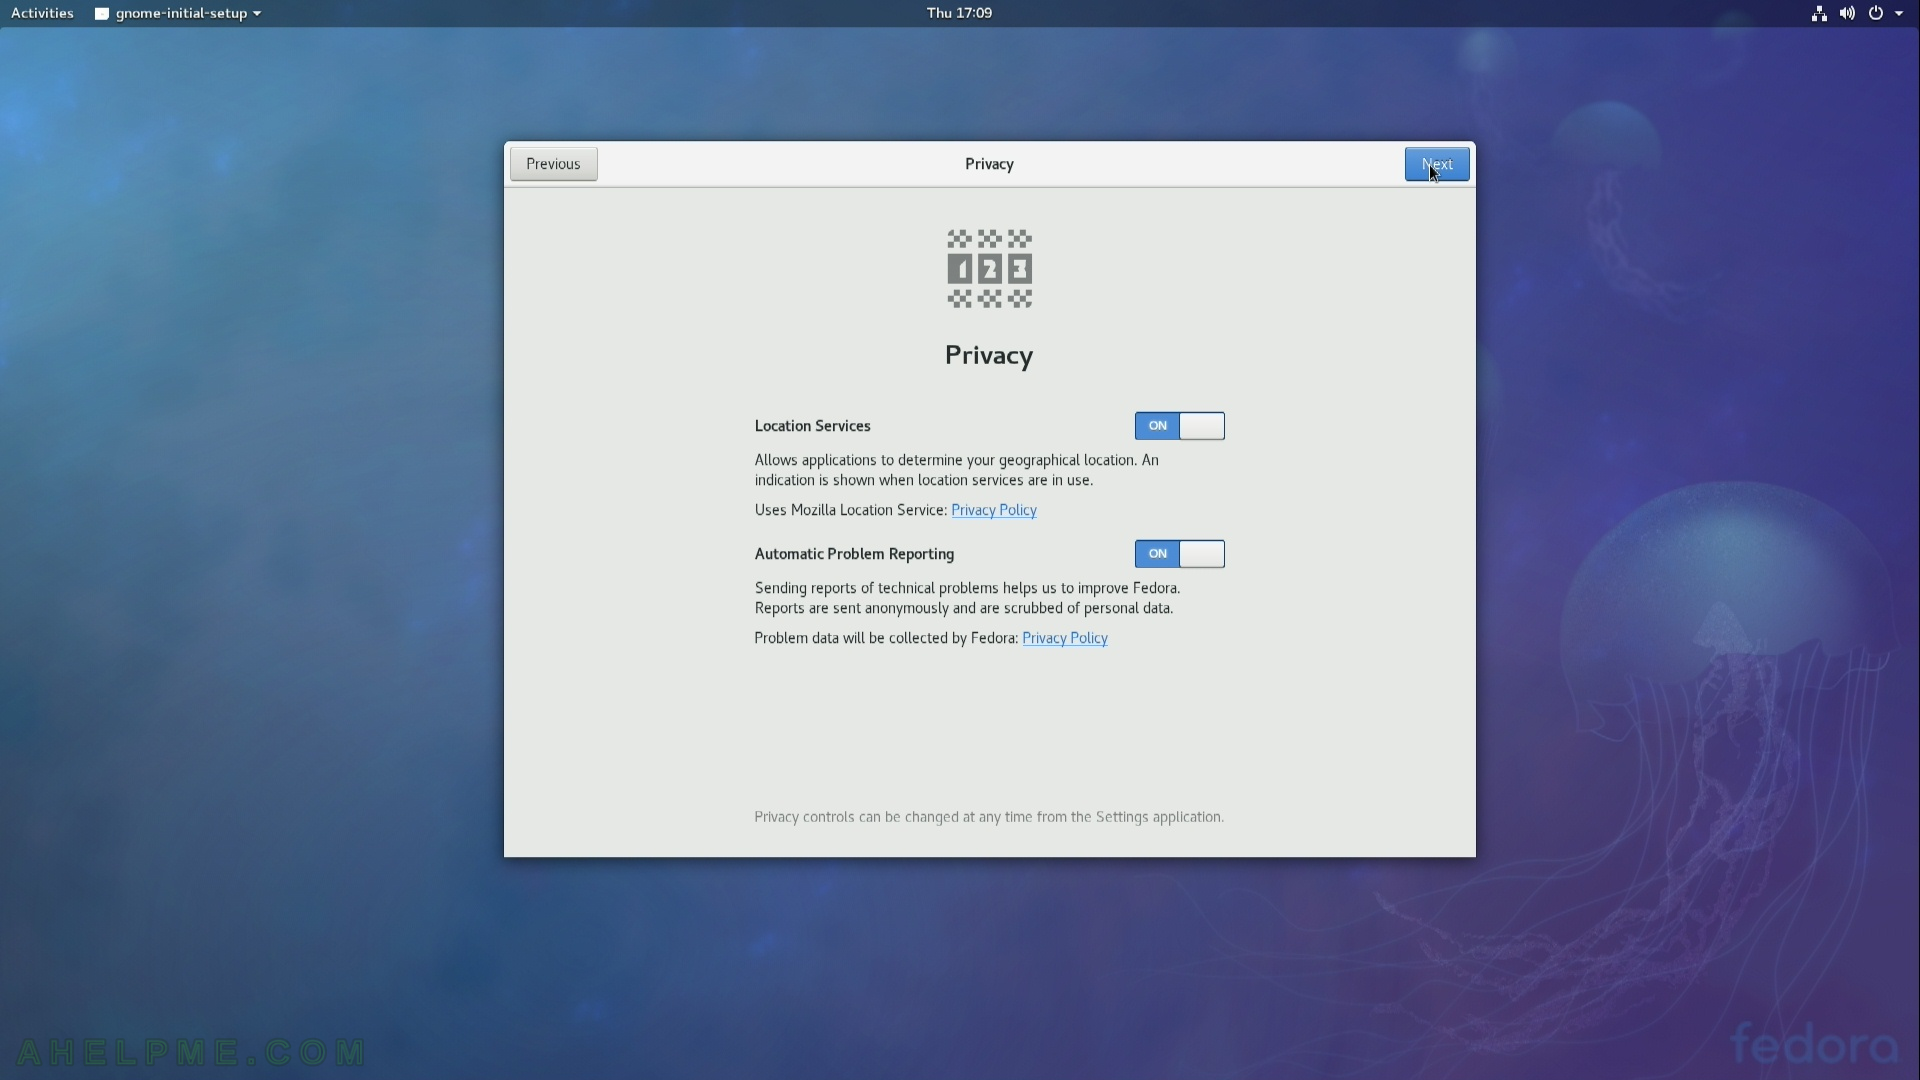
STEP 31) First login – set the privacy settings.
Location settings – do you want to share your location with other programs (GPS mainly) and do you want to automatic problem reporting when a error occurs. Probably at least the last option is good to be enabled.
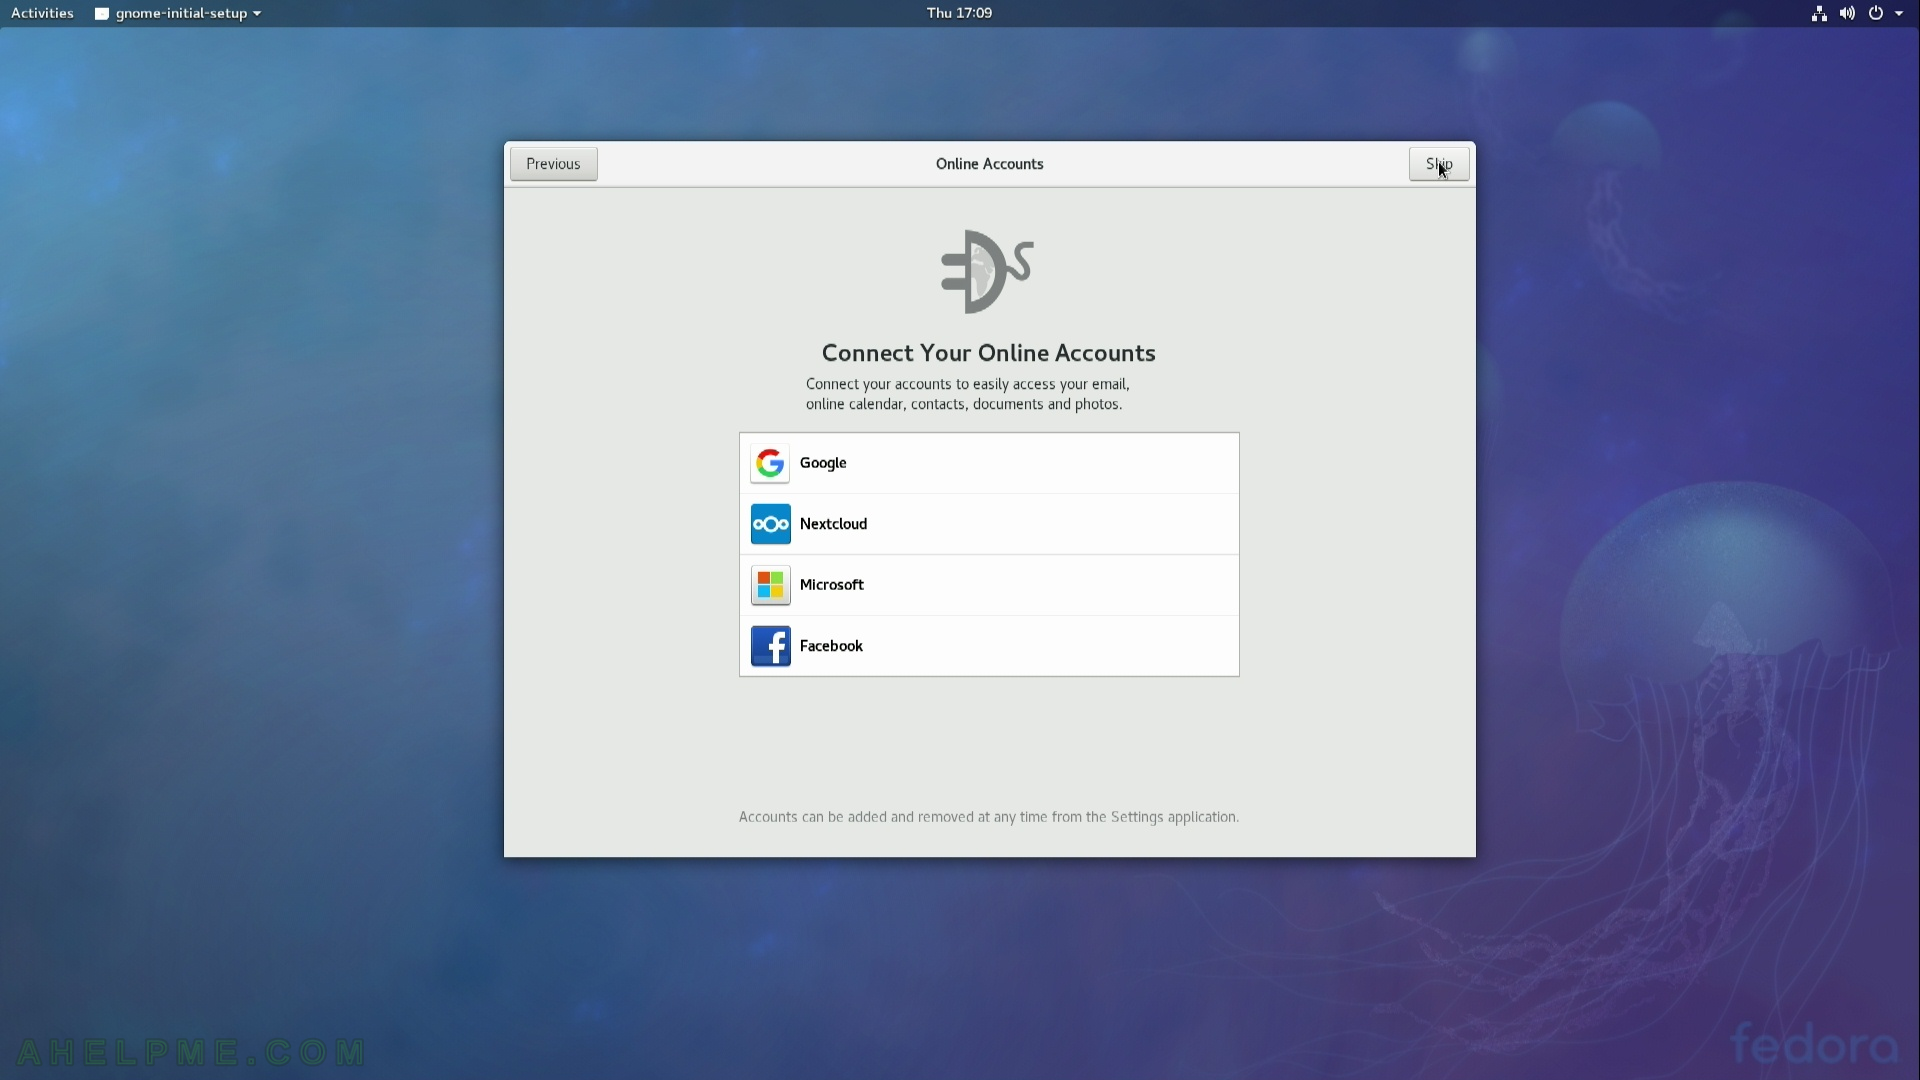
STEP 32) Connect your cloud accounts
You can ave a shared folder connected with your cloud account, as you can see many different providers are supported – Google, Microsoft, Facebook, Nextcloud and many more. You could enable this feature and a lot more accounts from the settings, too.
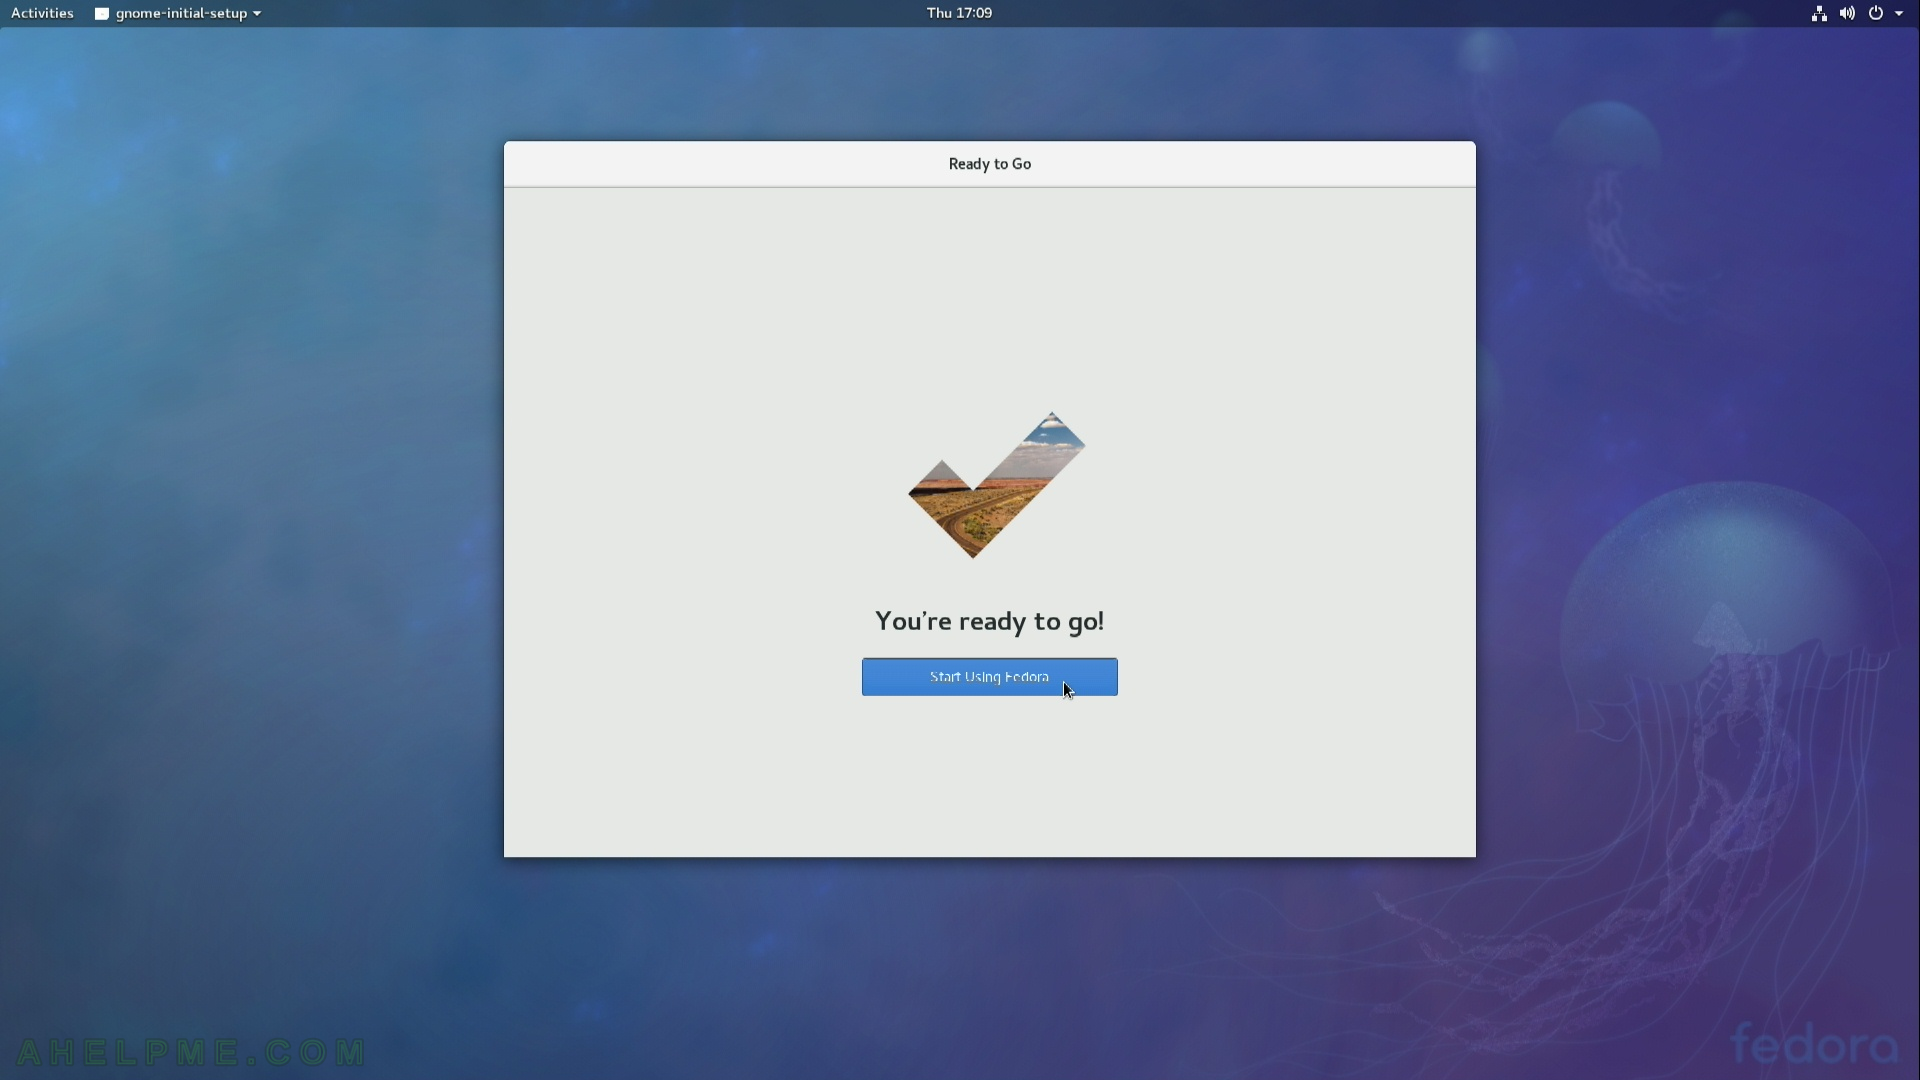
STEP 33) Your are ready to go!
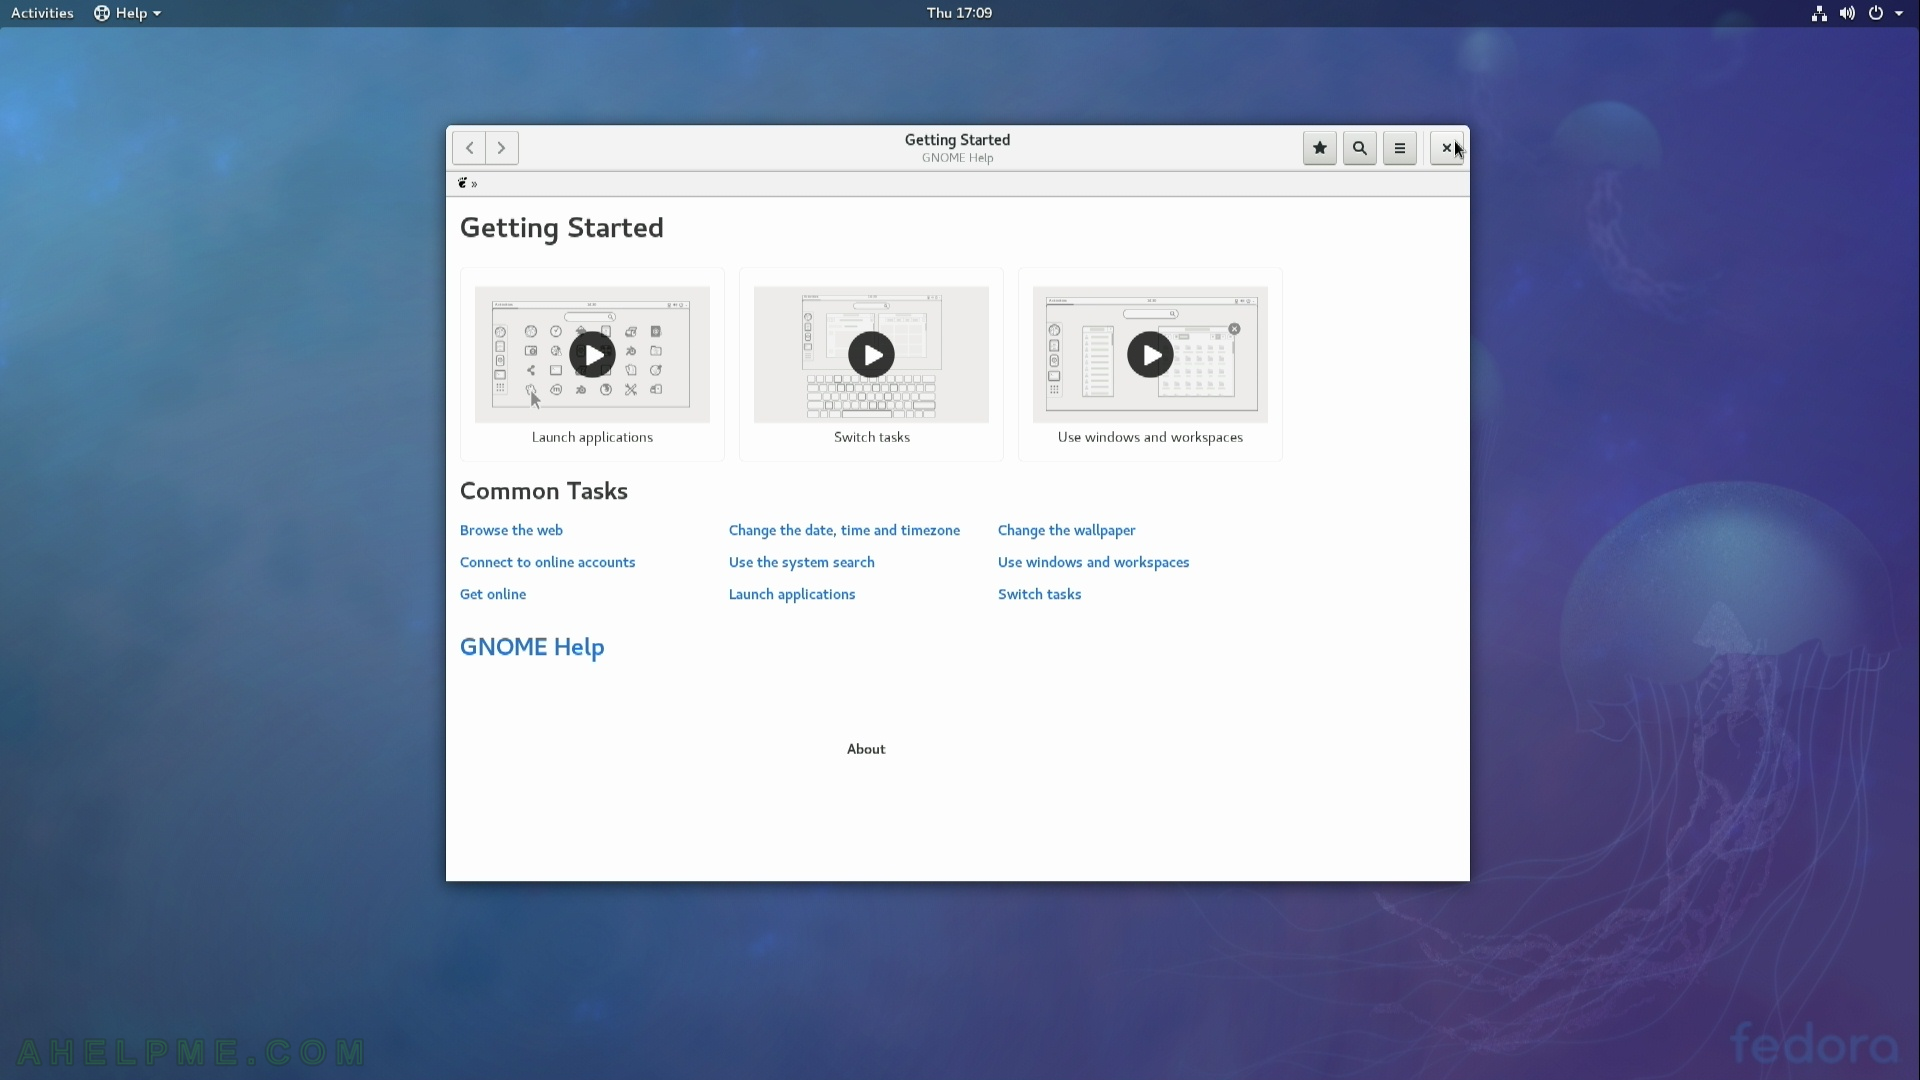
STEP 34) Getting started! Useful tips for the GUI.
Just close it or if you are new check them out by clicking next several times.
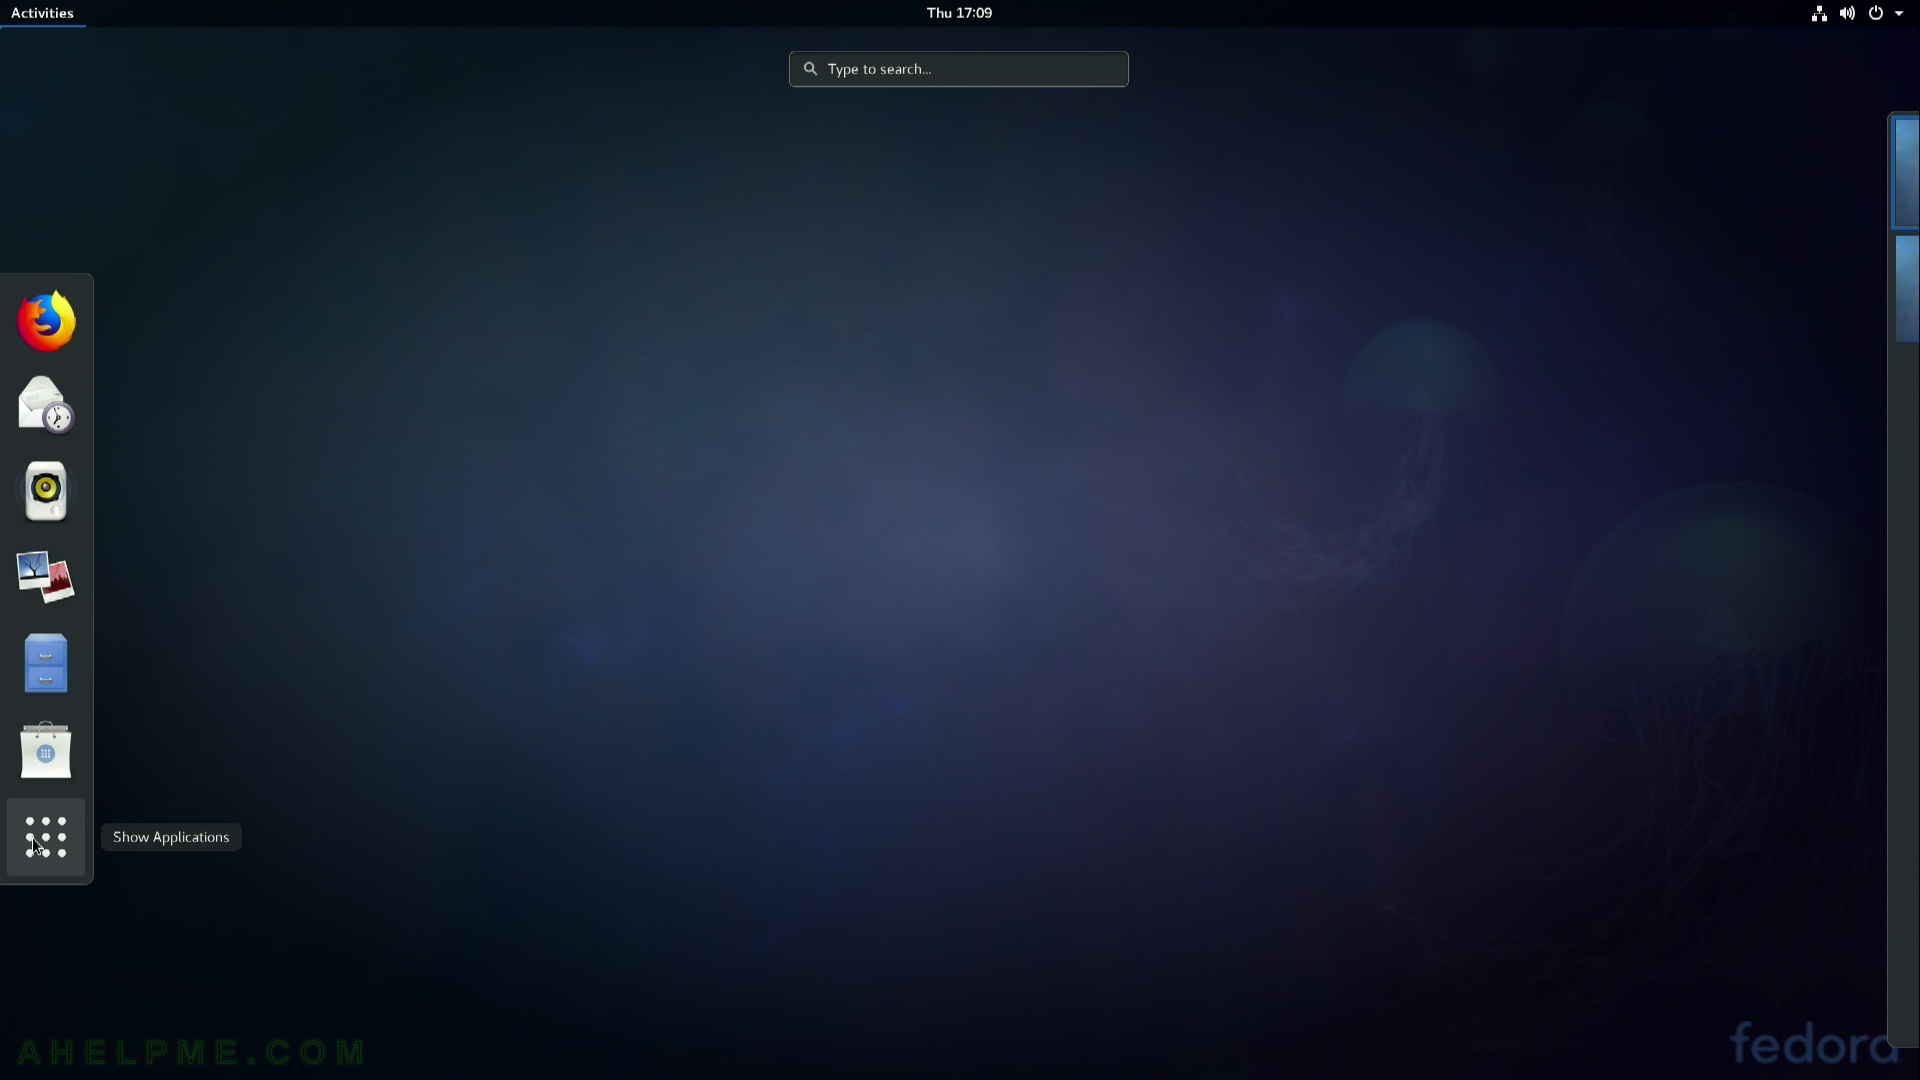
STEP 35) And here is the desktop of your freshly installed Fedora 27 using Gnome.
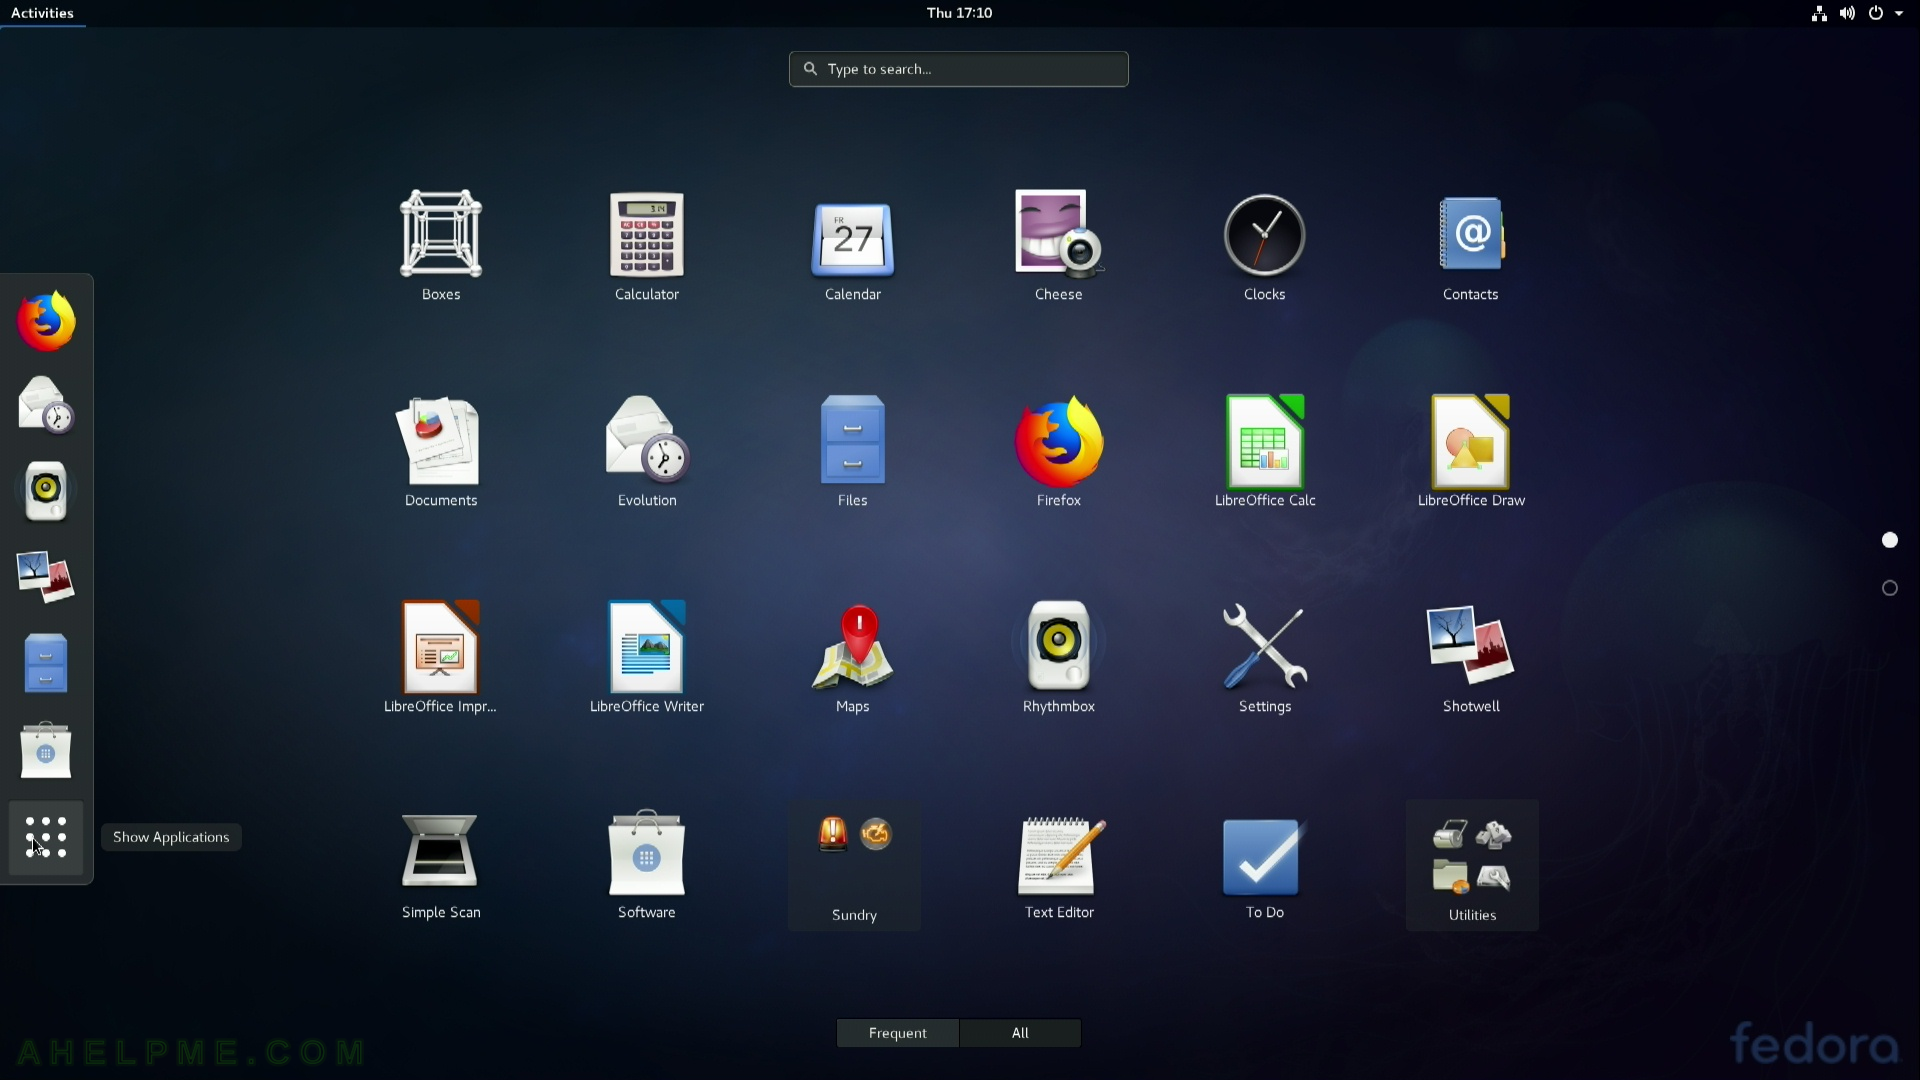
STEP 36) Show applications
The default pre-installed application.
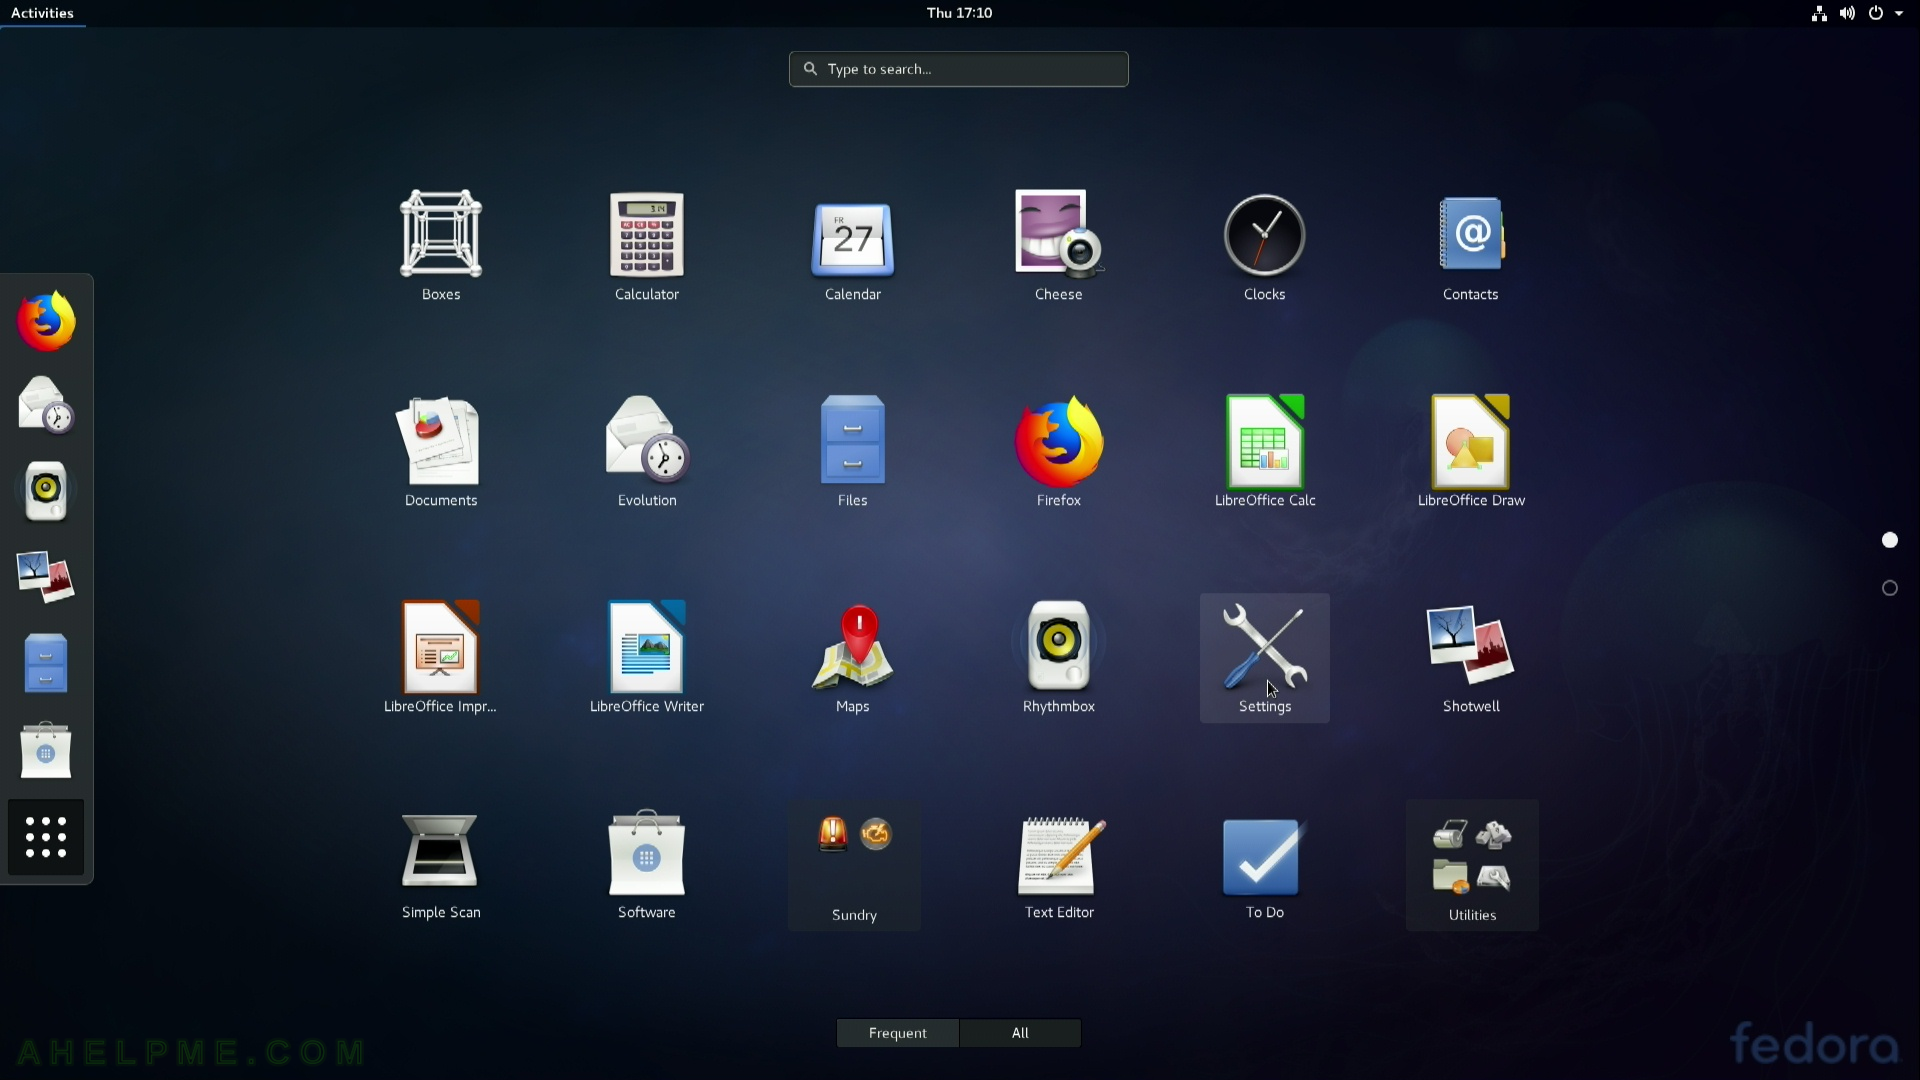
STEP 37)
So we you saw what you could expect from the installation setup of Fedora 27 (Gnome GUI). If you need more information before deciding to choose Fedora is to see what you could expect from the installed environment so check out our break preview of Fedora 27 (Gnome GUI) – here (coming soon).
3 thoughts on “Install Fedora Workstation 27 (Gnome GUI)”