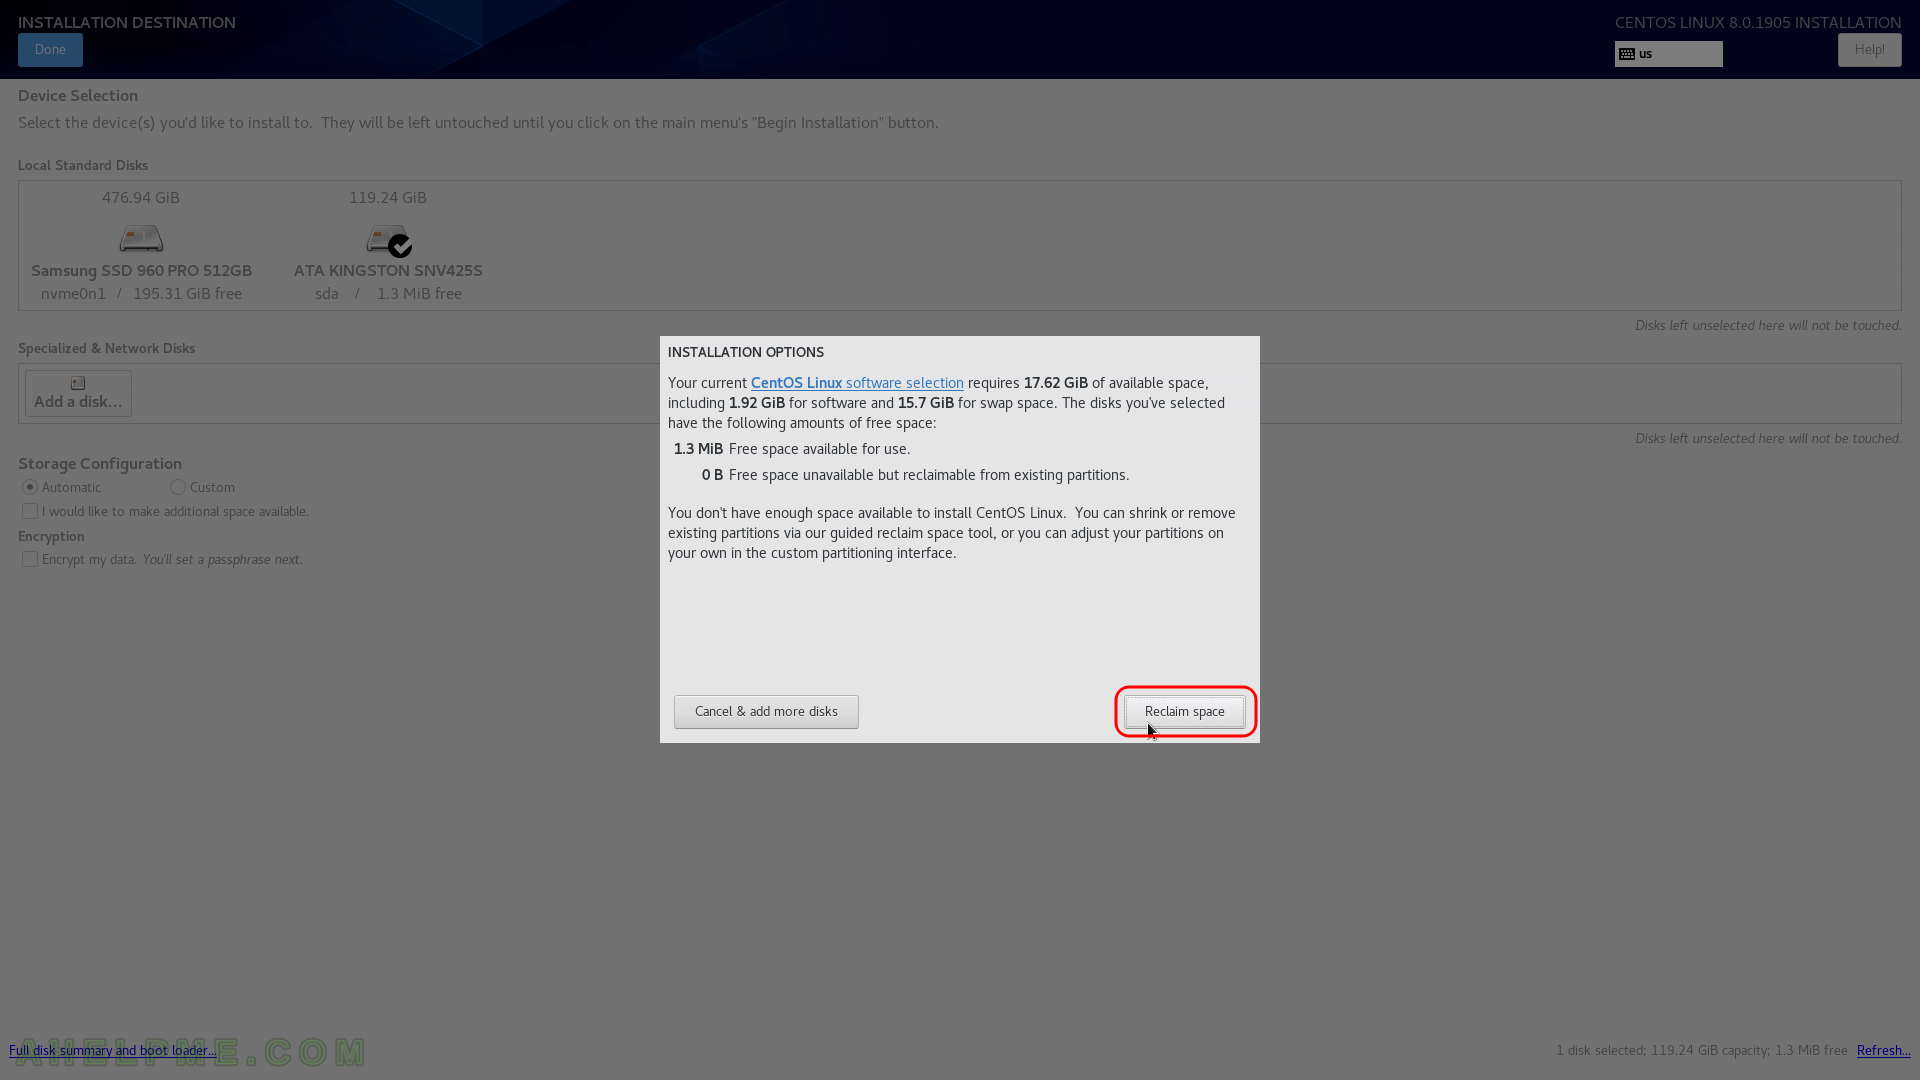
STEP 21) CentOS 8 needs 17.62 GiB of available space on the selected disk at least!
If there is below the requested size of free (available disk) space the setup will offer you to free some space by removing existing data (partitions). If the selected disk is with important data and you do not know what you are doing, stop and don’t continue! If this hard drive is with no important data you may proceed by clickin on “Reclaim space”.
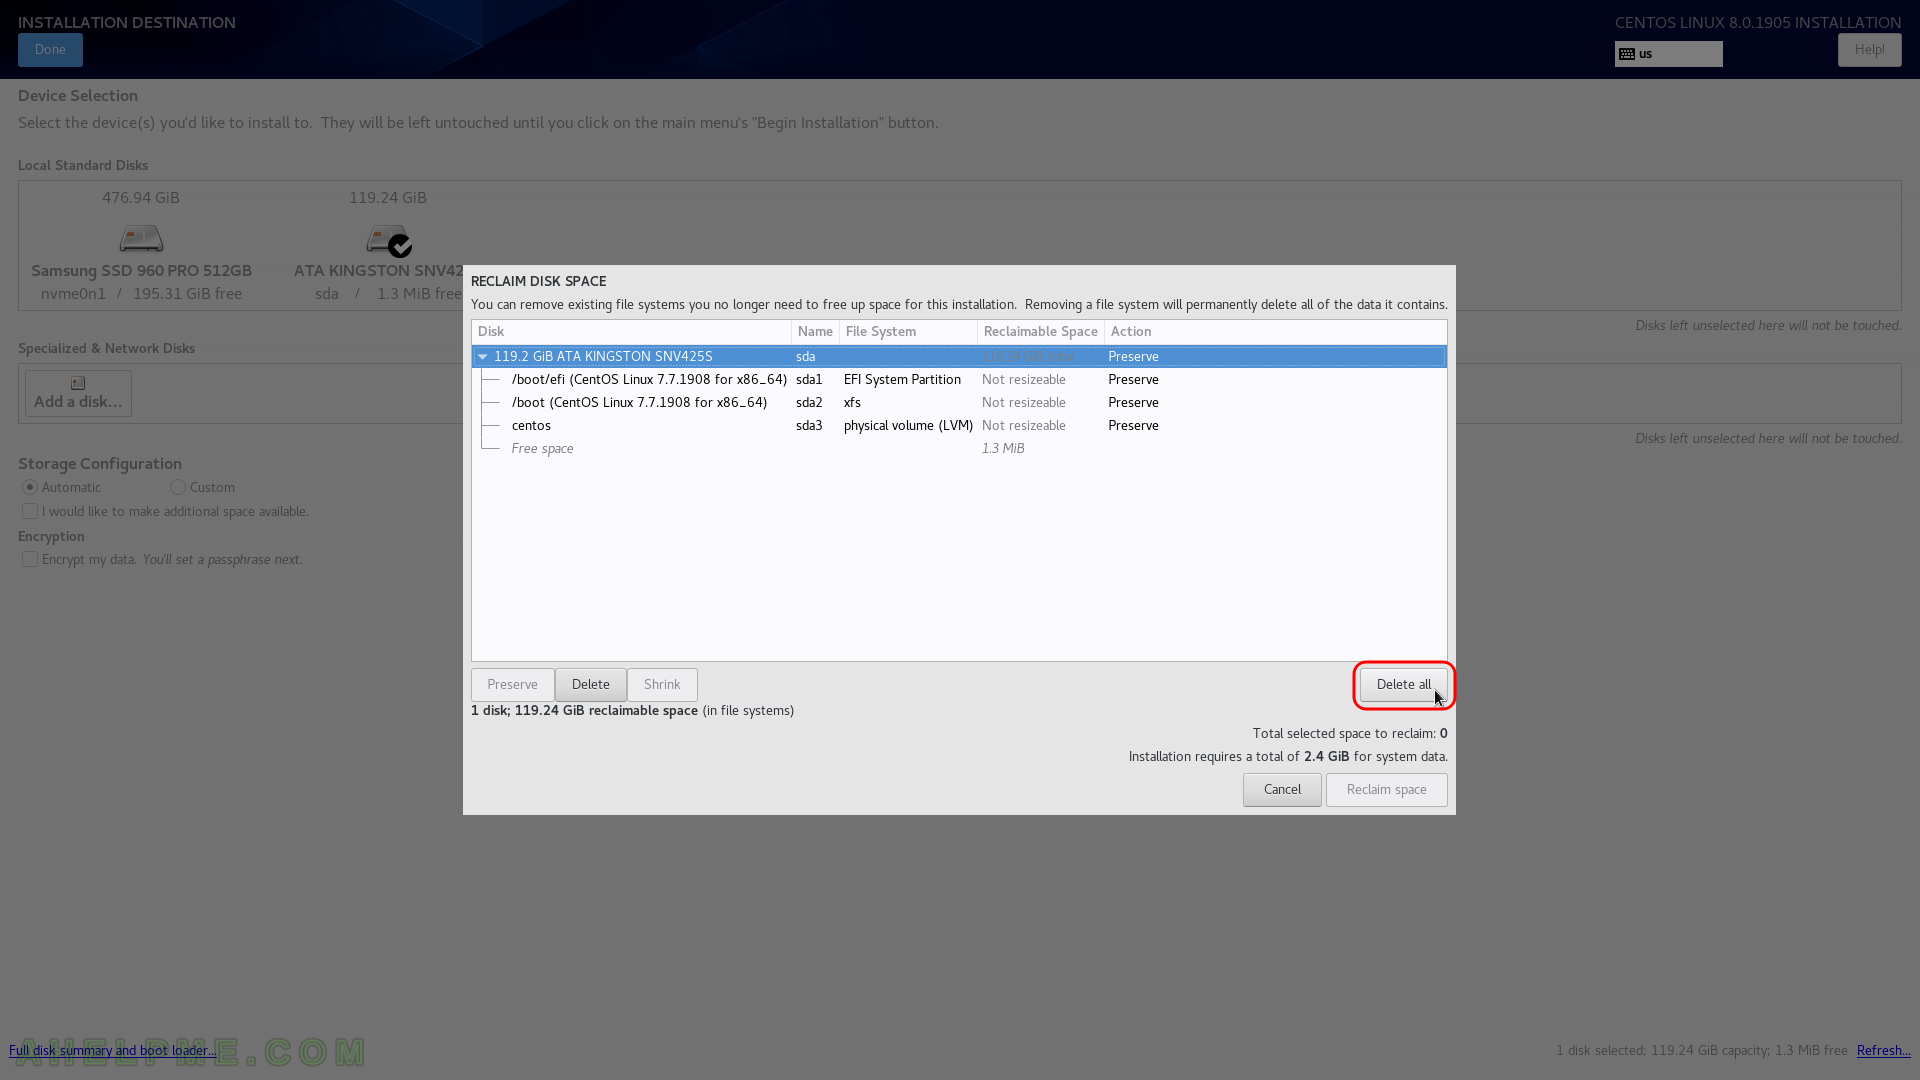
STEP 22) Delete all of the data is the easiest way when you have unnecessary data in the disk and you decided to remove all the data from the disk.
Click on “Delete all” if this is the case. Be careful not to remove something you might need in the future! If you know what you are doing you can free some space (make it available i.e. enough unpartitioned space (~18 GiB at least), which is what the setup needs to proceed) by deleting or shrinking the existing partitions.
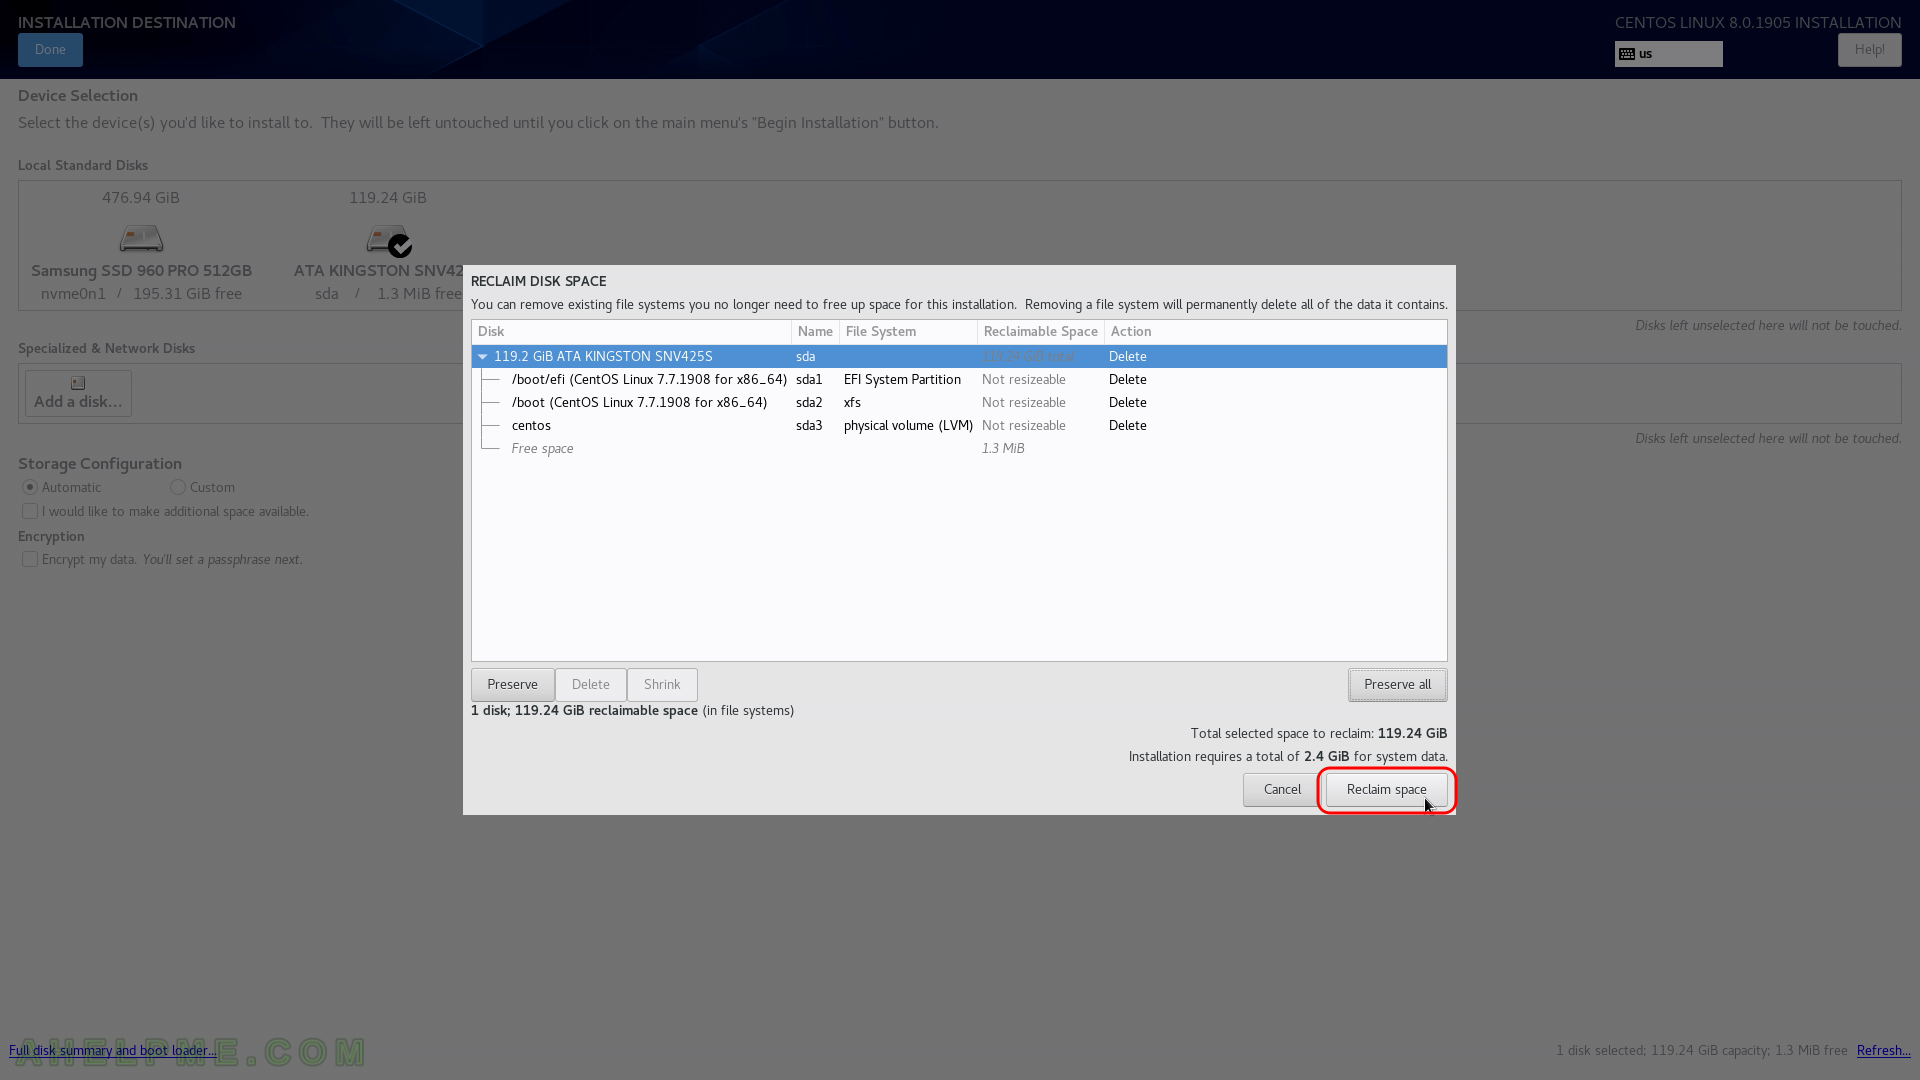
STEP 23) Click on “Reclaim space” to confirm the operation in the previous step – deleting or shrinking of partitions.
You can see the operations the “Action” column, which will be performed on the selected disk after the installation setup begin its actual work. In our case we wanted to delete all data on the disk, so there are four Delete actions pending…
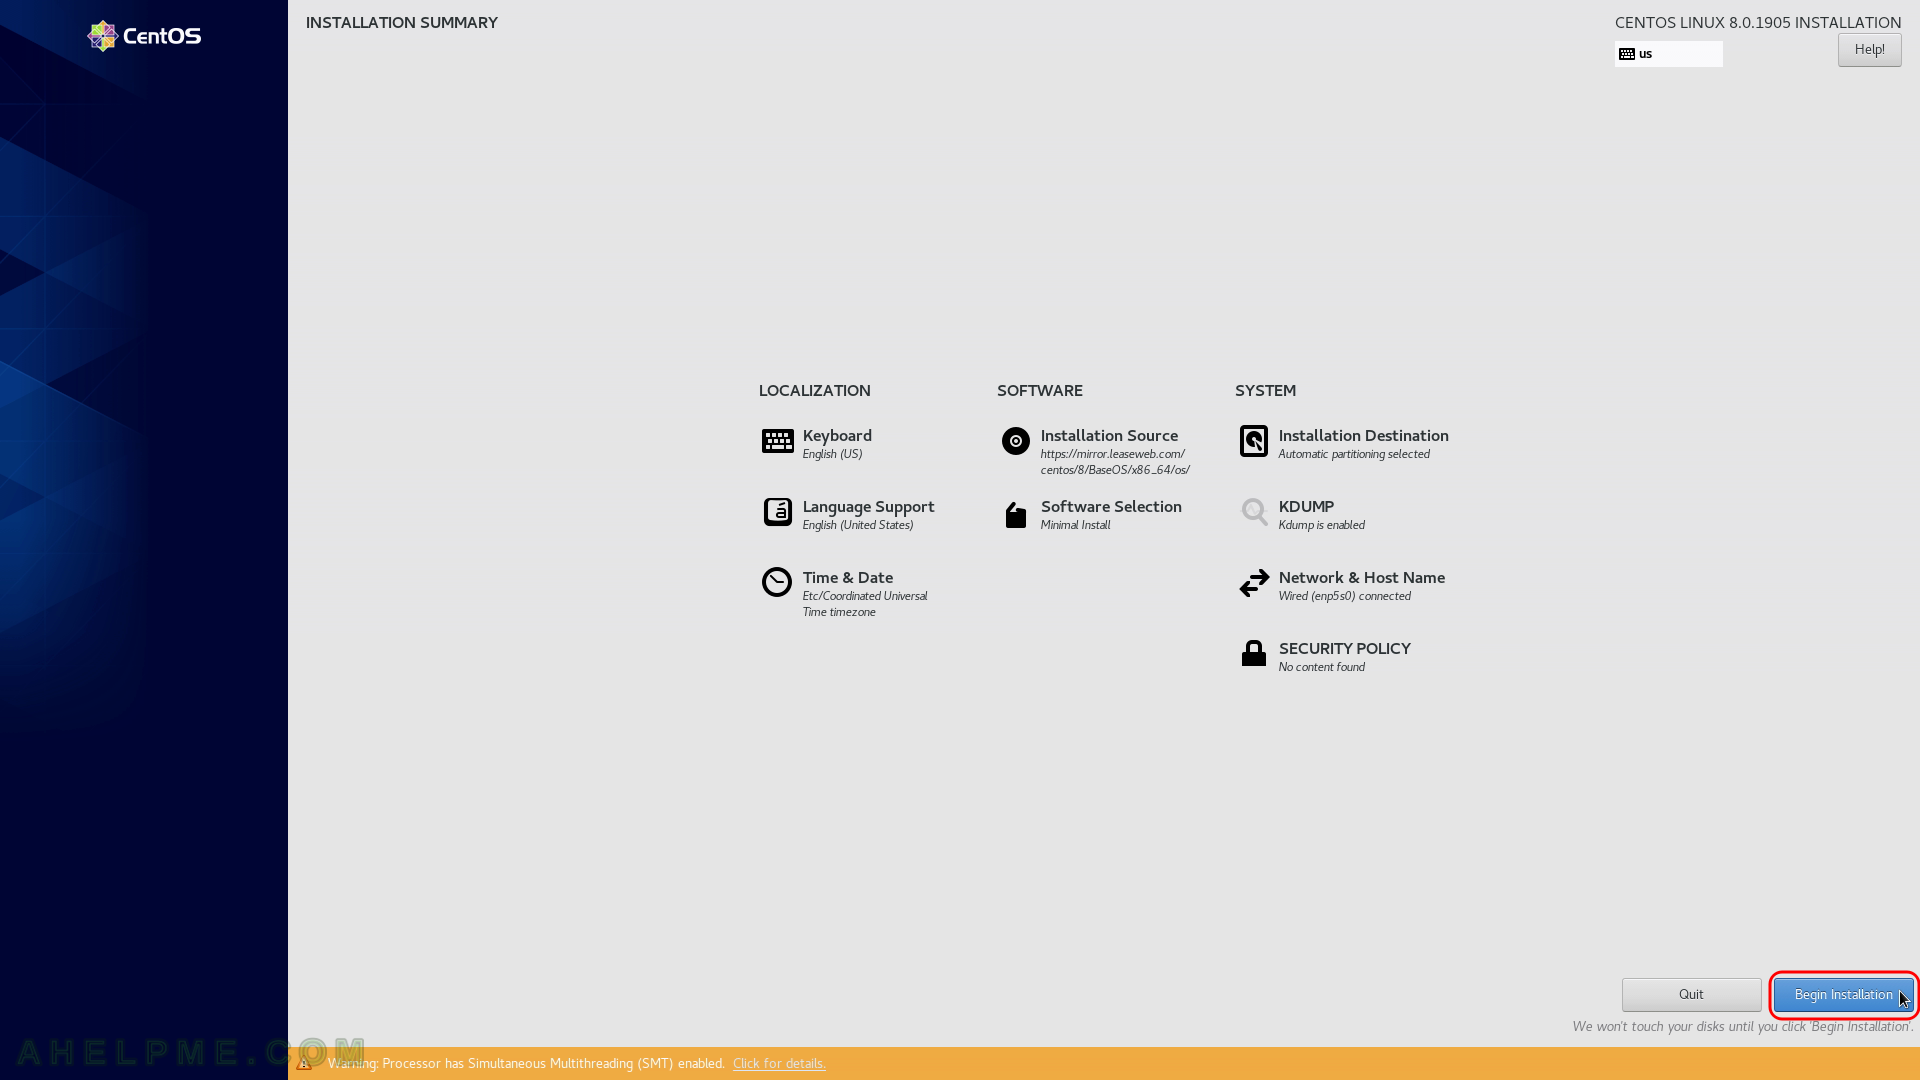
STEP 24) Now the installation setup is configured and by clicking on “Begin Installation” the actual installation on your selected hard drive begins.
The actual installation begins and first the disk must be prepared, so after clicking the very button the disk layout will be changed according the last 3 steps.
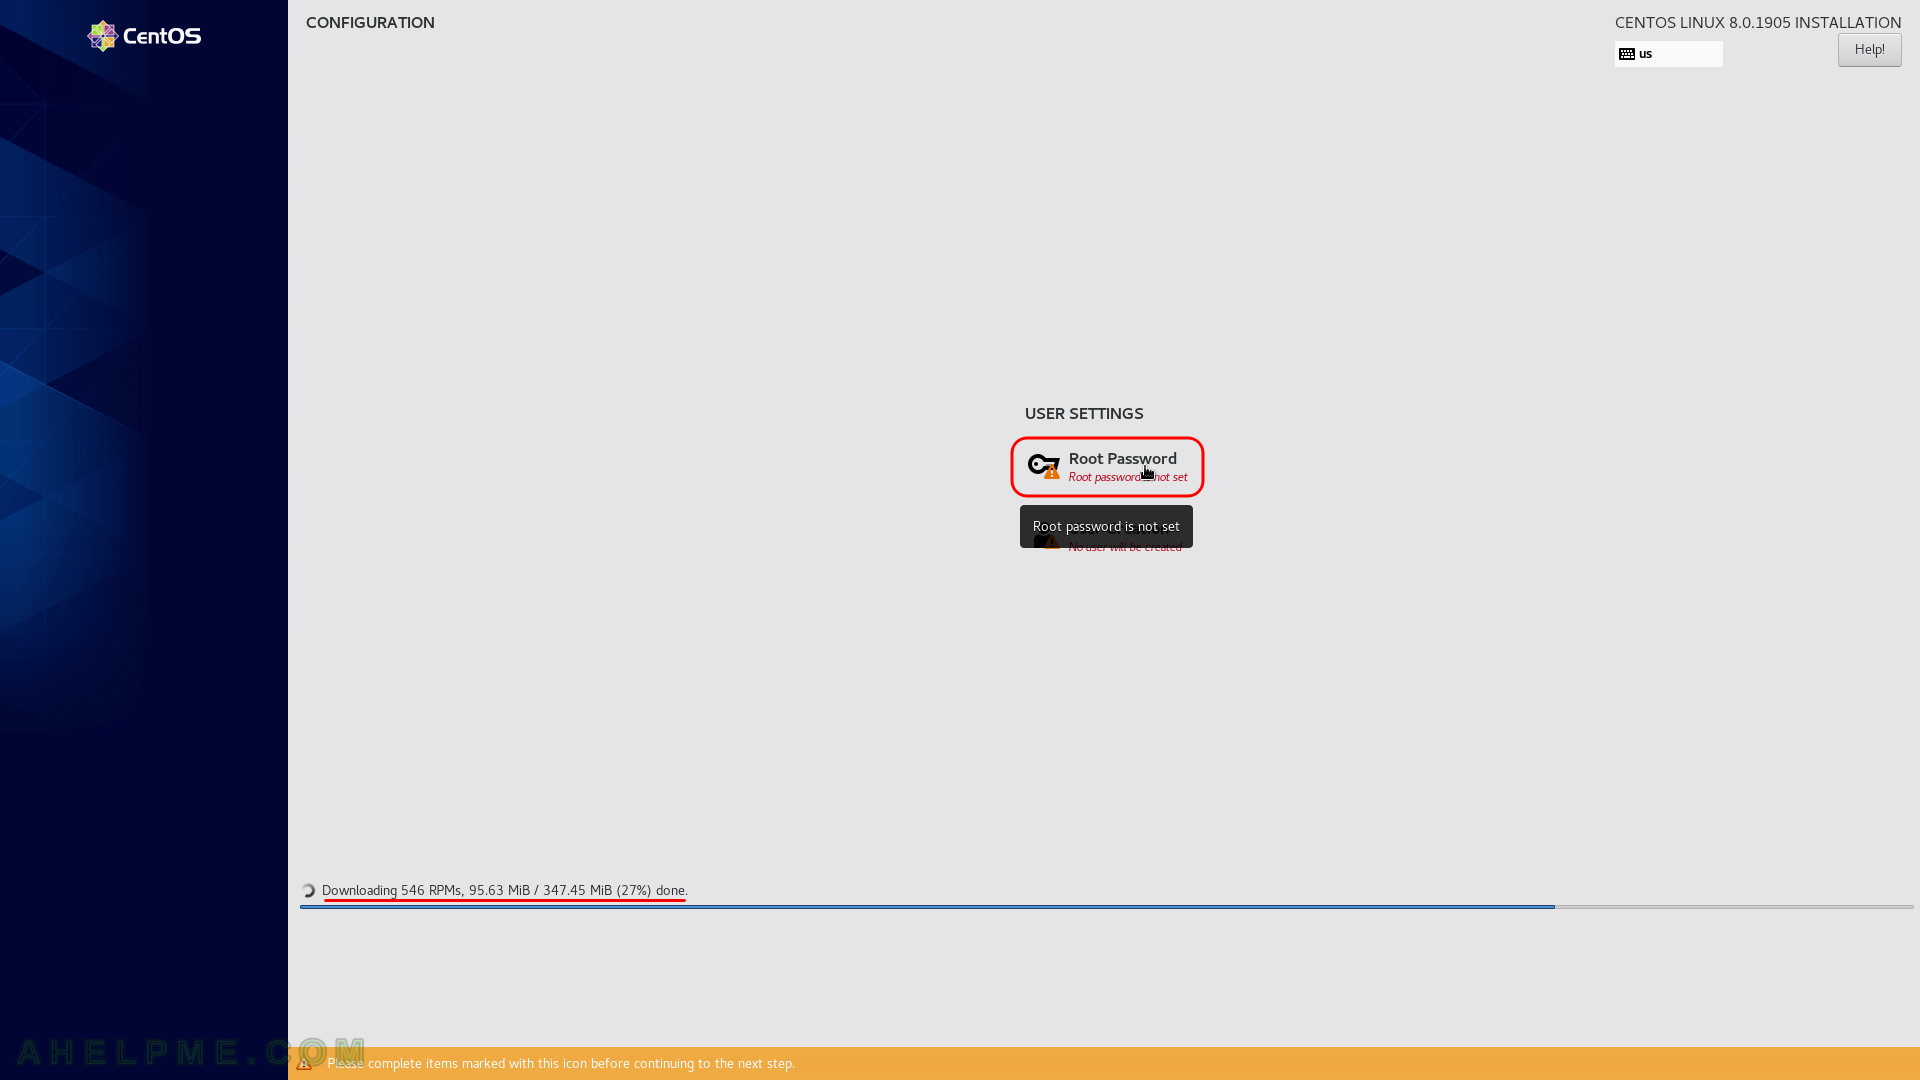
STEP 25) Click on “Root Password” to set the password for the root user.
This action is mandatory and you won’t be able to continue without setting a root password.
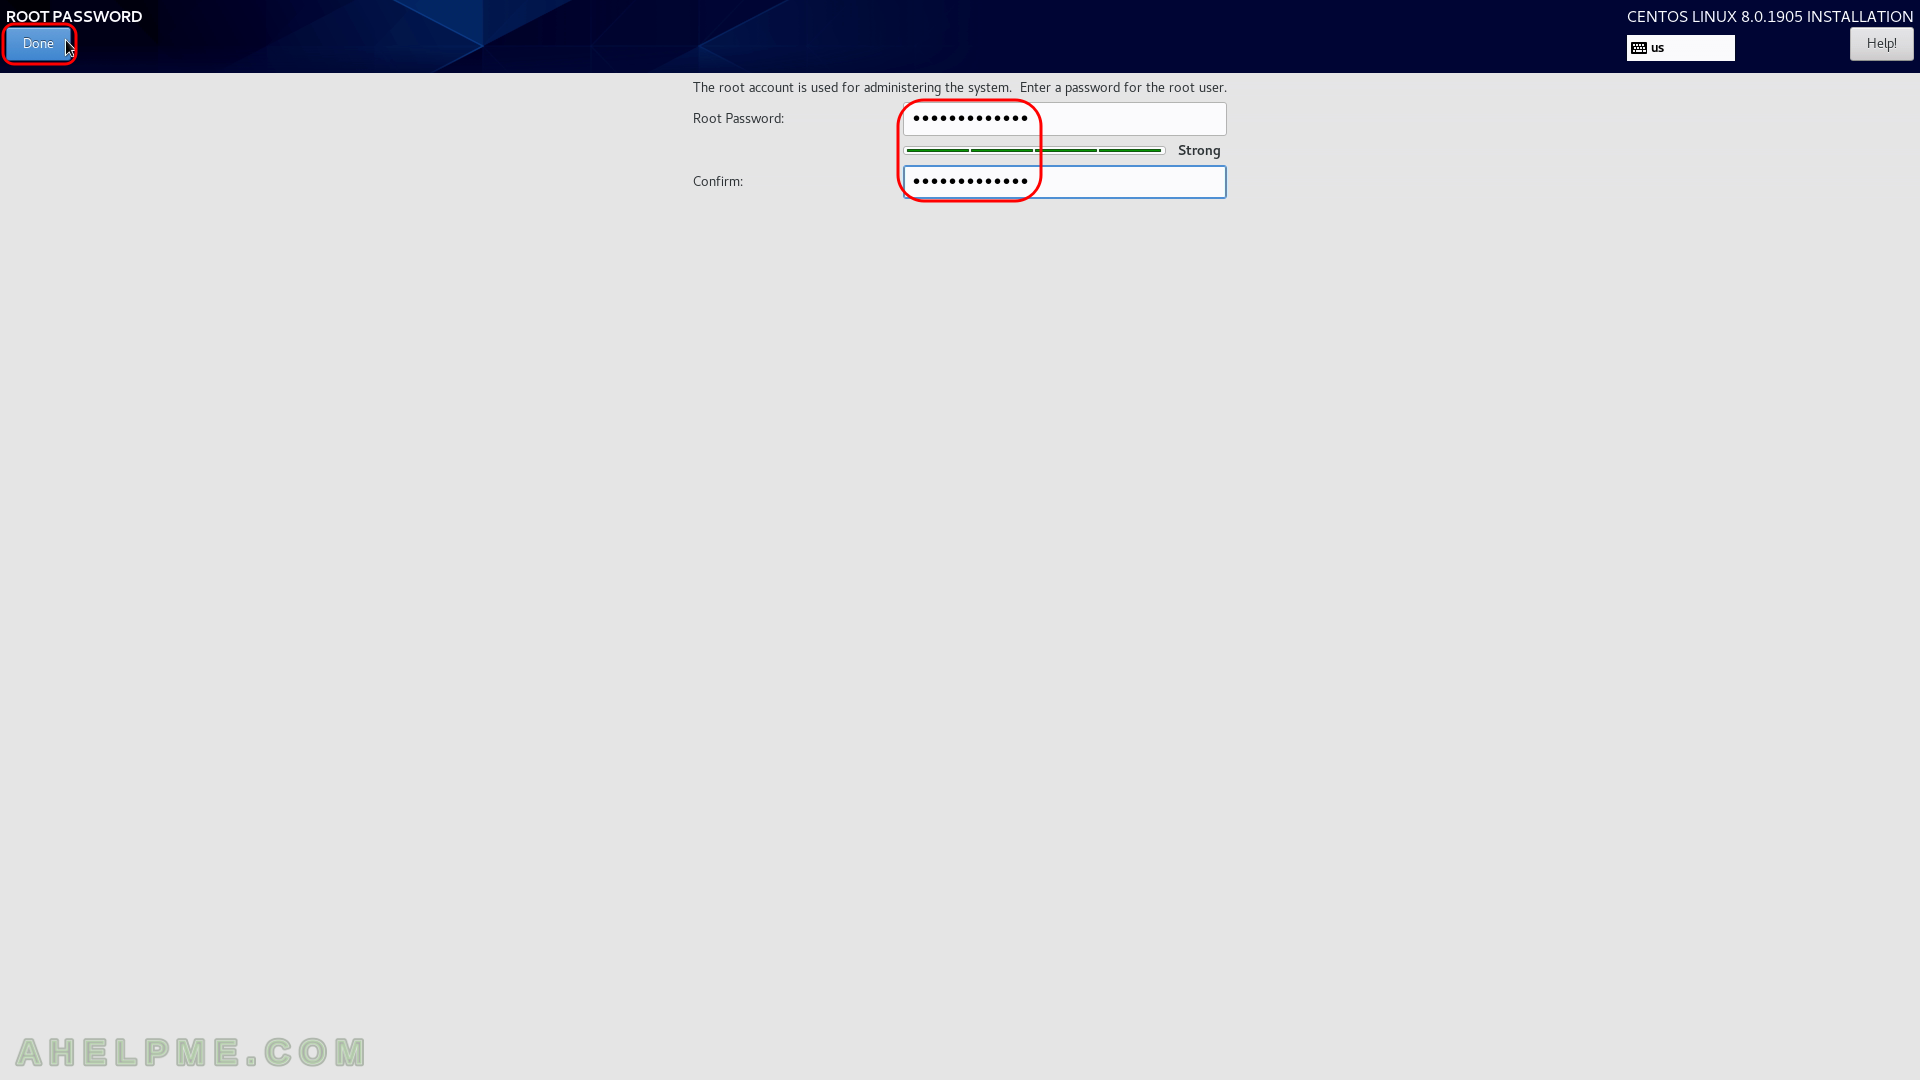
STEP 26) Set two times the password for the root user and click on “Done”.
STEP 27) Create at least one user with administrative privileges.
Click on “User Creation”.
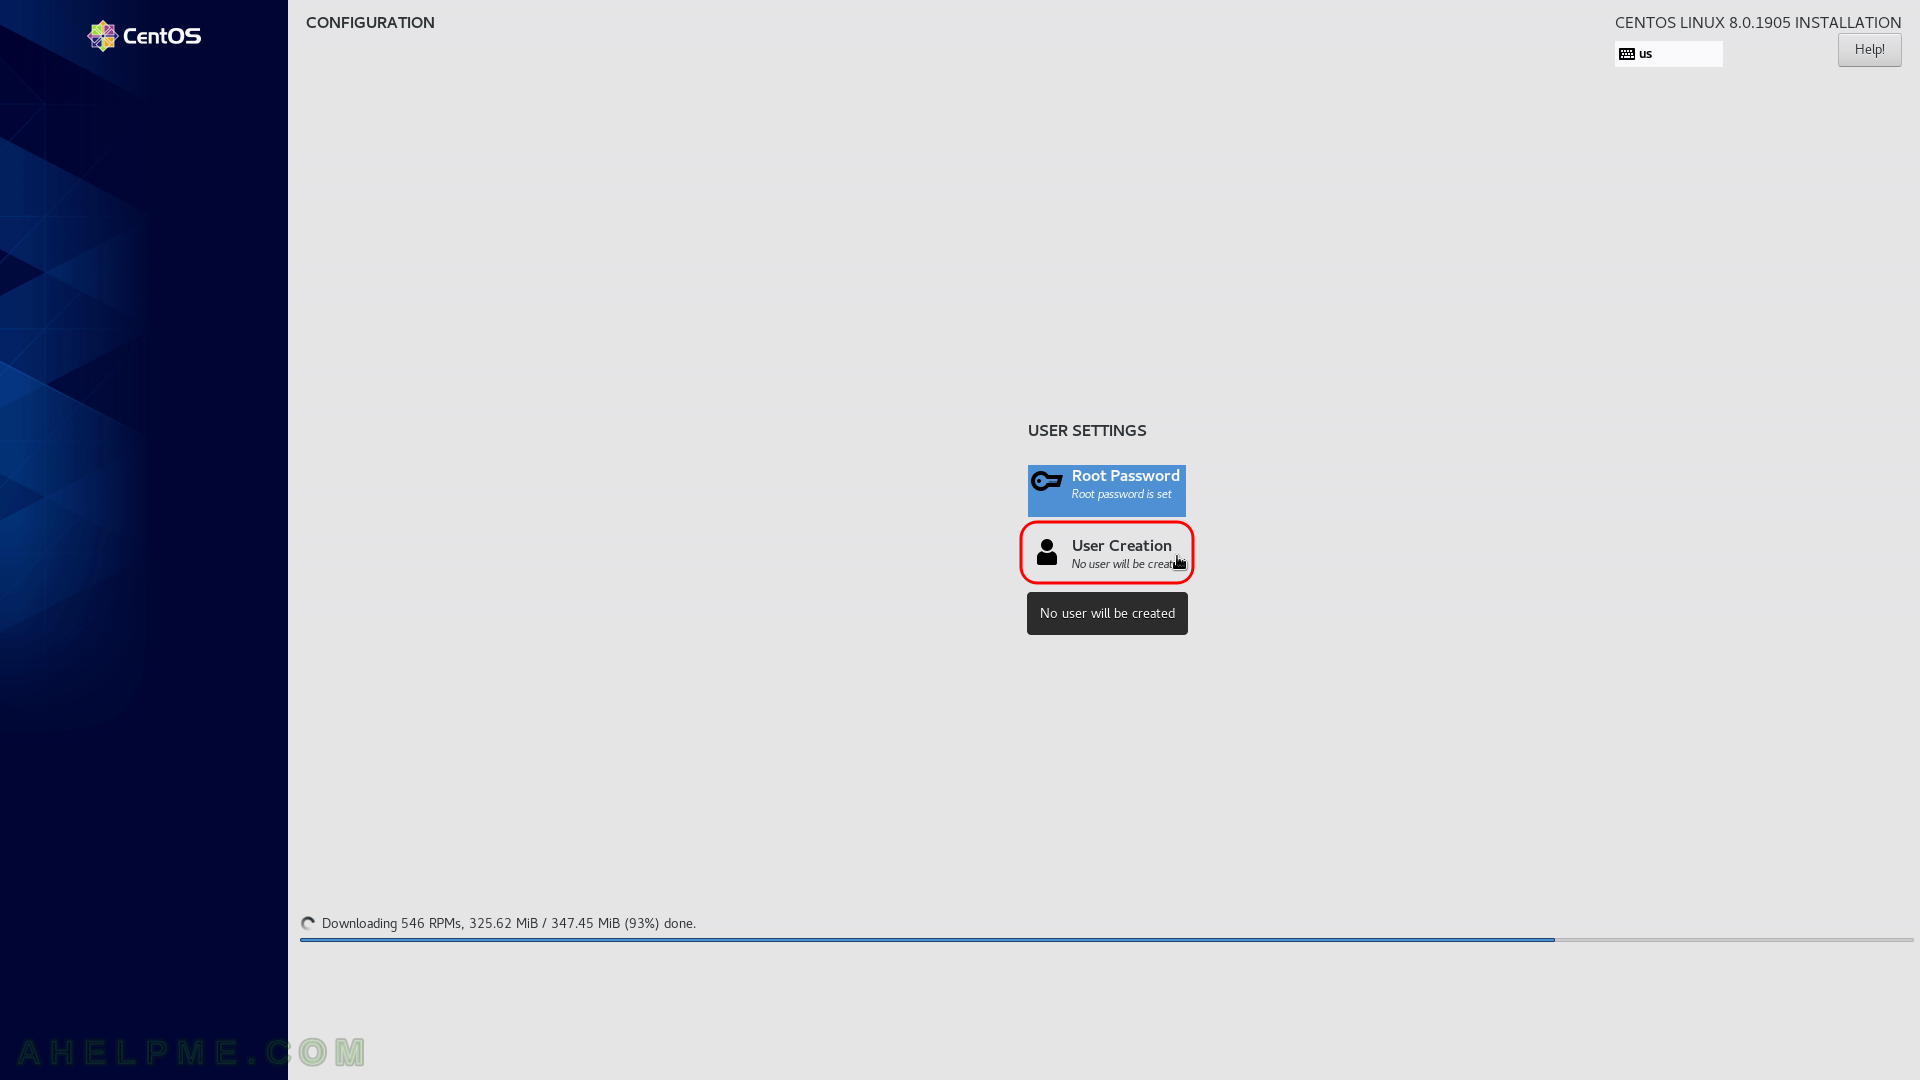
STEP 28) Create at least one user with administrative privileges.
Click on “User Creation”. Meanwhile you could see what is doing the setup – now is downloadind packages.
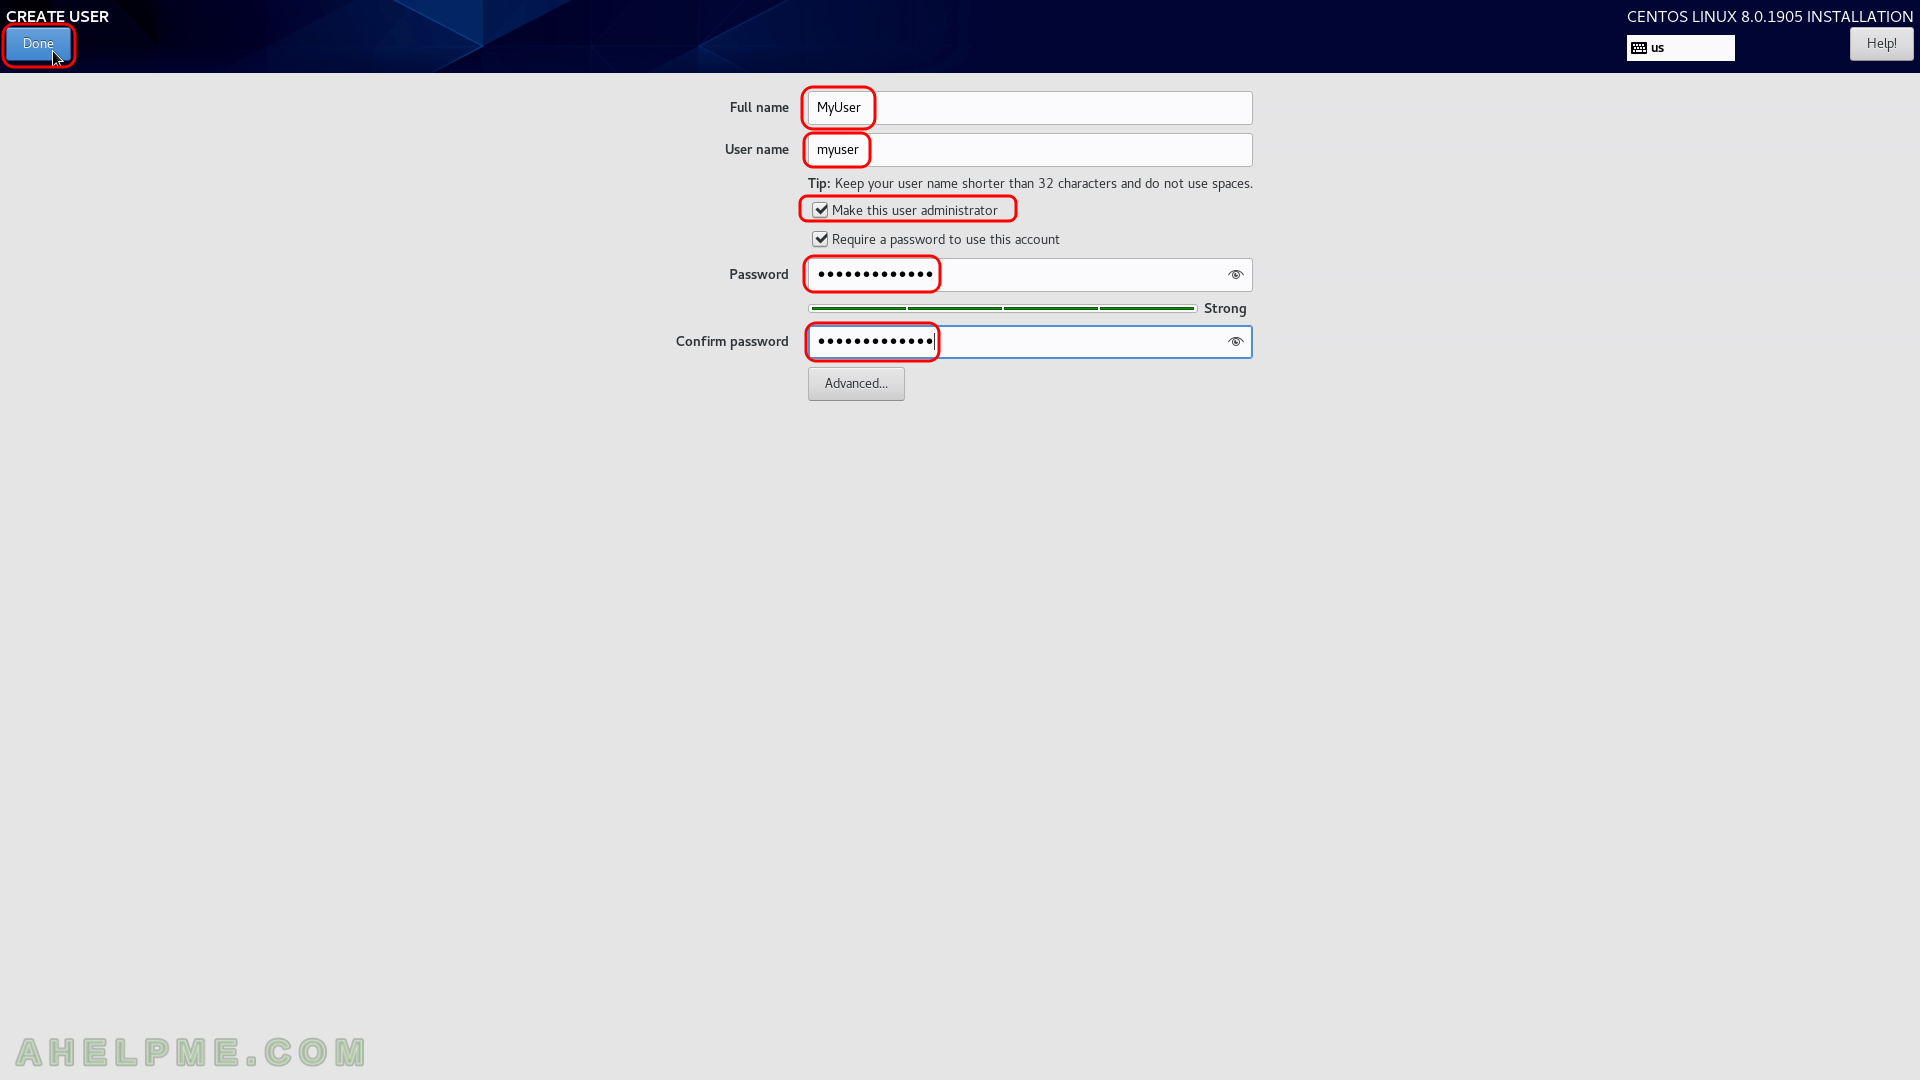
STEP 29) Fill the text box – the full name, the user name and the password and check “Make this user administrator” to allow user right escalations for adiministative purposes.
Click on “Done” when ready.
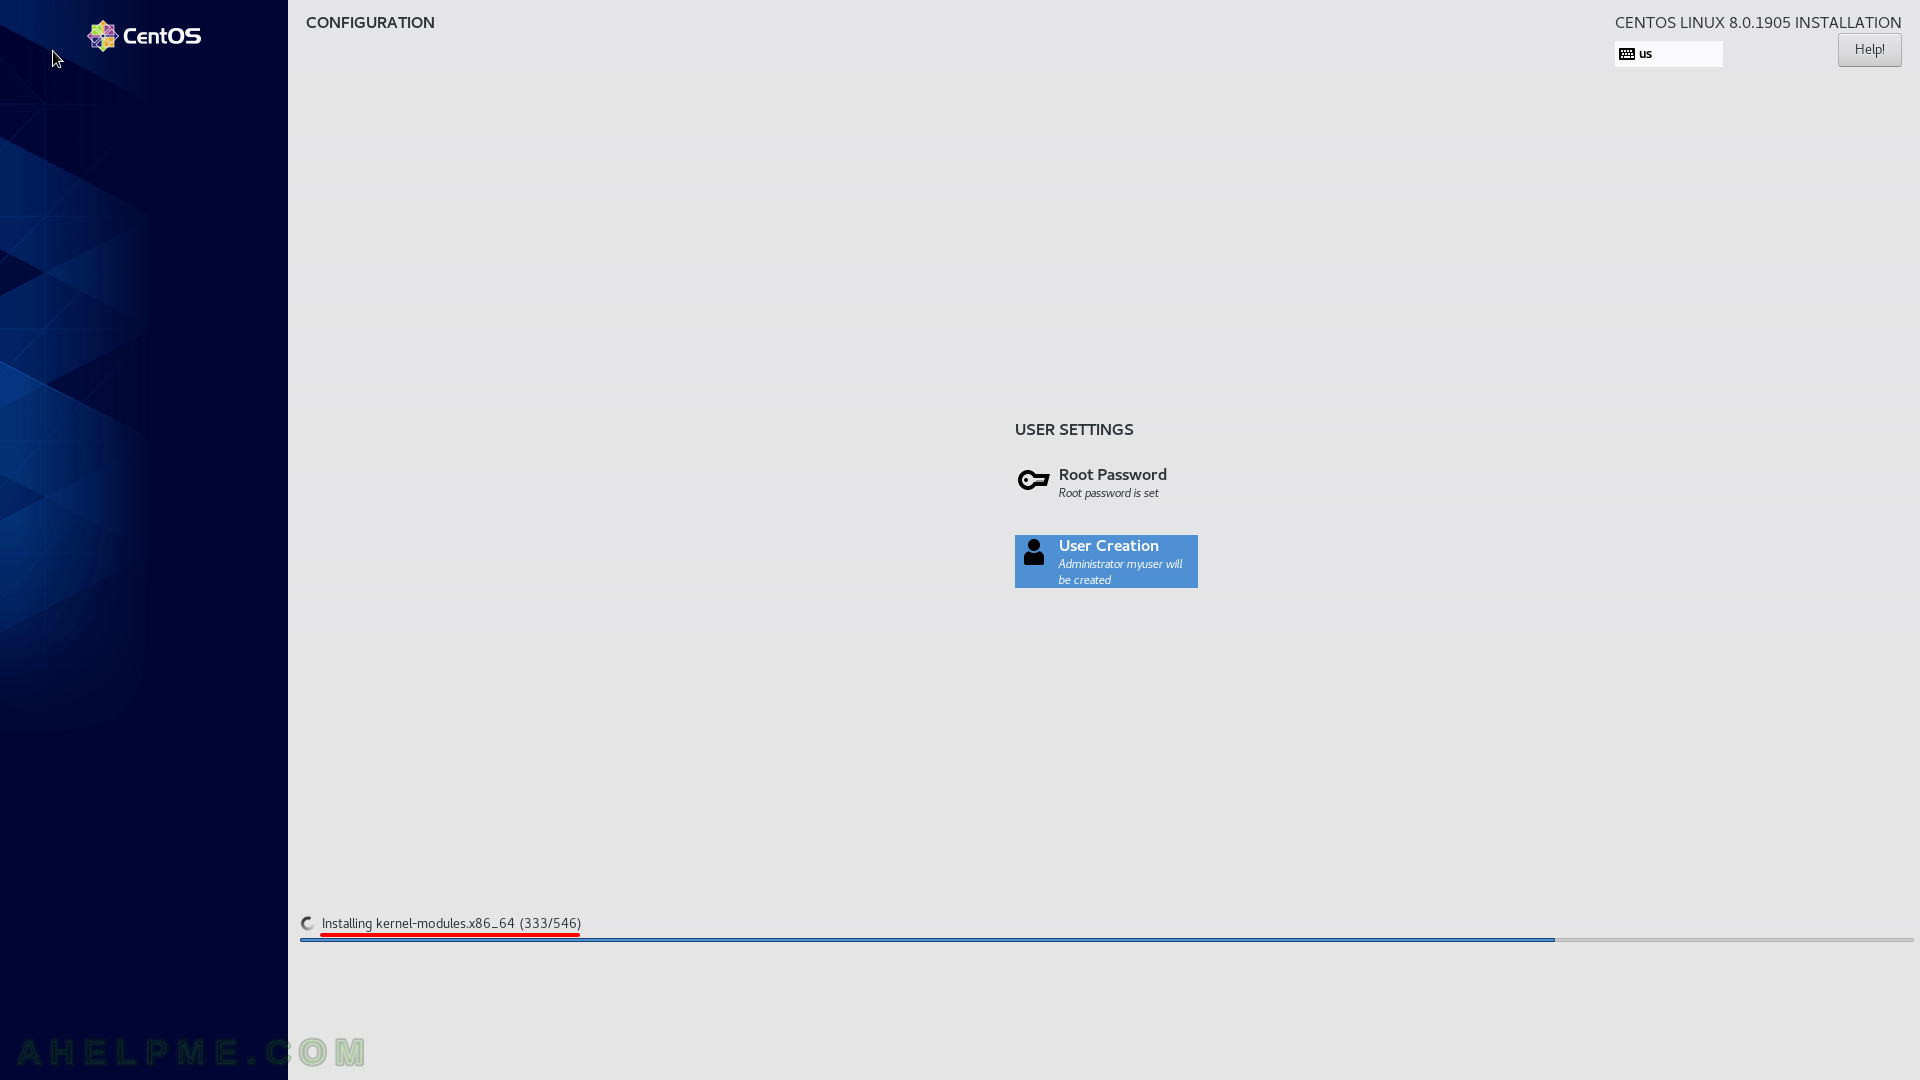
STEP 30) The setup is installing the kernel-modules package.
There is a progress bar of the setup installation progress.
I am so much happy for coming across this solution. I could not figure it out passing the installation stage that has to do with software and luckily this helps a lot