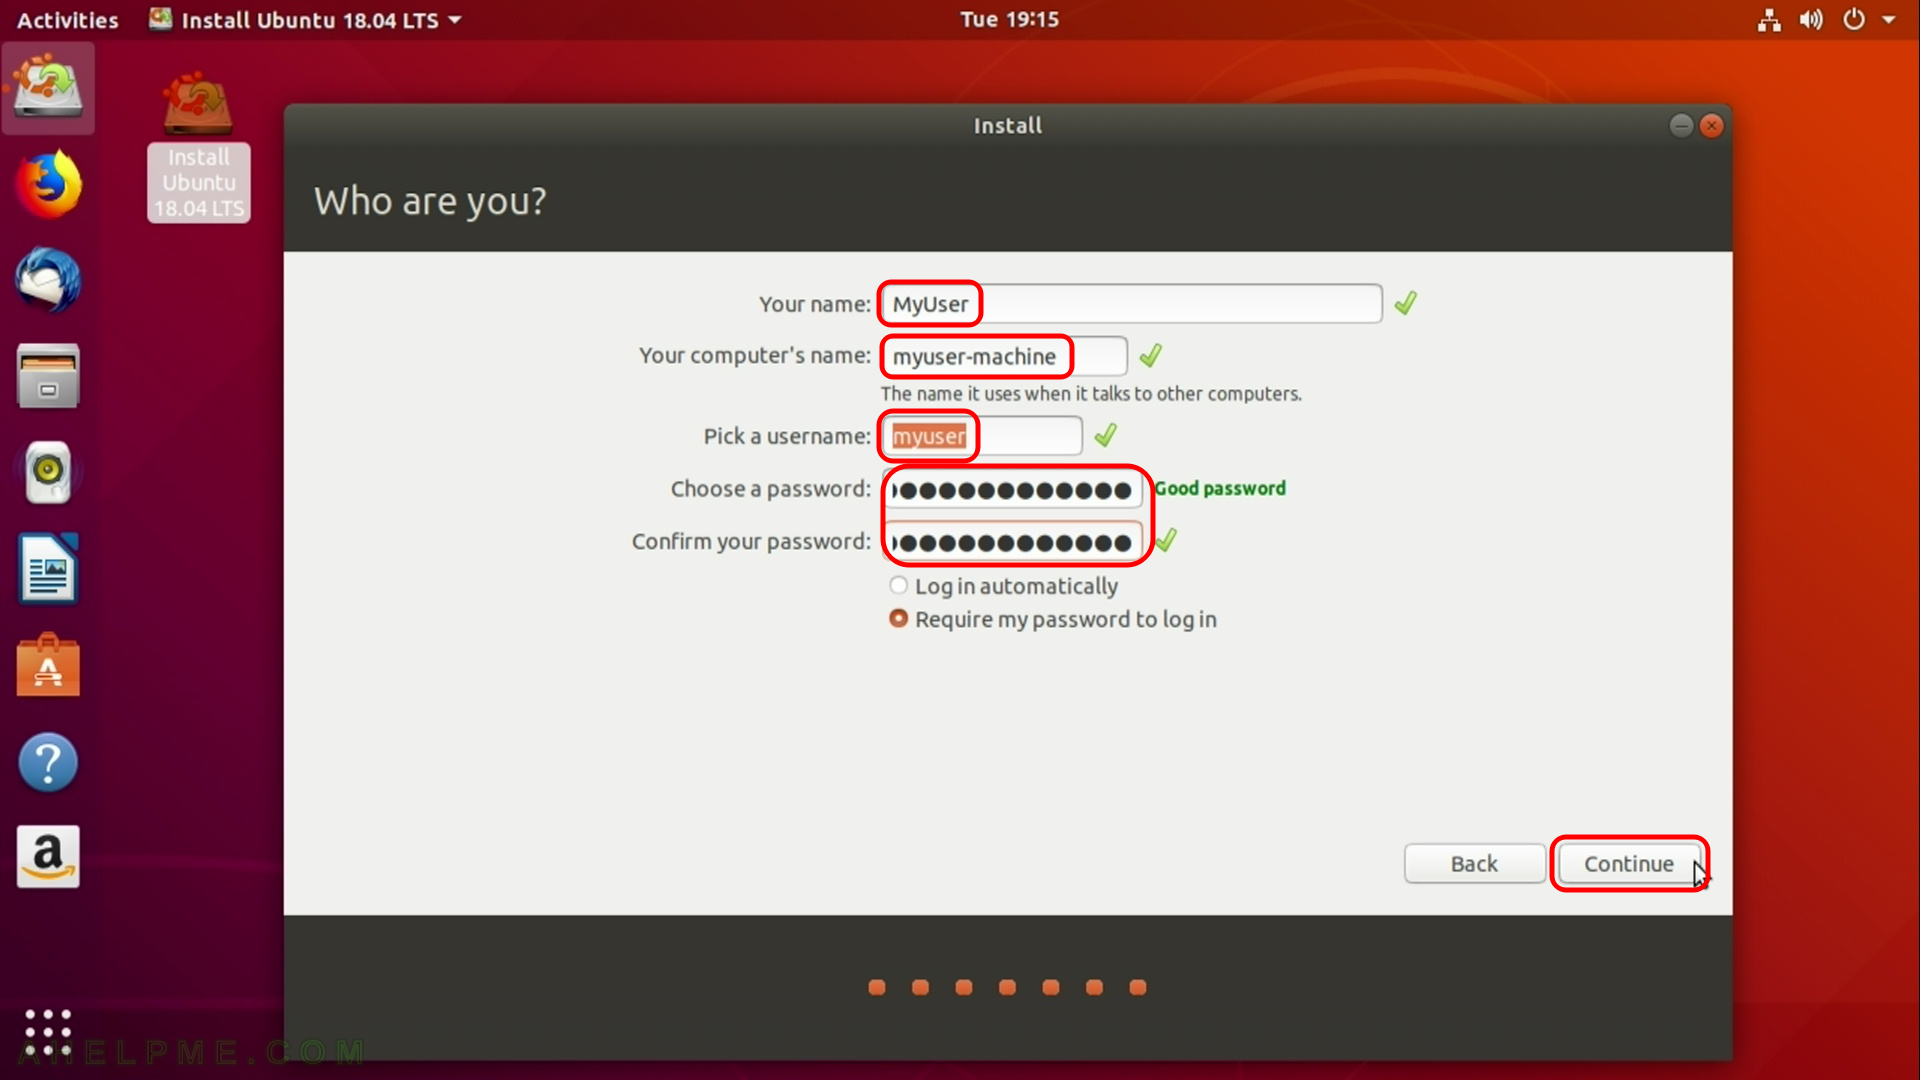
STEP 21) Create your user to login in the system. This user will have administrative privileges with sudo. Press “Continue”.
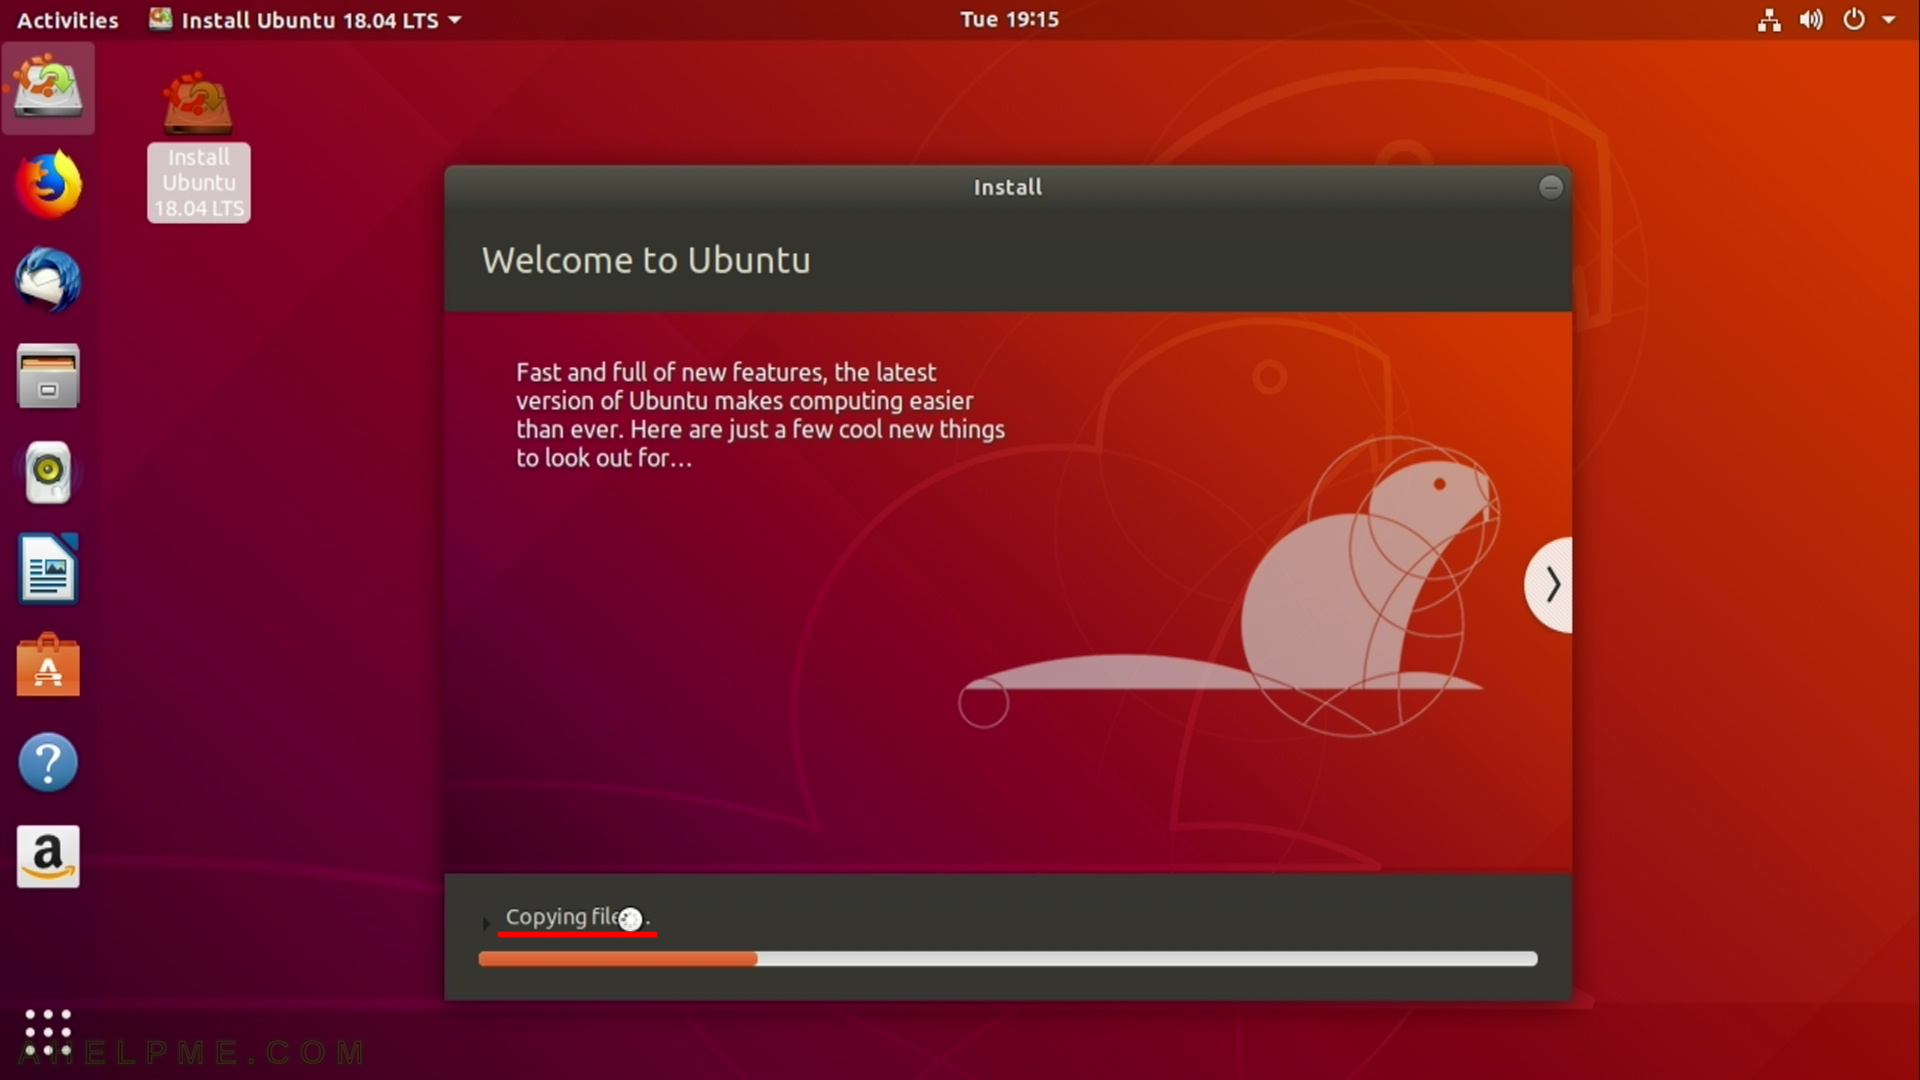
STEP 22) Now the setup is copying all needed files…
You can see more details by clicking on “Copying files…”
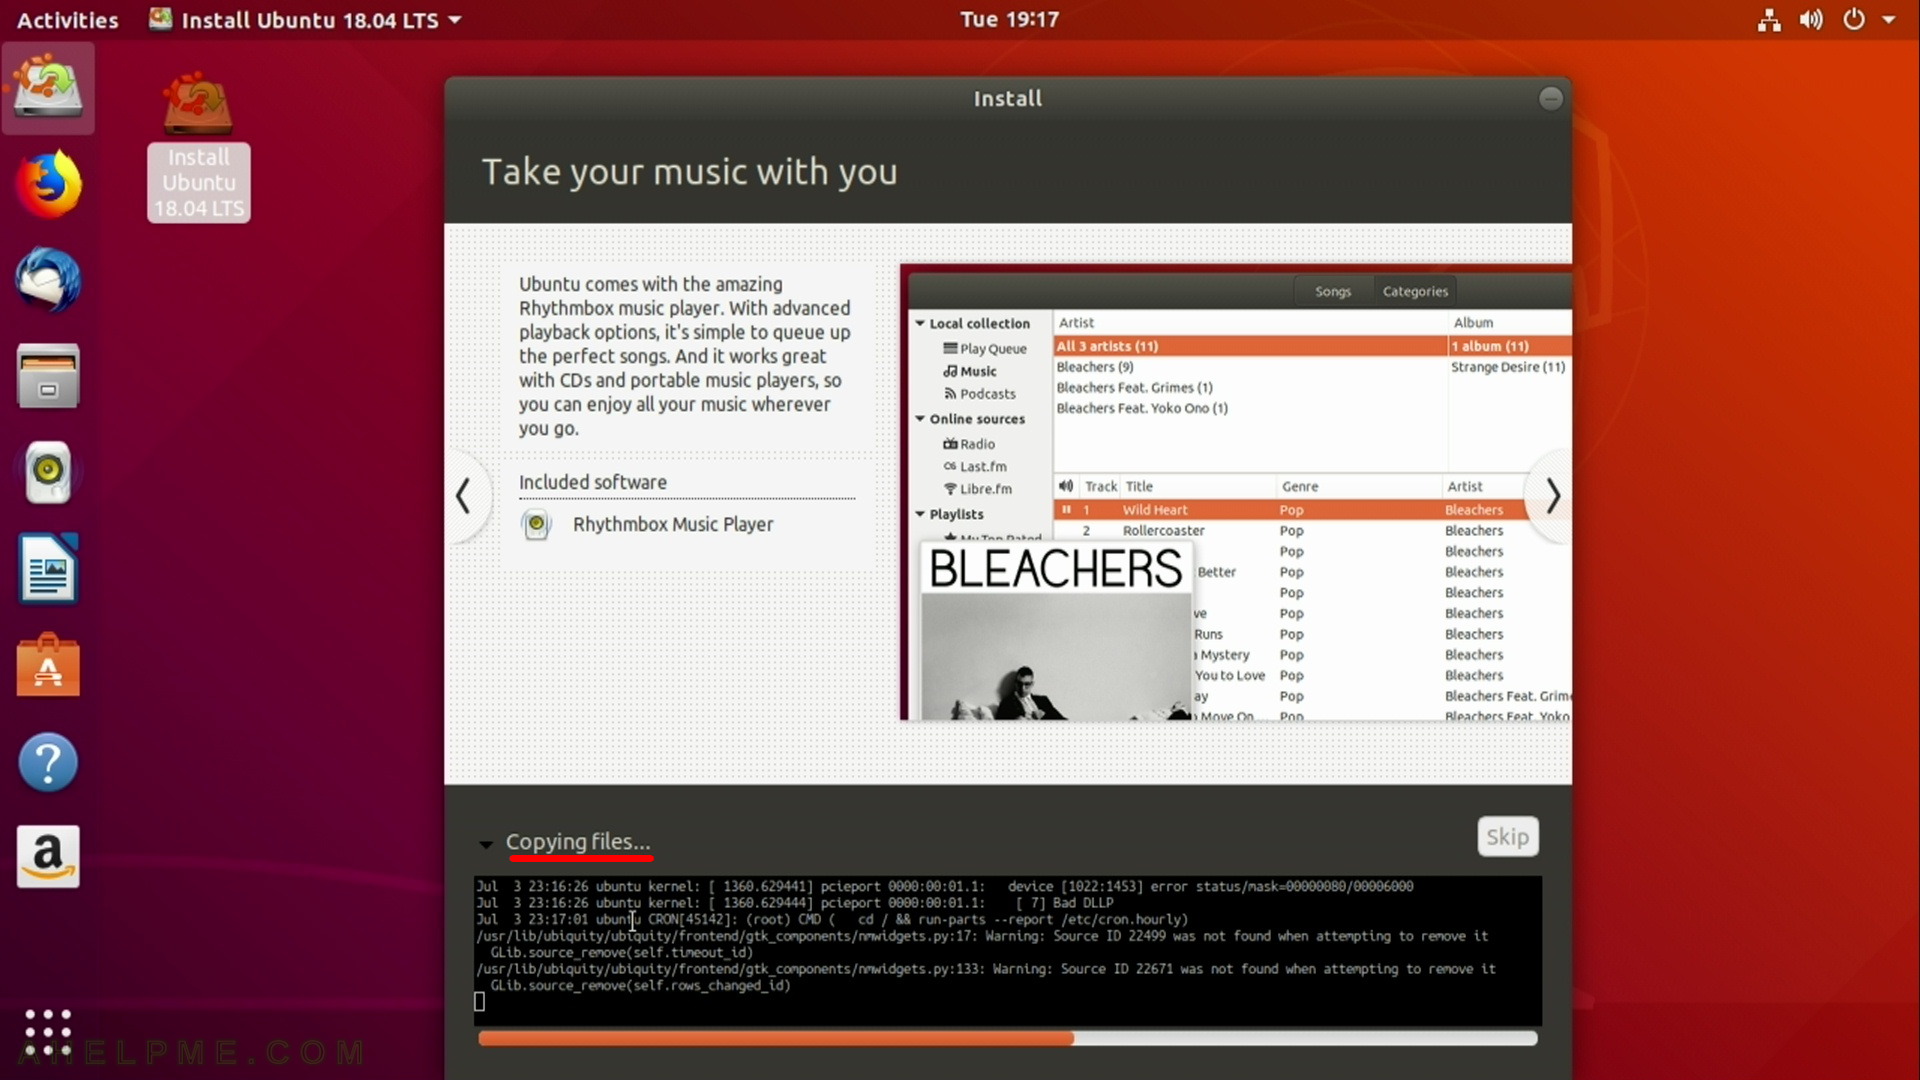
STEP 23) More details what is doing the installation setup.
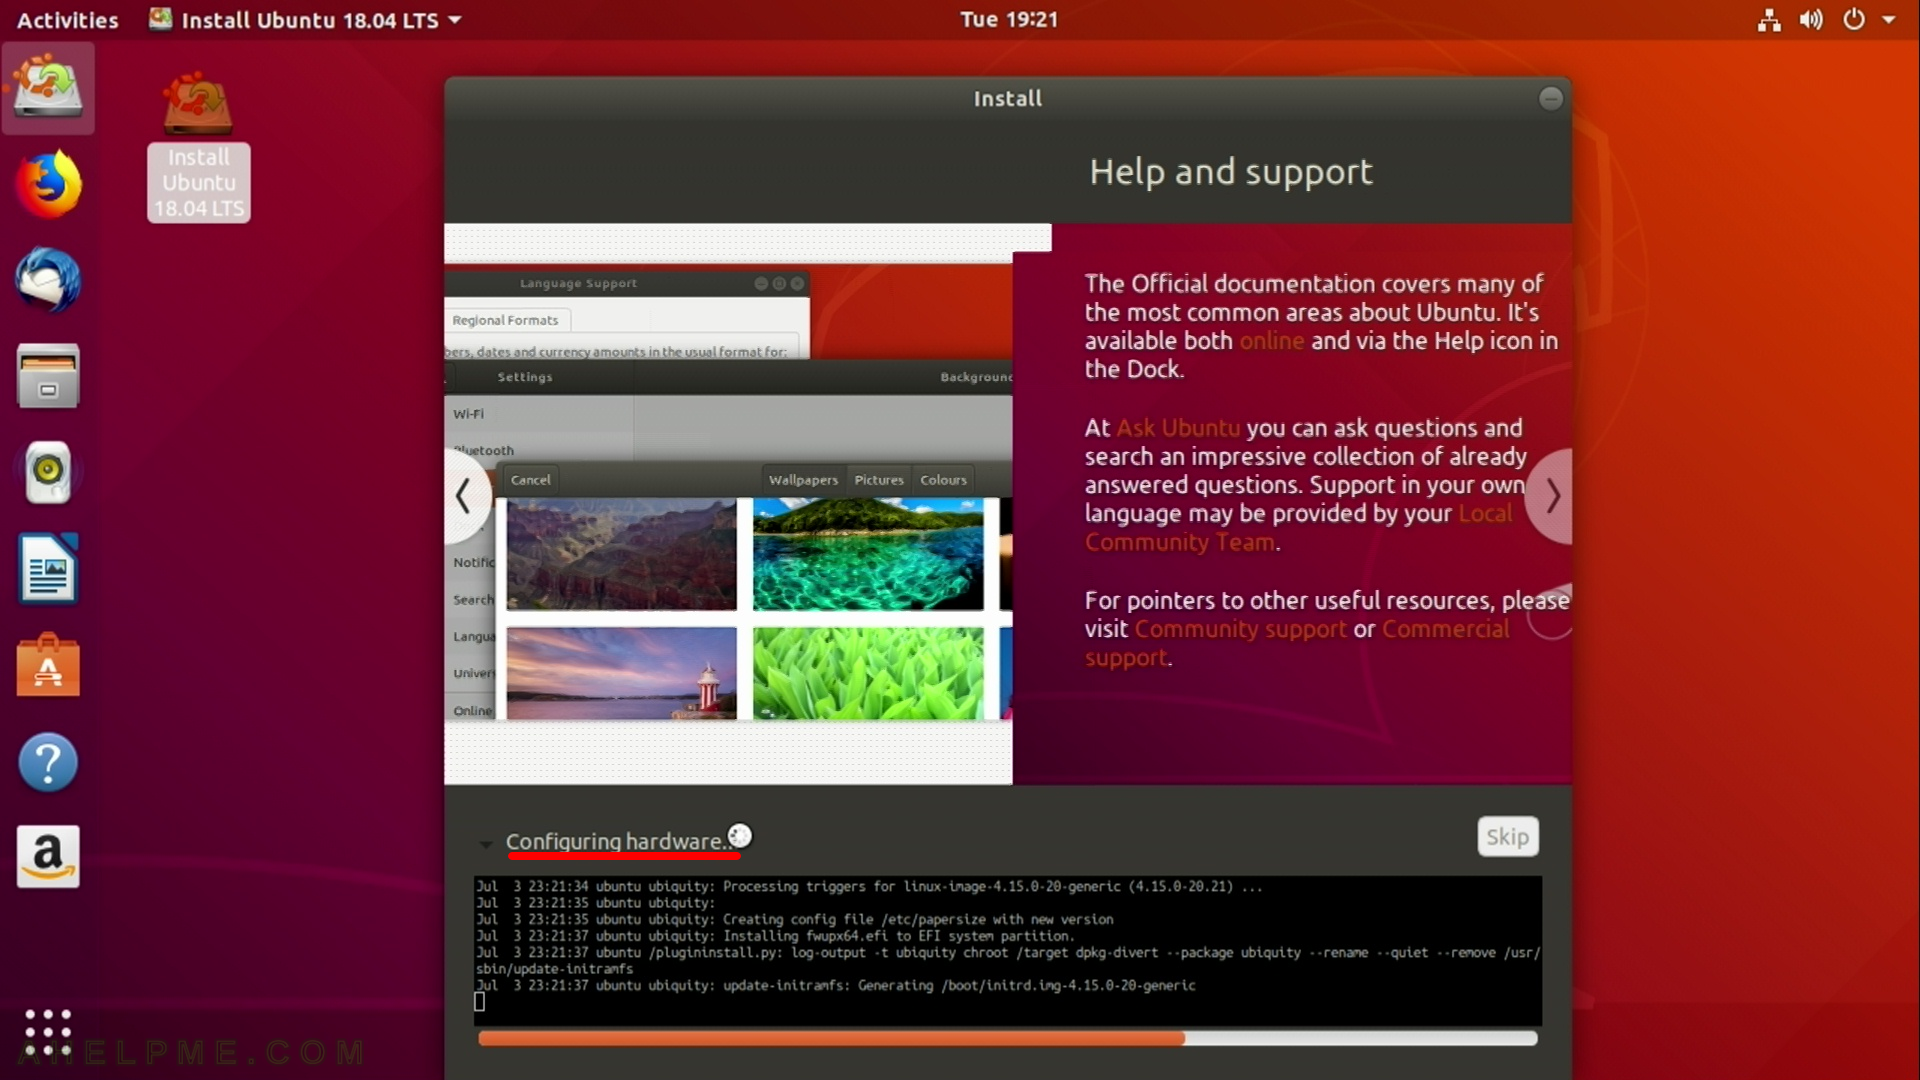
STEP 24) The setup is still working configuring the hardware of your system
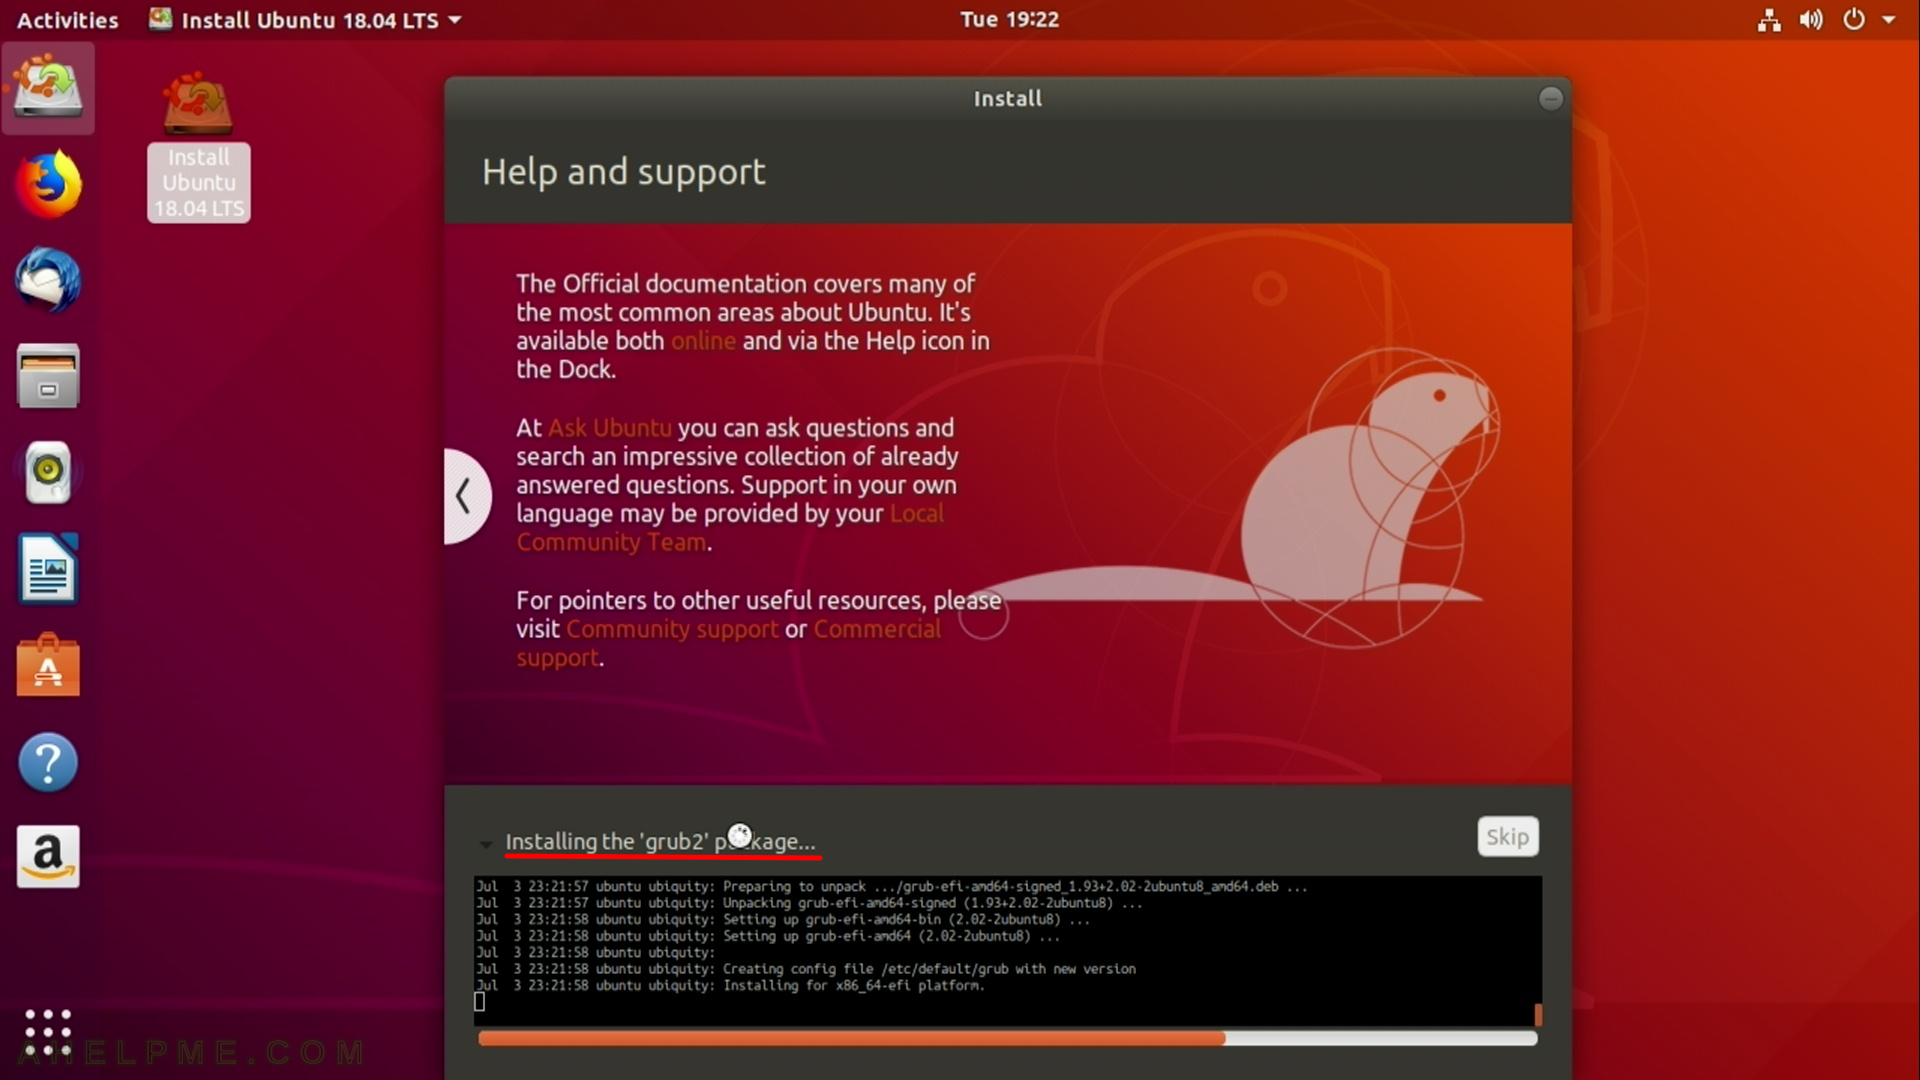
STEP 25) You can see which packages are installed.
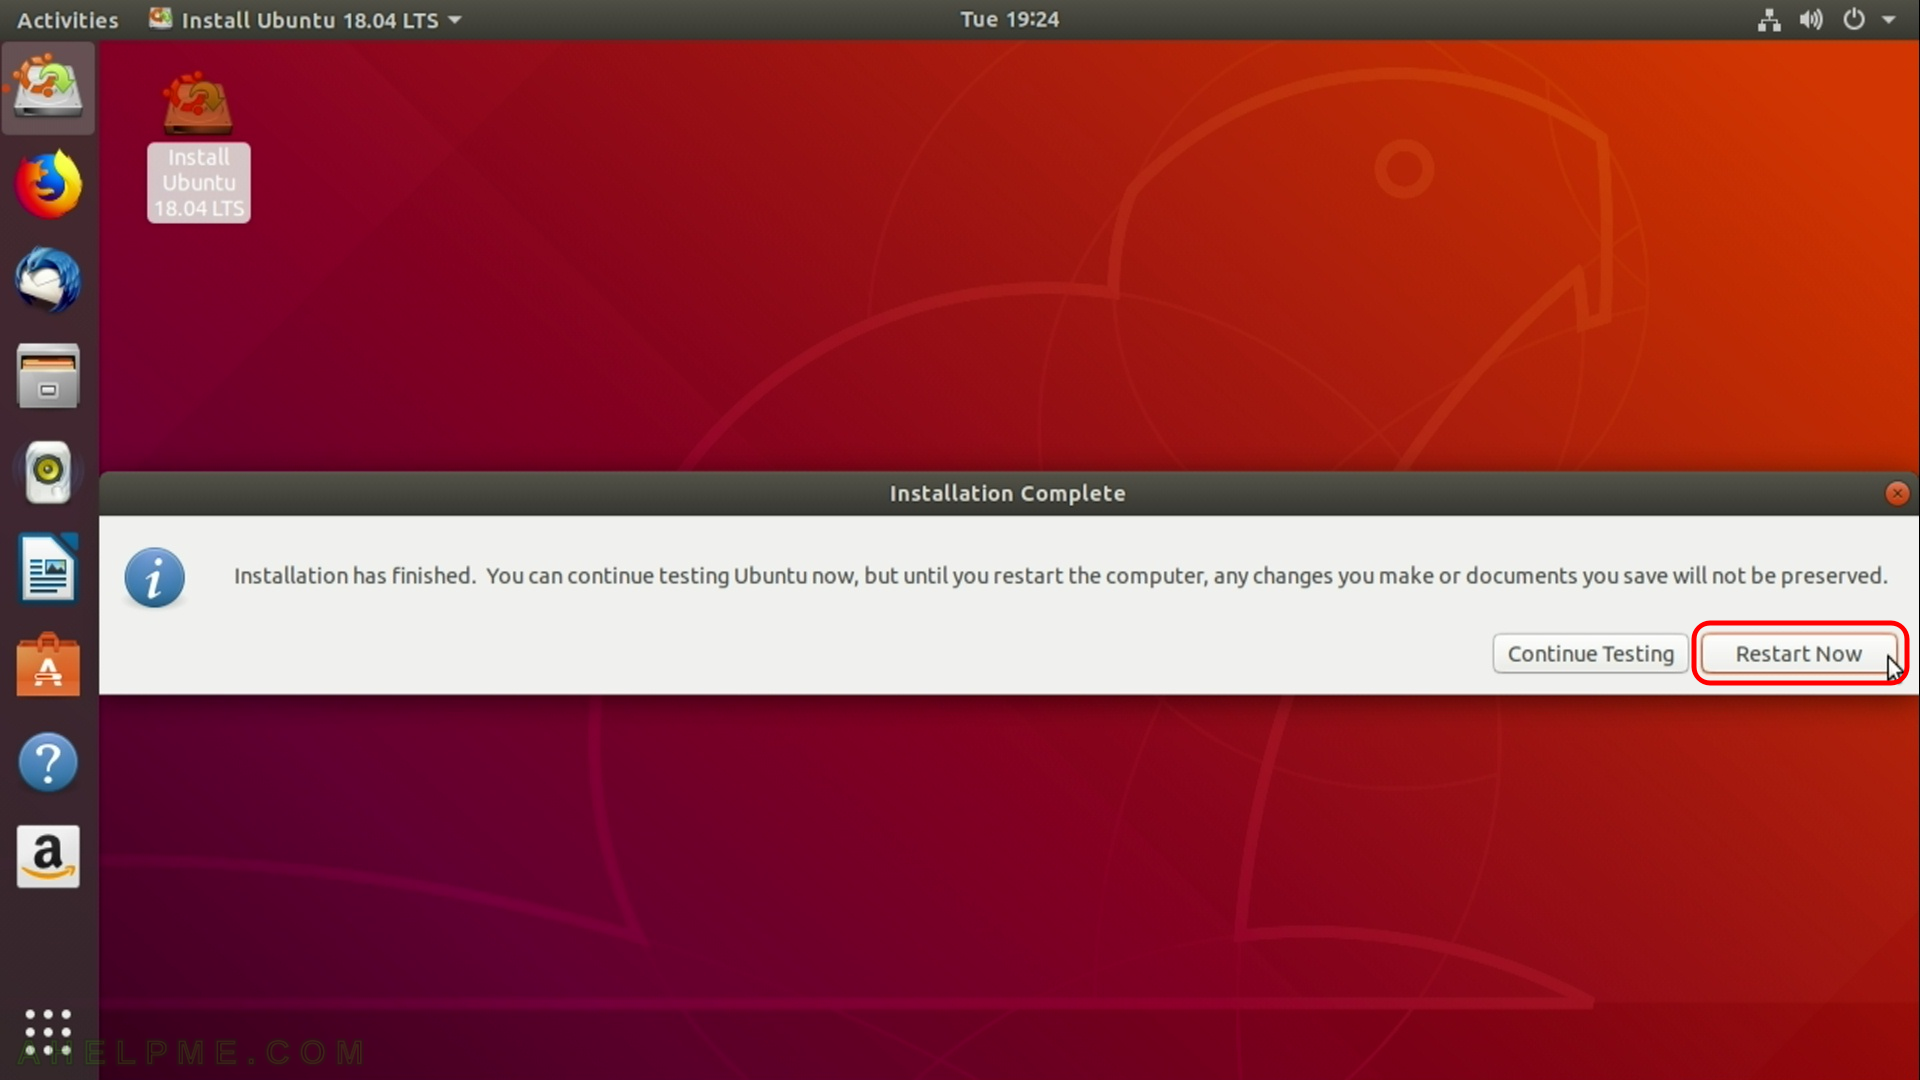
STEP 26) When the installation is over, you should restart by hitting “Restart Now” button and eject the installation media (DVD or USB).
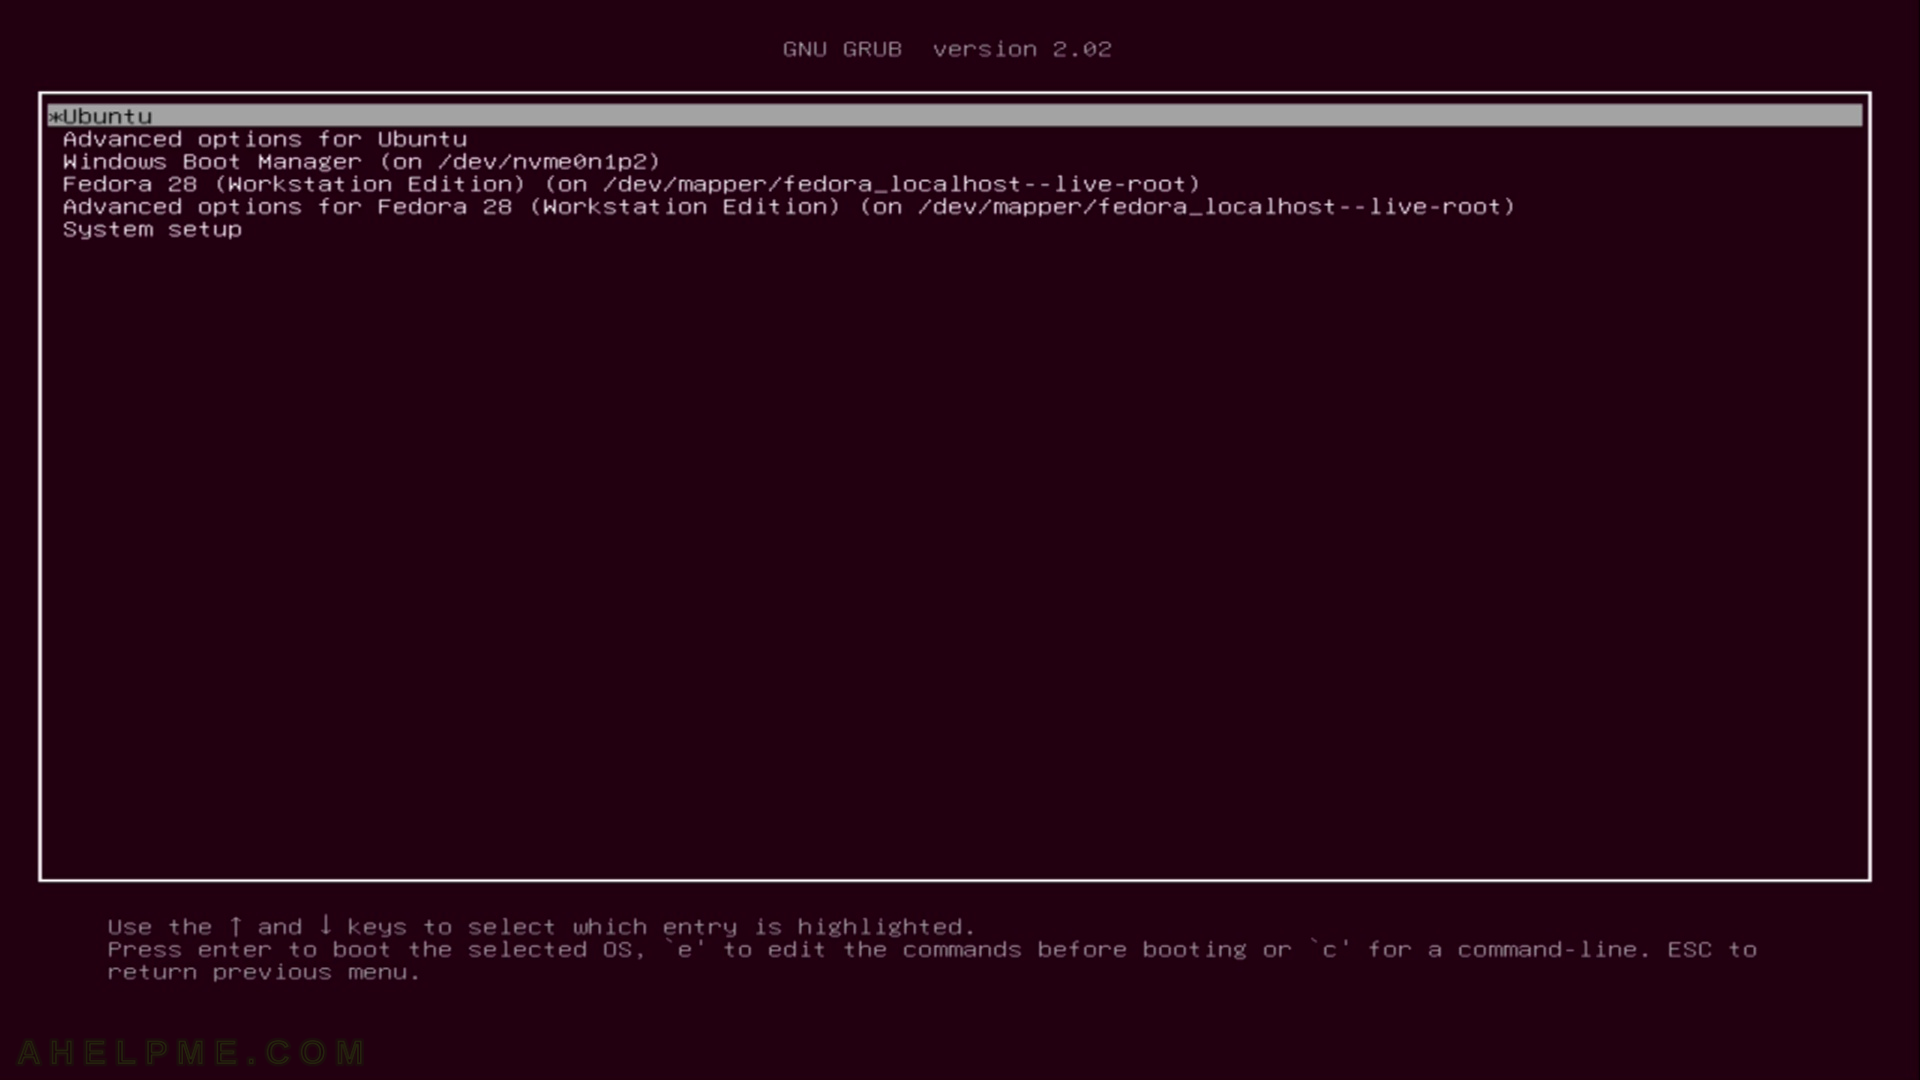
STEP 27) The Grub 2 menu looks like this – your Ubuntu Desktop 18.04 LTS is at first place and the default option. Hit enter or wait for 5 seconds to load.
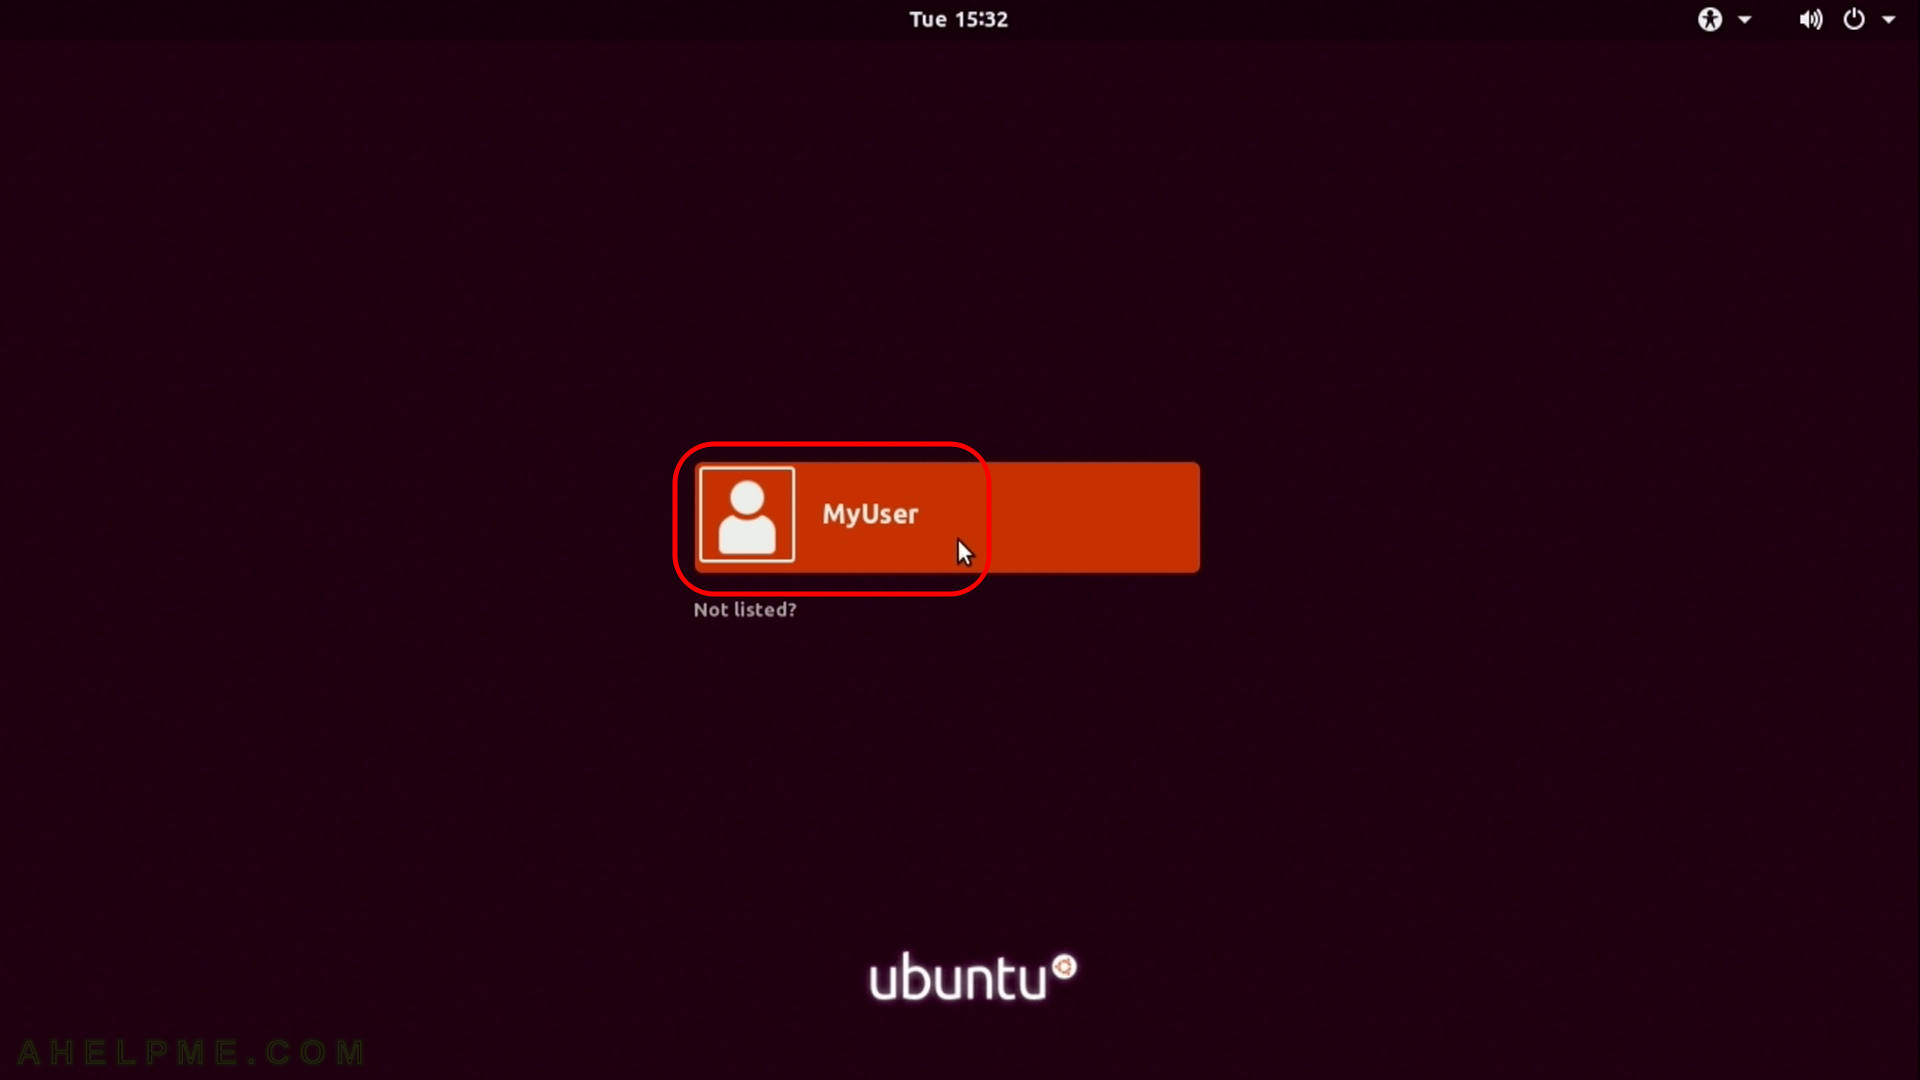
STEP 28) The default login screen of Ubuntu 18.04 LTS, select your username.
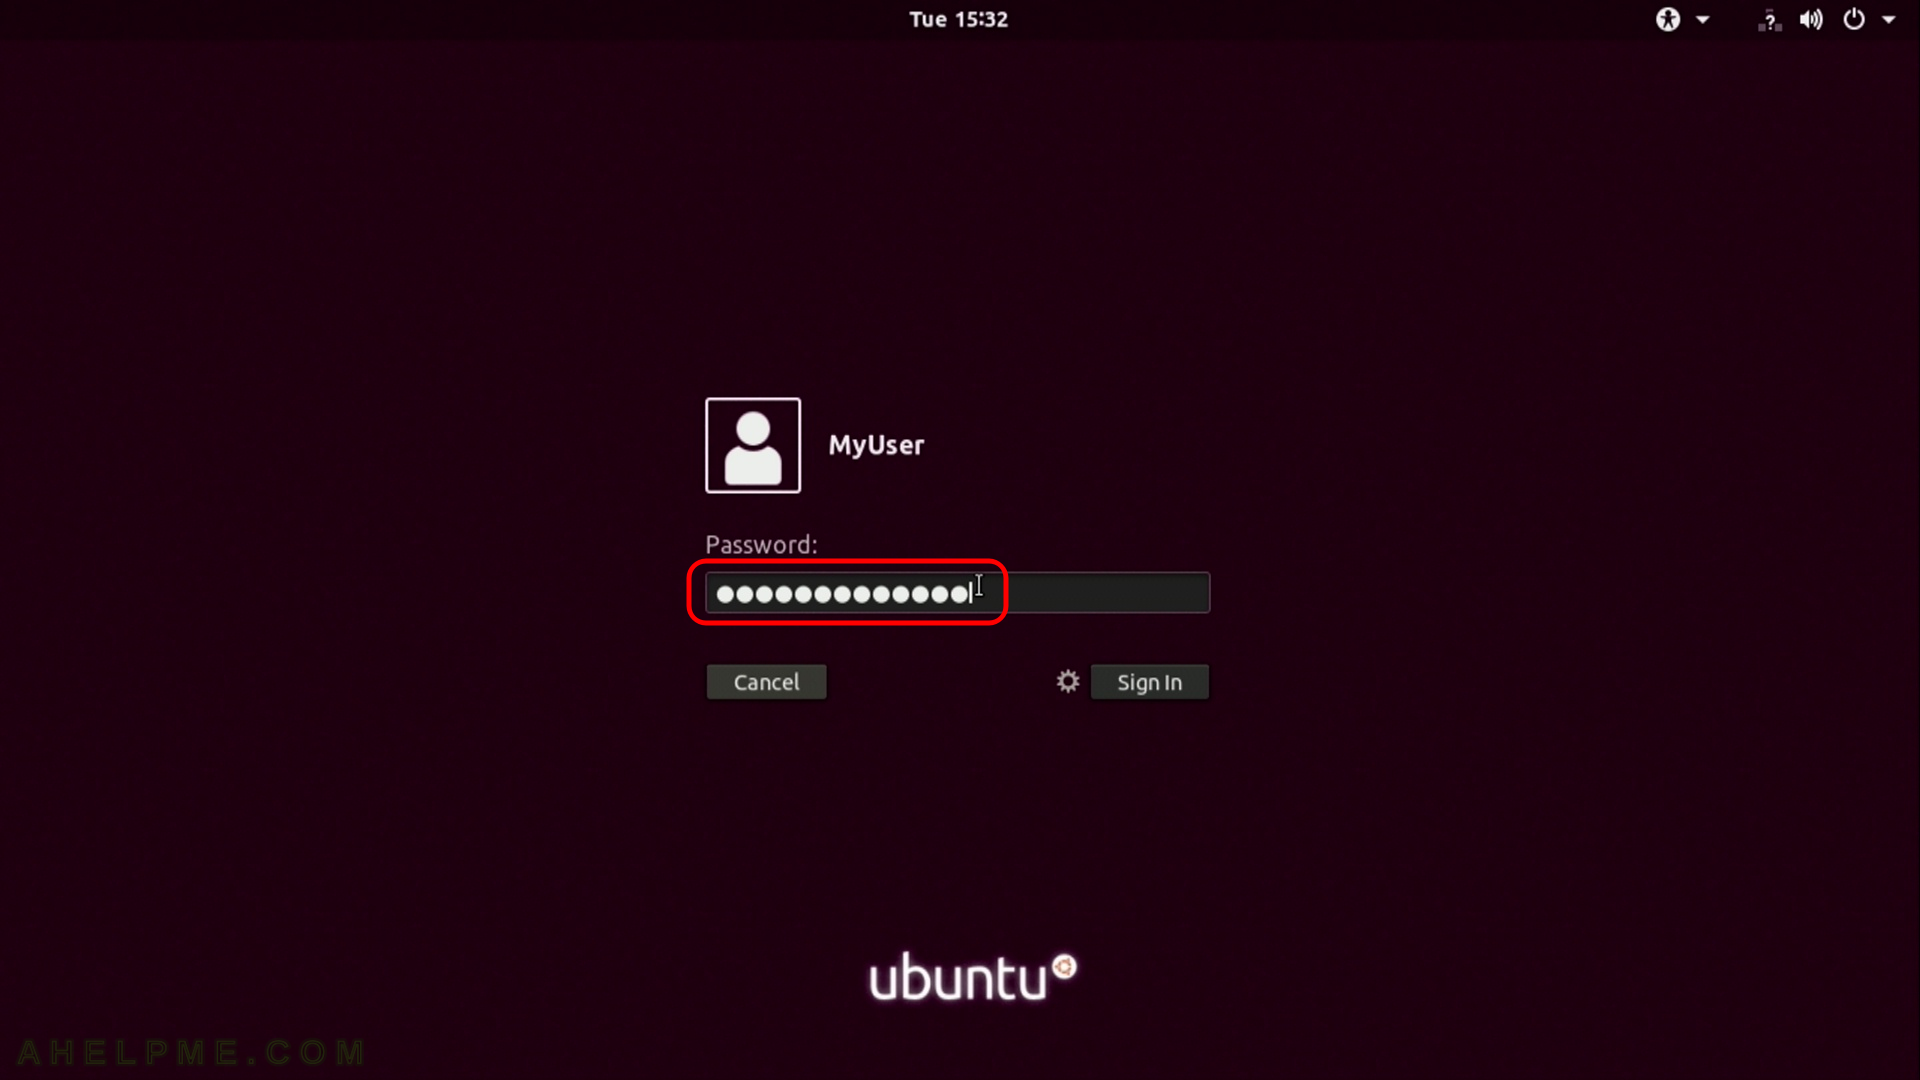
STEP 29) Enter the password and then “enter”.
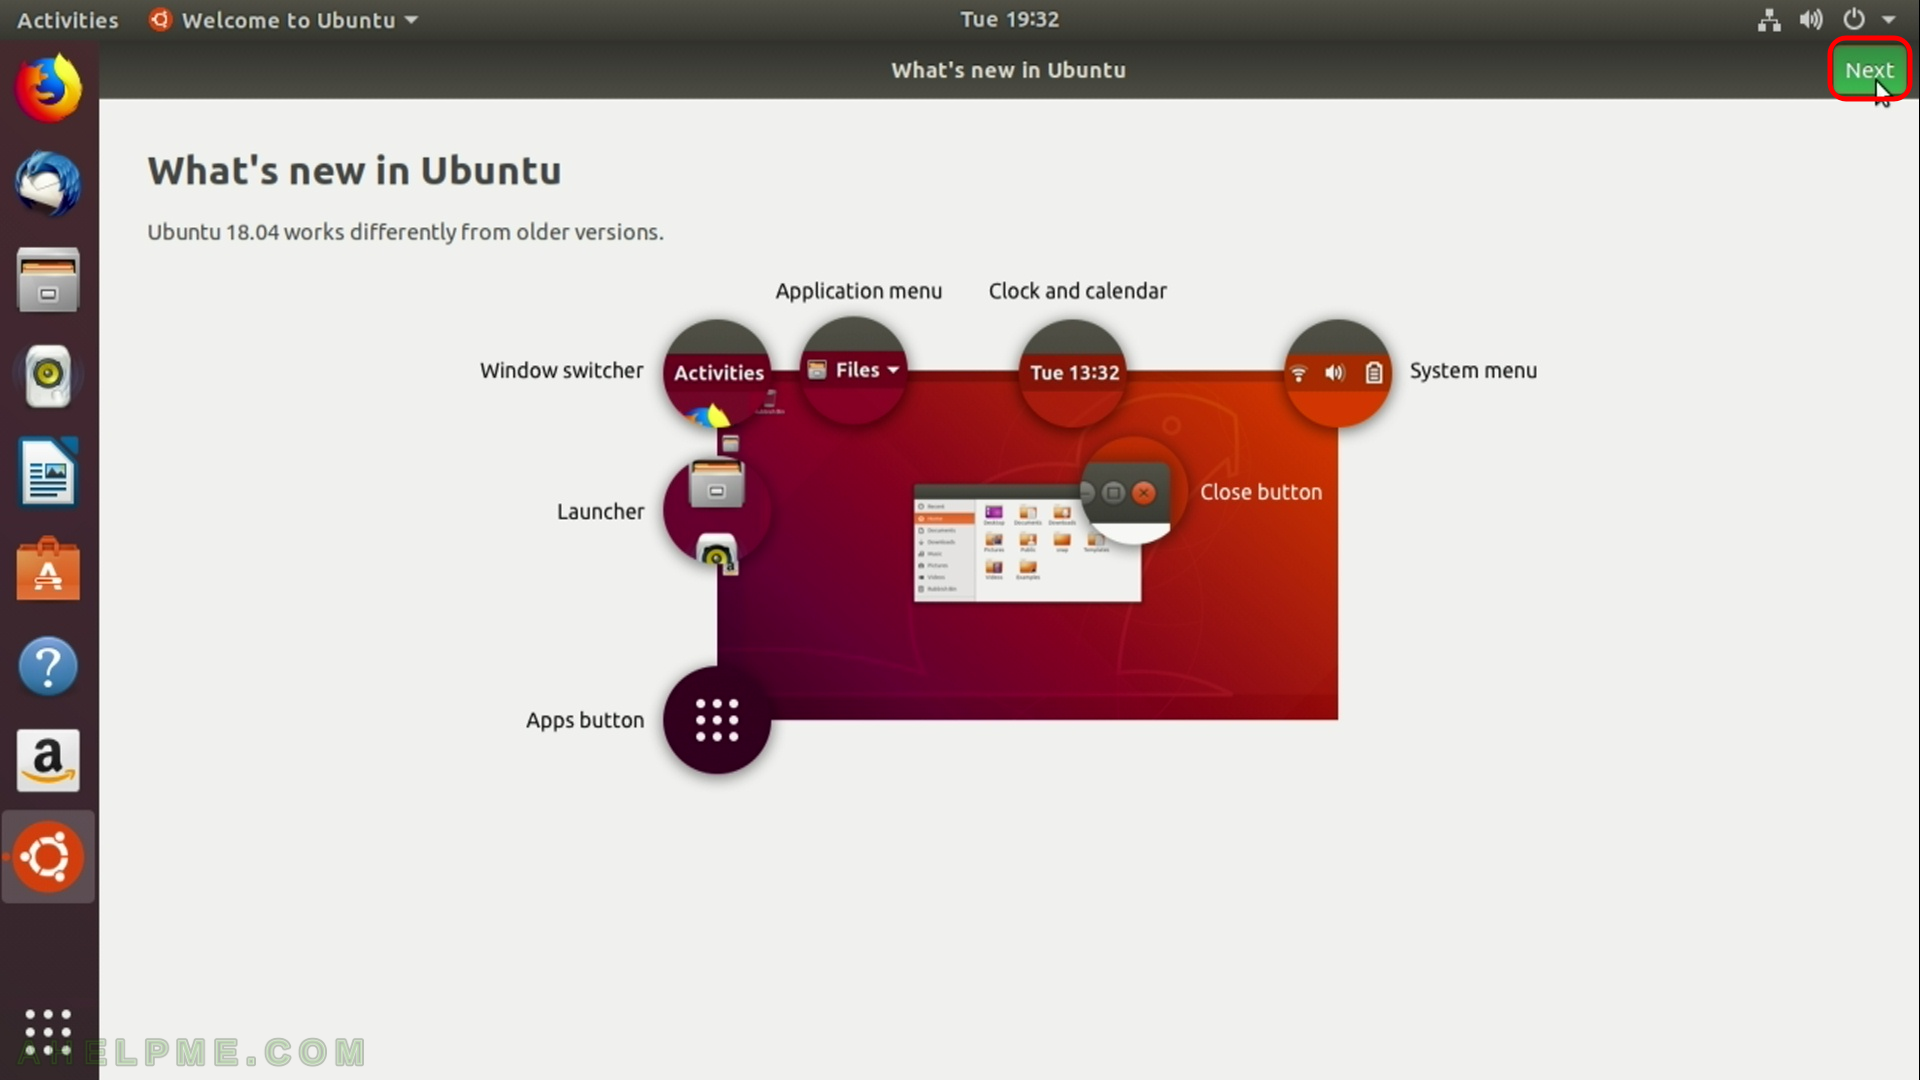
STEP 30) “What’s new in Ubuntu” welcome screen – a brief overview of the new look of the Desktop. Click “Next”.
One thought on “Install Ubuntu Desktop 18.04 LTS on a PC with existing windows 10 and linux”