This tutorial will show you the simple steps of installing a modern Linux Distribution – Ubuntu Desktop 18.04 LTS. Here we present the more advanced setup installation, when you have already had installed operating systems, so this installation will add Ubuntu 18.04 LTS to our two existing ones – Microsoft Windows 10 Professional and Fedora Workstation 28. So we have 3 hard disks – one is NVME, the other two are SSDs and we want to install our Ubuntu 18.04 to the first disk – “sda” in this case. Our first SSD has two partitions, which we will remove and make new disk layout for the Ubuntu installation with three partitions.
Ubuntu Desktop 18.04 LTS comes with the following software:
- Xorg X server – 1.19.6
- GNOME (the GUI) – 3.28.1
- linux kernel – 4.15.0
- linux-firmware – 1.173
- QT – 5.9.5
- libc – 2.27
- gnu gcc – 7.3.0
- coreutils – 8.28
- python2.7 (default) – 2.7.15
- python3 – 3.6.5
- perl – 5.26.1
- apt – 1.6.1
- cups – 2.2.7
We used the following ISO for the installation process – Ubuntu 18.04 LTS (Bionic Beaver):
http://releases.ubuntu.com/18.04/ubuntu-18.04-desktop-amd64.iso
It is a LIVE image so you can try it before installing. The easiest way is just to download the image and burn it to a DVD disk and then follow the installation below:
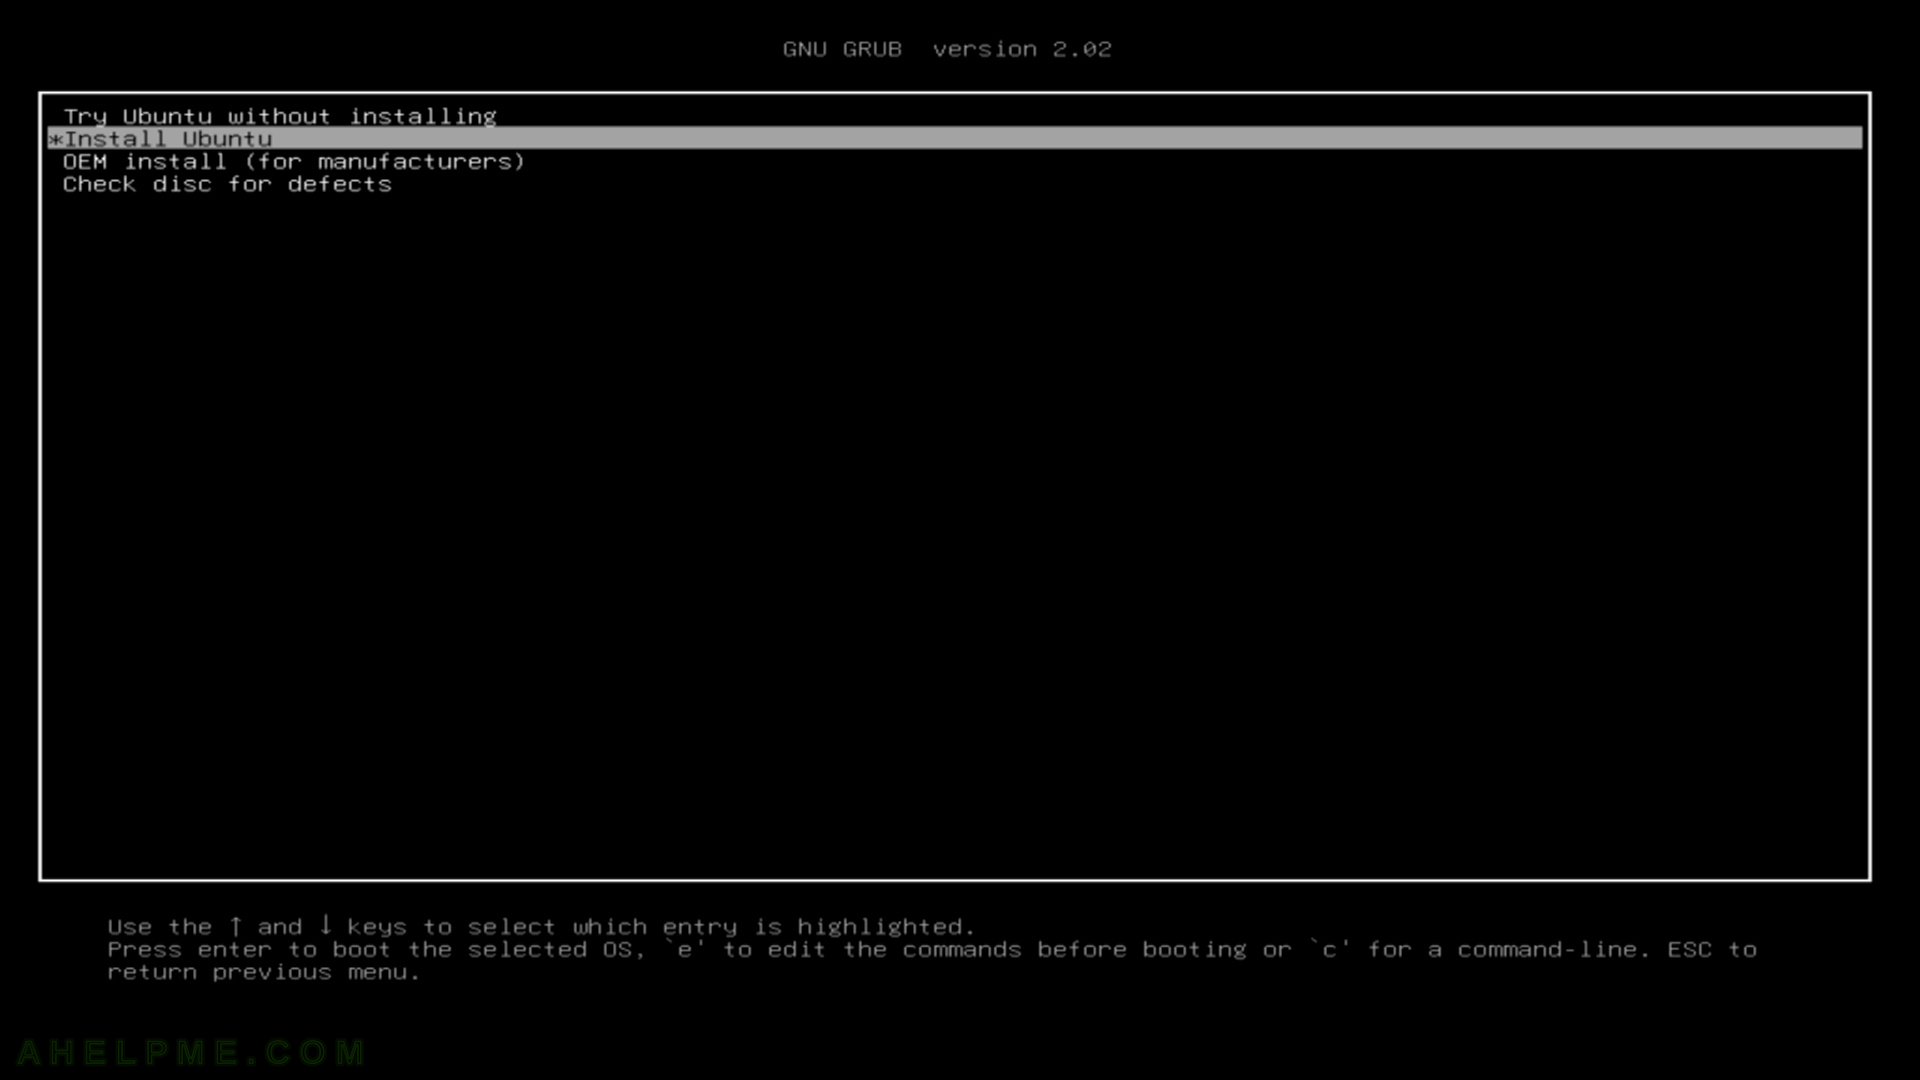
STEP 1) Change to “Install Ubuntu” and hit enter.
To install Ubuntu from your DVD or USB you must boot from it, so change your BIOS accordingly – first boot devide should be the DVD or USB drive with Ubunto installation. If you do it successfully you would see the screenshot below.
STEP 2) Ubuntu installation is staring…
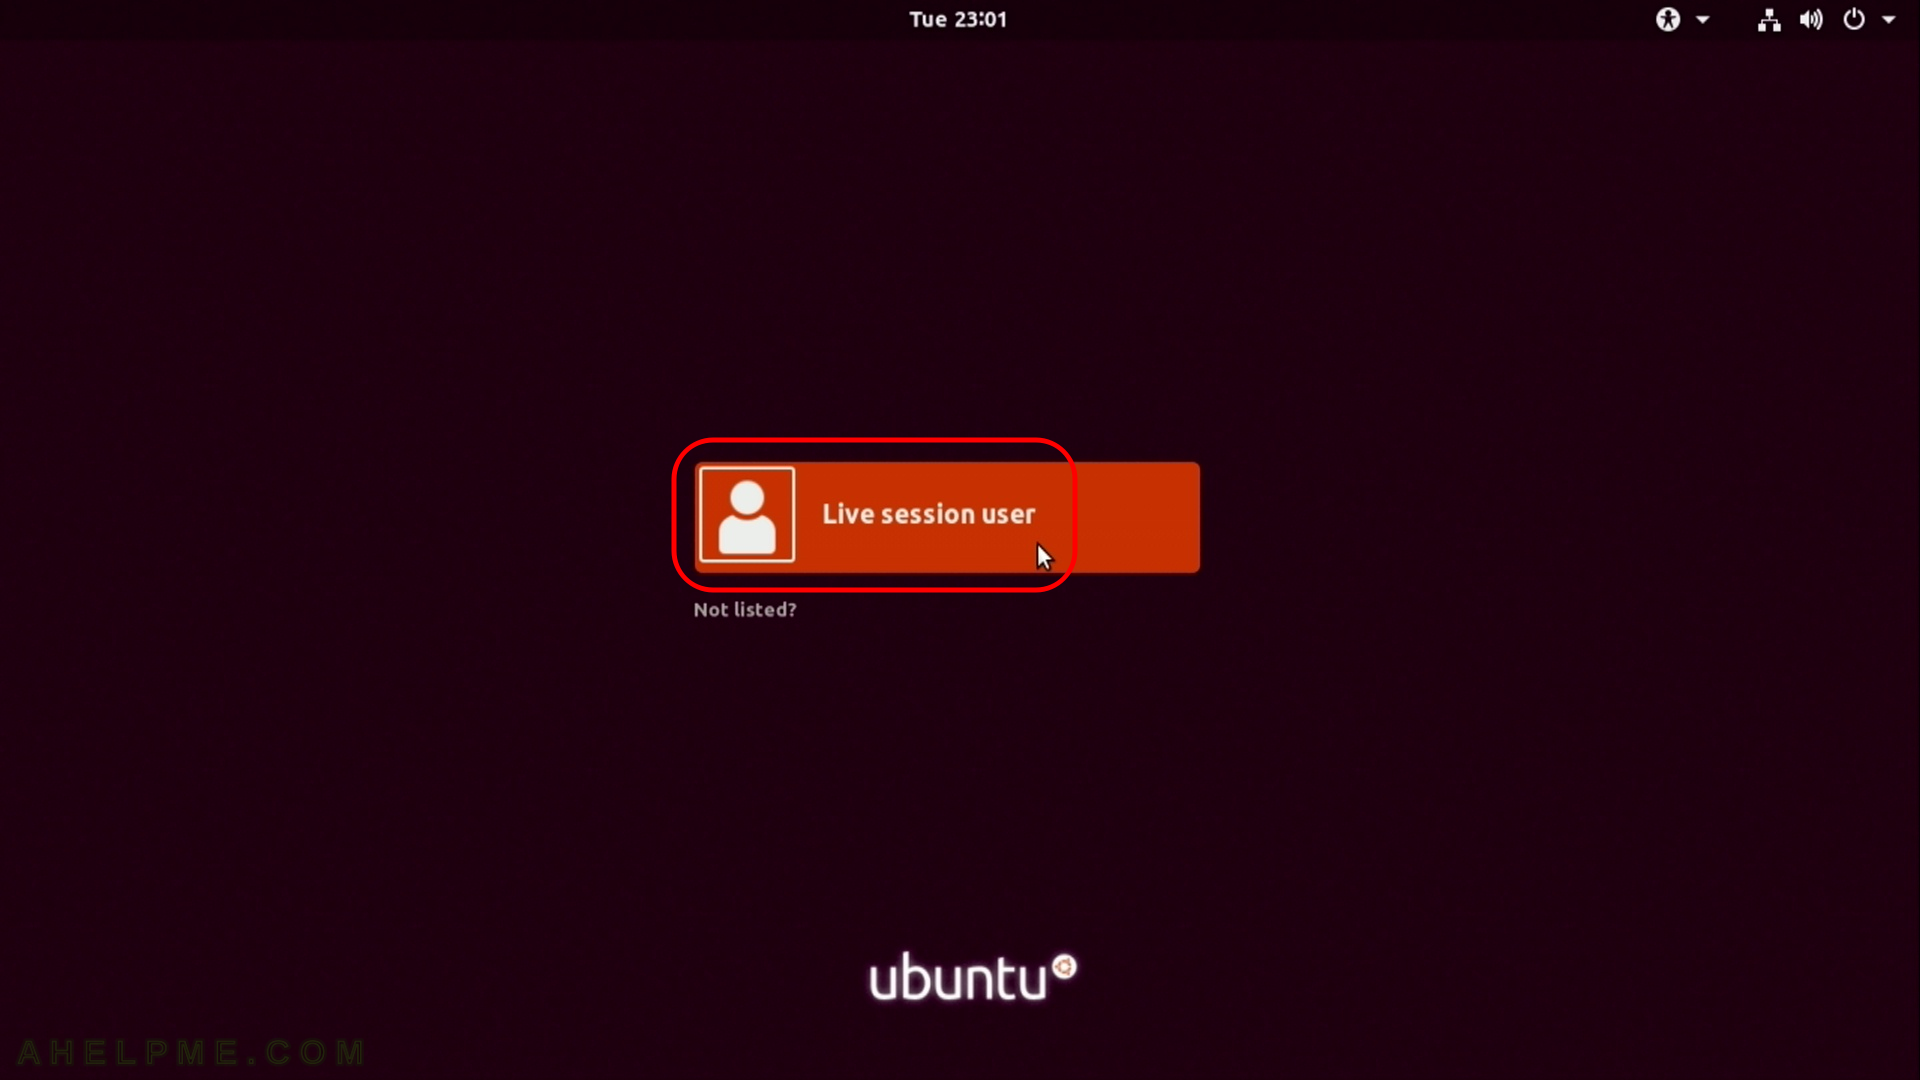
STEP 3) Click to login with the live session user.
The installation media is a live ubuntu with predefined user.
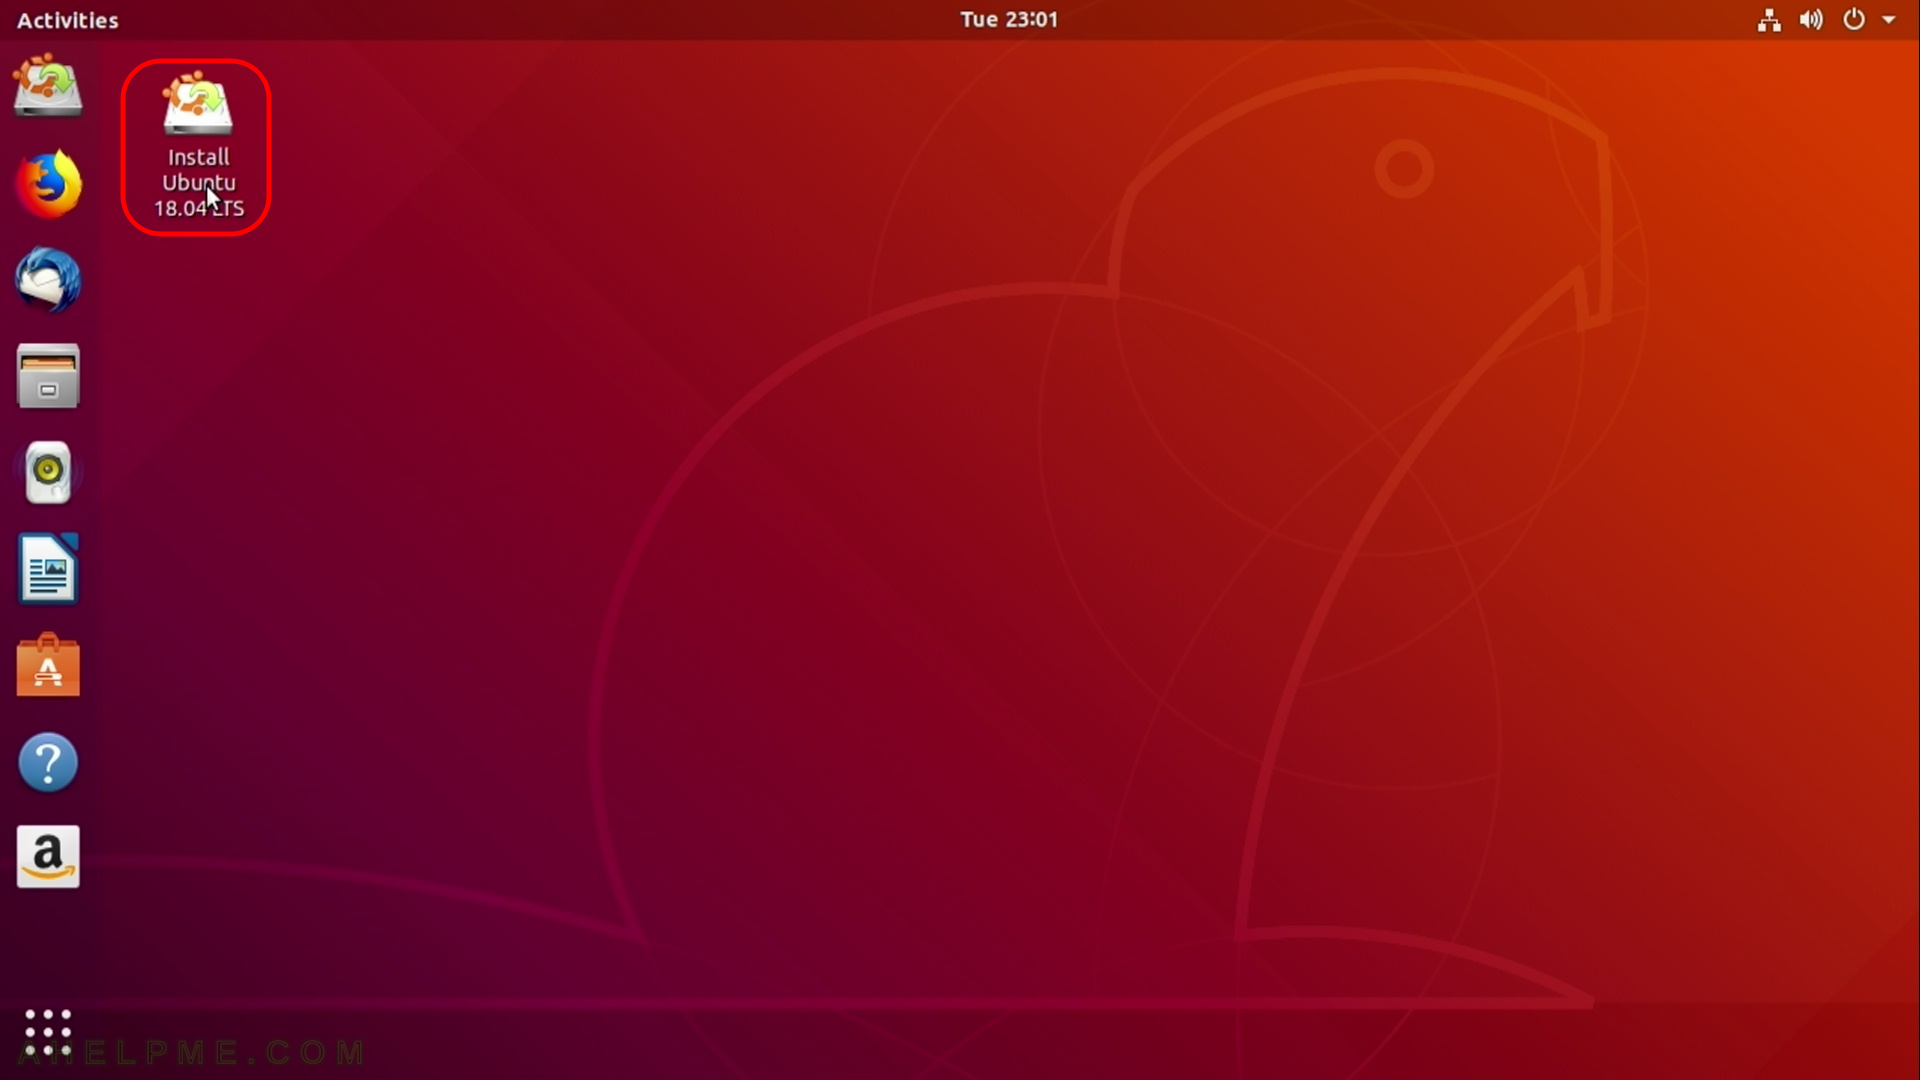
STEP 4) Click on “Install Ubuntu 18.04 LTS” to begin the installation process.
As said earlier this is a live DVD/USB and you can test the system it is a fully funtional Ubuntu Desktop 18.04 LTS.
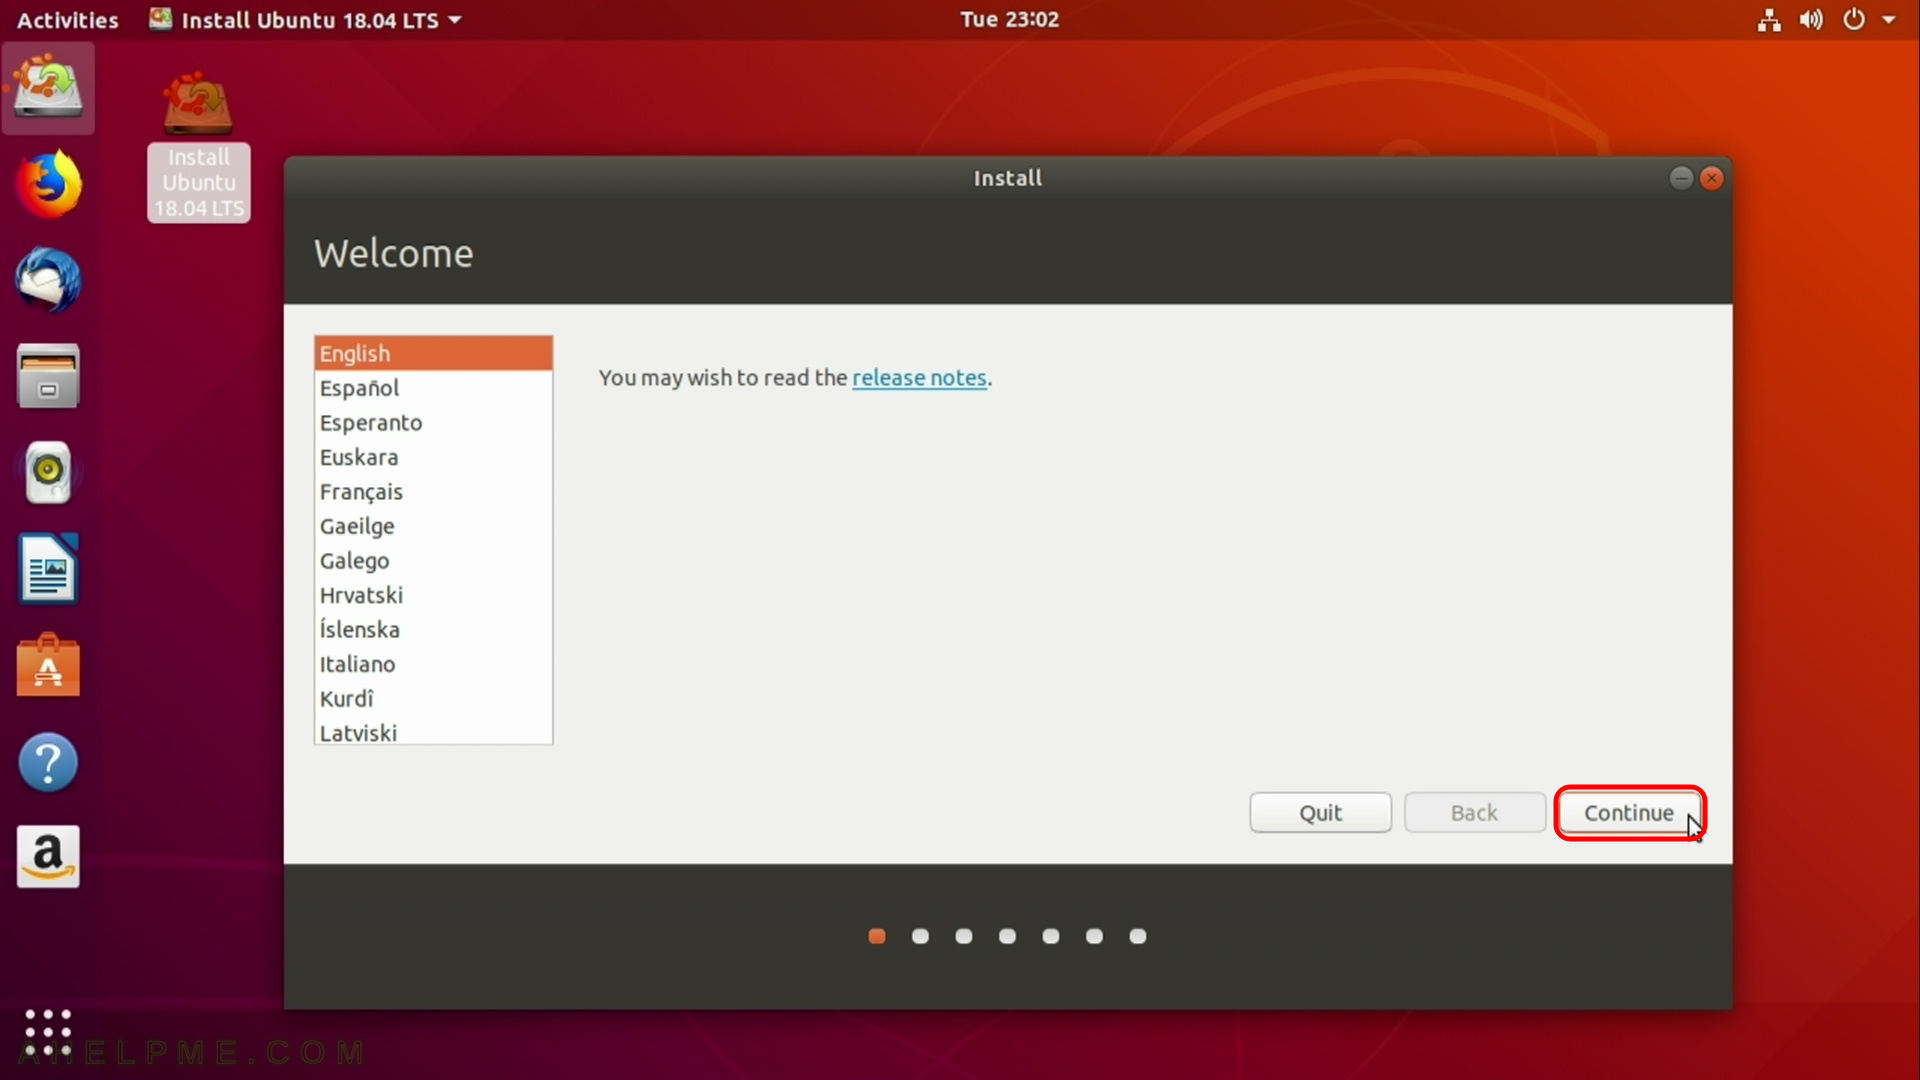
STEP 5) Choose your language for the installation and your system.
STEP 6) Choose your proper localized keyboard layout.
Probably the default is ok, the setup tries to autodetect it.

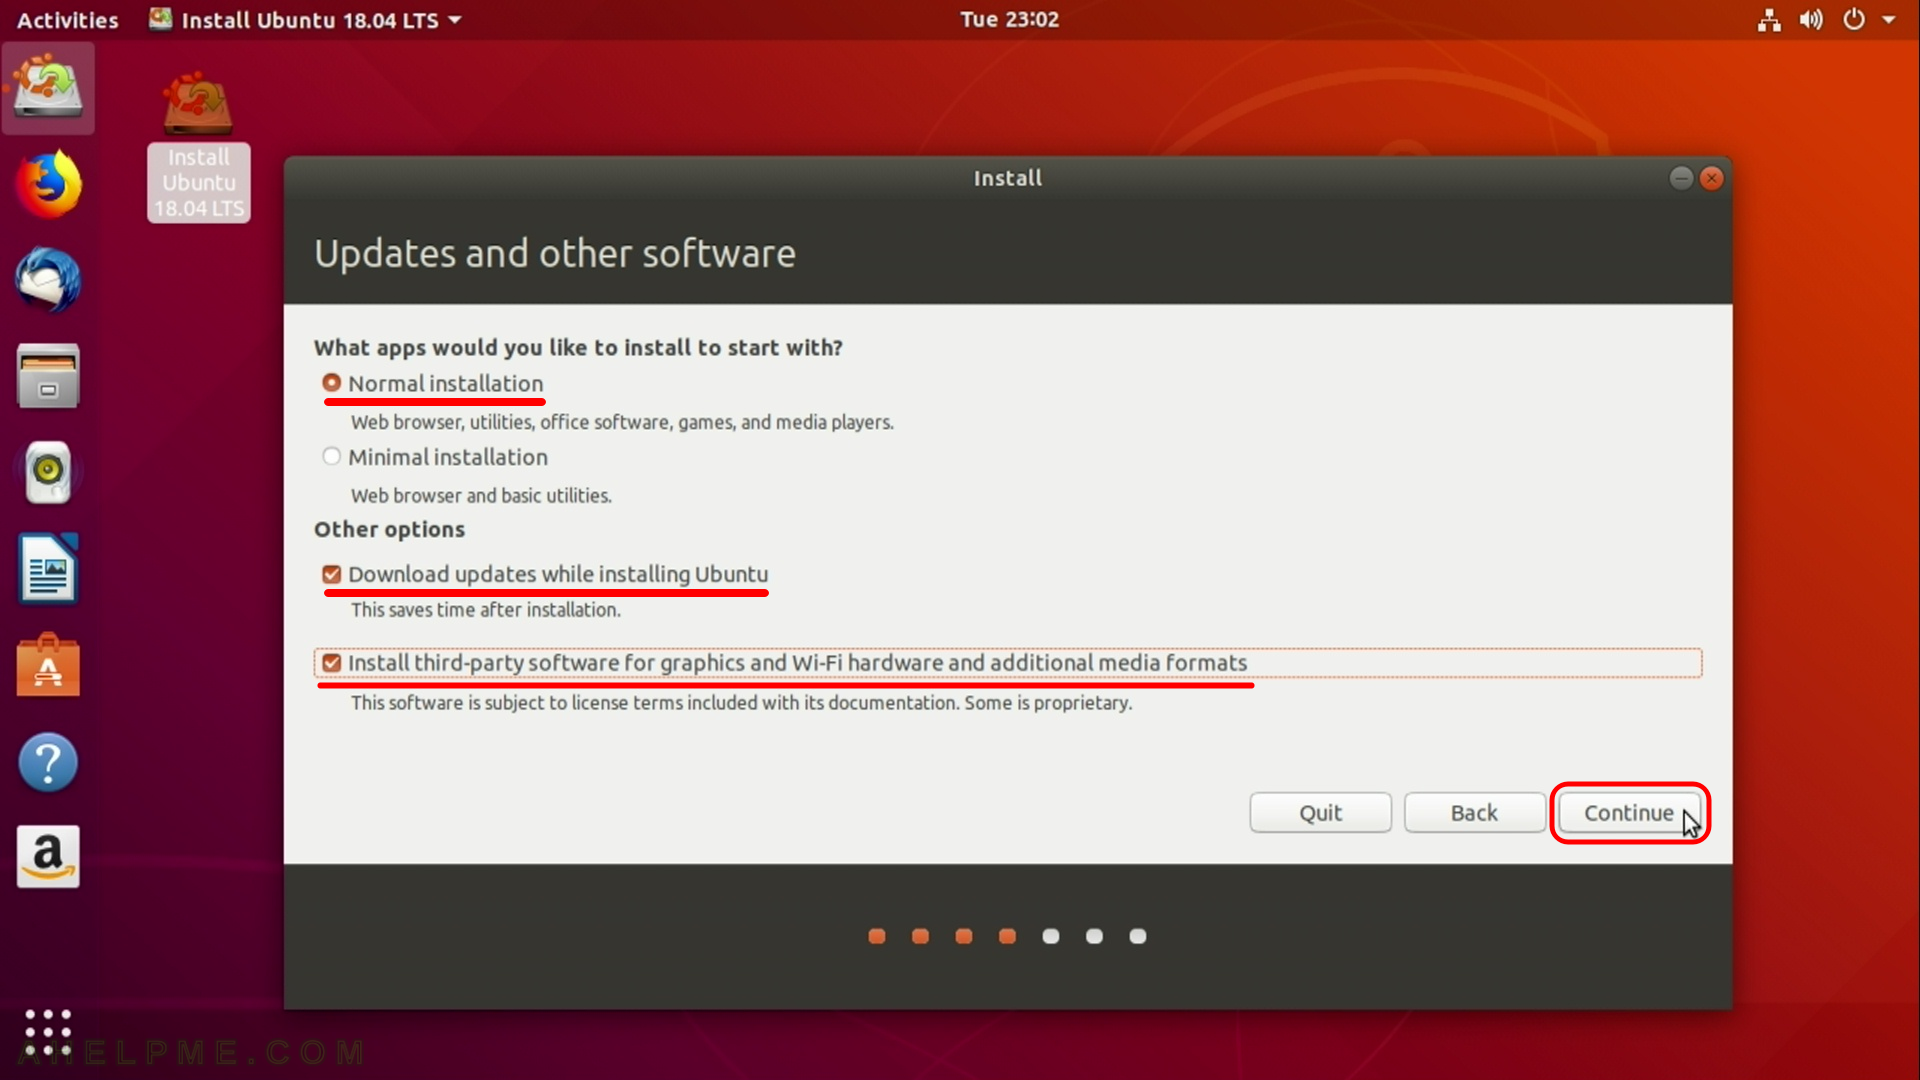
STEP 7) Three options to select – Normal Installation, Download updates while installing Ubuntu and Install third-party software for graphics and Wi-Fi hardware and additional media formats.
The last options is almost mandatory if you use the machine as a Desktop computer. The third-party software will install some proprietary software and you’ll have a better experience with the system.
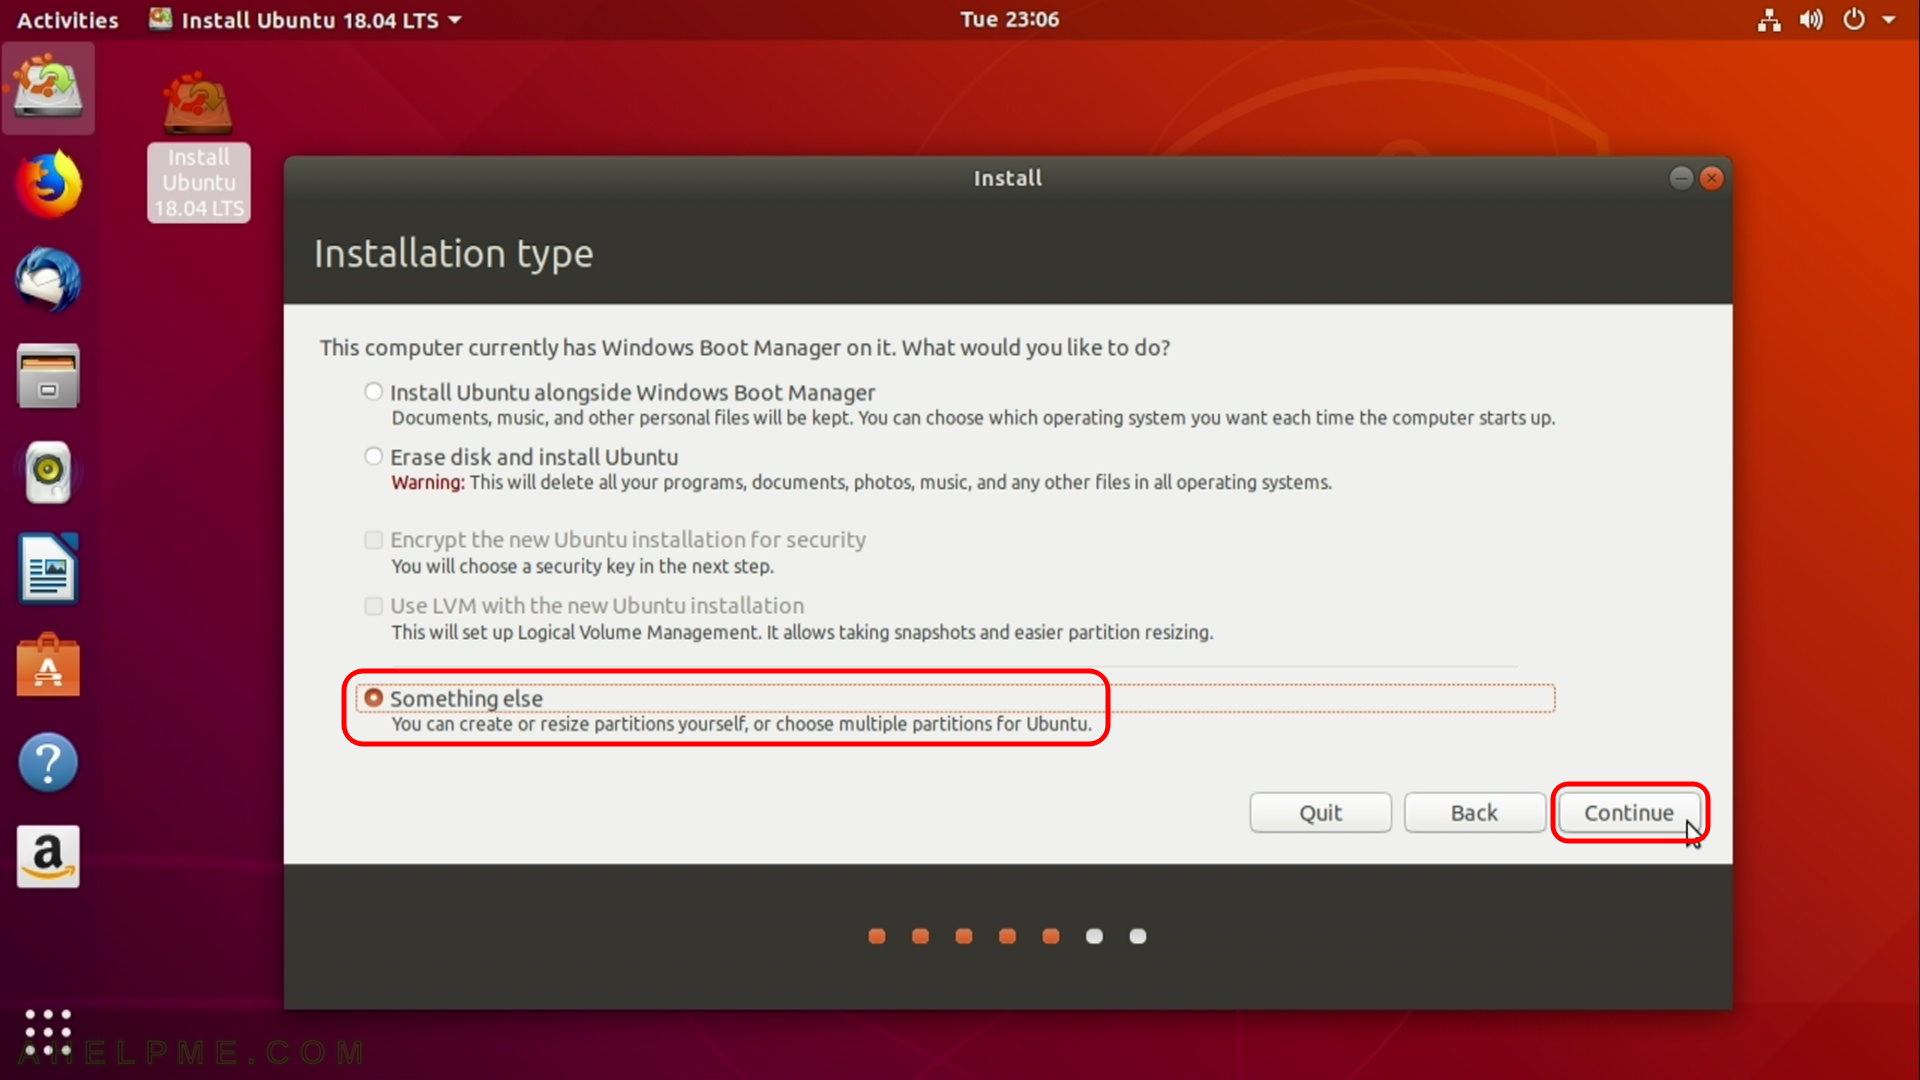
STEP 8) As mentioned before we have two more operating systems, so we want to install third the best way is to choose “Something else”
With this option can customize our hard disk layout and choose on which we want to install Ubuntu. Just for the record the first option here will install Ubuntu on the same device Windows 10 and will replace the boot loader of Windows 10 preserving the Windows partition and Windows 10 in working state, so if this is what you want select the first one – the hard disk layout is as follow – 1 hard disk with Windows 10 partition(s) and free space (enough for linux distro installation, let’s say more than 10G). The second option here is to erase everything and make a clean install Ubuntu on a newly created hard disk layout – be careful if you do this YOU WILL LOSE ALL DATA in your hard drive. Click on “Continue”.
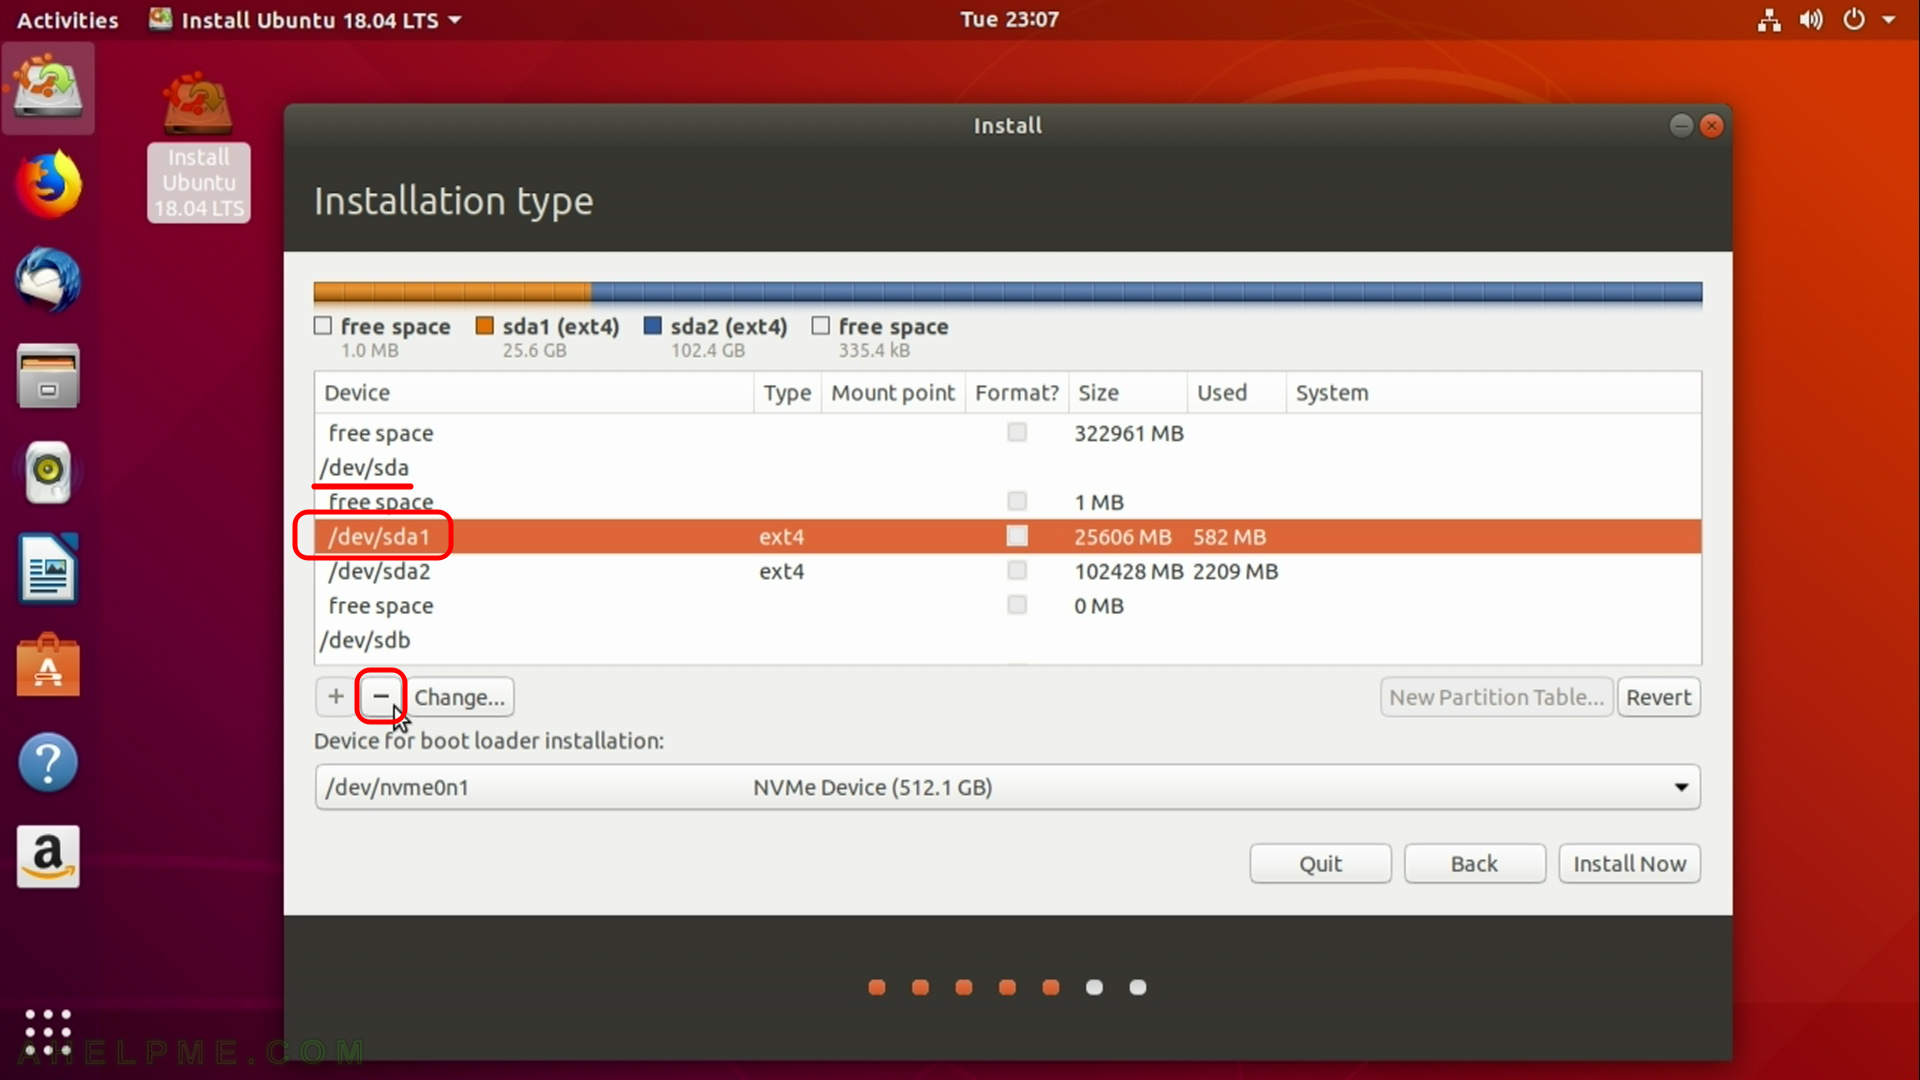
STEP 9) Scroll to the device (hard disk) you want to use for this installation and click on “free space” below it, select the partition /dev/sda1 and click on button “-“
Here we must create at least three partitions – one for the grub, one for the swap and one for the root file system (if you do not understant it, just follow the tutorial). Scroll to the device (hard disk) you want to use for this installation and click on “free space” below it. Here we want to use our “sda” device, which is our third SSD, as you can see we have two partitions we do not need them, just select the partition /dev/sda1 and click on button “-“, then select (by clicking on) /dev/sda2 and click on “-” to remove it. This and the next step show this process.
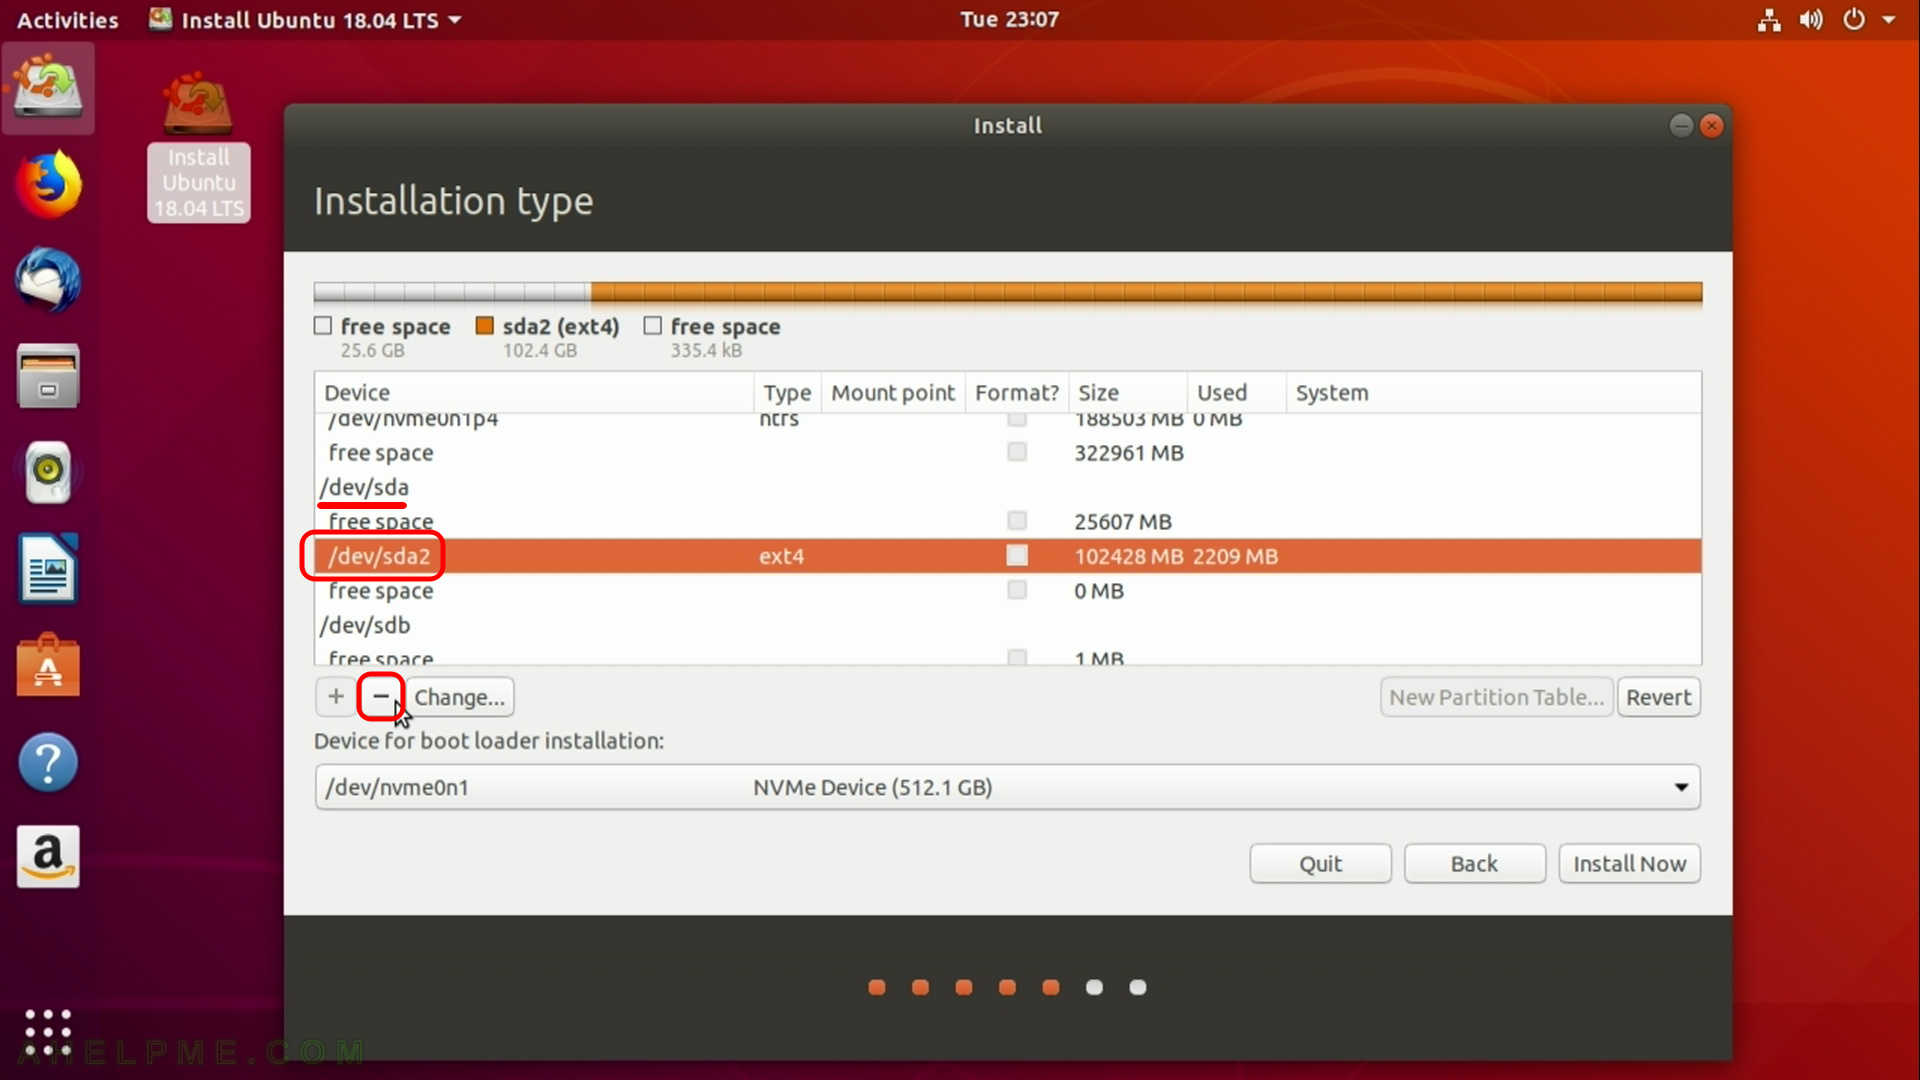
STEP 10) Scroll to the device (hard disk) you want to use for this installation and click on “free space” below it, select the partition /dev/sda2 and click on button “-“
One thought on “Install Ubuntu Desktop 18.04 LTS on a PC with existing windows 10 and linux”