SCREENSHOT 31) The setup is configuring the system.
SCREENSHOT 32) The setup is preparing the installed system.
SCREENSHOT 33) Additional configuration applied to the installed system.

SCREENSHOT 34) The setup generates the initramfs for the current system.
So, if the user tends to boot the disks on another system, it may not boot with missing drivers (i.e. kernel modules for the current system like storage modules).
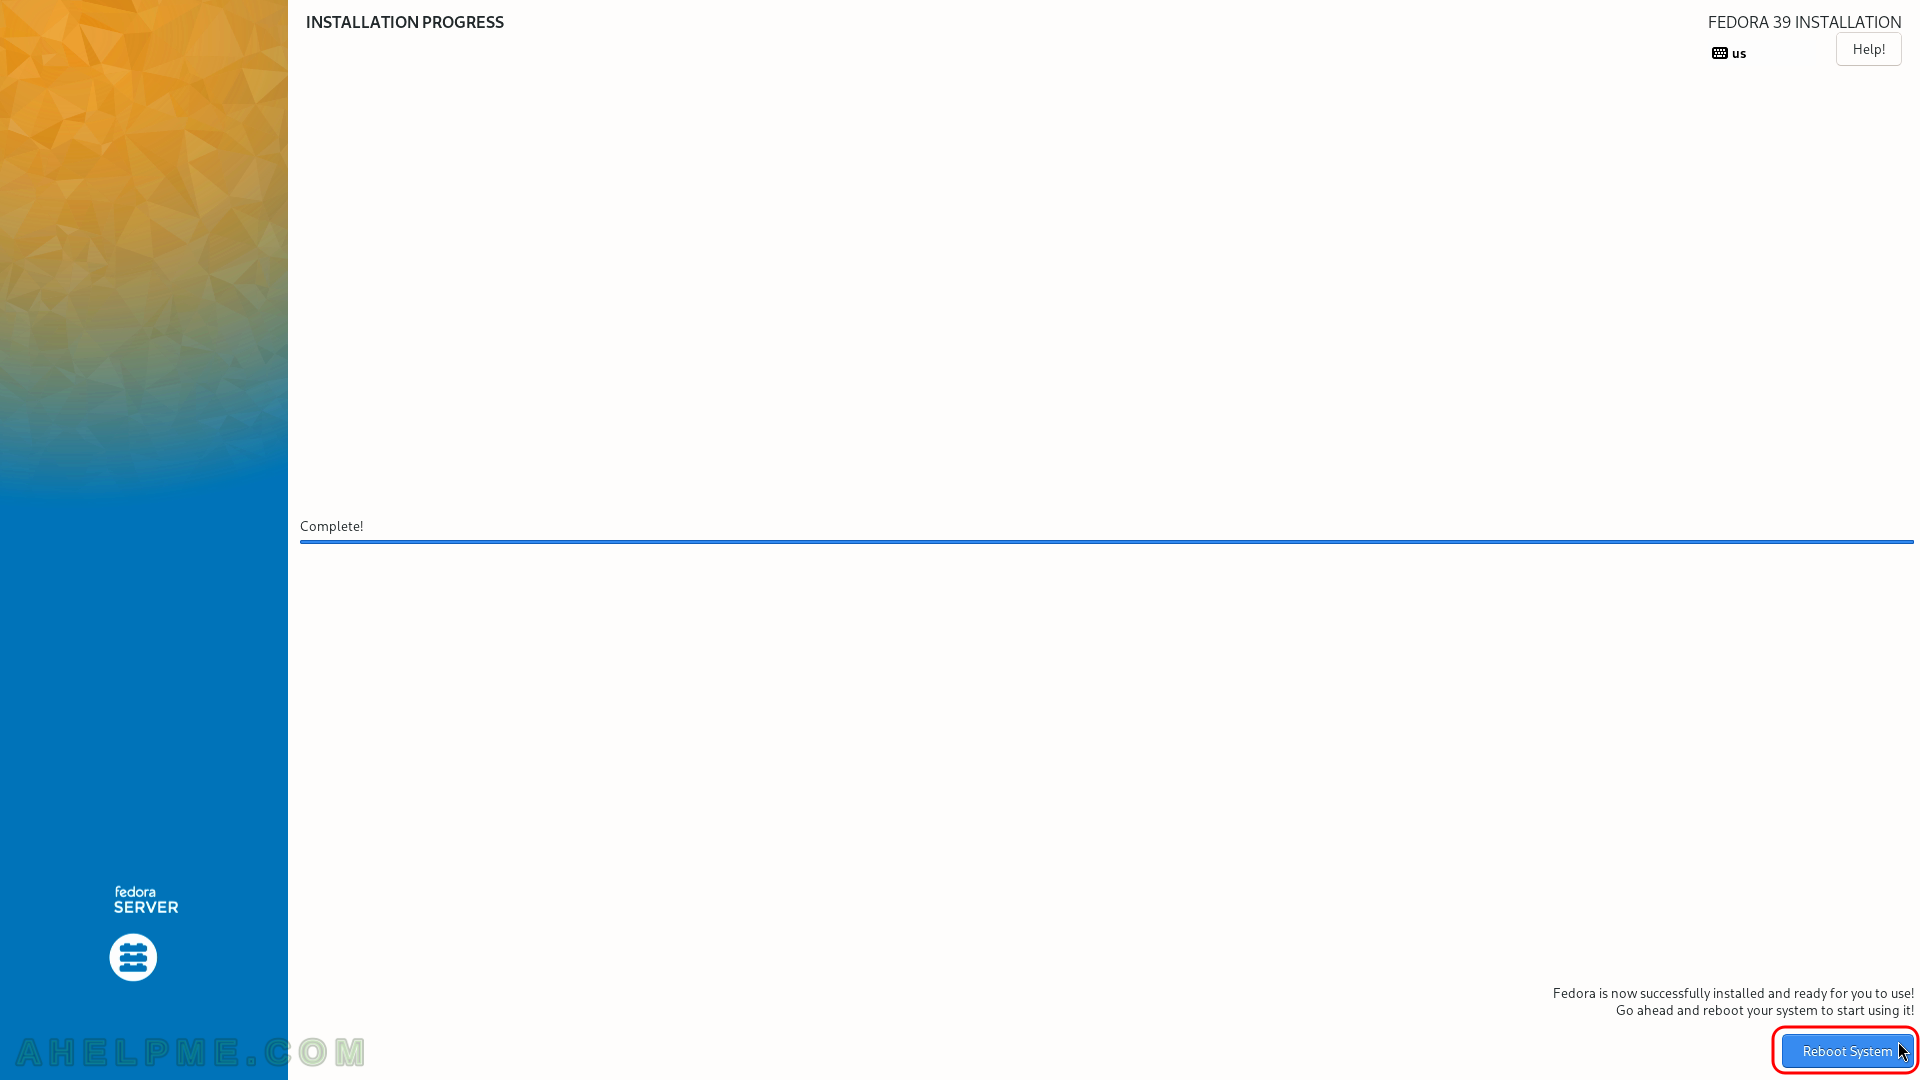
SCREENSHOT 35) The installation of the Fedora 39 Server is successful and you may reboot the system by clicking on the “Reboot System” button.
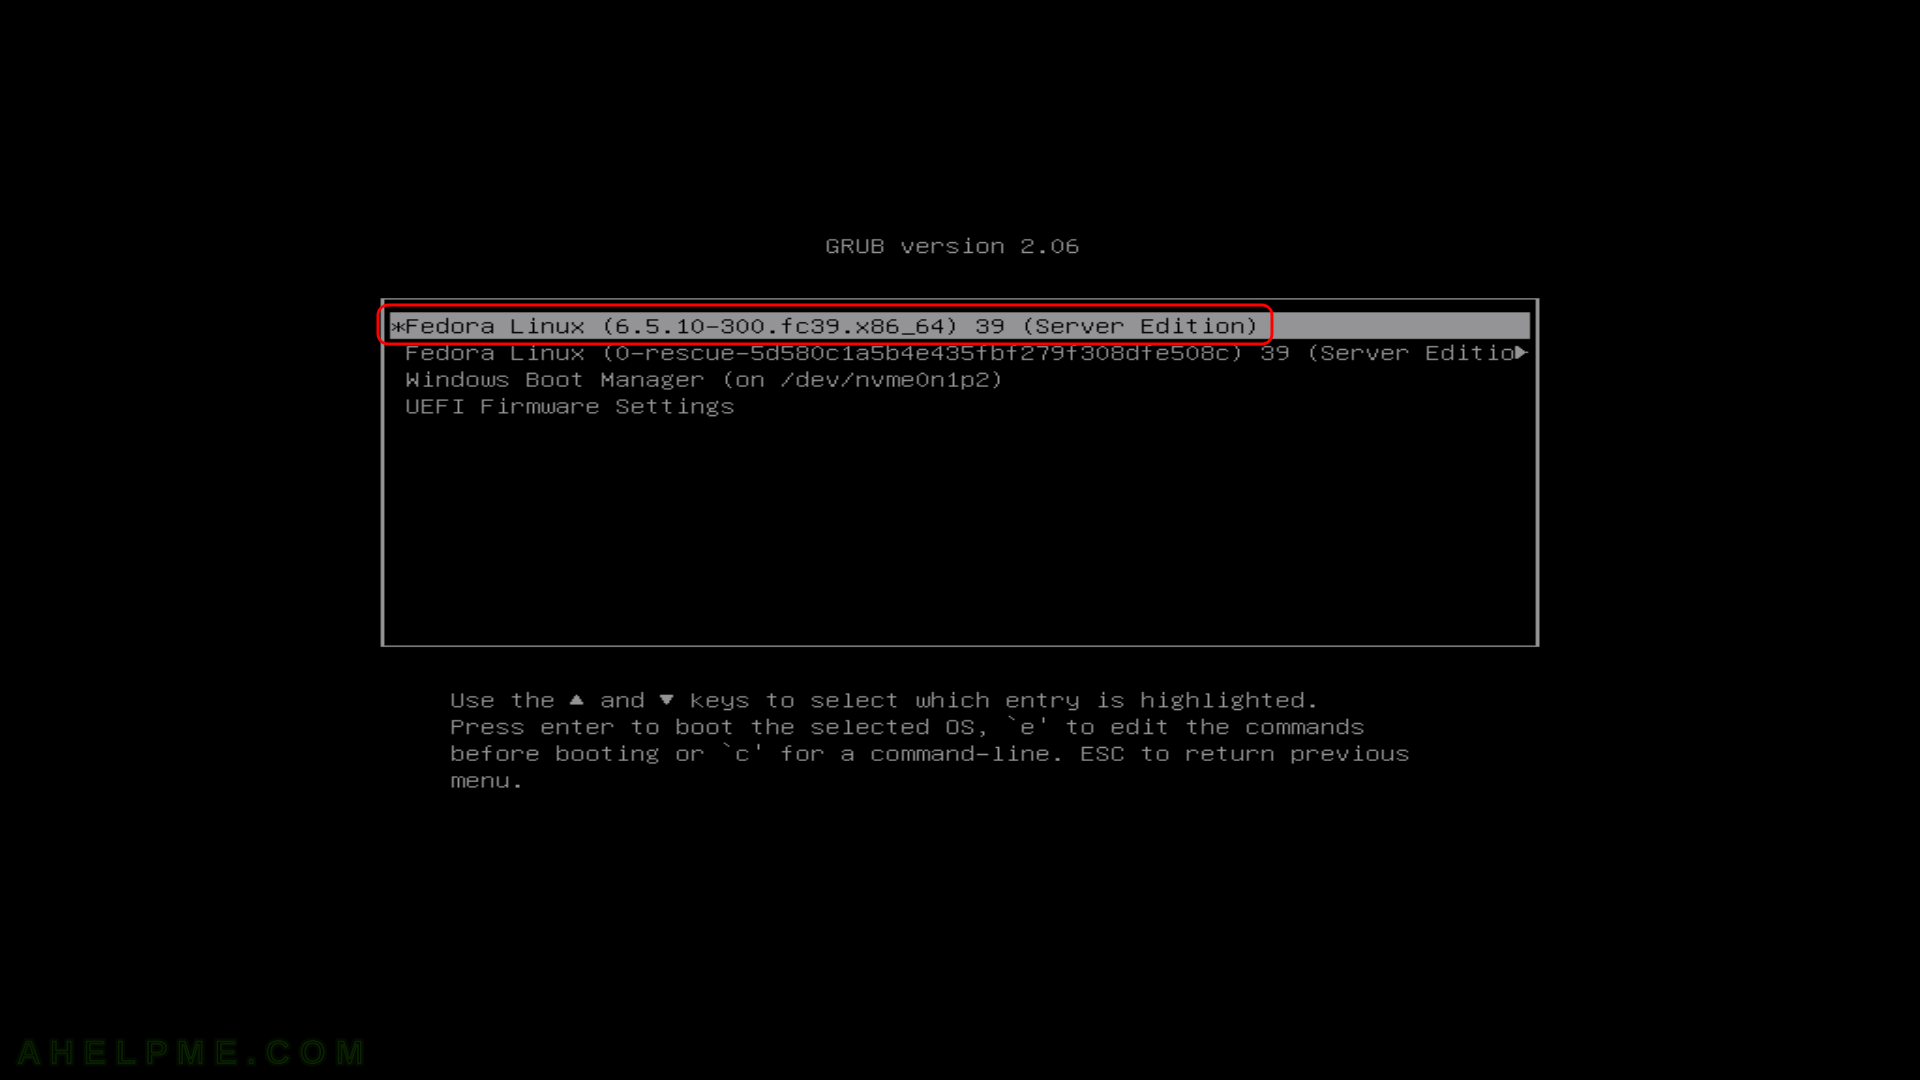
SCREENSHOT 36) Select the system to boot.
The default is the freshly installed Fedora 39 Server. Wait for some seconds to boot or just hit “Enter”.
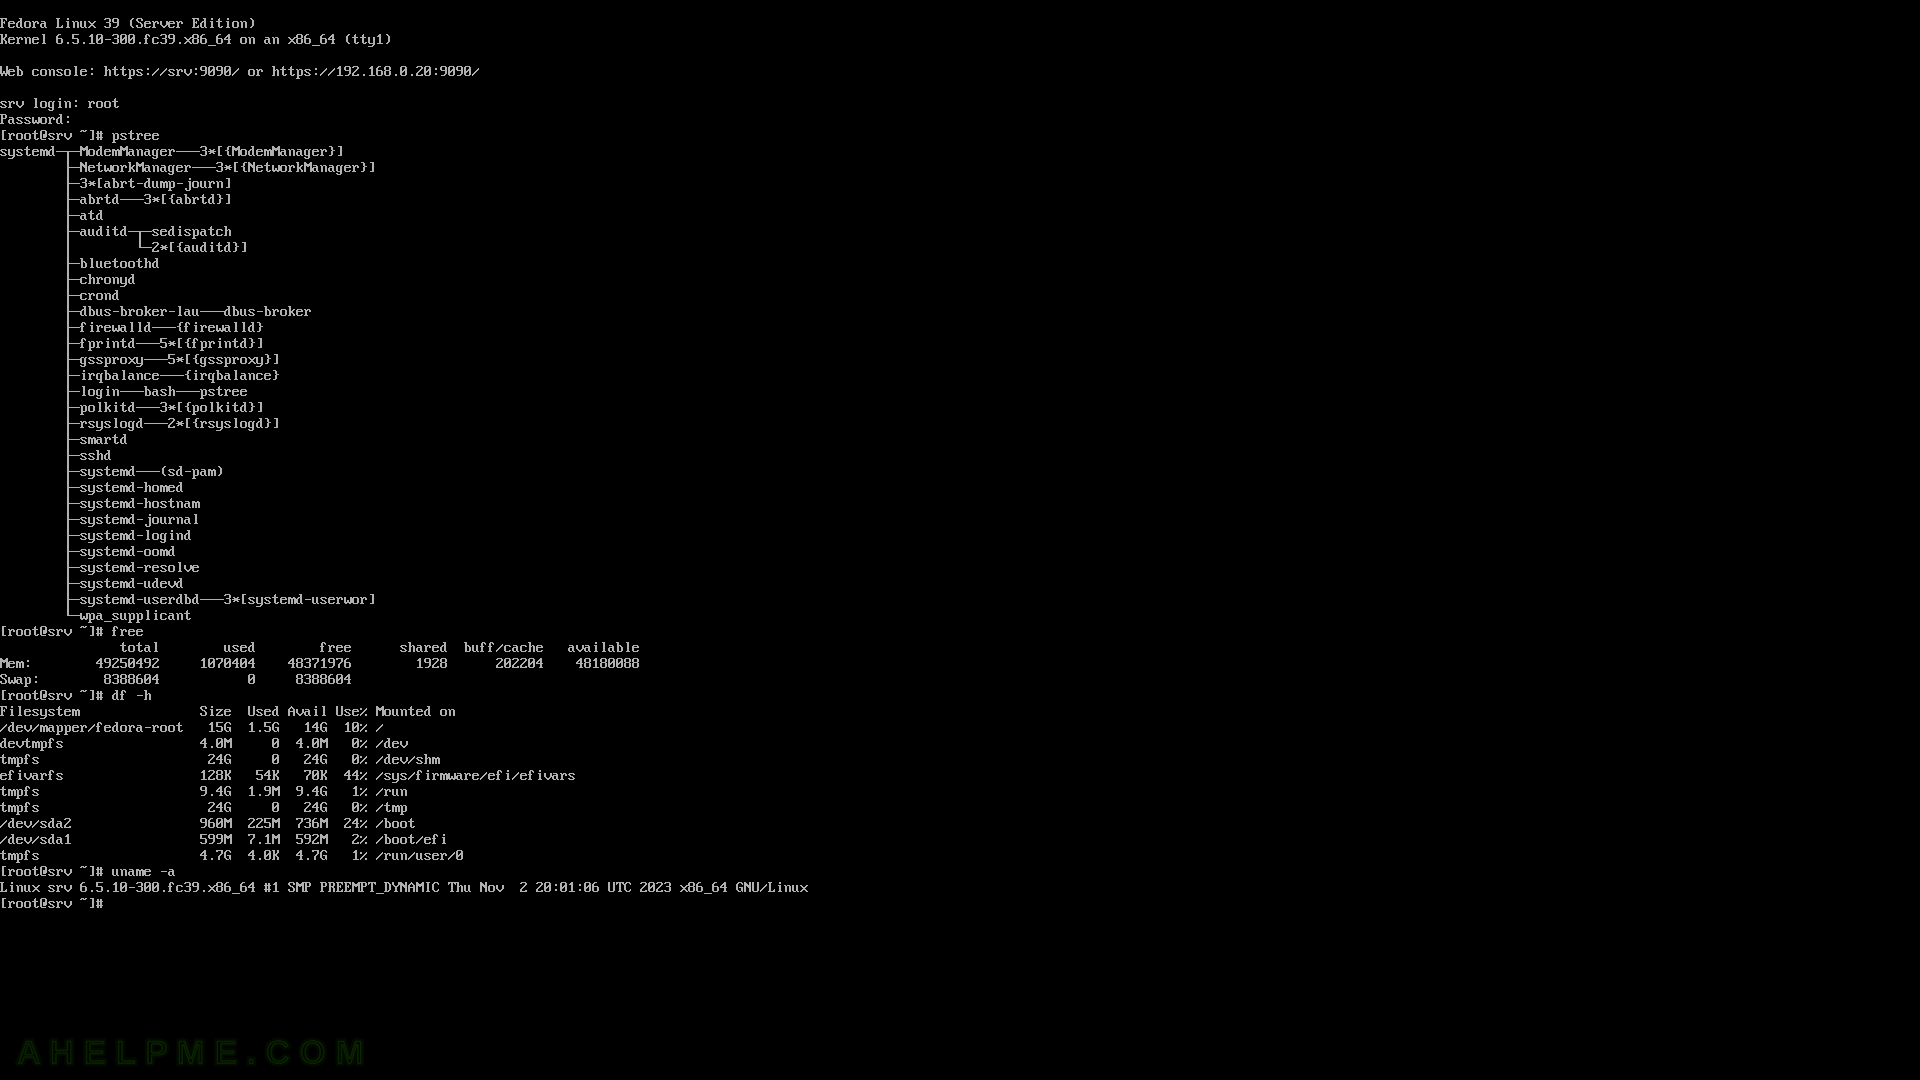
SCREENSHOT 37) The system is up and running and is waiting for logins.
The root user logged in and the output of the following commands are shown: pstree for the process tree and free for the memory information. The used memory of freshly installed and running only a couple of minutes is around 1 Gbyte.
For the previous version – Minimal network installation of Fedora 38 Server. For more articles about Fedora – https://ahelpme.com/tag/fedora/.