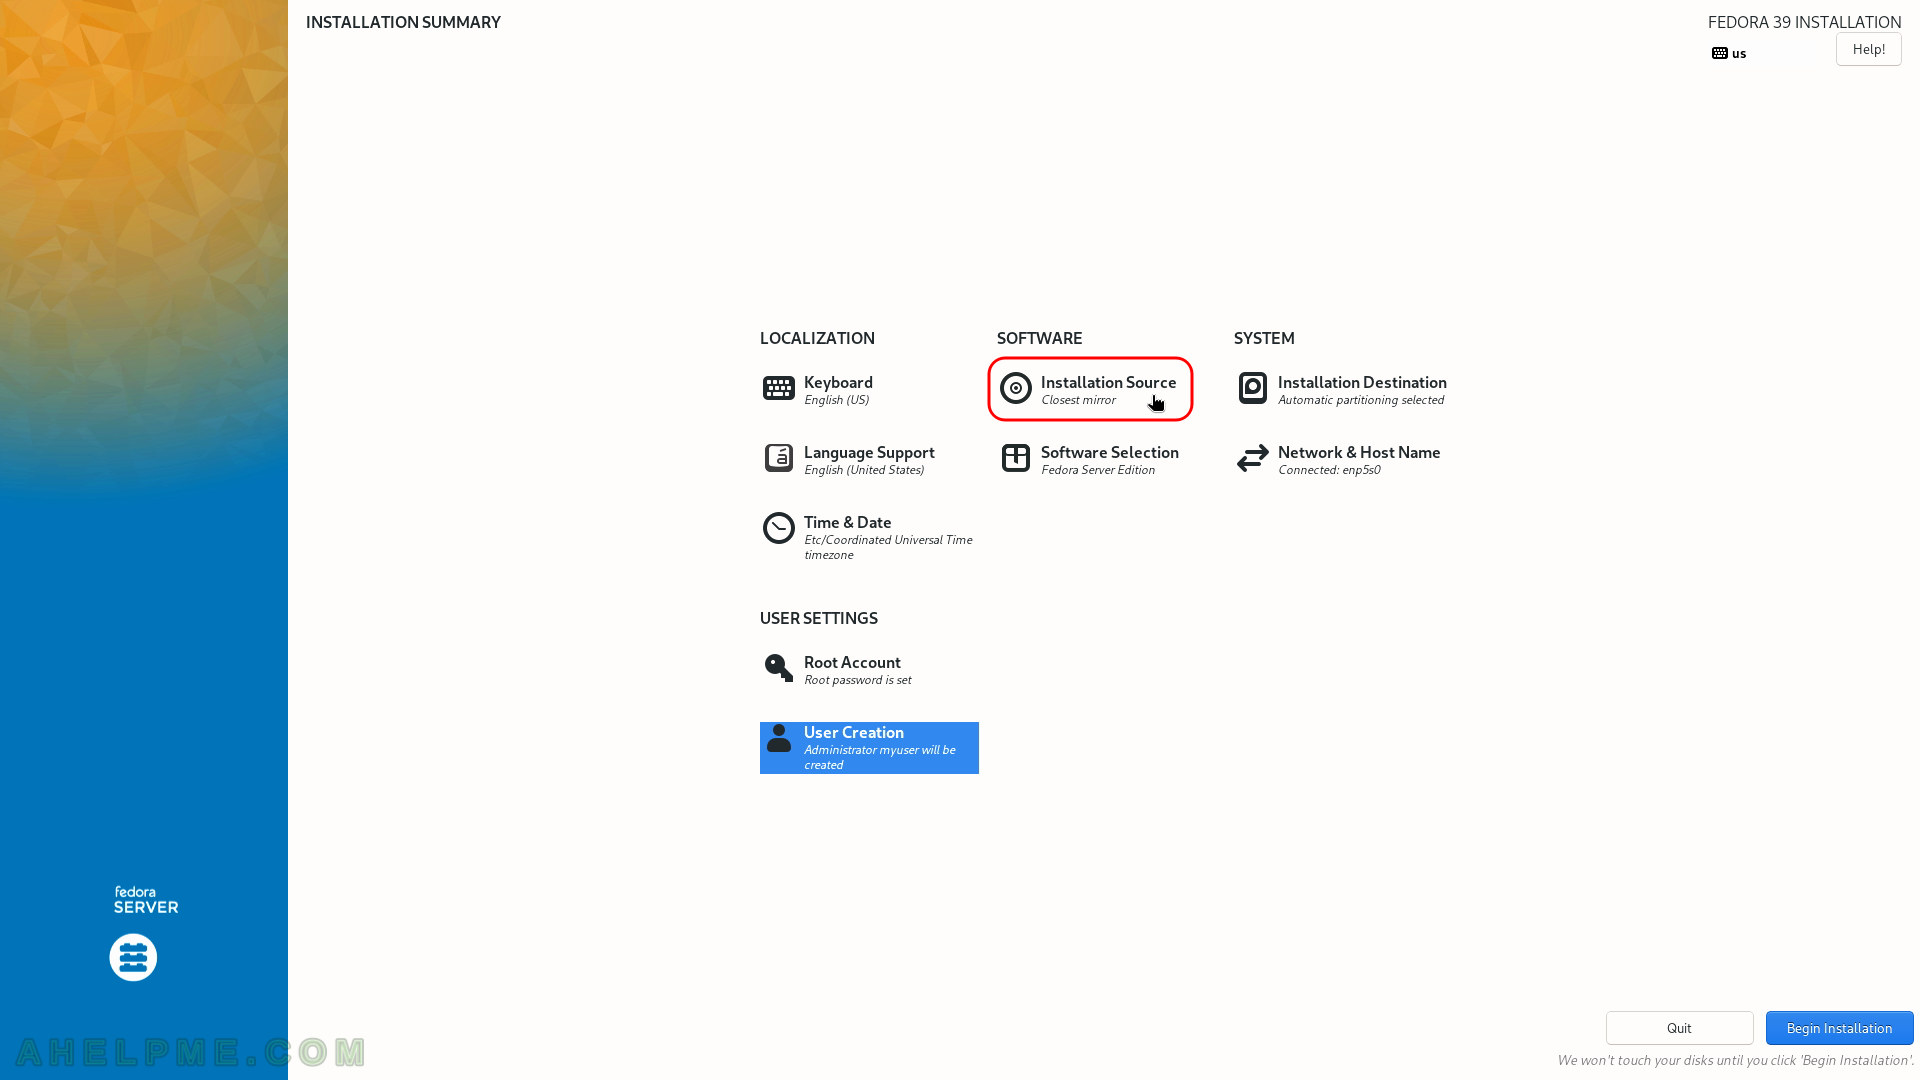
SCREENSHOT 21) Click on “Installation Source” to instruct the setup from where to download the packages.
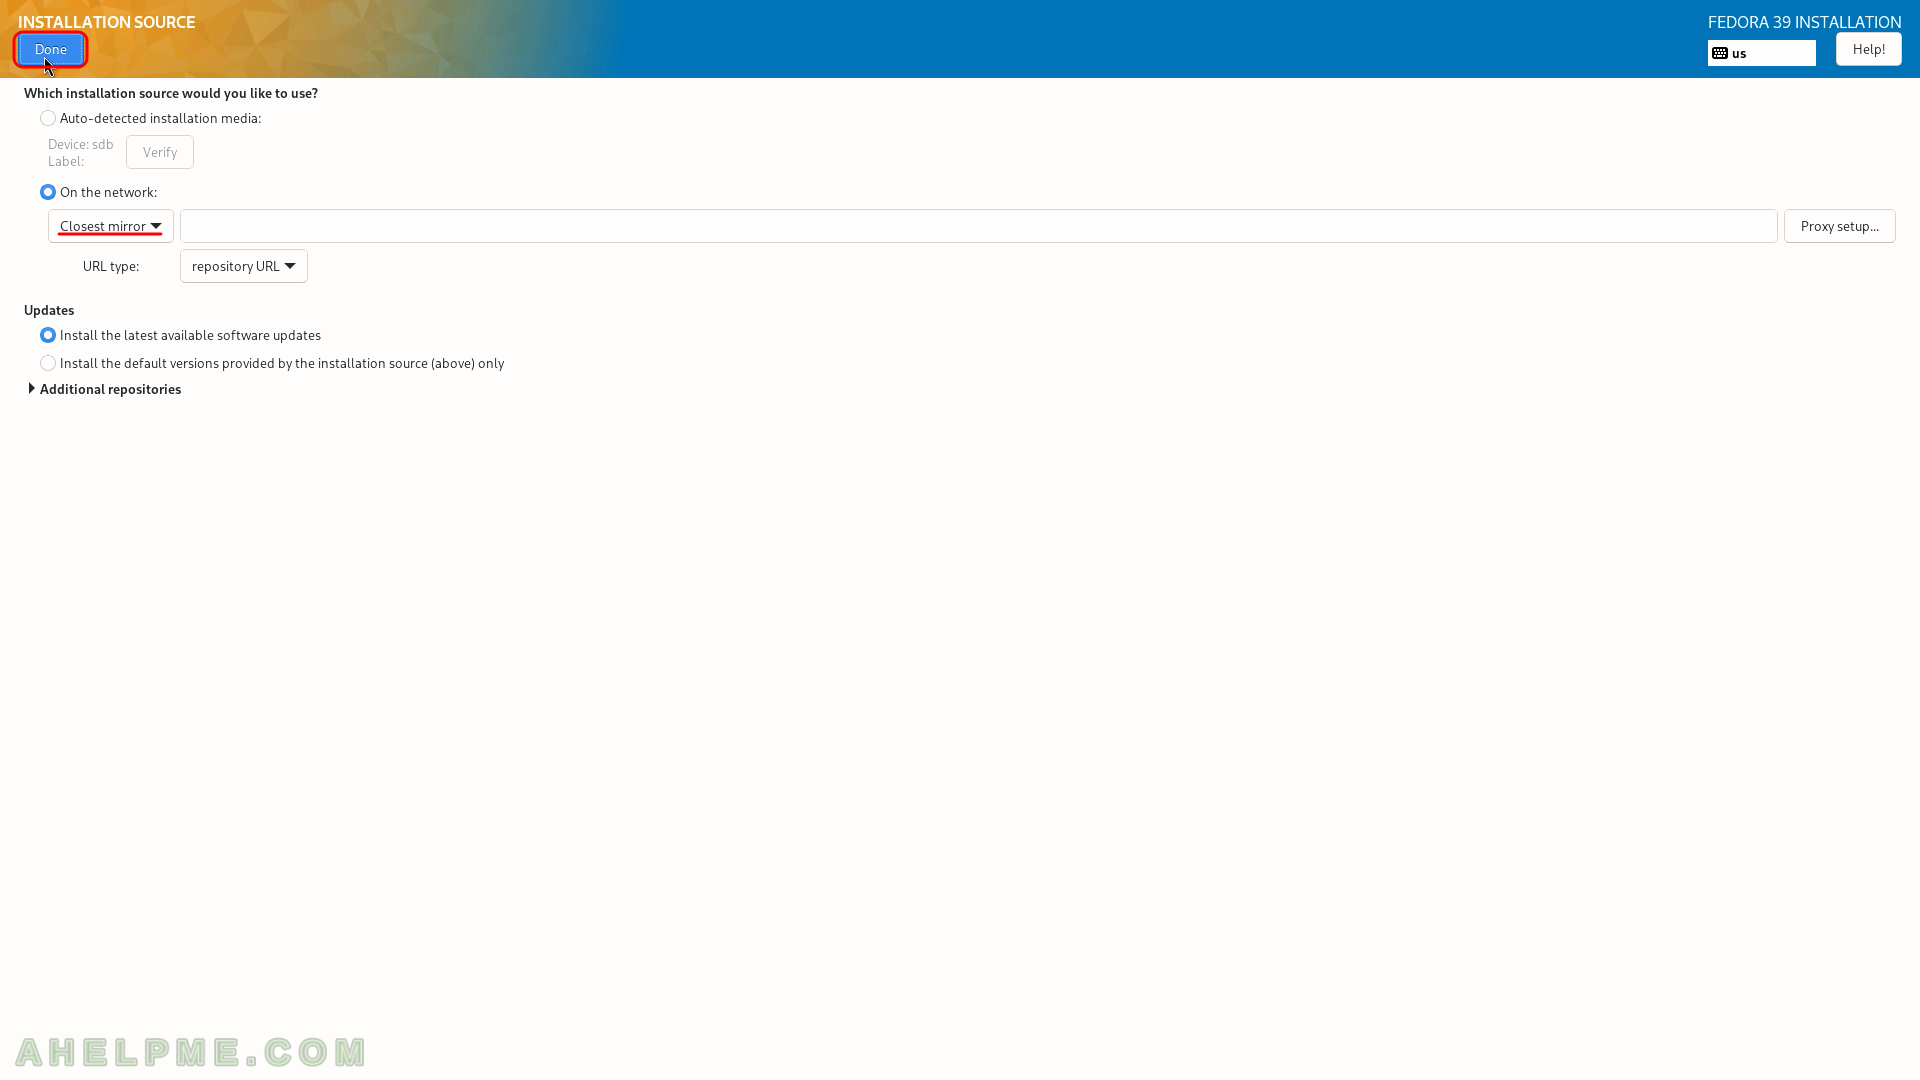
SCREENSHOT 22) Leaving “Closest mirror” as is, the setup will download from the Internet a list with mirrors and it will choose the closest one to download packages.
If the user wants to specify a URL, the dropdown box of “Closest mirror” offers HTTP or HTTPS options to set the URL.
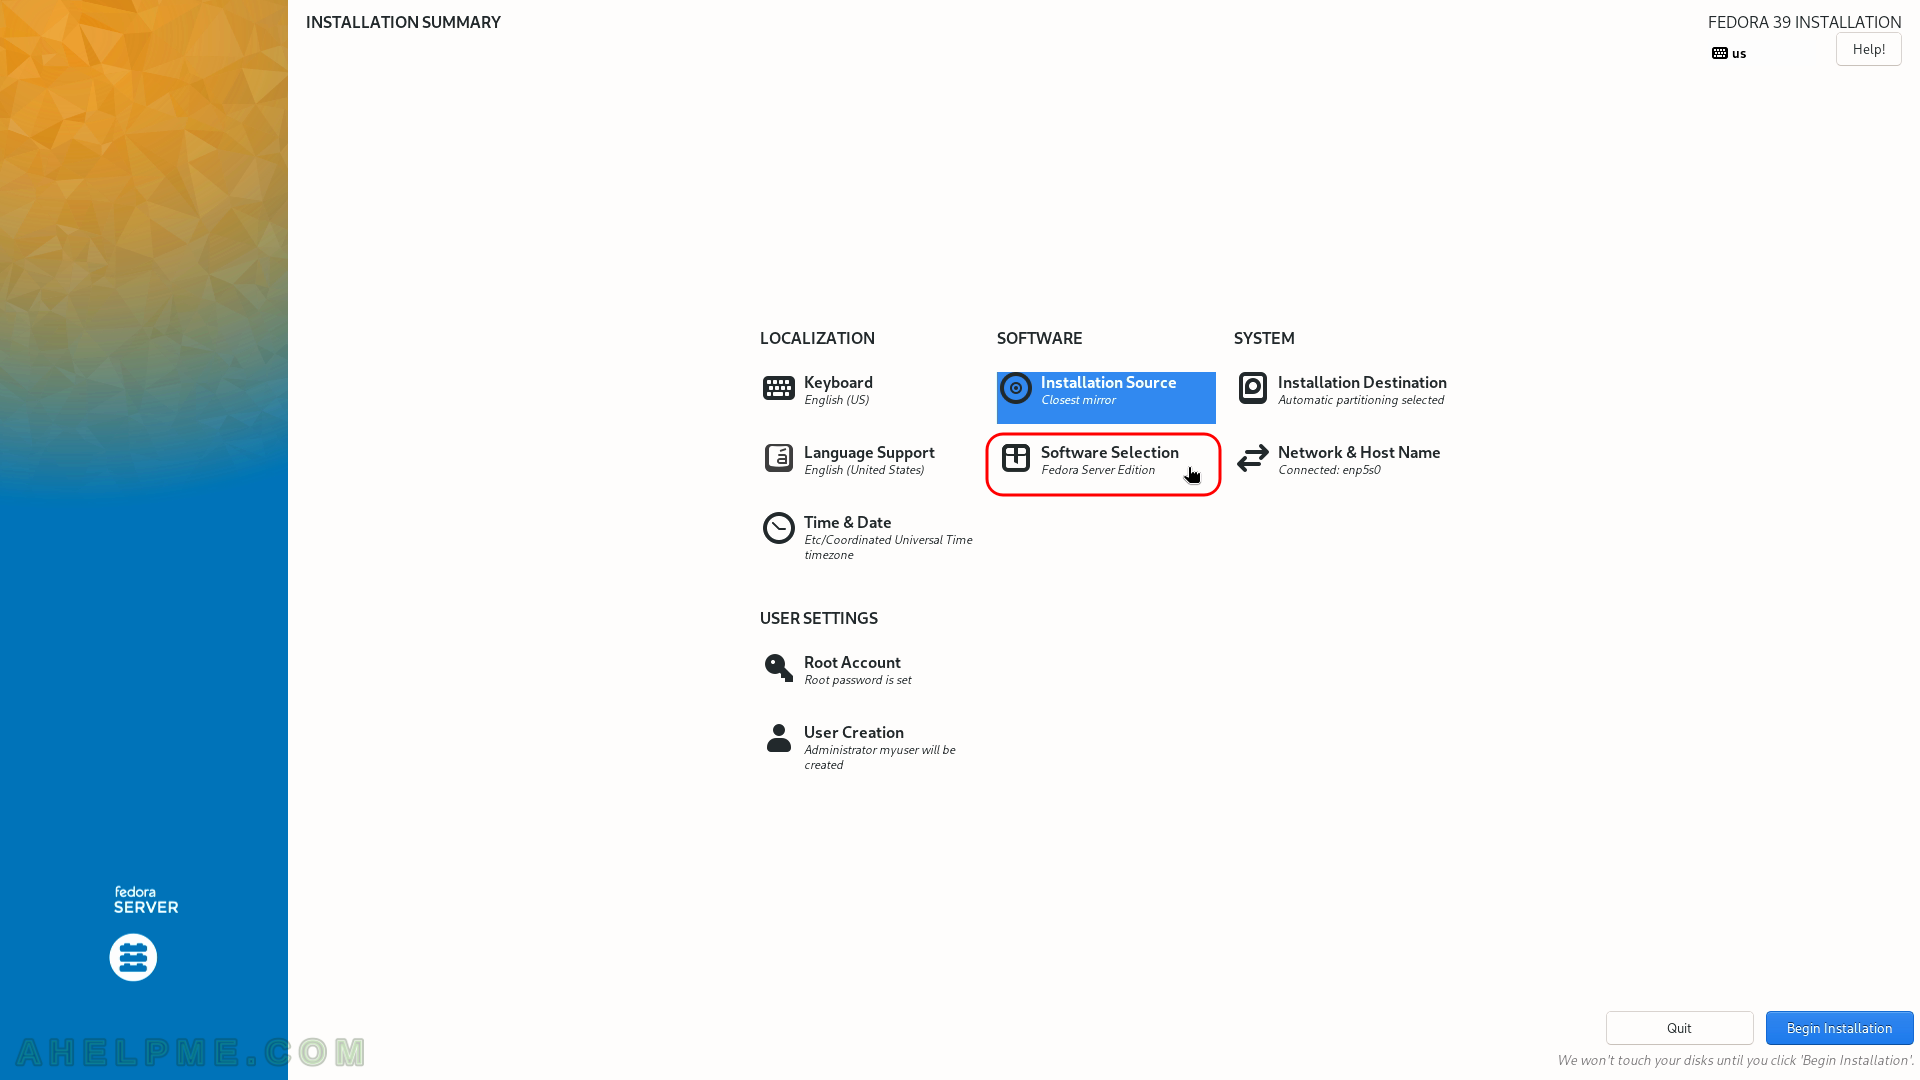
SCREENSHOT 23) Select what software you would like the setup to install first.
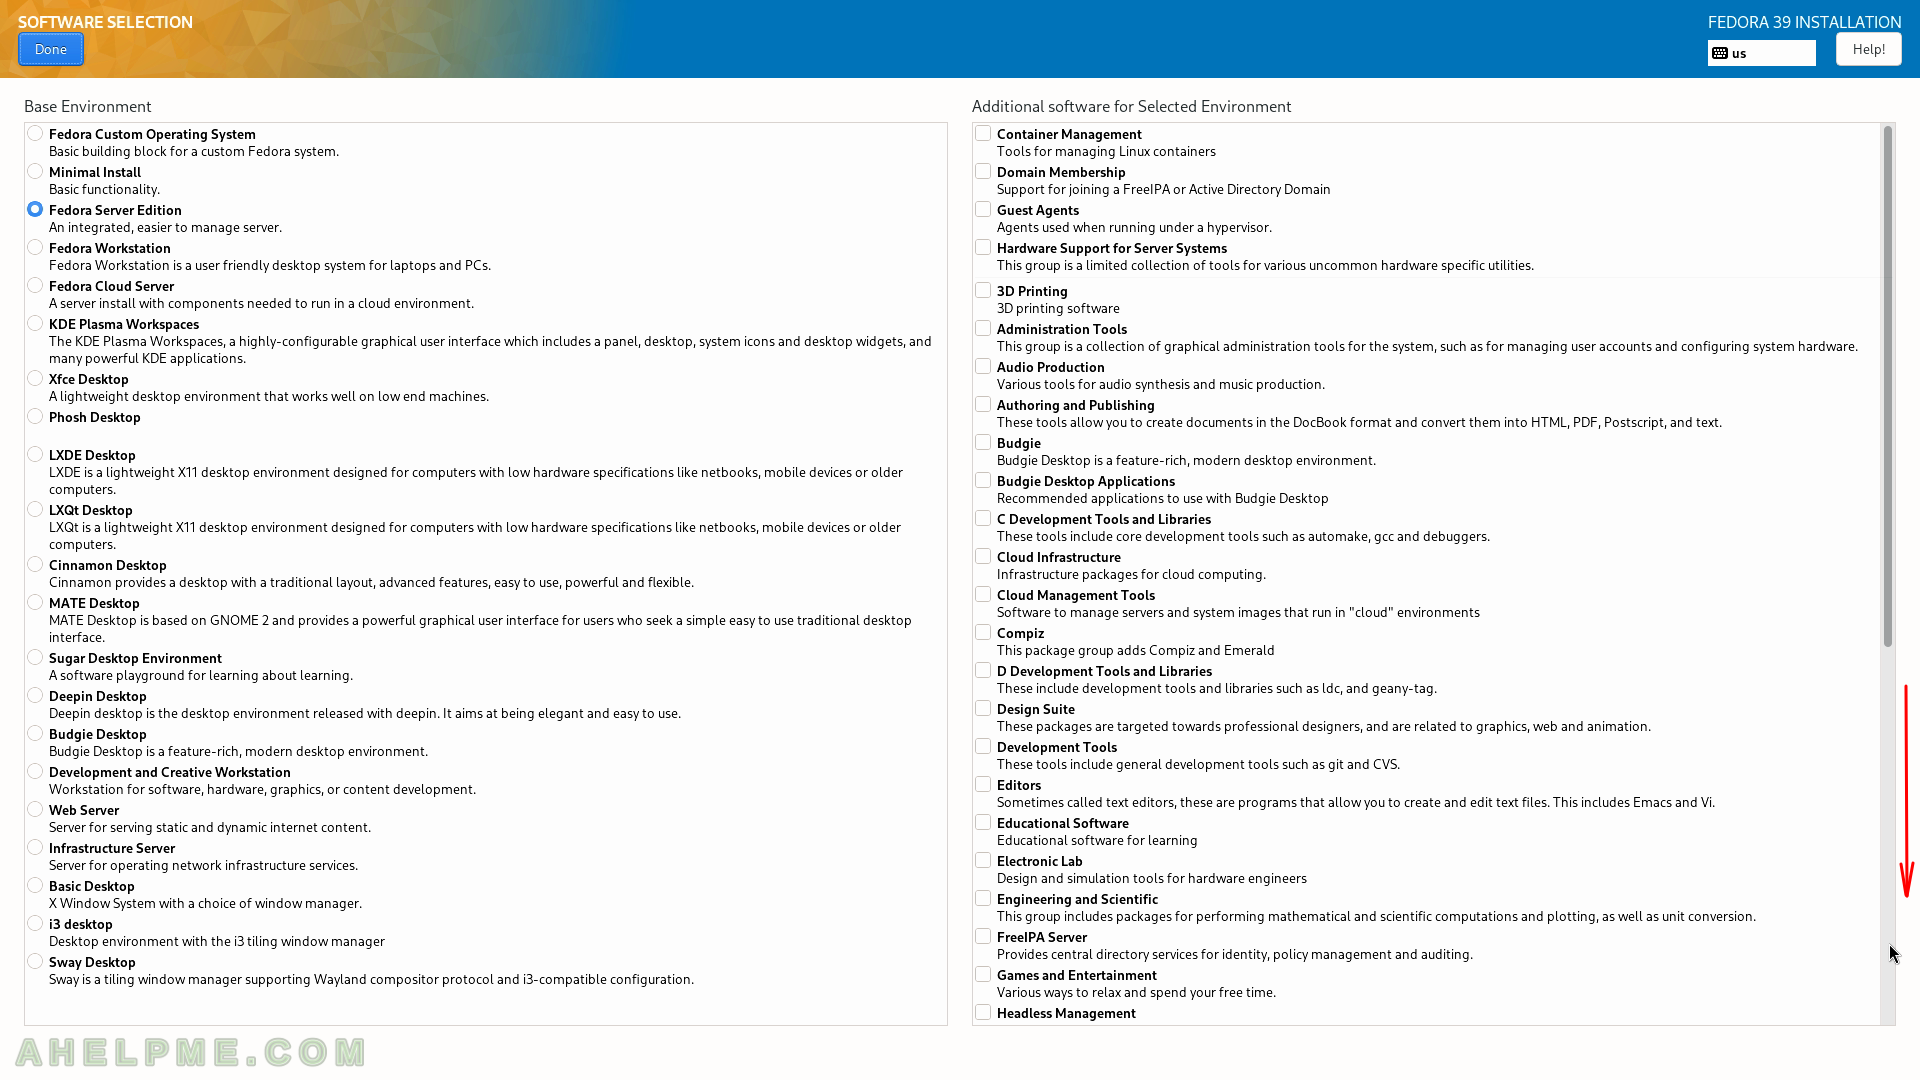
SCREENSHOT 24) By default, it is selected “Fedora Server Edition” and no additional selection on the left.
Leaving it as is, the Fedora 39 Server setup will install only minimal packages for the server edition. On the right, the setup shows a list of multiple environments, which Fedora 39 Server offers with a brief description for each one. On the first page, there are environments for Container management, Domain Membership (Active Directory Domain or FreeIPA), Guest Agents, Hardware Support for Server Systems, 3D Printing, Administration tools, Audio Production, Authoring and Publishing, Budgie, Budgie Desktop Applications, C Development tools and libraries, Cloud infrastructure, Cloud Management Tools, Compiz, D Development Tools and Libraries, Design Suite, Development Tools, Editors, Educational Software, Electronic Lab, Engineering and Scientific, FreeIPA Server, Games and Entertainment, Headless Management.
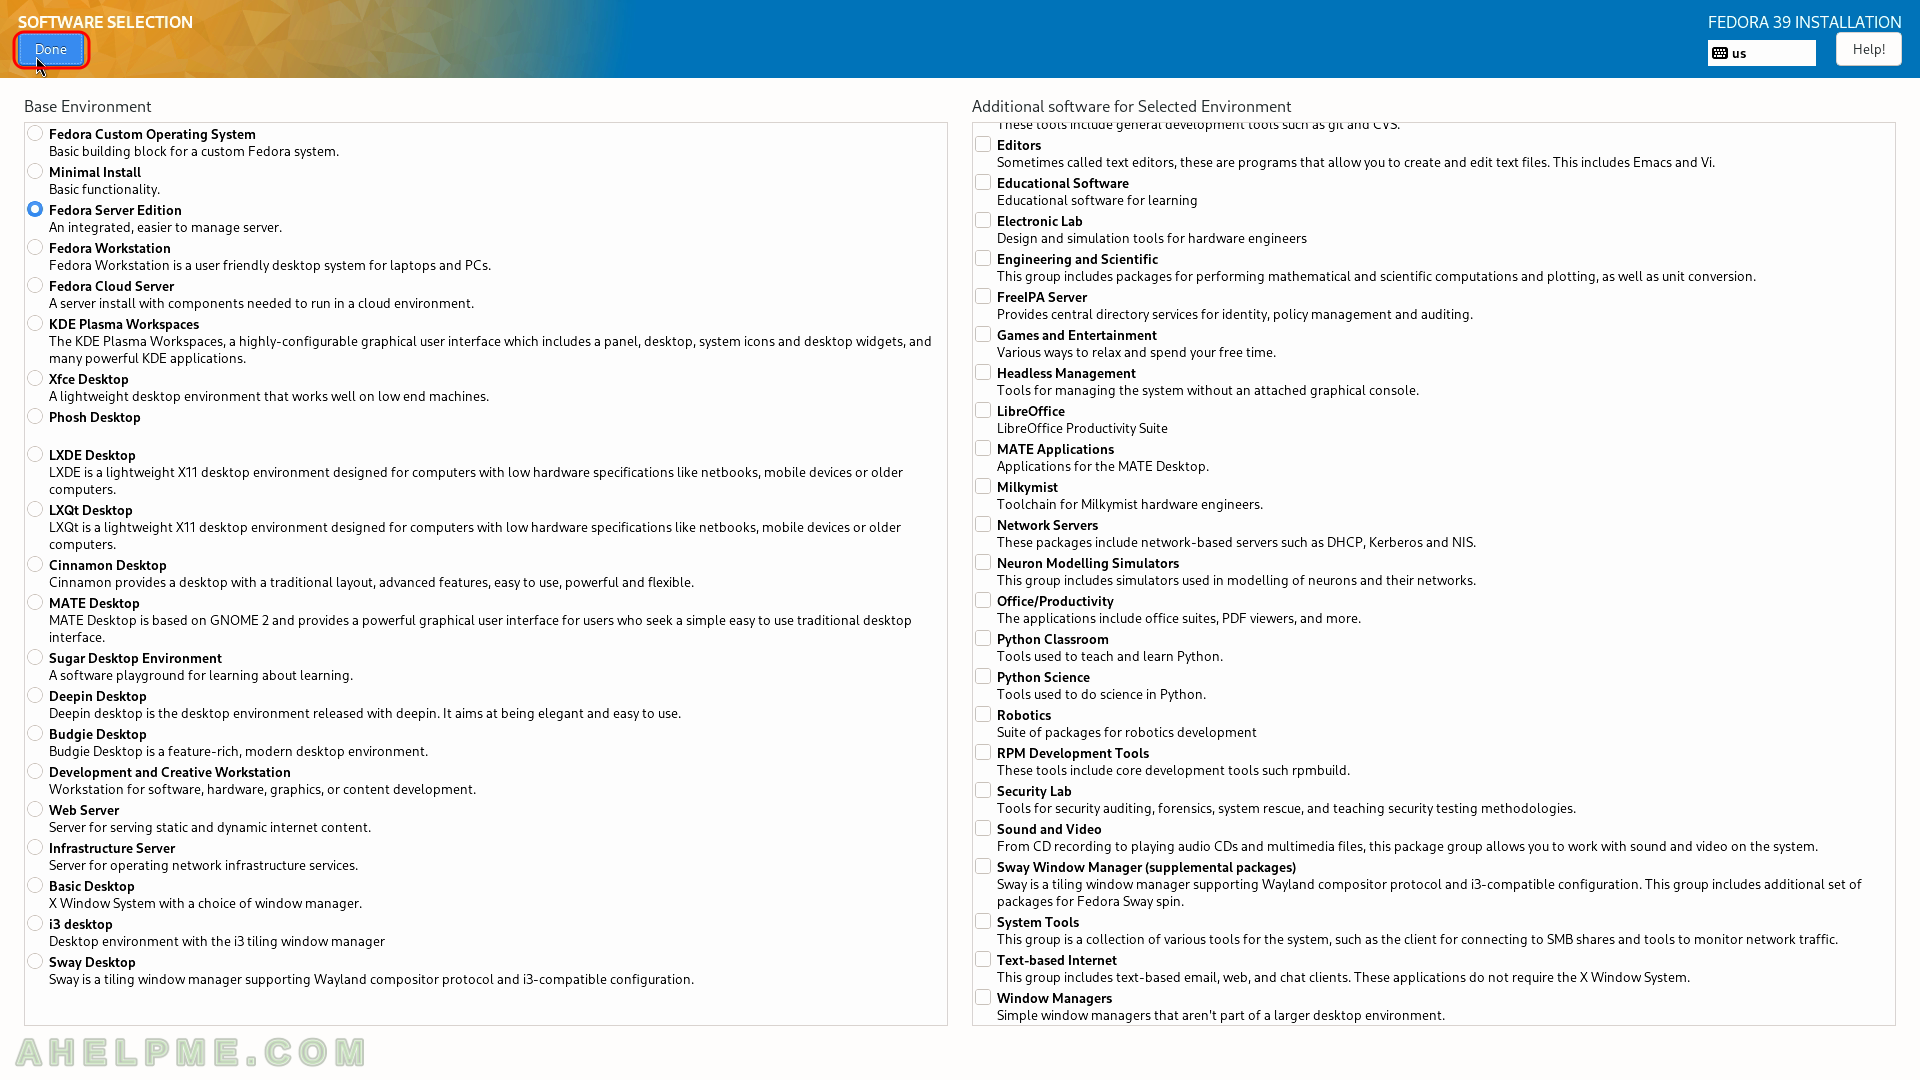
SCREENSHOT 25) Page 2 of software environments offered by the Fedora 39 Server Edition.
On the second page, there are environments for LibreOffice, MATE Applications, Milkymist, Network servers, Neuron Modelling Simulators, Office/Productivity, Python Classroom, Python Science, Robotics, RPM Development Tools, Security Labs, Sound and Video, Sway Window Manager (supplemental packages), System Tools, Text-based Internet and Window Managers (a simple one, which is not part of a desktop environment).
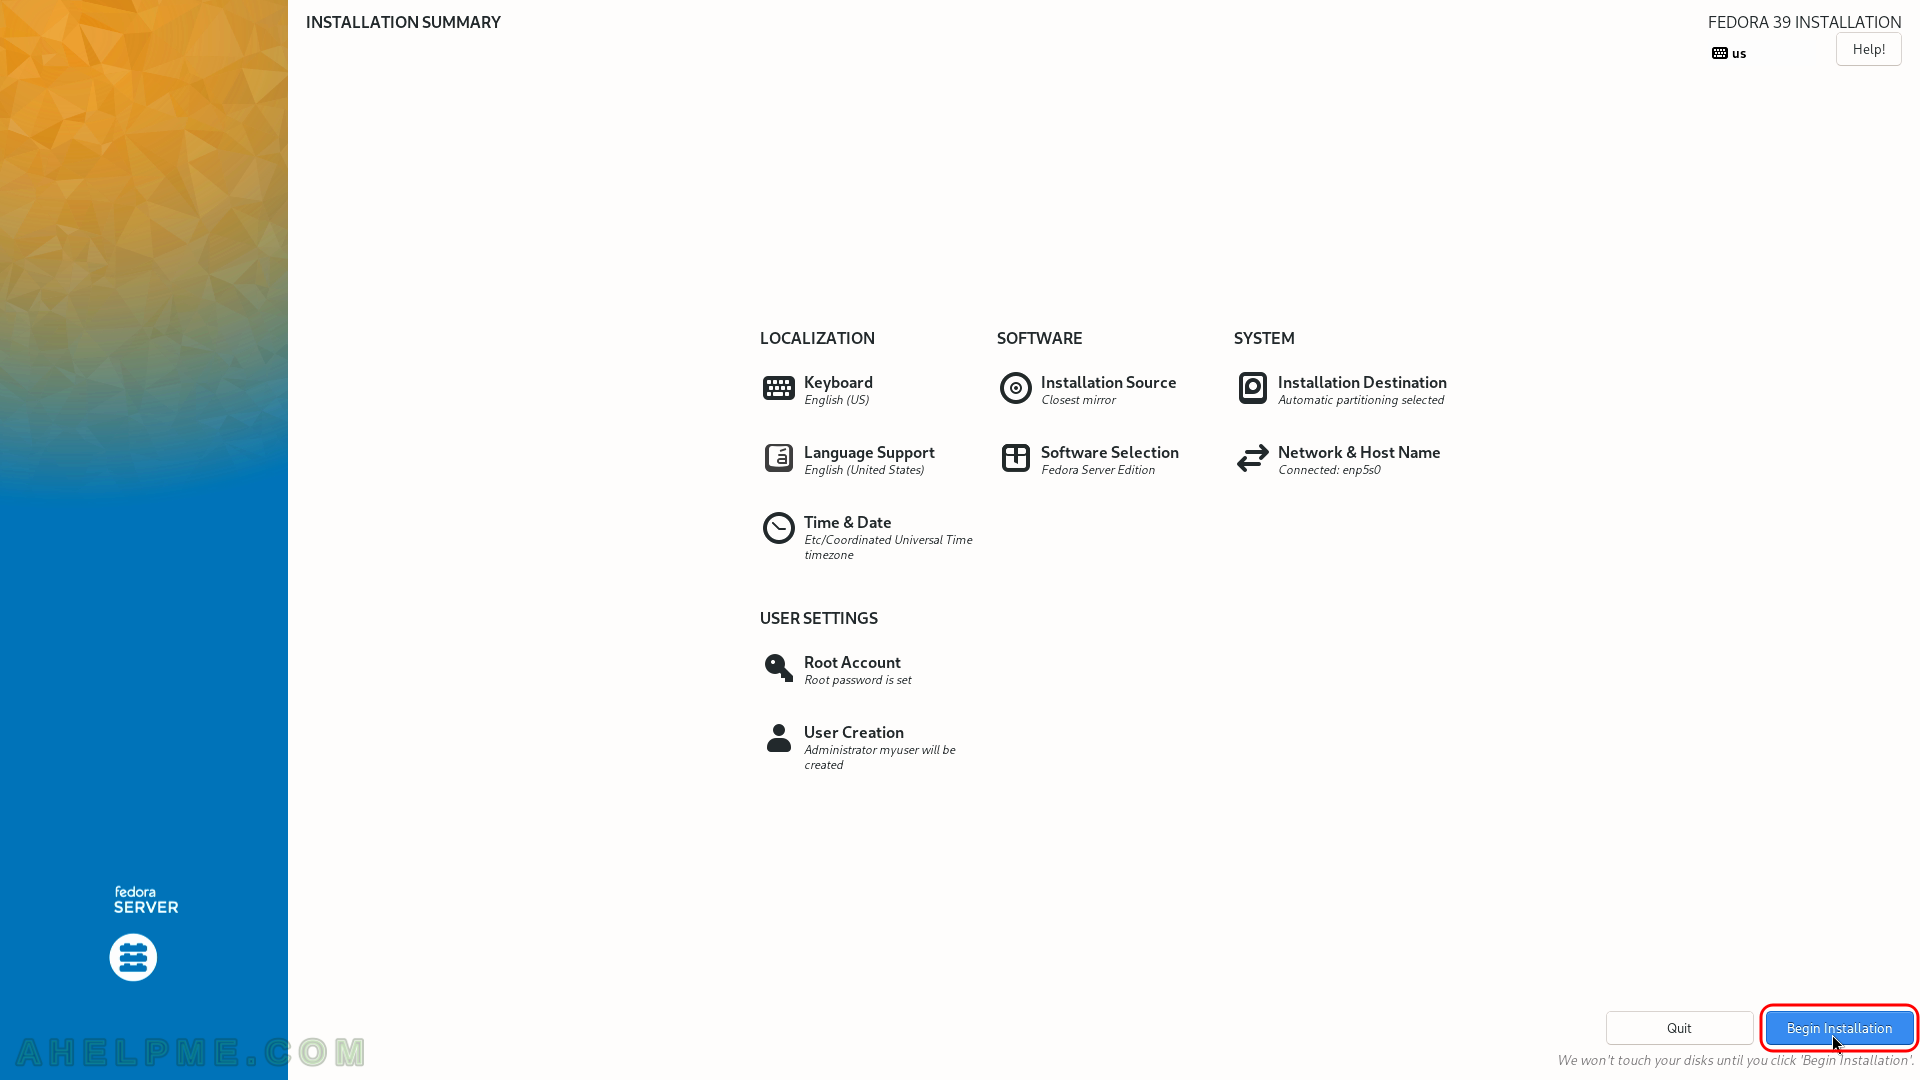
SCREENSHOT 26) Now the installation setup is configured and by clicking on “Begin Installation” the actual installation on your selected hard drive begins.
The actual installation begins and first the disk must be prepared, so after clicking the very button the disk layout will be changed according to the steps related to the “Installation Destination”.
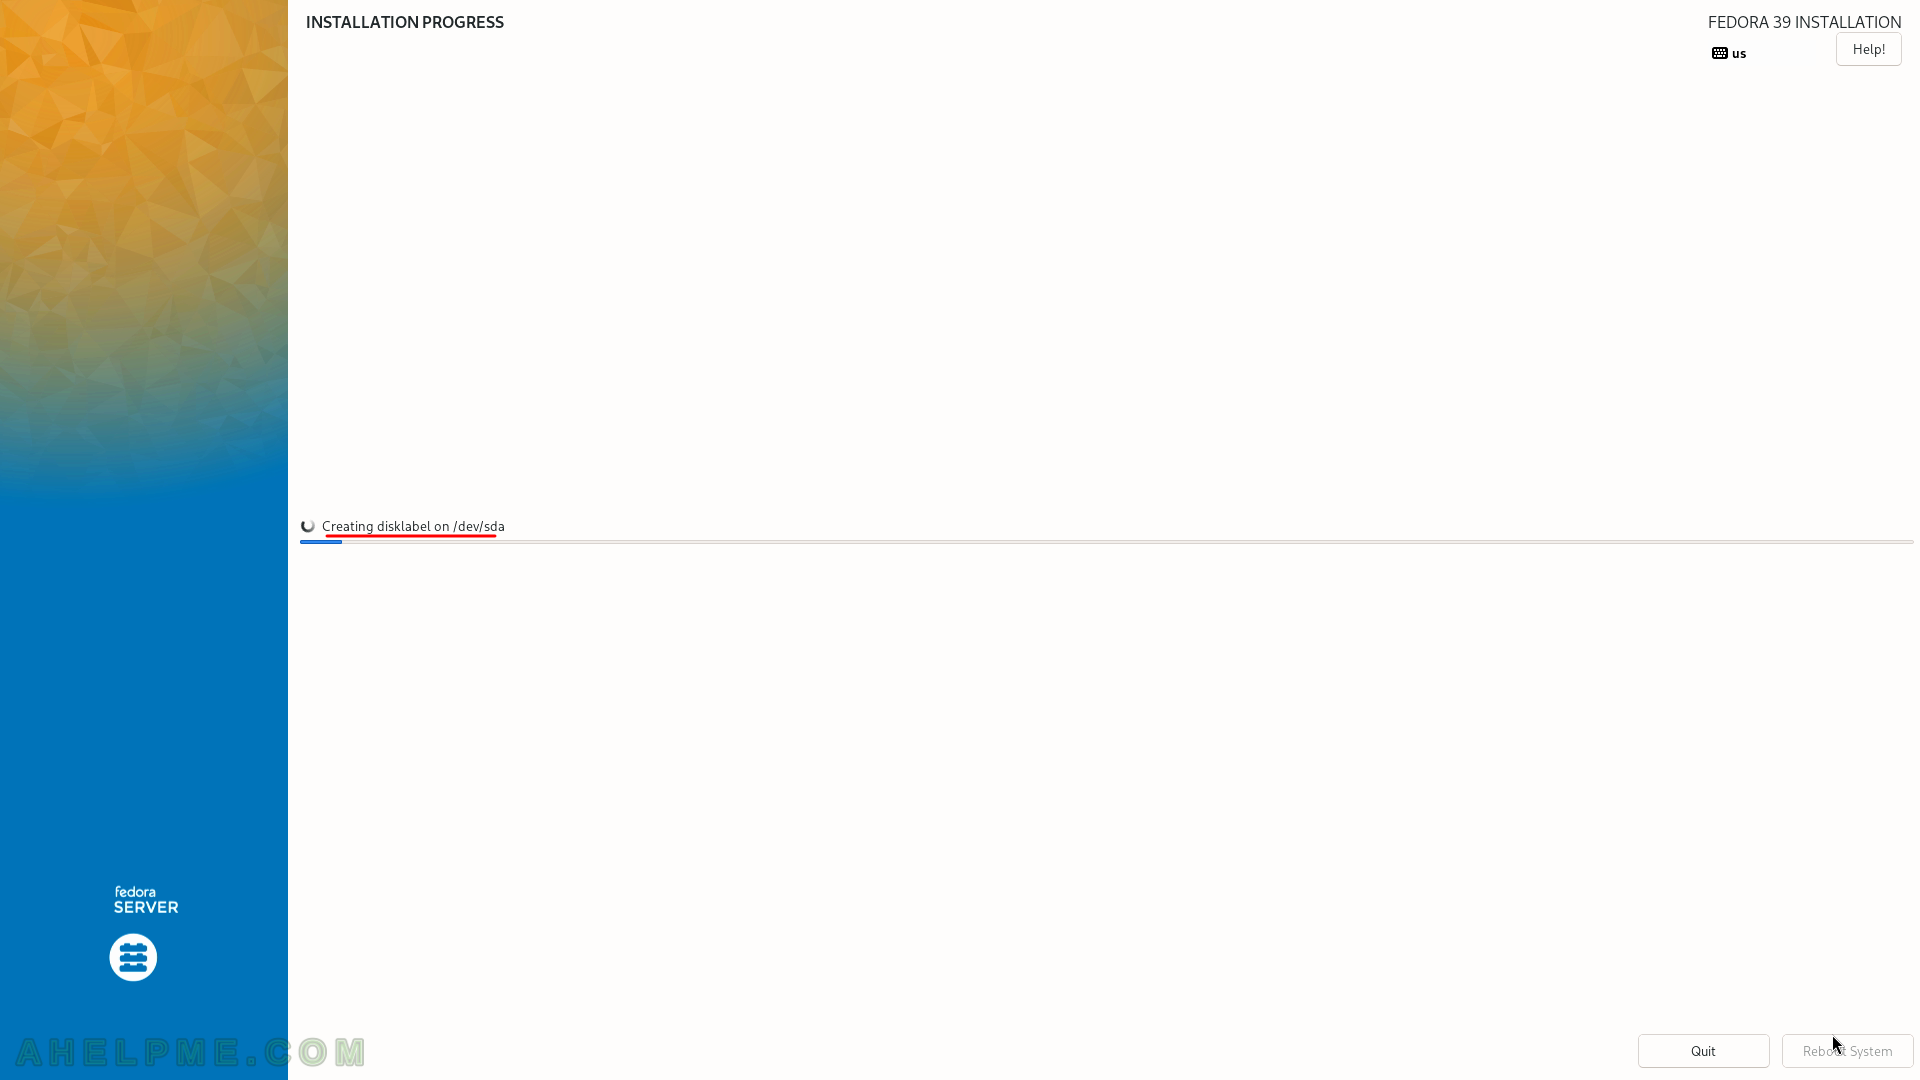
SCREENSHOT 27) Sets the partition schemes, which has been chosen in the previous step – “Installation destination”.
This is the moment the old partitions are physically deleted and new ones created. Till now, all the data and the partitions are the old ones and not changed, but after this step the disk will have a new layout and all the old data is permanently deleted ad lost on the sda storage device (taking in mind, the automatic layout selected above. it is possible not to delete the whole disk, but this kid of installation is beyond the scope of this article).
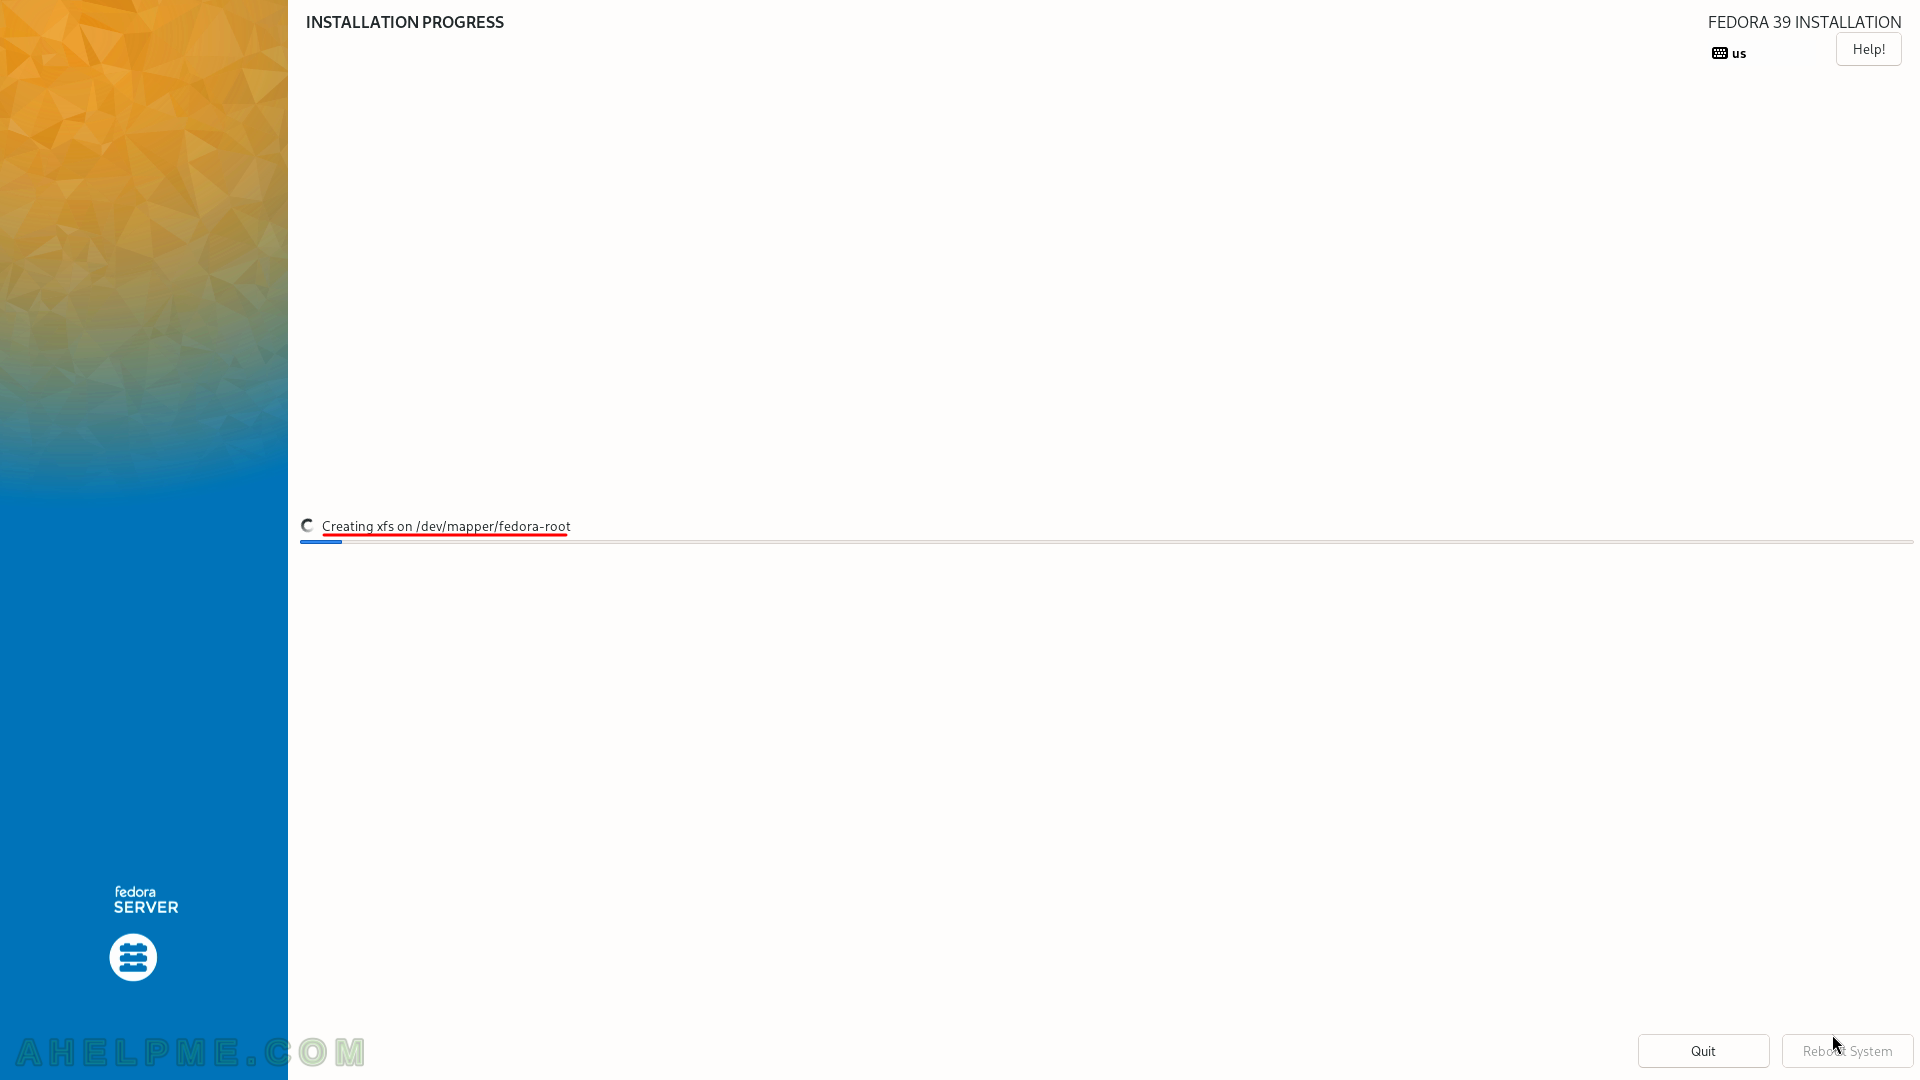
SCREENSHOT 28) The setup is changing the partition layout of the disk.
New partitions are created according to the user selection in the previous step – “Installation destination”.
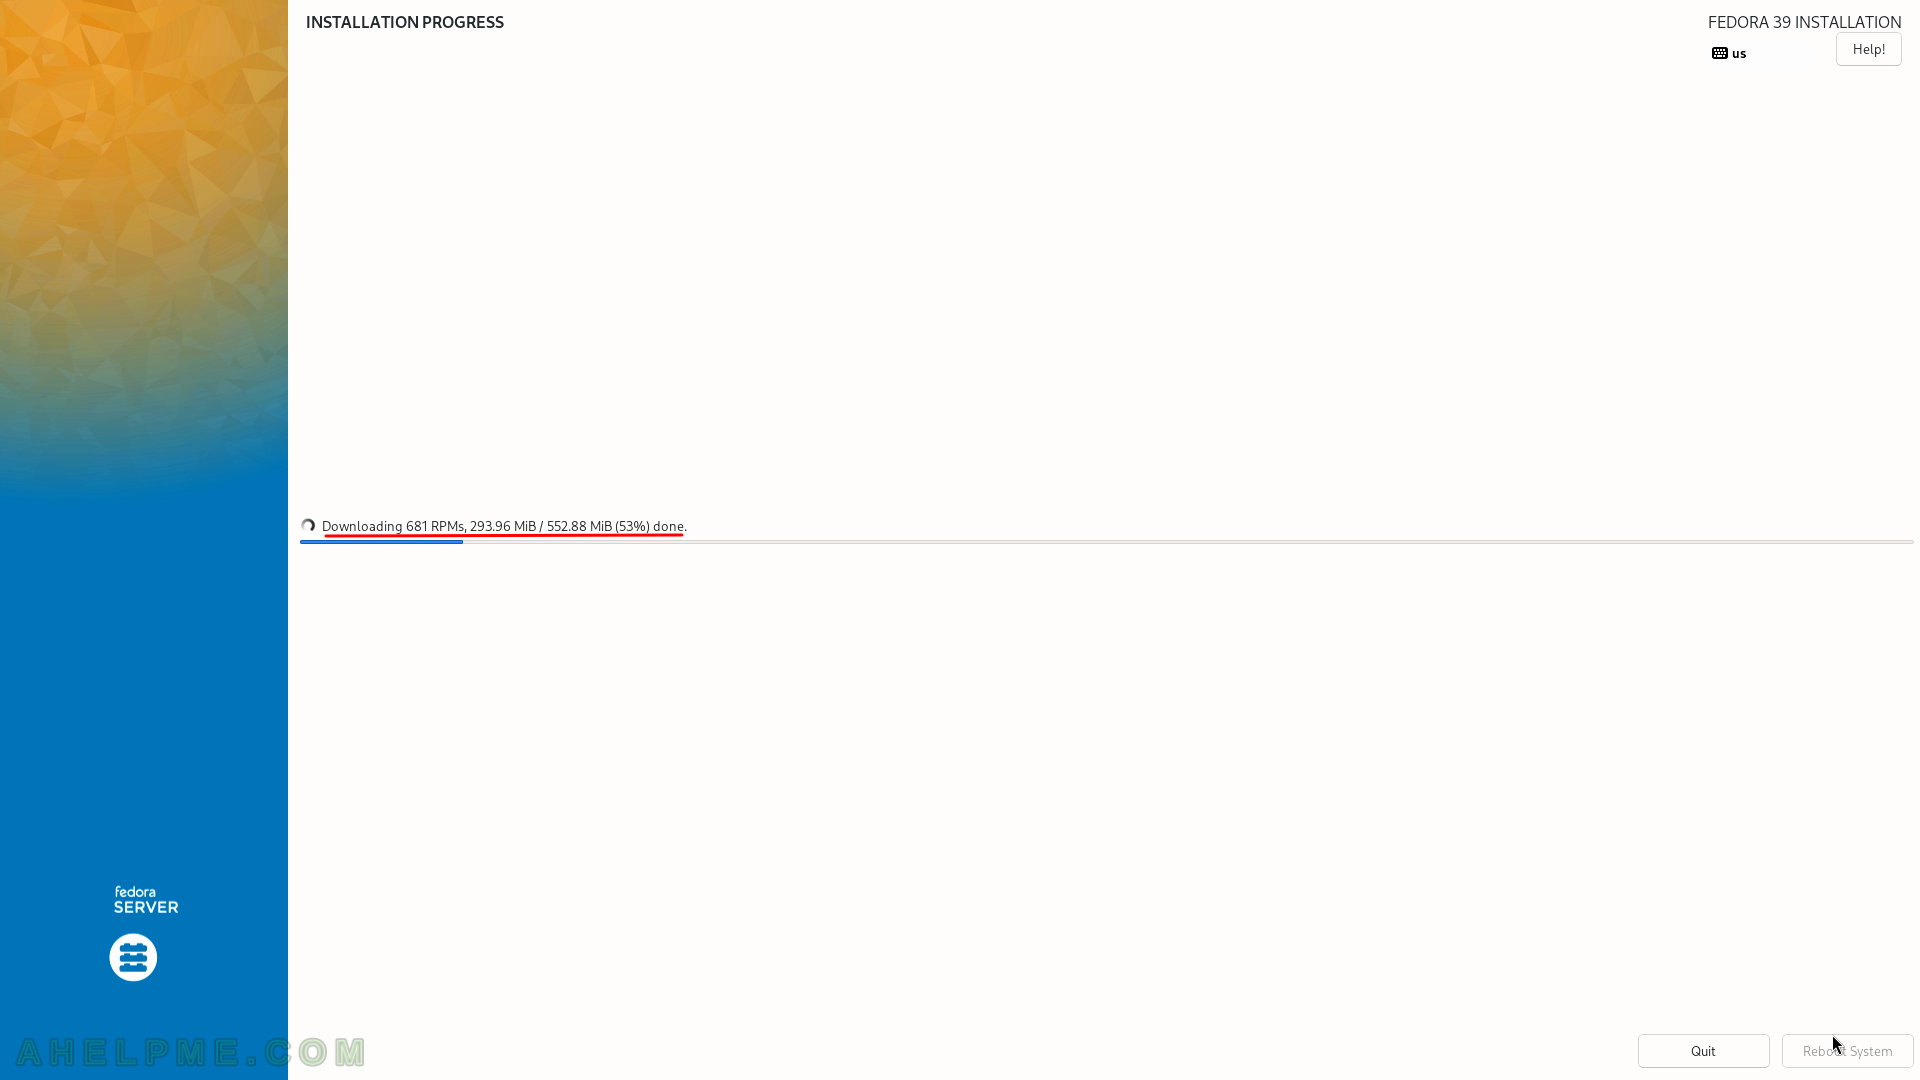
SCREENSHOT 29) The setup is downloading packages.
For the minimal Fedora 39 Server installation, 681 RPM packages are downloaded of total 552.88 MiB.
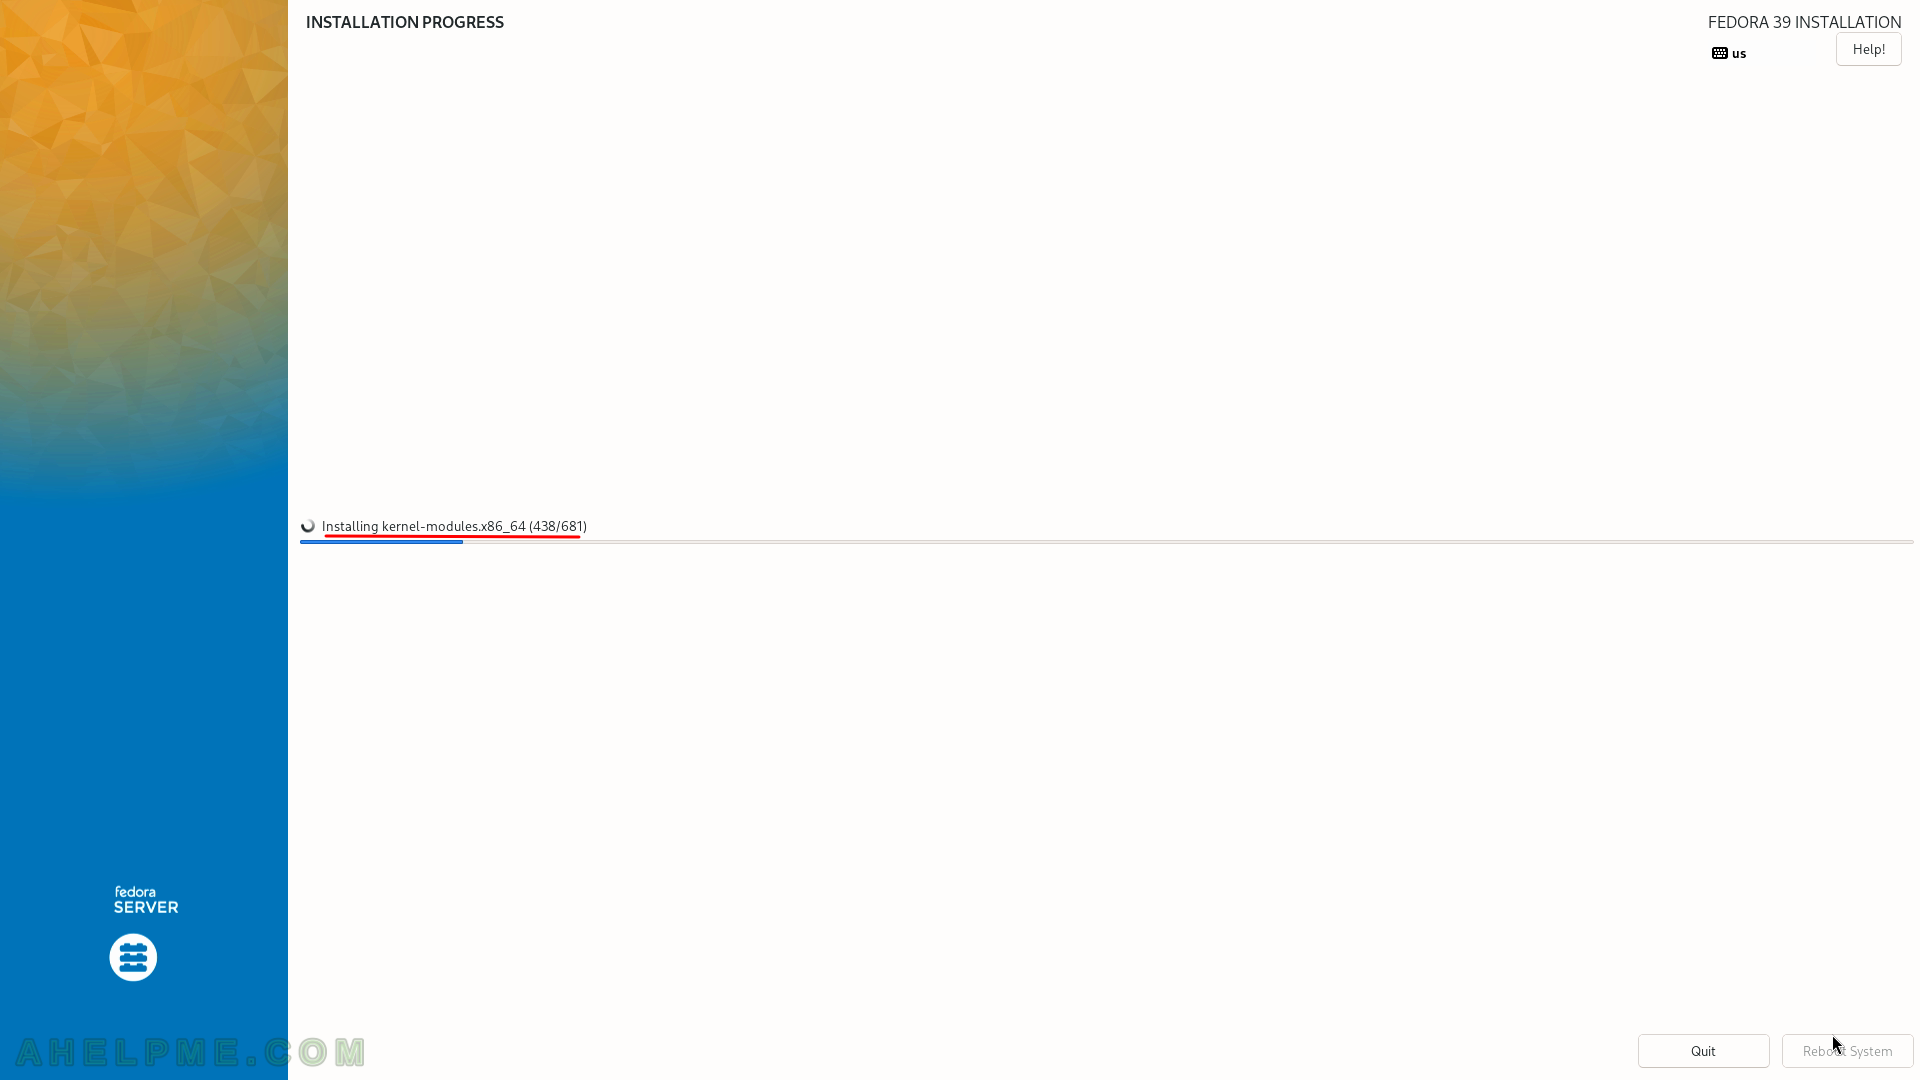
SCREENSHOT 30) The setup is installing packages.
A progress of the package installation is available. After downloading all packages, the setup continues with the packages installation.